Guide
Example walkthrough for campaign creation
Overview
Meetotis is an advertising campaign management platform that streamlines the creation and deployment of multi-channel ad campaigns. This workflow walks you through the complete campaign setup process, from initial concept to scheduled launch. You'll input your landing page URL and a brief description of your product or service, let Meetotis generate initial ad creative suggestions, then customize the campaign with your own media assets, ad copy, targeting platforms (Facebook, Instagram, Google Search, Google Display, TikTok), geographic locations, budget constraints, and launch timing. This end-to-end process typically takes 15–20 minutes and results in a campaign ready to go live on your chosen advertising channels.
Before you begin
- Active Meetotis account with login credentials
- The landing page URL (website or product page) you want to drive traffic to
- A clear, concise description of your product, service, or offer (for the AI prompt)
- Image or video asset file (JPEG, PNG, MP4, etc.; max 50MB, up to 60 seconds for video)
- Target geographic location(s) for your ads
- Daily advertising budget amount (in your preferred currency)
- Desired campaign launch date
Step by step
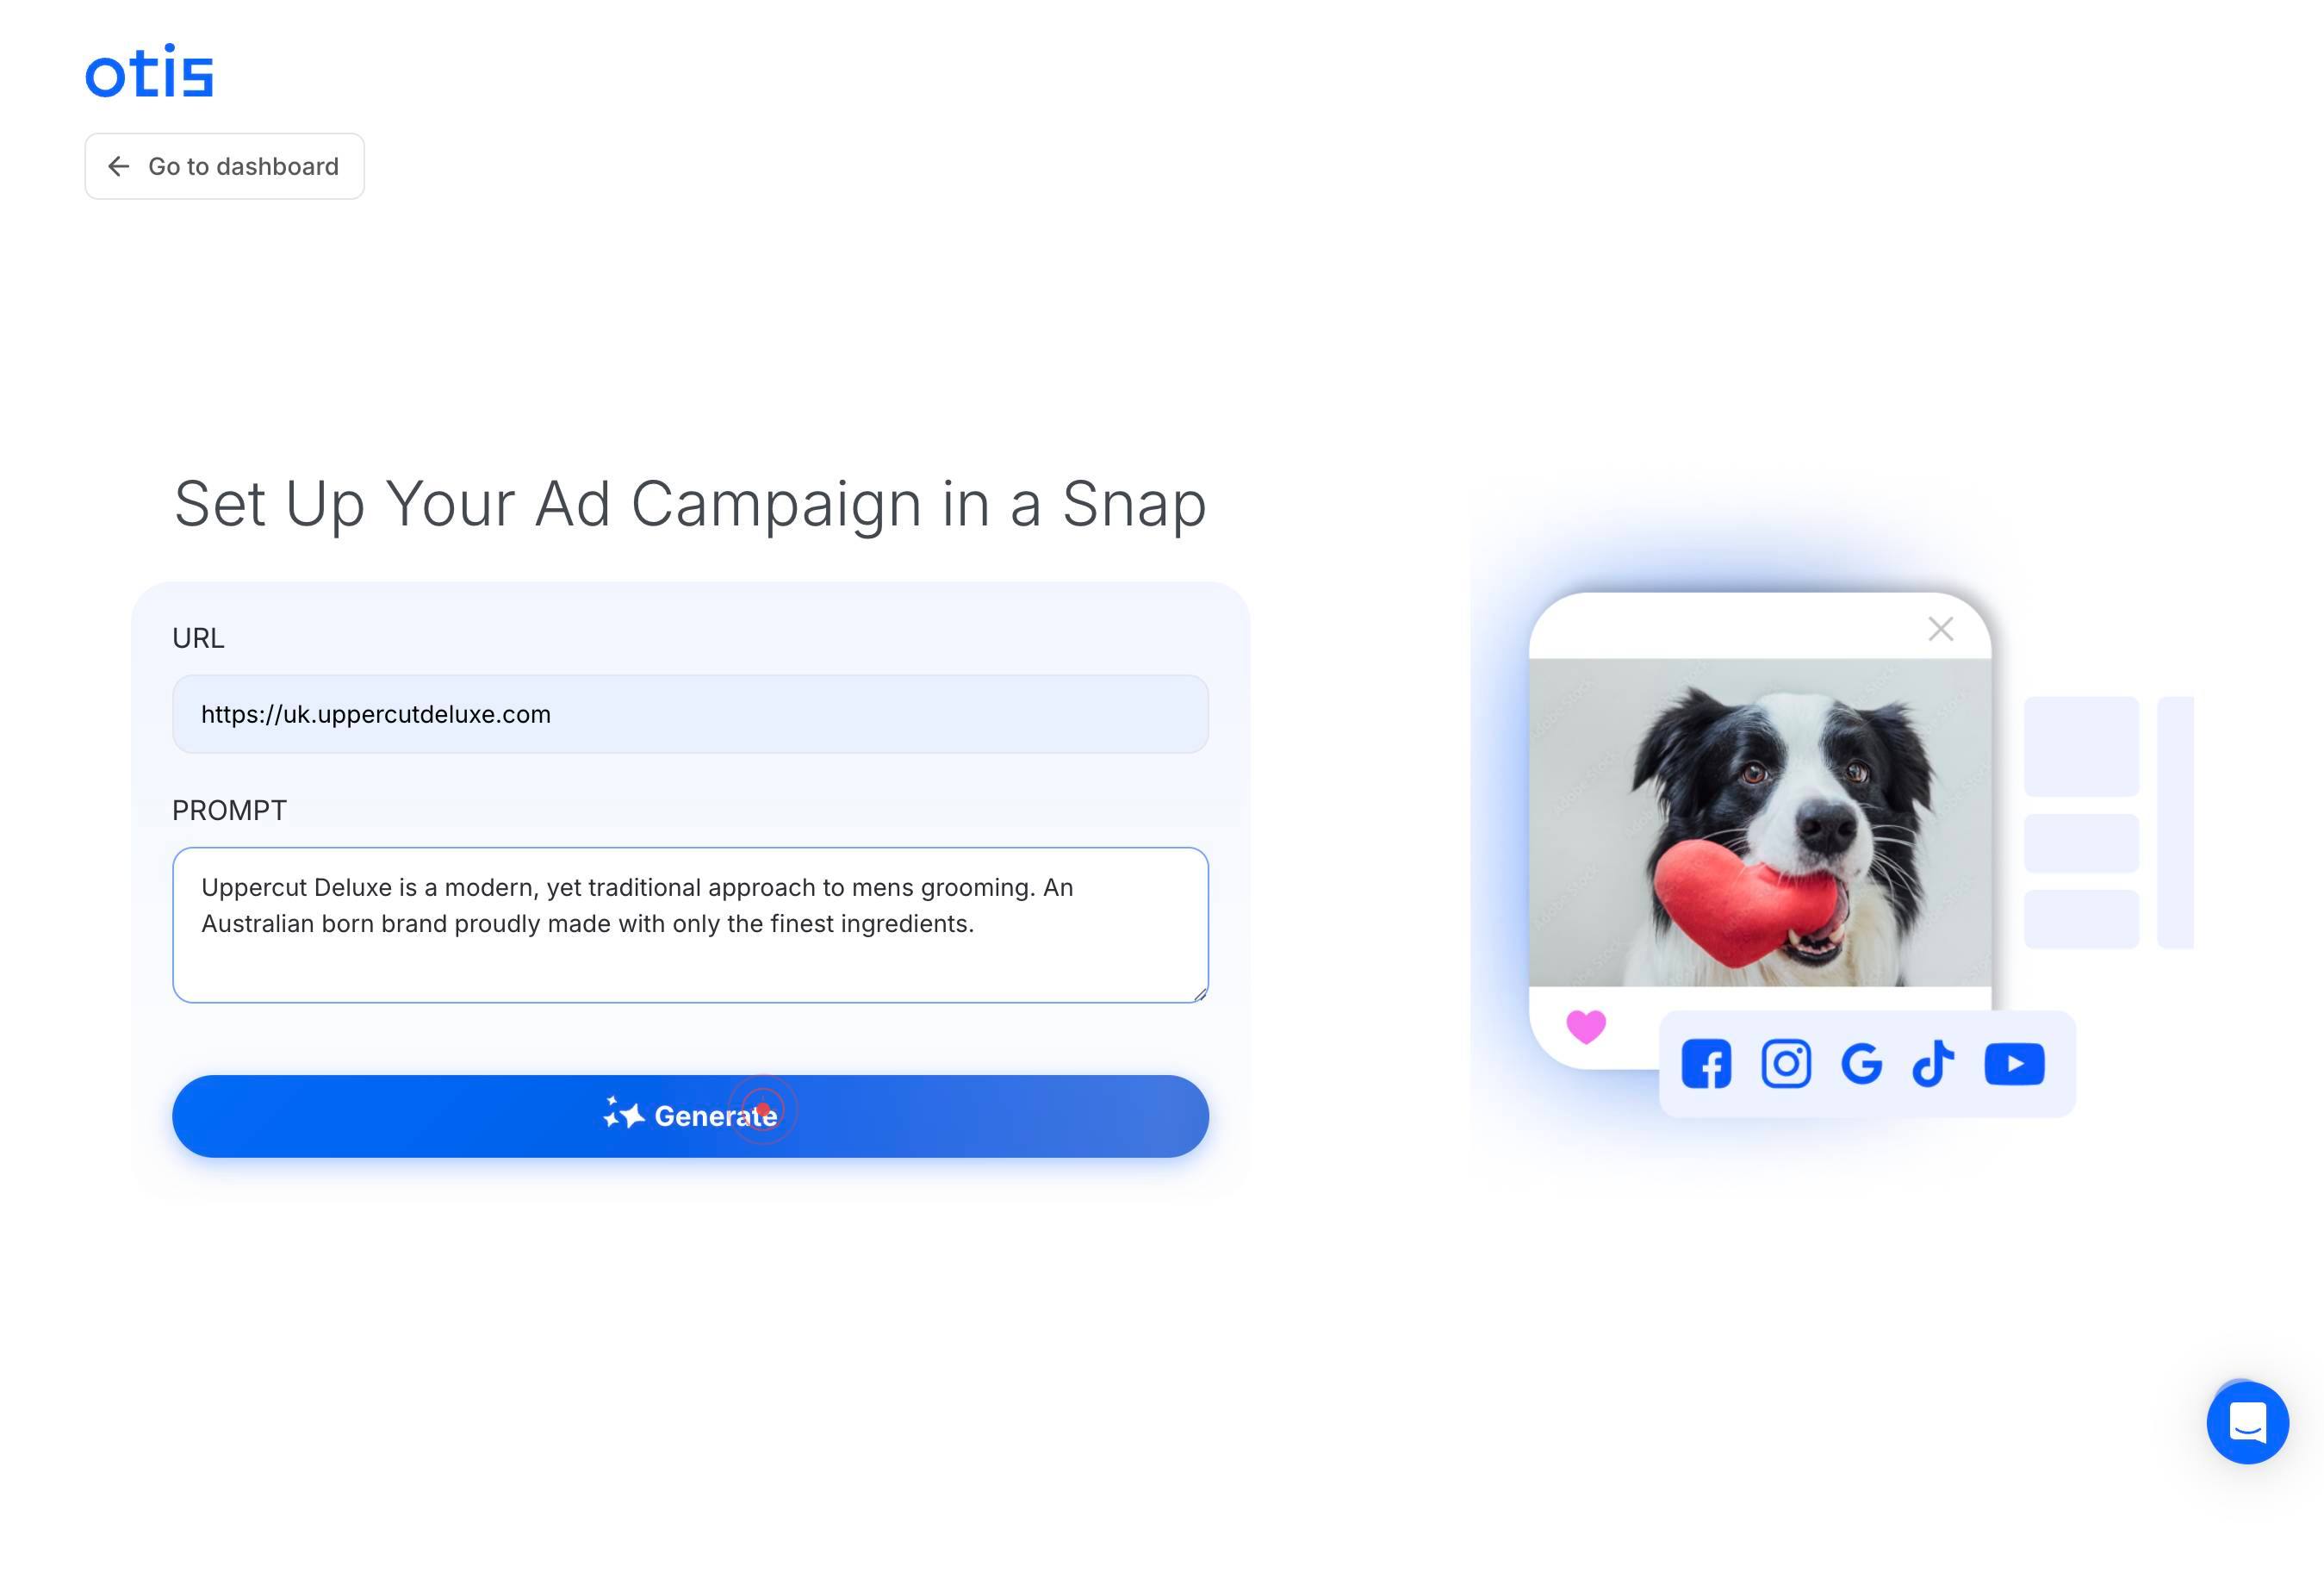
+ Create CampaignBegin the campaign creation process by clicking the '+ Create Campaign' button in the top navigation or main dashboard area. This opens the campaign setup form where you will enter your landing page URL and campaign details.
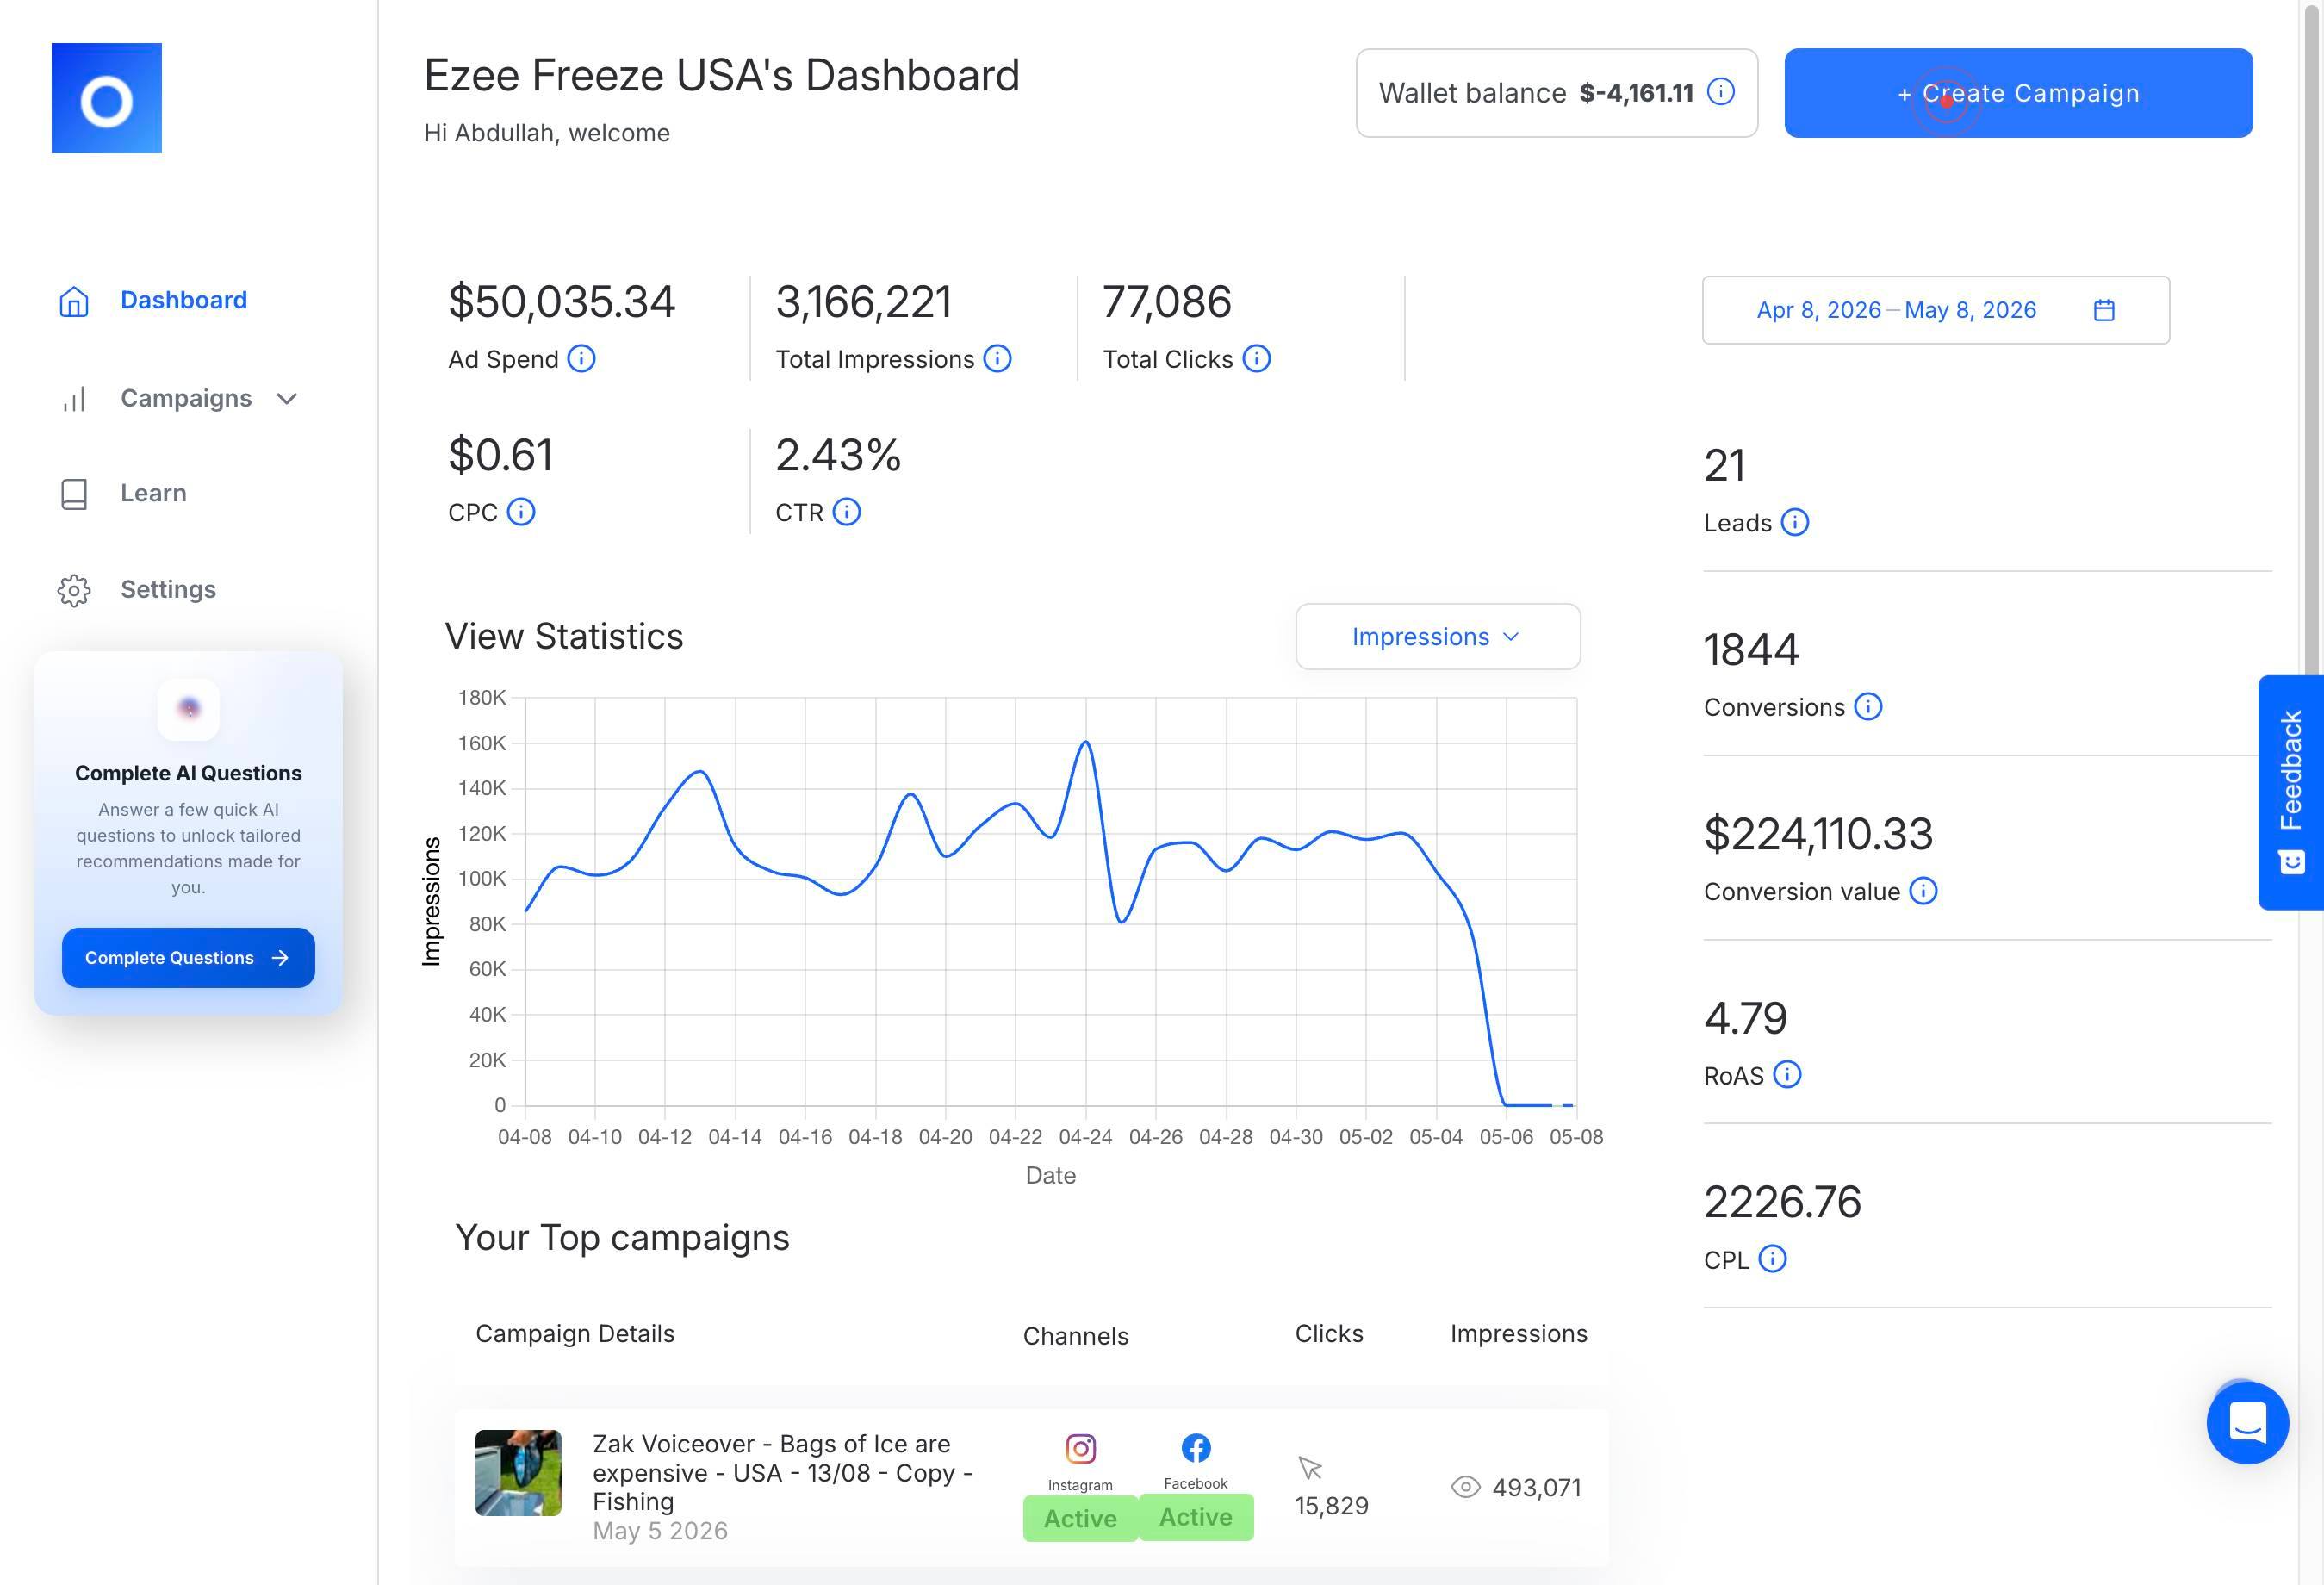
URLClick on the 'URL' text field to focus it and prepare to enter your landing page address.
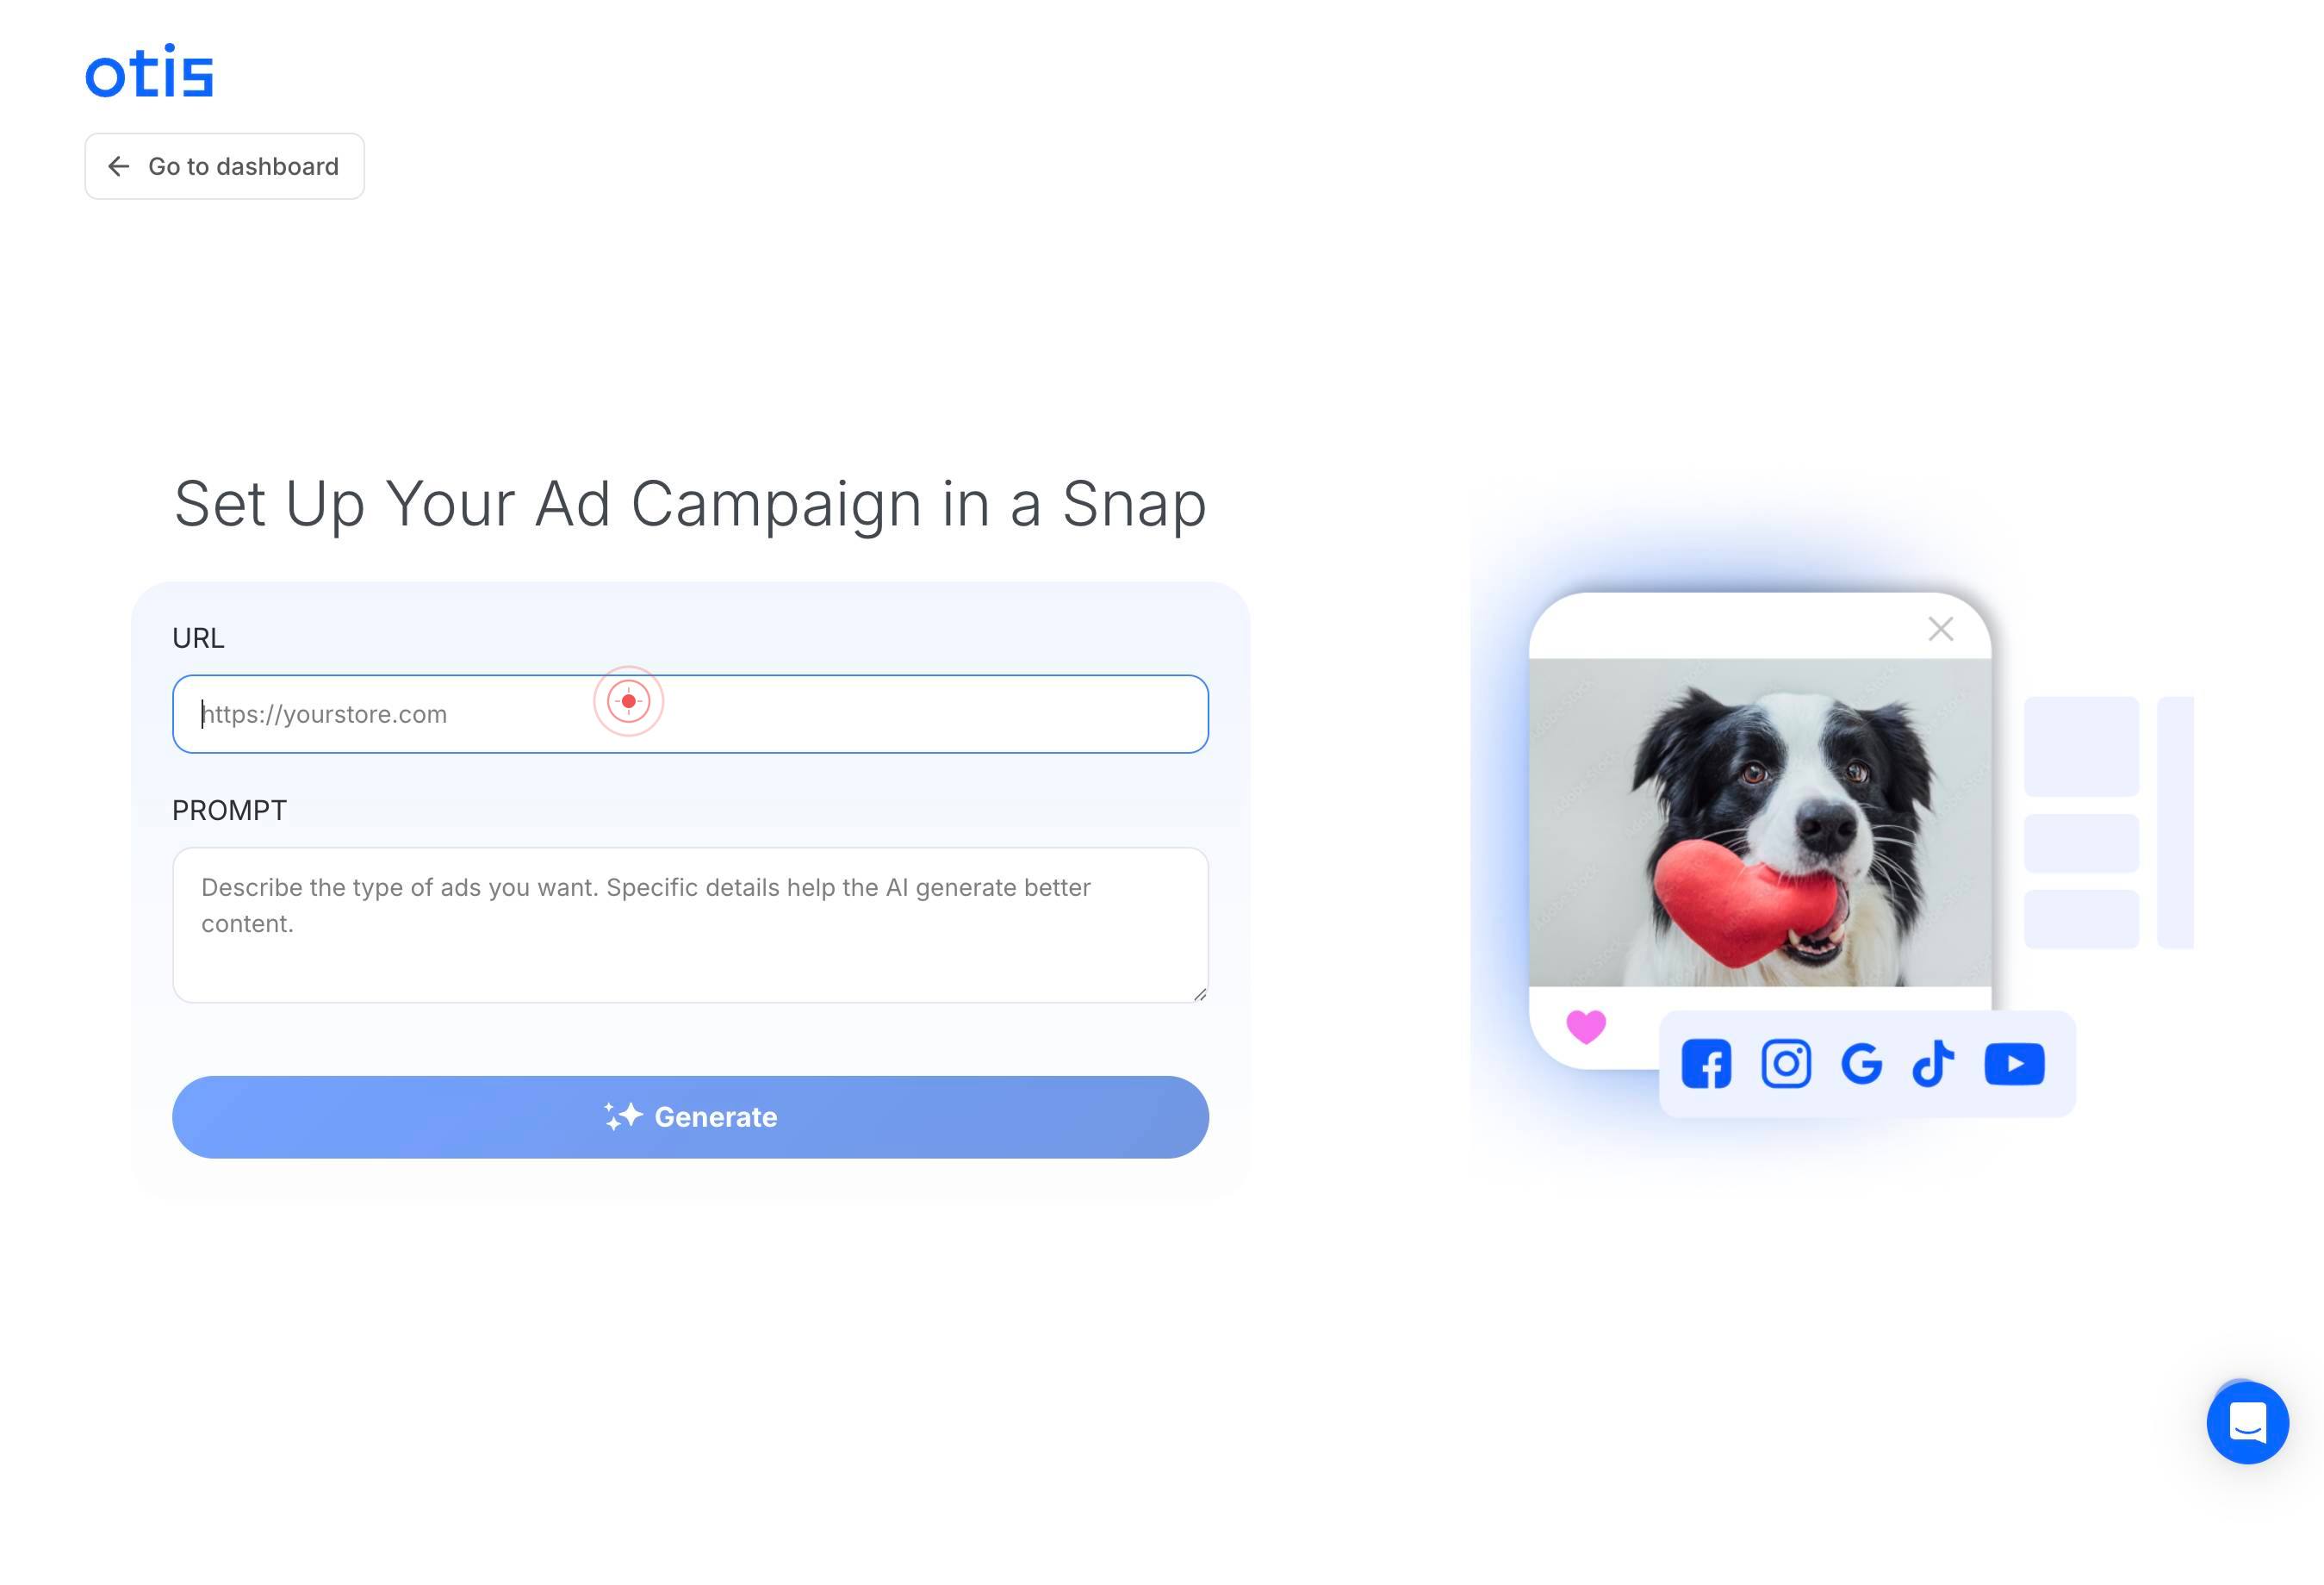
URLType the full URL of the landing page or website you want the campaign to drive traffic to (e.g., https://www.example.com or https://shop.example.com/product). This URL will be the destination when users click your ads.
PROMPTClick on the 'PROMPT' text field to begin entering your ad concept description.
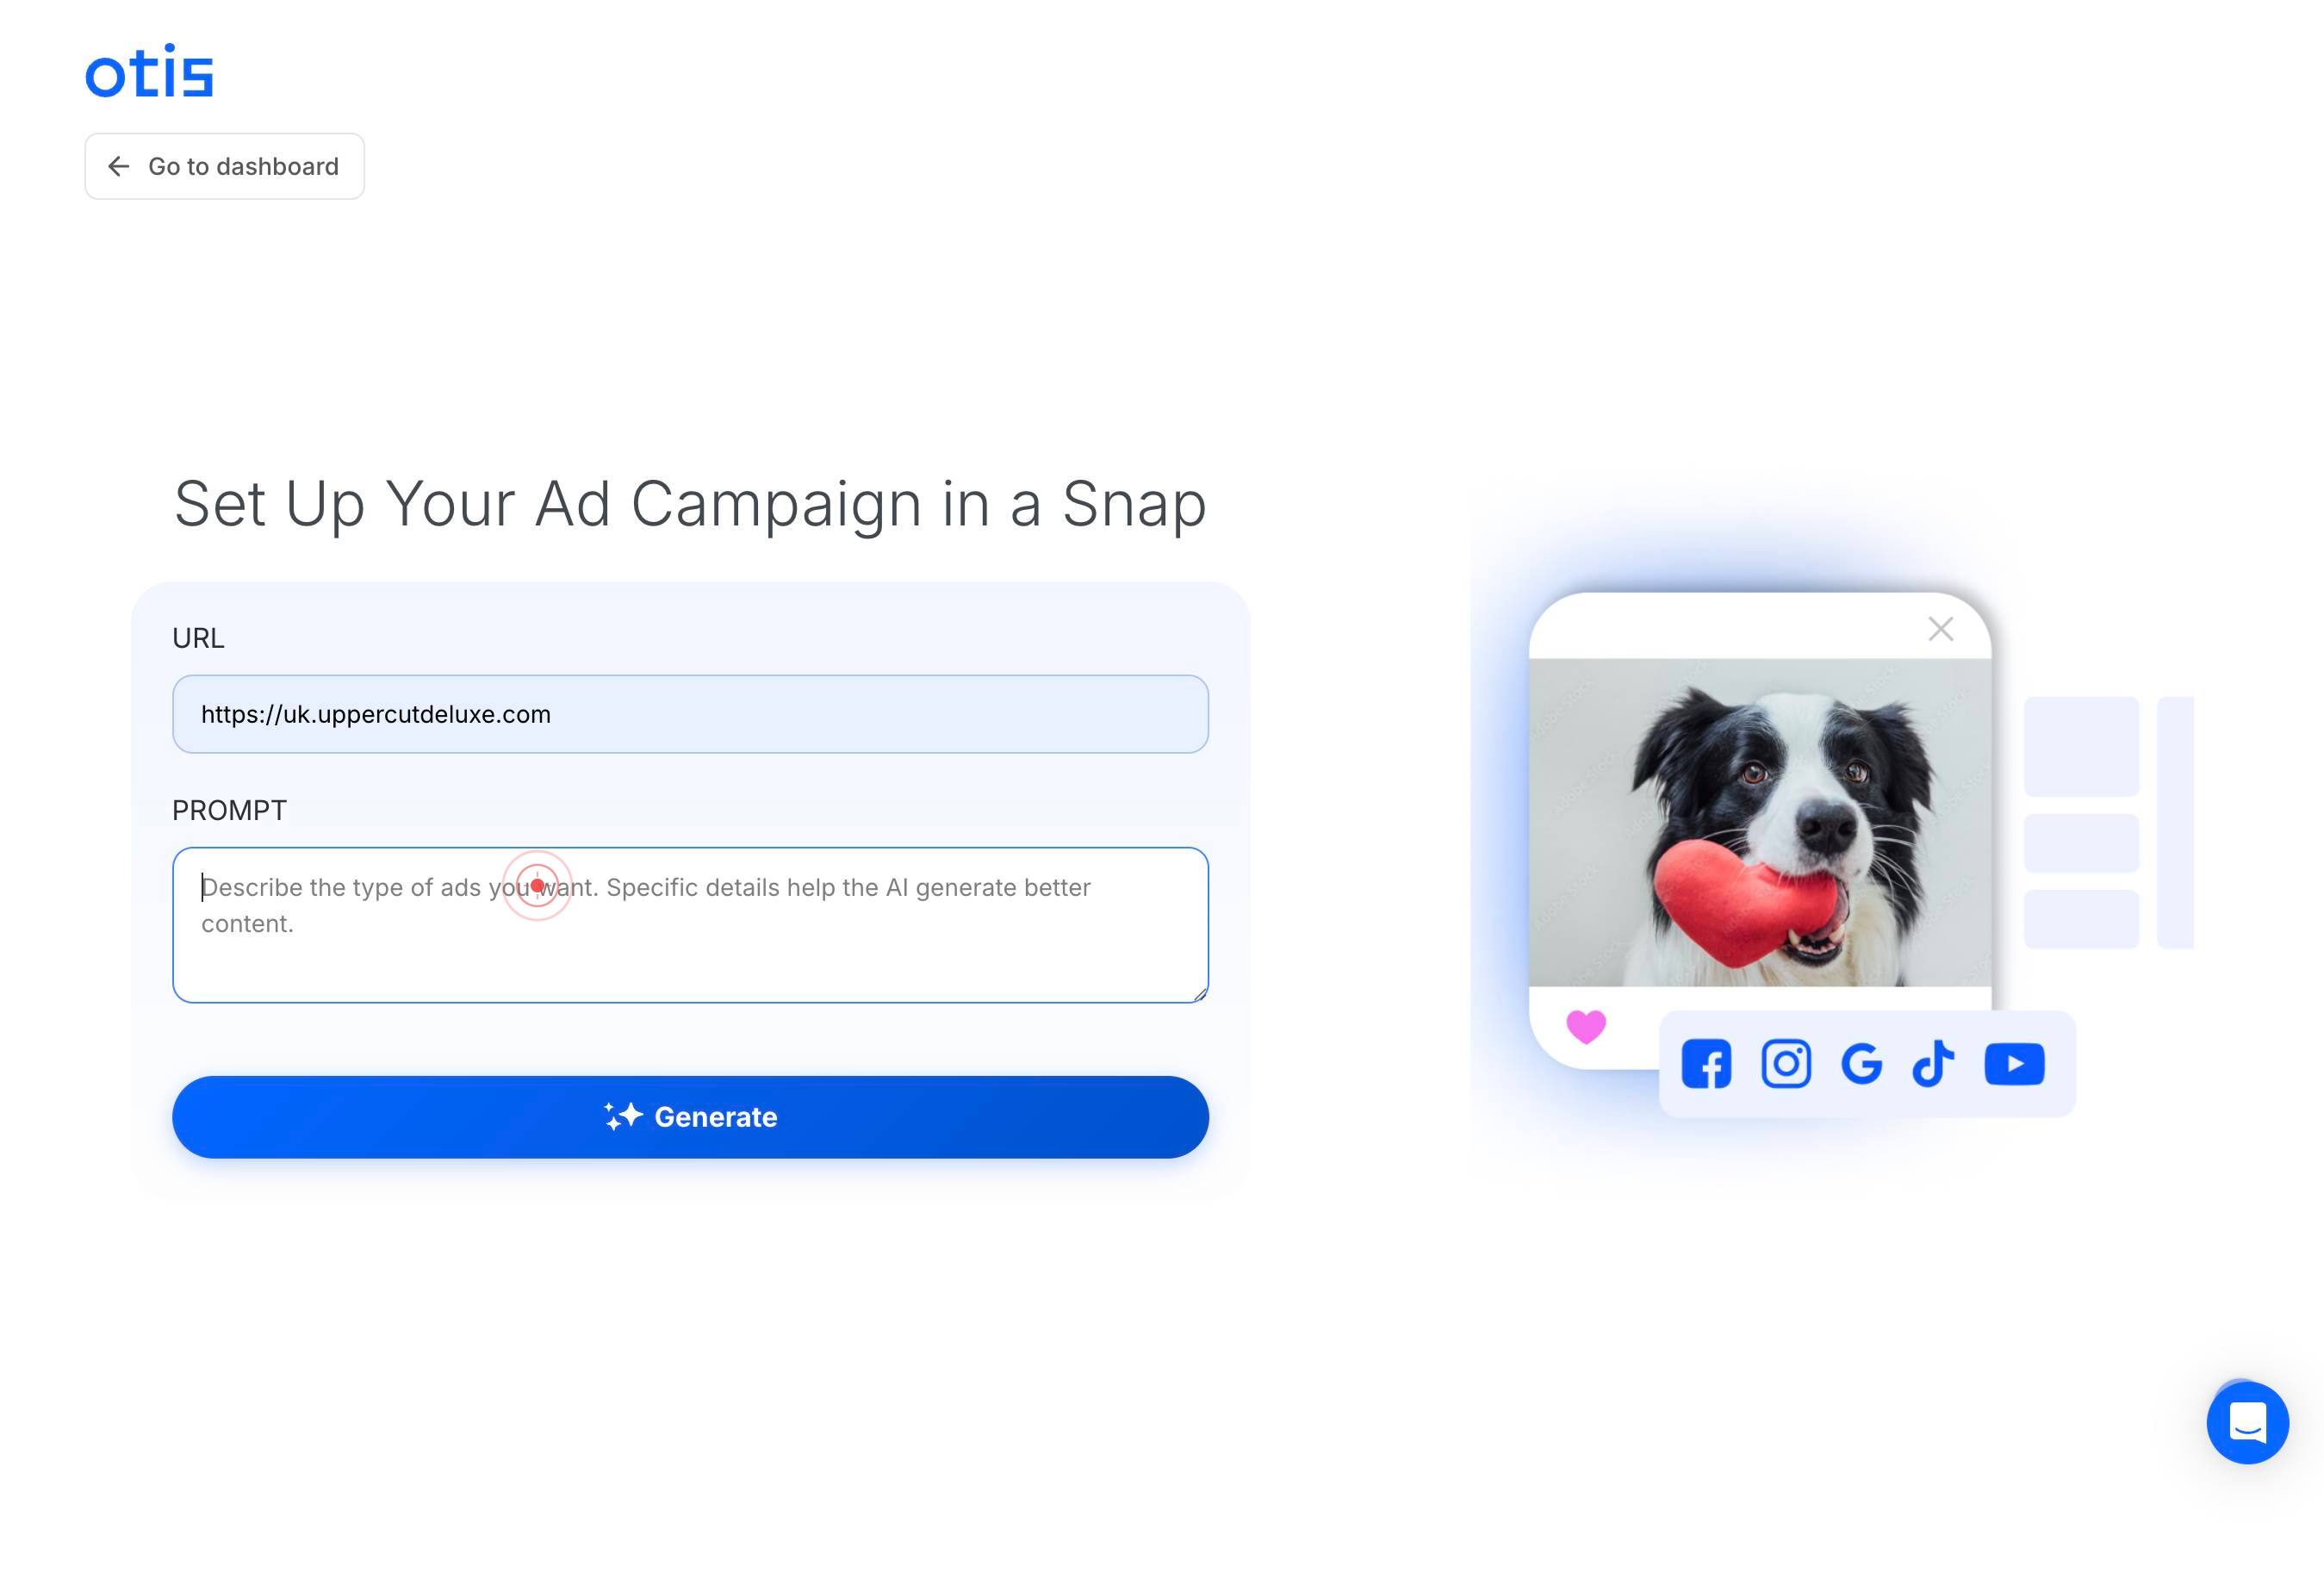
PROMPTType a clear, concise description of your product, service, or offer. This prompt will be used by Meetotis to generate initial ad copy suggestions. Include key selling points, target audience, and the main value proposition (e.g., 'Modern men's grooming products with natural ingredients, premium quality, Australian-made').
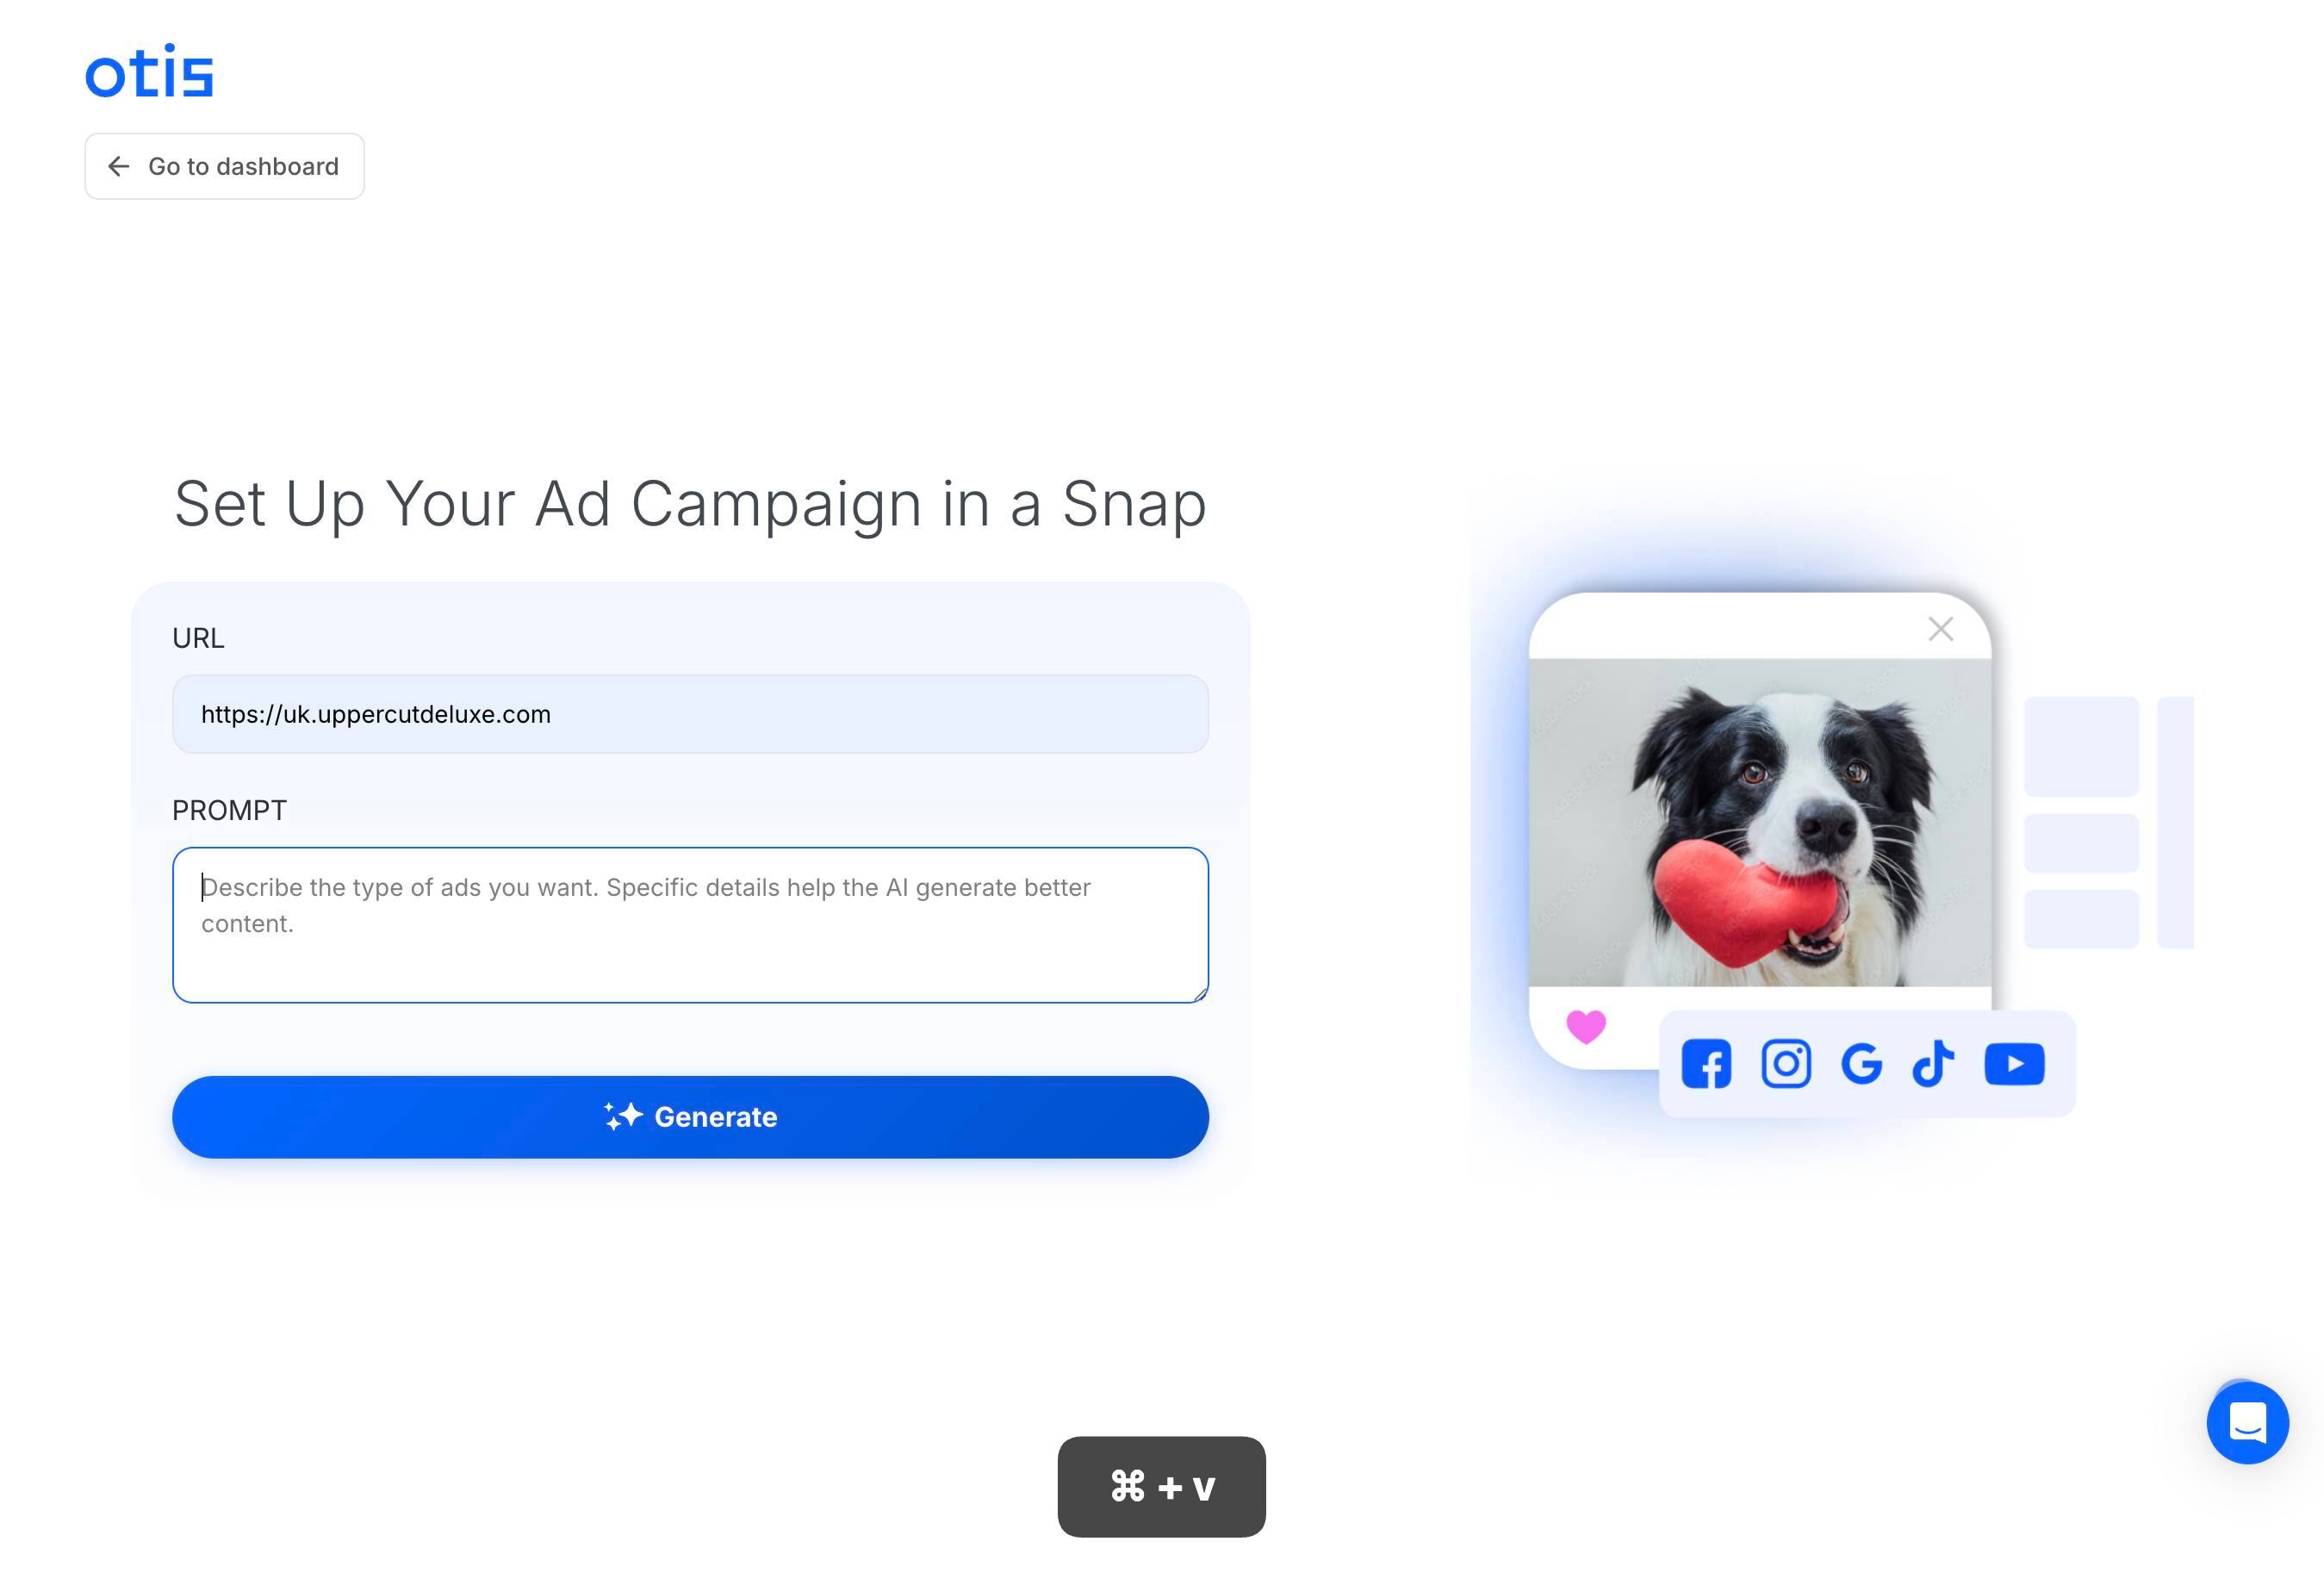
Switch to a different browser tab to gather reference content for your ad prompt (optional but shown in the workflow example). You may navigate to competitor websites, product reviews, or other sources to gather inspiration or copy.
Navigate to an external website (such as Google Search results or product review sites) to find reference text or inspiration for your ad copy.
1 day ago — Uppercut Deluxe is a modern, yet traditional approach to mens grooming. An Australian born brand proudly made with only the finest ingredients.Read moreSelect and review relevant content from the external source (such as a product description or review snippet) that you want to incorporate into your campaign prompt.

Copy the selected text to your clipboard using Cmd+C (Mac) or Ctrl+C (Windows).

Return to the Meetotis.com tab to continue building your campaign.
PROMPTWith the PROMPT text field active, add the copied text from your external source by typing or pasting additional details to enhance your ad concept description.
Paste the previously copied text into the PROMPT field using Cmd+V (Mac) or Ctrl+V (Windows), appending it to your campaign concept description.
GenerateClick the 'Generate' button to trigger Meetotis's AI to produce initial ad copy and creative suggestions based on your URL and prompt. This may take a few seconds to process.
Facebook Sign In requiredReview and select social platform authentication by clicking on 'Facebook Sign In required'. This allows Meetotis to verify your Facebook account for campaign delivery and targeting.
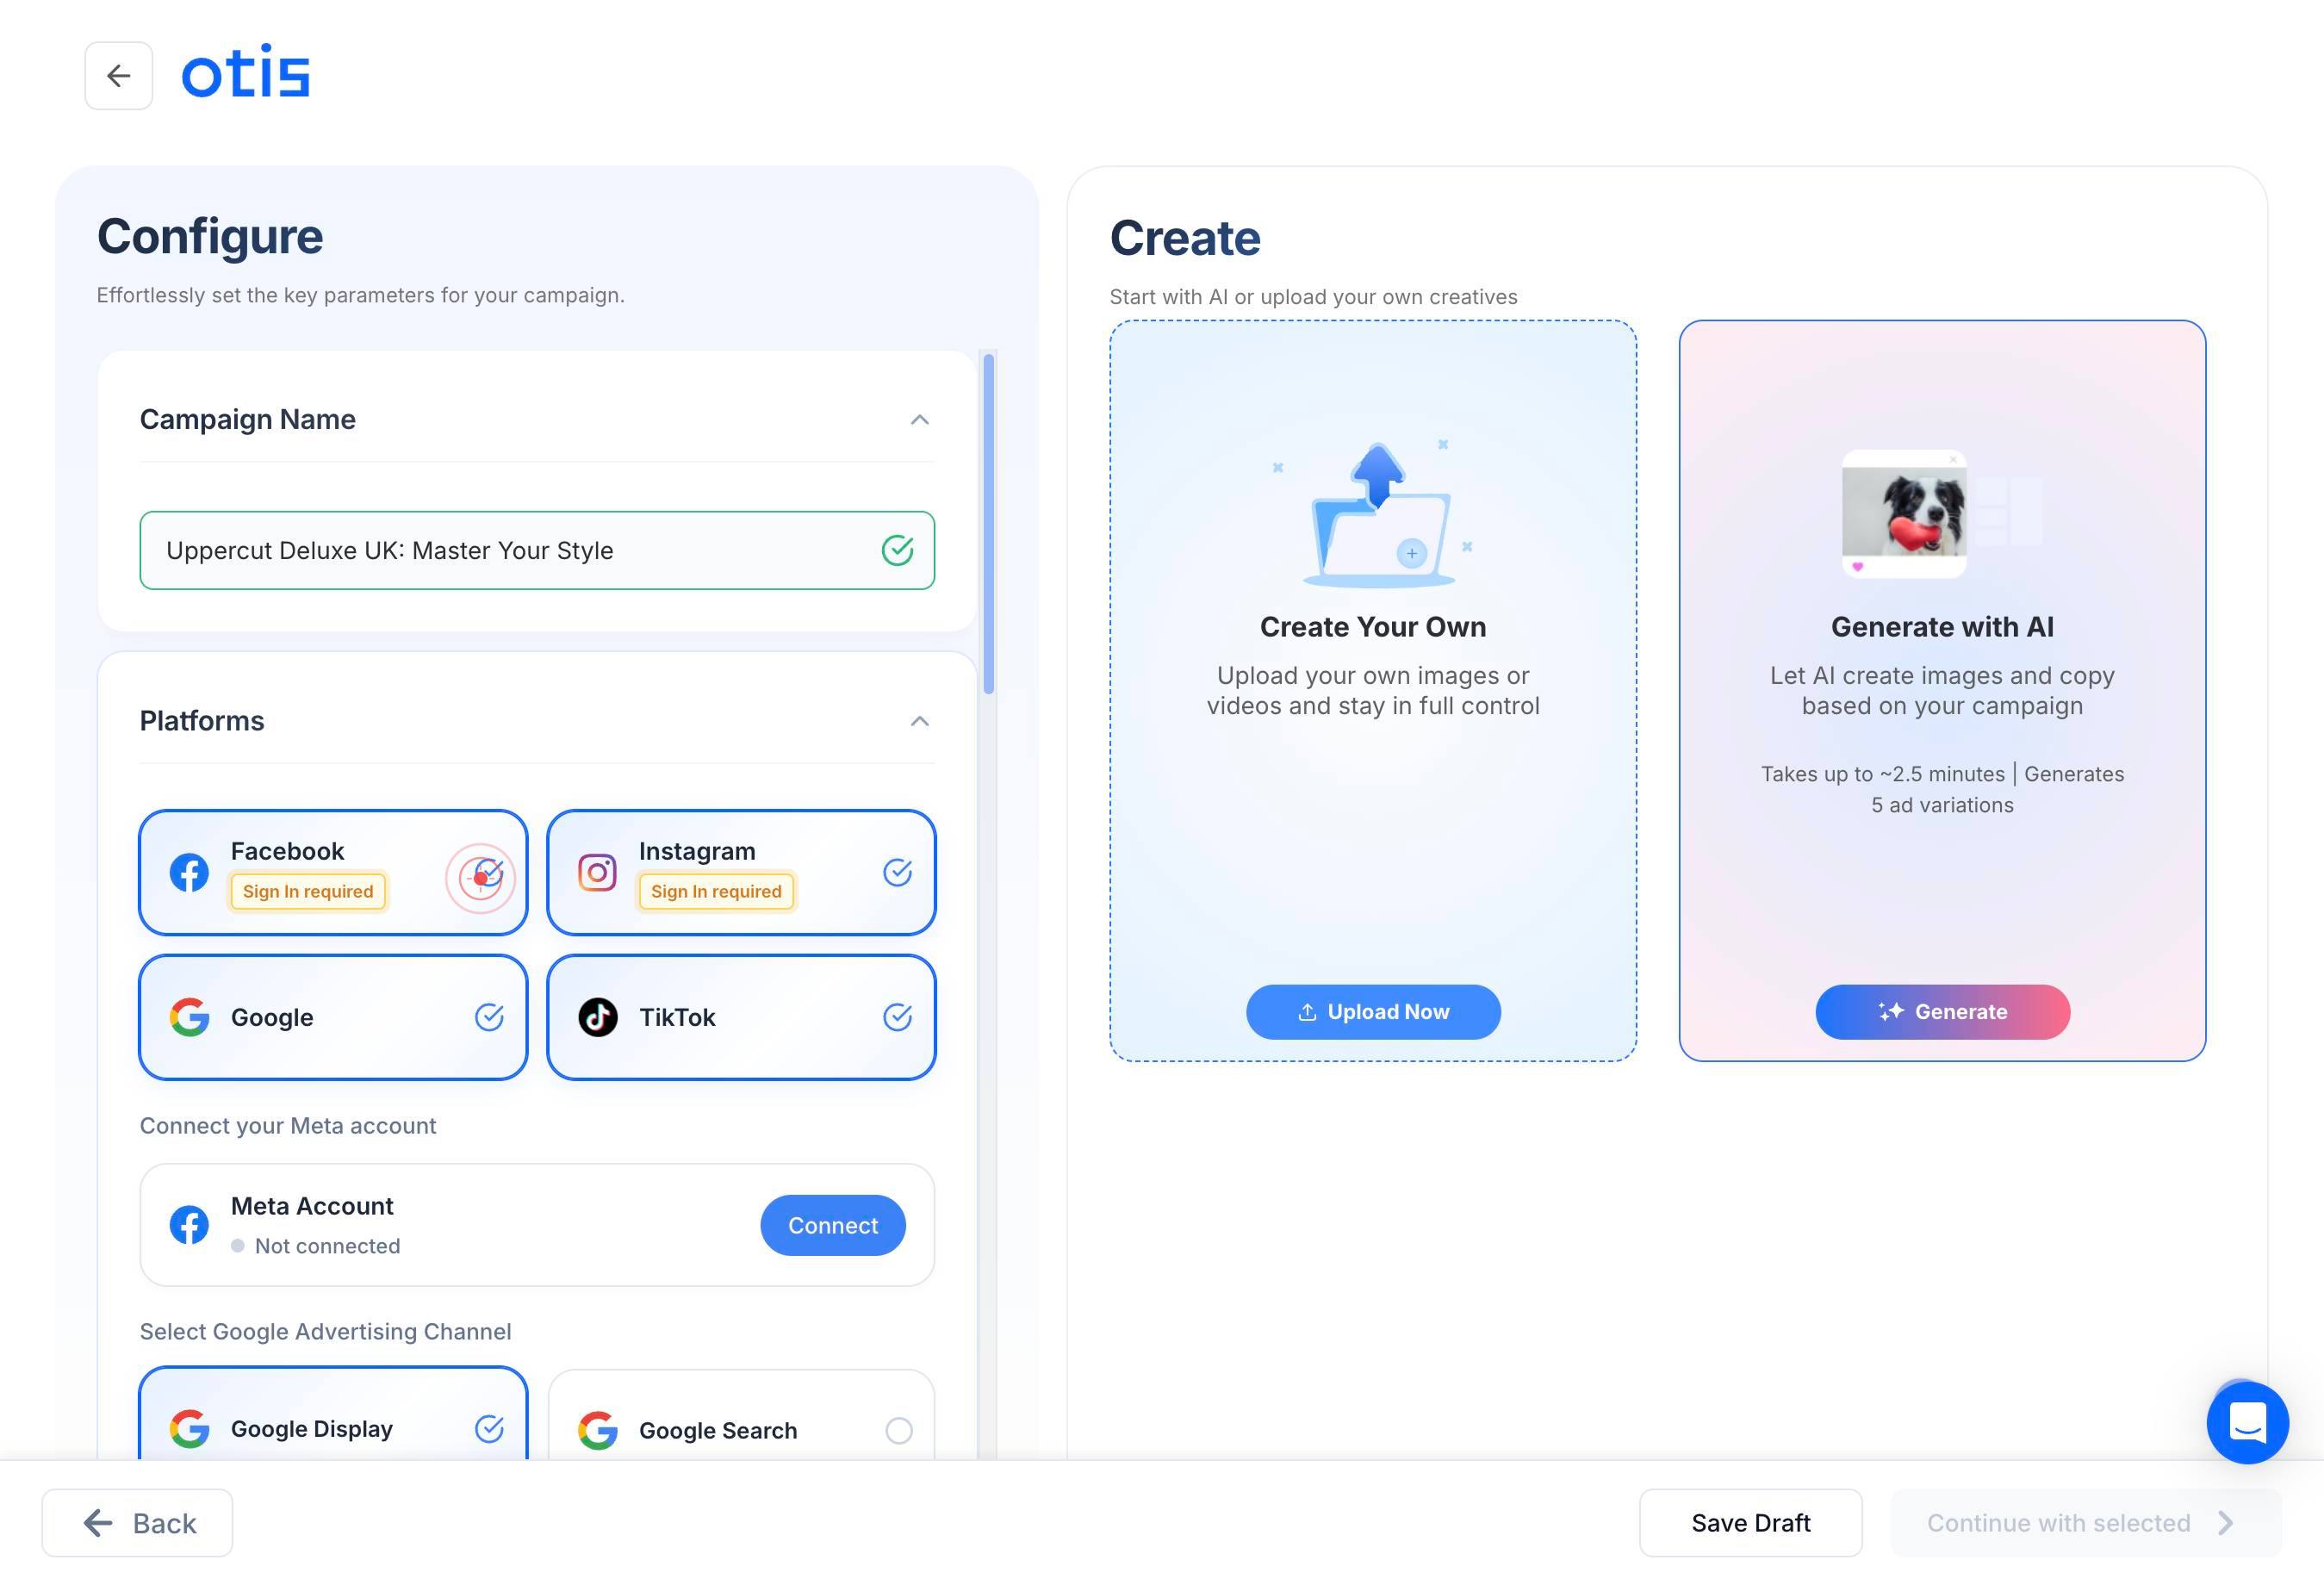
Instagram Sign In requiredClick on 'Instagram Sign In required' to authenticate your Instagram account. This enables you to run ads on Instagram as part of your multi-channel campaign.
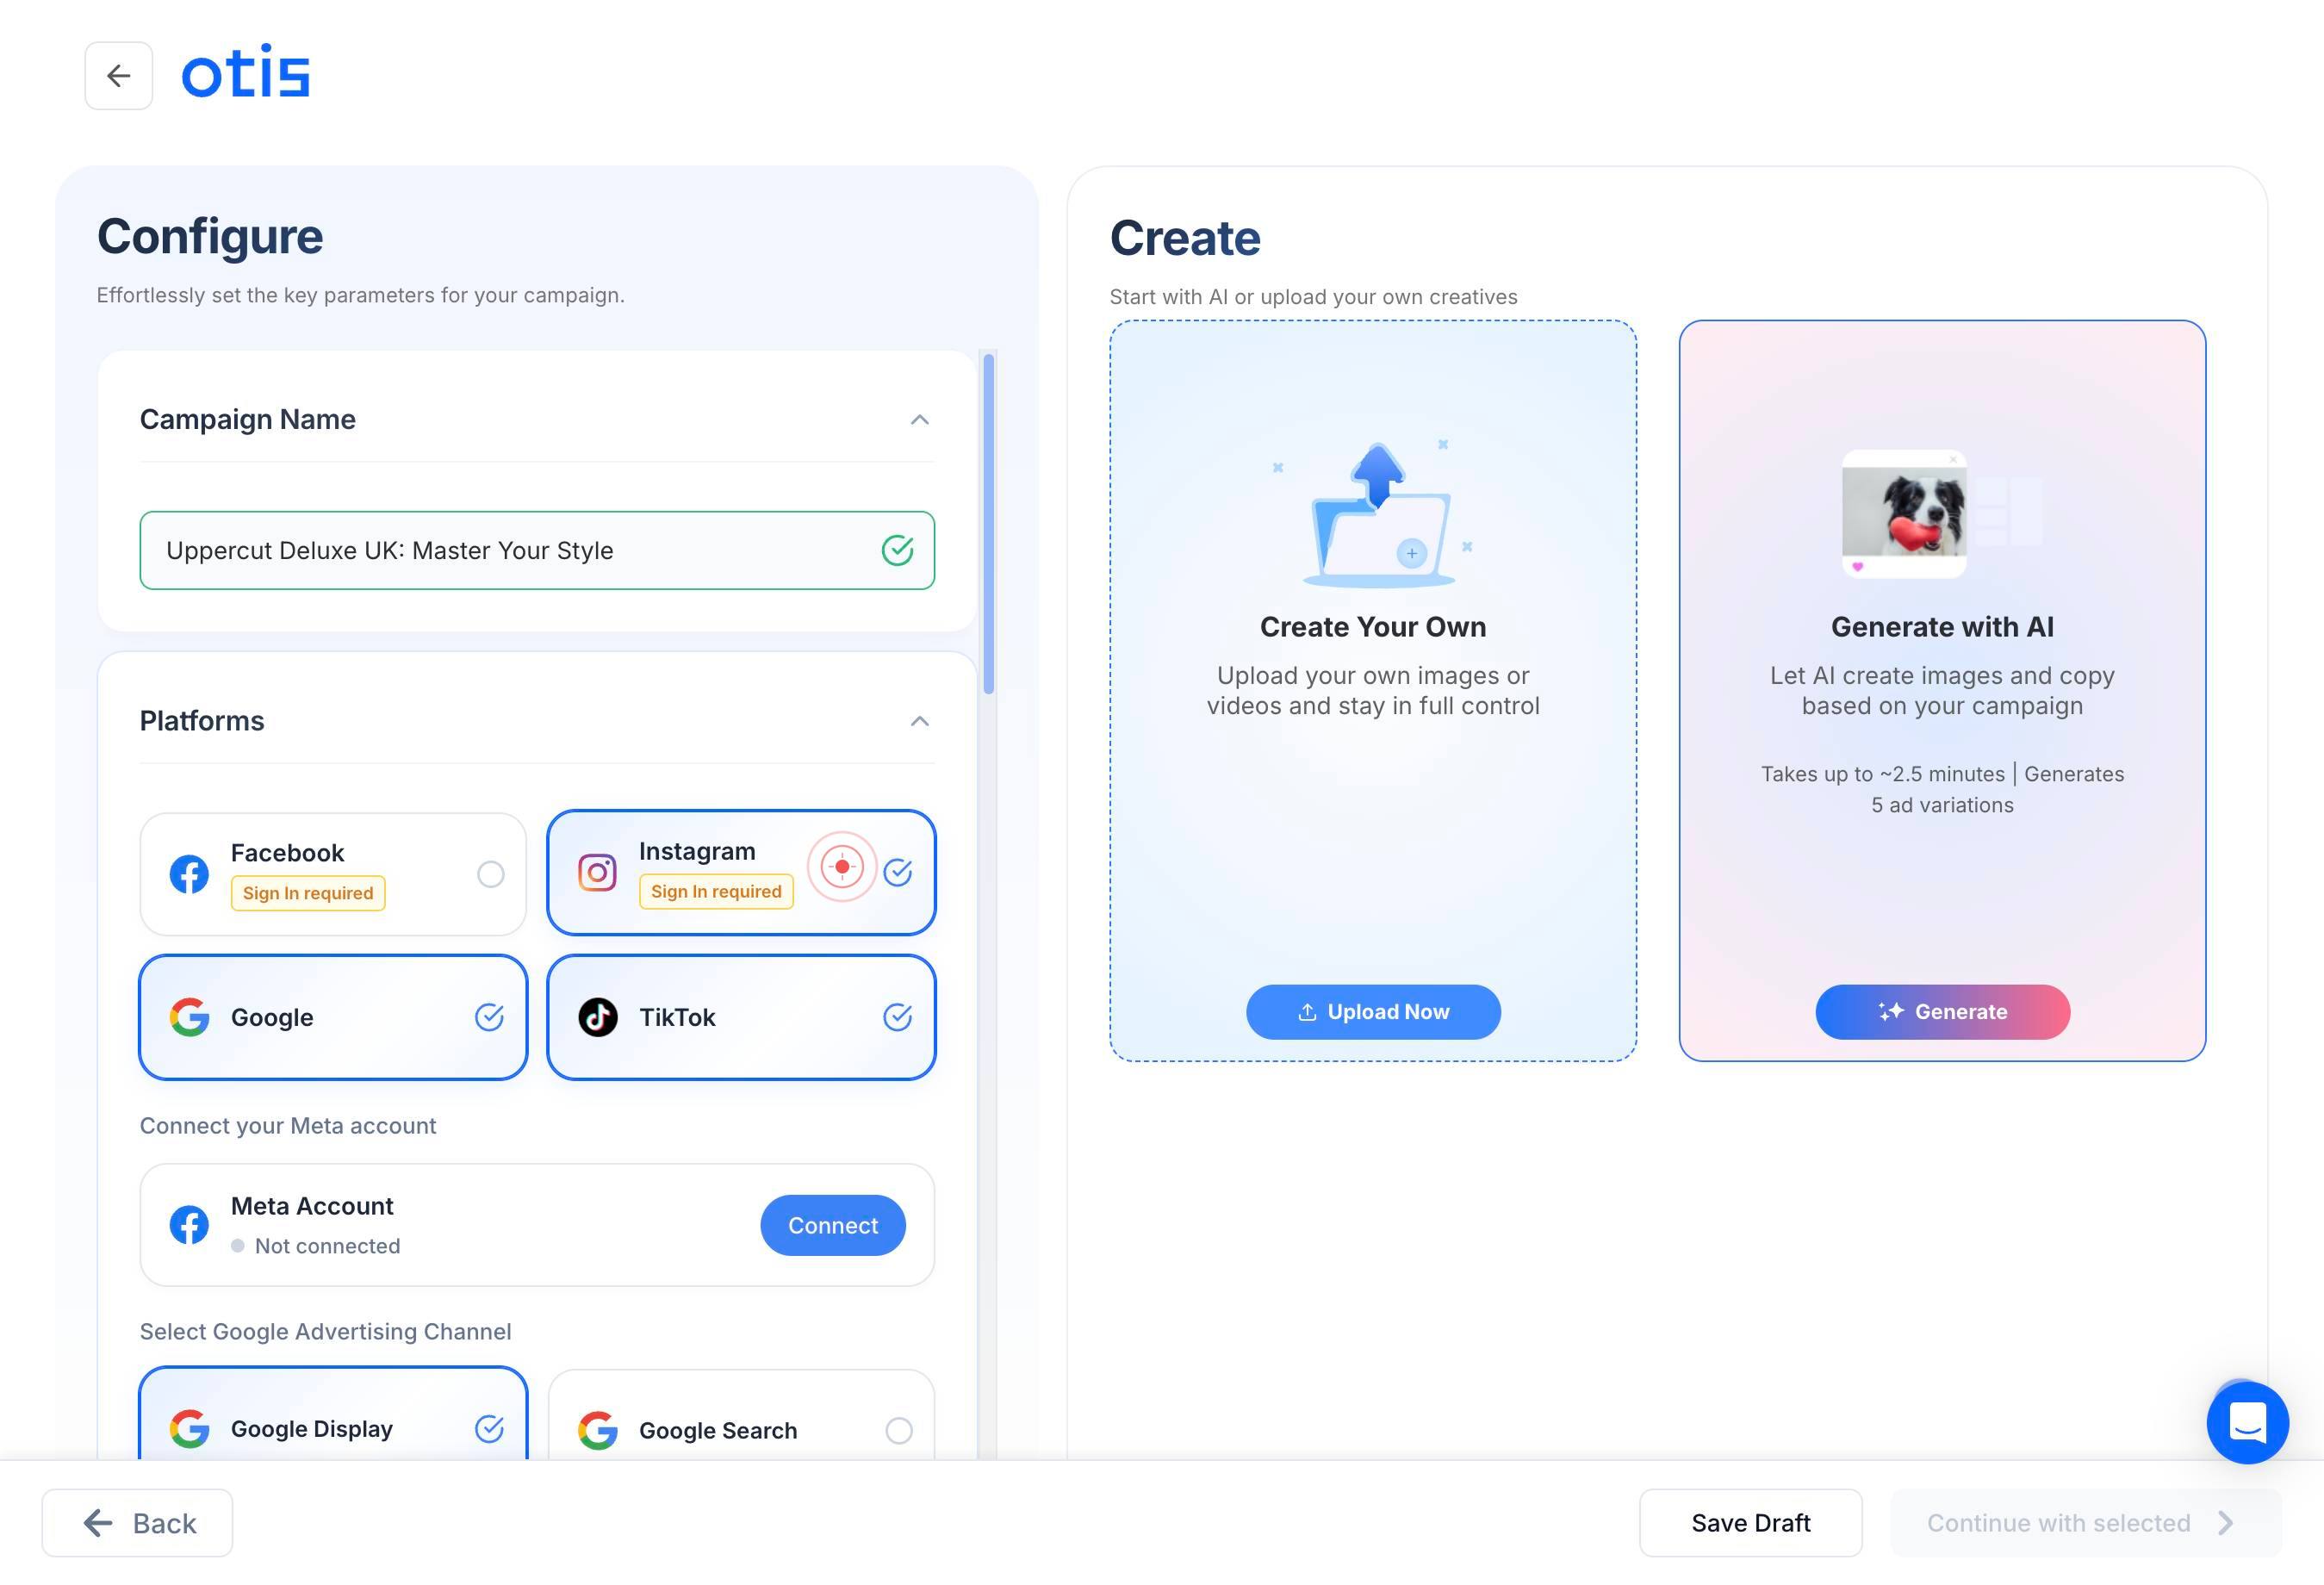
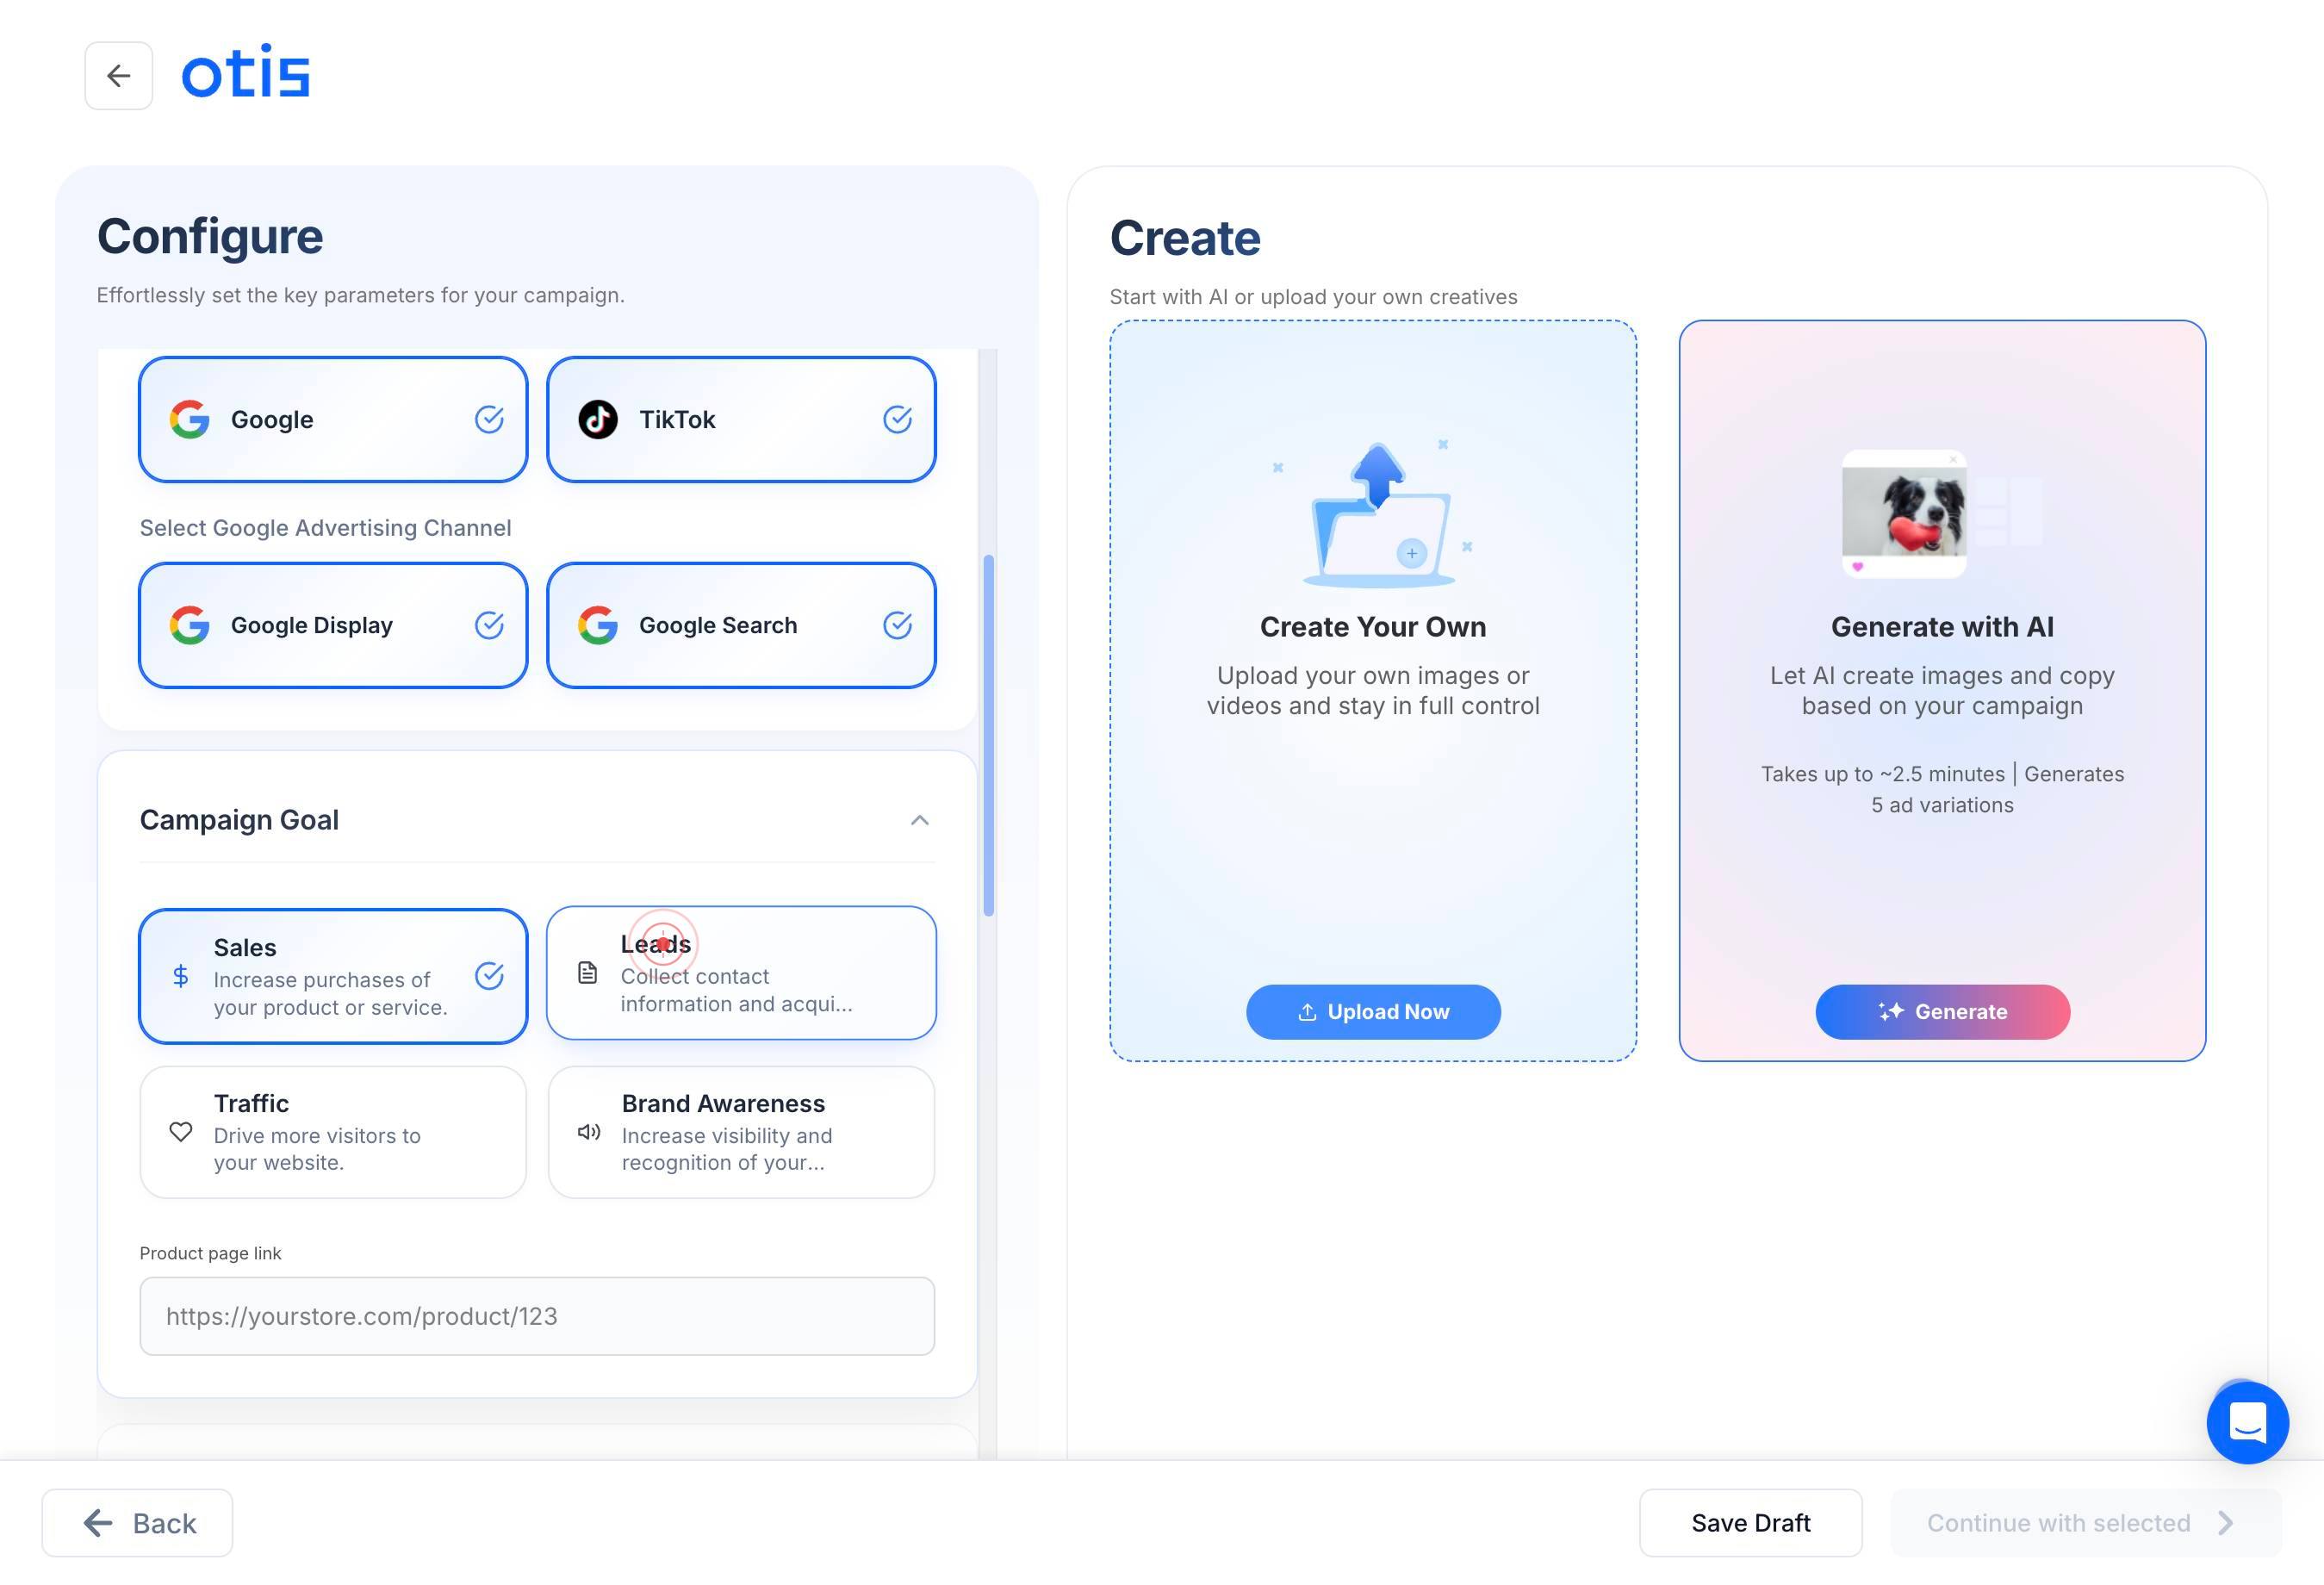
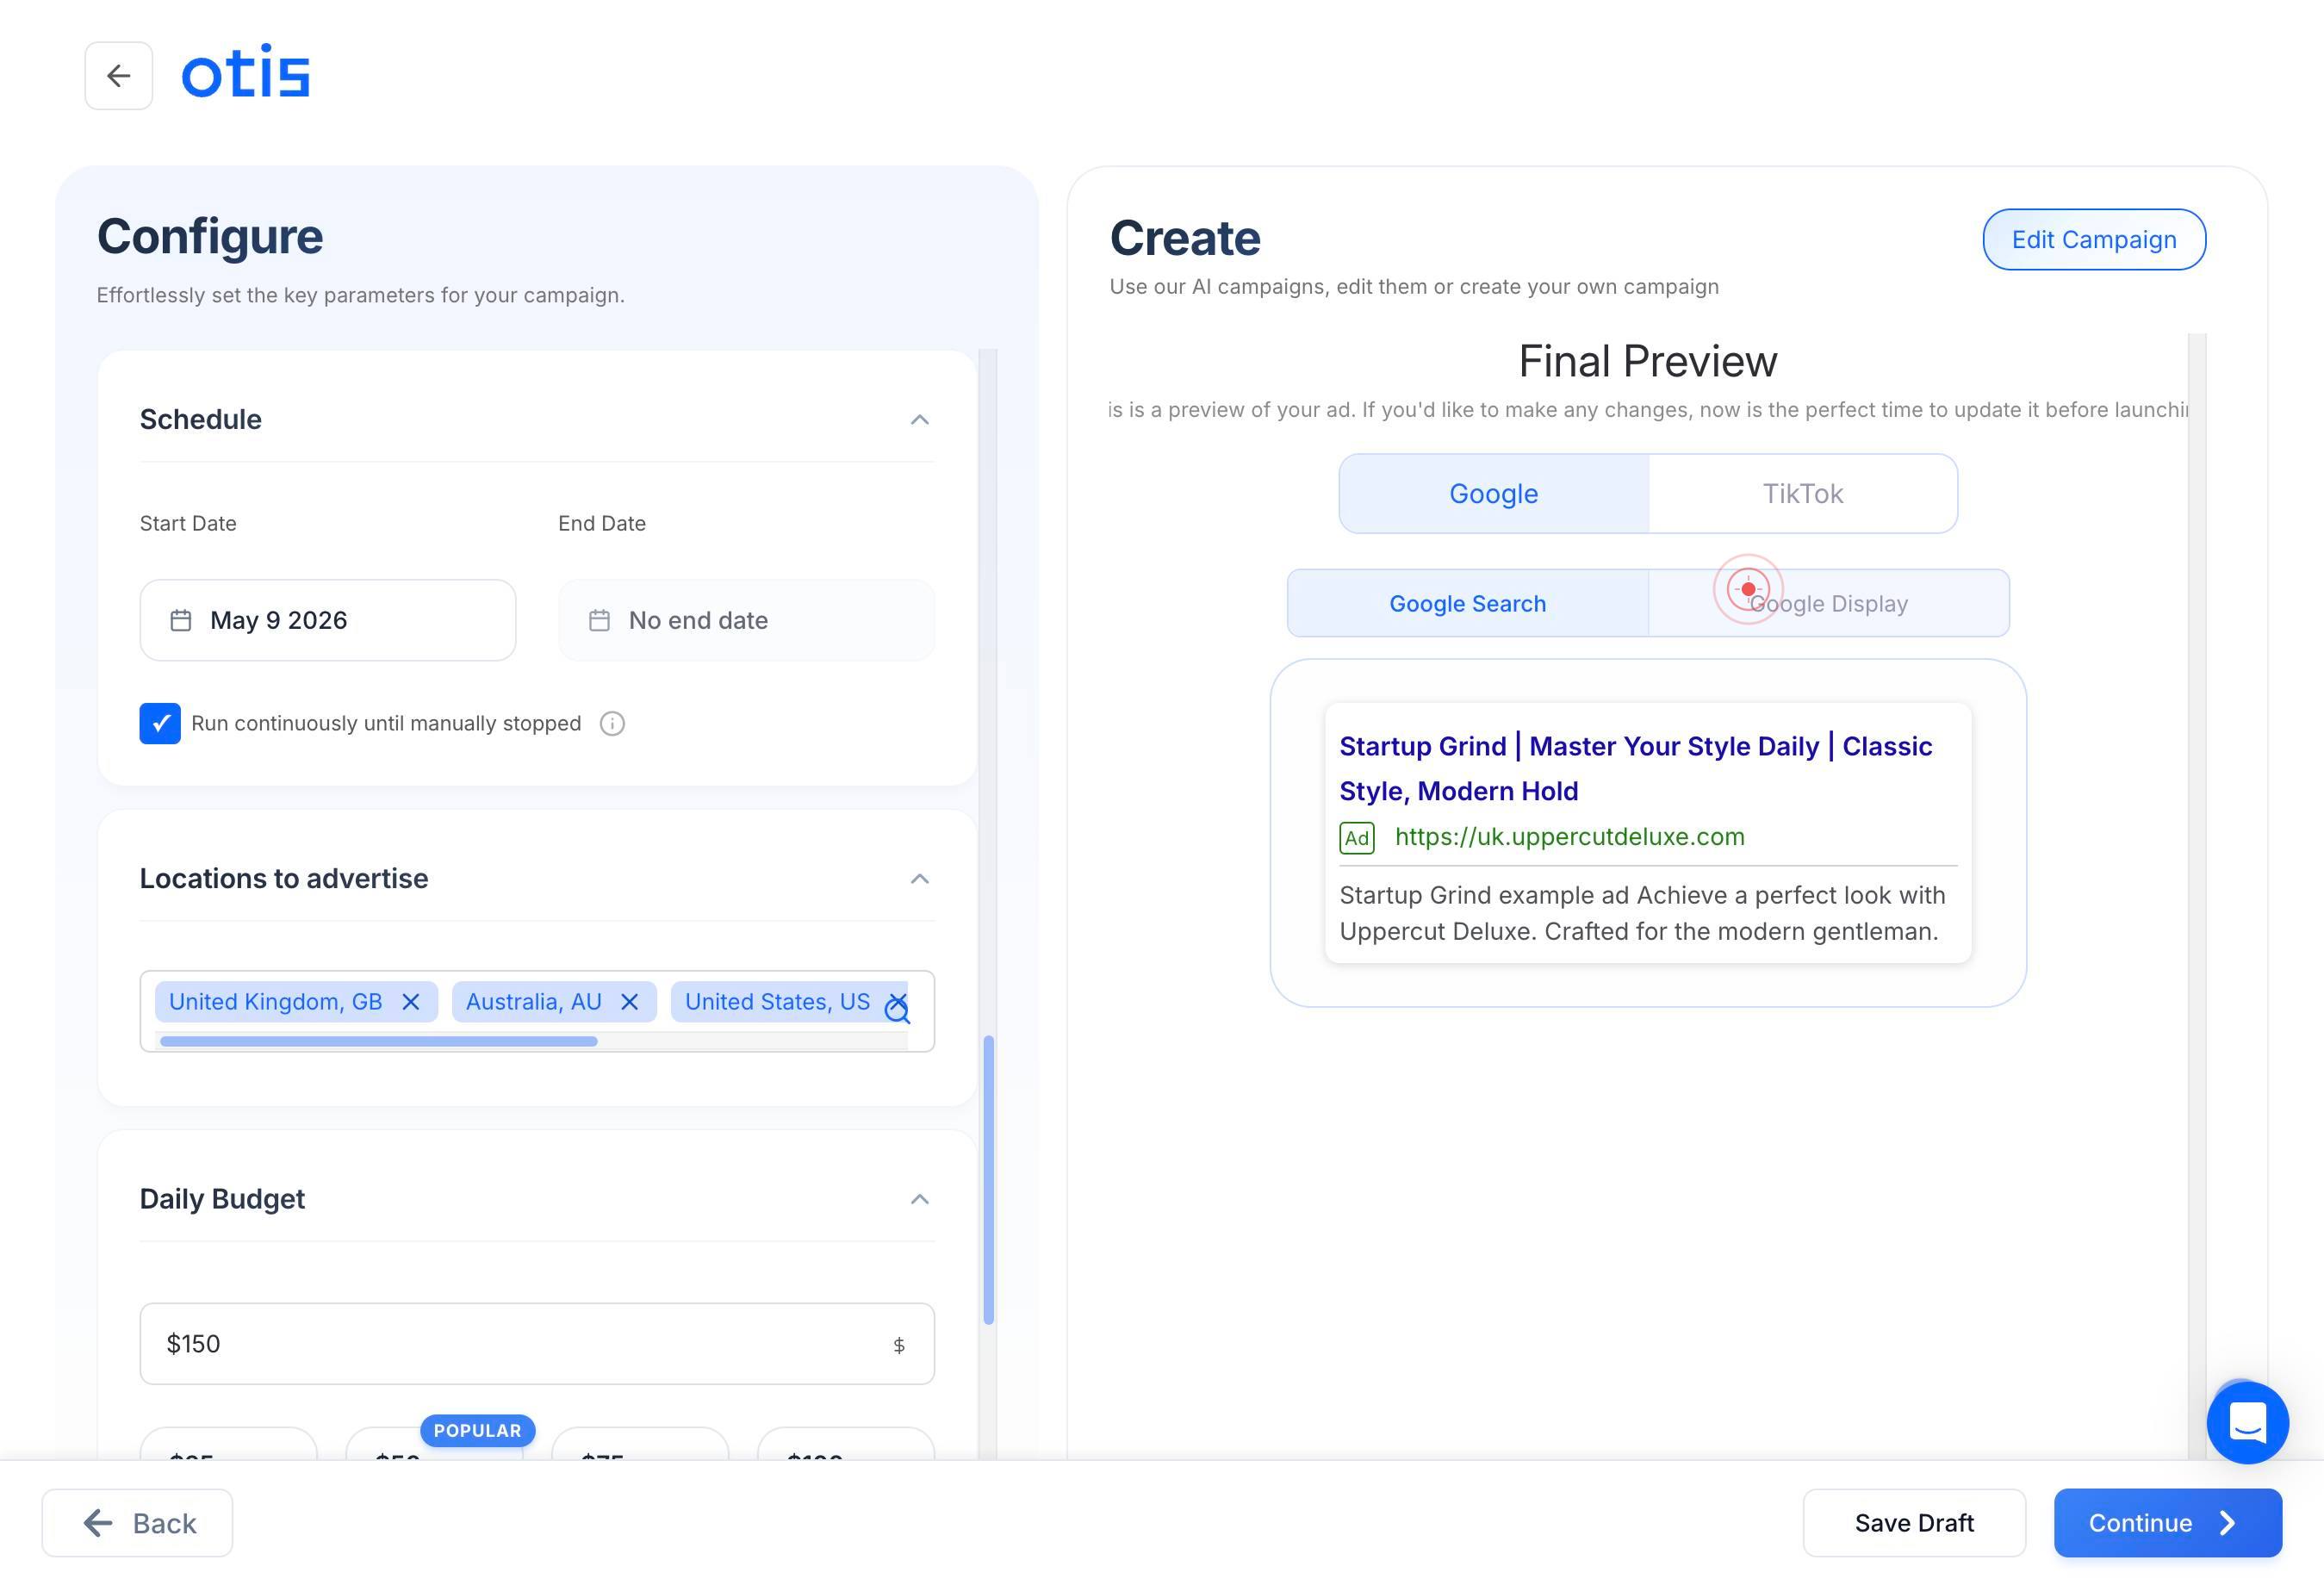
Google SearchSelect 'Google Search' as one of your advertising channels by clicking on it. This option allows your ads to appear in Google Search results when users search for relevant keywords.

LeadsClick on 'Leads' to specify your campaign objective. Select this option if your primary goal is to collect contact information (names, emails, phone numbers) from interested users.
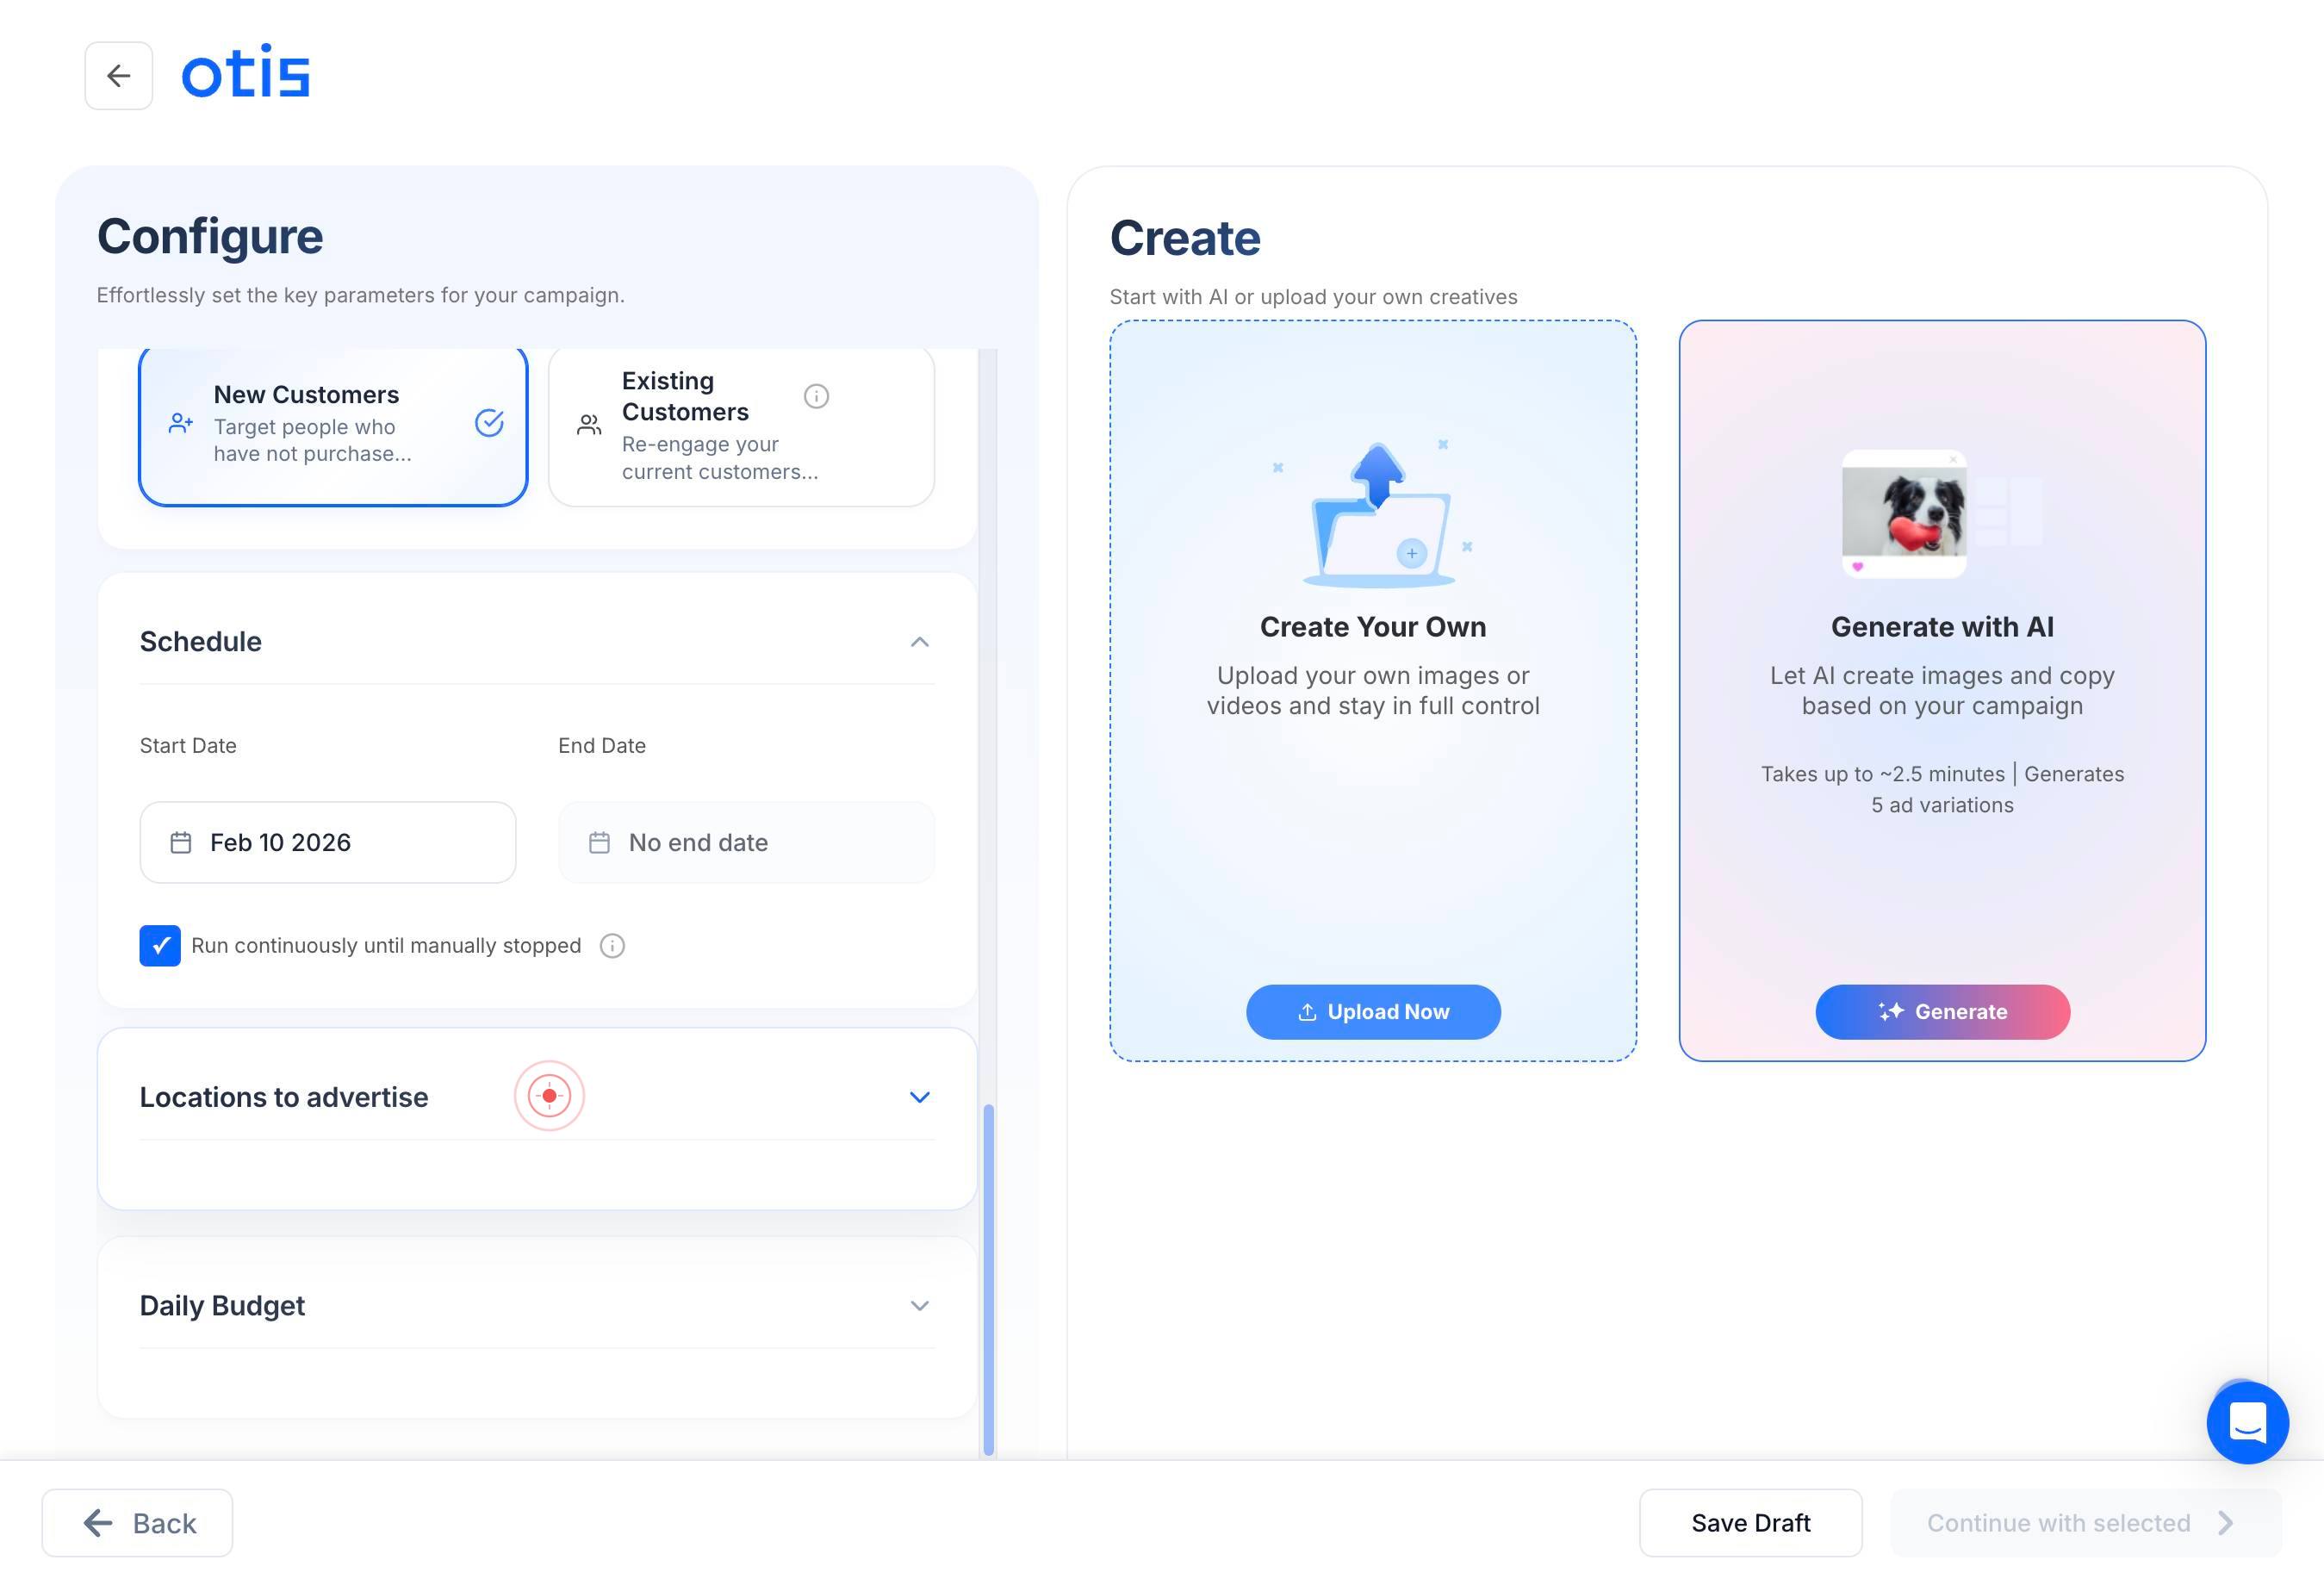
ScheduleClick on 'Schedule' to set your campaign launch date and time. This determines when your ads will start running across your selected platforms.
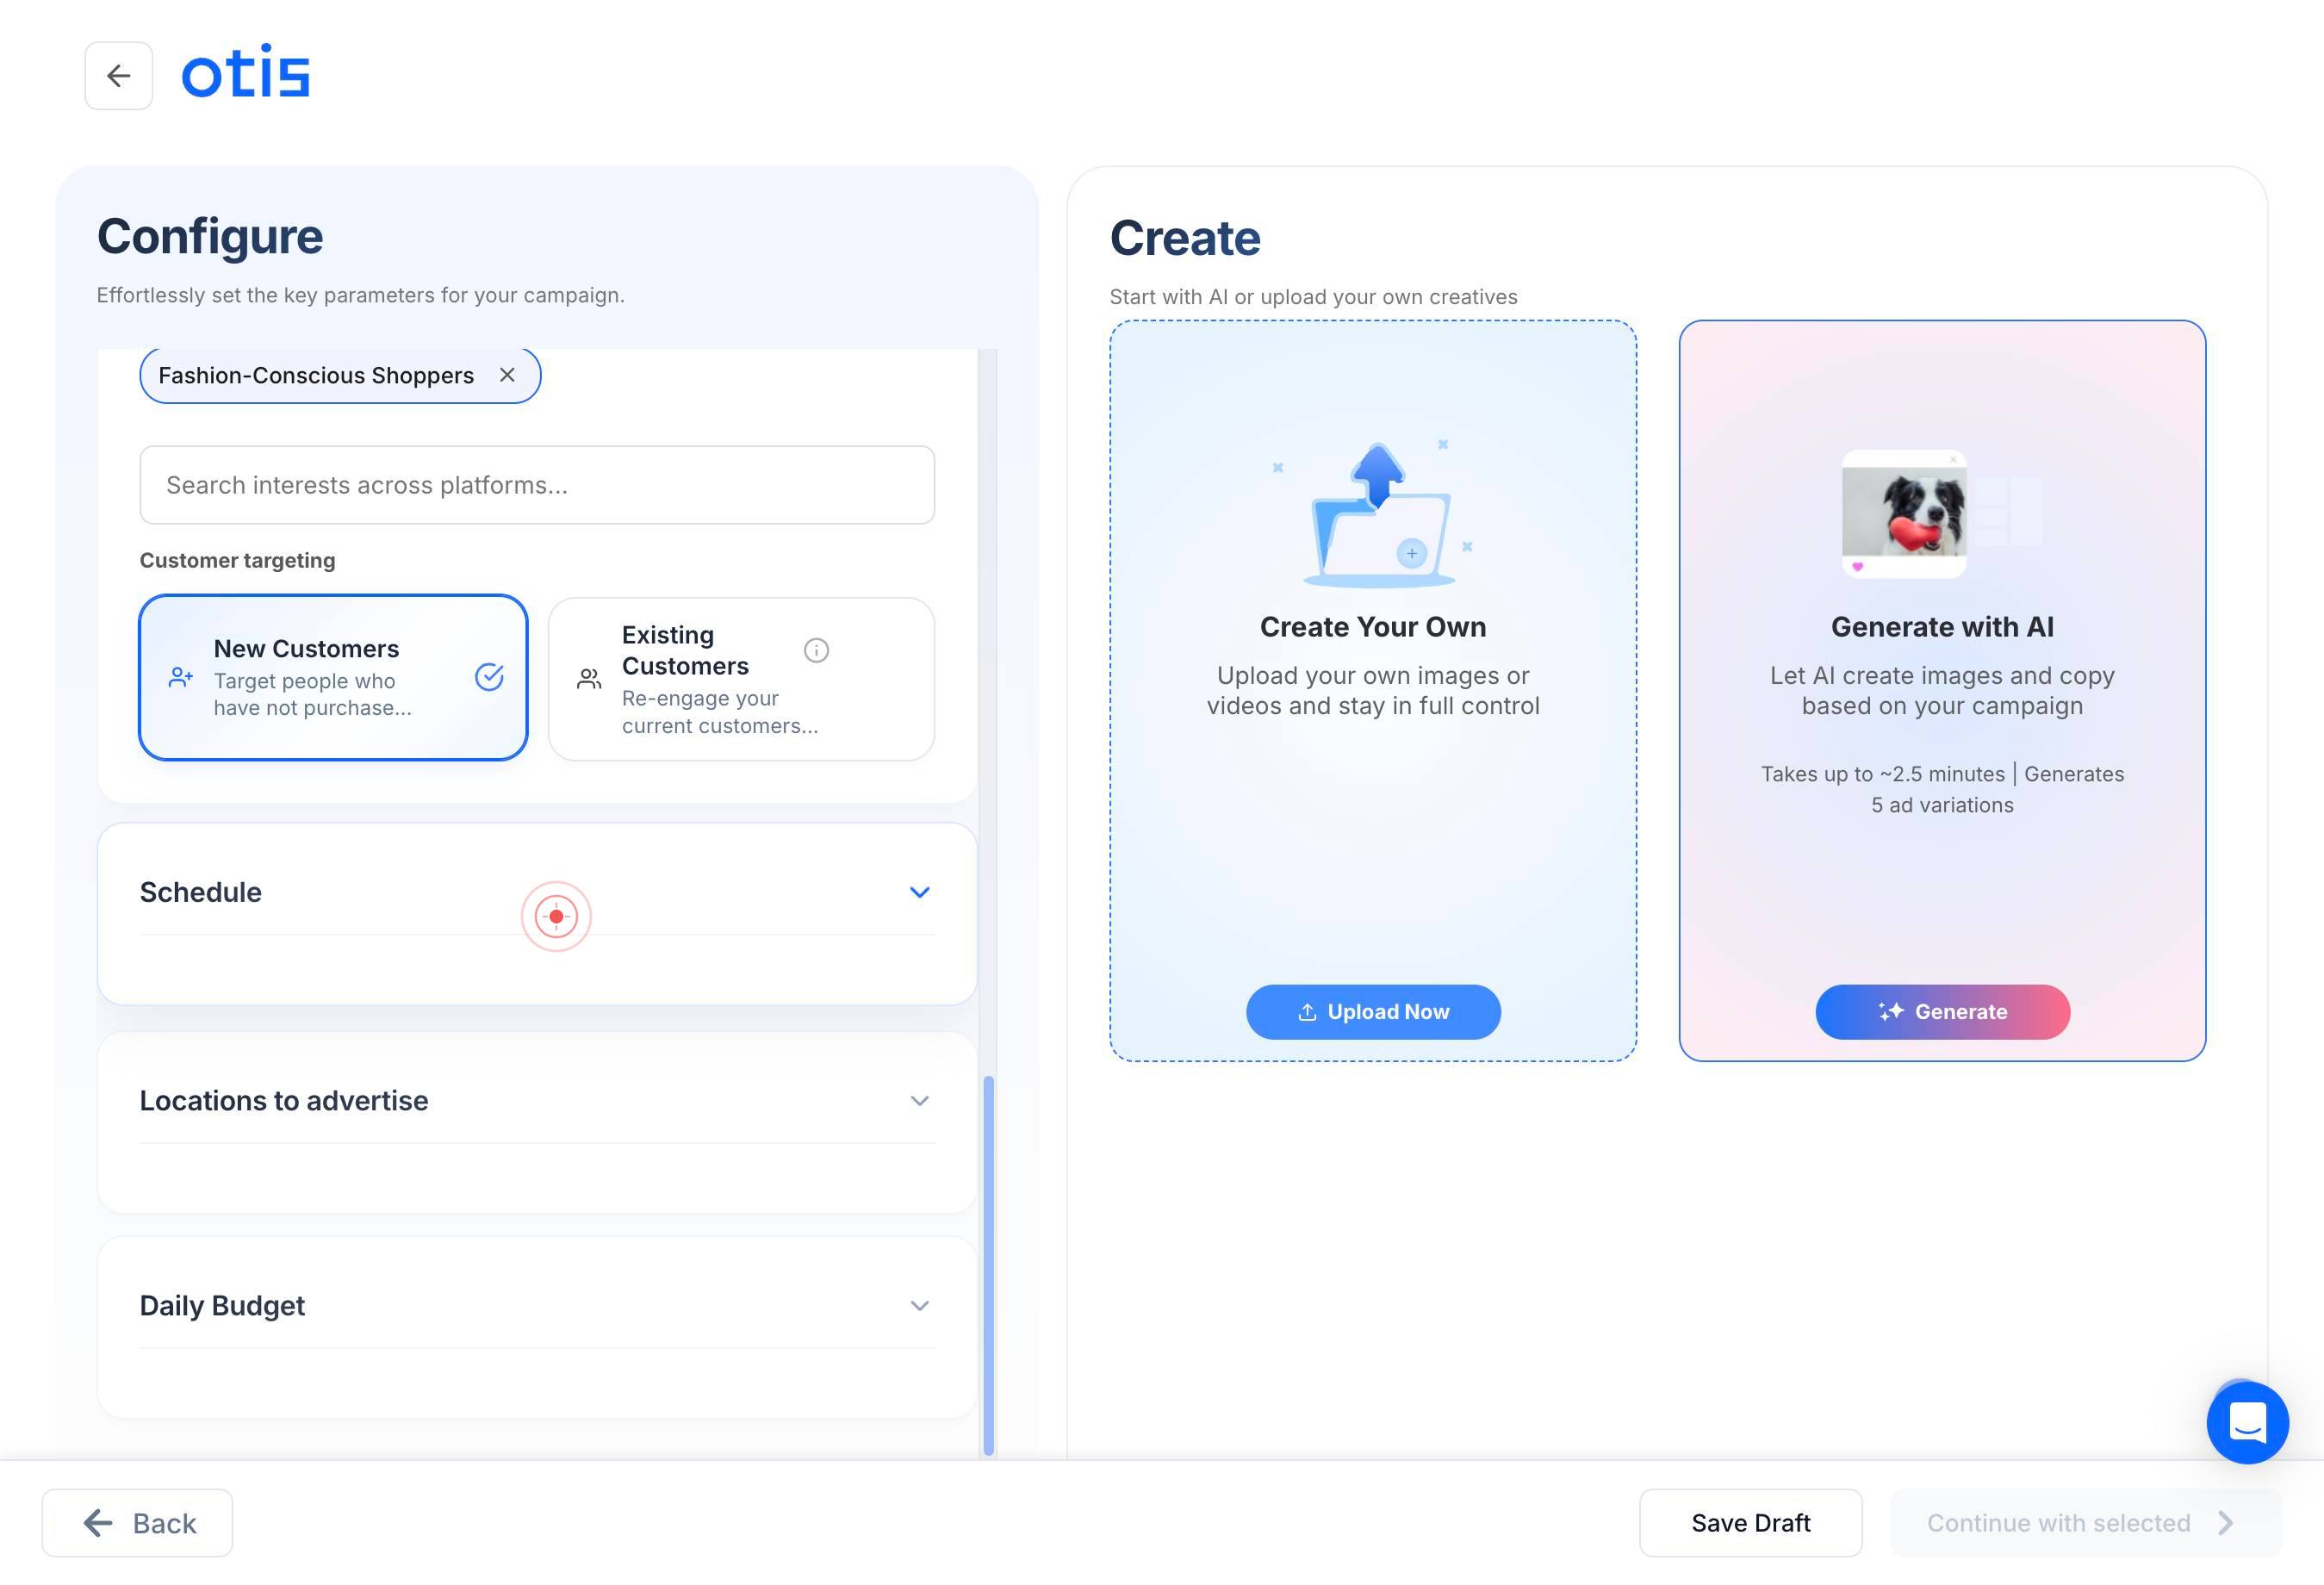
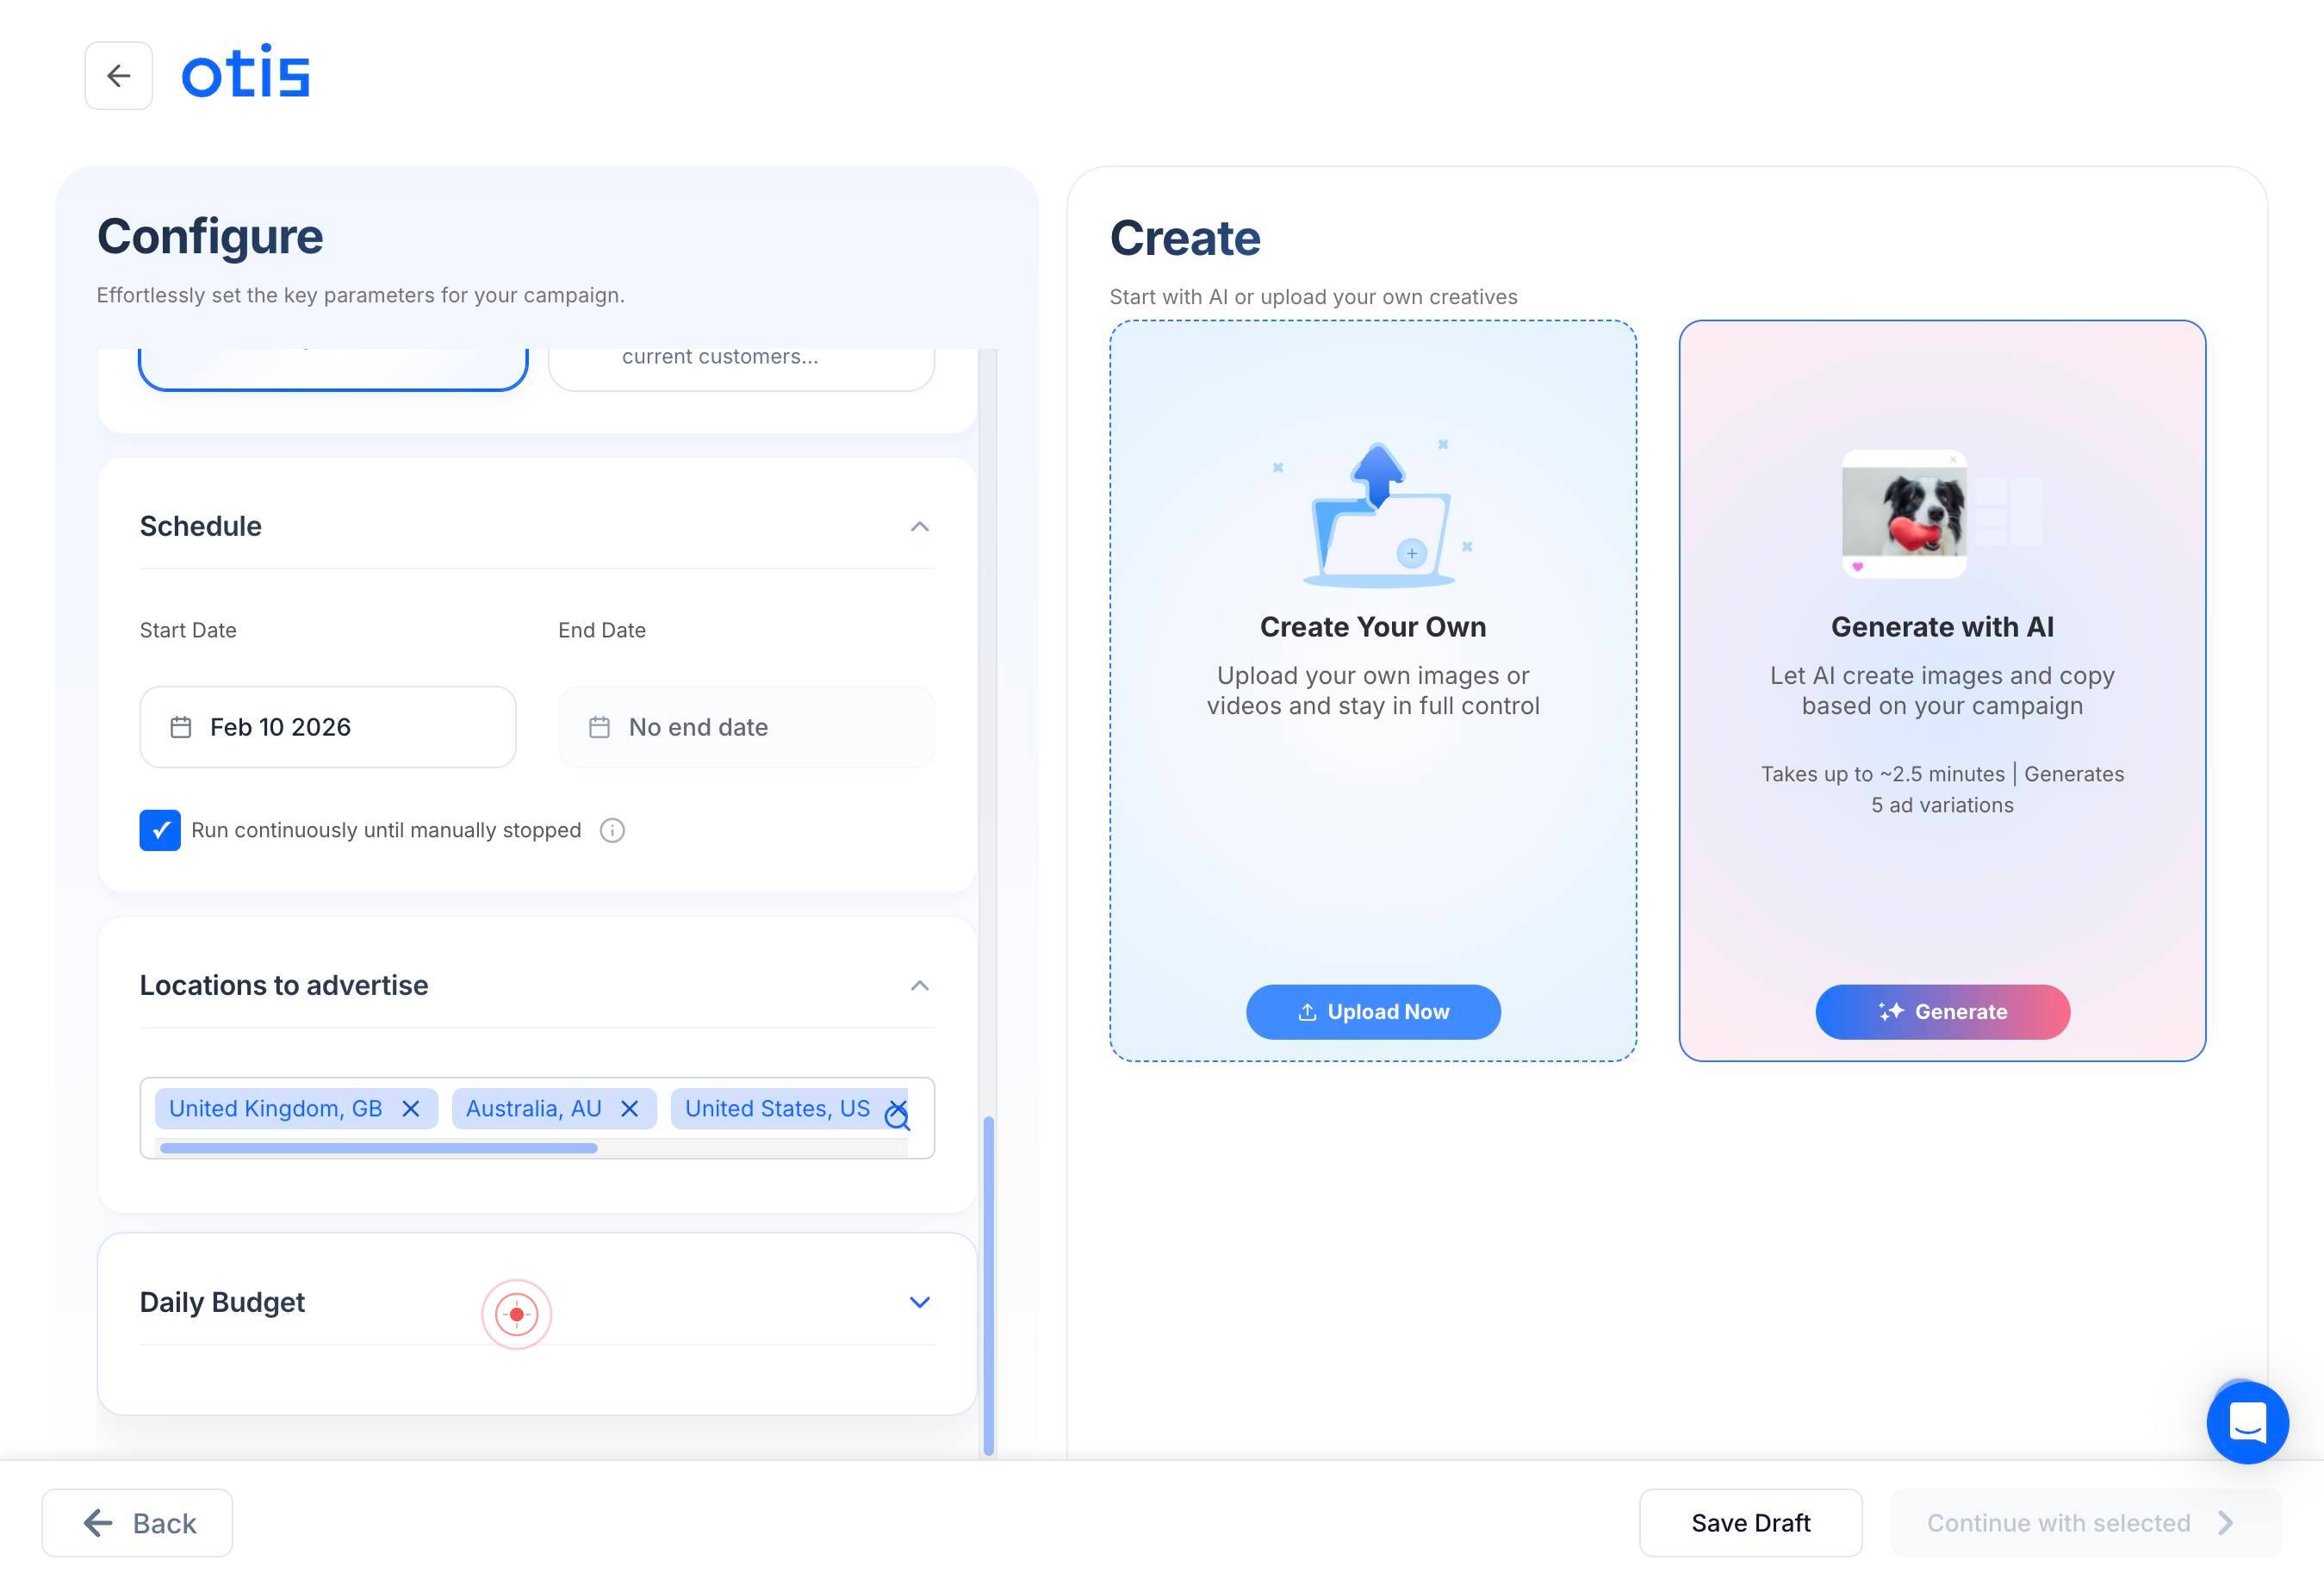
Locations to advertiseClick on 'Locations to advertise' to specify the geographic regions, countries, states, or cities where your ads should be displayed.
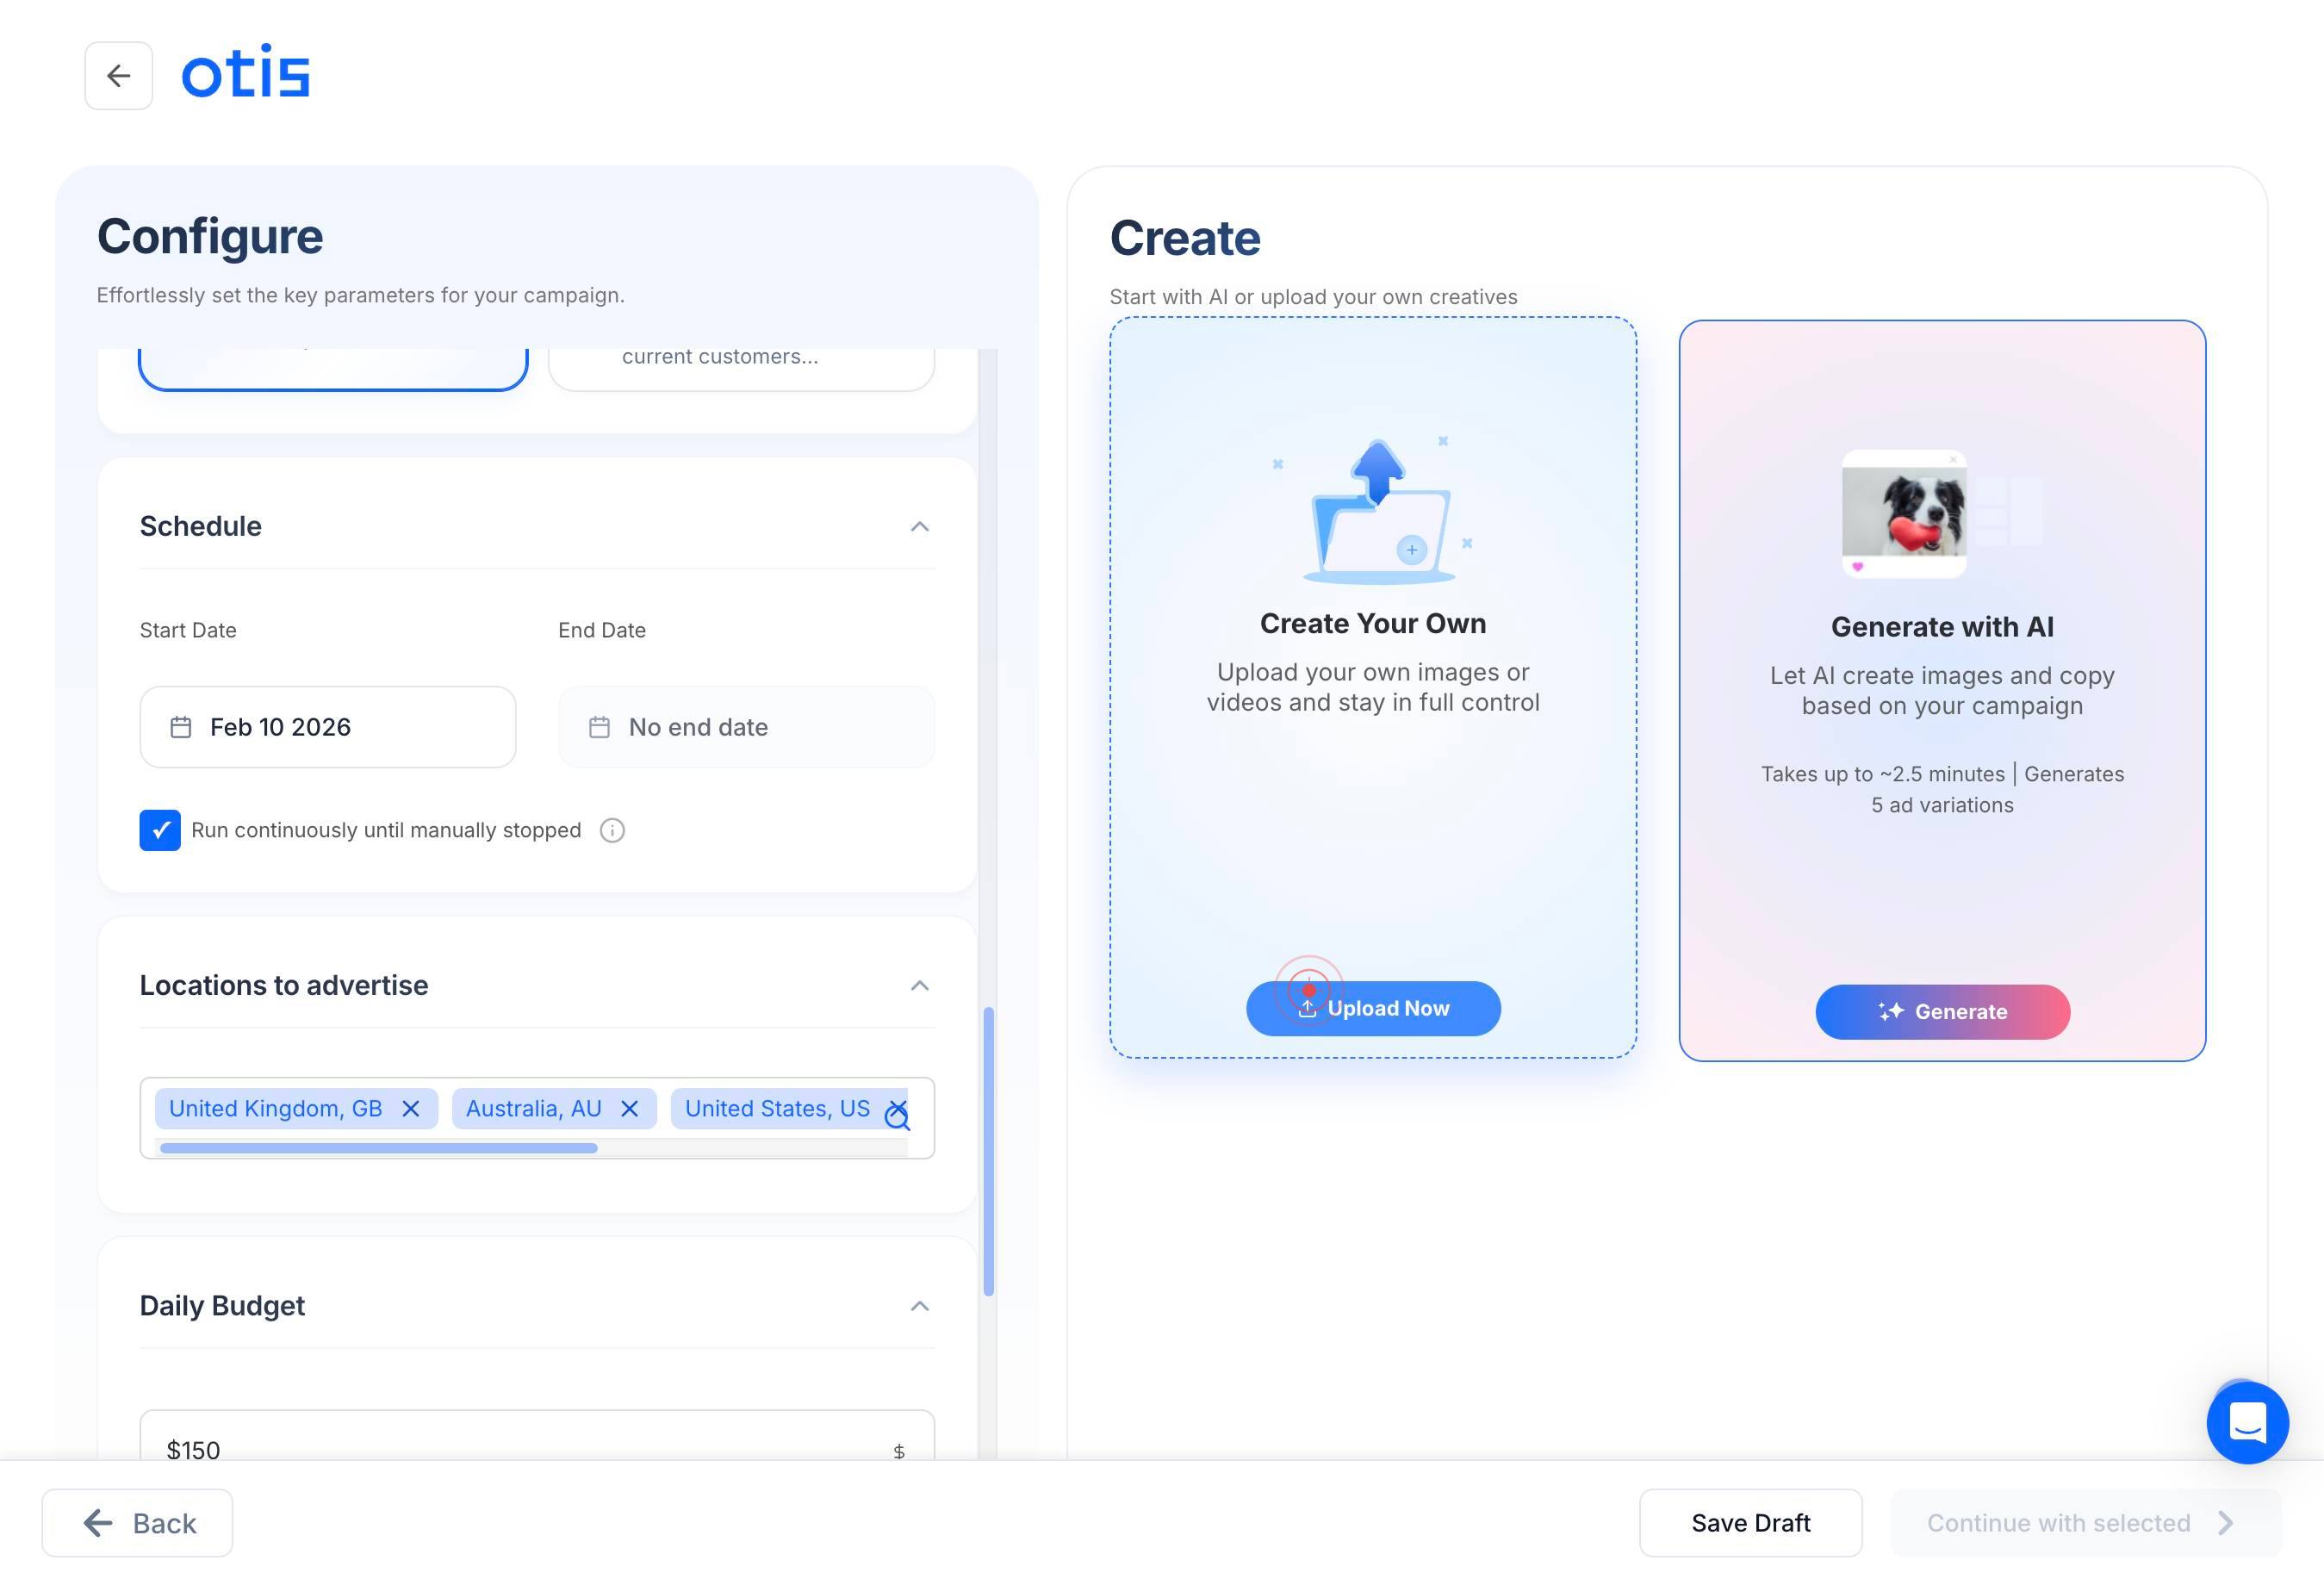
Daily BudgetClick on 'Daily Budget' to set your daily advertising spend. Enter the amount you want to spend per day on this campaign across all selected platforms.
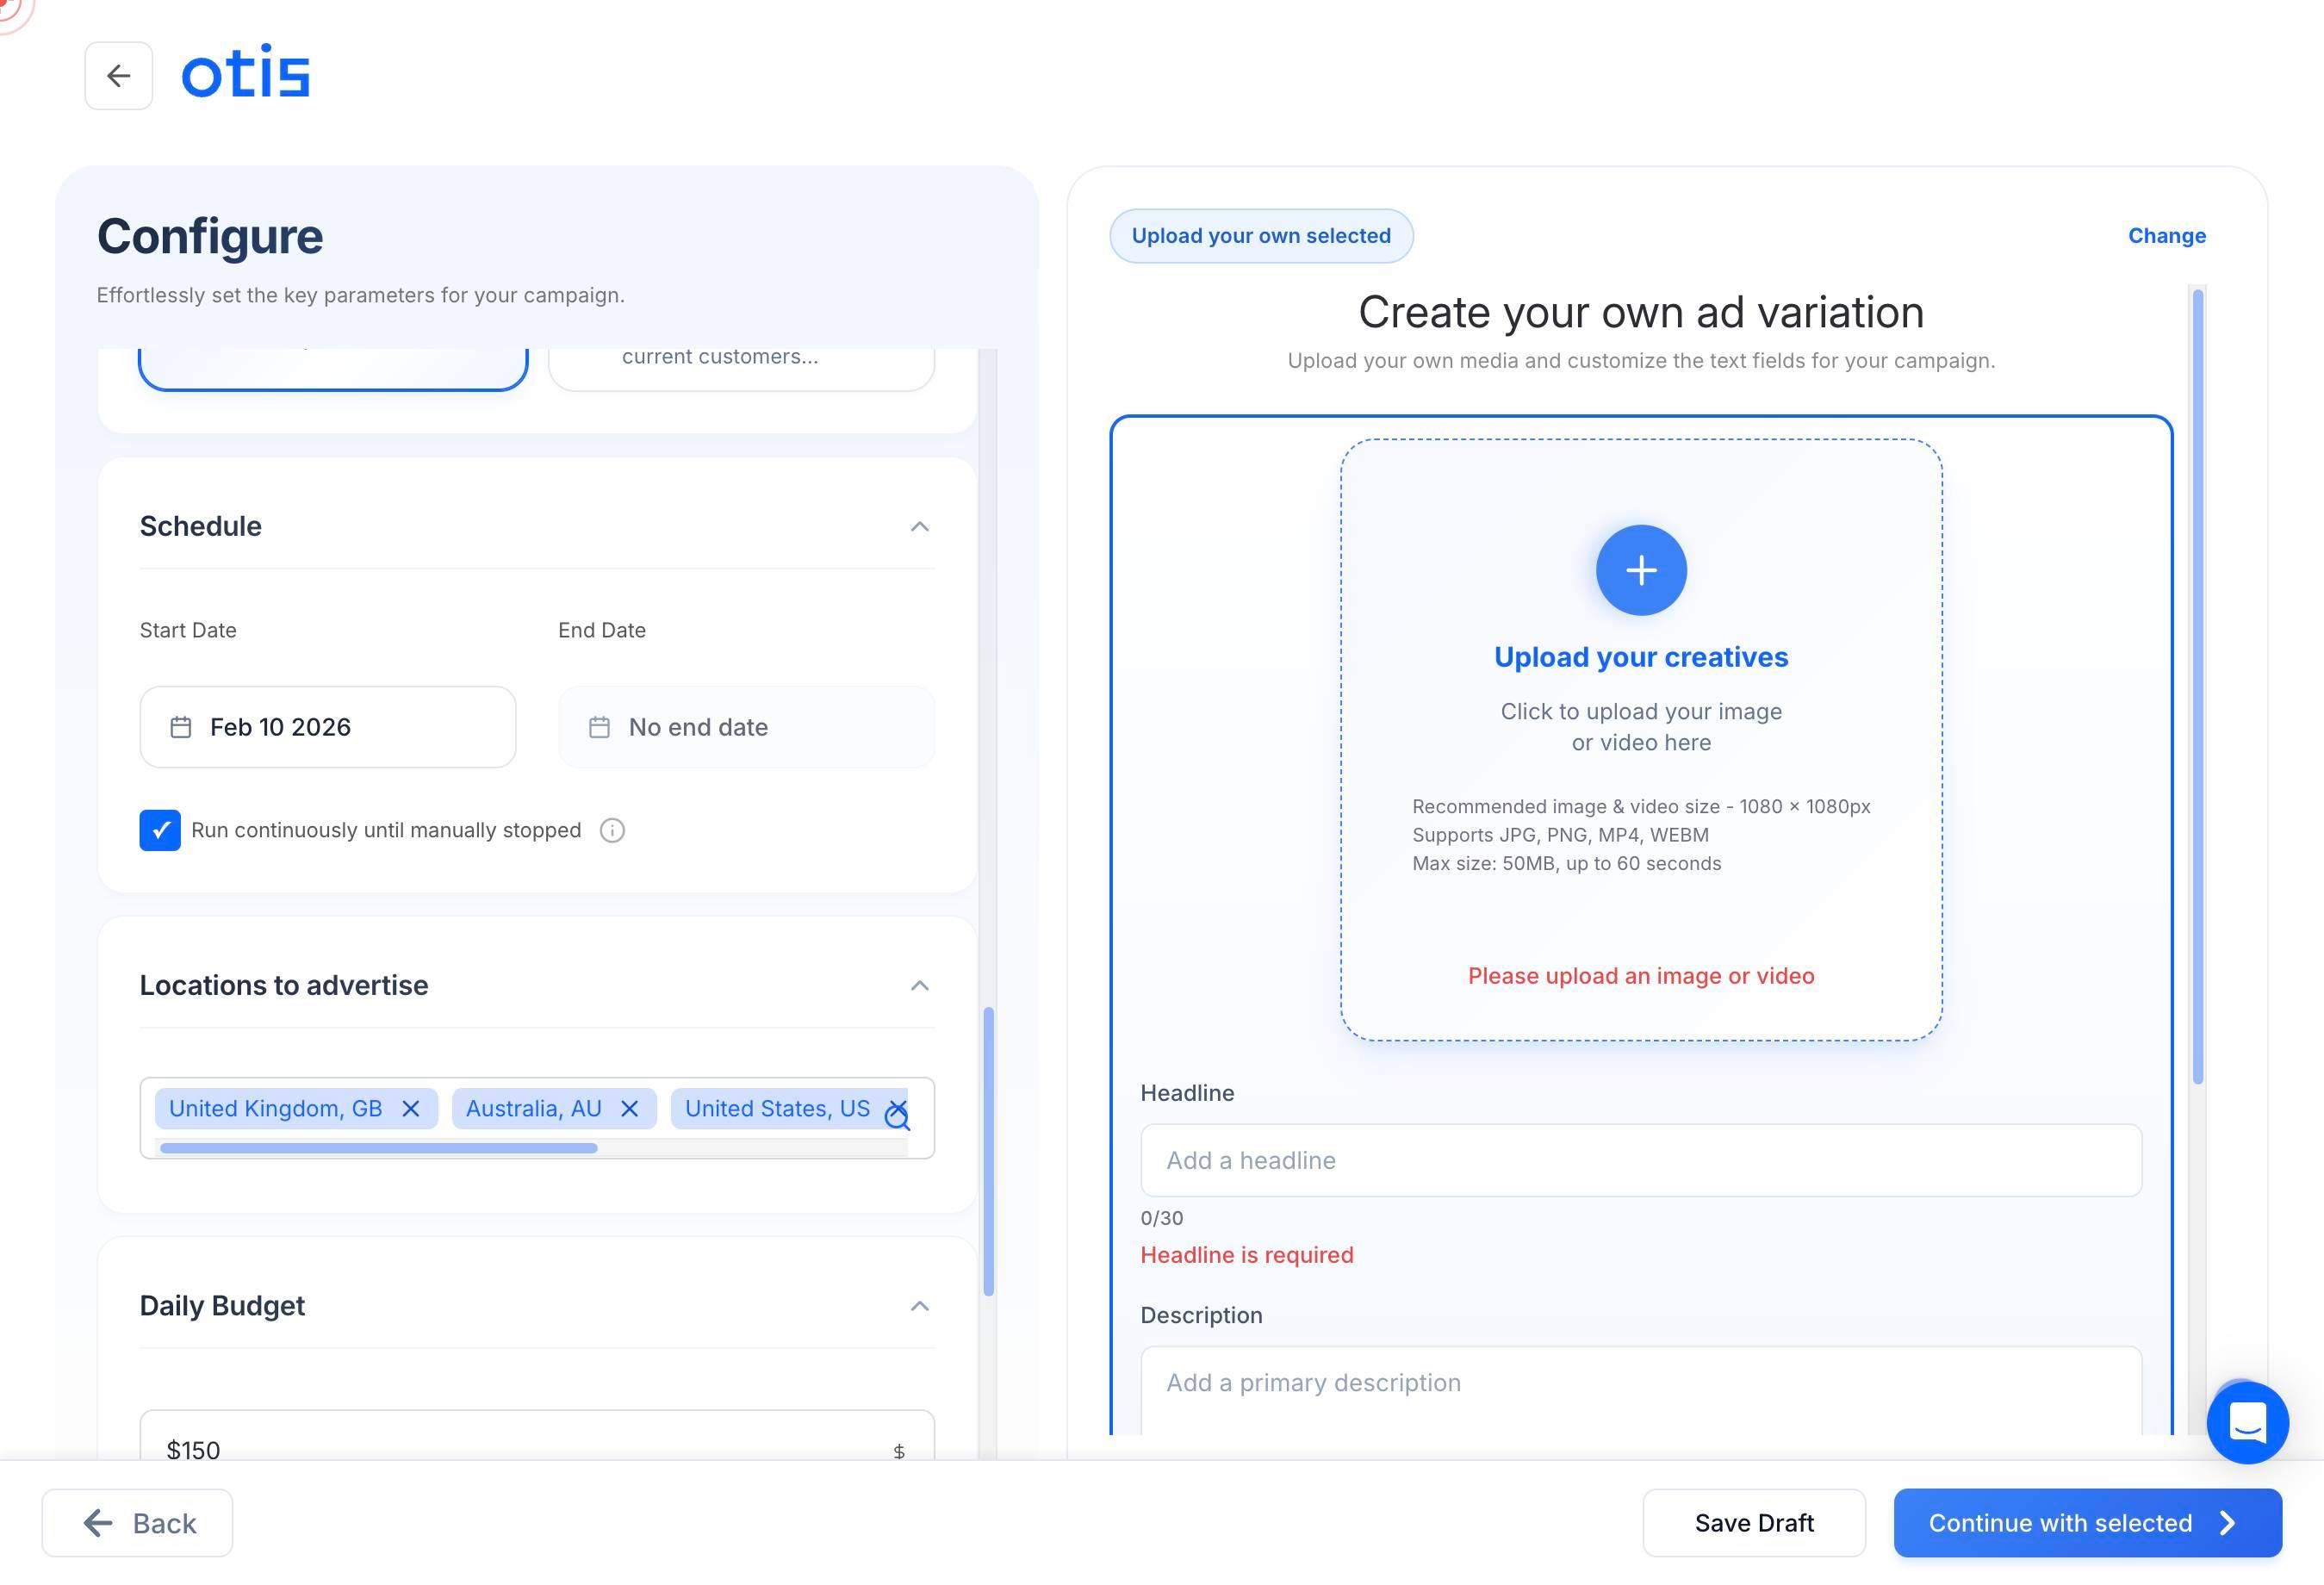
Create Your Own Upload your own images or videos and stay in full controlUpload NowClick on the 'Create Your Own Upload your own images or videos and stay in full control' button to upload custom media assets for your campaign instead of using AI-generated suggestions.
Max size: 50MB, up to 60 secondsReview the media upload requirements displayed (max 50MB file size, up to 60 seconds for video). Ensure your media files meet these specifications before uploading.

HeadlineClick on the 'Headline' text field to prepare to enter your primary ad headline.
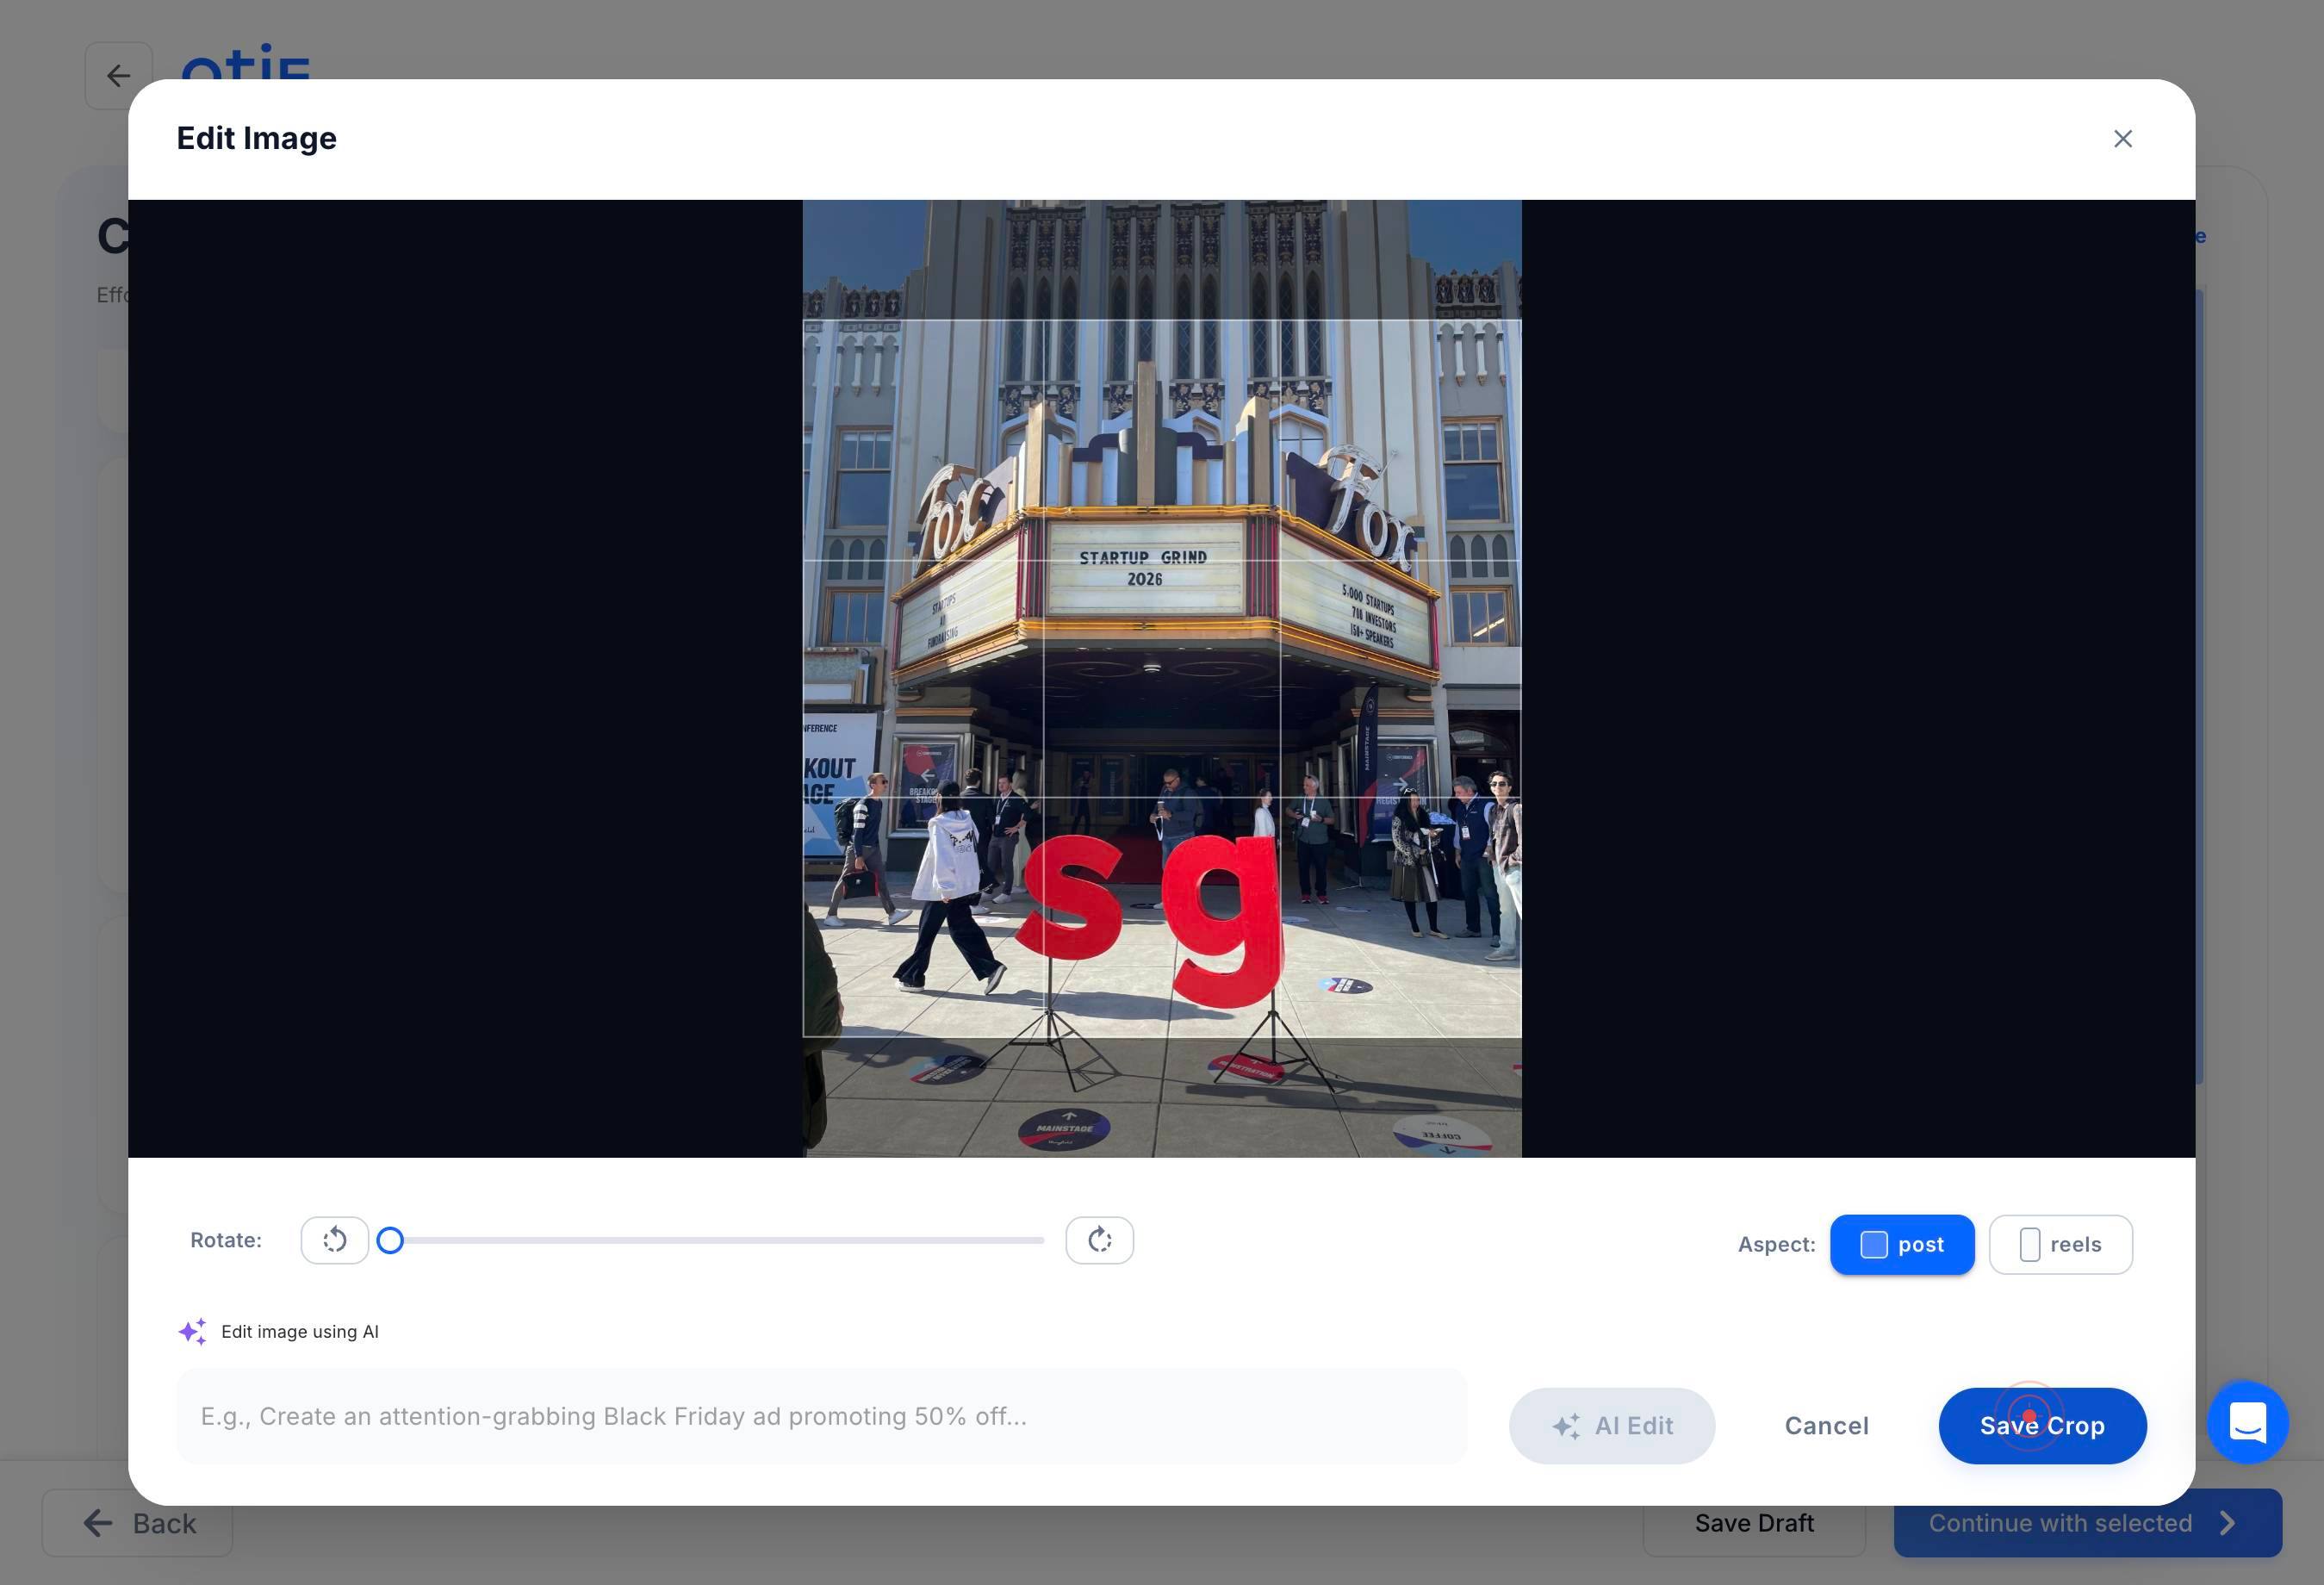
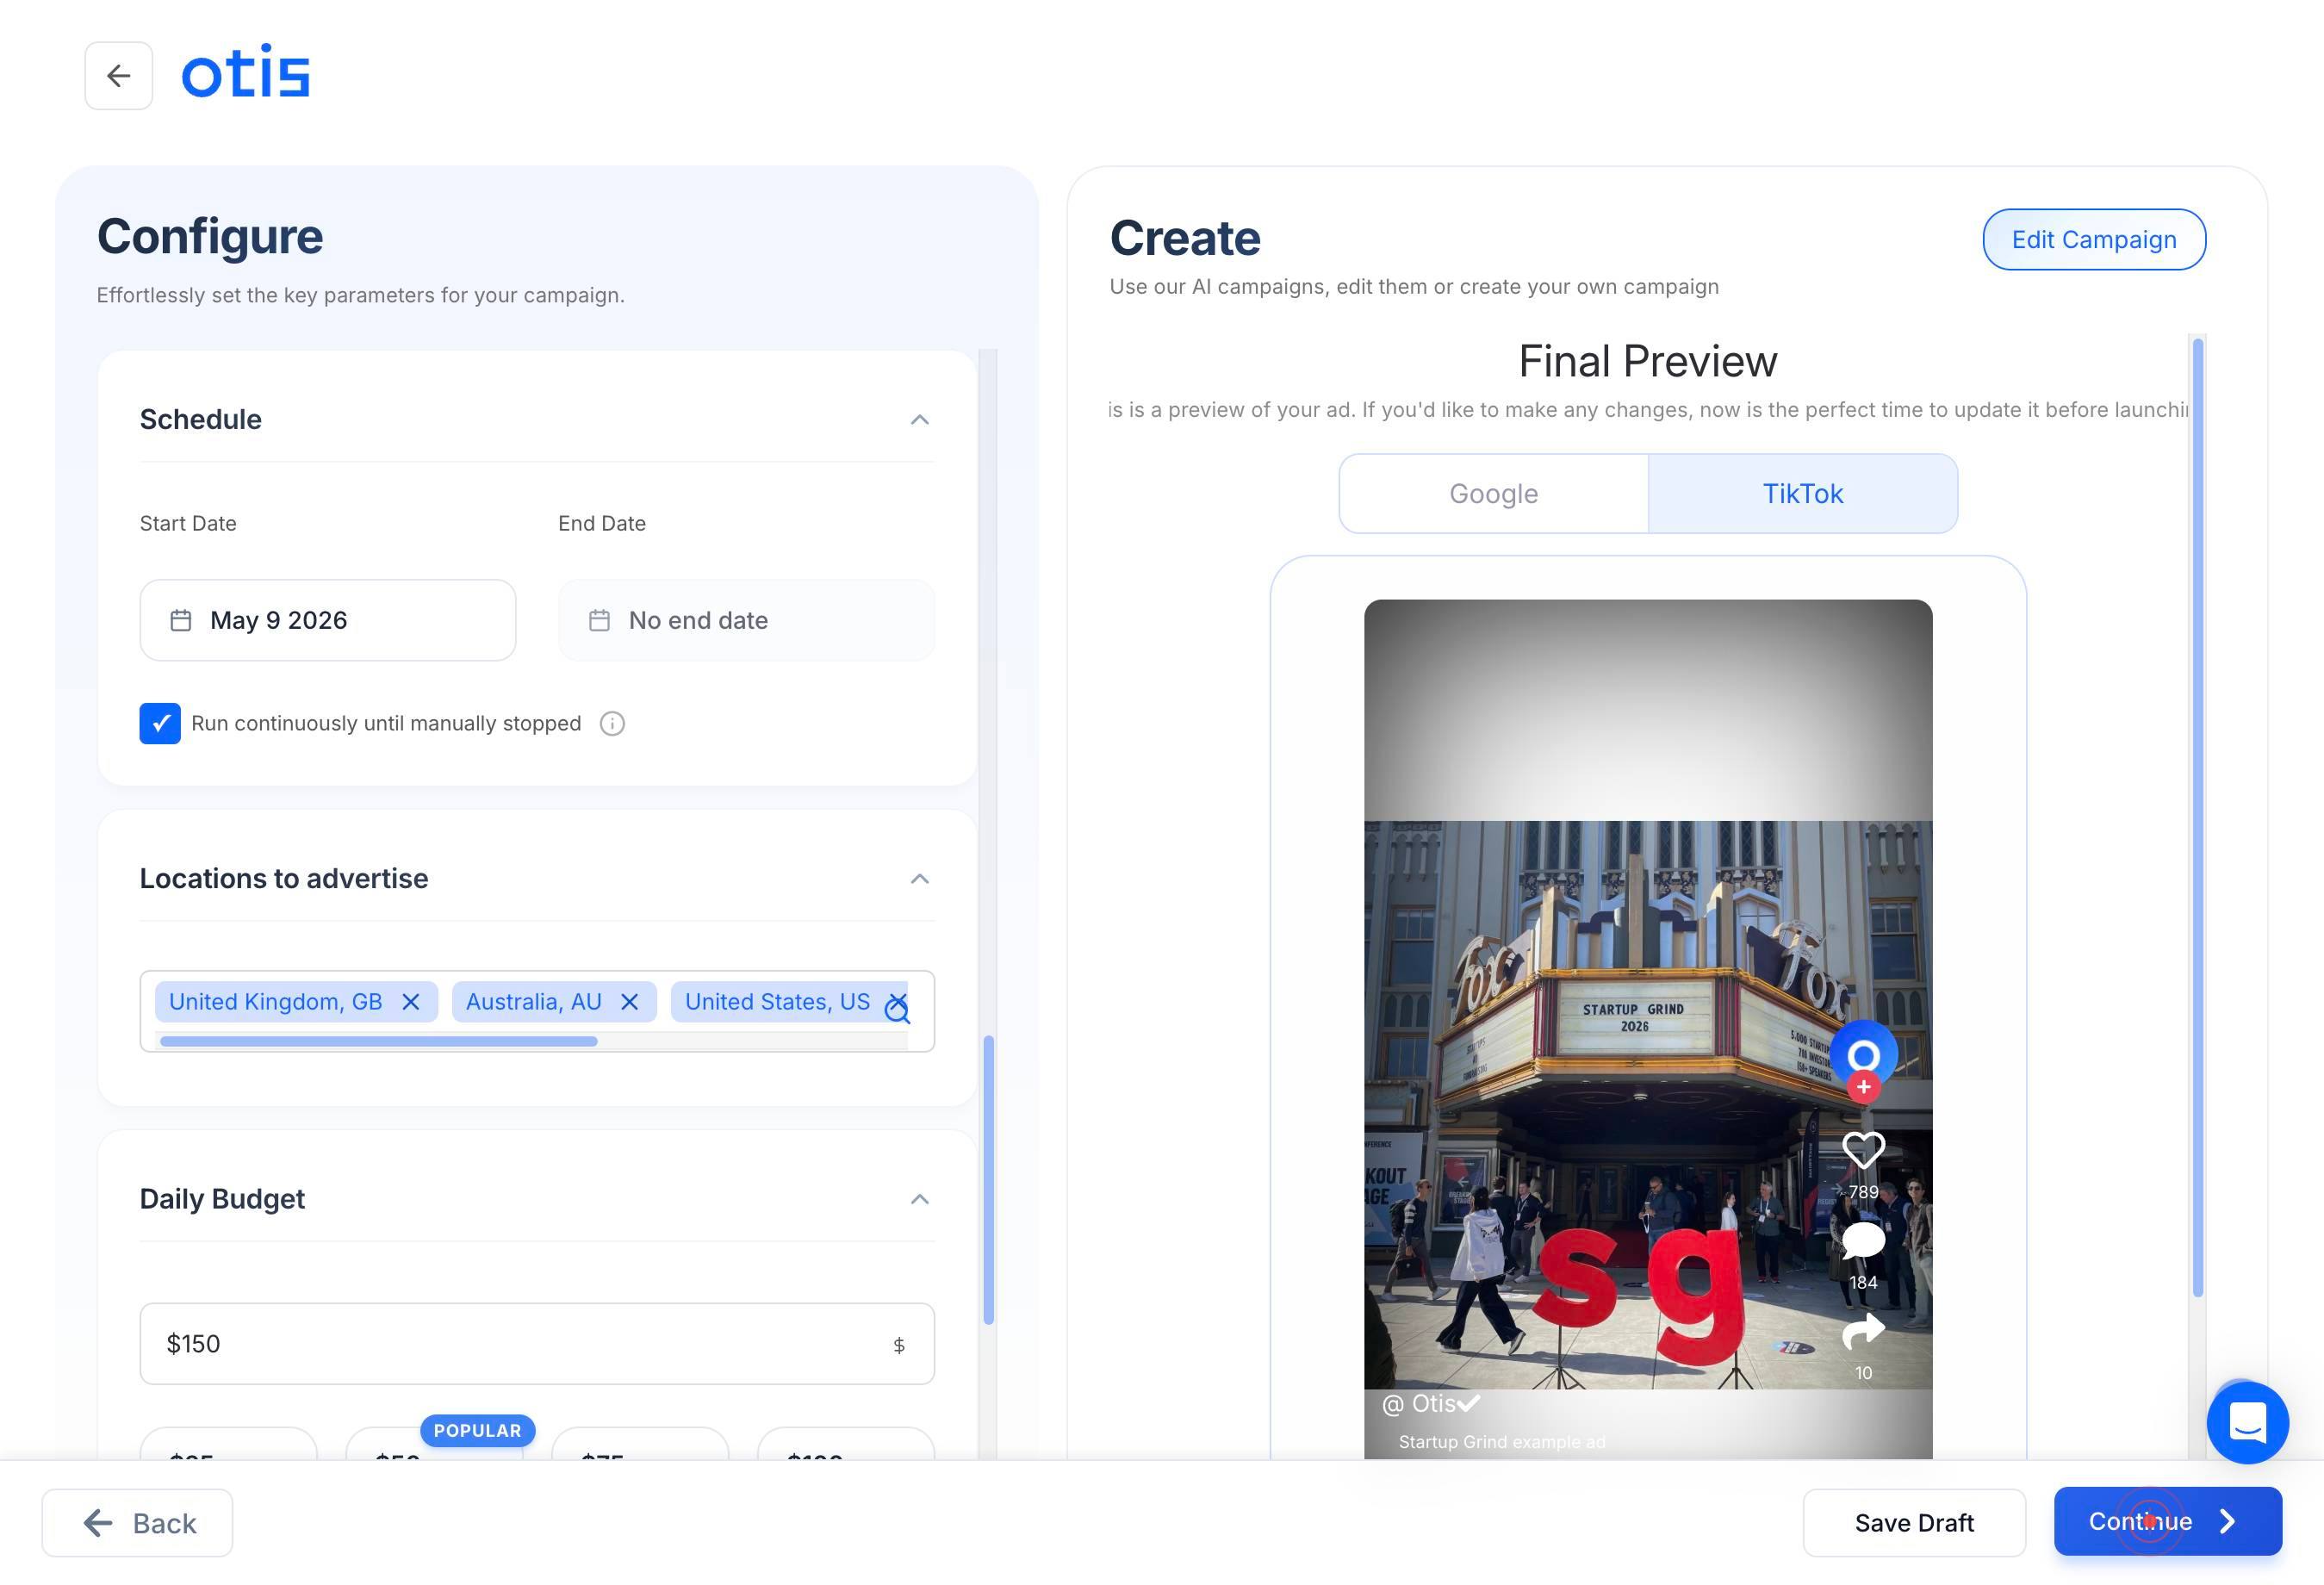
Upload your image or video file by clicking the upload area or dragging and dropping your file. Select a file such as 'startup grind.jpeg' from your computer.
Save CropAfter uploading your image, review the preview and click 'Save Crop' to finalize how the image will appear in your ad. You can adjust the crop area if needed to ensure the key visual element is centered.
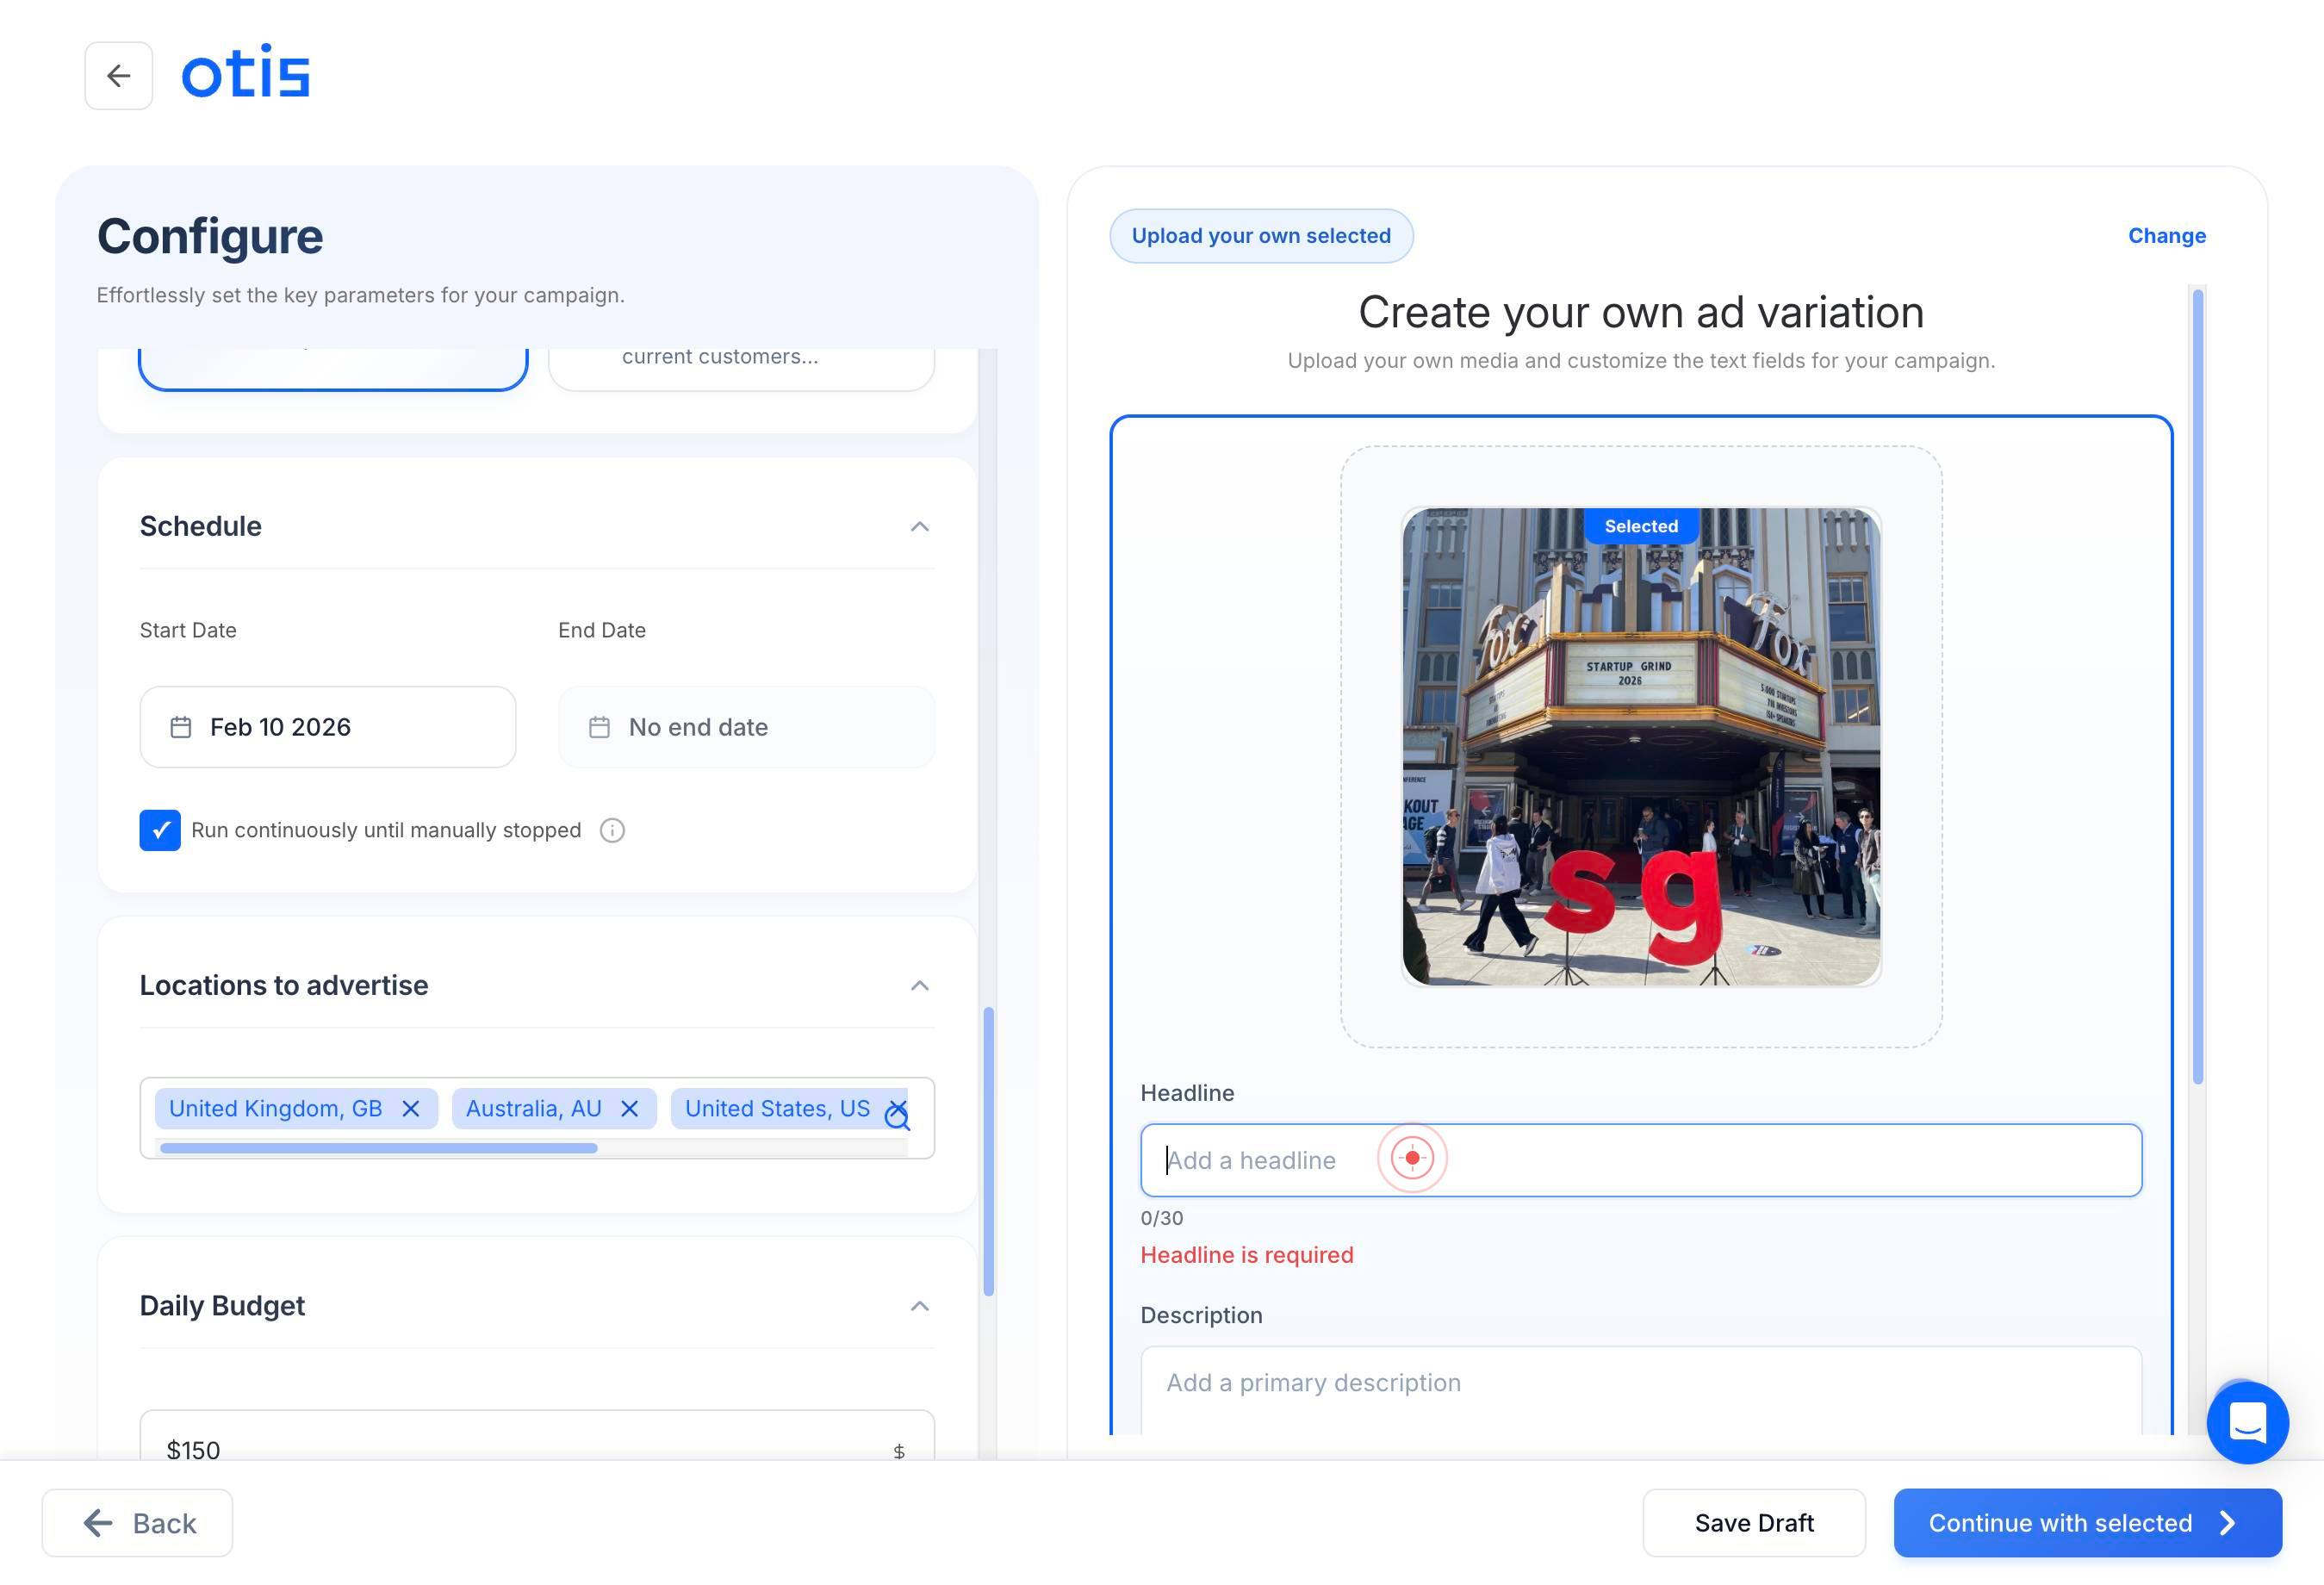
Add a headlineClick on the 'Add a headline' text field to enter your primary ad headline. This is the main attention-grabbing text that appears above your image or video.
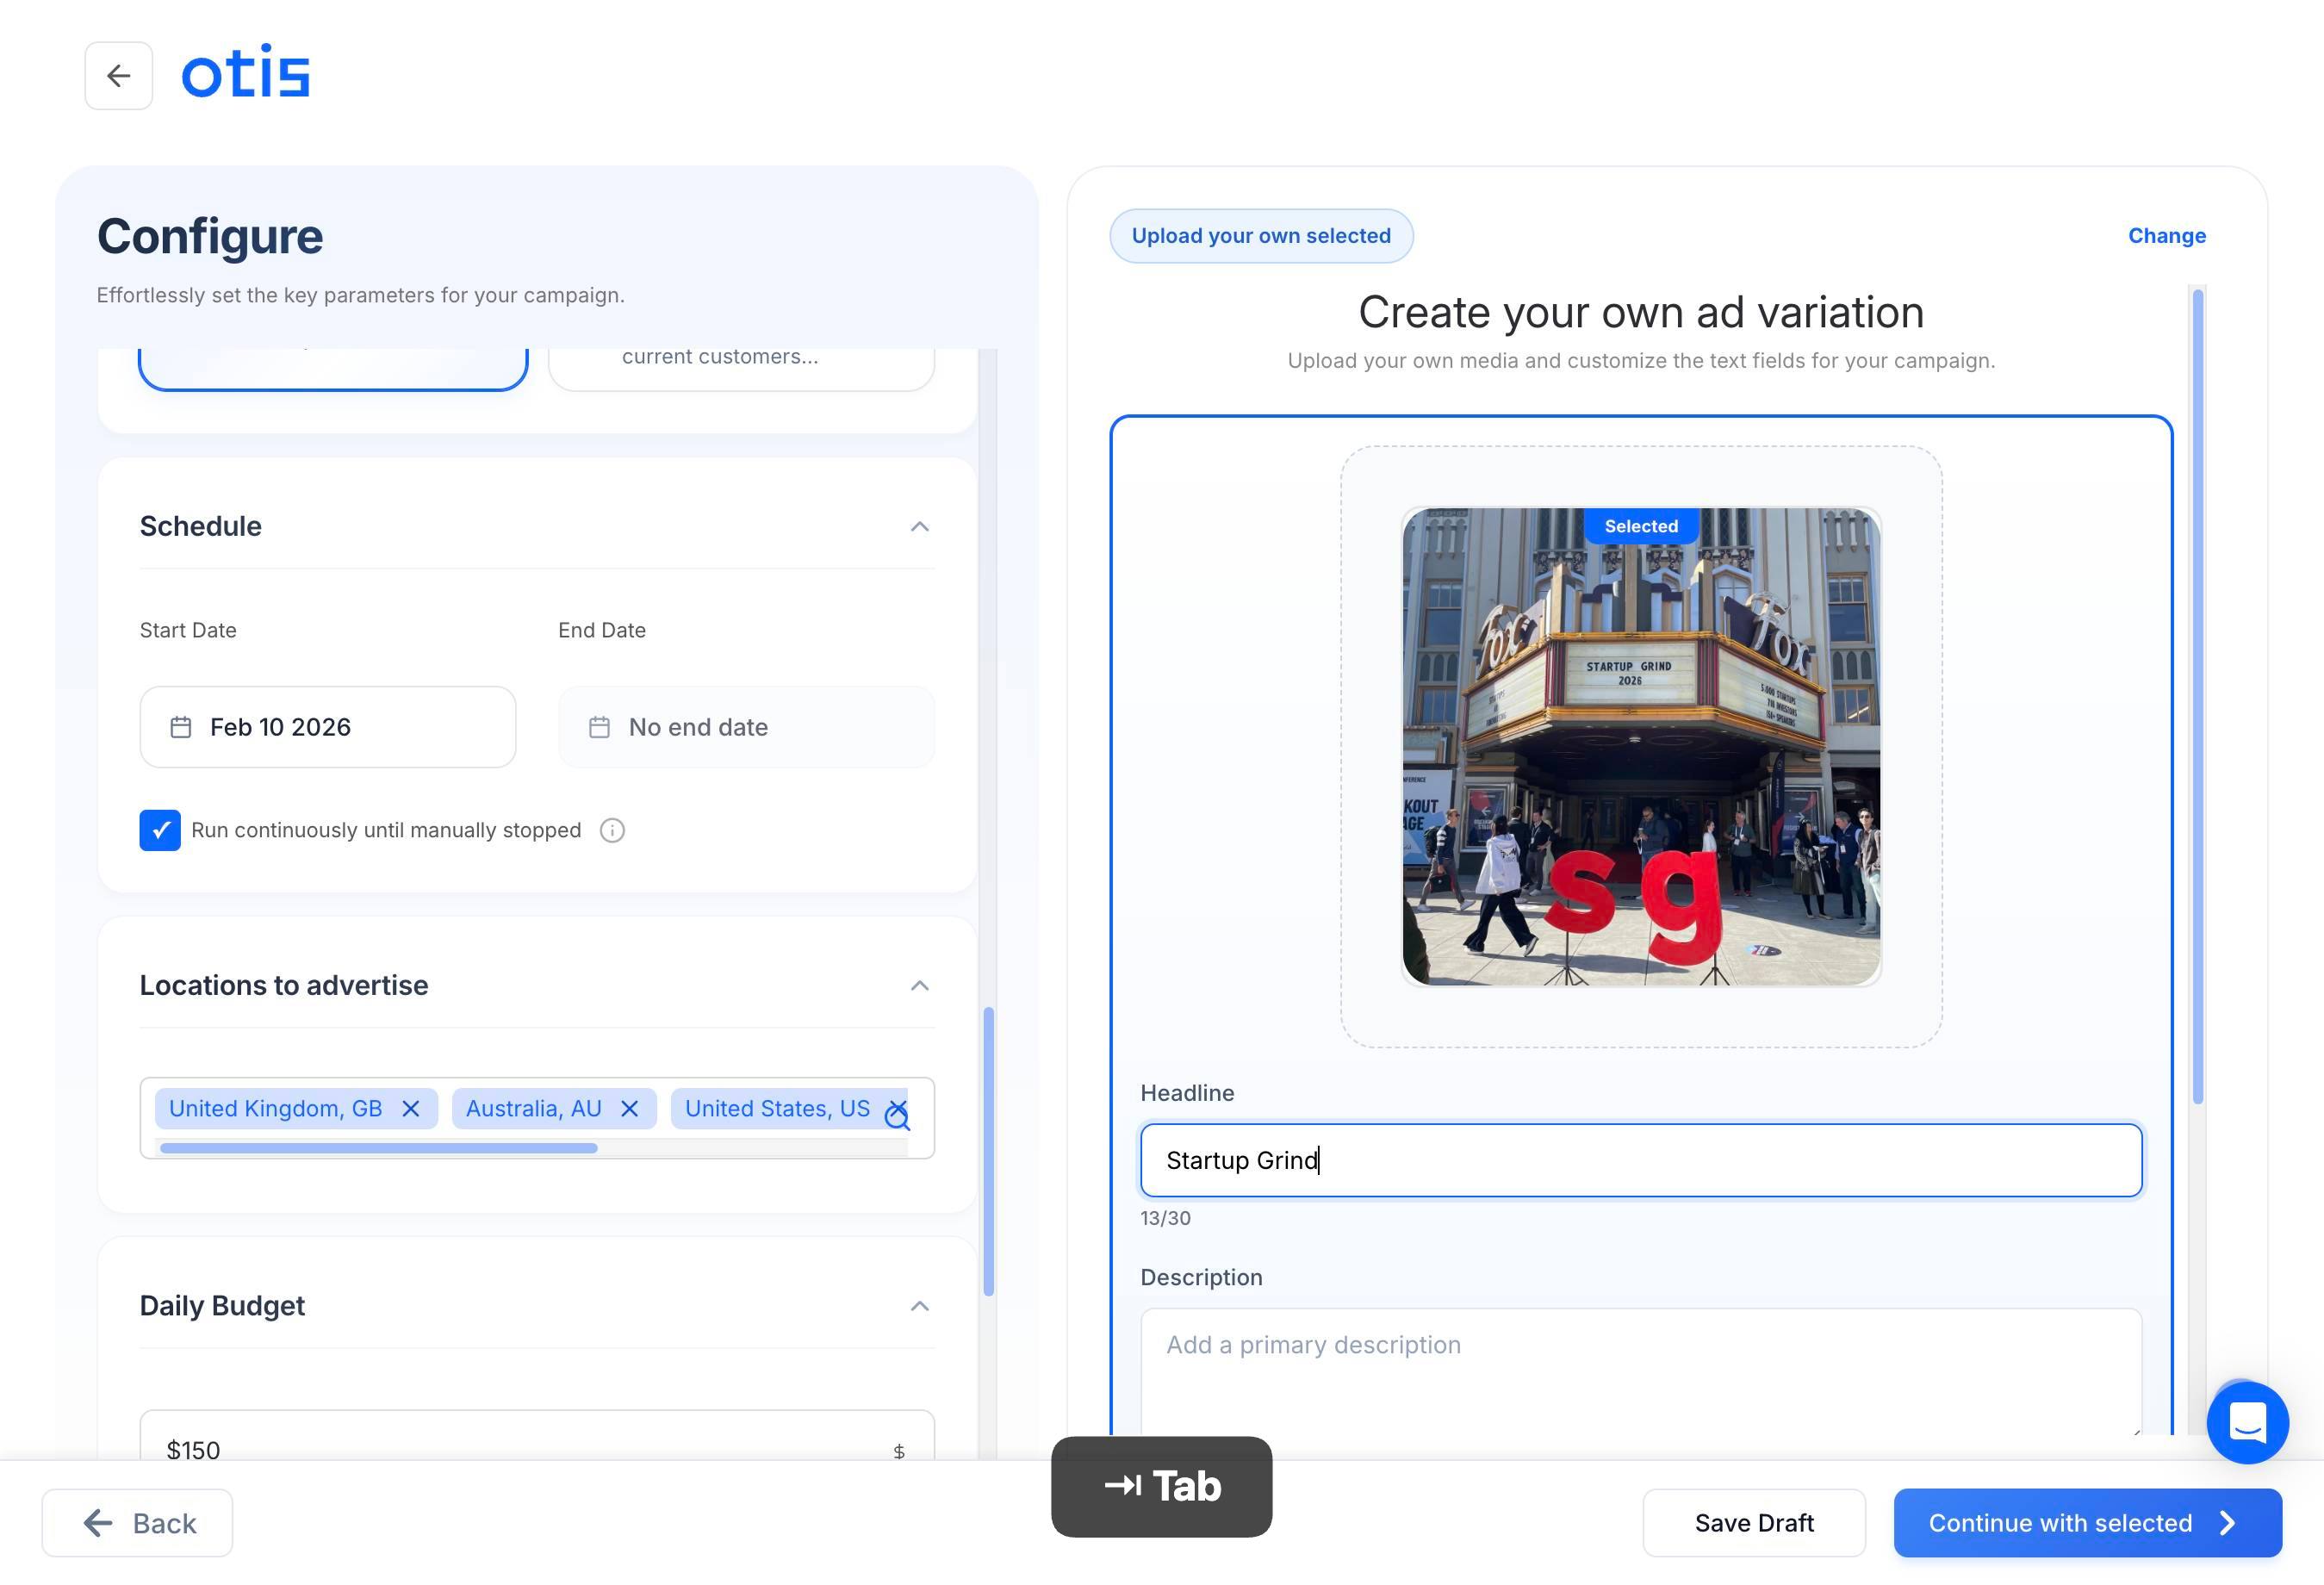
Add a headlineType your ad headline (typically 30–60 characters). Use clear, benefit-focused language that tells users what you're offering (e.g., 'Premium Men's Grooming Products Now Available').
Press Tab to move focus to the next text field (the primary description field).
Add a primary descriptionType your primary ad description in the active field. This is the body copy that appears below your headline and should explain your offer, highlight benefits, and include a call-to-action (e.g., 'Shop our full range of all-natural grooming products. Free shipping on orders over $50.').
Add more contextClick on the 'Add more context' text field to enter additional details or secondary ad copy that provides extra context or emphasizes social proof.
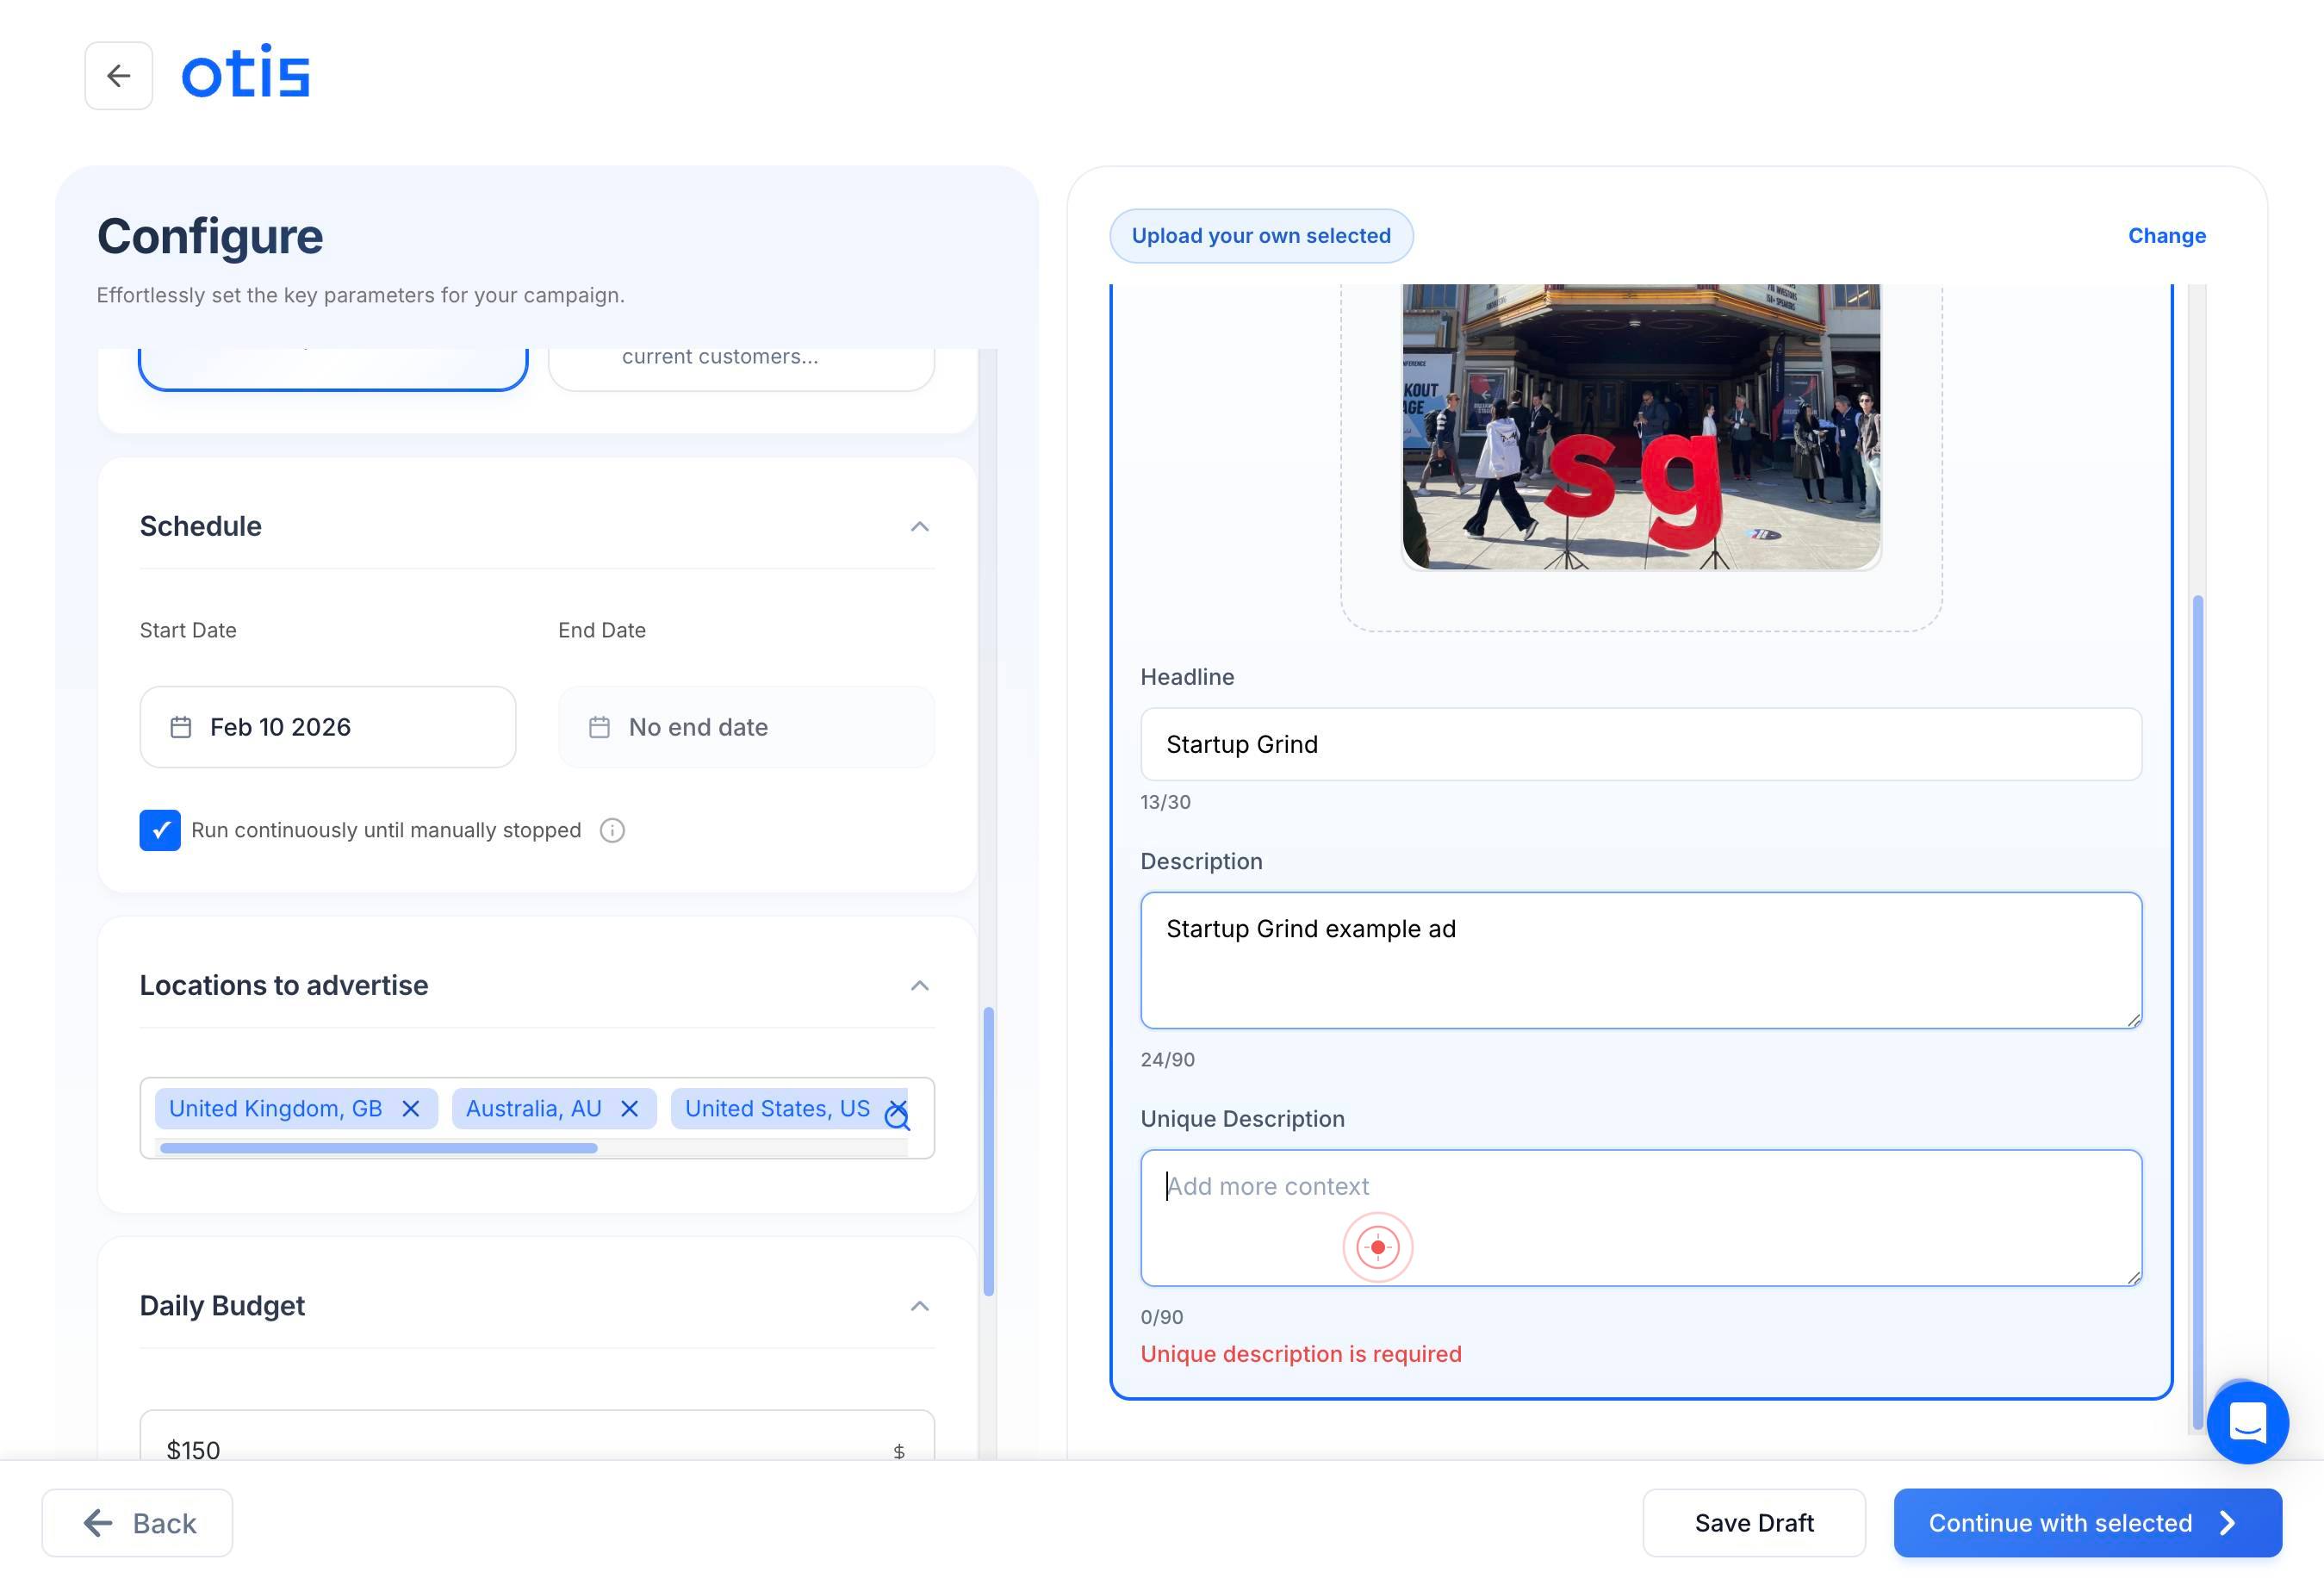
Add more contextType additional context or secondary messaging (e.g., customer testimonials, product features, trust signals like '4.8 stars from 5,000+ customers' or 'Made in Australia with natural ingredients'). This field strengthens your ad's credibility.
Continue with selectedClick the 'Continue with selected' button to proceed to the next configuration step after entering your ad headline, primary description, and secondary context.

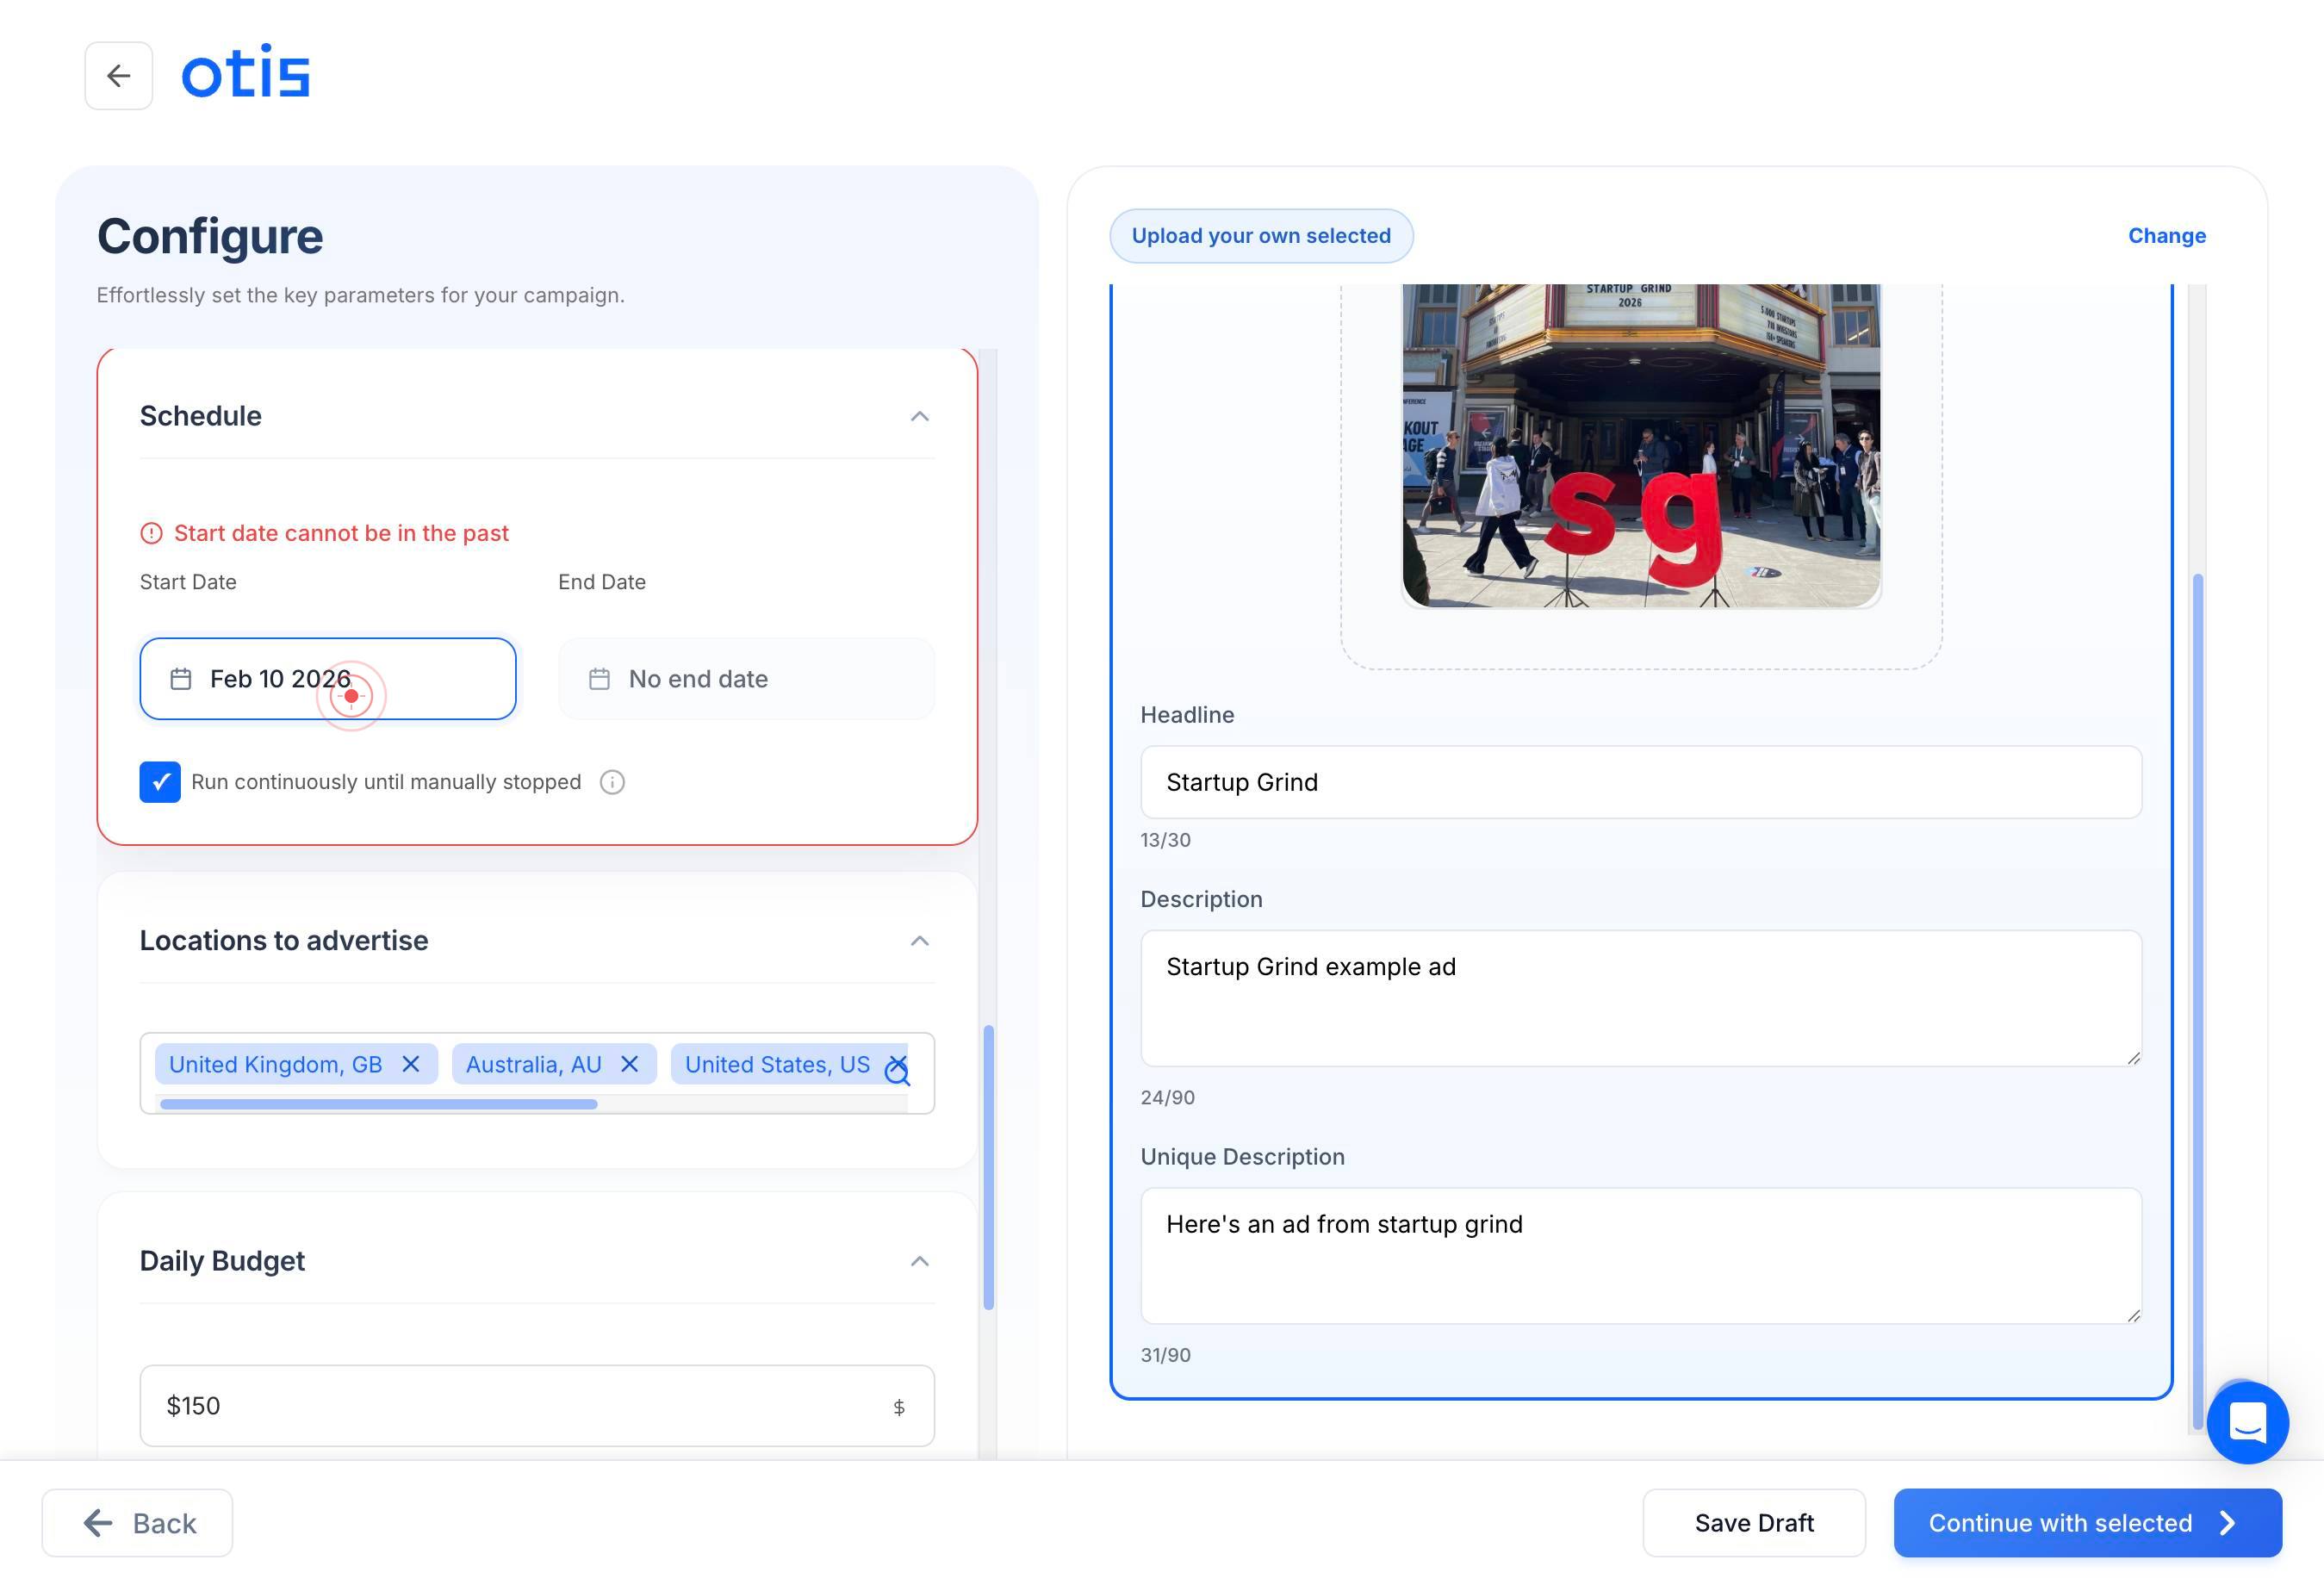
Feb 10 2026Click on the date field (showing 'Feb 10 2026' or similar) to open the date picker and select your campaign launch date.
buttonClick the navigation button (usually a forward arrow) in the date picker to move to the next month if your desired launch date is not visible in the current calendar view.

buttonClick the navigation button again to continue navigating through months until you reach the month containing your desired launch date.

buttonClick the navigation button once more to position the calendar on the correct month and year for your campaign launch.
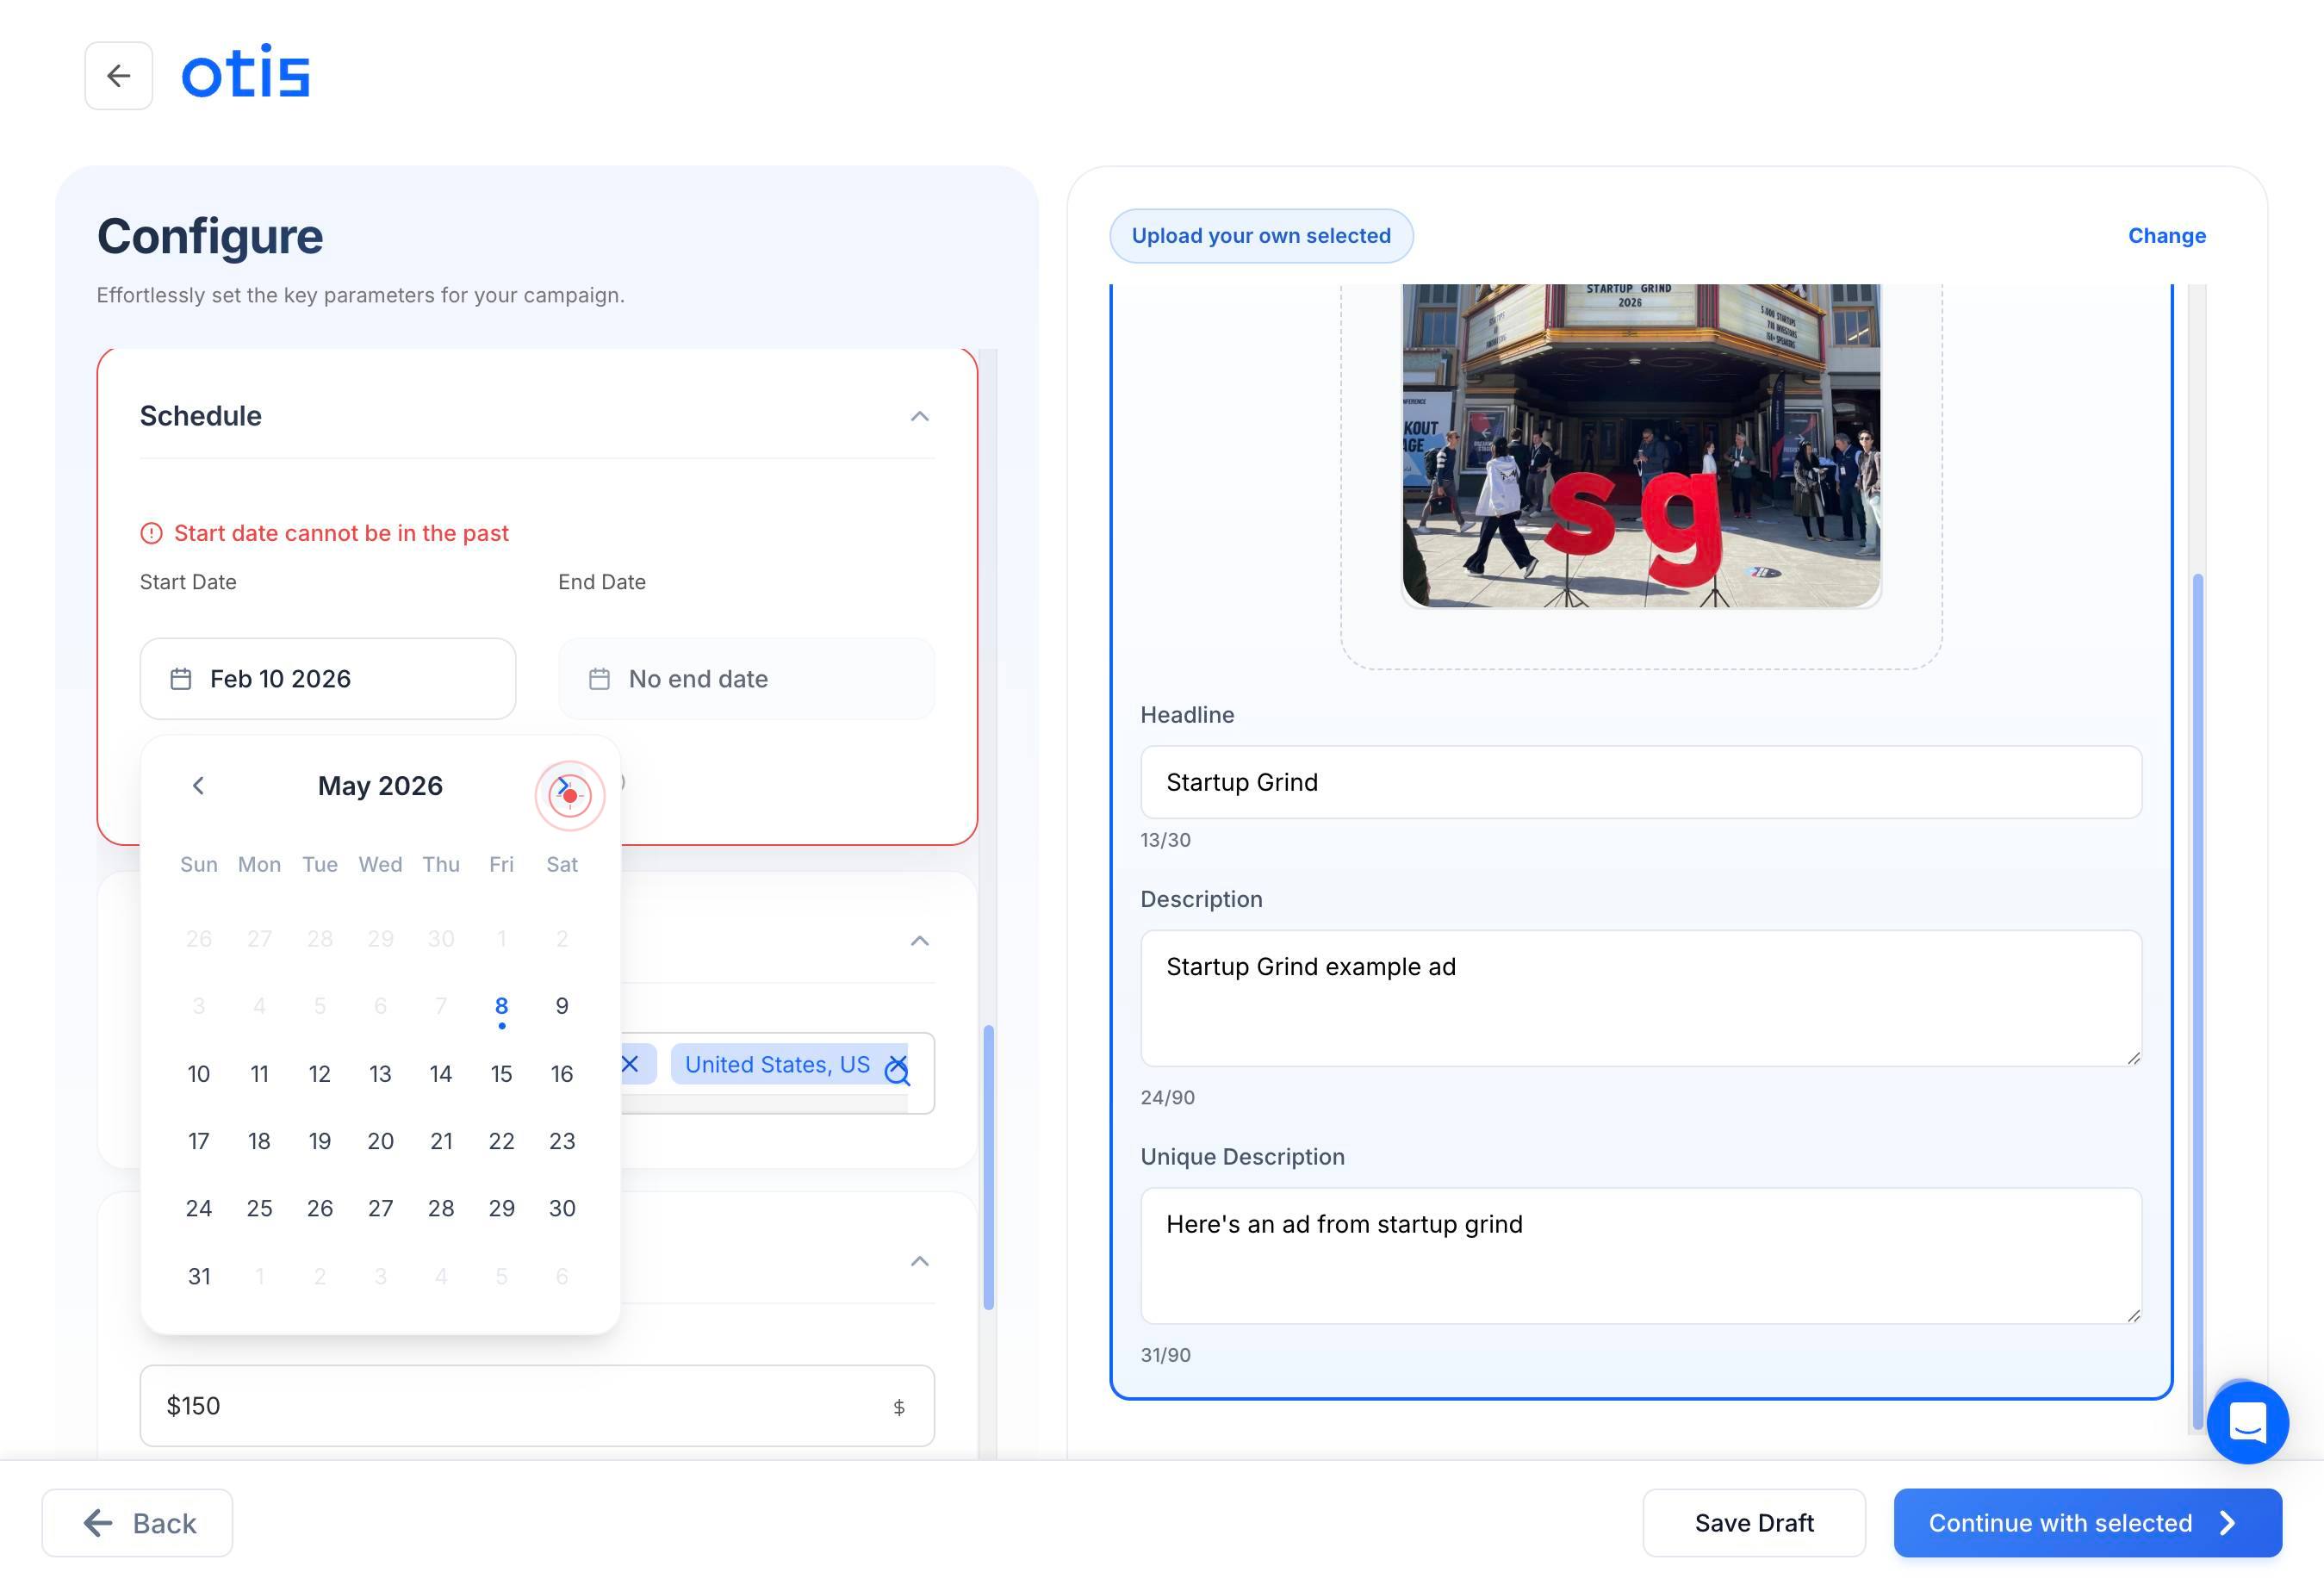
9Click on the day number (e.g., '9') in the calendar to select your campaign launch date. The selected date will be highlighted or confirmed.

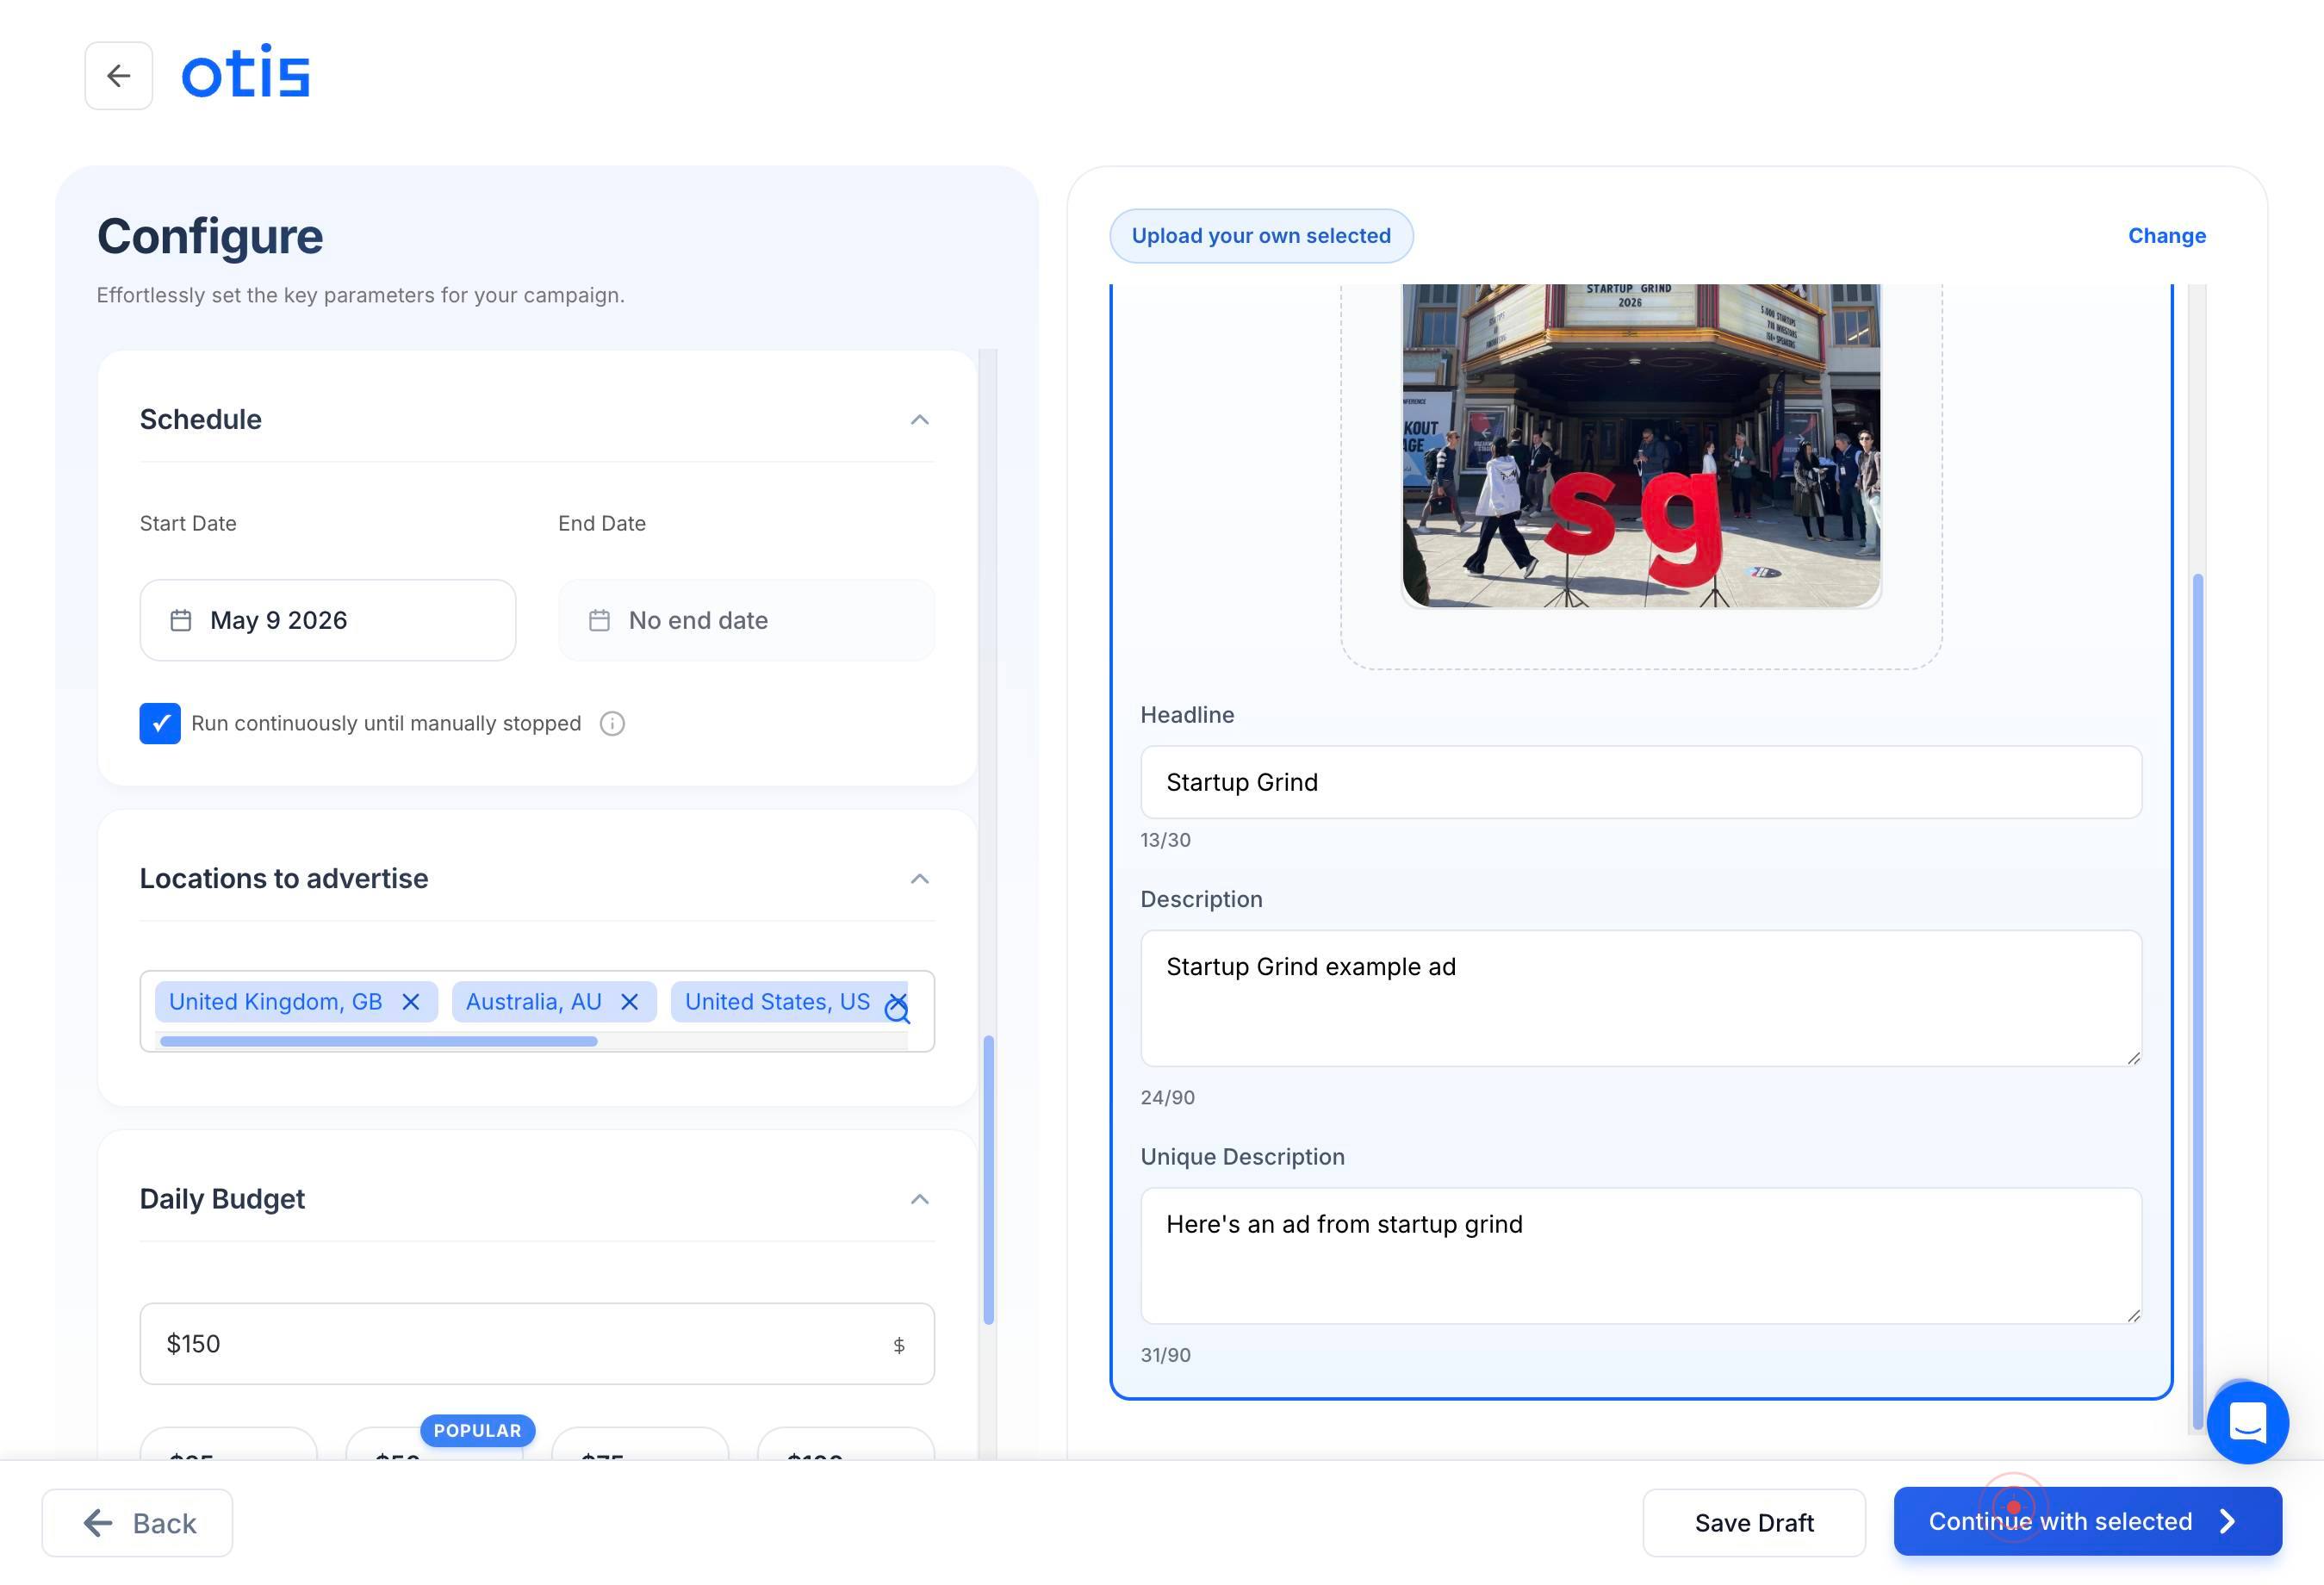
Continue with selectedClick 'Continue with selected' to confirm your launch date and proceed to platform and channel selection.
Google SearchSelect 'Google Search' as one of your advertising channels by clicking on it. This enables your ads to appear in Google Search results for relevant queries.
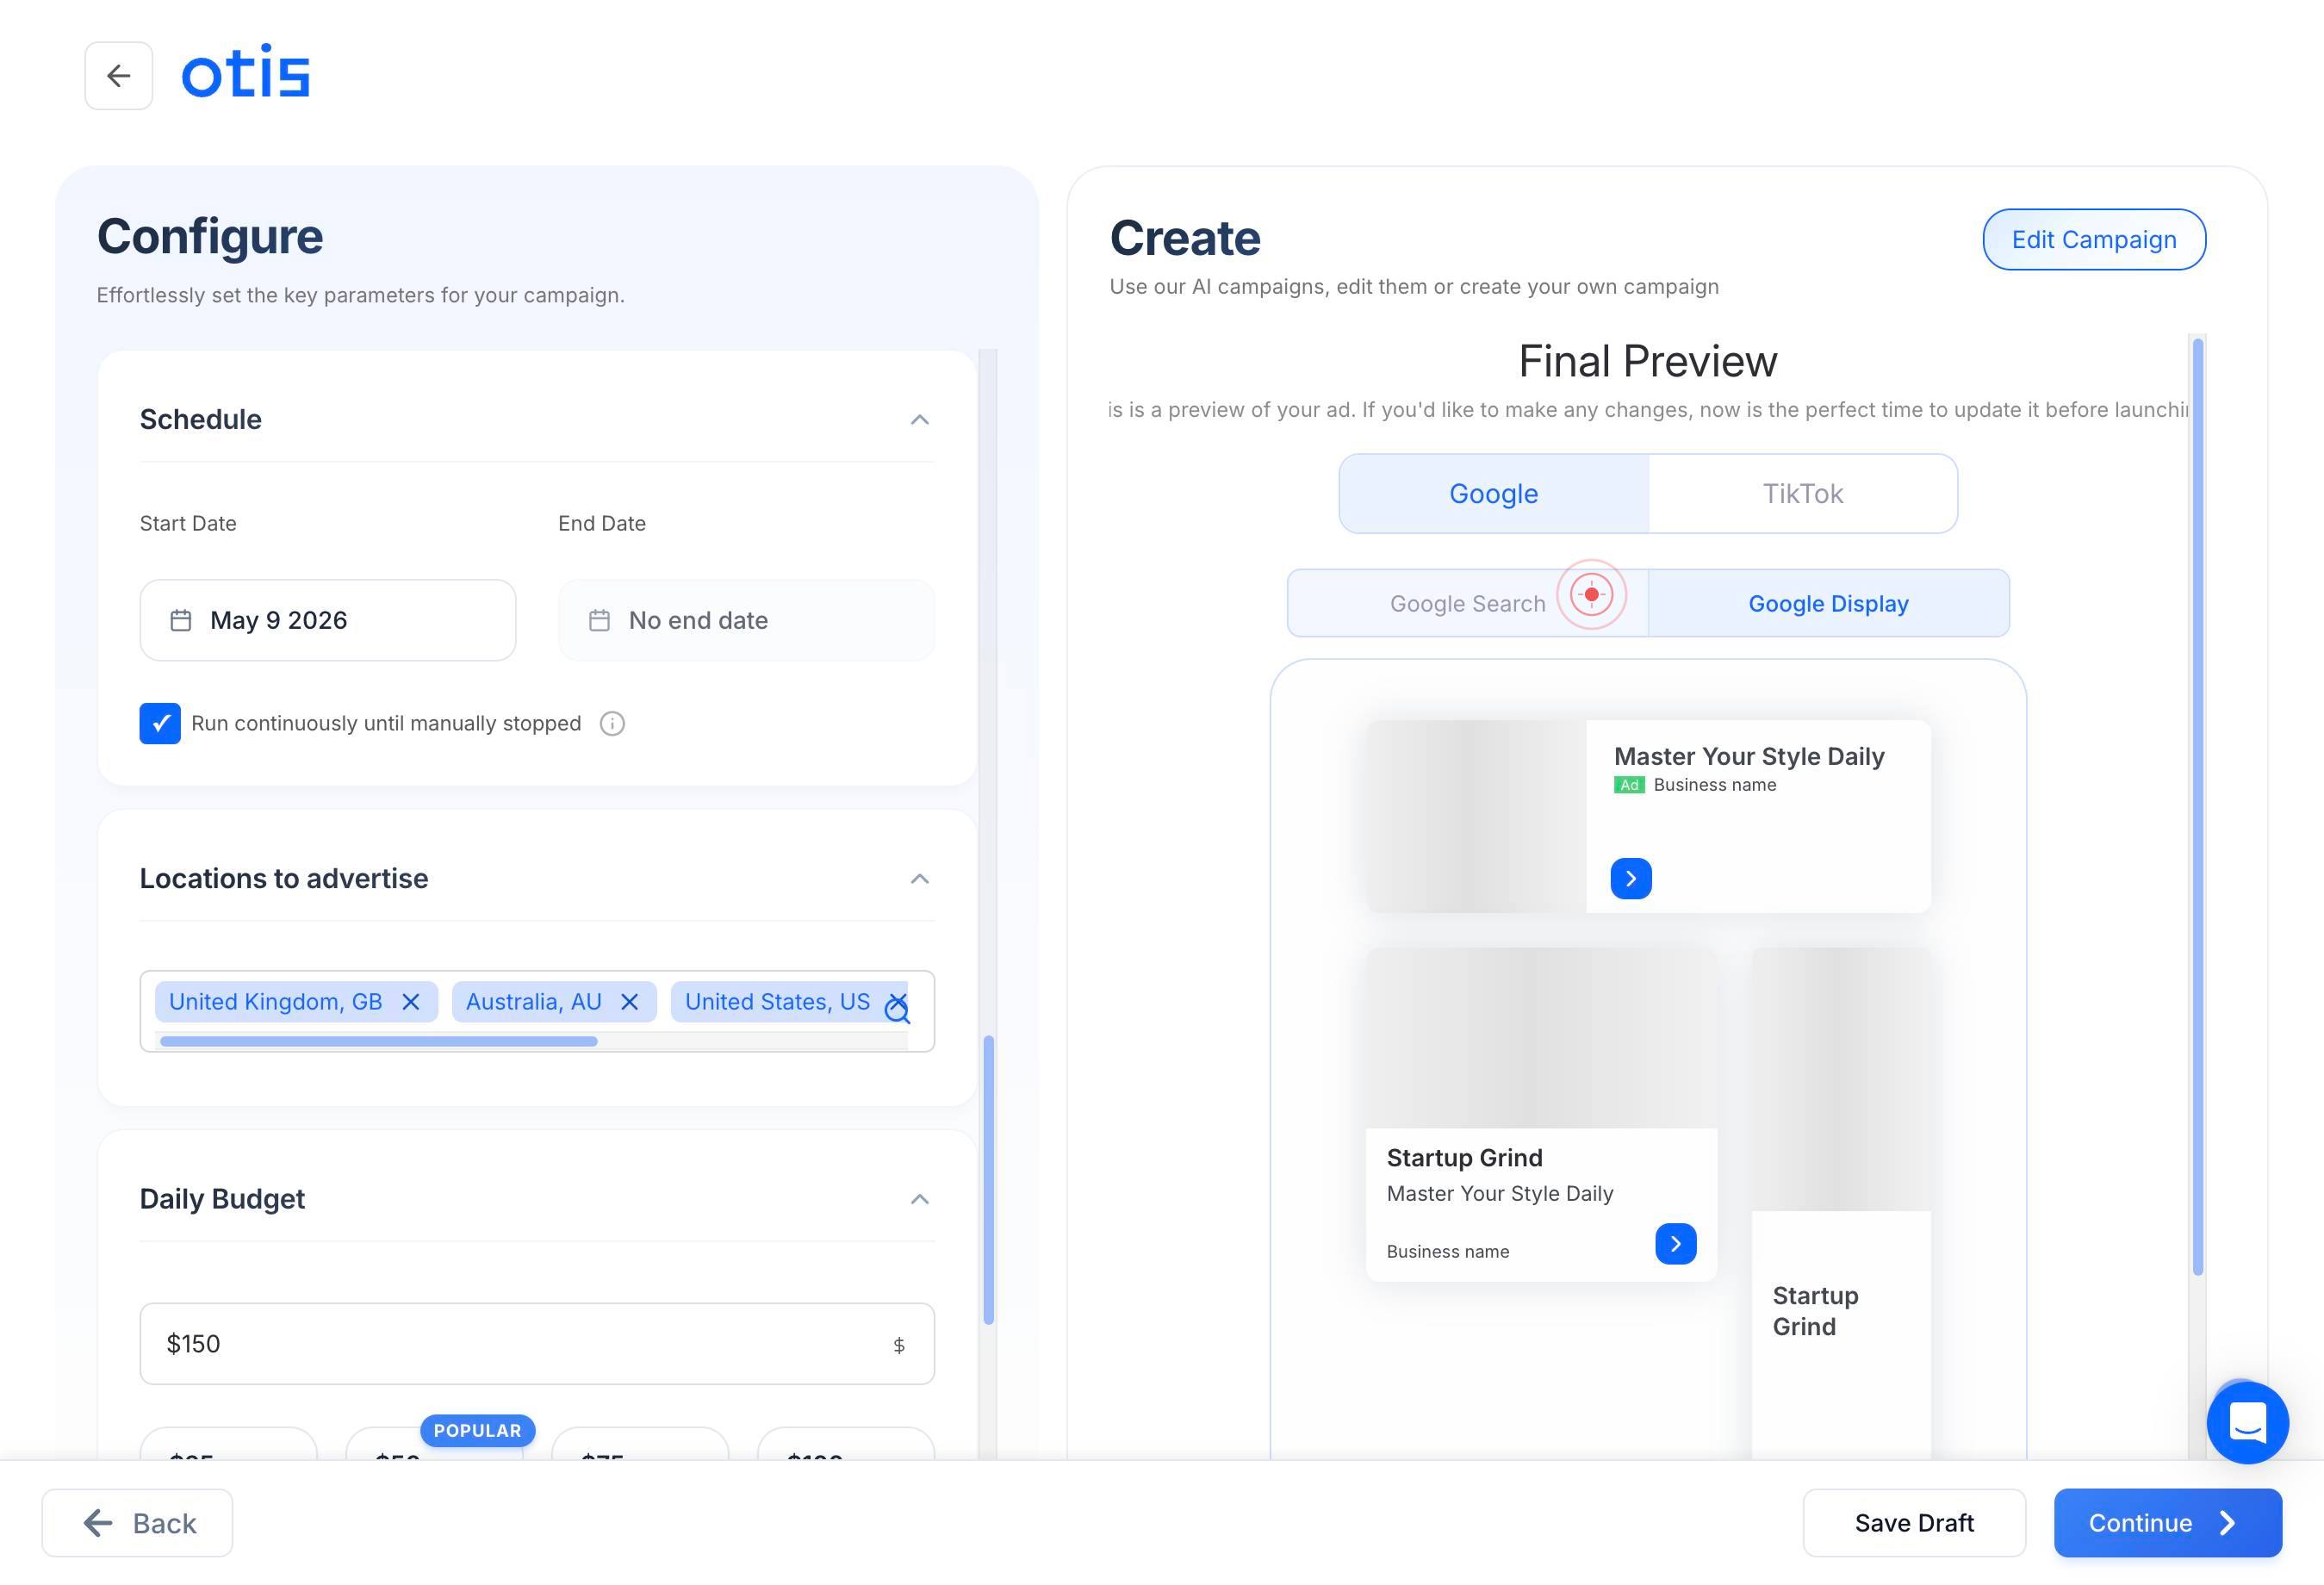
Google DisplaySelect 'Google Display' as another advertising channel by clicking on it. This extends your reach to display ads across Google's network of partner websites and apps.
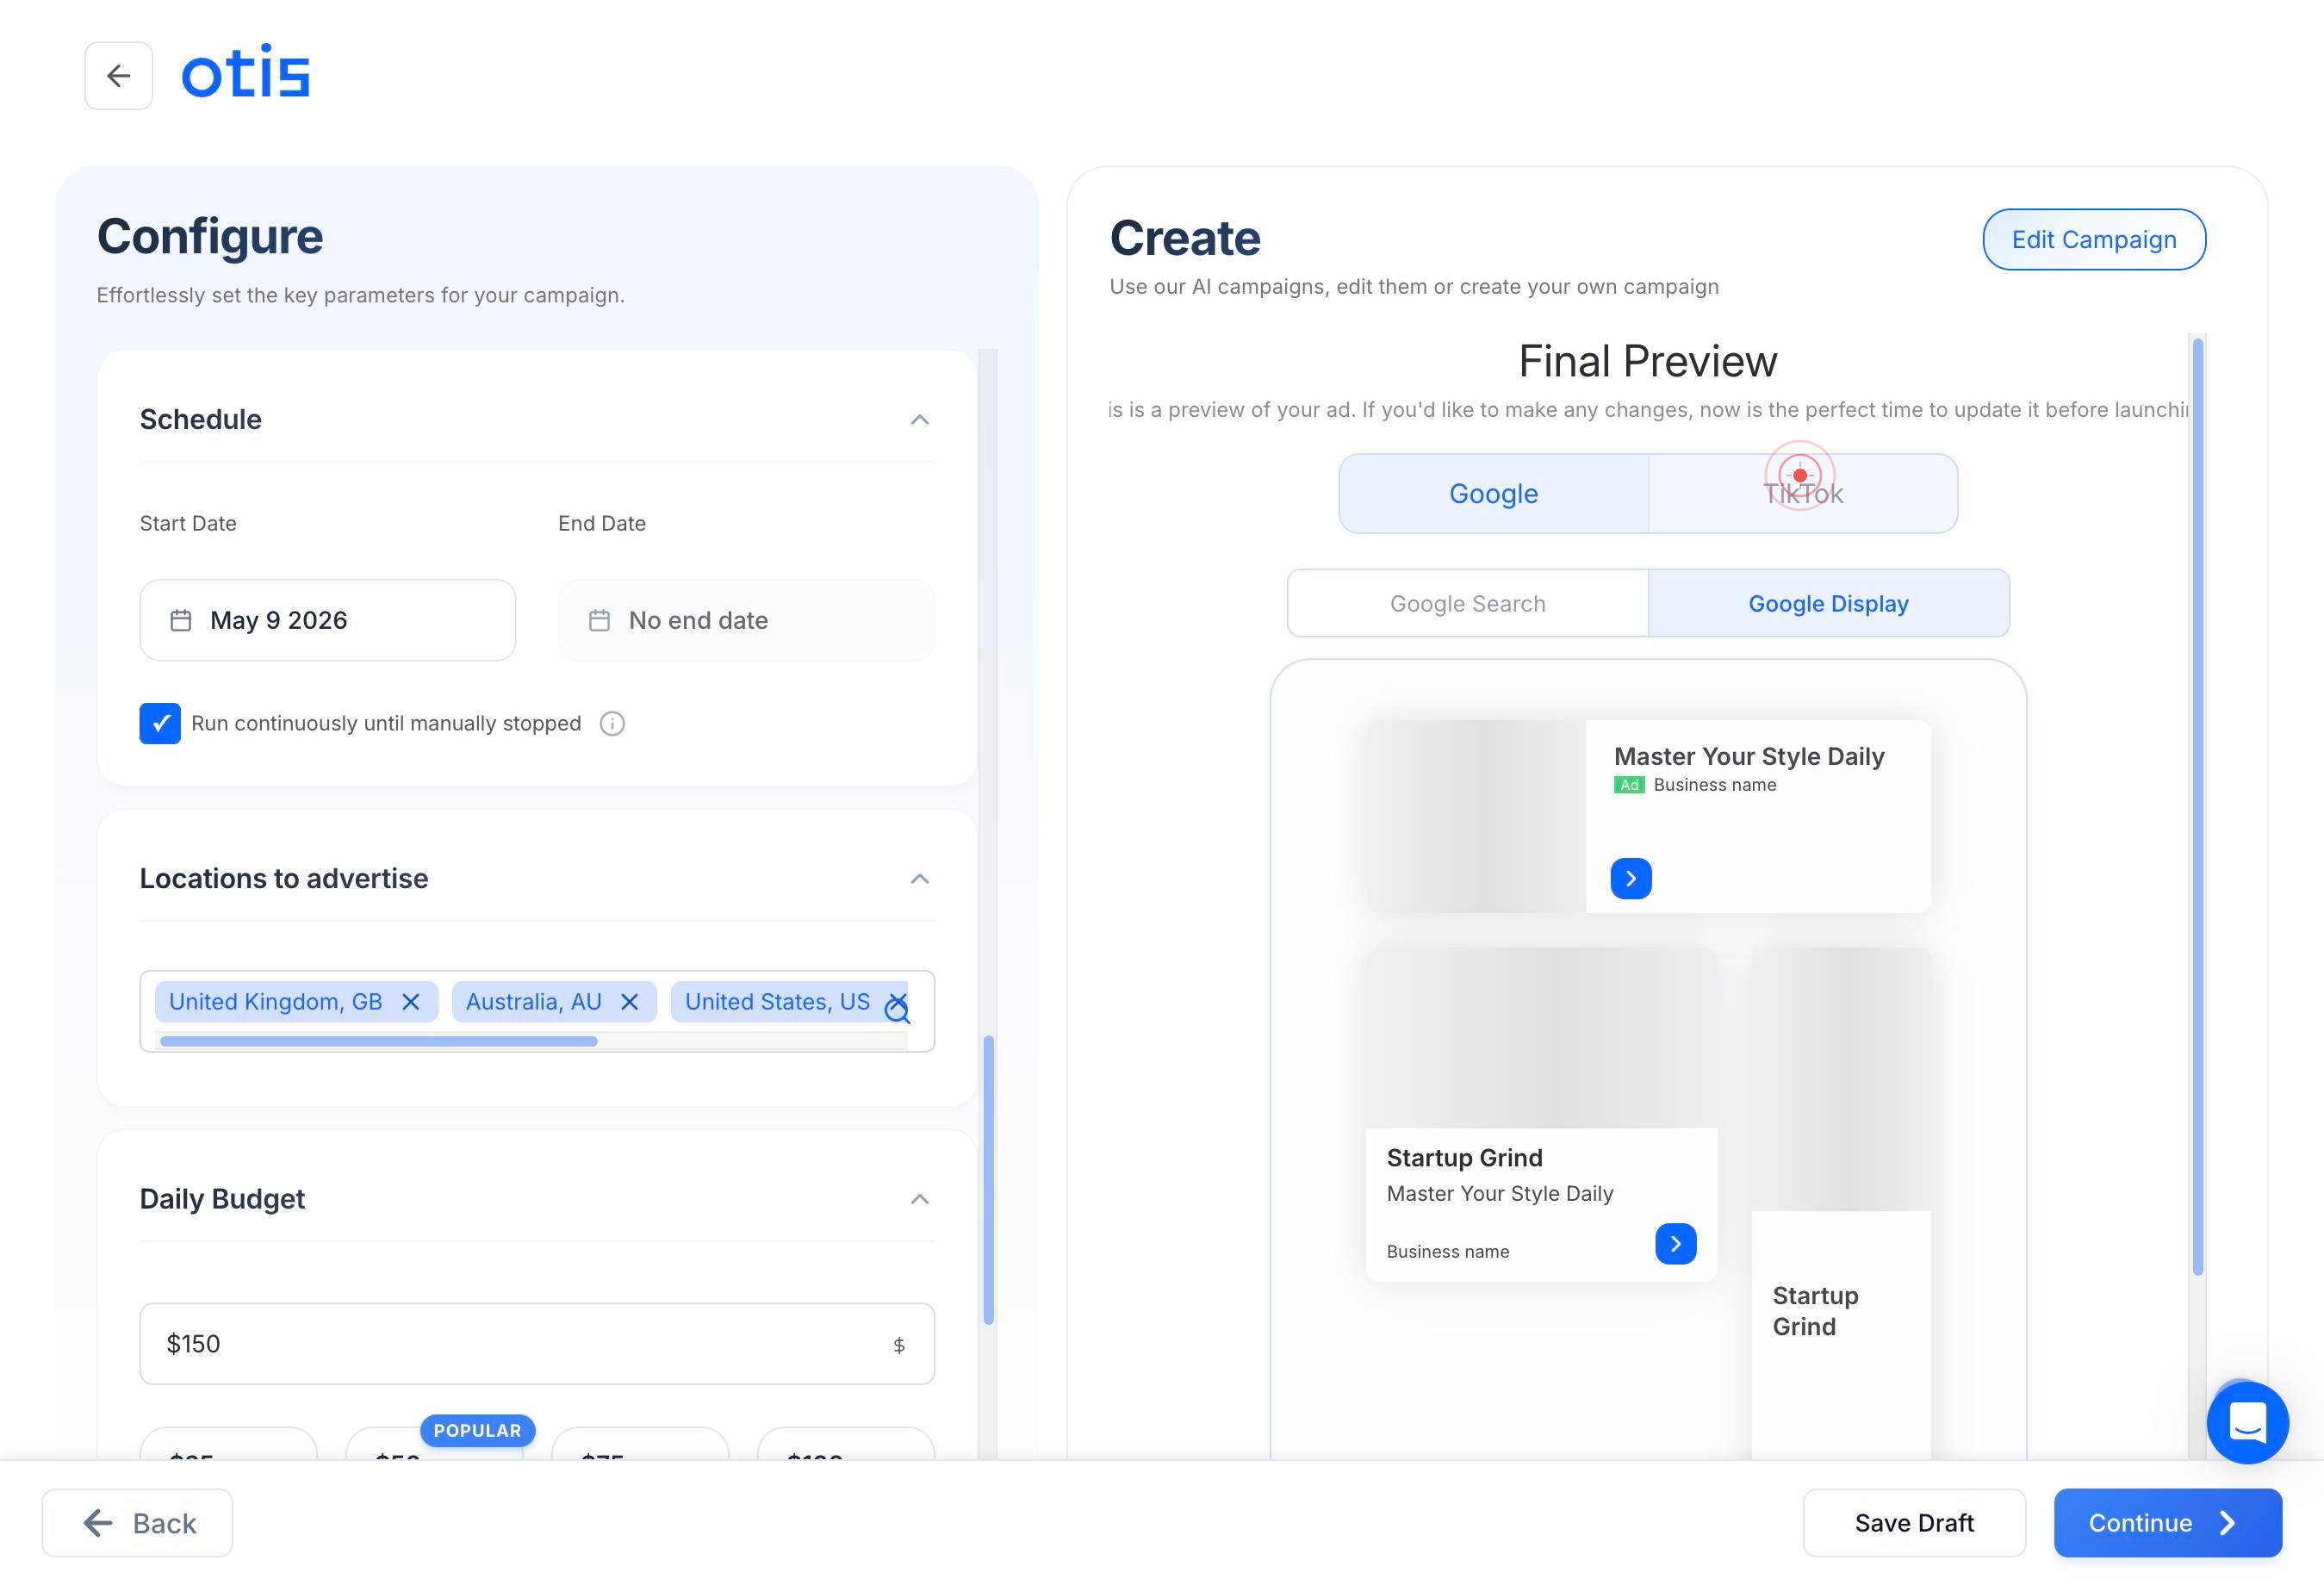
TikTokSelect 'TikTok' as a final advertising channel by clicking on it. This makes your ads eligible to appear in TikTok feeds and Explore pages, reaching younger, trend-conscious audiences.
ContinueClick the final 'Continue' button to submit and save your campaign. Your campaign is now scheduled to launch on the date you selected across all chosen platforms (Google Search, Google Display, TikTok, and any social platforms you authenticated).
Confirm it worked
- 1Campaign creation form is fully populated with your URL, ad copy, uploaded media, headline, primary description, and secondary context visible on screen
- 2Selected advertising channels (Facebook, Instagram, Google Search, Google Display, TikTok) are highlighted or checked in the platform selection step
- 3Scheduled launch date appears in the date picker field (e.g., 'Feb 10 2026')
- 4A success confirmation message displays after clicking the final 'Continue' button, or campaign appears in your active/scheduled campaigns list
Common issues
Keep reading
How to Create a Google Ads Campaign Step-by-Step (2026) | AdsGo Blog
How to Create a Google Ads Campaign Step-by-Step (2026) | AdsGo Blog AdsGo Mobile is live! Create and launch campaigns on the go. How-to # How to Create a Google Ads Campaign Step-by-Step (2026) C
adsgo.aiCreate a campaign - Google Ads Help
Create a campaign - Google Ads Help # Create a campaign Next: Set up your bid and budget A campaign allows you to promote your products or services on Google’s vast network of search results, websi
support.google.comCreate campaigns
Create campaigns Skip to content Home Knowledge Base Documentation - Developer Documentation Reference for API & CMS development - Knowledge Base Setup, how-to, and troubleshooting guides Traini
knowledge.hubspot.com