Guide
Create a Help Center on Browzer
Overview
Browzer is a browser workflow automation and documentation platform that transforms recorded actions into structured, step-by-step SOPs. Creating a Help Center portal on Browzer establishes a dedicated knowledge base where you can publish documentation, guides, and procedures for your team or customers. This workflow walks you through the portal setup process—from naming and configuring your Help Center to activating it for public or internal access. Once created and enabled, your portal becomes a live resource where users can discover and follow your auto-generated documentation.
Before you begin
- Active Browzer account with access to trybrowzer.com
- Admin or portal creation permissions within your Browzer workspace
- Decided portal name (e.g., 'Customer Help Center', 'Internal Knowledge Base')
- Chosen URL slug (a URL-safe identifier, typically lowercase and hyphens, e.g., 'customer-help' or 'internal-kb')
Step by step
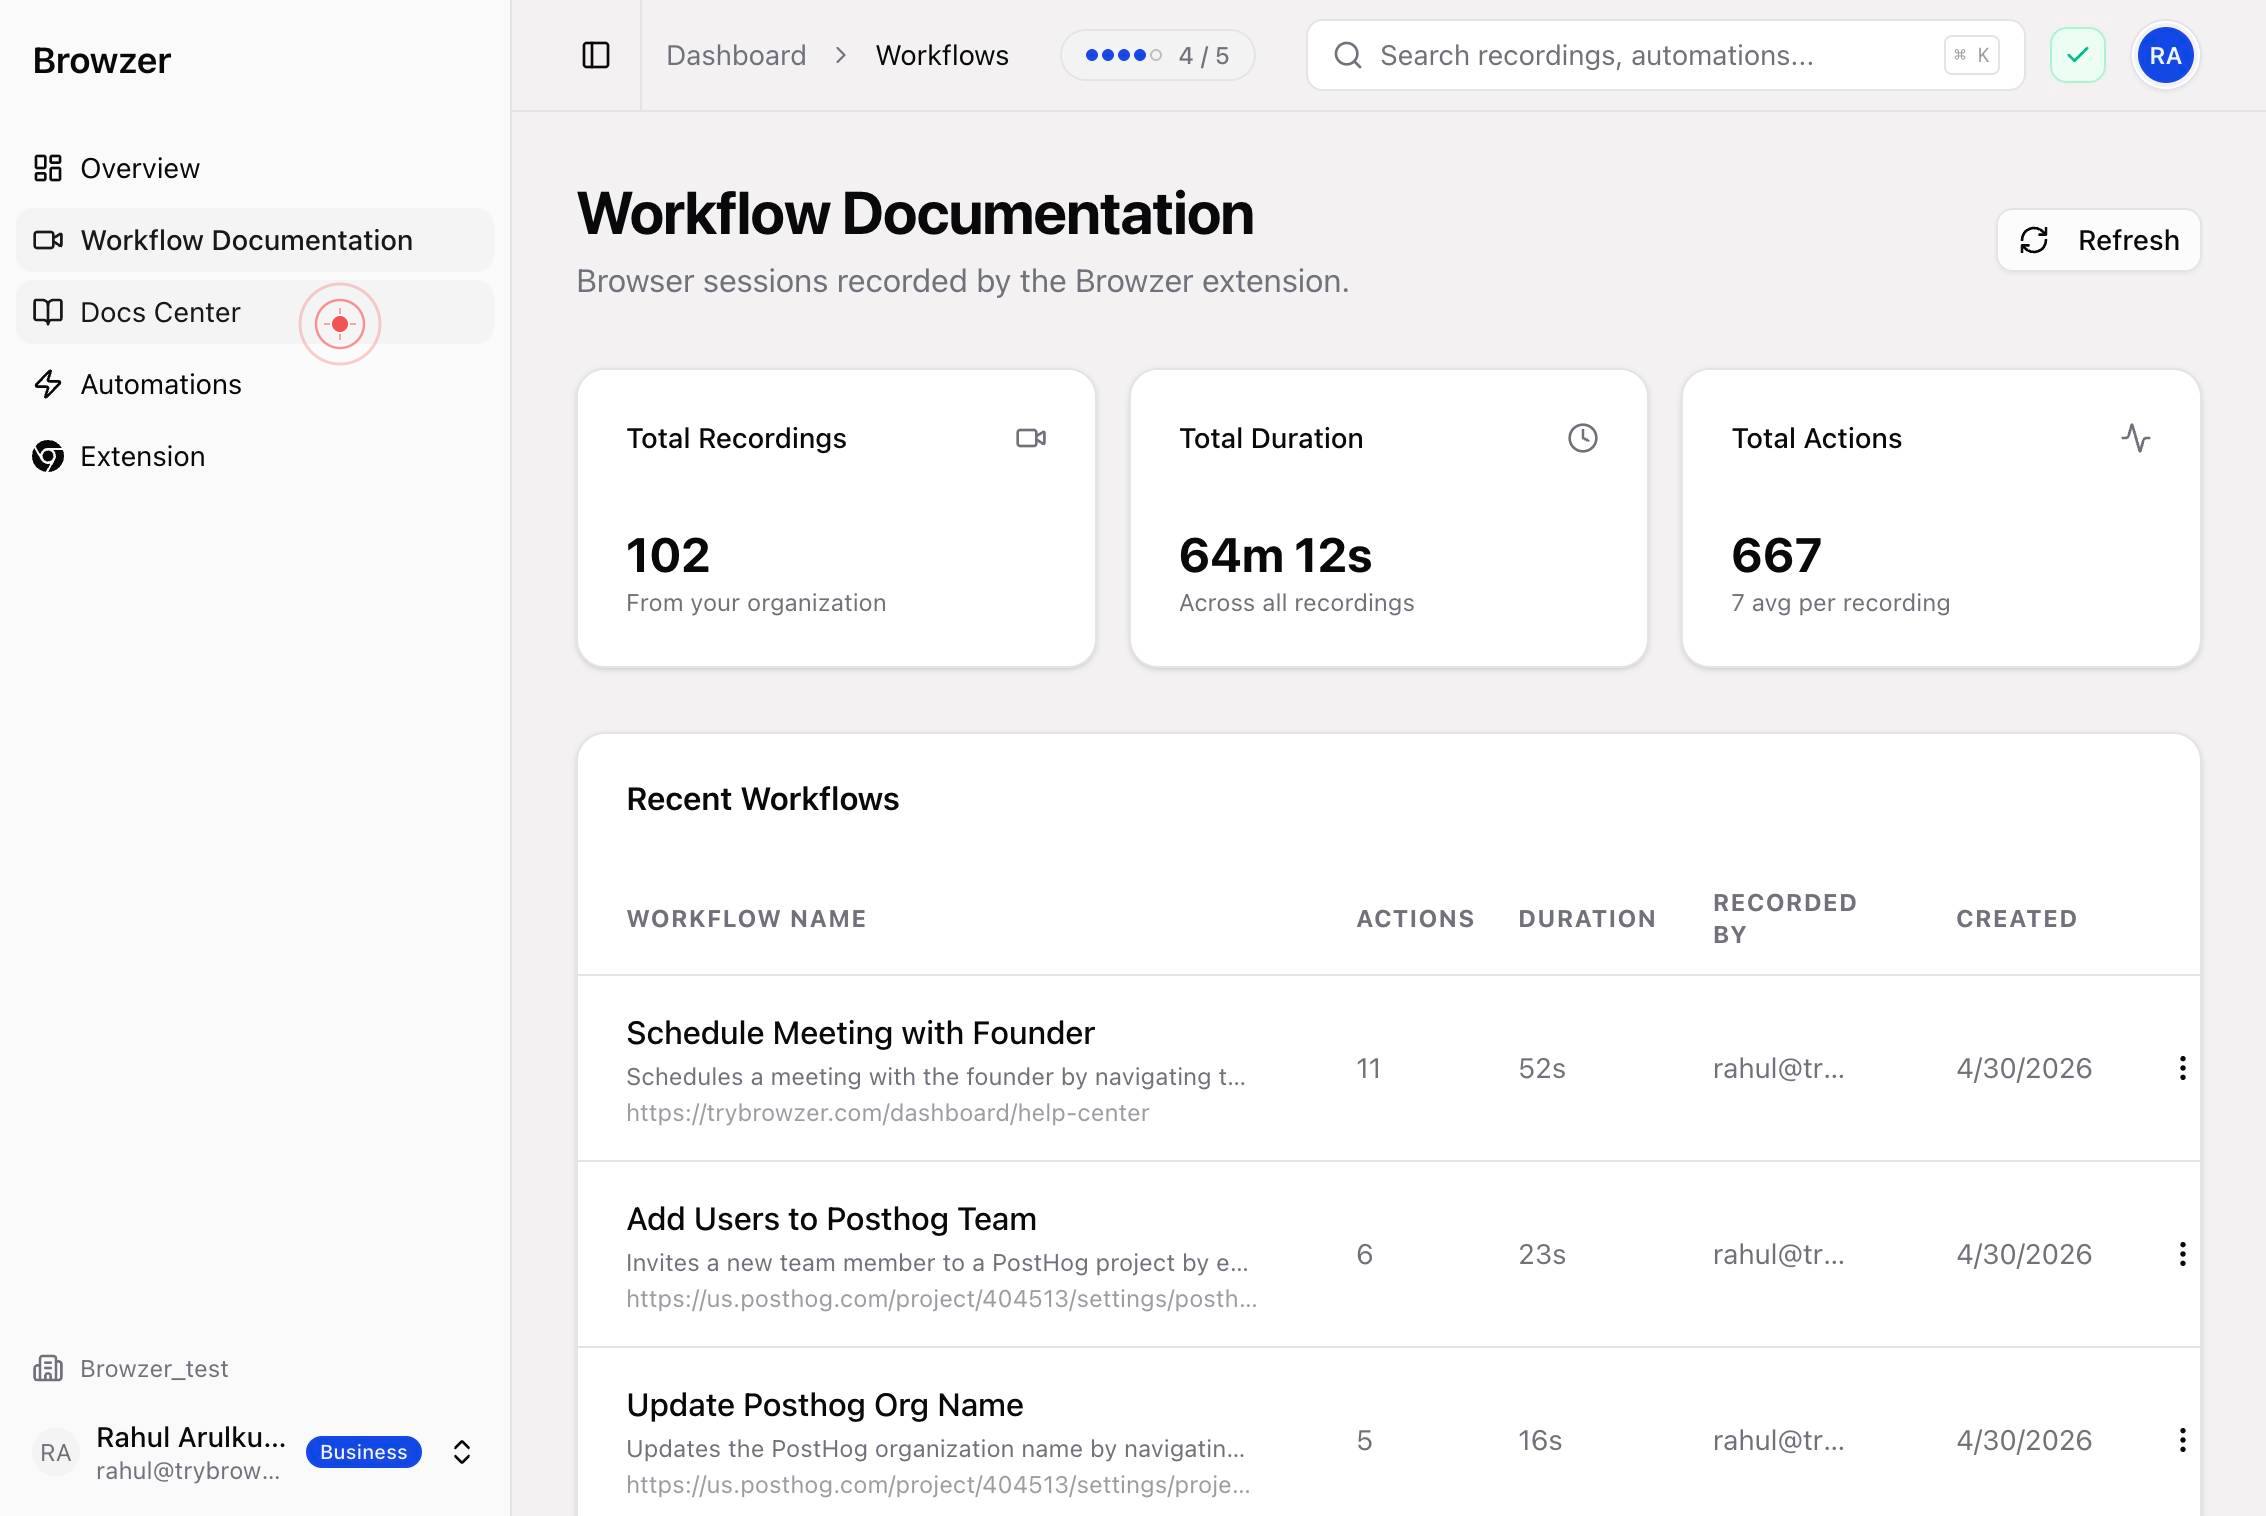
Docs CenterNavigate to the Docs Center by clicking the 'Docs Center' link in the main navigation. This is where you manage all Help Center portals and documentation in Browzer.
New PortalClick the 'New Portal' button to begin creating a fresh Help Center. This opens a modal dialog where you will define your portal's basic properties.

Portal TitleClick inside the 'Portal Title' text field to select it and prepare to enter your Help Center's name.
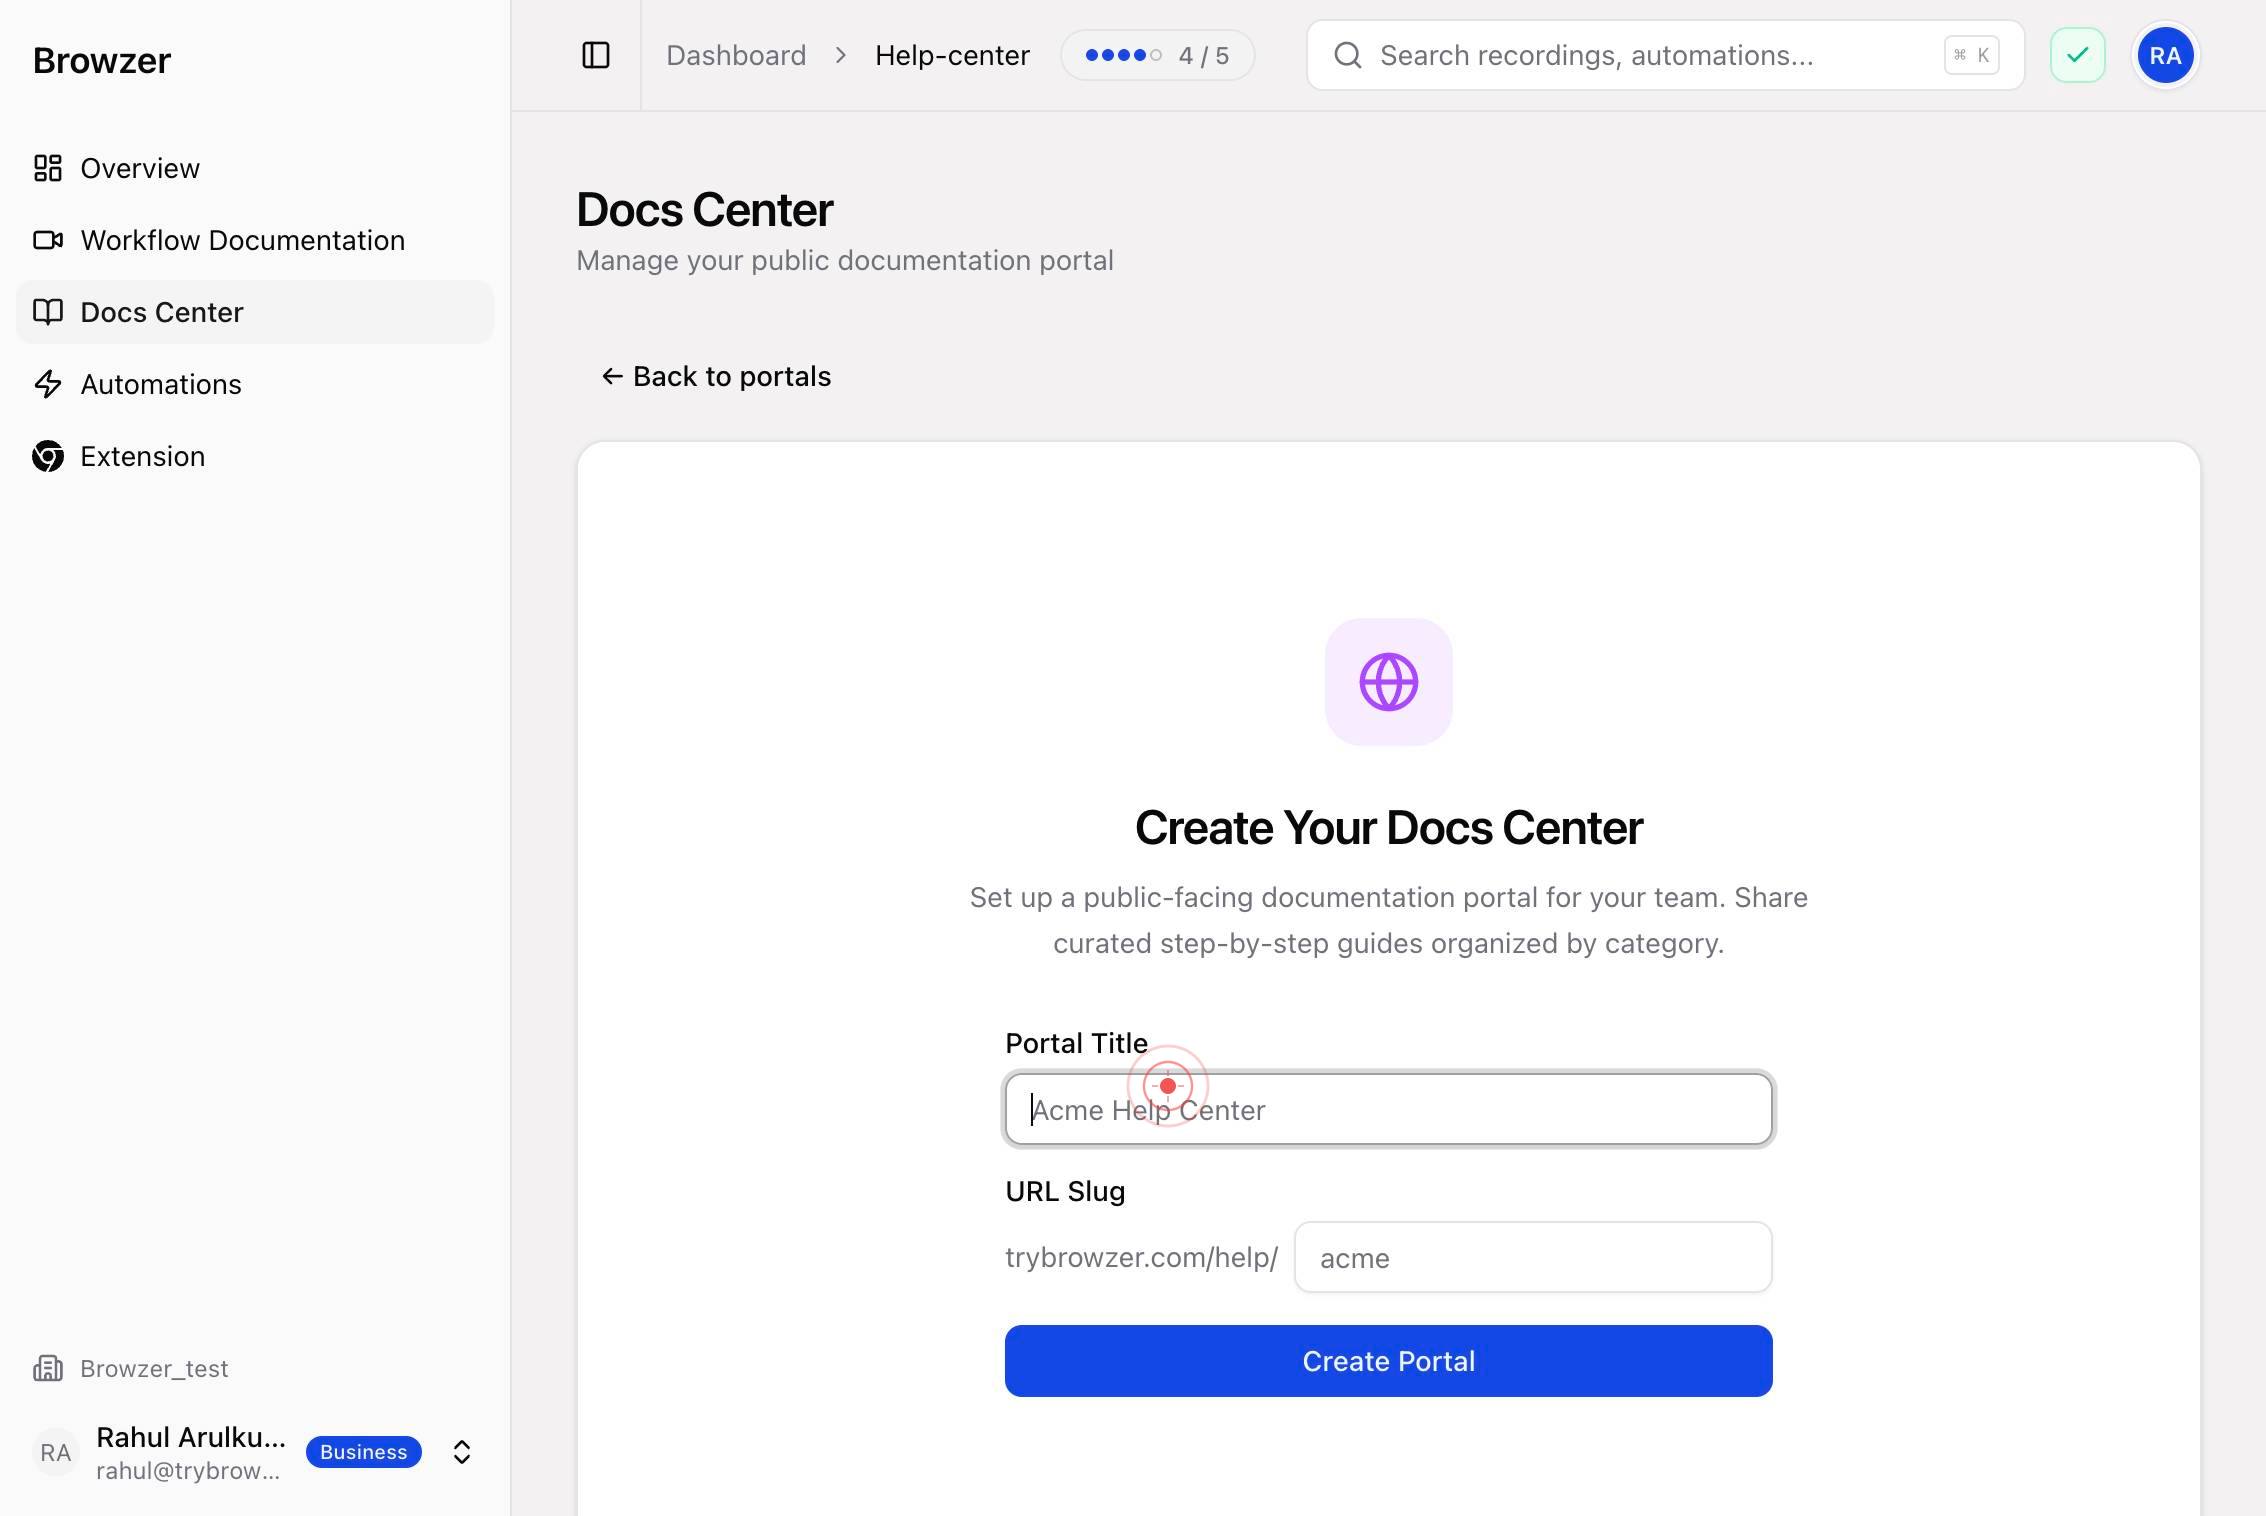
Portal TitleType your desired Help Center title (e.g., 'Customer Help Center', 'Internal Knowledge Base', or 'Product Documentation'). This name will appear at the top of your portal and in portal listings.
Press Tab to move focus from the Portal Title field to the URL Slug field. This keyboard shortcut speeds up form navigation without requiring a mouse click.
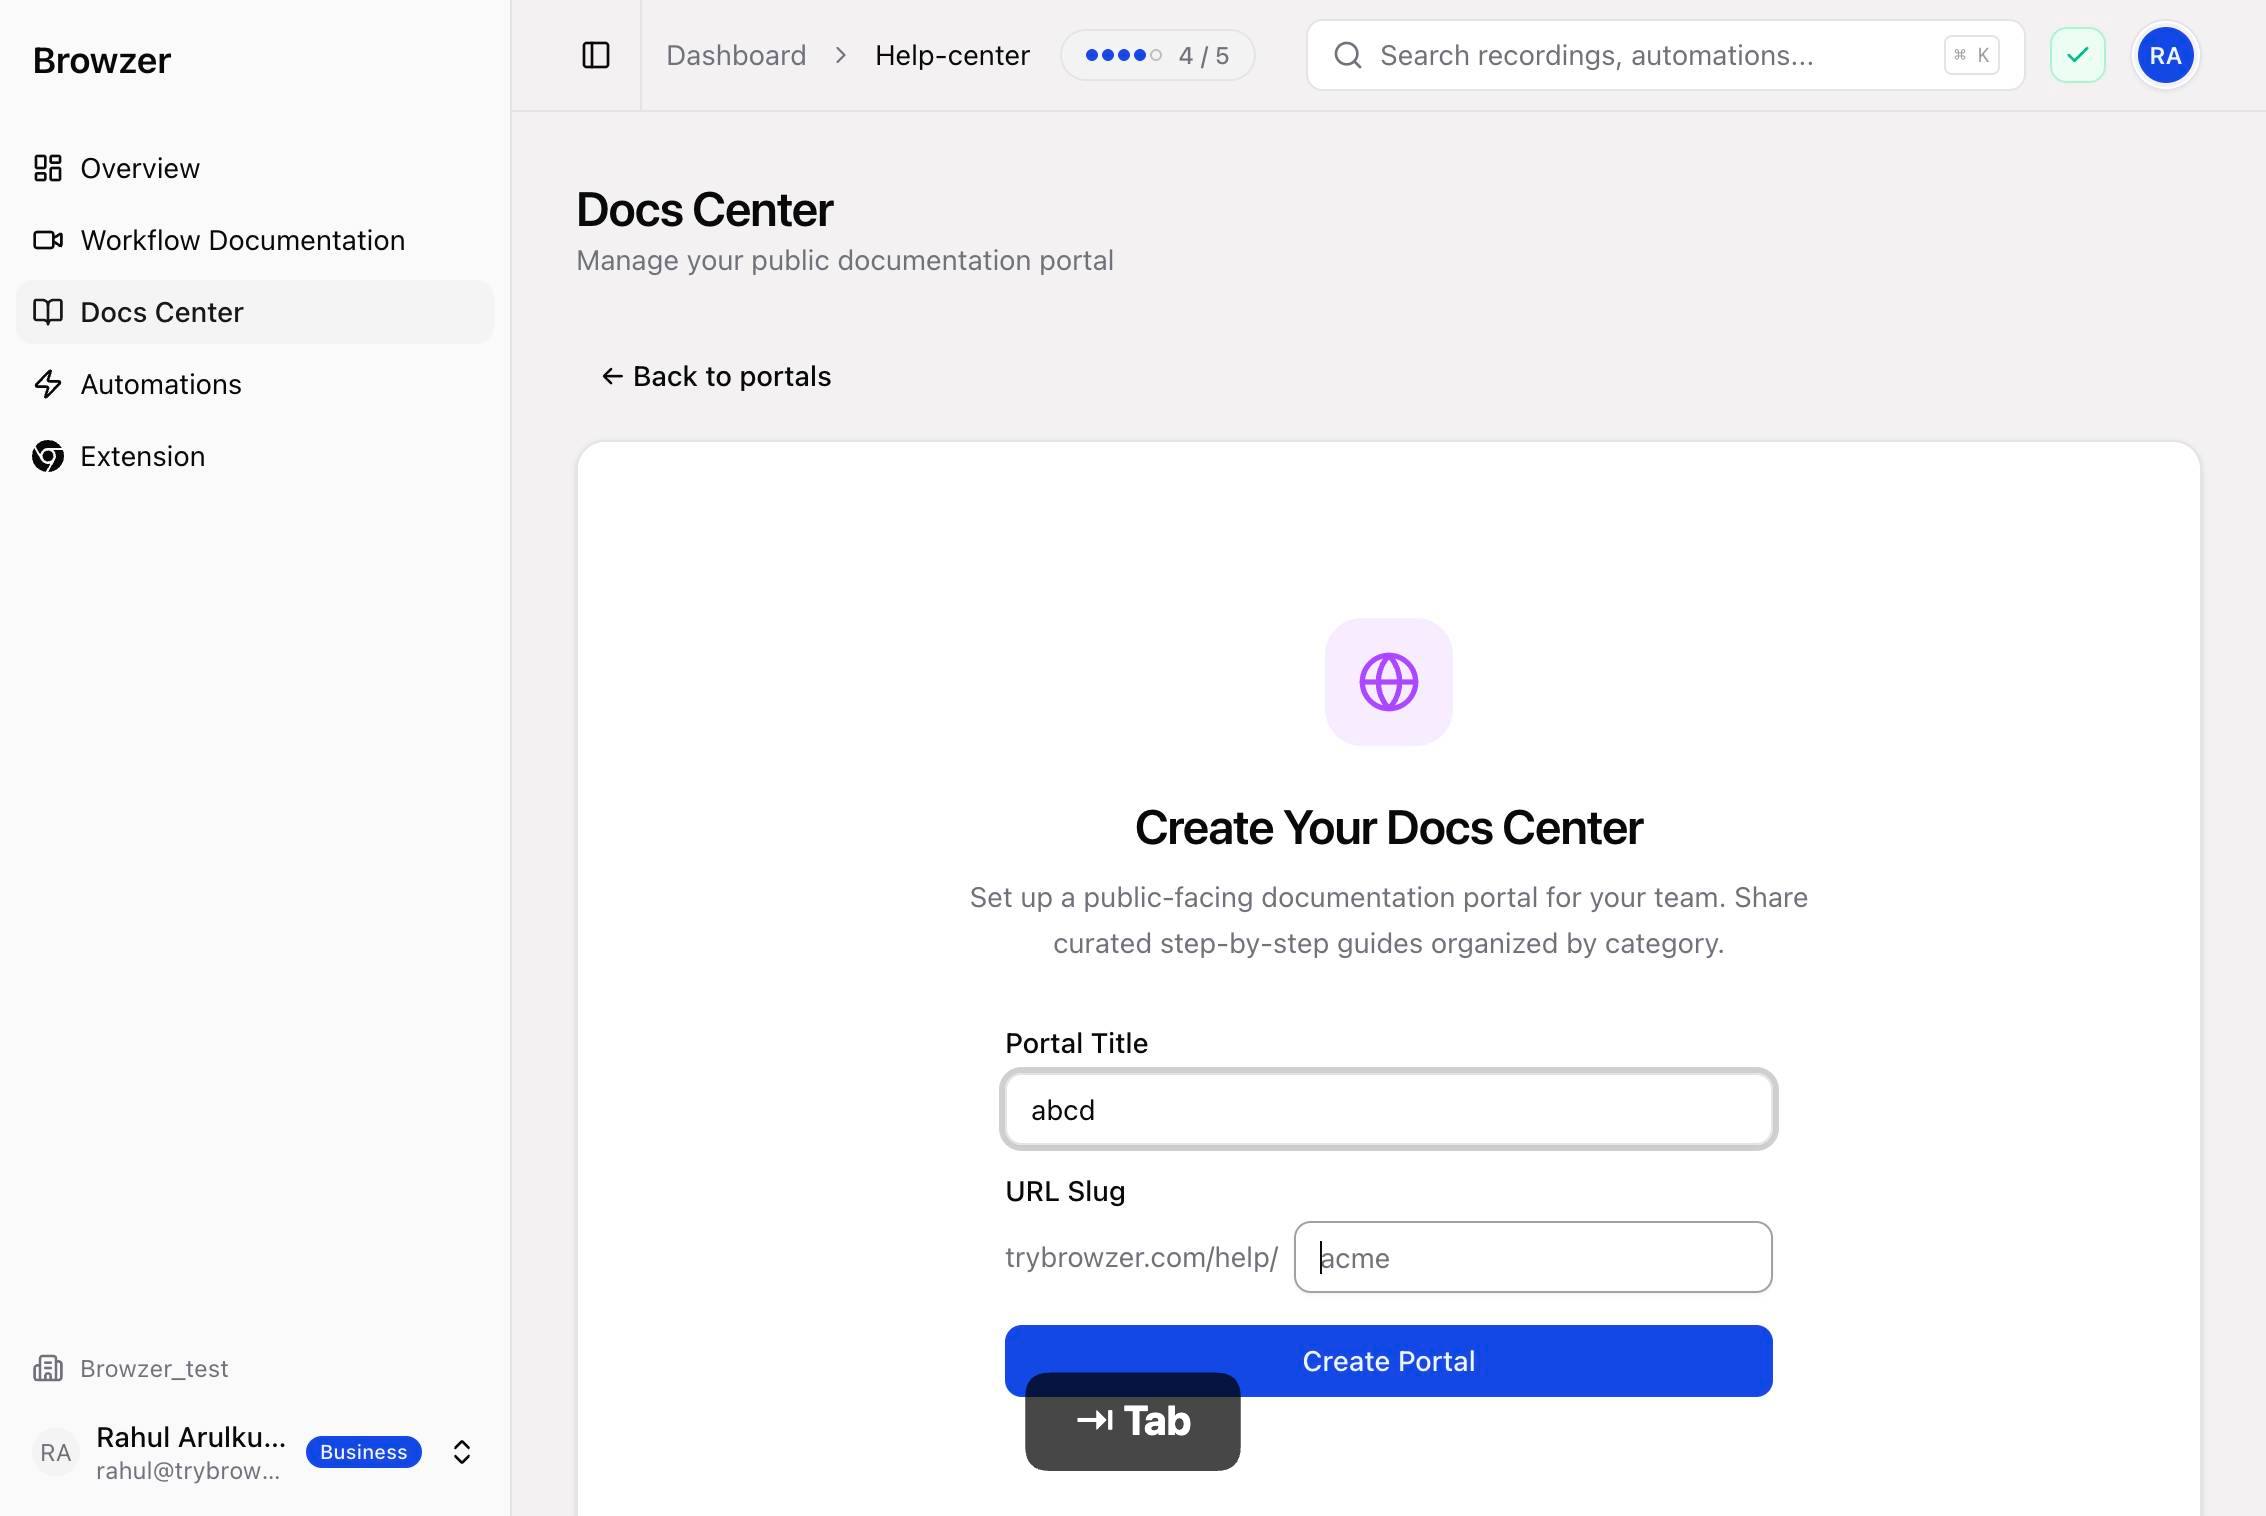
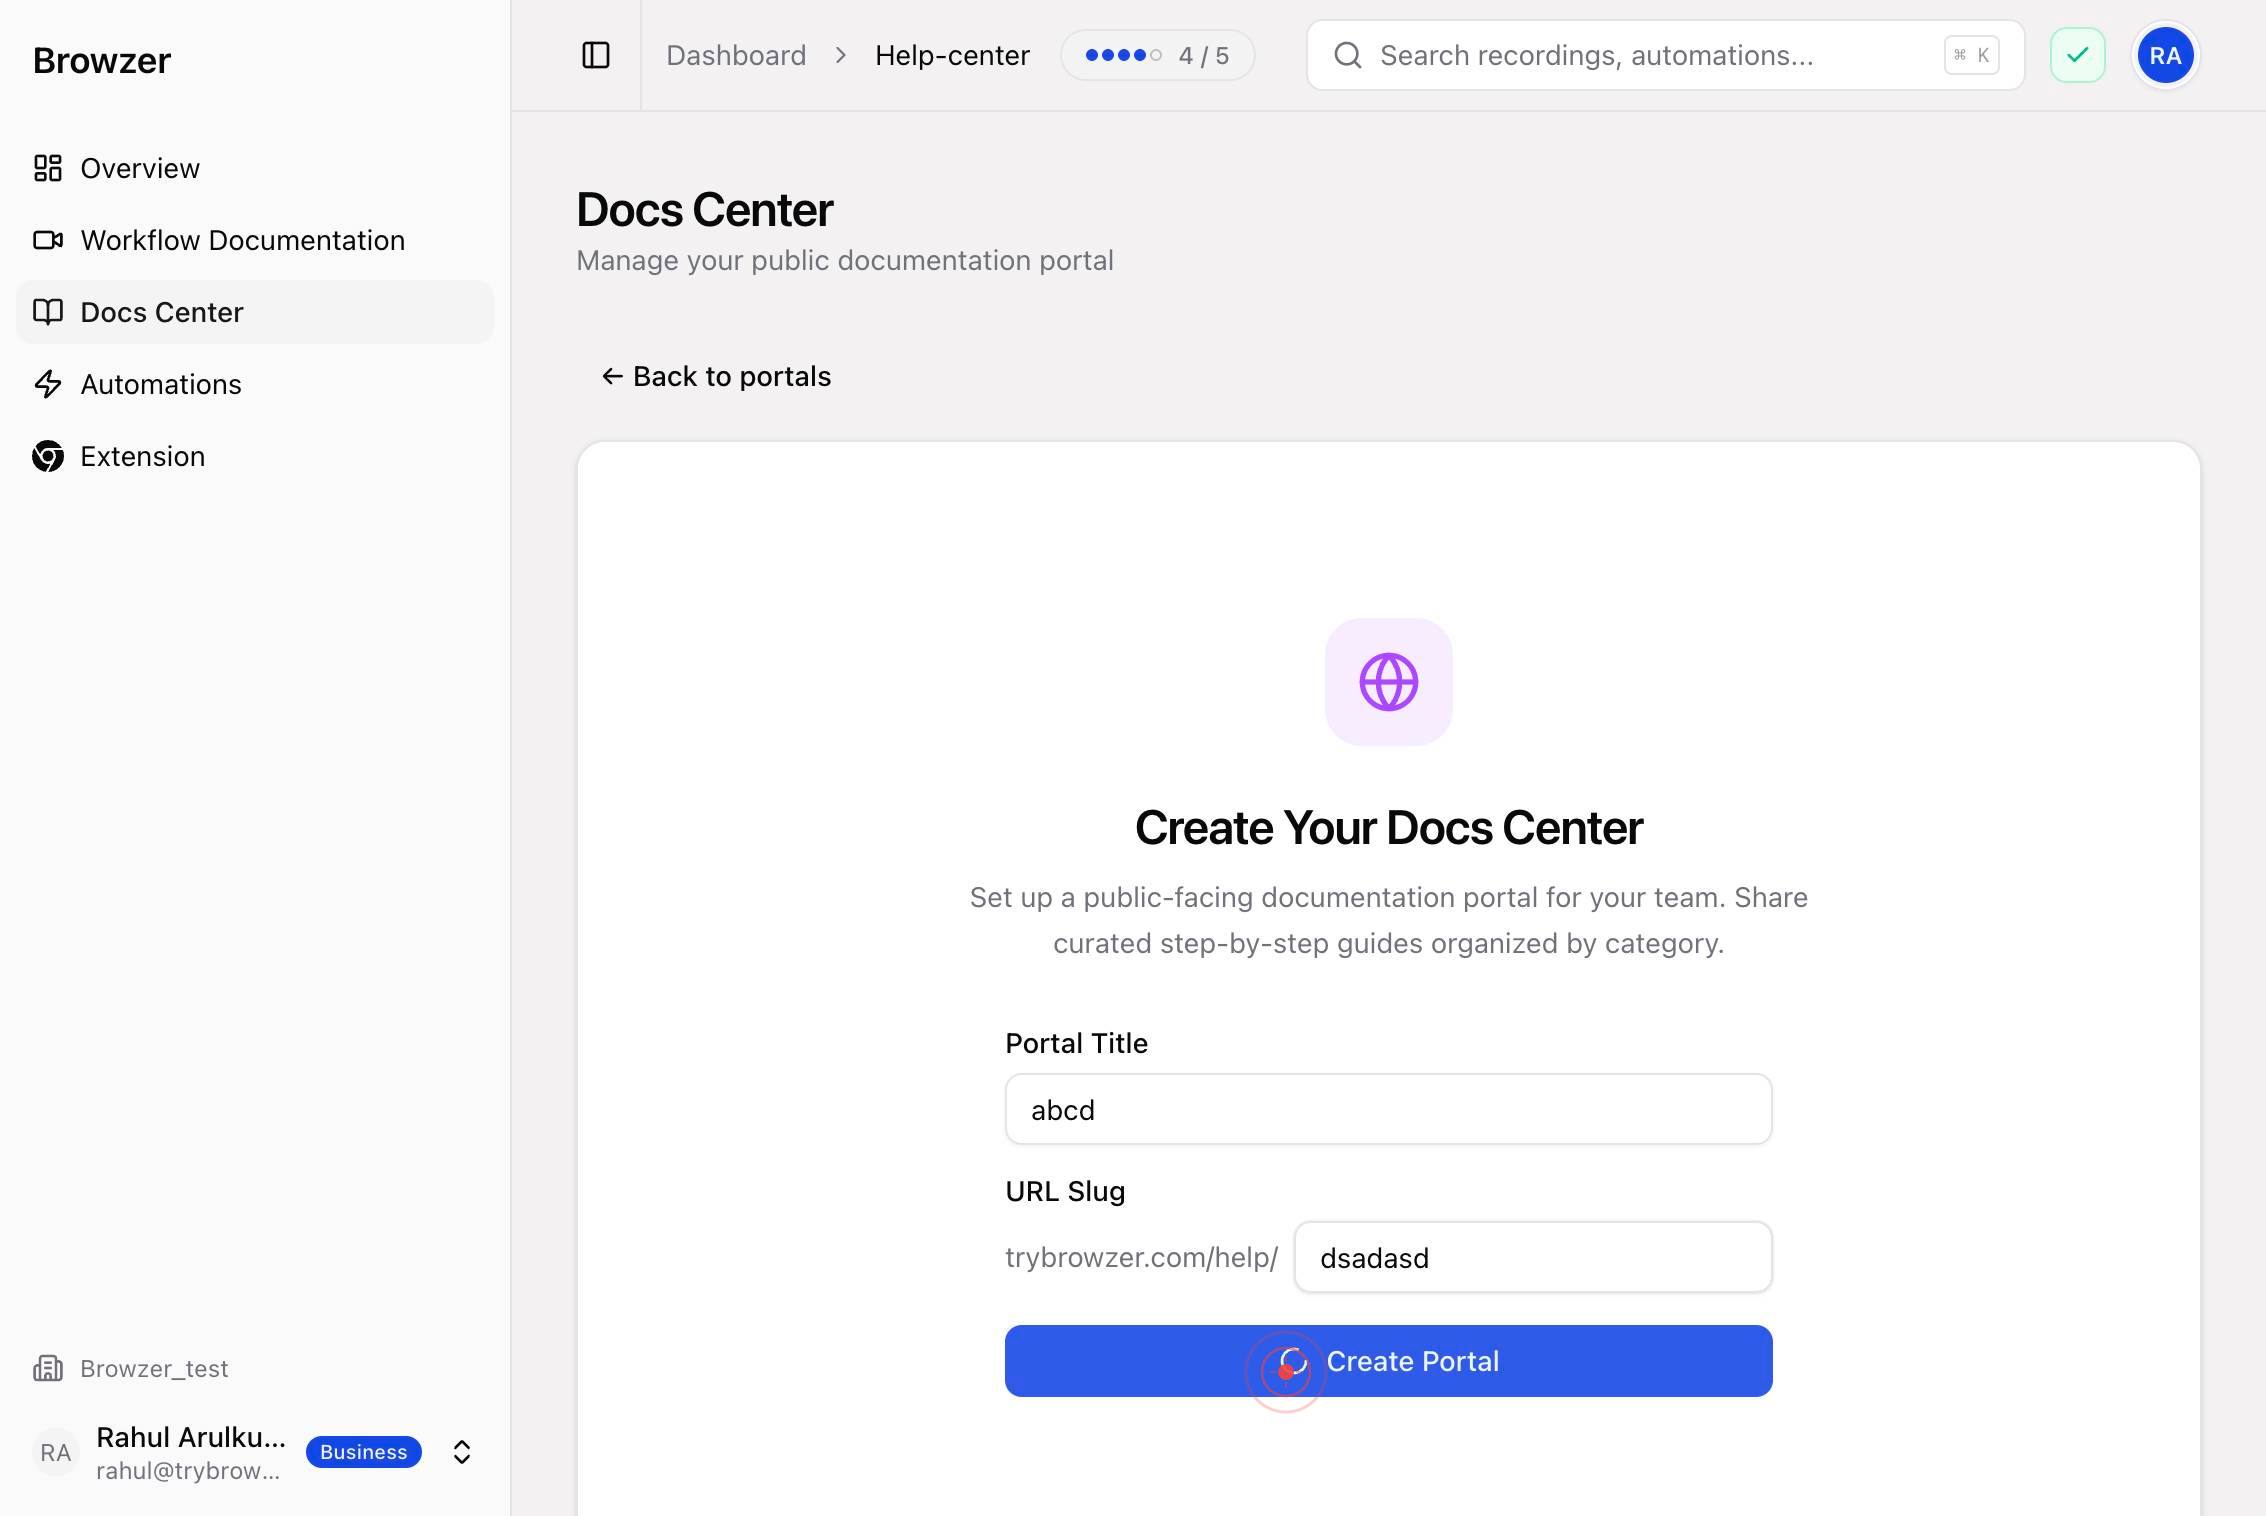
URL SlugType the URL slug for your portal—a URL-safe, unique identifier that will form part of your portal's web address (e.g., 'customer-help', 'internal-kb', or 'product-docs'). Use lowercase letters, numbers, and hyphens only.
Create PortalClick the 'Create Portal' button to finalize the portal's name and slug. Browzer will validate your entries and create the portal in a disabled state, ready for configuration.
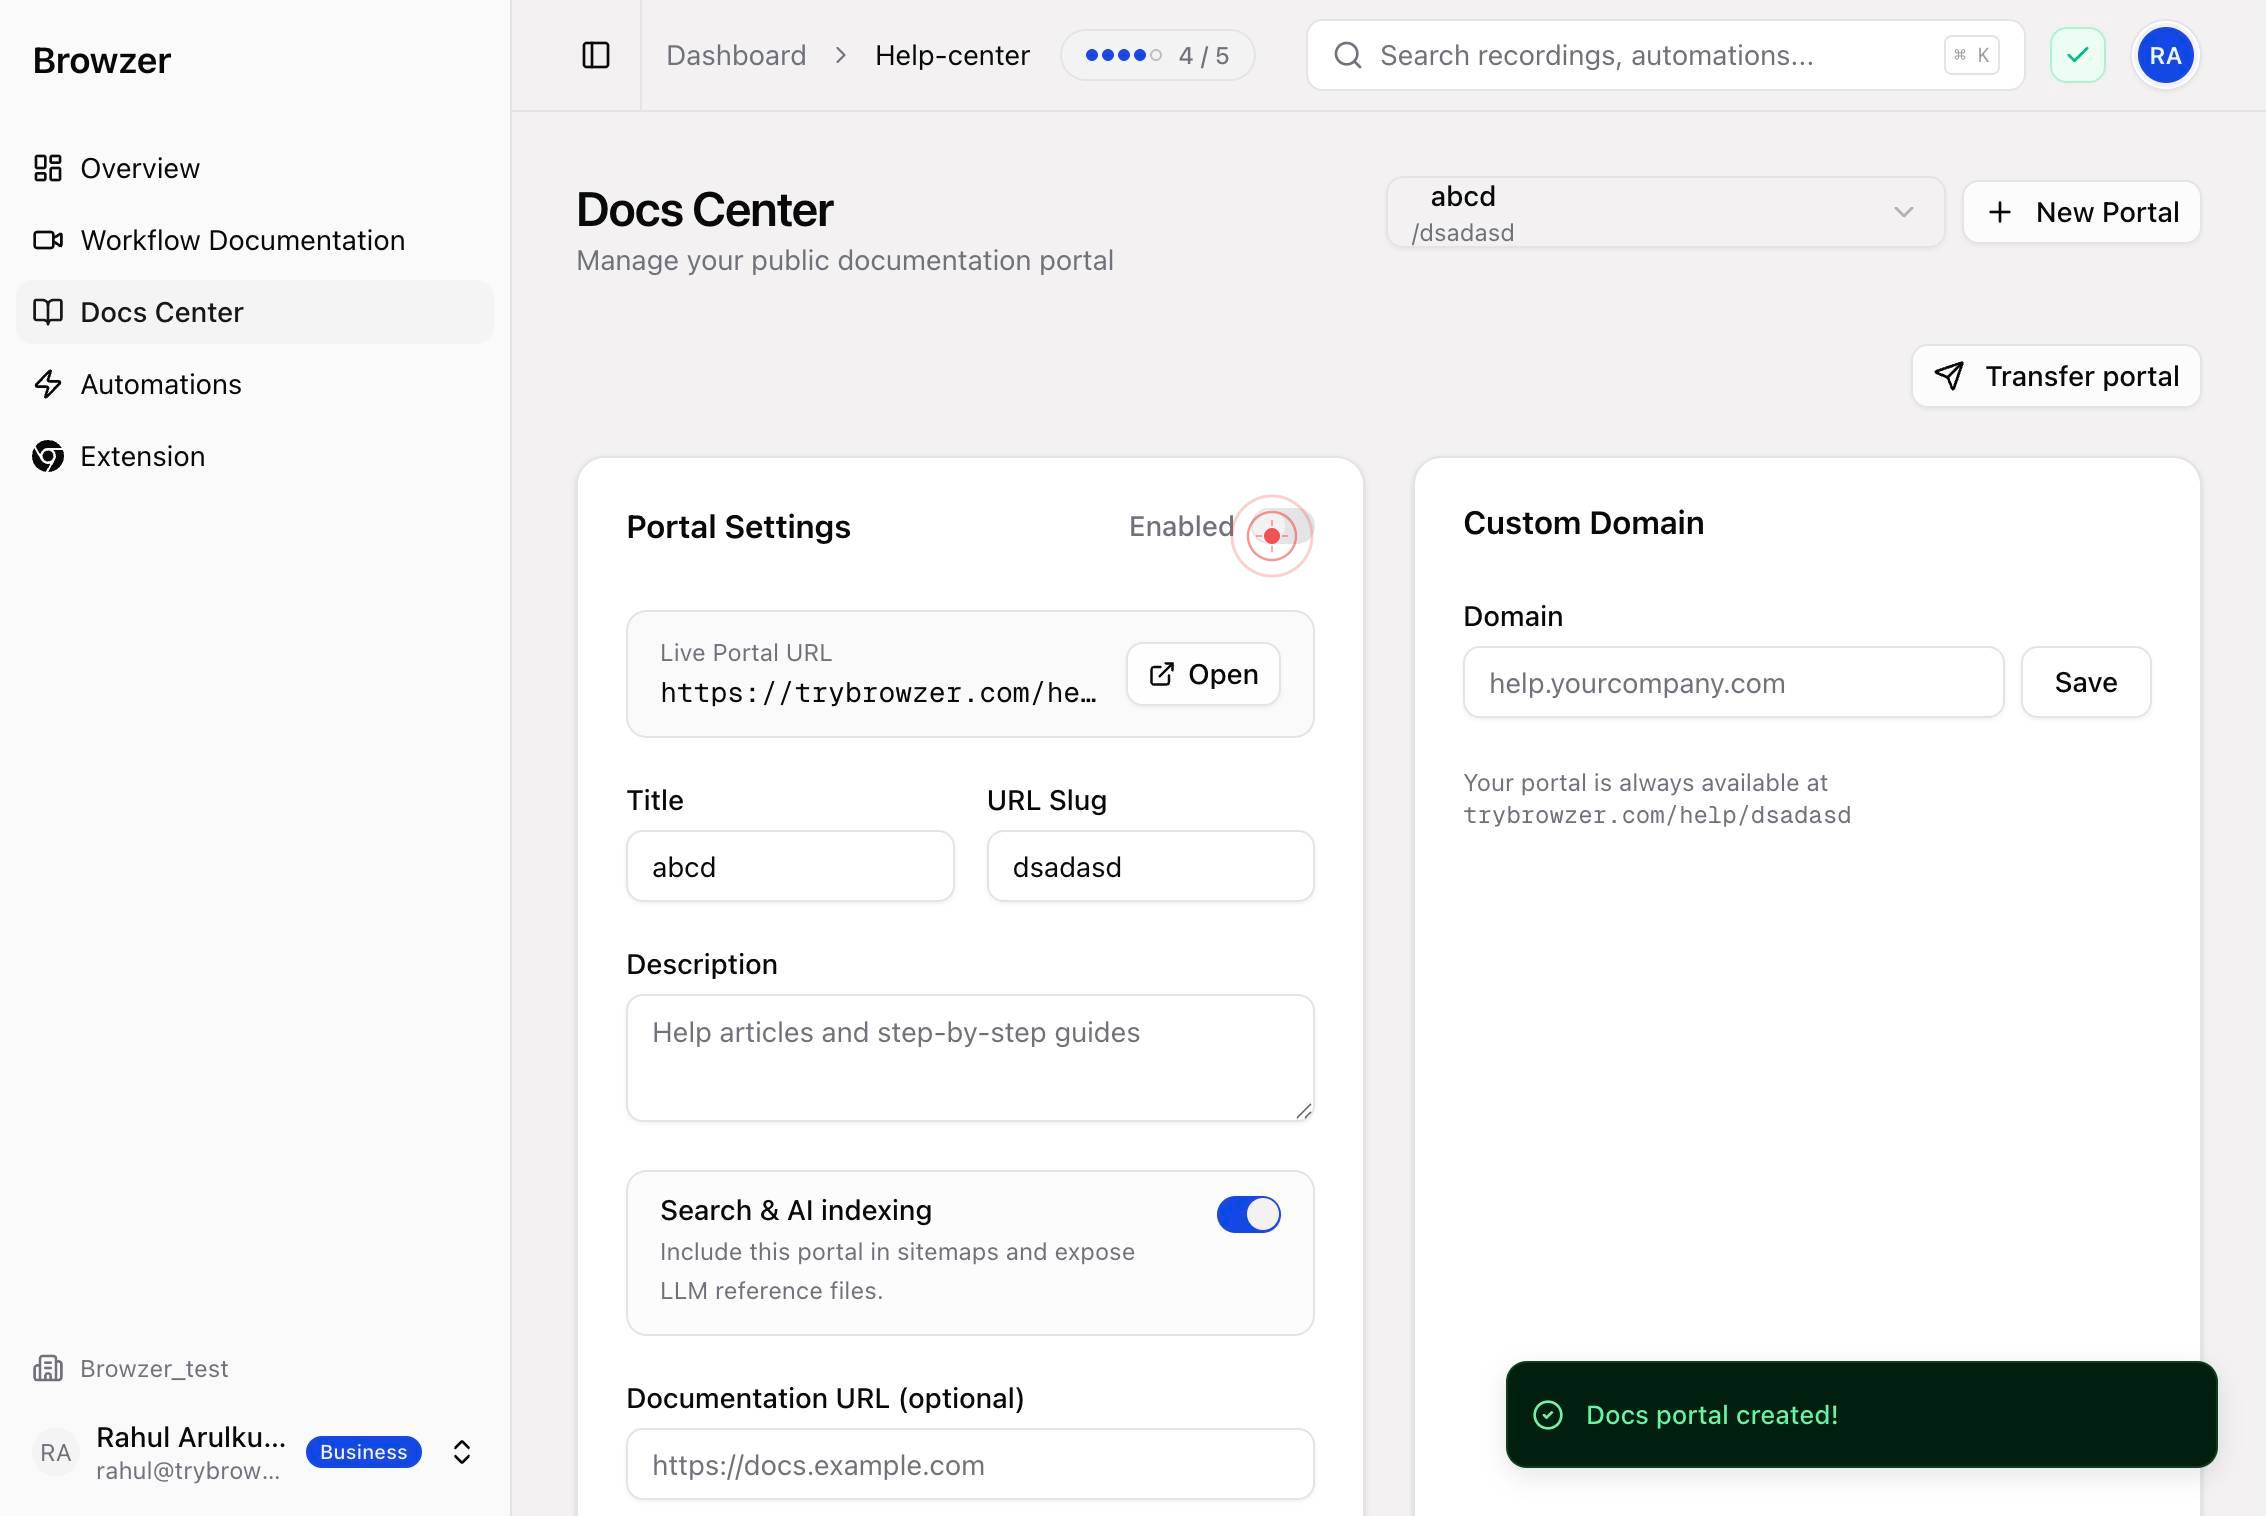
DisabledClick the 'Disabled' toggle switch to enable your portal. This activates the Help Center, making it accessible to your intended audience (team members or customers, depending on your sharing settings).
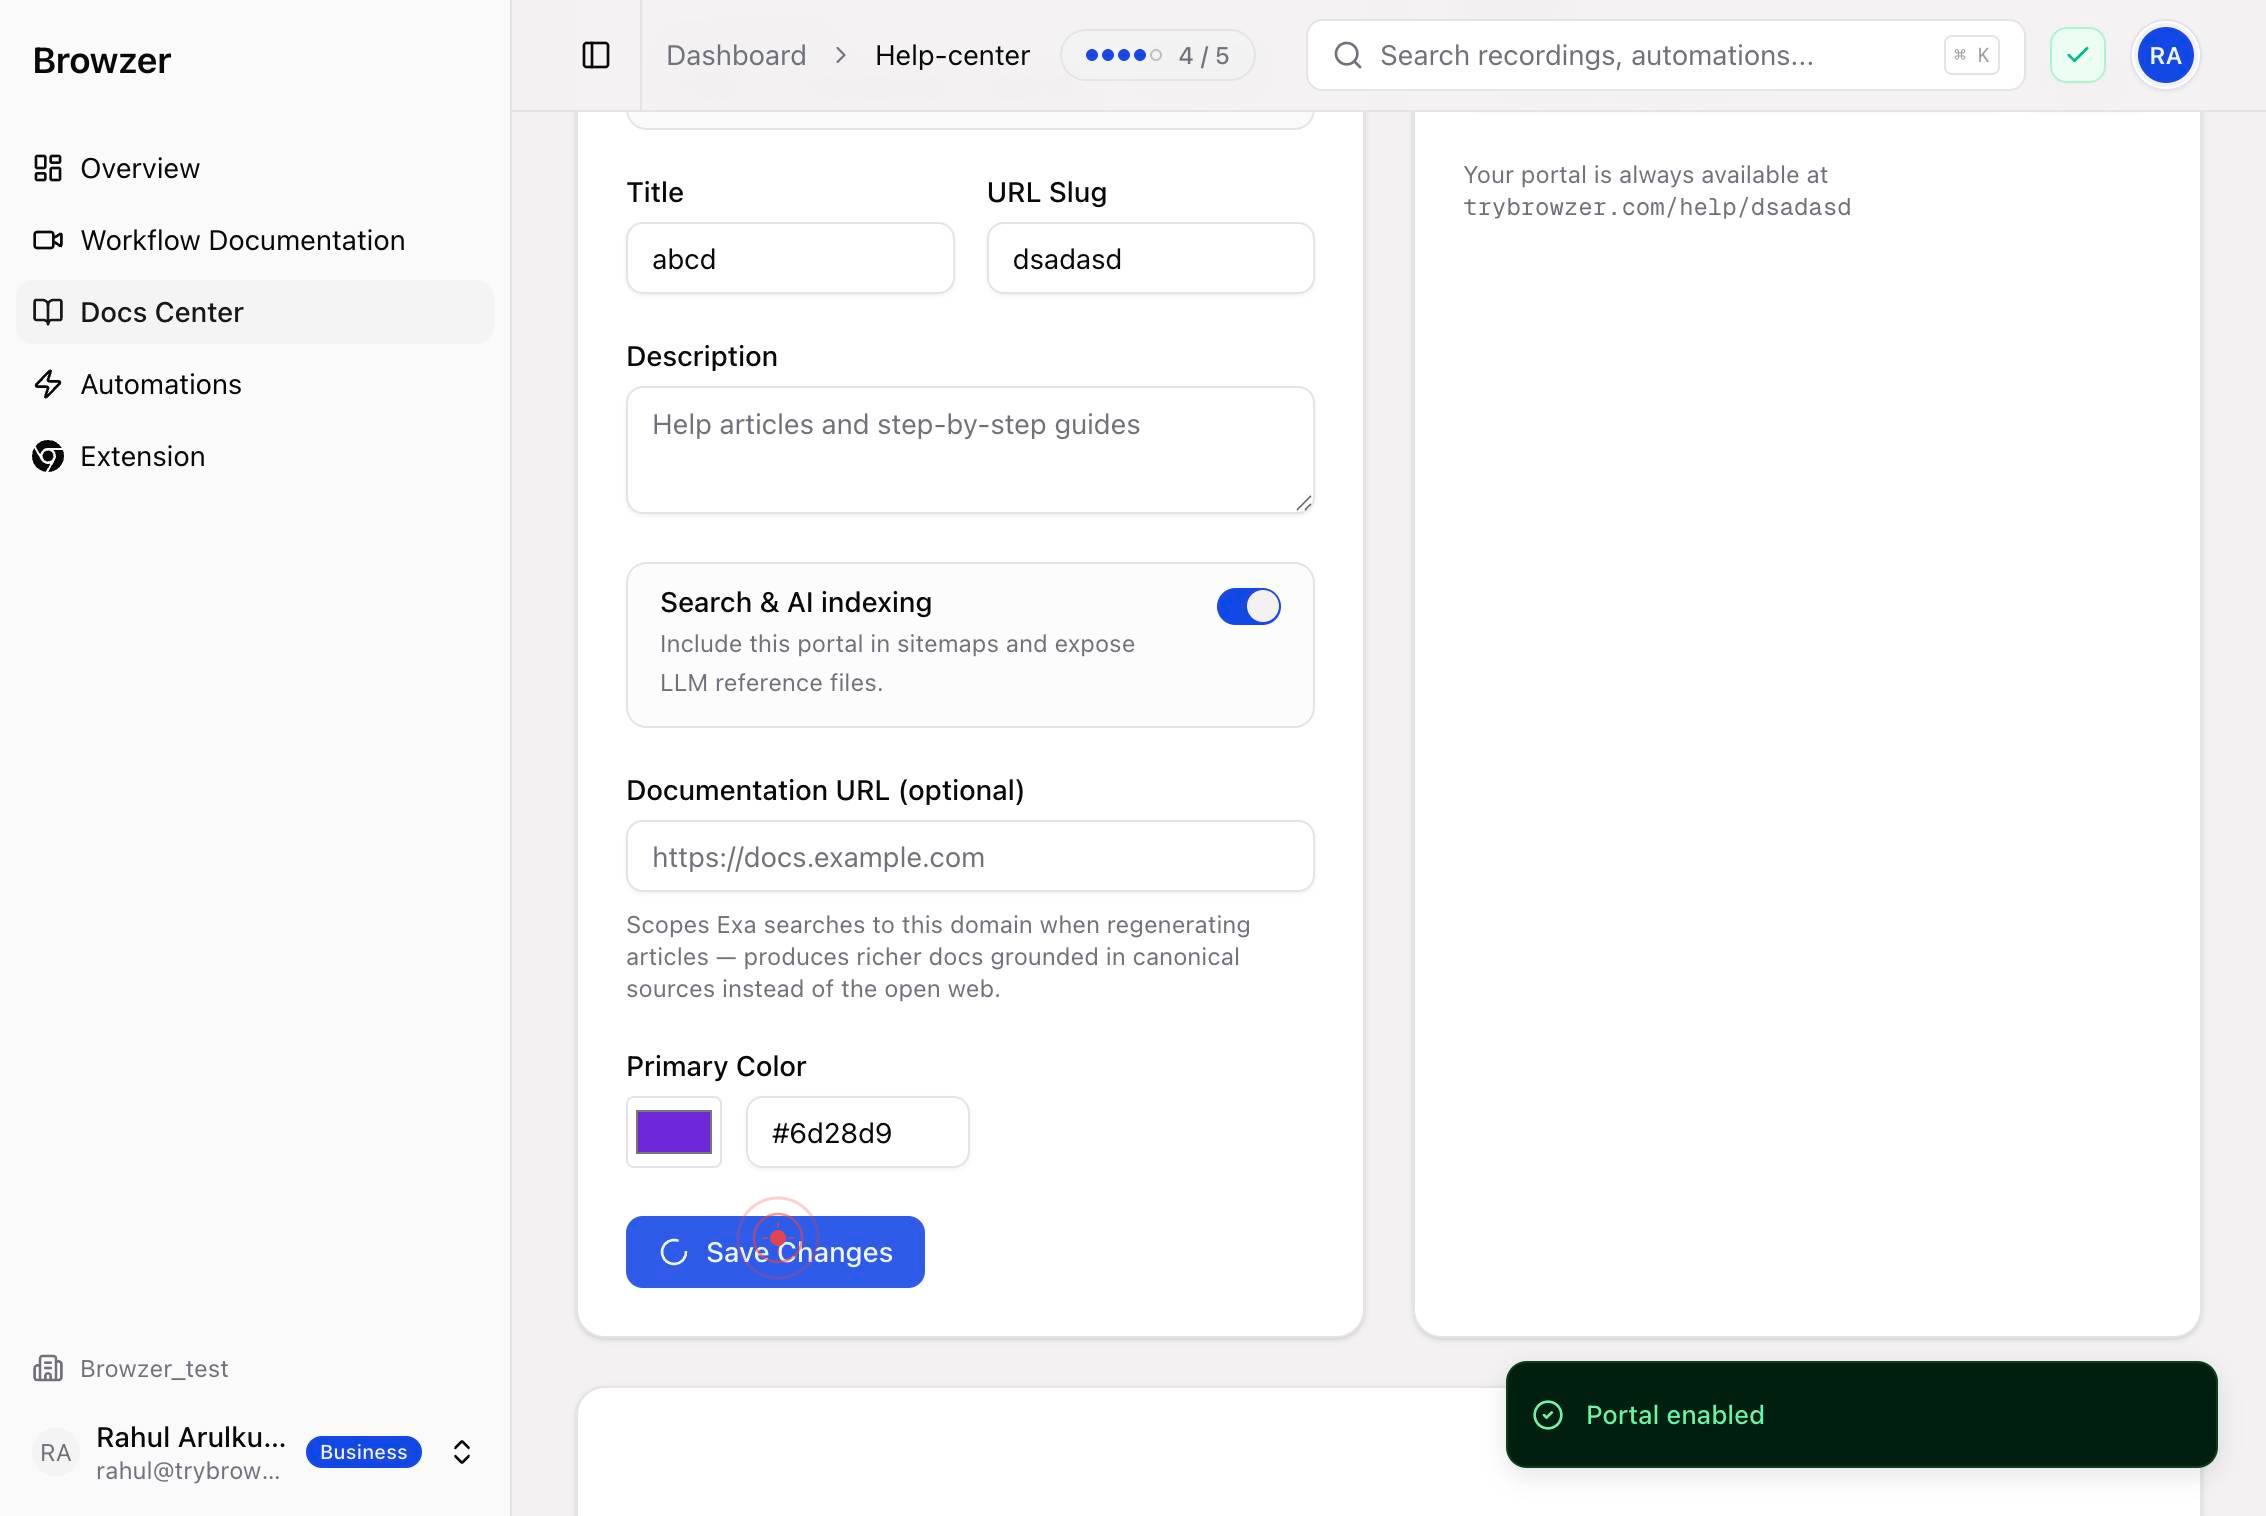
Save ChangesClick 'Save Changes' to permanently apply all settings and activate your Help Center portal. This is the final step that publishes your portal and makes it live.
Confirm it worked
- 1Portal creation modal closes and you are returned to the Docs Center dashboard
- 2Your new portal appears in the portals list with the title and URL slug you entered
- 3Portal status shows 'Enabled' (the switch is toggled ON after step 8)
- 4A success message or confirmation appears after clicking 'Save Changes'
Common issues
Keep reading
Auto-Generate SOPs from Browser Workflows | Browzer | Browzer
Auto-Generate SOPs from Browser Workflows | Browzer | Browzer [...] Auto-generated documentation [...] # Stop writing documentation.Start recording it. [...] Record any browser workflow and get step-by-step SOPs instantly — with screenshots, annotated actions, and one-click automation built in. [...] Start Free Talk to Founder [...] Navigating to onboarding portal...
trybrowzer.comWhat Is Browser Workflow Automation? The Complete Guide (2026) | Browzer
What Is Browser Workflow Automation? The Complete Guide (2026) | Browzer [...] ## Frequently Asked Questions [...] ### What is [...] Browser workflow automation is the process of recording tasks you perform in a web browser — such as clicking buttons, filling forms, and navigating between pages — and replaying those actions automatically. Unlike API-based automation tools like Zapier, browser workflow automation works on any website, including internal tools and legacy systems that don't have APIs. [...] need coding skills for [...] No. Modern browser workflow automation tools like Browzer are completely no-code. You record your actions by doing your work normally, and the tool handles the rest — generating documentation and creating automations from your recorded workflow. [...] ## Try browser workflow automation today [...] Browzer lets you record, document, and automate any browser workflow in minutes. Free 14-day trial — no credit card required. [...] Start Free Trial
trybrowzer.com