Guide
Create Ardent API Key
Overview
Ardent is an AI agent platform that builds its own extensions and helps teams share breakthroughs. API keys are credentials that allow applications and scripts to authenticate and interact with the Ardent platform programmatically. Creating an API key with Admin role permissions grants full access to platform resources—including the ability to manage agents, extensions, and team members. This is essential for production integrations, CI/CD pipelines, and automated workflows that need to interact with Ardent's API on behalf of your organization.
Before you begin
- You must have an active Ardent account at app.tryardent.com
- You must be logged into your Ardent organization account
- You must have Admin or equivalent permissions to create and manage API keys in your organization (typical for workspace owners or admins)
- Ensure you are on the organization's main dashboard or settings area where API Keys are accessible
Step by step
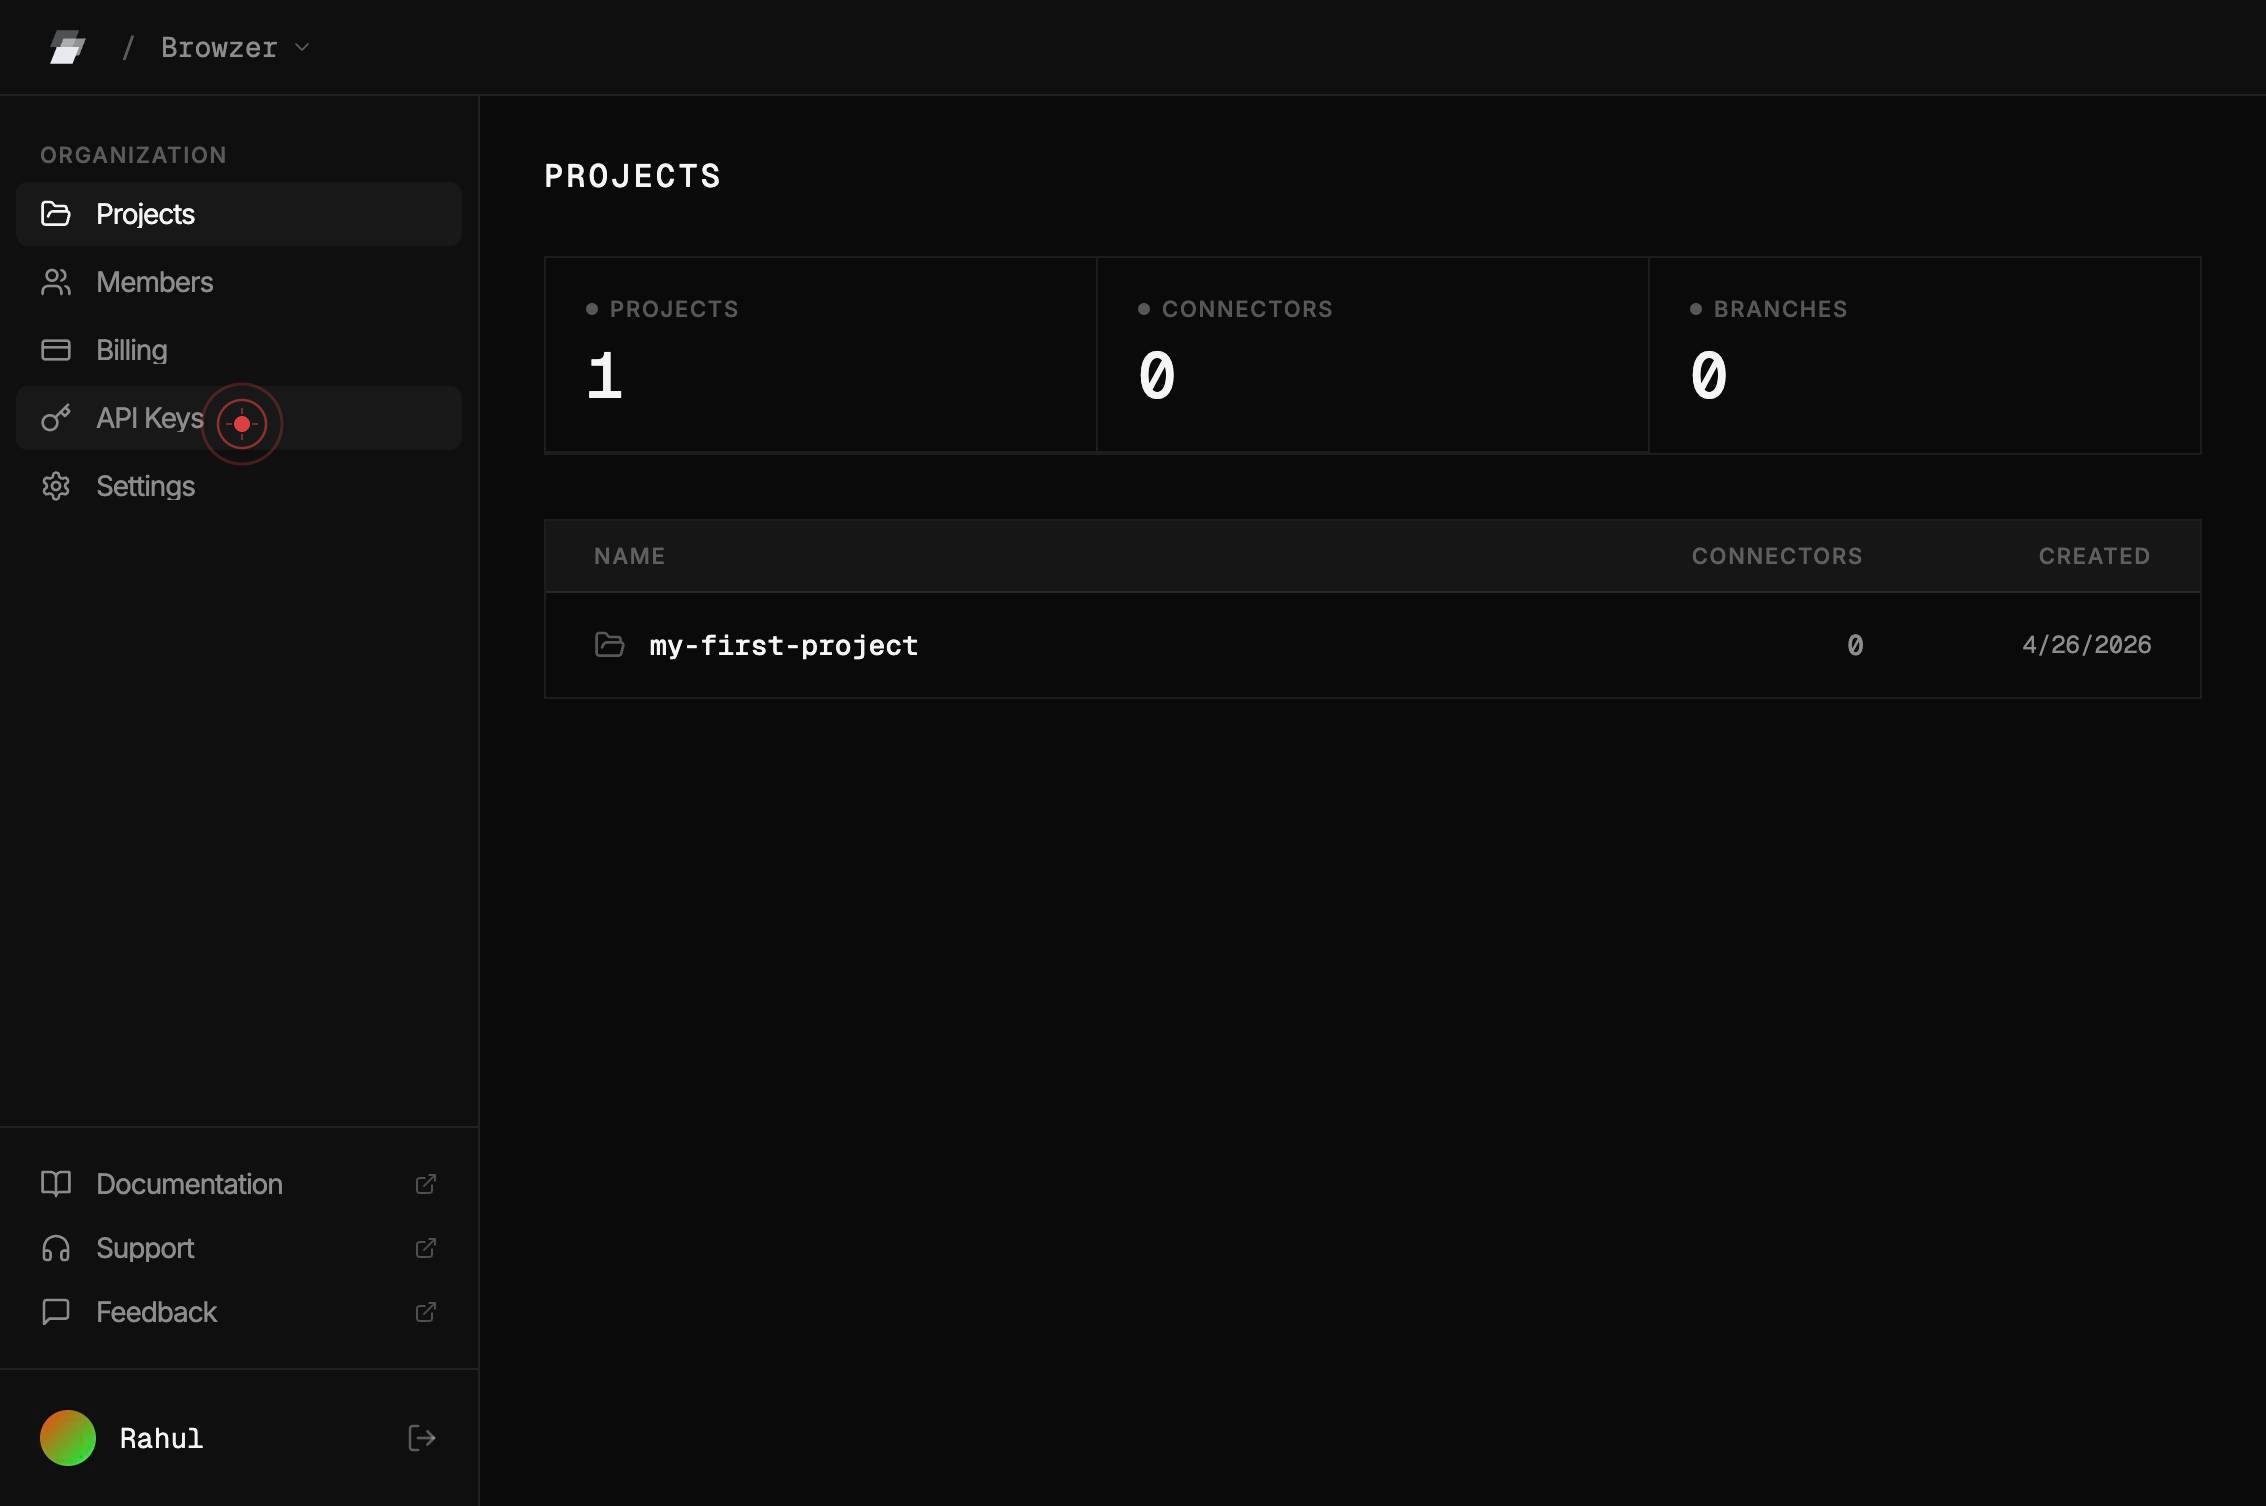
API KeysNavigate to the API Keys section by clicking the 'API Keys' button in the main navigation menu. This takes you to the API key management dashboard where you can view, create, and manage all API credentials for your organization.
Create API KeyClick the 'Create API Key' button to open the API key creation dialog. This dialog will allow you to configure the key's name and role permissions.
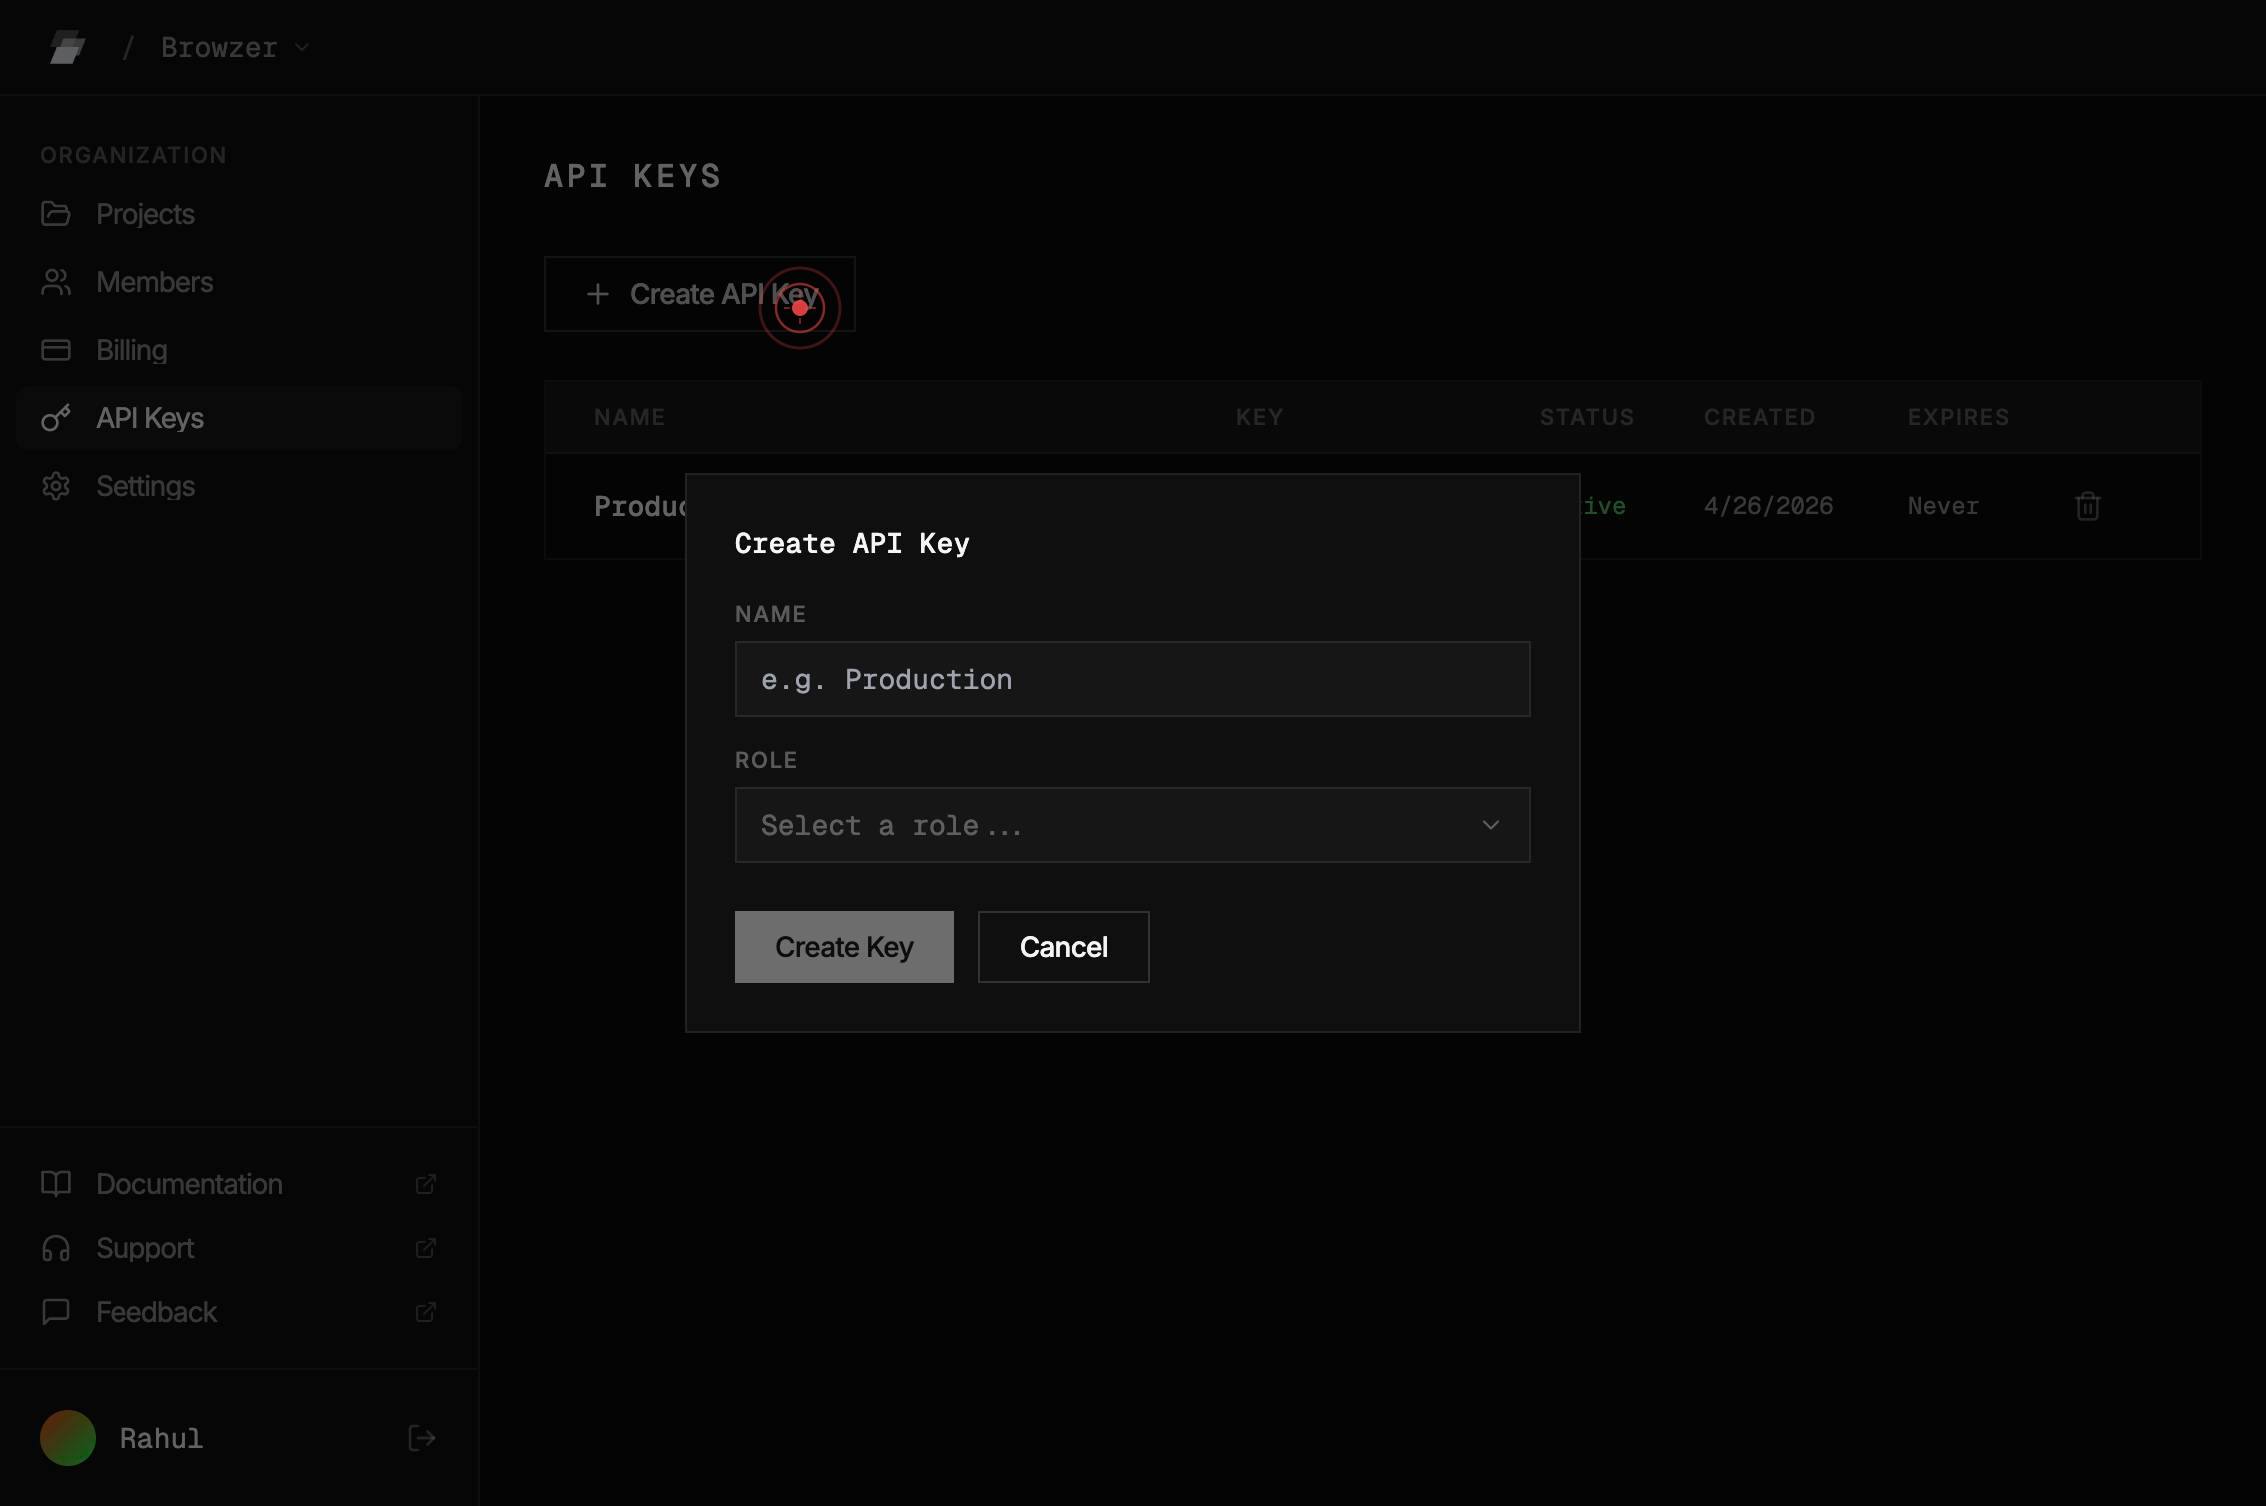
e.g. ProductionClick in the NAME text field (labeled 'e.g. Production') to focus the input field. This is where you will enter the name for your new API key.
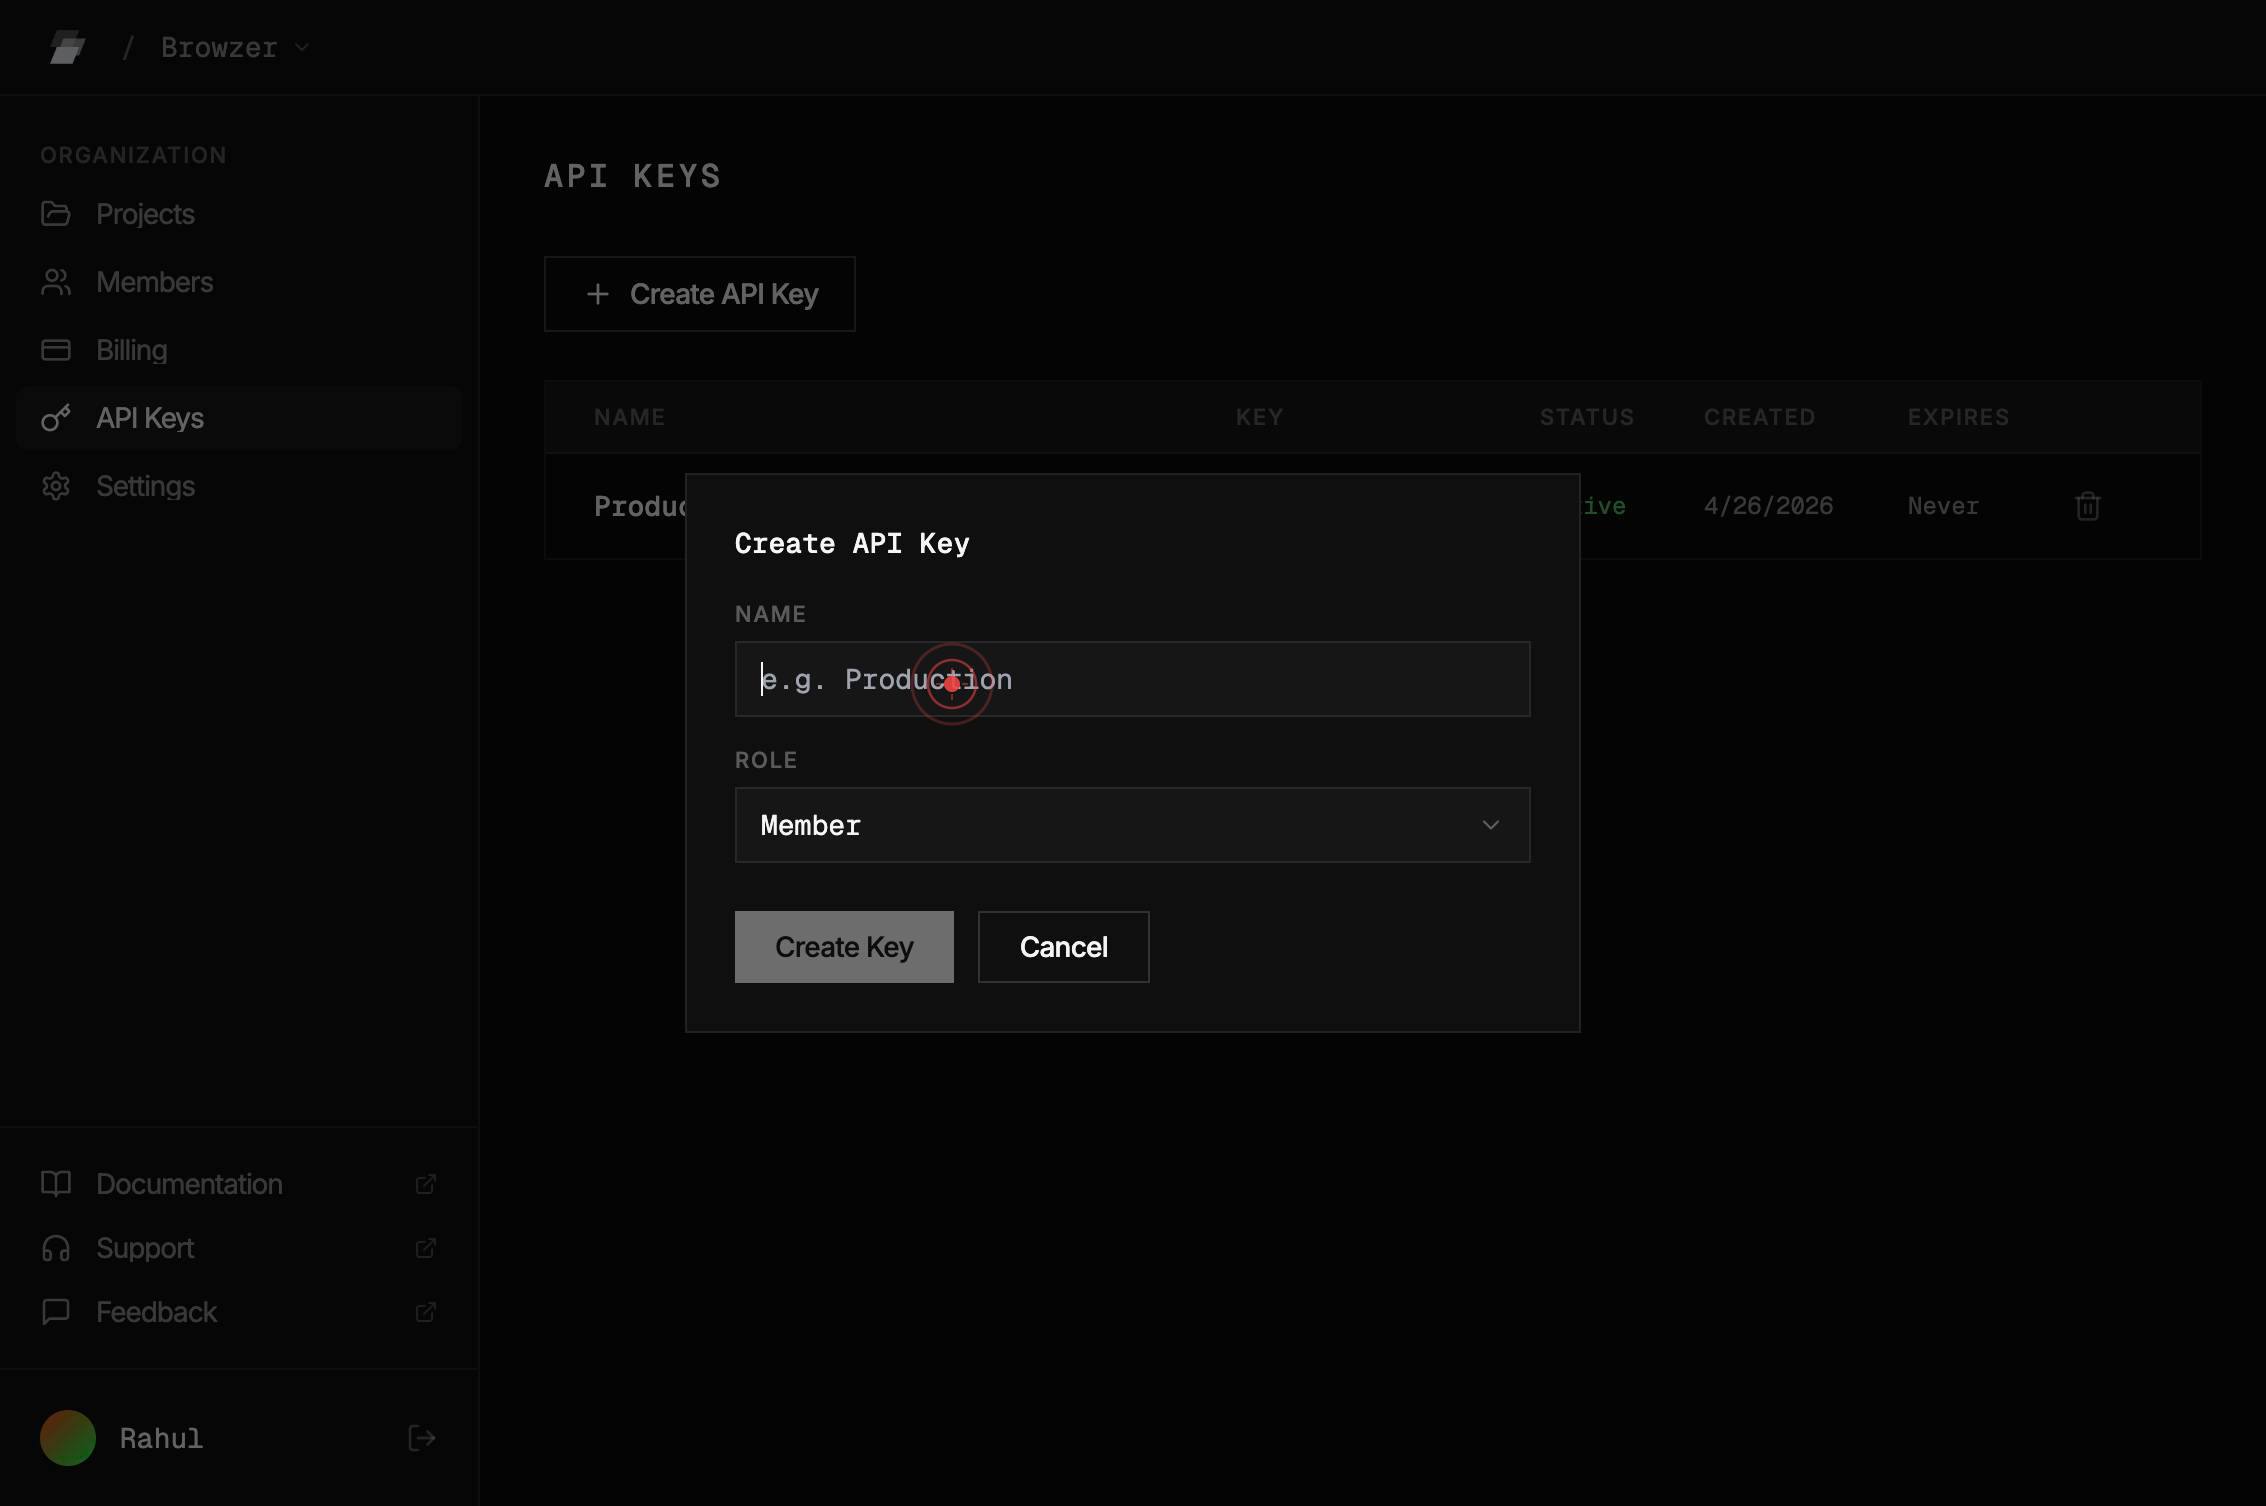
e.g. ProductionType 'Production-Test' in the NAME field to name your API key. This name helps you identify the key's purpose and environment when managing multiple API keys.
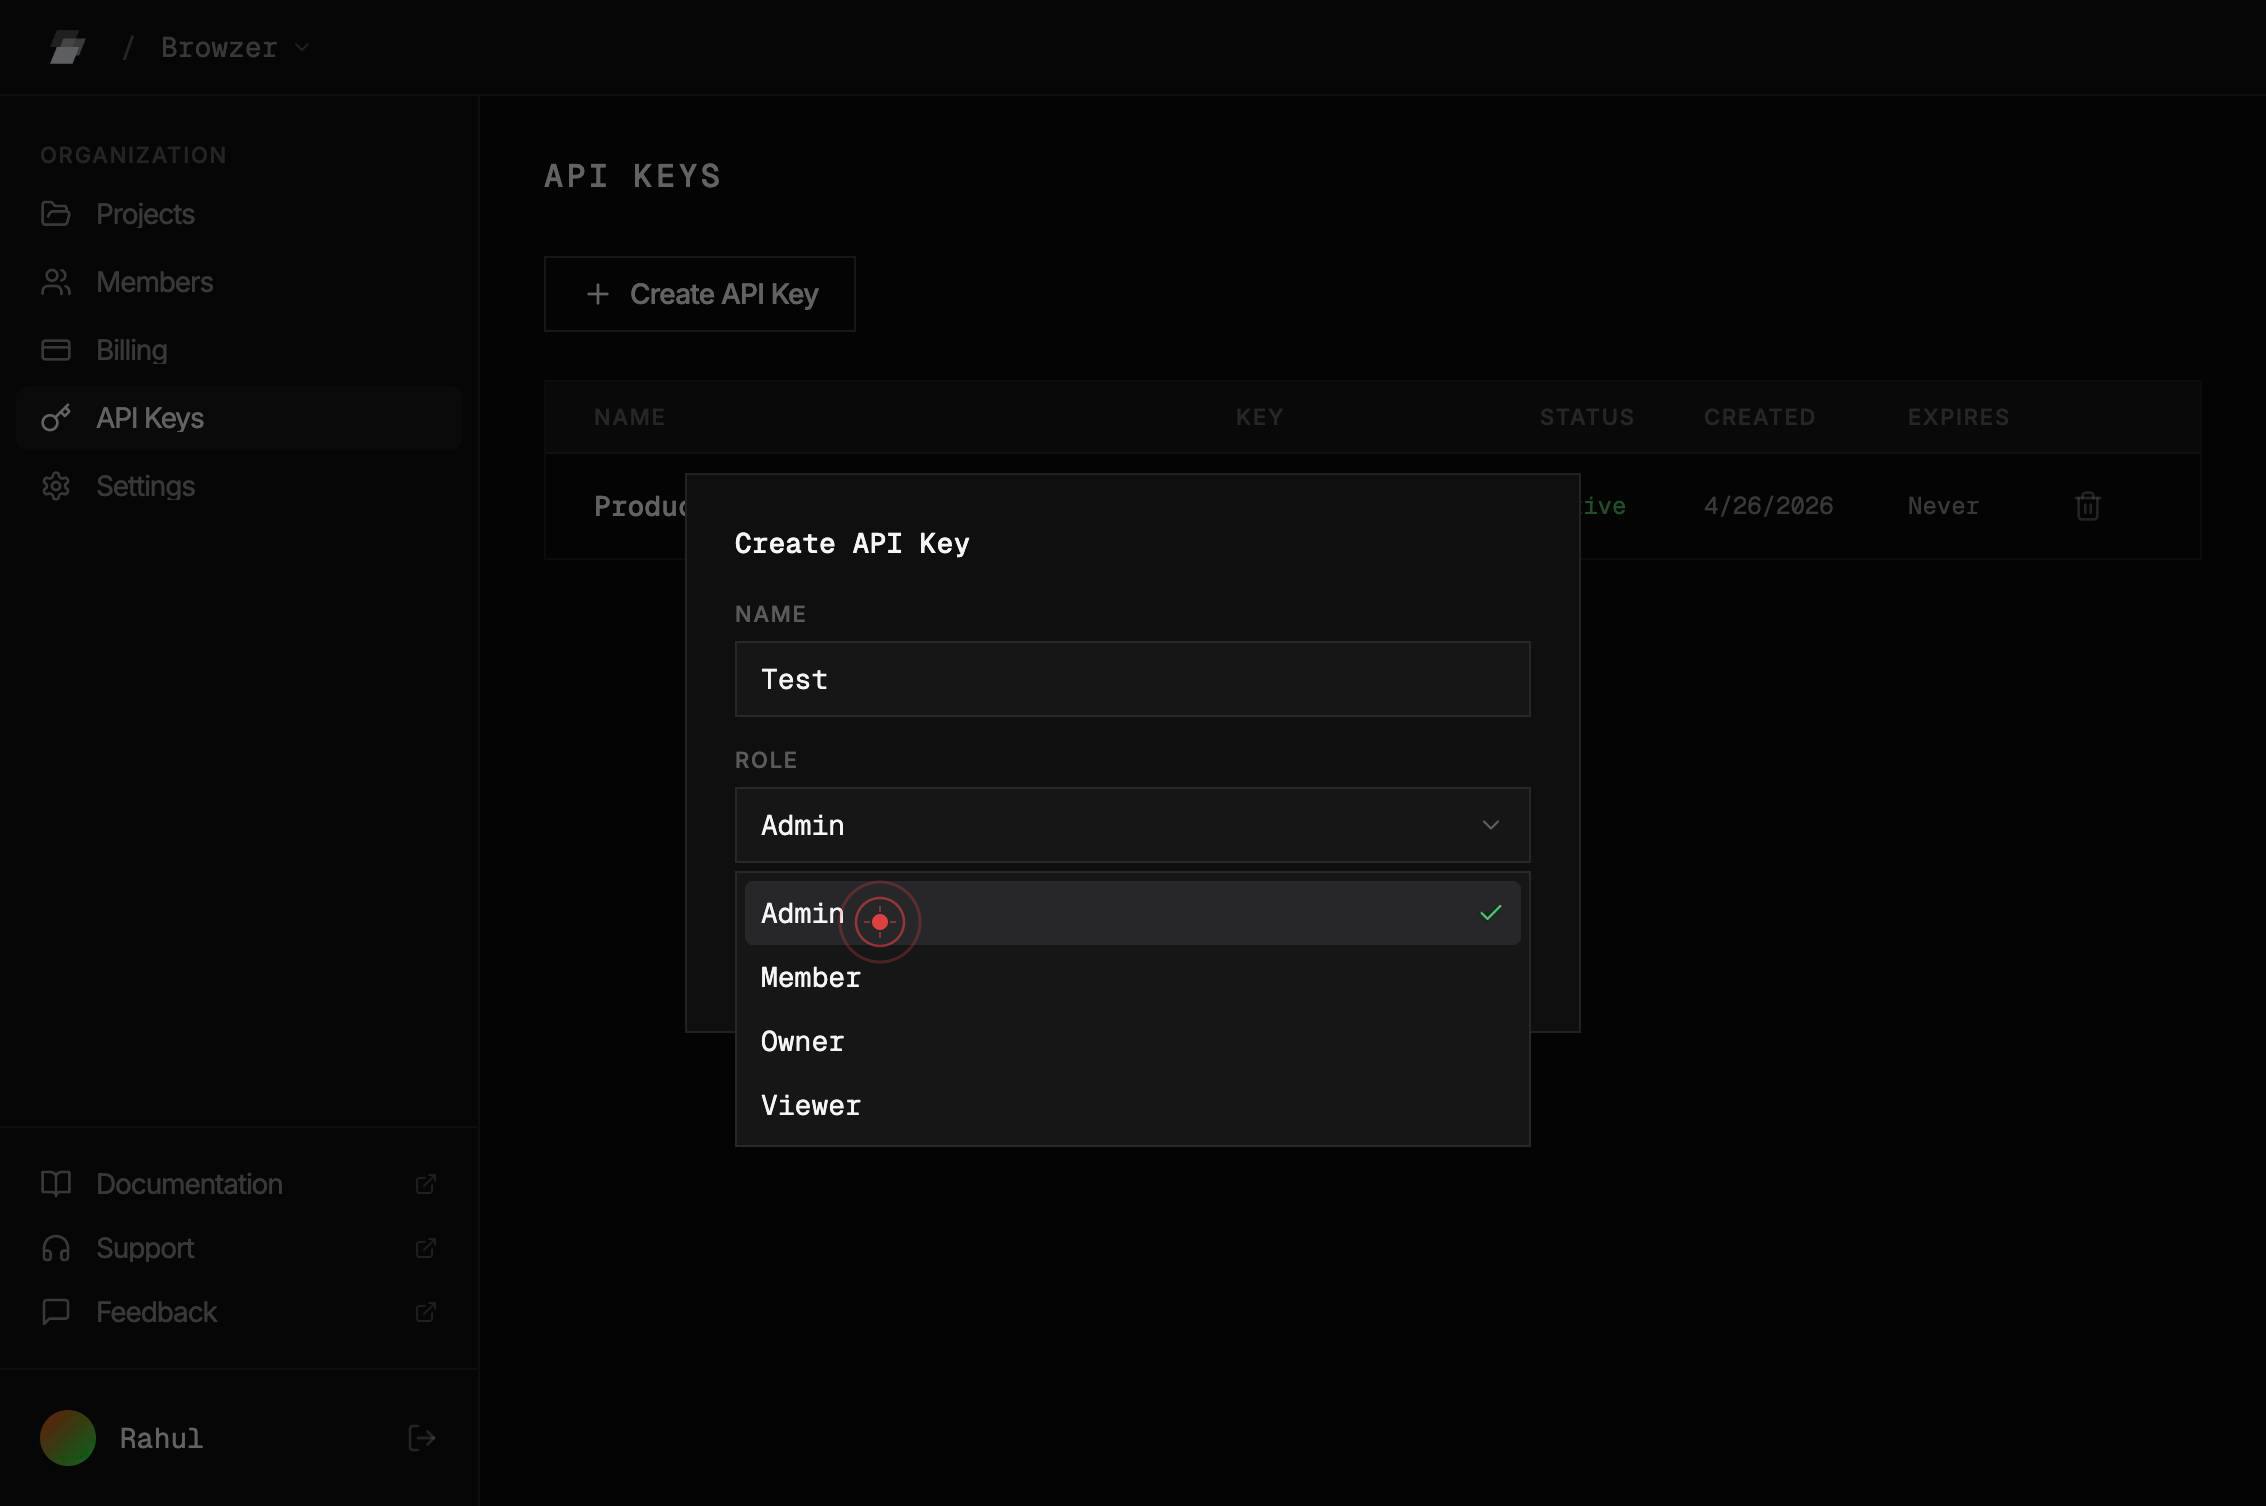
/ Browzer ORGANIZATION Projects Members Billing API Keys Settings Documentation Support Feedback Rahul API KEYS Create API Key Create API Key NAME ROLE Member Create Key Cancel NAME KEY STATUS CREATED EXPIRES Production-Test sk-ard_test_svMt6jZJf... Click on the ROLE dropdown section (which currently shows 'Member' as the default) to expand the role selection menu. This allows you to change the permissions level for the API key.
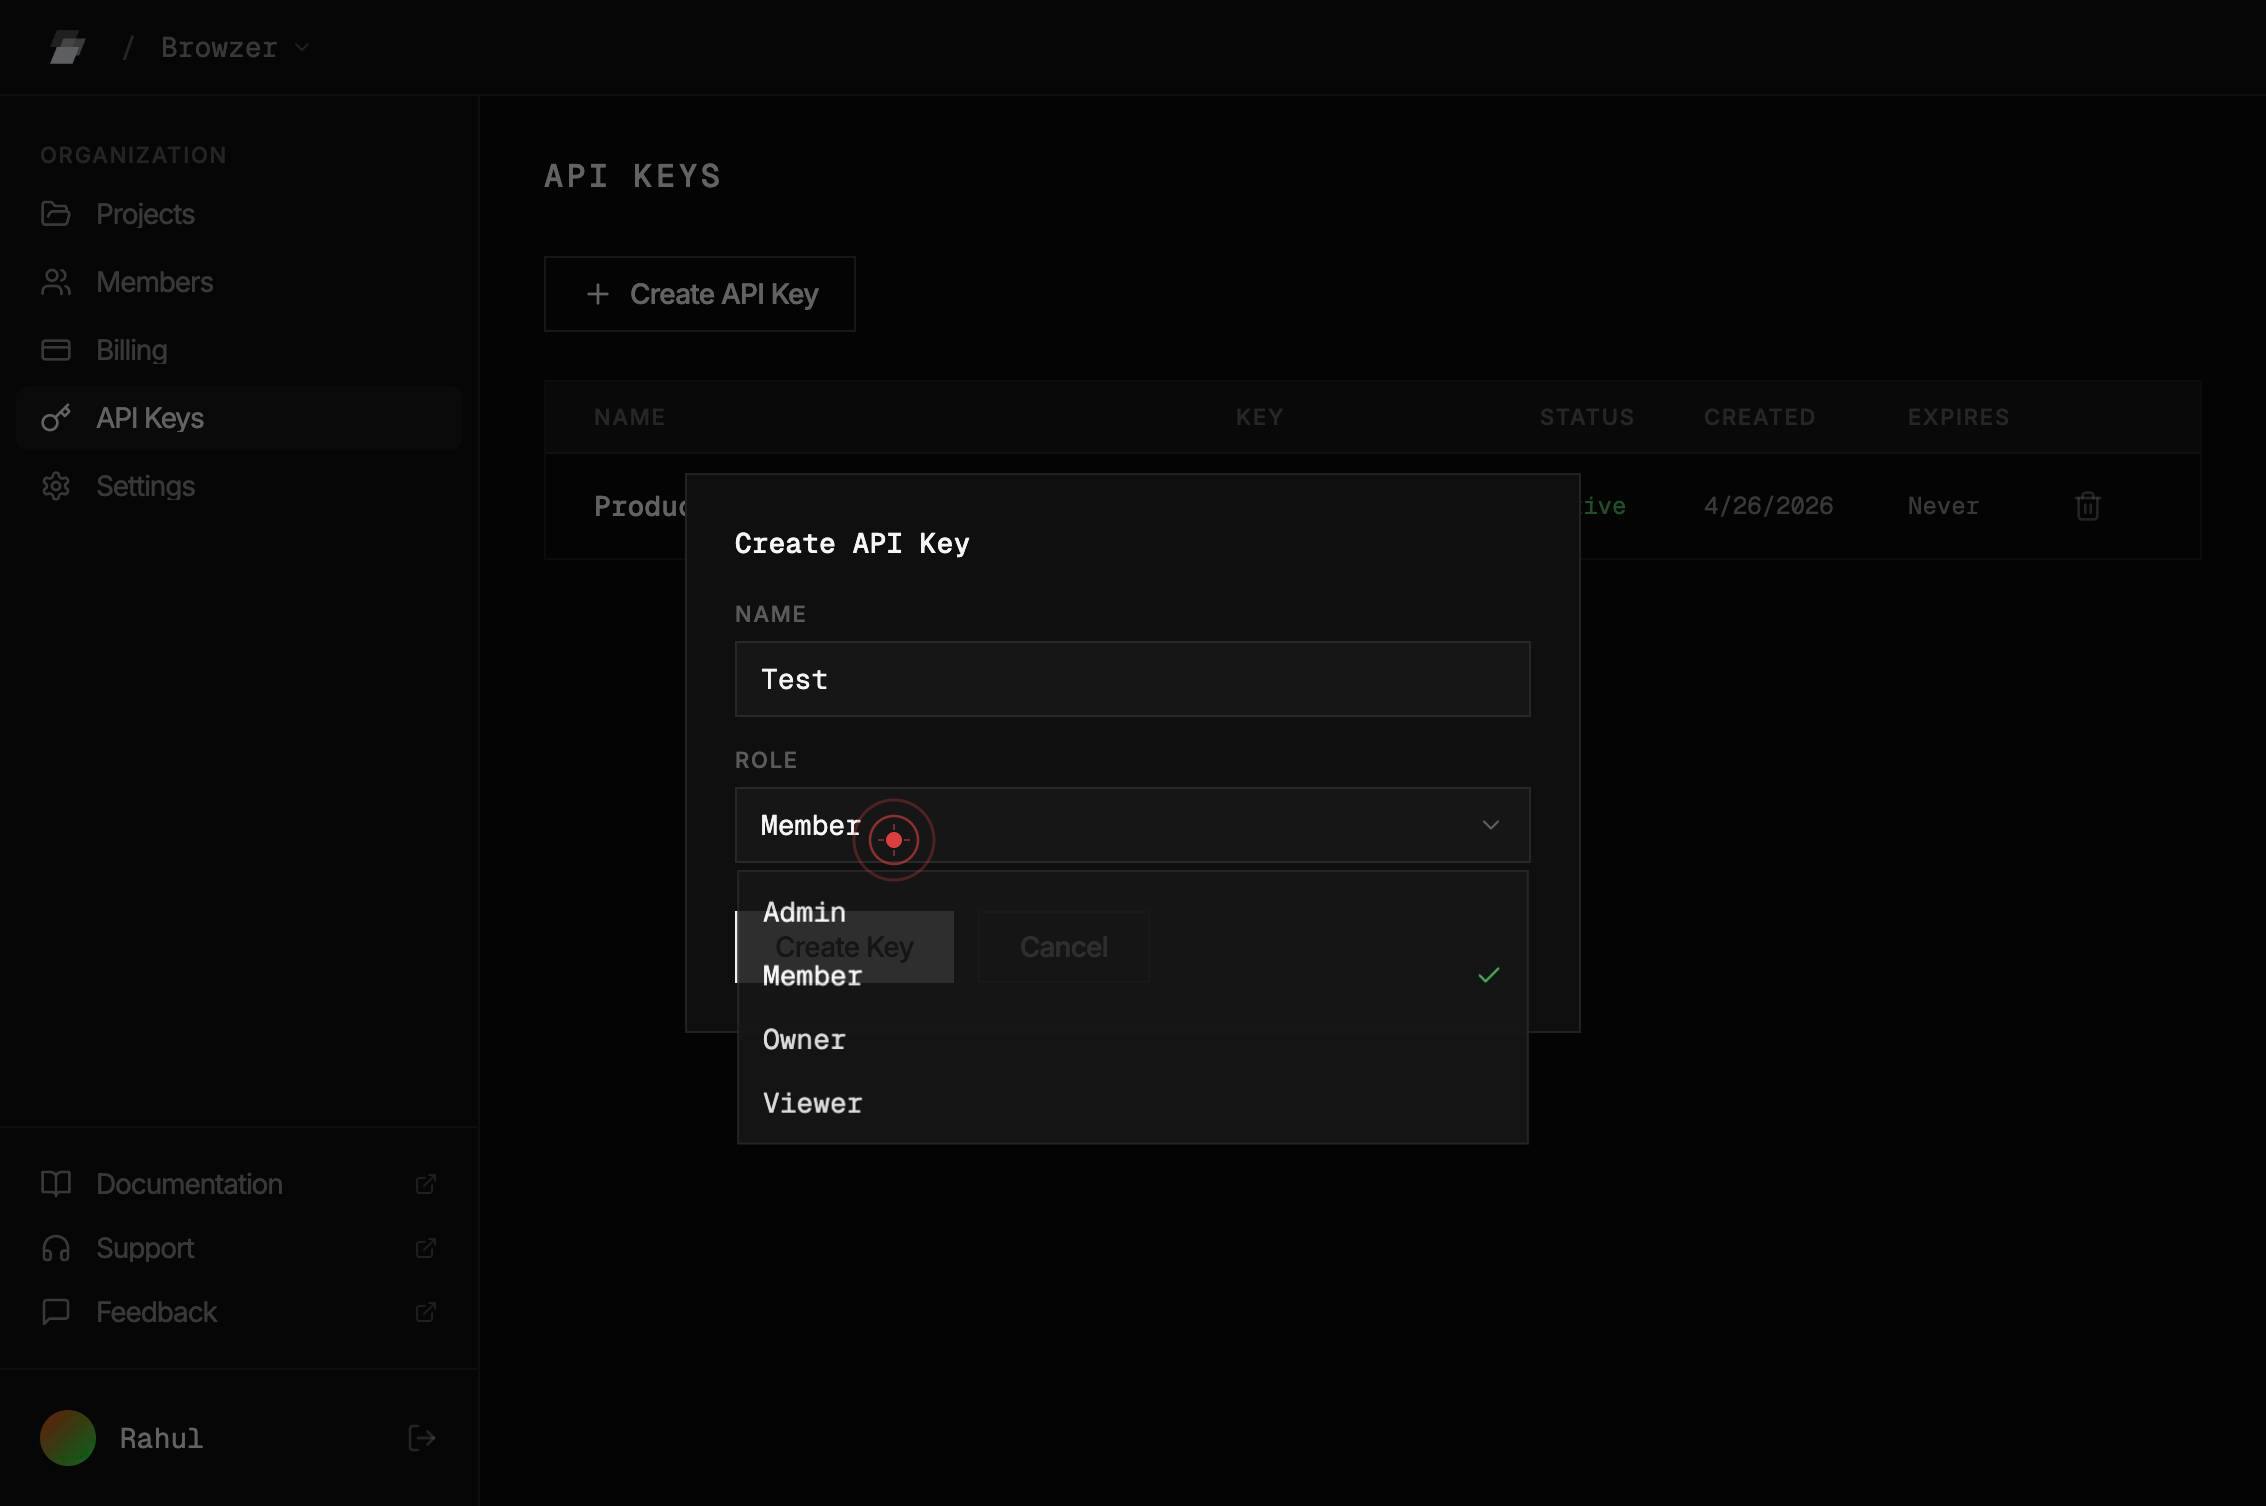
AdminSelect 'Admin' from the role menu to assign full administrative permissions to this API key. Admin-level keys have complete access to all Ardent platform resources and operations.
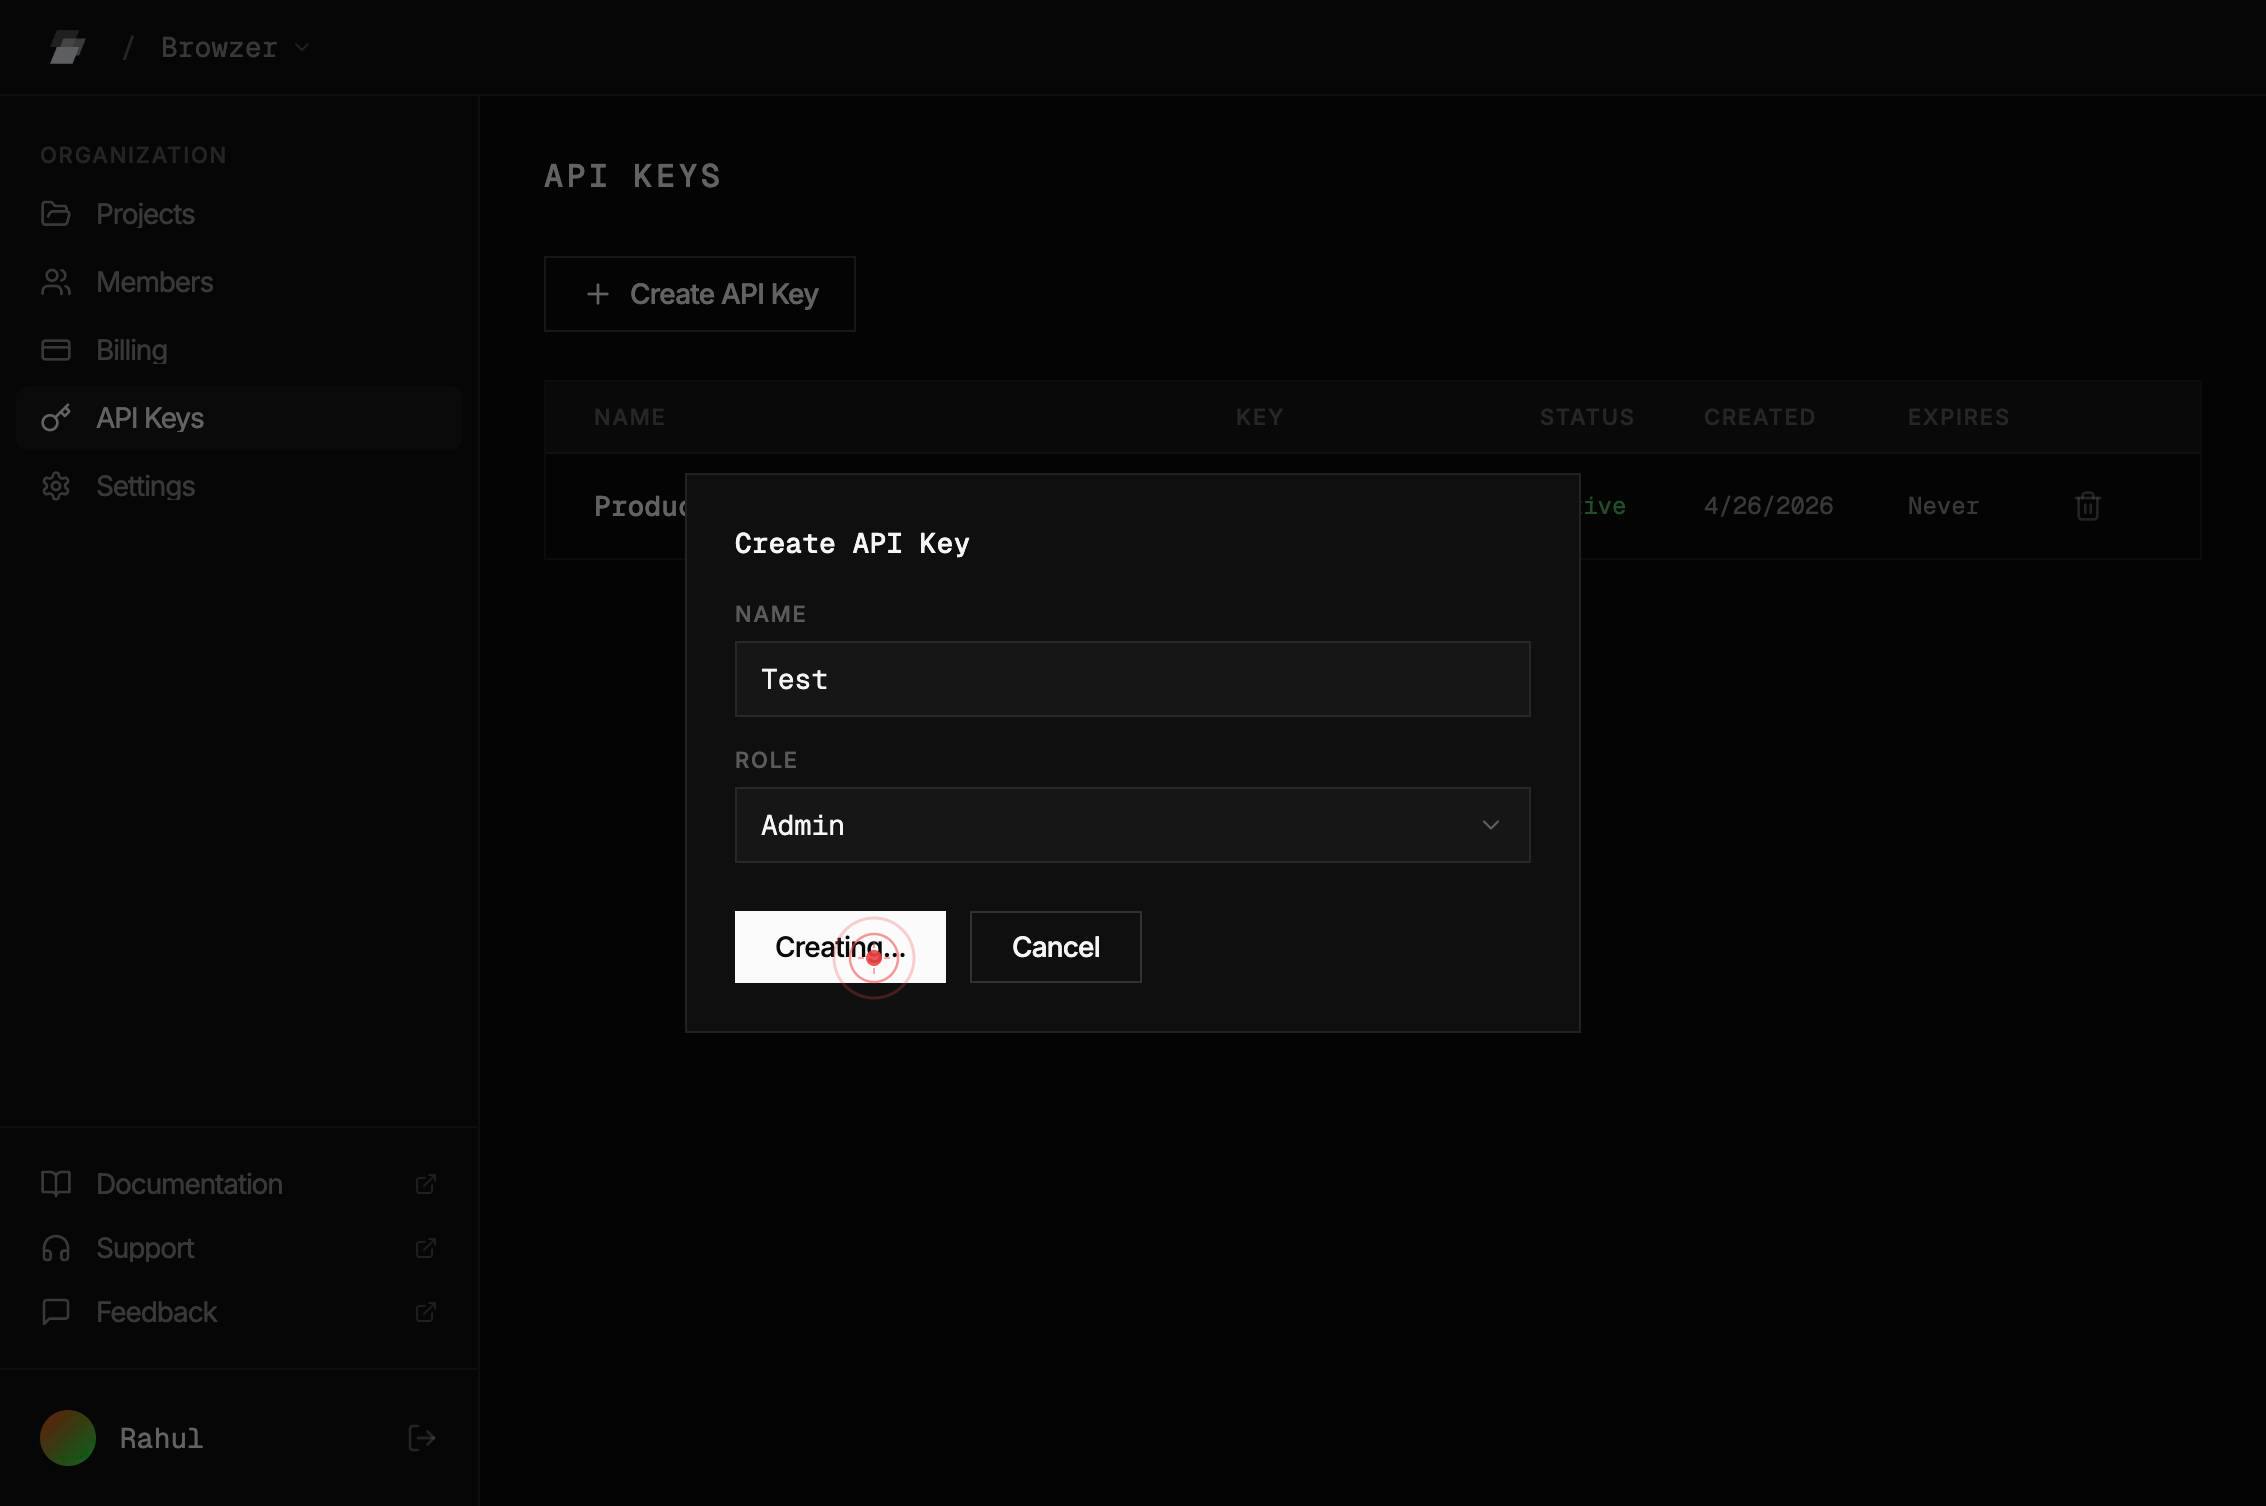
Create KeyClick the 'Create Key' button to finalize and generate the new API key with the configured name ('Production-Test') and Admin role permissions. The system will generate a unique key string that you can use for authentication.
buttonA confirmation dialog or modal may appear showing the newly generated API key. Click the button or icon to acknowledge or close this confirmation. This ensures the key creation process is complete.
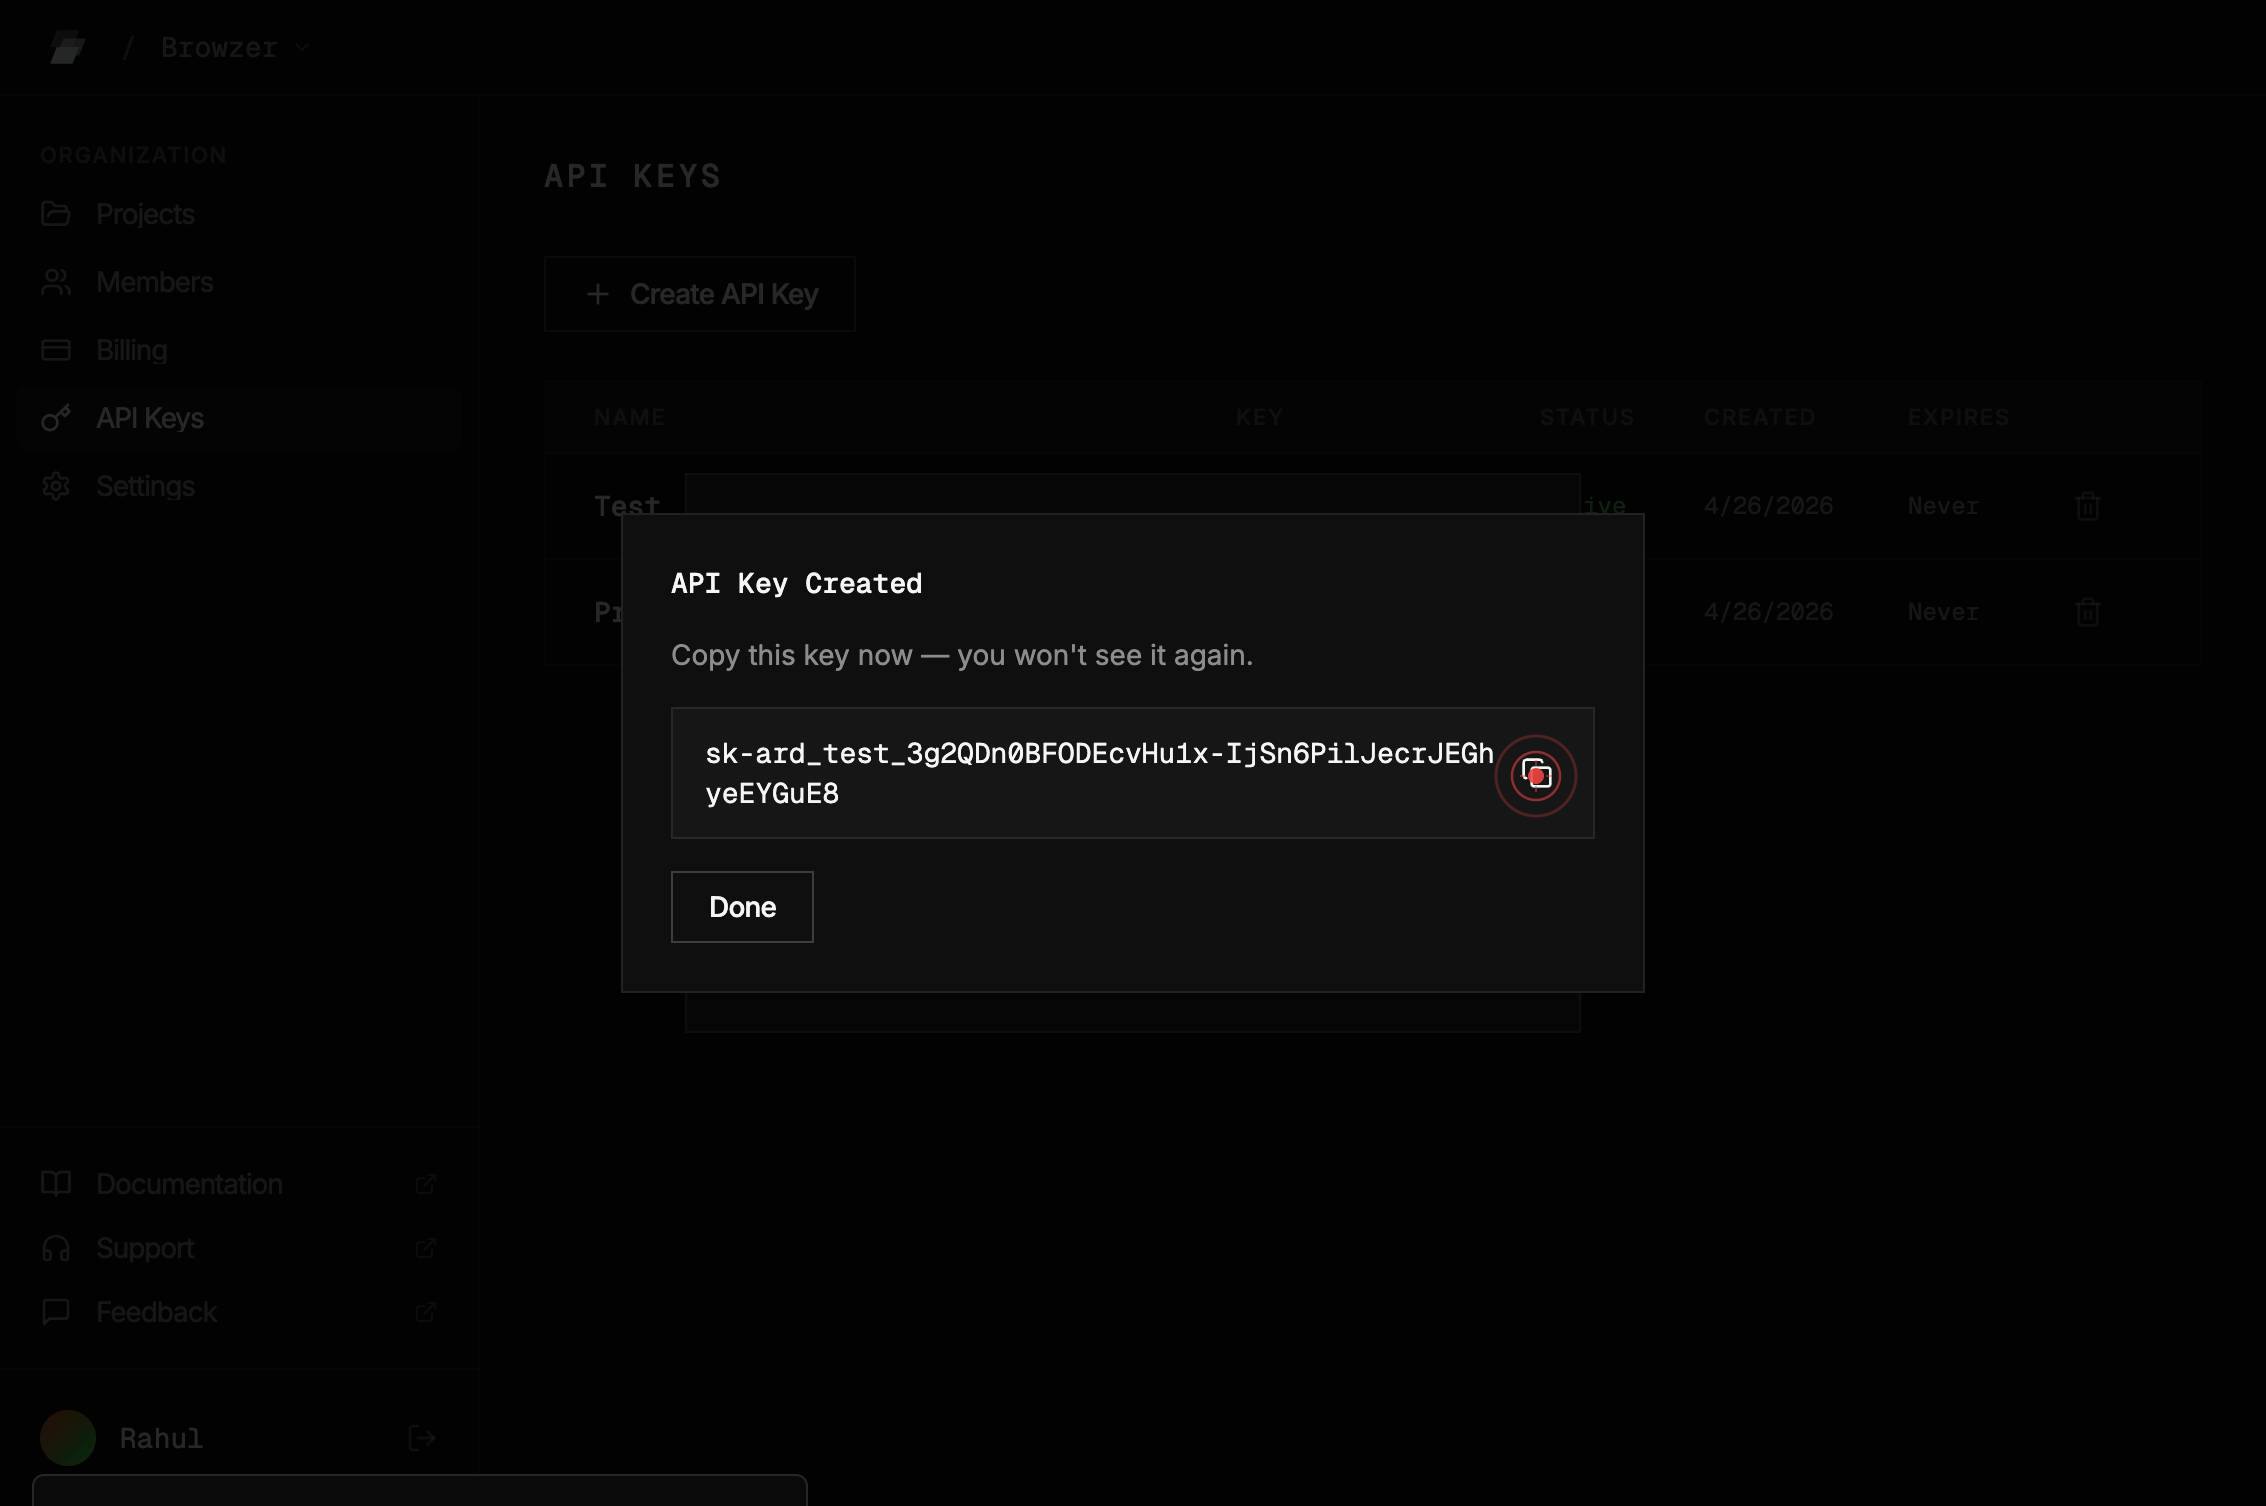
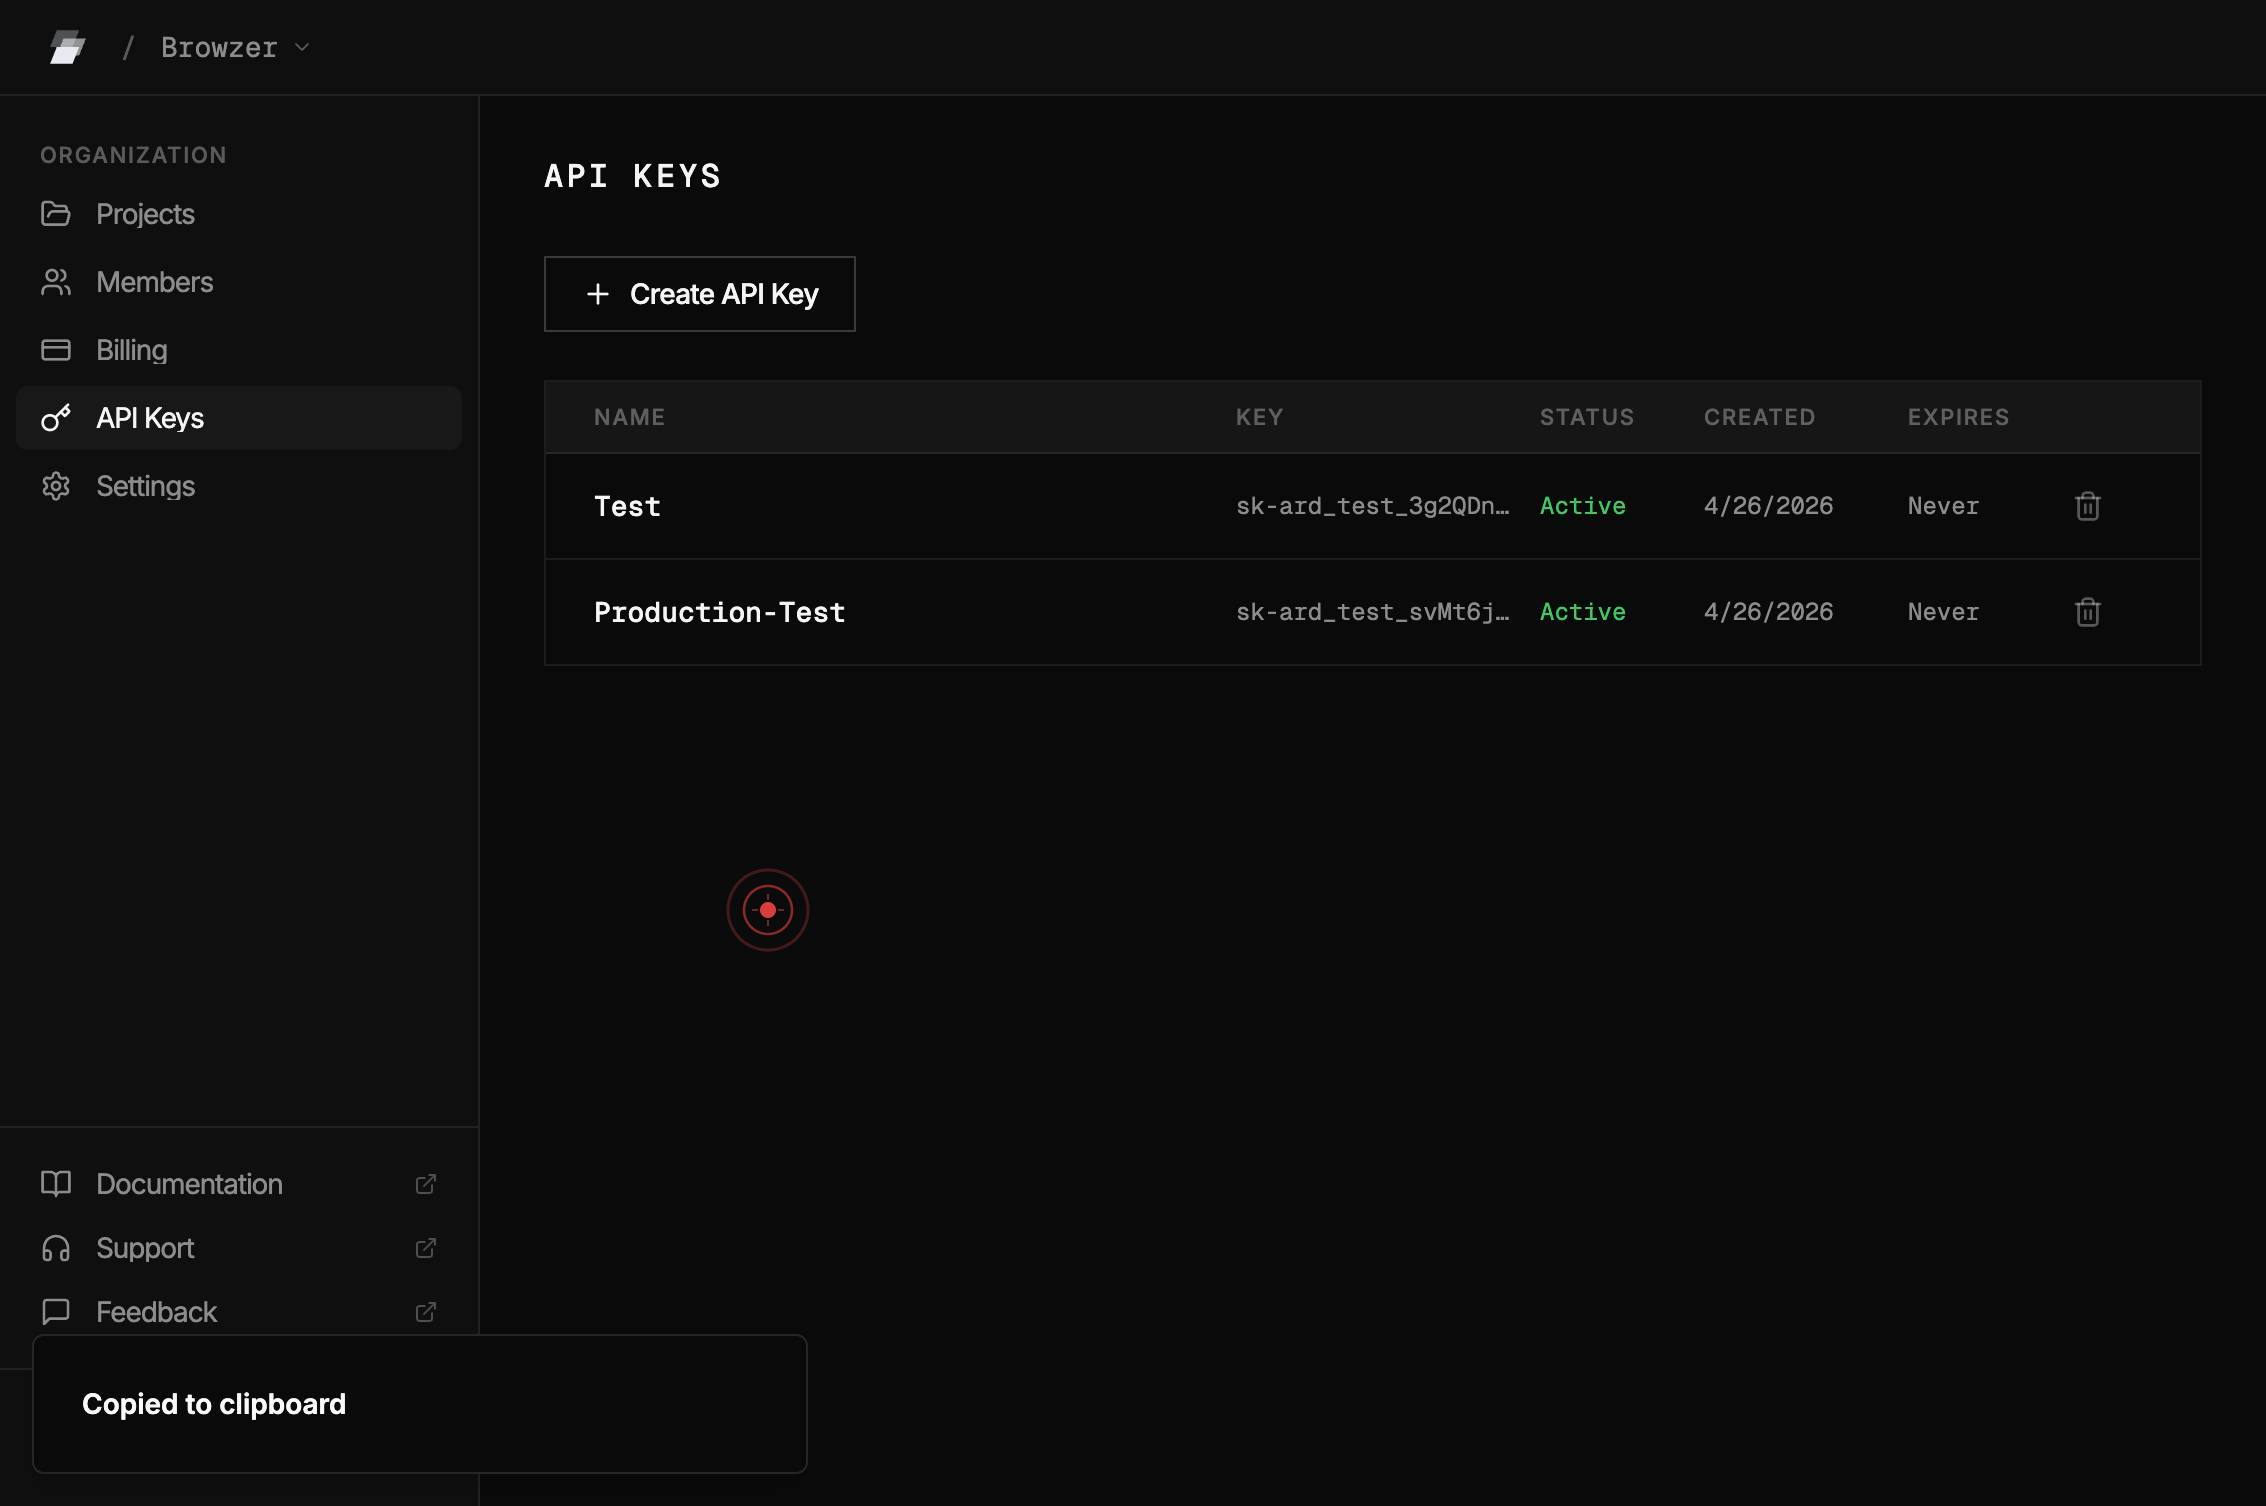
DoneClick the 'Done' button to close the creation dialog and return to the API Keys management page. The new key 'Production-Test' should now be visible in your list of active API keys.
Confirm it worked
- 1You see the newly created API key listed in the API Keys table with the name 'Production-Test'
- 2The key's ROLE column displays 'Admin'
- 3A key string beginning with 'sk-ard_test_' is visible and can be copied
- 4The key's STATUS shows as active and the CREATED timestamp reflects the current date/time
Common issues
Keep reading
Quick start - Ardent AI
> Fetch the complete documentation index at: https://docs.ardent.ai/llms.txt > Use this file to discover all available pages before exploring further. > > ## Documentation Index # Quick start > Bui
docs.ardent.aiAPI Reference
API Reference #### Getting Started [Introduction](https://ardentai.io/docs/getting-started/introduction)[Quick Start Guide](https://ardentai.io/docs/getting-started/quick-start-guide)[FAQ](https://ard
ardentai.ioModels - Ardent AI
> ## Documentation Index > > Fetch the complete documentation index at: https://docs.ardent.ai/llms.txt > Use this file to discover all available pages before exploring further. # Models > Your cho
docs.ardent.ai