Guide
Rename Organization in Ardent
Overview
Ardent enables teams to collaborate on AI agent development, with each team member's breakthroughs becoming shared baselines for the entire organization. Your organization name is the primary identifier for your team within Ardent and appears across all team-related features and collaboration tools. Renaming your organization may be necessary when your company rebrands, restructures teams, or needs to clarify its purpose within the platform. This is a straightforward administrative task that requires access to organization settings and takes only a few moments to complete.
Before you begin
- You must have an active Ardent account with administrator or owner-level permissions for the organization
- You must be logged into app.tryardent.com
- You must have access to the Settings area of your organization (typically available only to organization admins)
Step by step
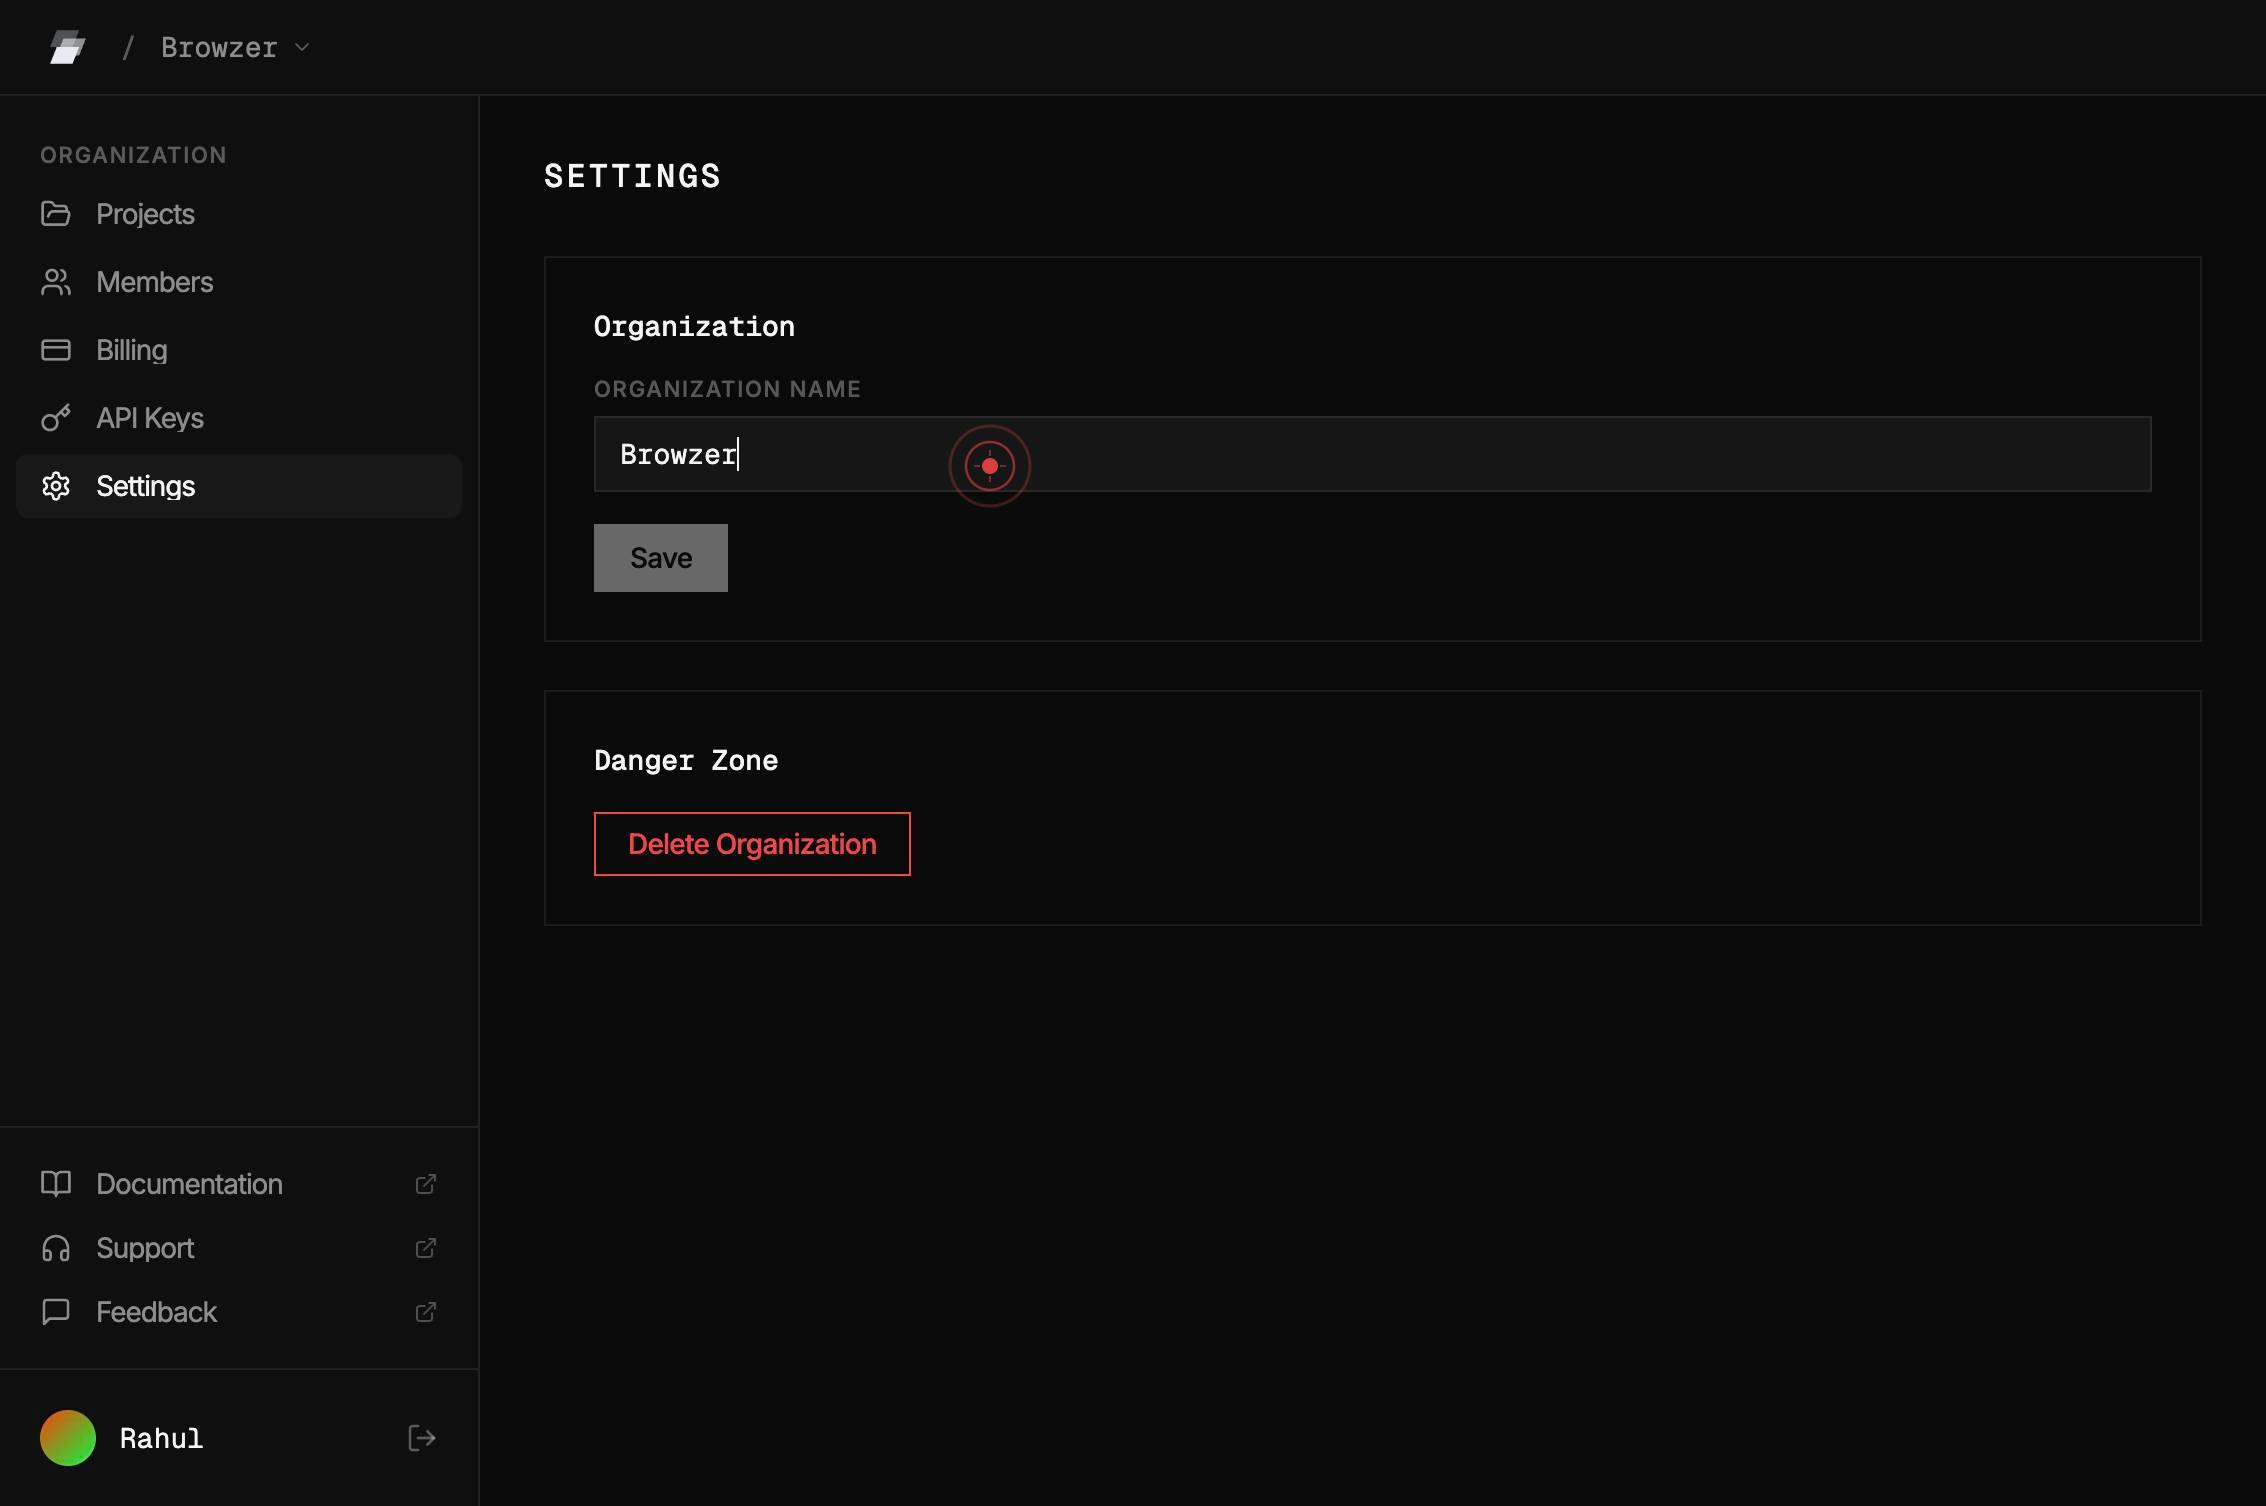
SettingsClick the Settings button to open the organization administration panel where you can modify organizational configuration options.

Organization NameClick on the Organization Name text field to activate it for editing, allowing you to select and replace the current organization name.
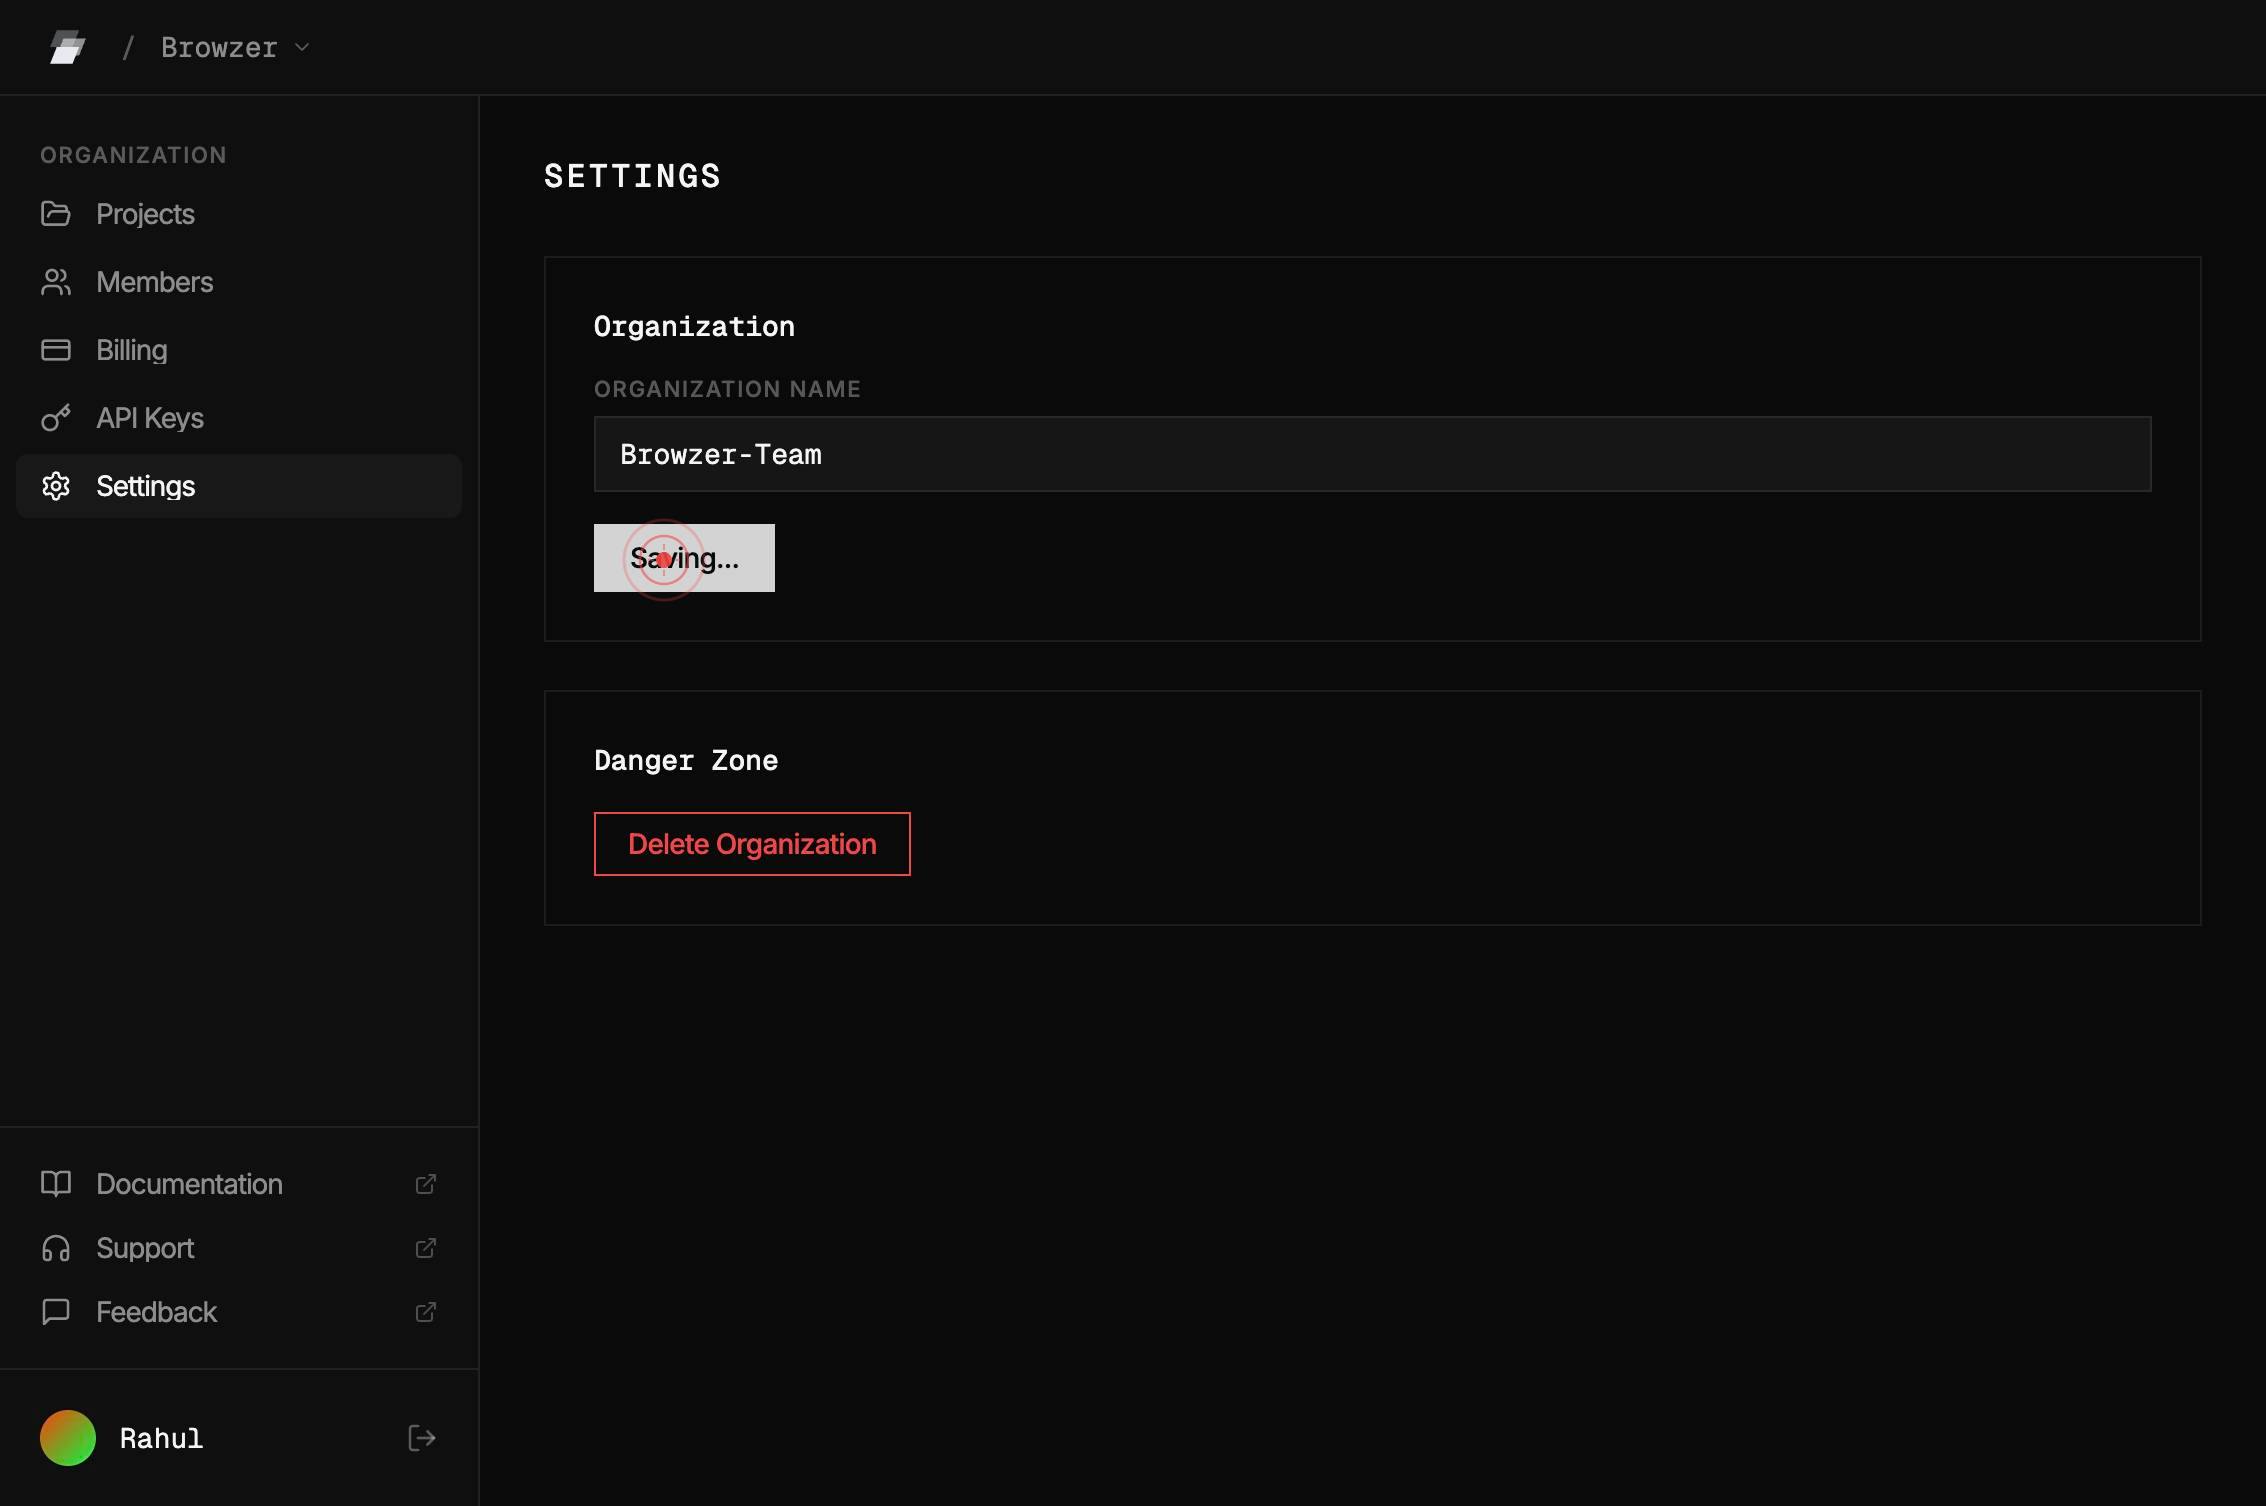
Organization NameType the new organization name you want to use, replacing the current text in the field.
SaveClick the Save button to persist your organization name change to the Ardent platform.
Confirm it worked
- 1The Settings panel displays with your organization configuration options visible
- 2The Organization Name field is editable and shows your current organization name
- 3After clicking Save, a success confirmation message appears (or the page updates without error)
- 4Returning to the main dashboard or team view shows the updated organization name in headers and menus
Common issues
Keep reading
Ardent — Git for your data infrastructure - Ardent
> ## Documentation Index > > Fetch the complete documentation index at: https://docs.tryardent.com/llms.txt > Use this file to discover all available pages before exploring further. # Ardent — Git f
docs.tryardent.comQuick start - Ardent AI
> Fetch the complete documentation index at: https://docs.ardent.ai/llms.txt > Use this file to discover all available pages before exploring further. > > ## Documentation Index # Quick start > Bui
docs.ardent.aiRename an Anthale Organization in the Dashboard - Anthale
> ## Documentation Index > > Fetch the complete documentation index at: https://anthale.com/docs/llms.txt > Use this file to discover all available pages before exploring further. # Rename an Anthal
anthale.com