Guide
Add Users to Posthog Team
Overview
PostHog is a product analytics and session replay platform used by product engineers to track user behavior, diagnose issues, and ship changes faster. Adding team members to your PostHog project allows your entire team to collaborate on product insights, view dashboards, and manage analytics configurations. This workflow uses PostHog's built-in invitation system to grant a new user access with a specified role, ensuring they can begin contributing to your product development immediately upon accepting the invitation.
Before you begin
- You must have a PostHog account with Admin or Owner permissions for the project or organization.
- You must be logged into PostHog at us.posthog.com.
- You must have the email address of the team member you wish to invite.
- The invited email address should not already have an active account or pending invitation in your PostHog project.
Step by step
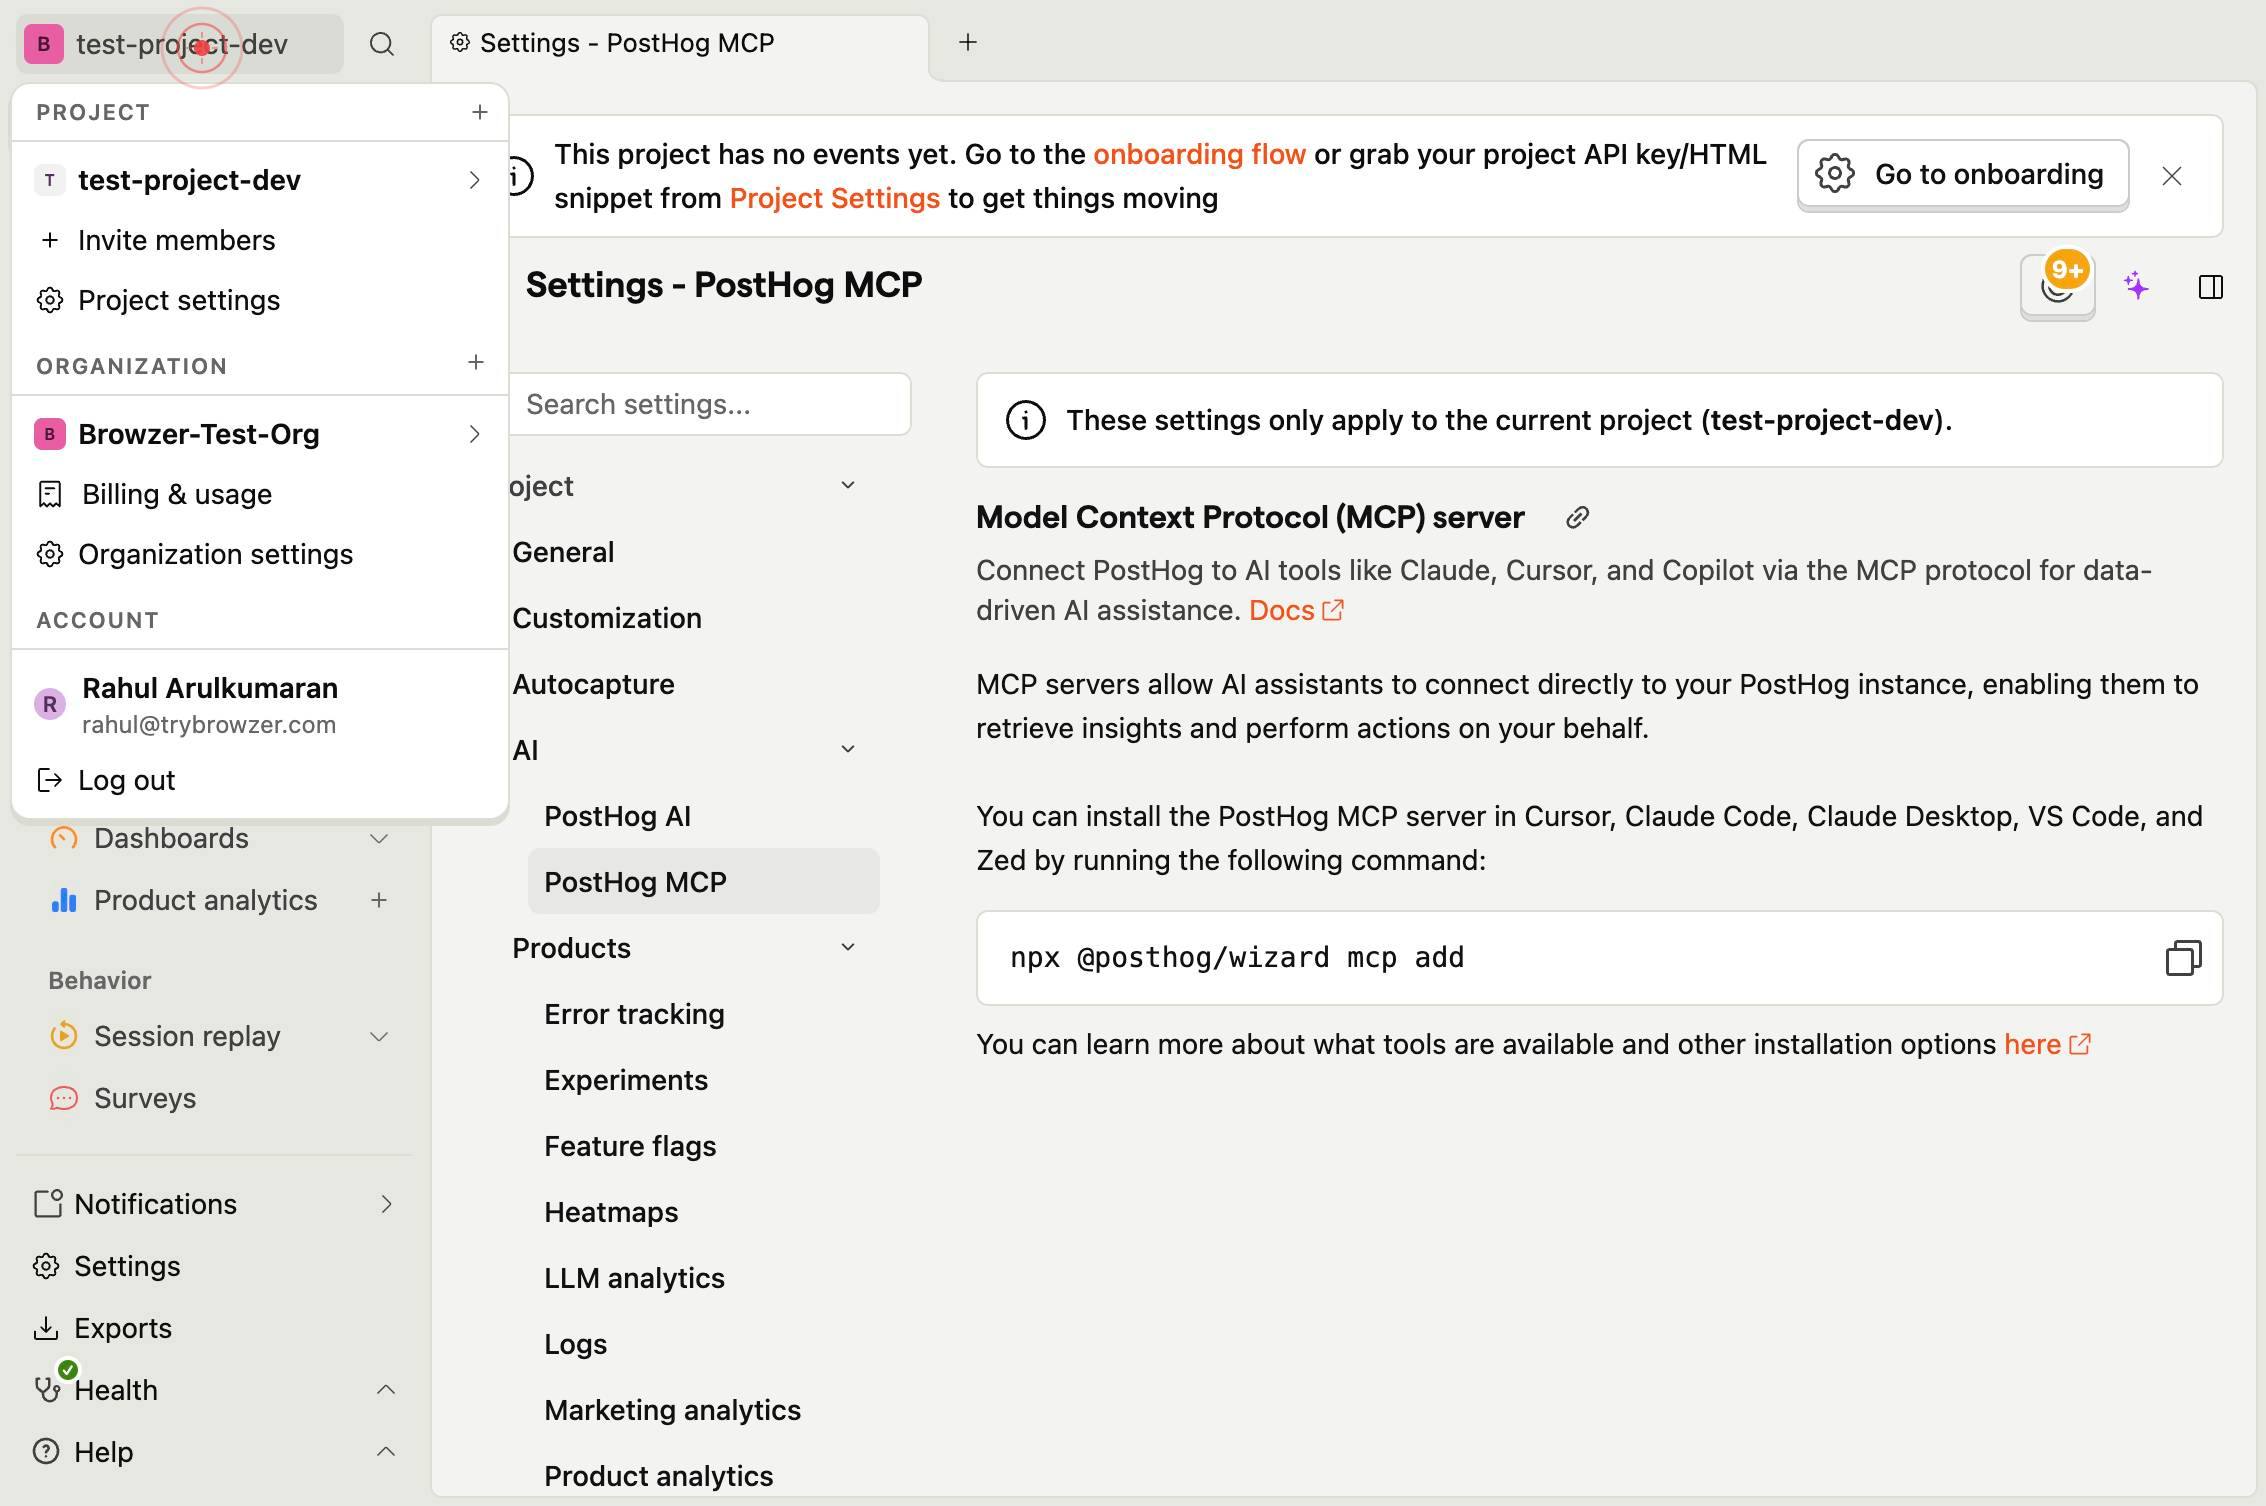
Skip to content B test-project-dev Browse Chat PROJECT Home Activity Data Files Apps Starred RECENTS MY APPS Analytics Dashboards Product analytics Behavior Session replay Surveys Notifications Settings Exports ✓ Health Help Settings - PostHog MCP ThNavigate to the PostHog project settings by clicking on the main content area to ensure the settings interface is active and ready for configuration.
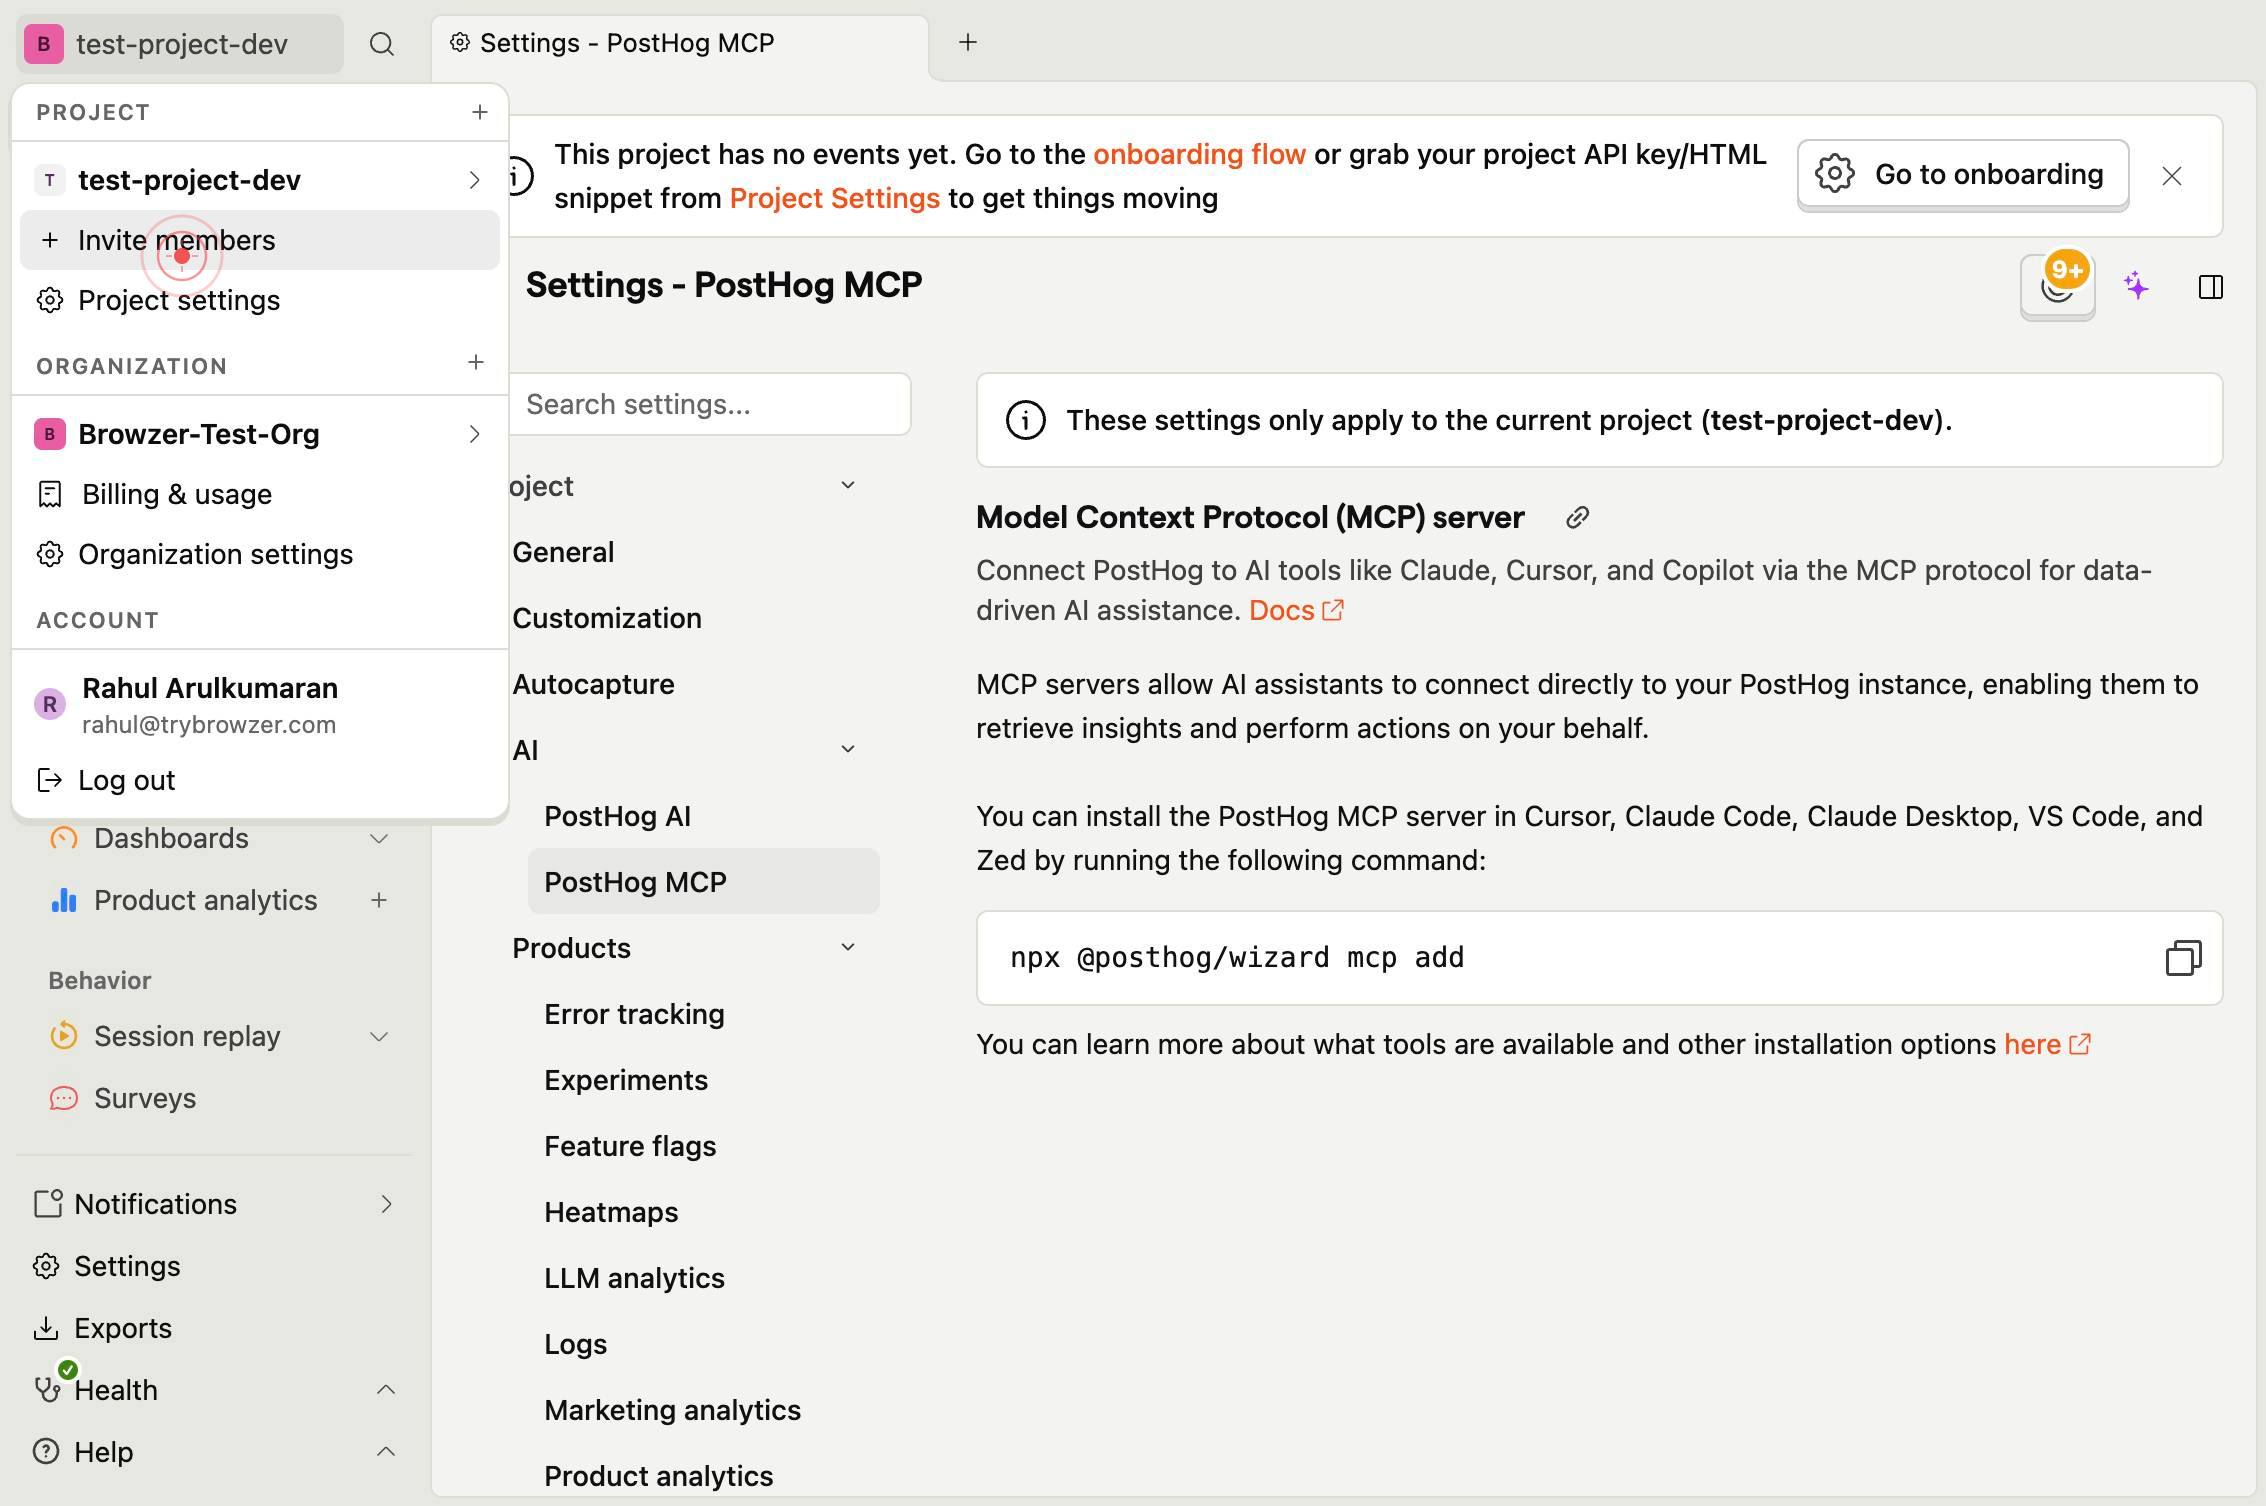
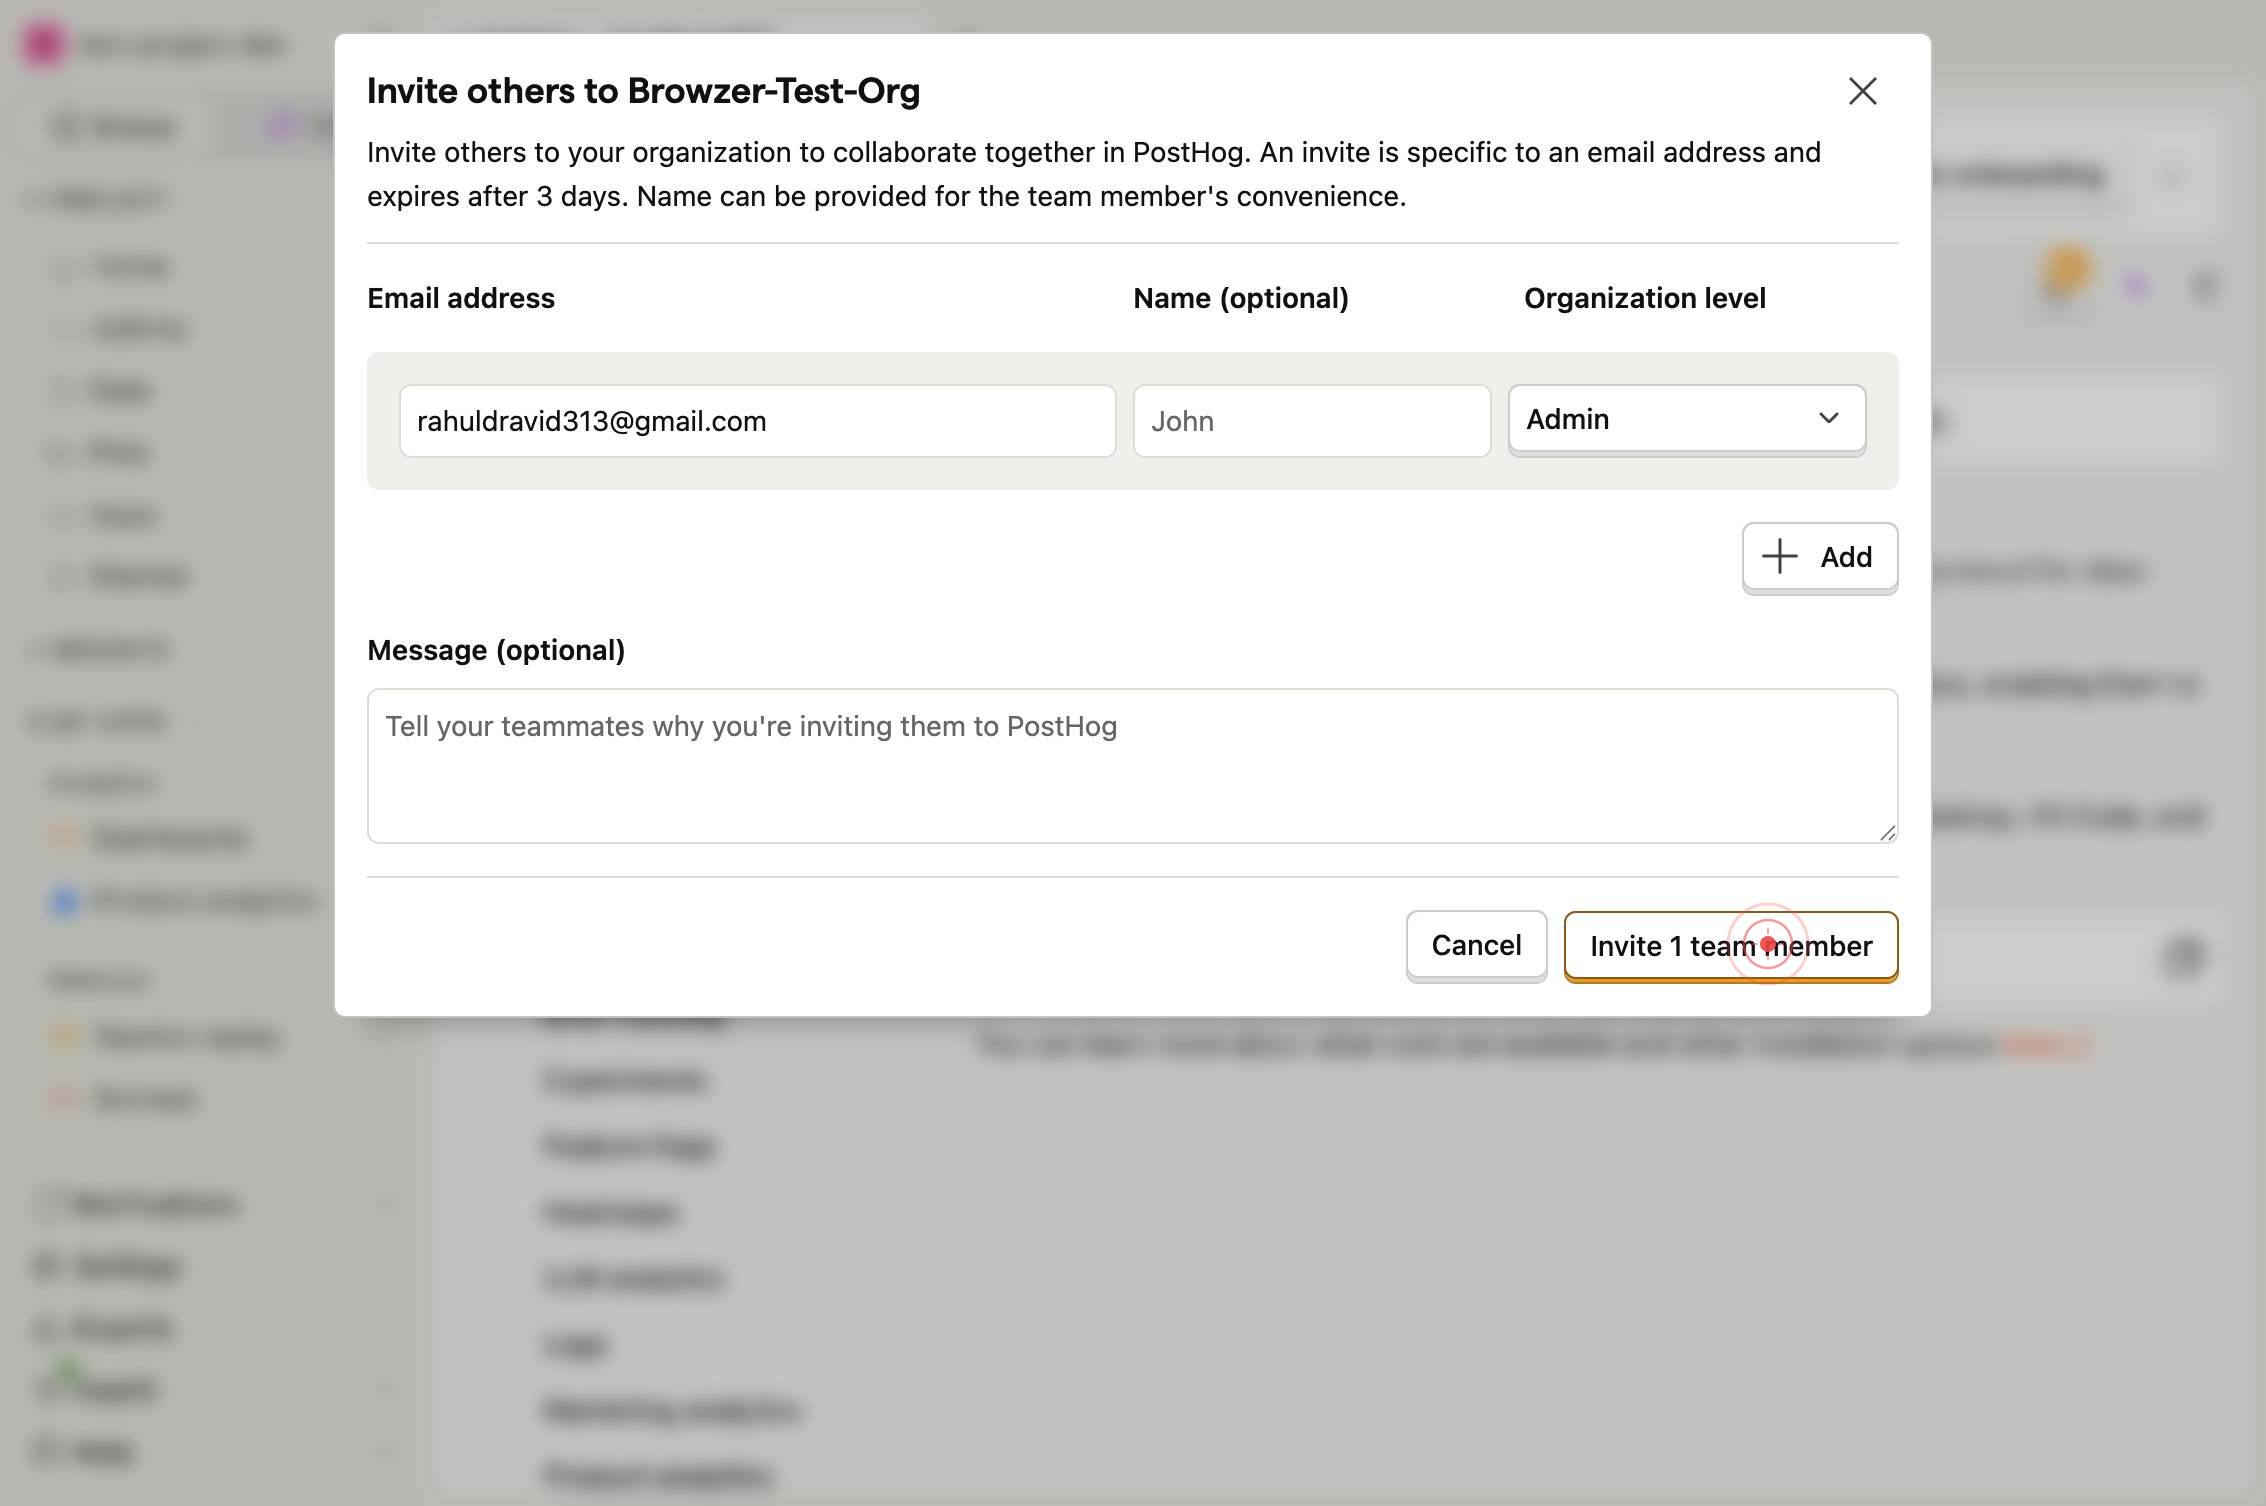
Invite membersClick on 'Invite members' from the menu to open the invitation form where you can add new team members to your PostHog project.
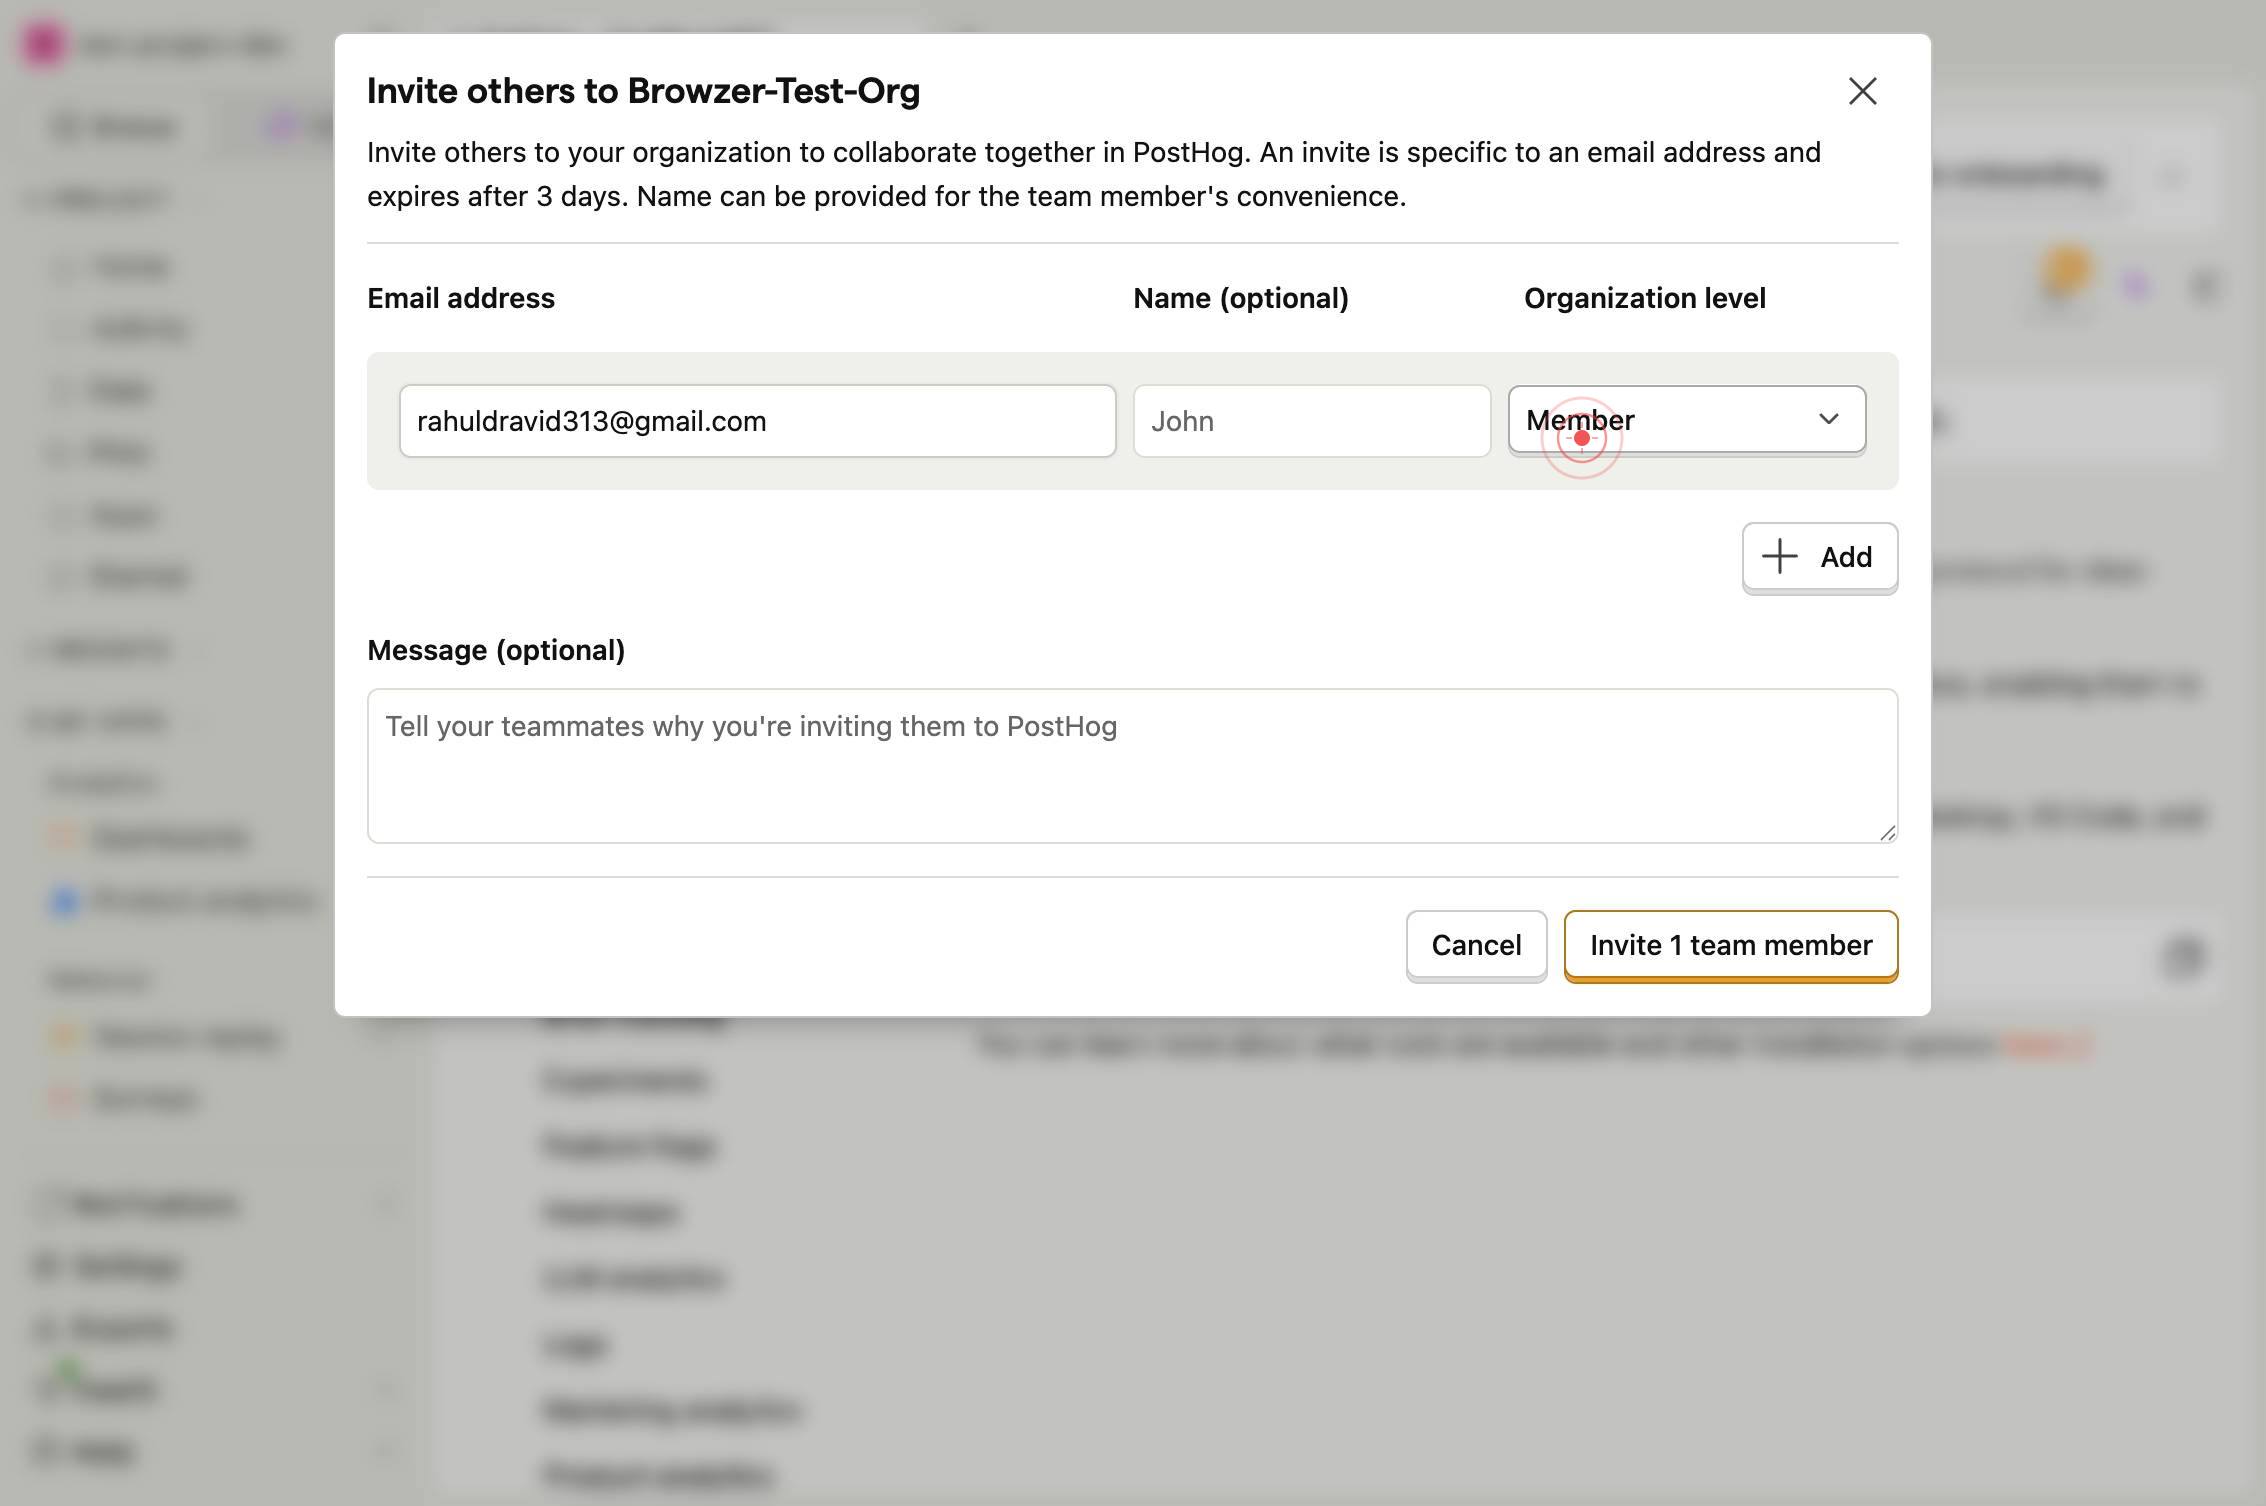
john@posthog.comEnter the email address of the team member you wish to invite in the text field that appears. Type their complete email address (e.g., john@posthog.com) exactly as it should be used for their PostHog account.
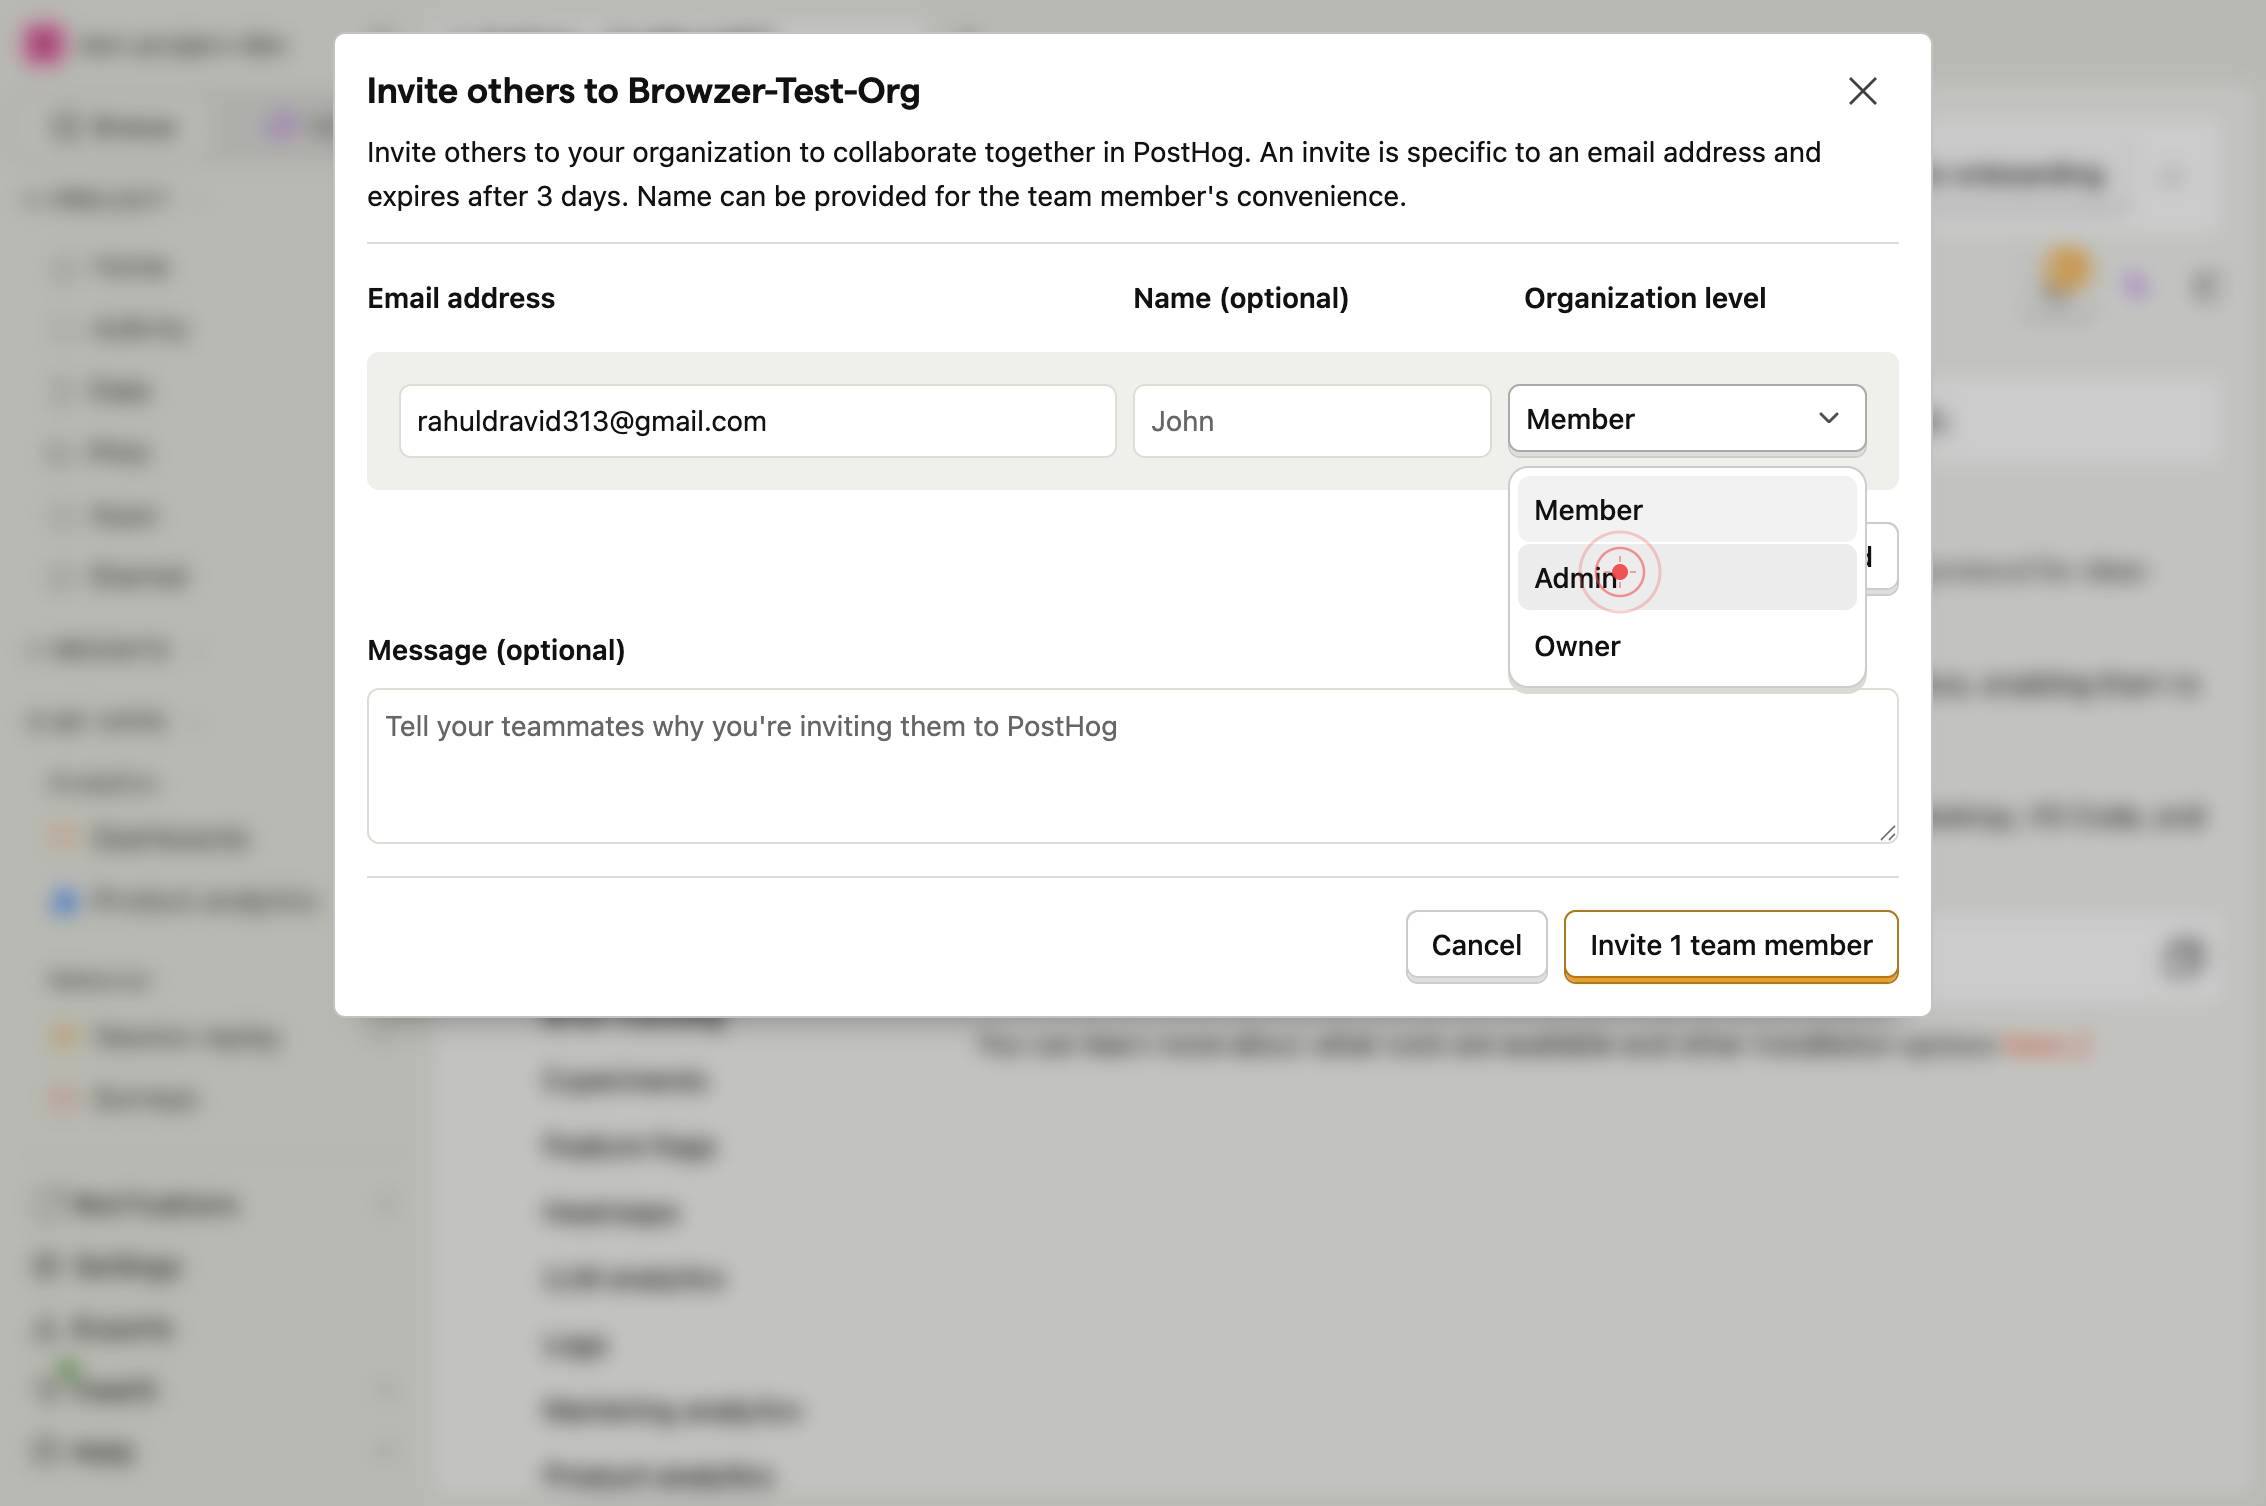
MemberClick on the 'Member' button to open a dropdown menu where you can select the role and permission level for the new team member.
AdminSelect 'Admin' from the dropdown menu to assign the invited user full administrative permissions, including the ability to manage team members, modify project settings, and access all analytics features.
Invite 1 team memberClick the 'Invite 1 team member' button to send the invitation email to the user at the address you provided with the Admin role assignment.
Confirm it worked
- 1After clicking 'Invite 1 team member', you should see a confirmation message indicating the invitation has been sent successfully.
- 2Navigate to your project's Members or Team settings page; the newly invited user should appear in the list with a status of 'Pending' or 'Invited'.
- 3The invited team member should receive an email invitation at the address you provided with a link to join your PostHog project.
- 4Once the team member accepts the invitation and logs in, they should appear as an 'Admin' role member in your project settings.
Common issues
Keep reading
Adding a team member - Handbook - PostHog
# Adding a team member - Handbook The [ ](/teams/website.md) [Website Team Website Team](/teams/website.md) oversees the process of completing their website profile so it's ready to go when they
posthog.comManaging Organizations and Teams - PostHog
> ## Documentation Index > > Fetch the complete documentation index at: https://mintlify.com/PostHog/posthog/llms.txt > Use this file to discover all available pages before exploring further. # Mana
mintlify.comAdd User Access to PostHog | OpsBlu Docs
Add User Access to PostHog | OpsBlu Docs # Add User Access to PostHog Step-by-step guide to inviting and onboarding team members in PostHog ## Overview Adding users to PostHog involves inviting th
opsblu.com