Guide
Turn Off Labels
Overview
LIAM uses labels to automatically categorize and flag your incoming emails—such as 'Action required' and 'Awaiting reply'—to help you prioritize your inbox. Over time, you may find that certain labels are no longer useful for your workflow, or you may want to simplify your label set to reduce noise. This workflow guides you through disabling multiple labels at once from your Profile settings. Turning off a label stops LIAM from automatically applying it to future emails, but does not remove the label from messages that already have it.
Before you begin
- You have an active LIAM account on doitliam.com and are logged in.
- You have access to your Profile settings (typically available to all account users).
- You know which labels you want to disable (e.g., 'Action required', 'Awaiting reply', etc.).
Step by step
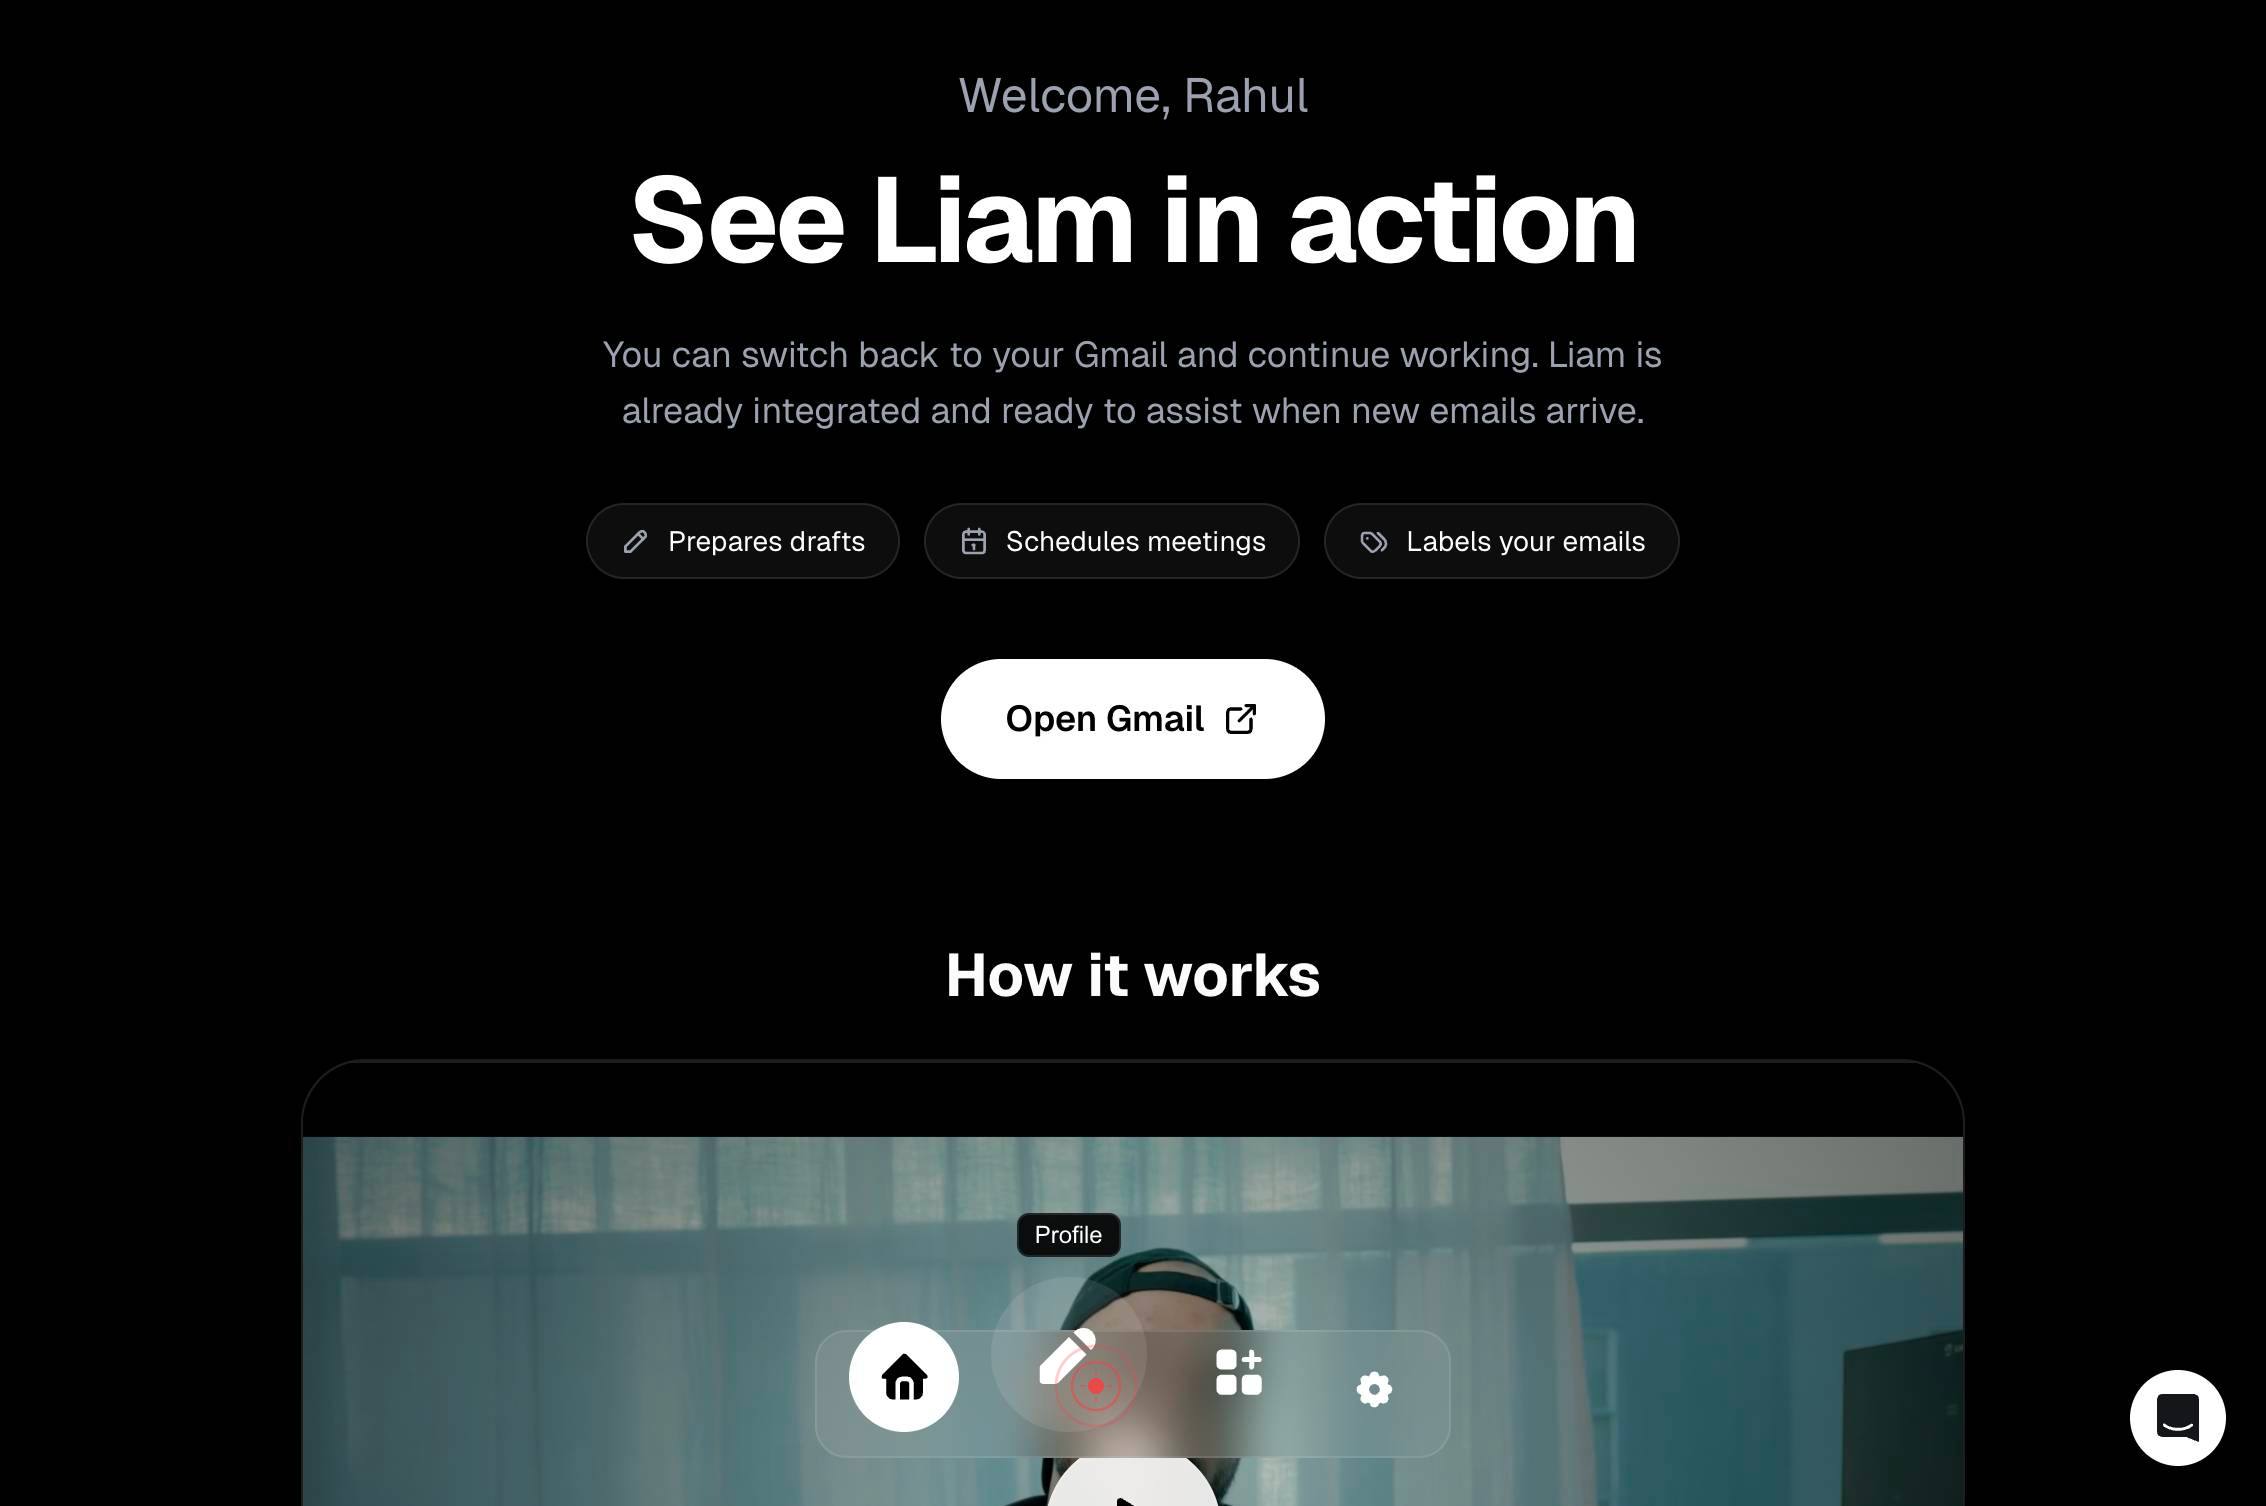
ProfileNavigate to your account settings by clicking the Profile link in the main navigation of doitliam.com.
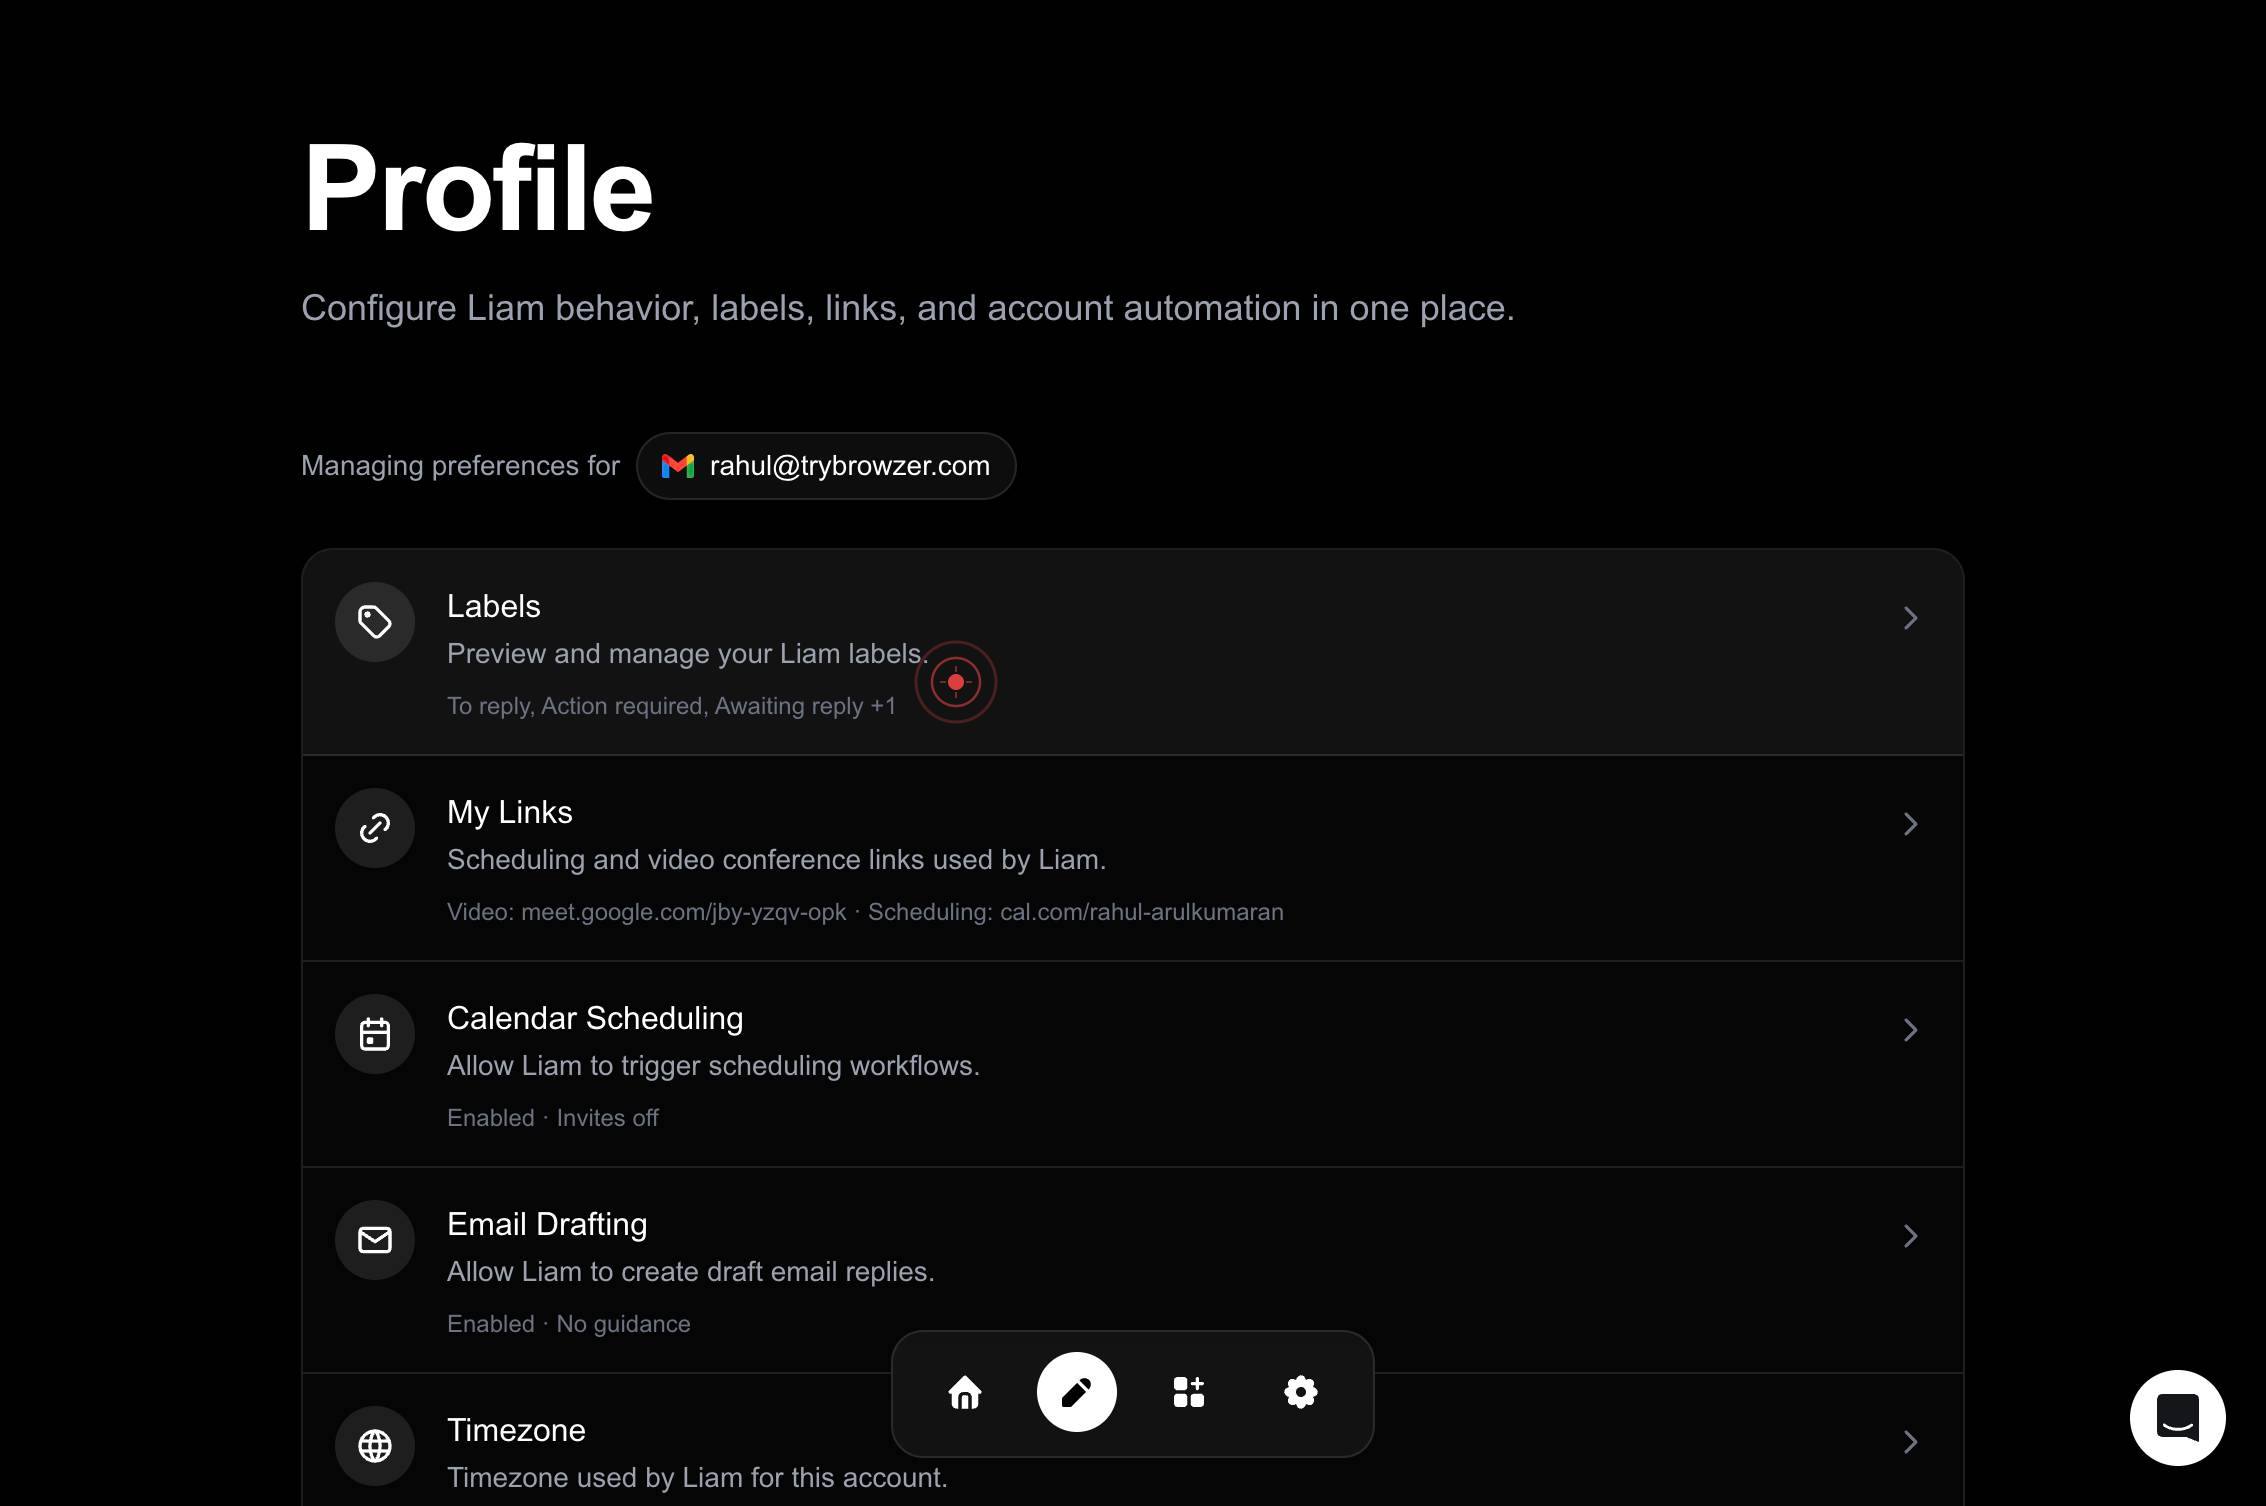
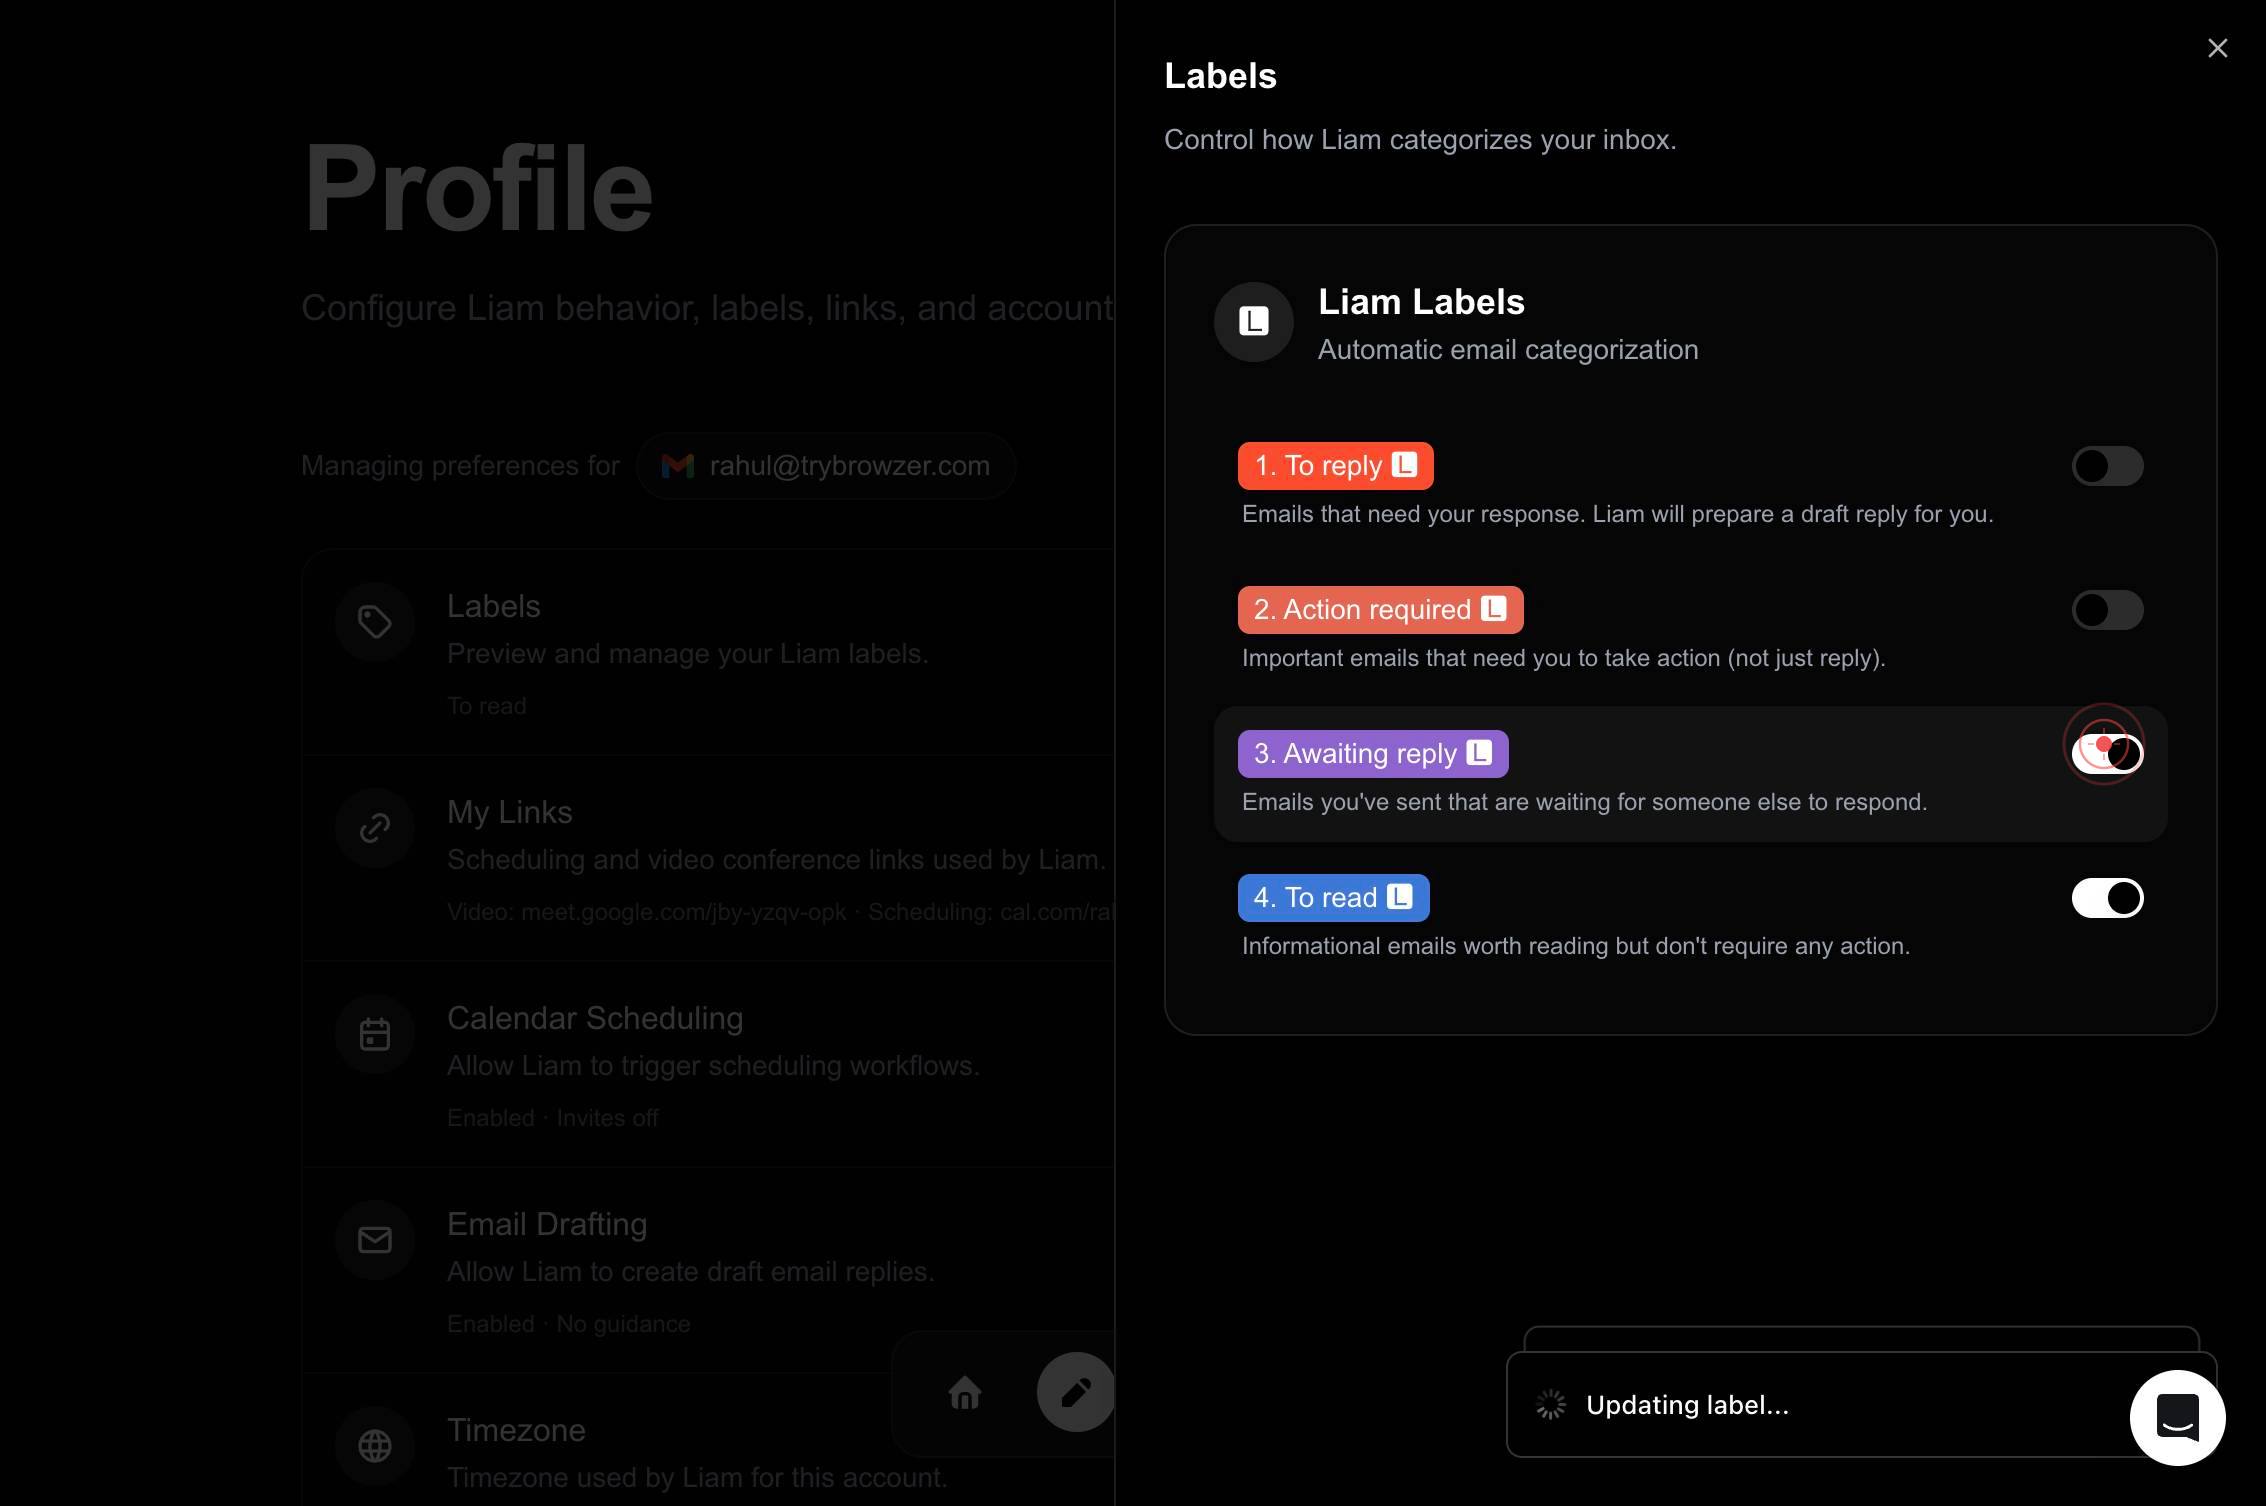
Labels Preview and manage your Liam labels. To reply, Action required, Awaiting reply +1Open the Labels management panel by clicking the Labels section, which displays a summary of your available labels (such as 'To reply', 'Action required', 'Awaiting reply', and others) and shows options to preview and manage them.
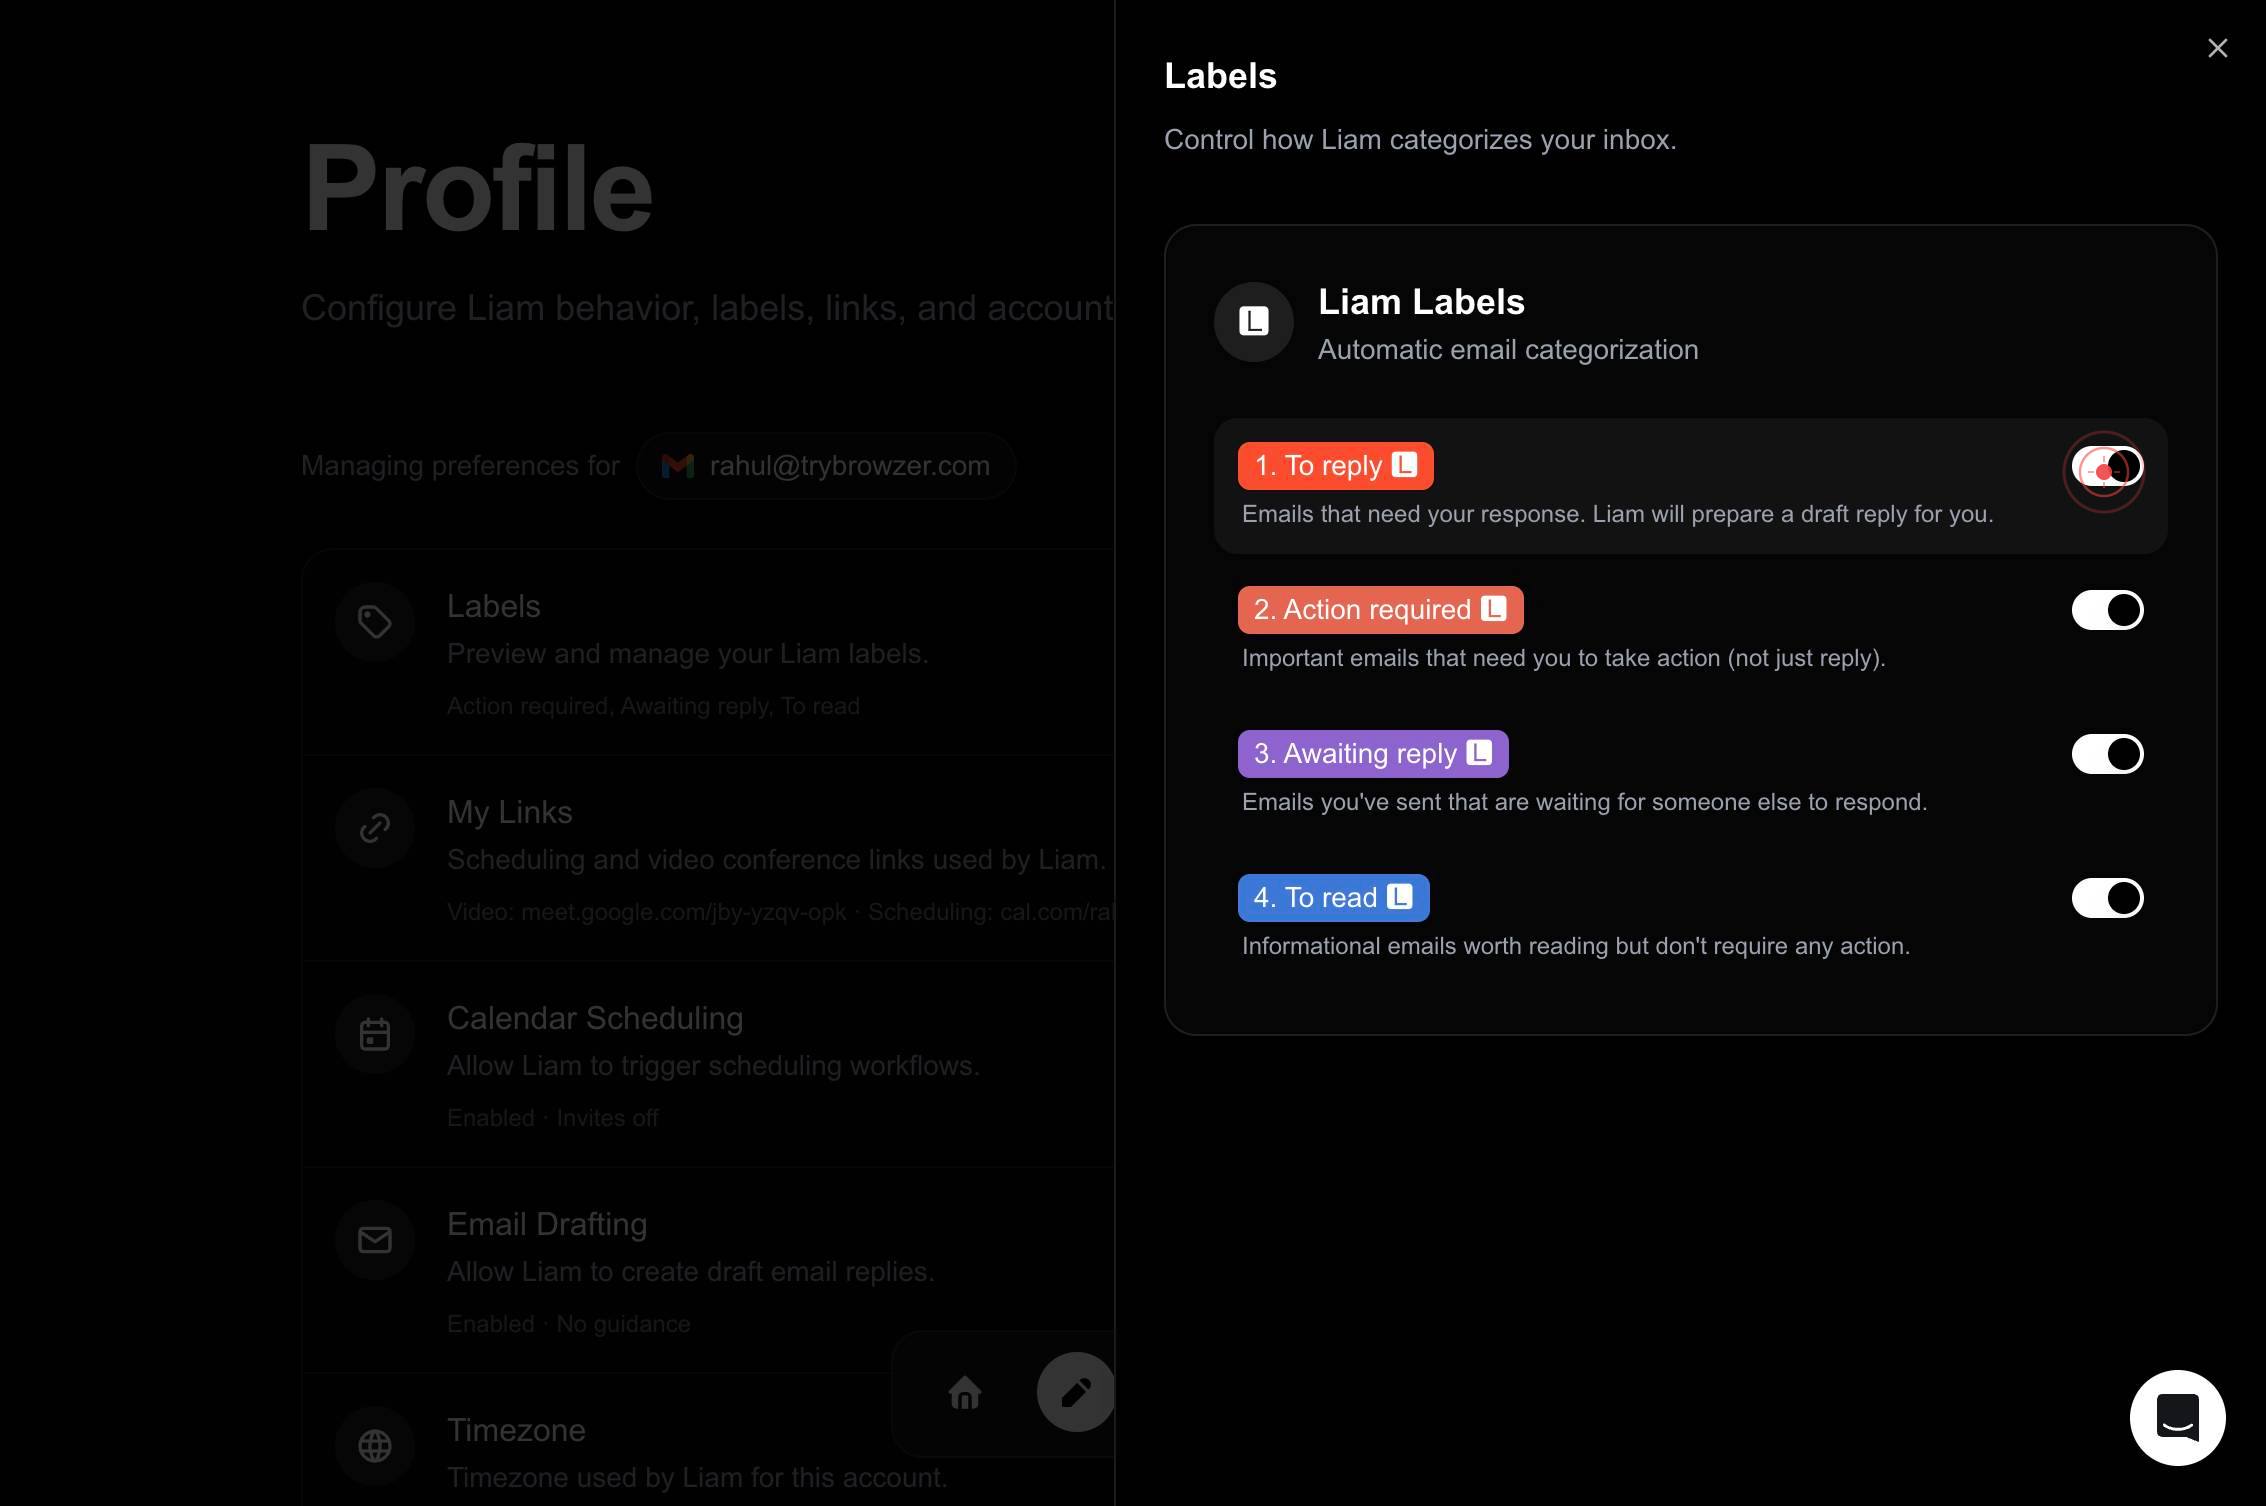
onDisable the first label by clicking its toggle switch from 'on' to 'off'. This stops LIAM from automatically applying this label to new incoming emails.
onDisable the second label by clicking its toggle switch from 'on' to 'off'.
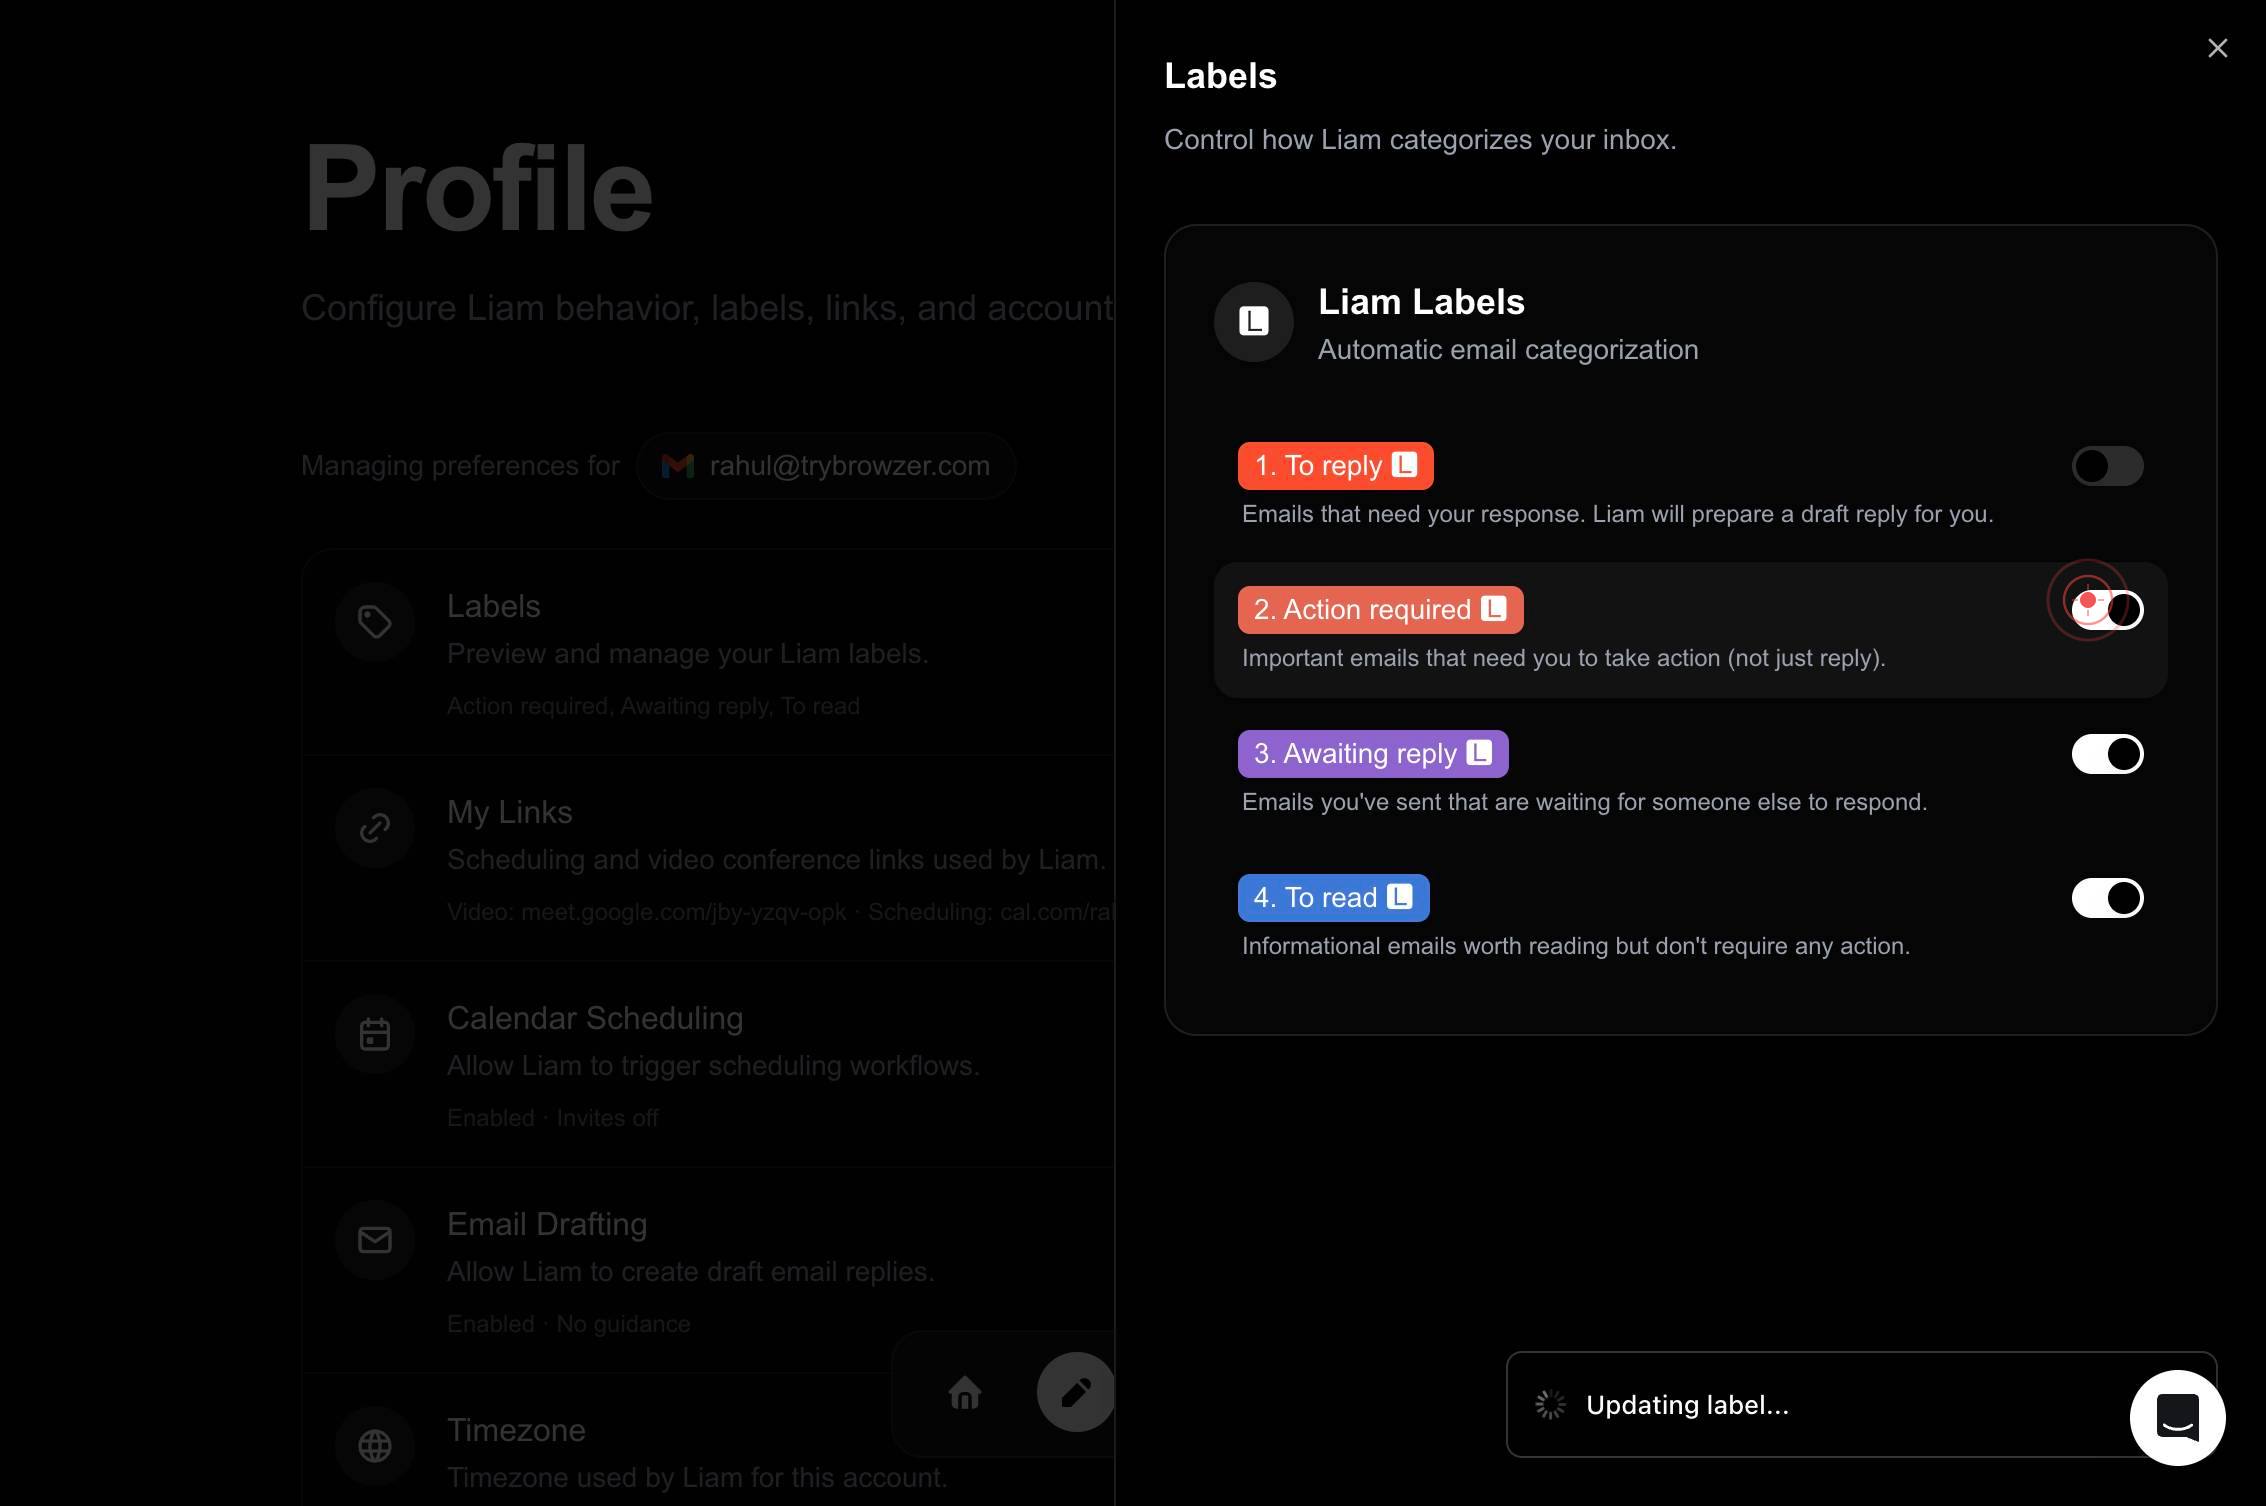
onDisable the third label by clicking its toggle switch from 'on' to 'off'.
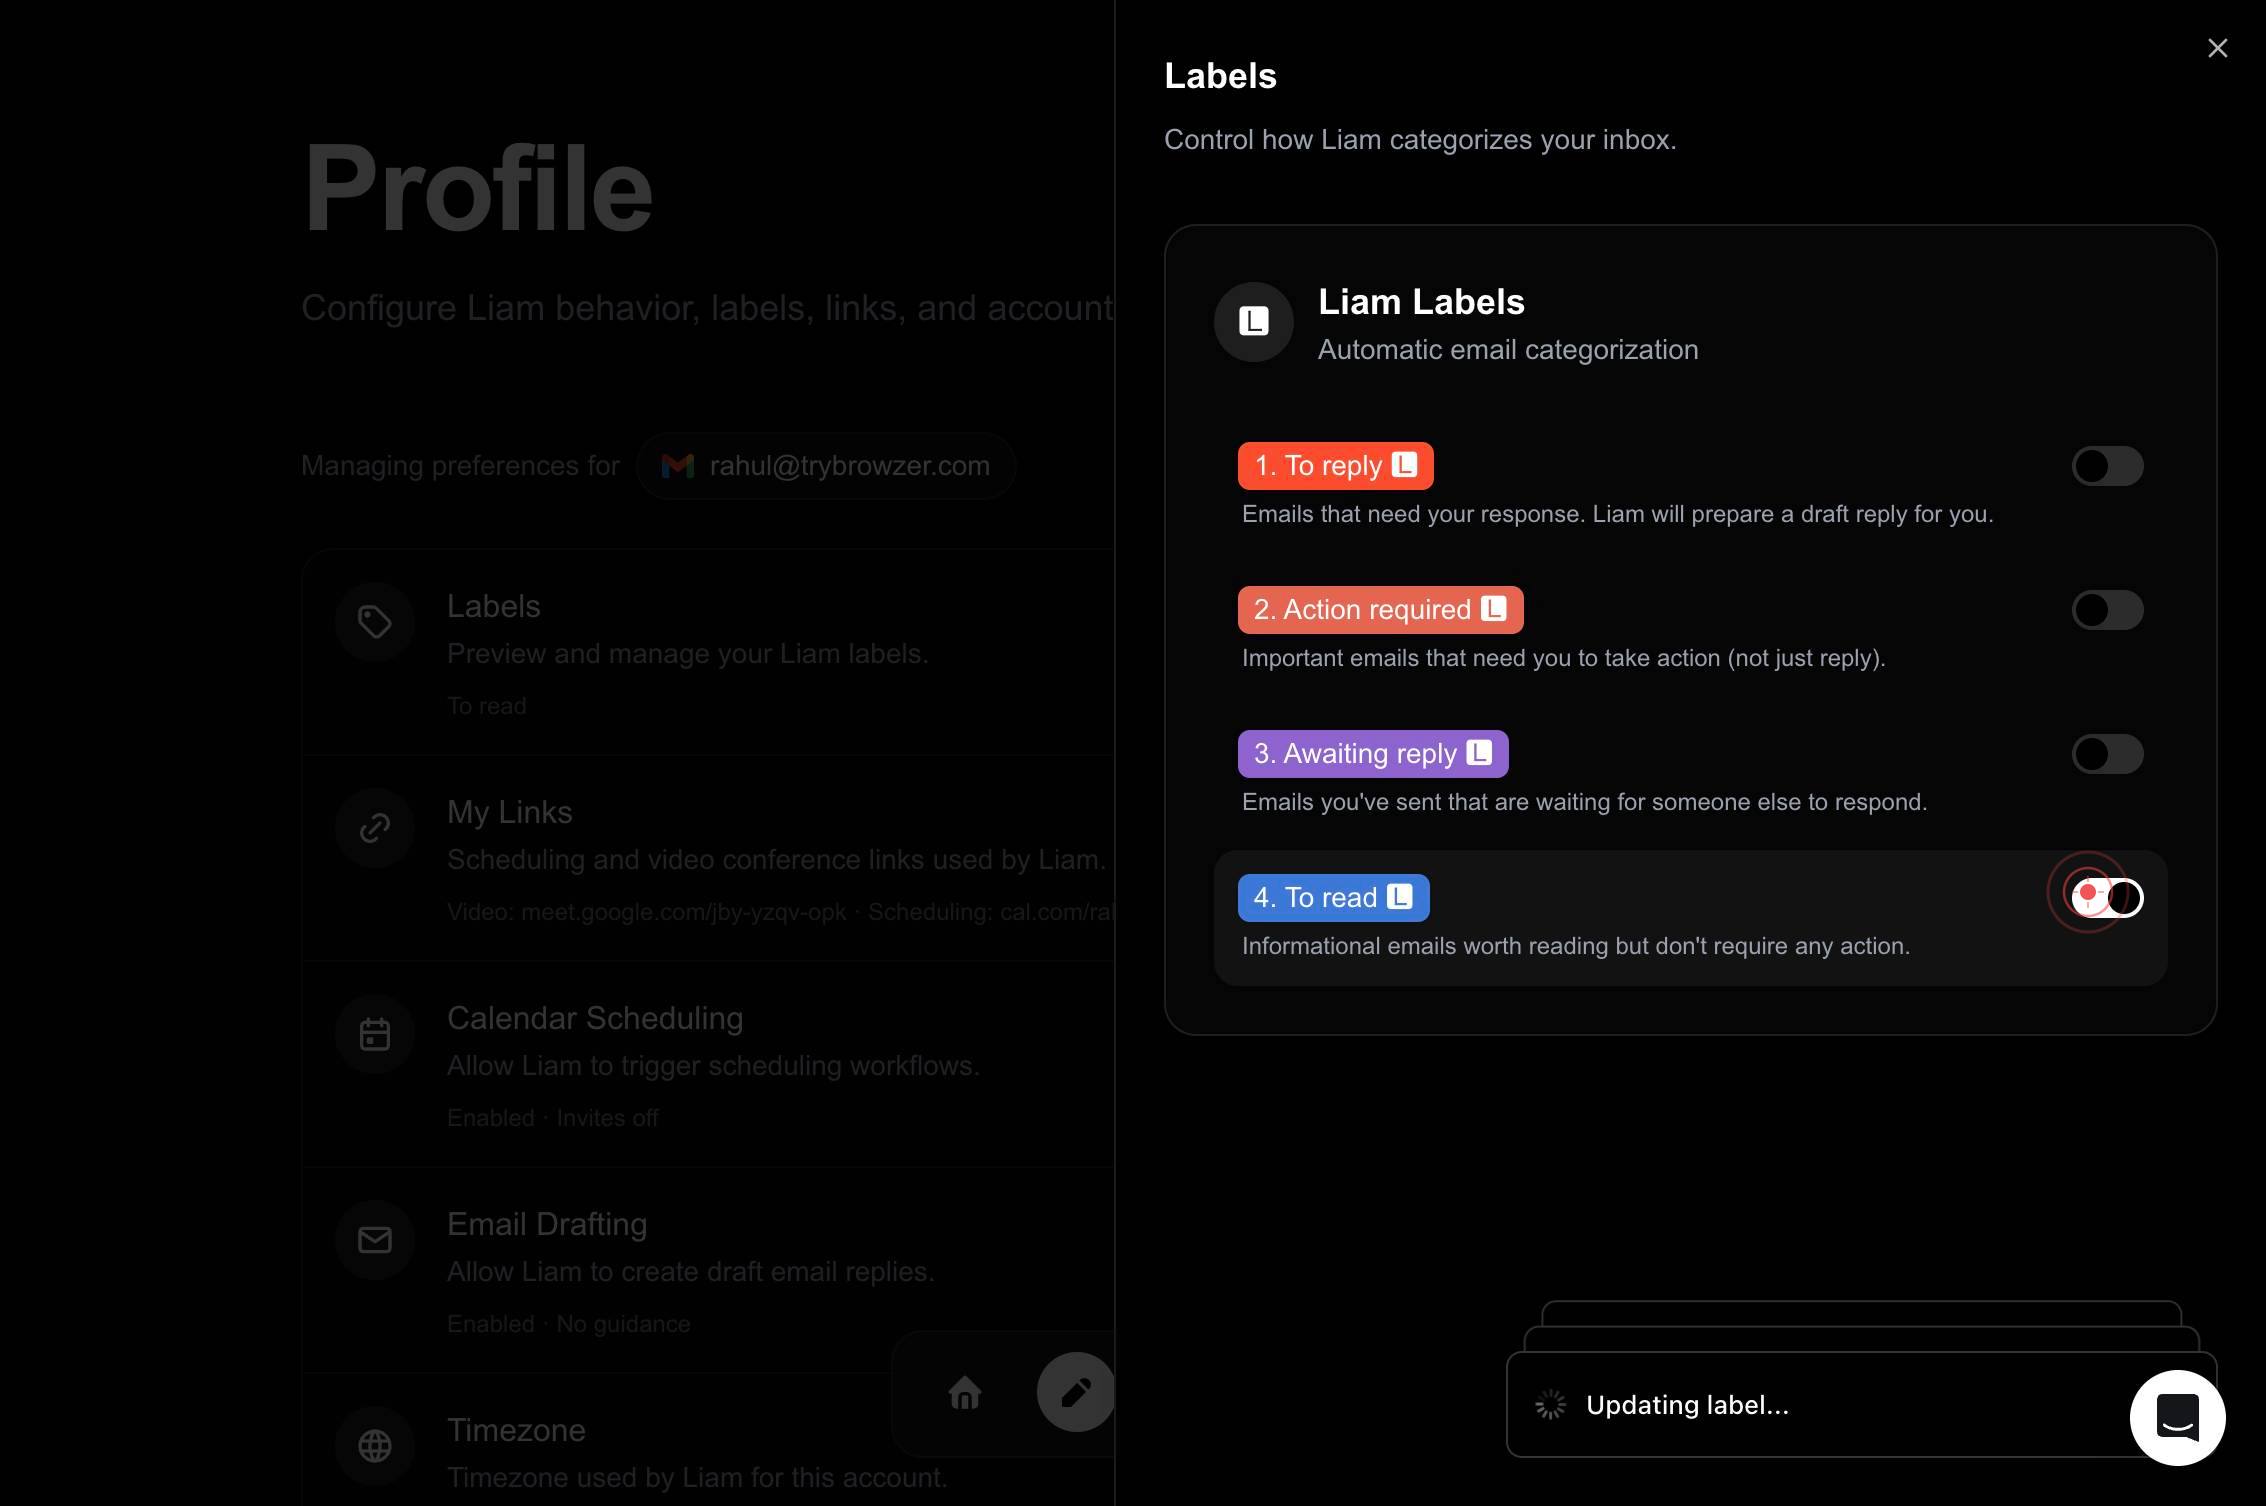
onDisable the fourth label by clicking its toggle switch from 'on' to 'off'. After this action, all selected labels will be disabled and will no longer be automatically applied to new emails.
Confirm it worked
- 1You are viewing the Labels management panel, which displays a list of all available labels with on/off toggle switches.
- 2Each label you intended to disable now shows an 'off' toggle state (instead of 'on').
- 3The Labels panel reflects your changes immediately; no separate 'Save' action is required.
Common issues
Keep reading
How to Turn Off Labels in Google Maps
How to Turn Off Labels in Google Maps ** * [Gaming](https://www.alphr.com/category/video-games/) [Xbox](https://www.alphr.com/category/video-games/gaming-devices/xbox/)[Nintendo](https://www.alphr.com
alphr.comHow Do You Turn Off Labels in Google Maps?
How Do You Turn Off Labels in Google Maps? In today’s digital age, Google Maps has become an indispensable tool for navigation, exploration, and discovering new places. Its detailed interface, comple
voilastickers.comTurn Labels On and Off – Vizstas
Turn Labels On and Off – Vizstas ##### Overview You can give the user the power to turn labels on and off by making use of a sheet-swapping parameter. The sheet-swapping parameter technique has bee
vizstas.com