Guide
Create Lead Request - Analyze Website
Overview
LeadPoet's website analysis feature helps you identify high-quality leads by reverse-engineering visitor traffic and company information from any website. This workflow is particularly valuable when you have a competitor's website or a target industry site and want to extract contact information for decision-makers at companies matching your ideal customer profile. By combining geographic and company-size filters, you can narrow results to a manageable, actionable list that aligns with your sales strategy. This is especially useful for B2B sales teams looking to build targeted outreach lists without manual research.
Before you begin
- Active LeadPoet account with access to the Lead Engine module
- Target website URL ready to analyze (e.g., a competitor's site or industry-relevant domain)
- Clarity on your maximum lead quota (the number you'll input in Step 6)
- Understanding of your ideal customer profile, particularly geographic and company-size criteria
Step by step
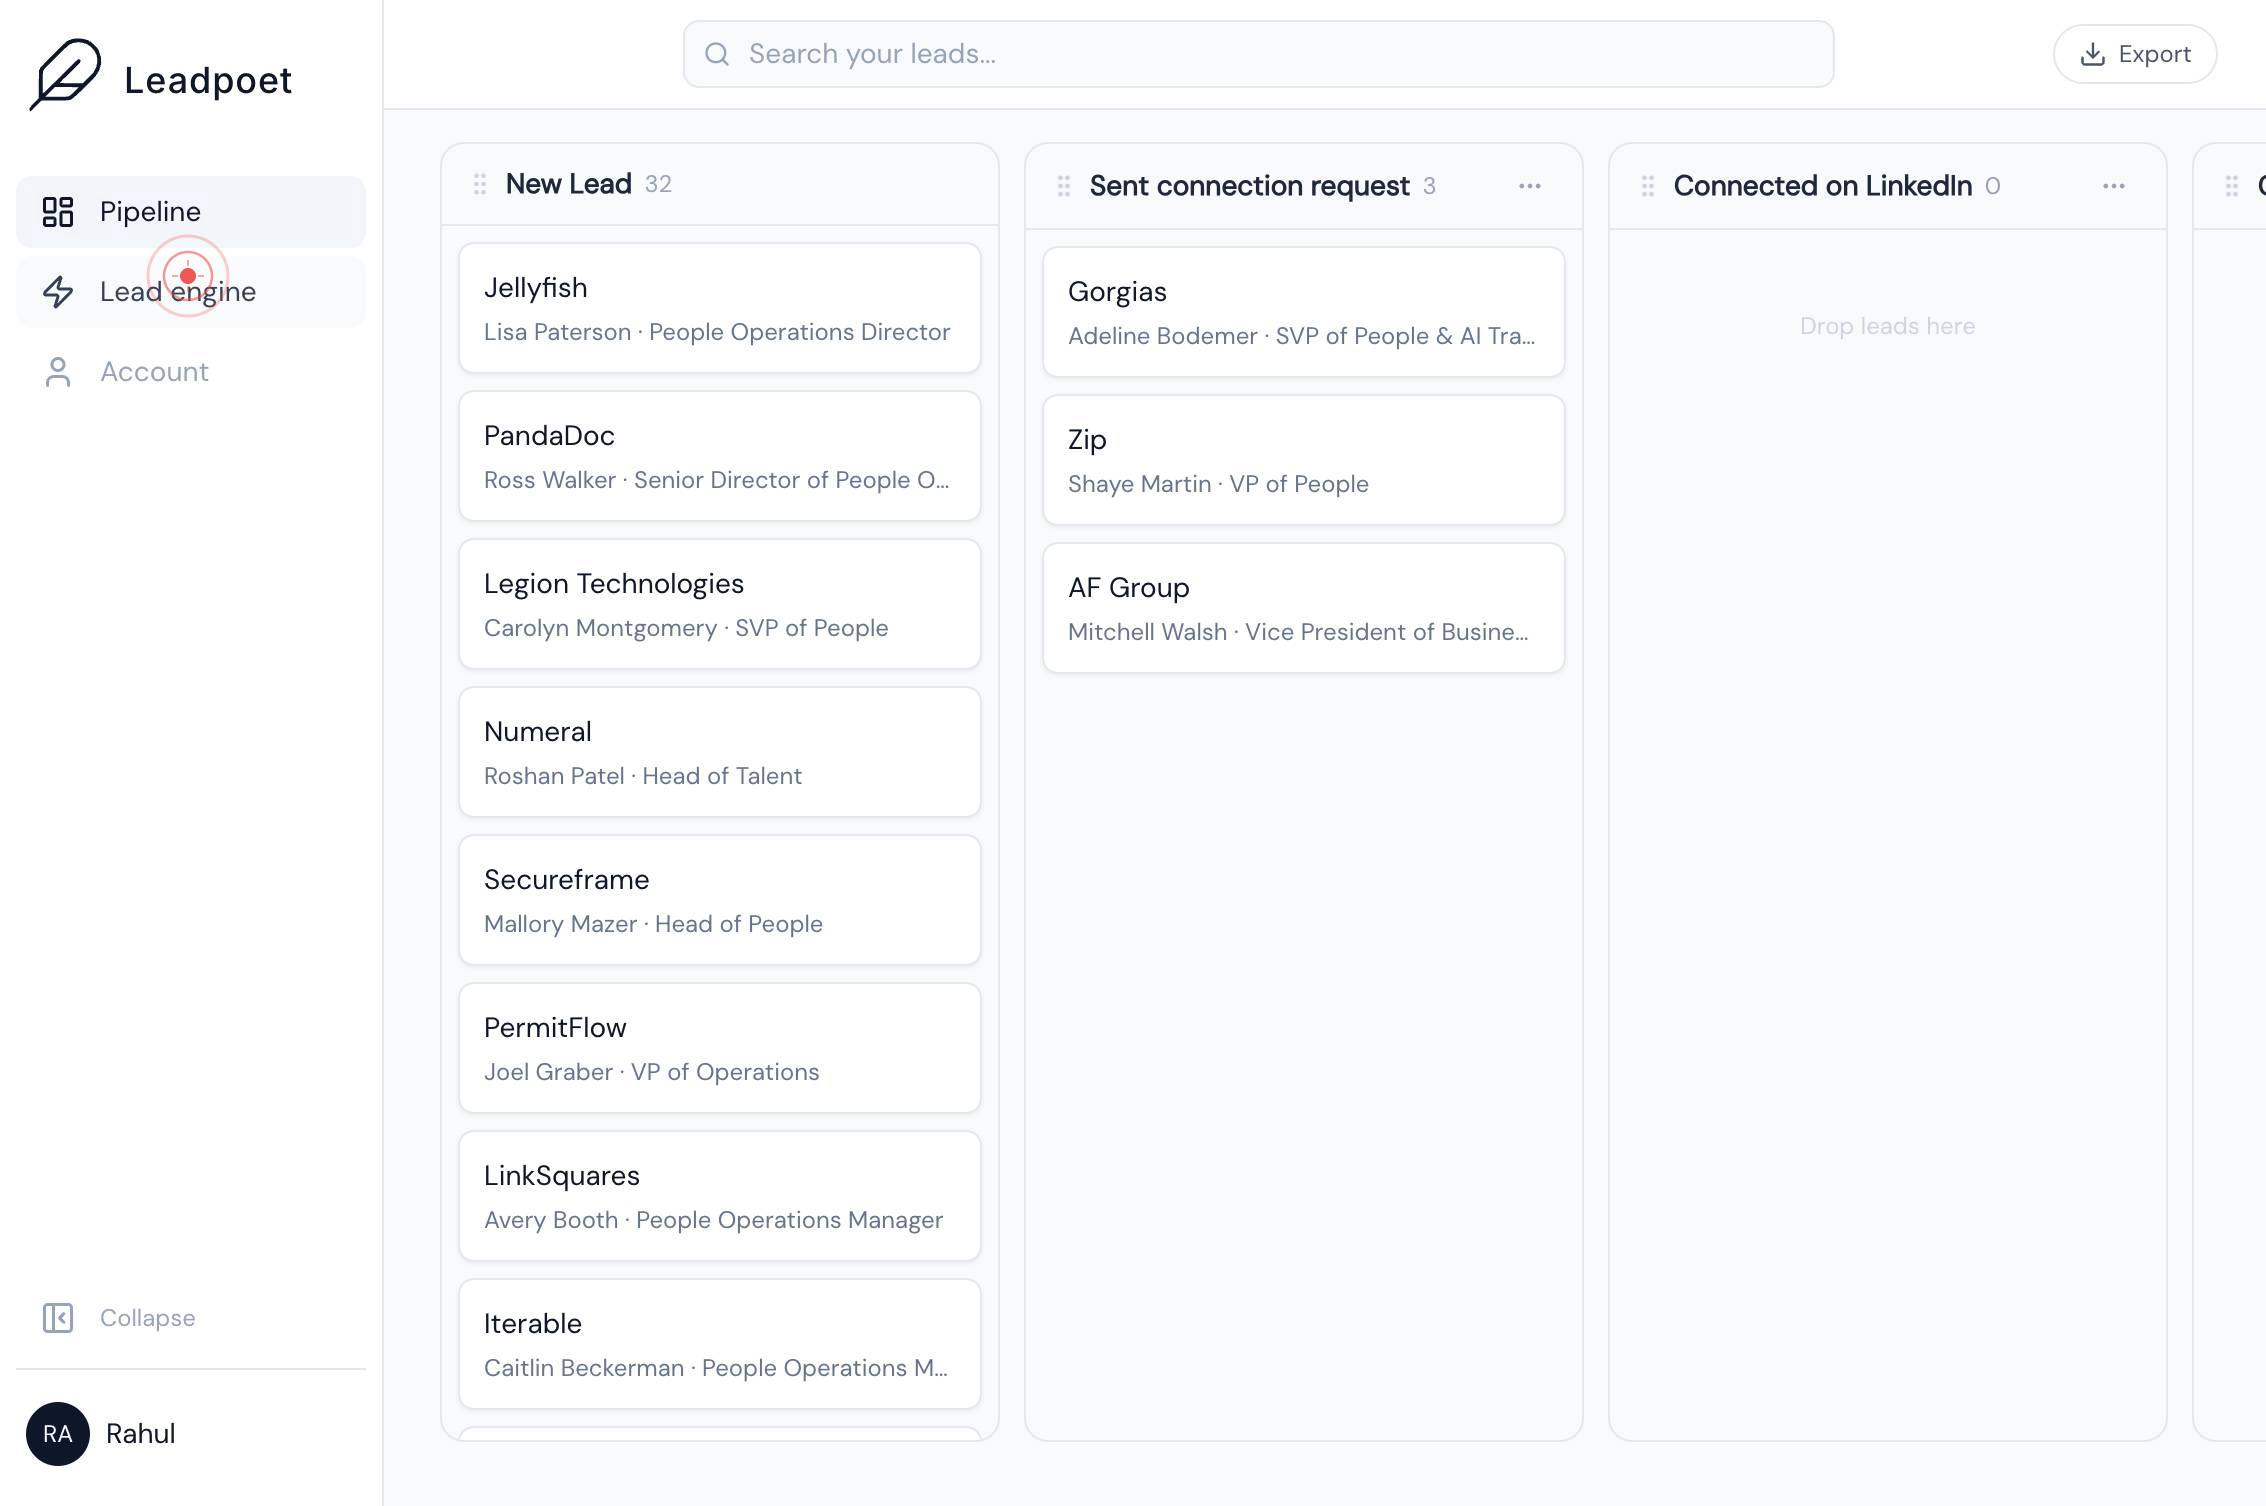
Lead engineOpen the Lead Engine module by clicking the 'Lead engine' button. This is LeadPoet's core tool for generating lead lists and is the starting point for all lead-generation workflows.
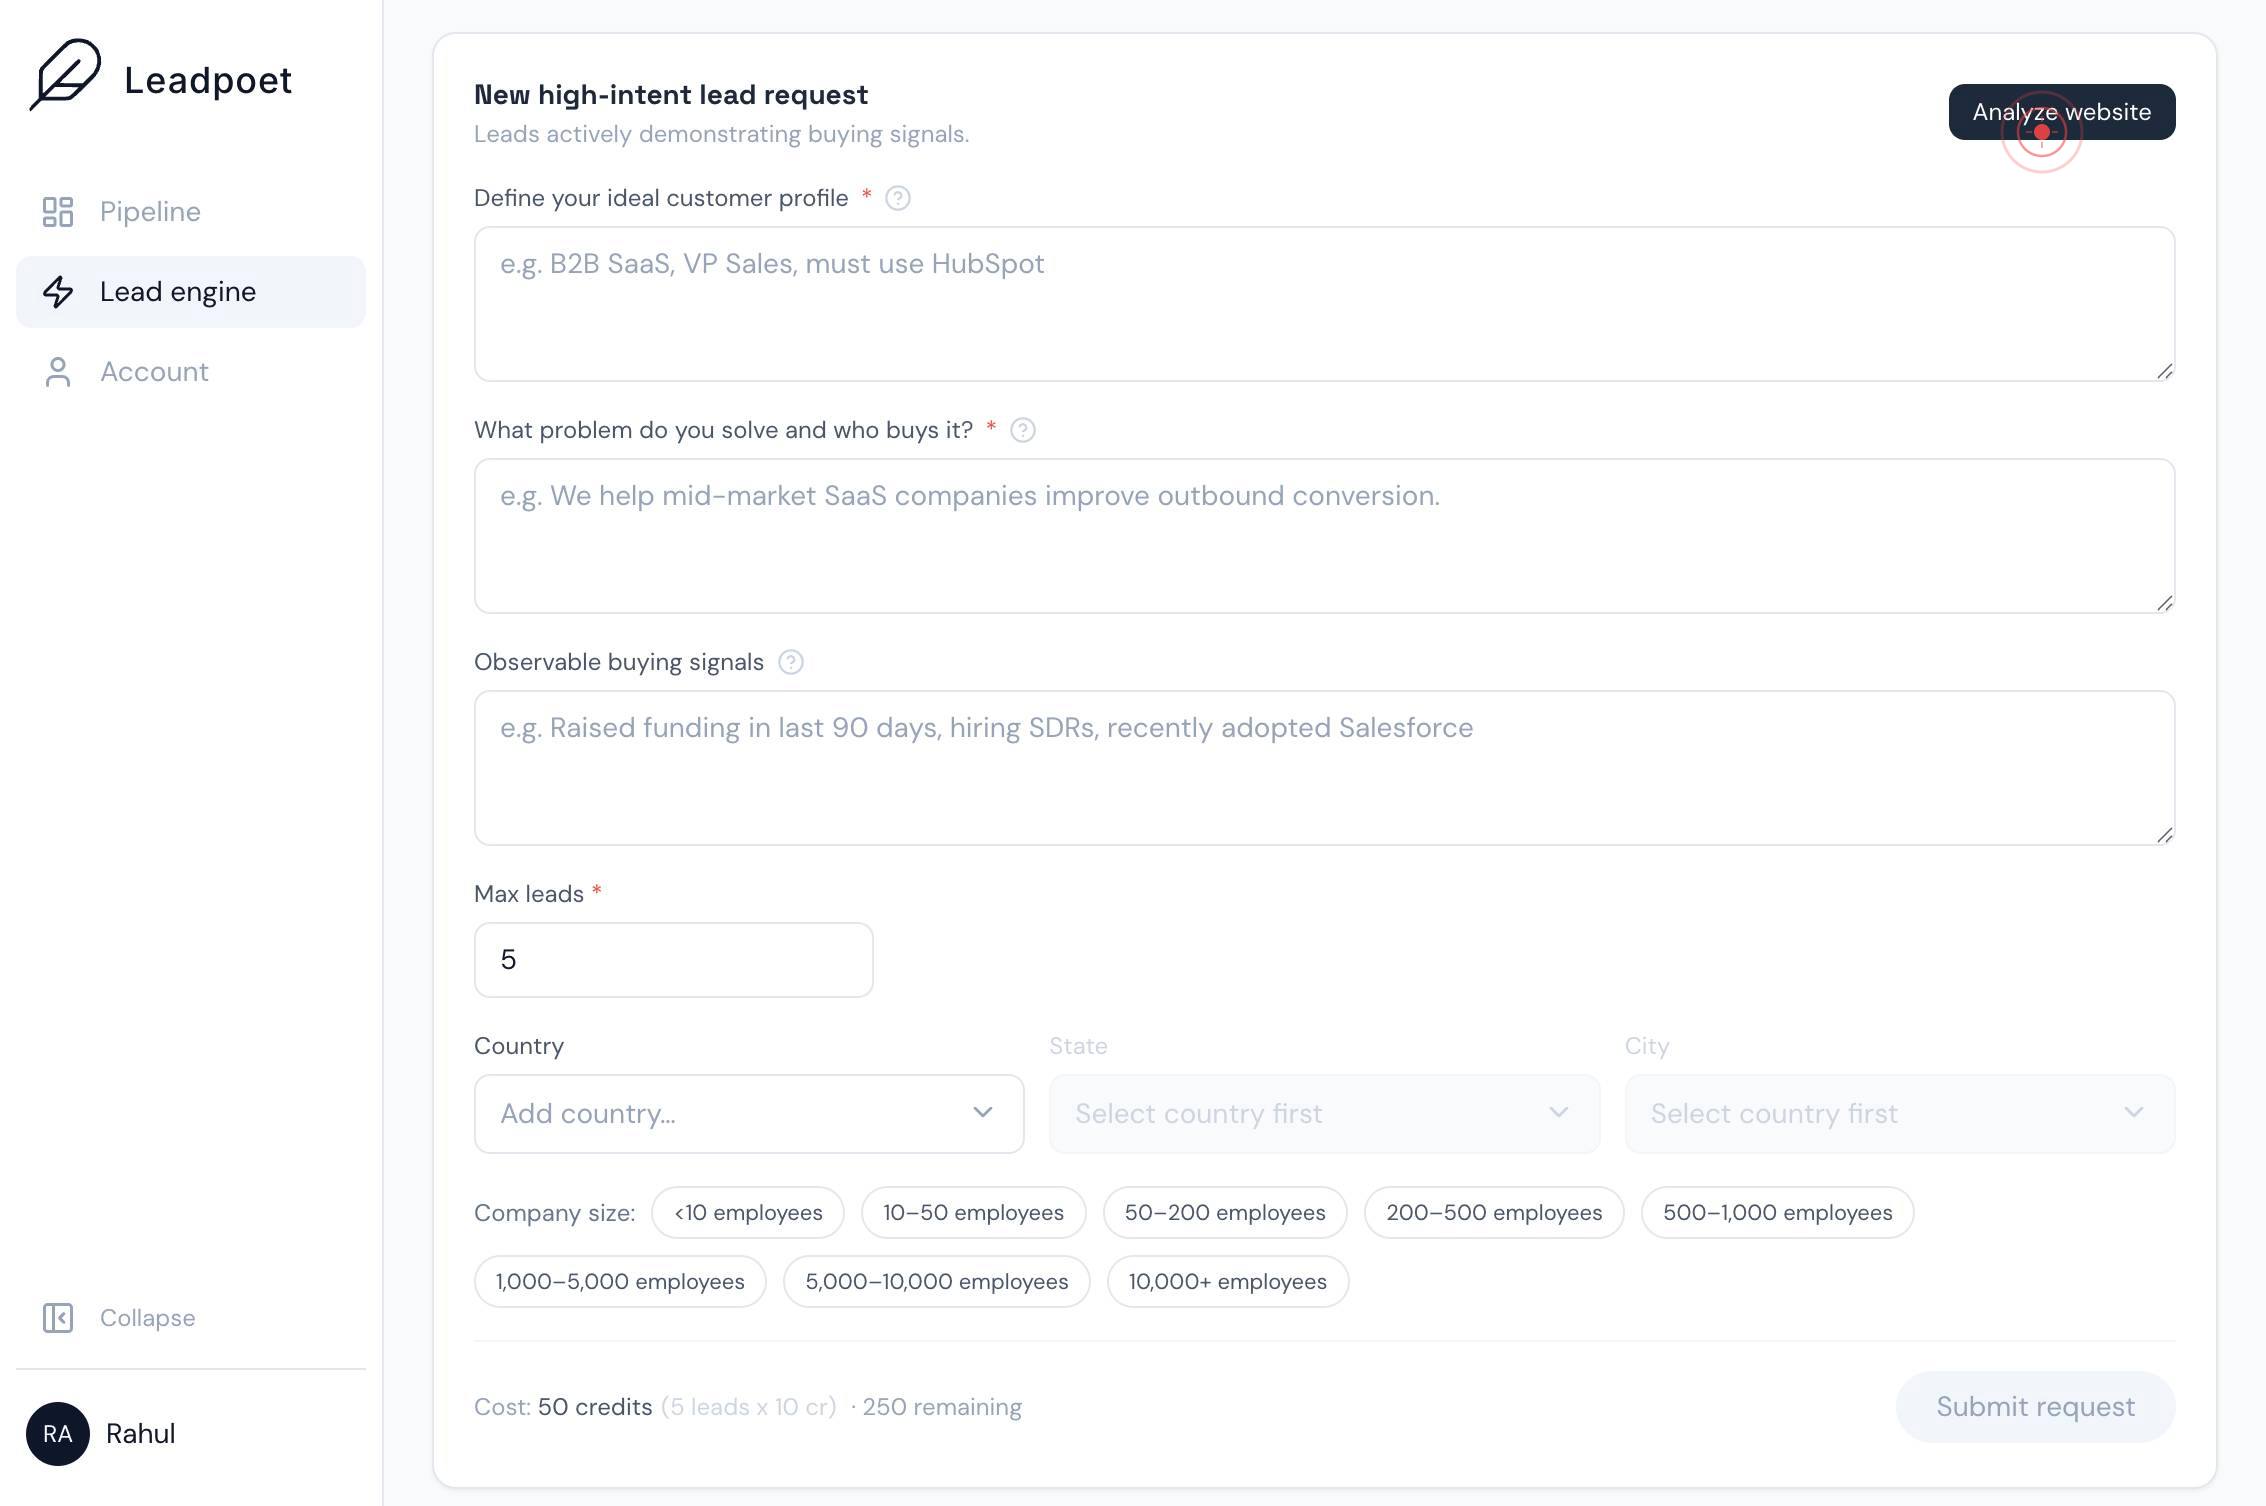
Analyze websiteClick the 'Analyze website' button to launch the website analysis feature. This tool scans a target website's visitor data and company information to build a lead list.
yourcompany.comEnter the target website URL (e.g., a competitor's domain or industry site) in the text field labeled 'yourcompany.com'. This is the website whose visitor traffic and company data will be analyzed.
ScanClick the 'Scan' button to initiate the website analysis. LeadPoet will begin processing the URL and extracting company and visitor information.

Max leads *Click the 'Max leads' text field to activate it. This field controls the maximum number of leads you want returned from this request.
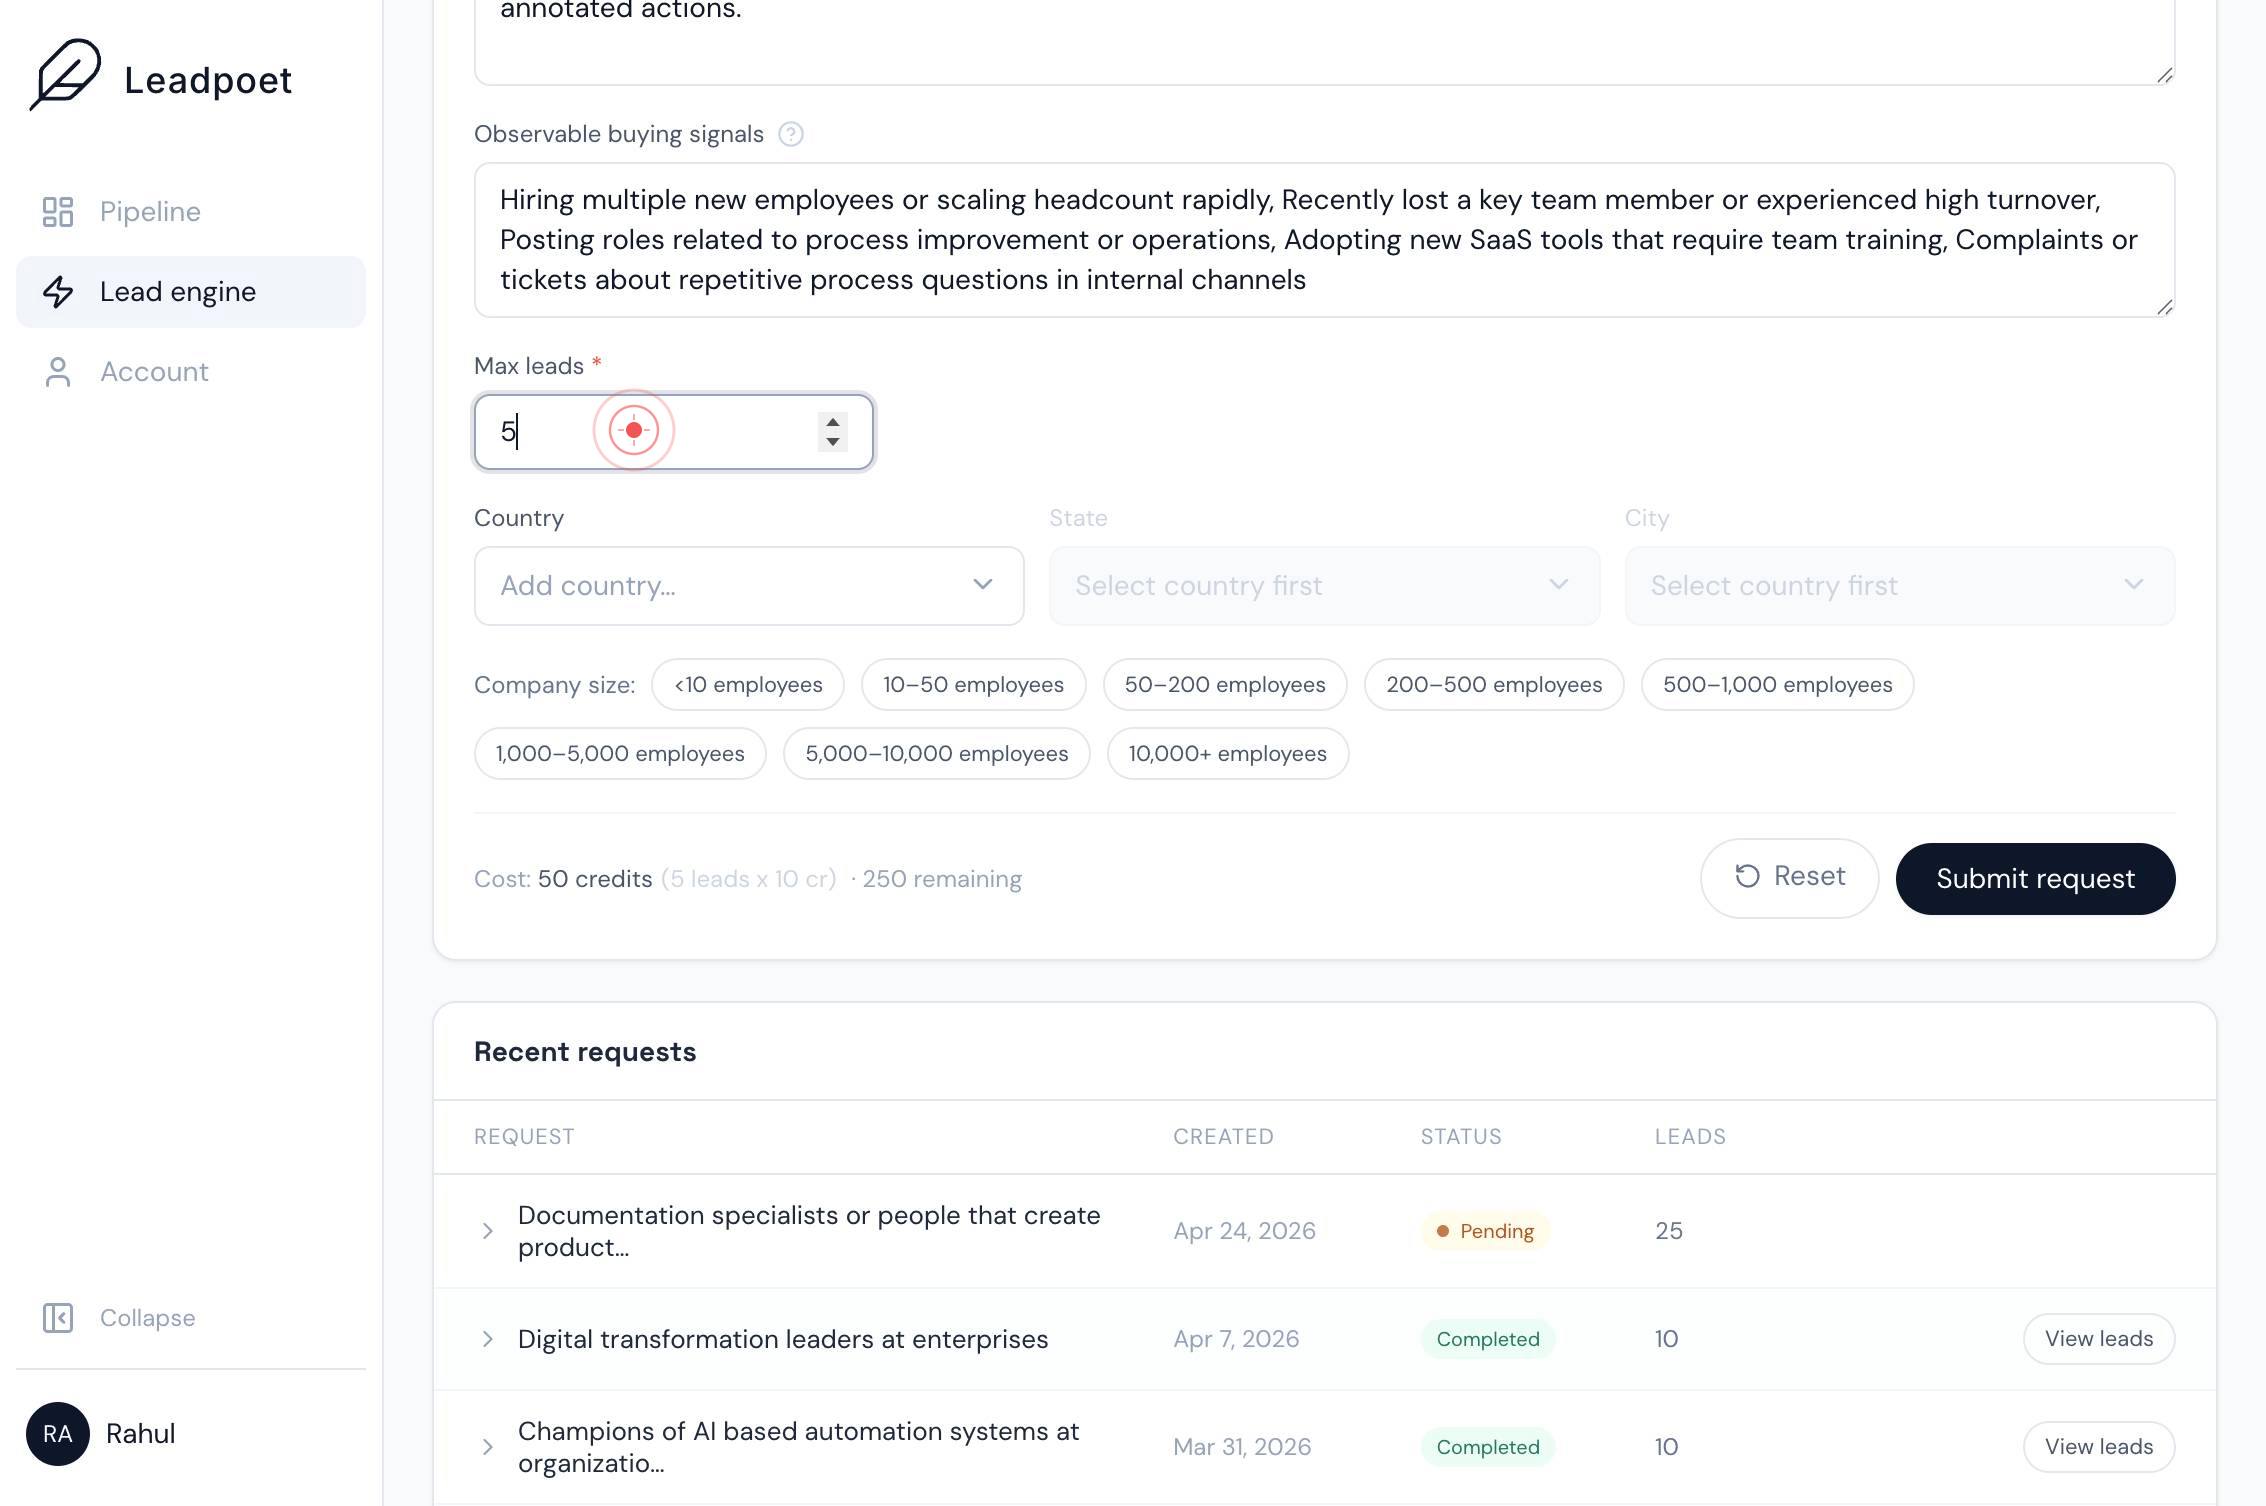
Max leads *Type your desired maximum number of leads into the field. This limits the size of your lead list and helps you focus on a manageable subset of results.
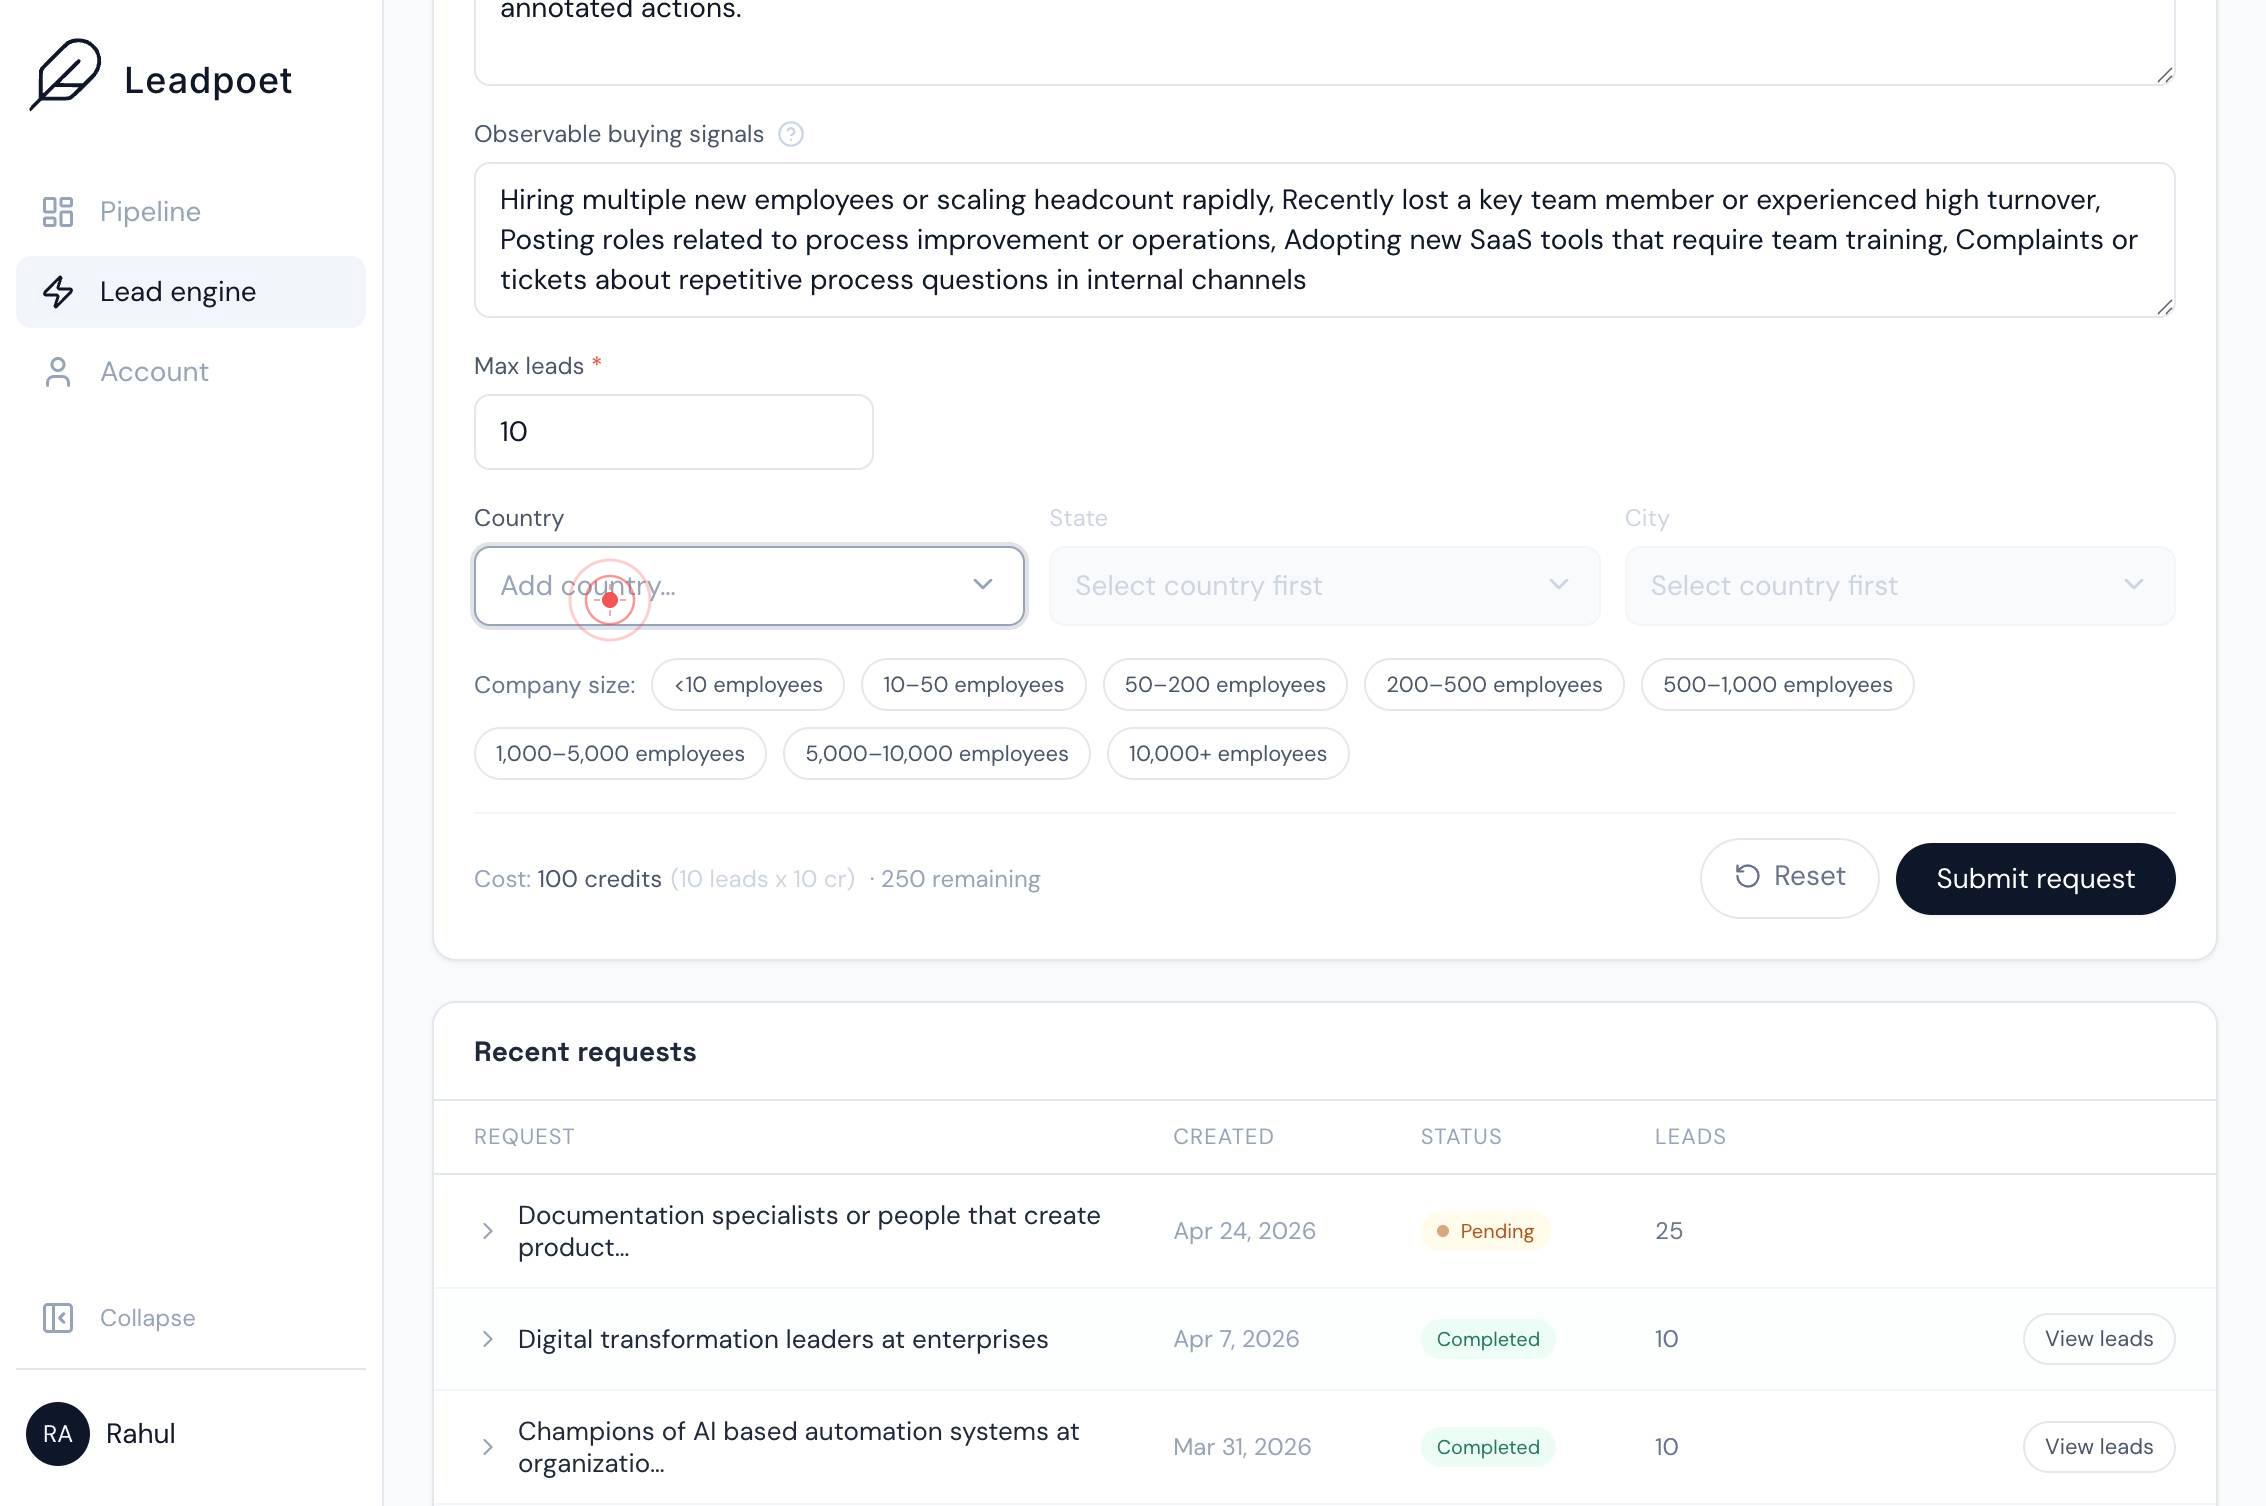
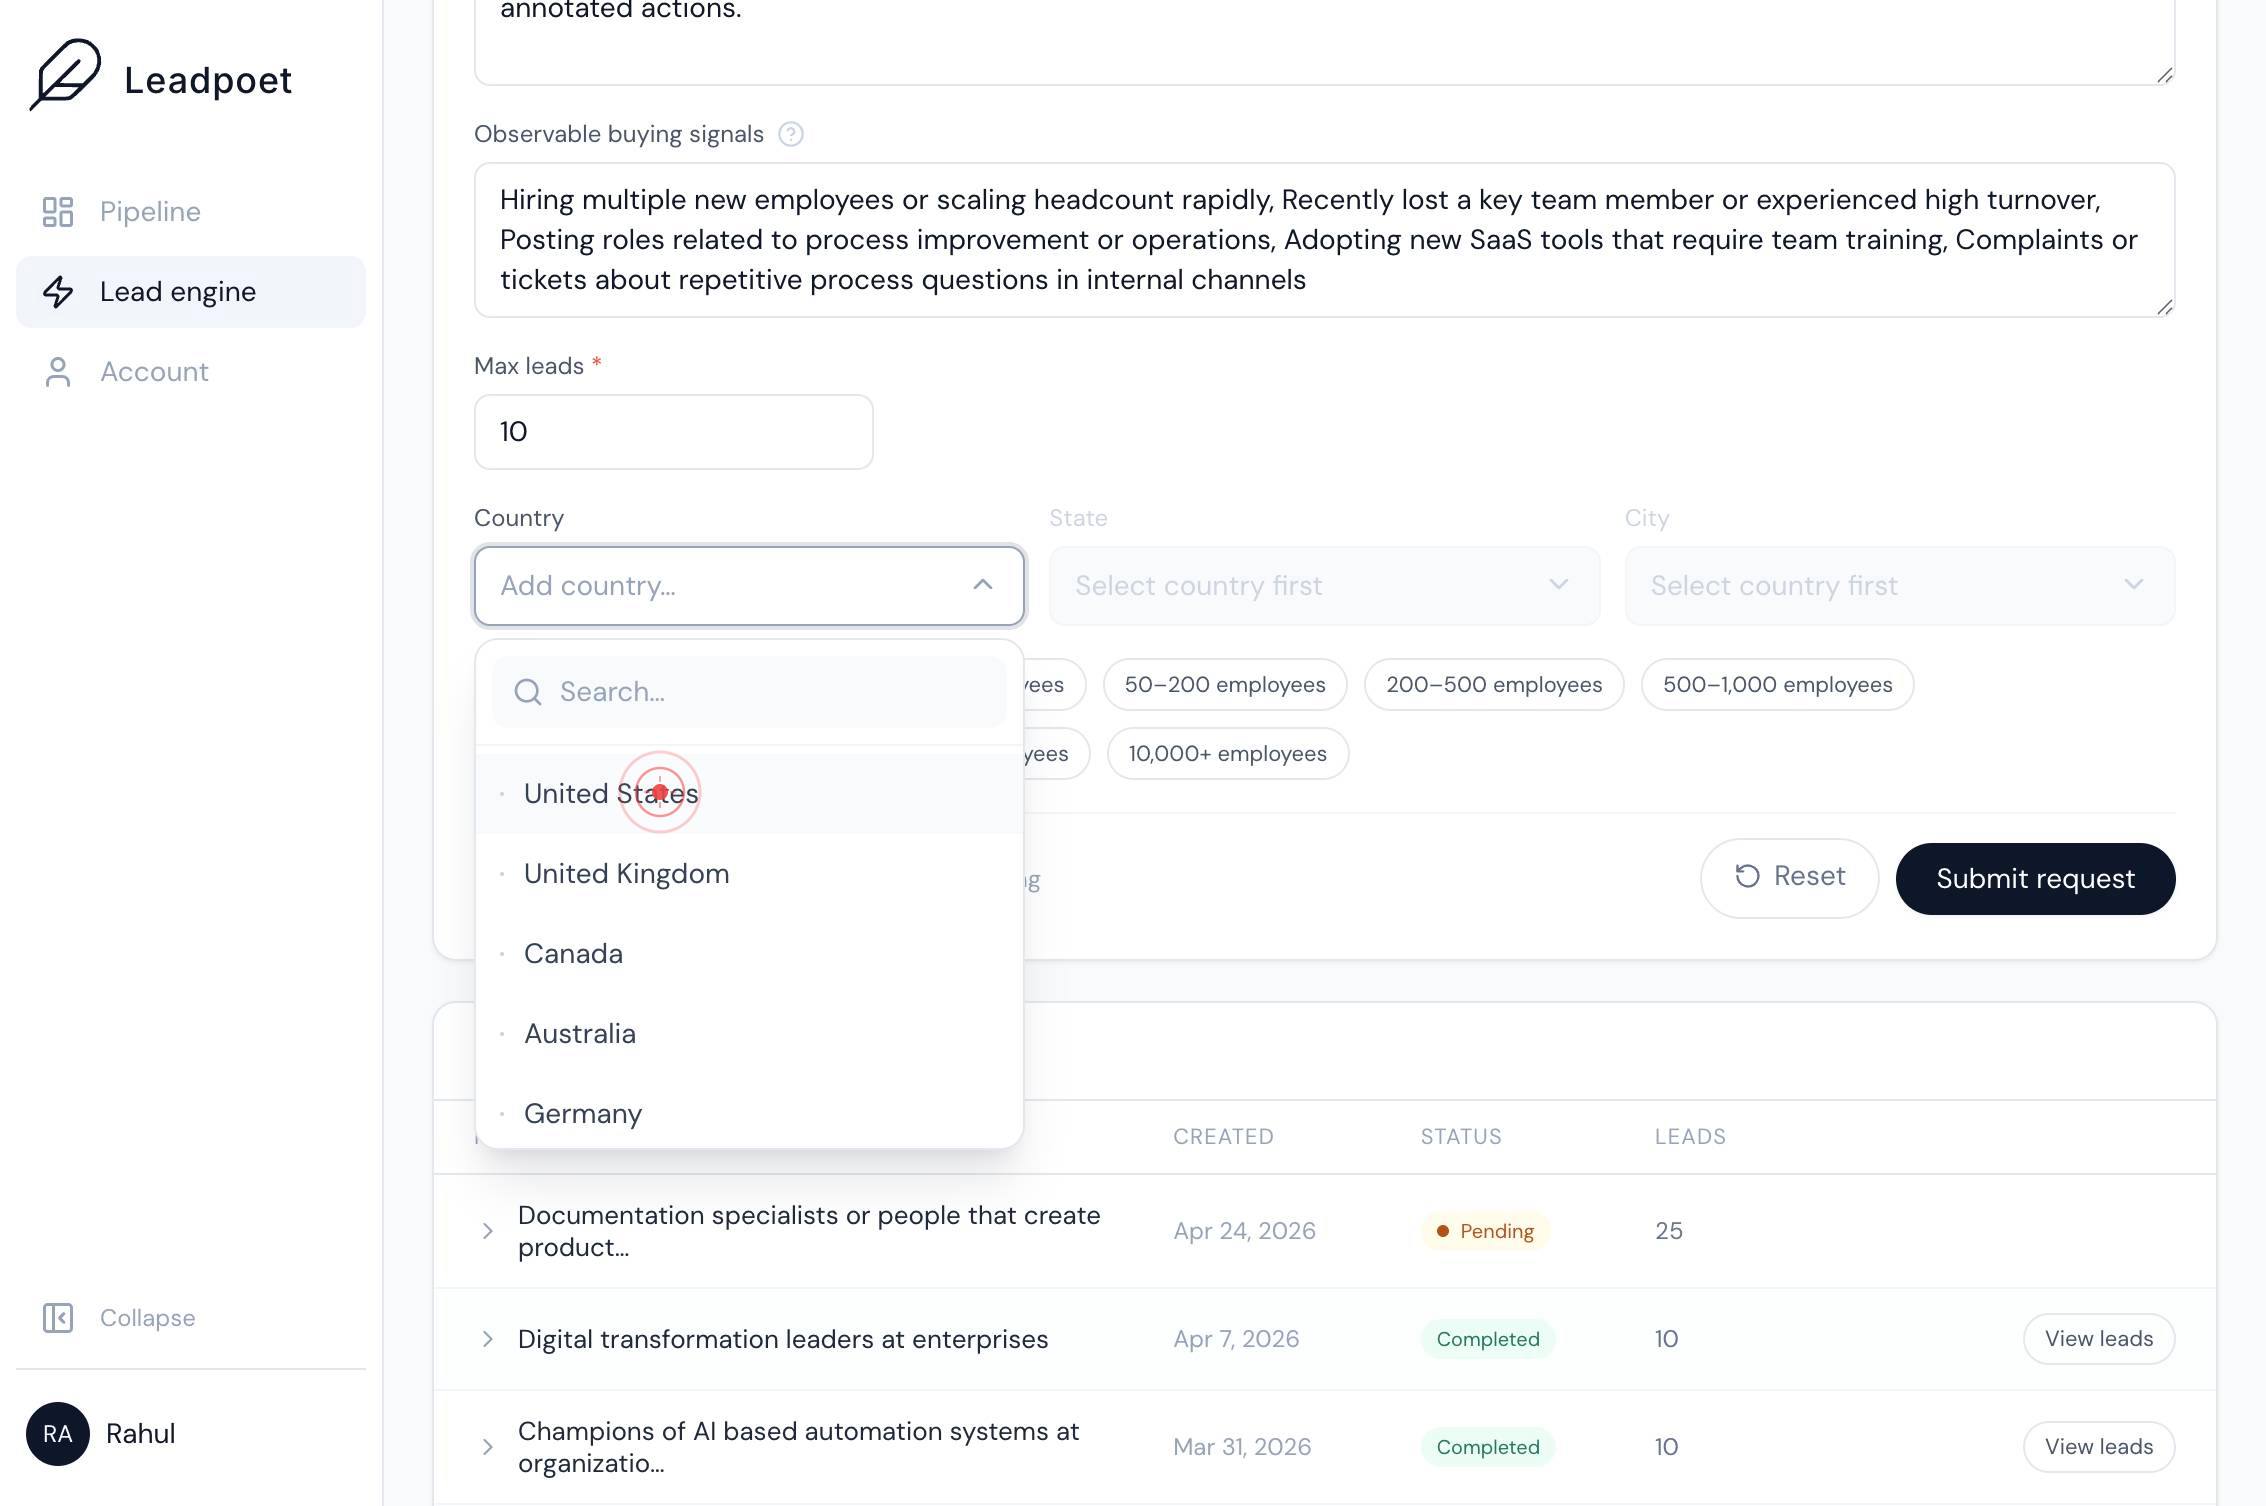
CountryClick the 'Country' dropdown (combobox) to open the country selection list. This is the first geographic filter to narrow lead results.
Search…Type 'United States' in the search field that appears in the Country dropdown. This helps you quickly locate and select the desired country.
United StatesClick 'United States' from the dropdown options to select it as your country filter. Leads will now be restricted to companies based in the United States.
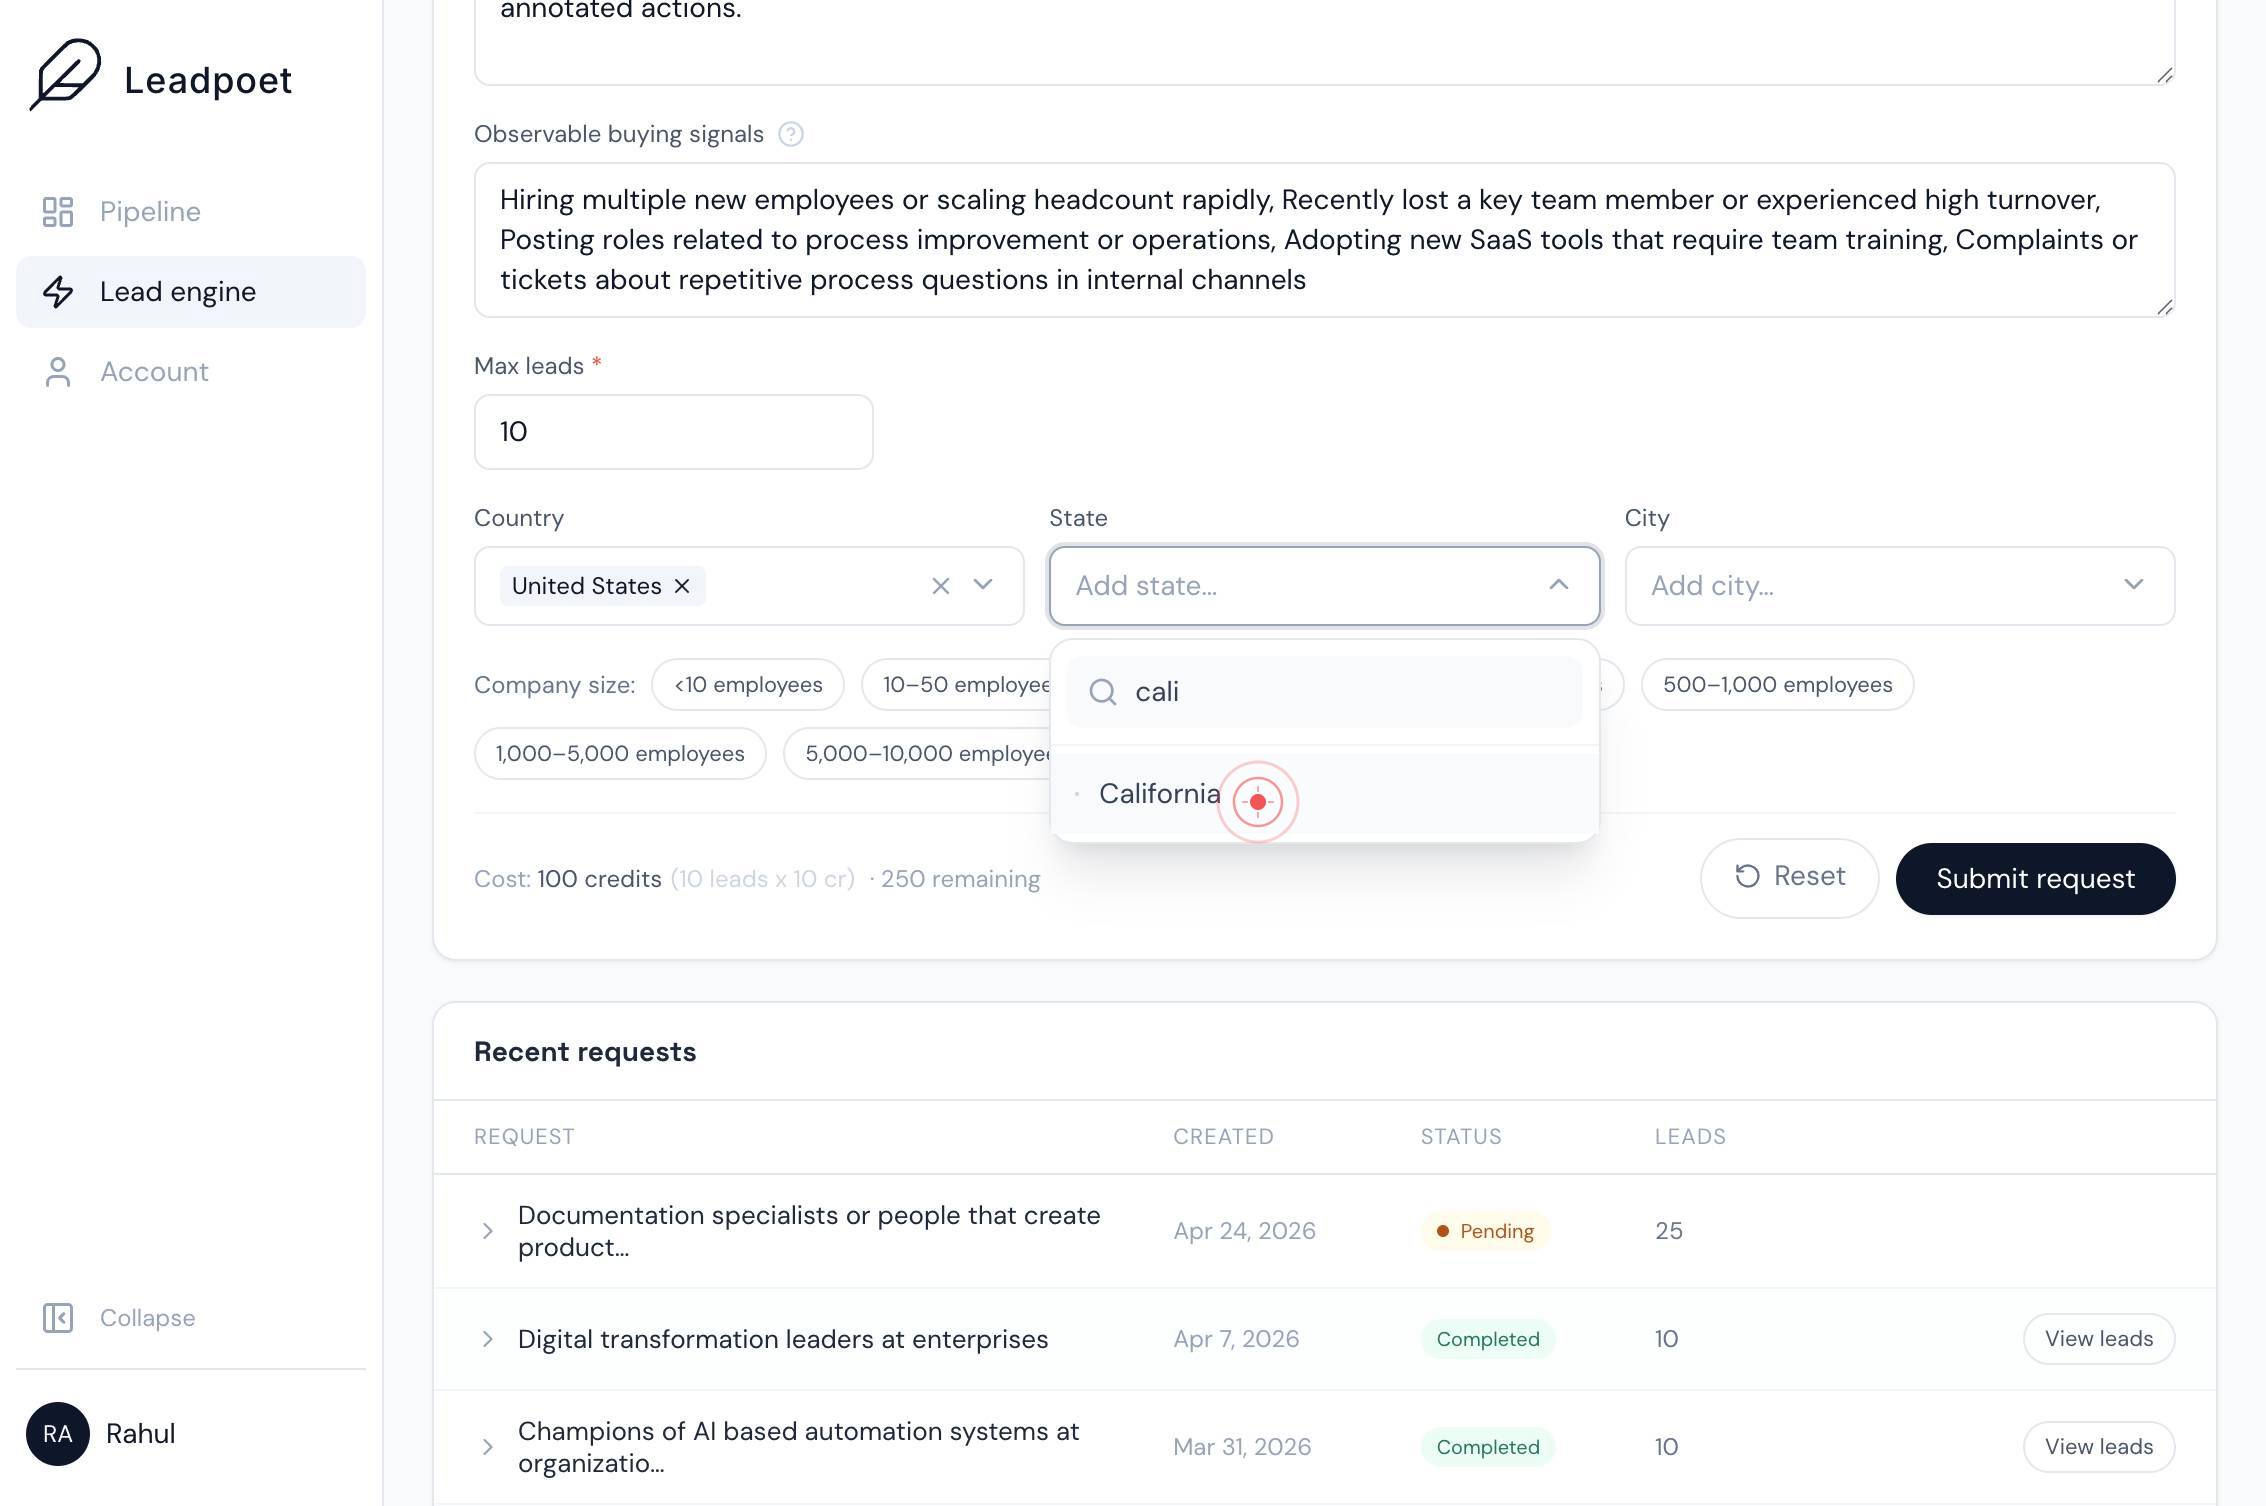
StateClick the 'State' dropdown to open the state selection list. This filters results to a specific U.S. state.

Search…Type 'California' in the search field that appears in the State dropdown to locate and filter by California.
CaliforniaClick 'California' from the dropdown options to confirm the state selection. Lead results will now be limited to California-based companies.
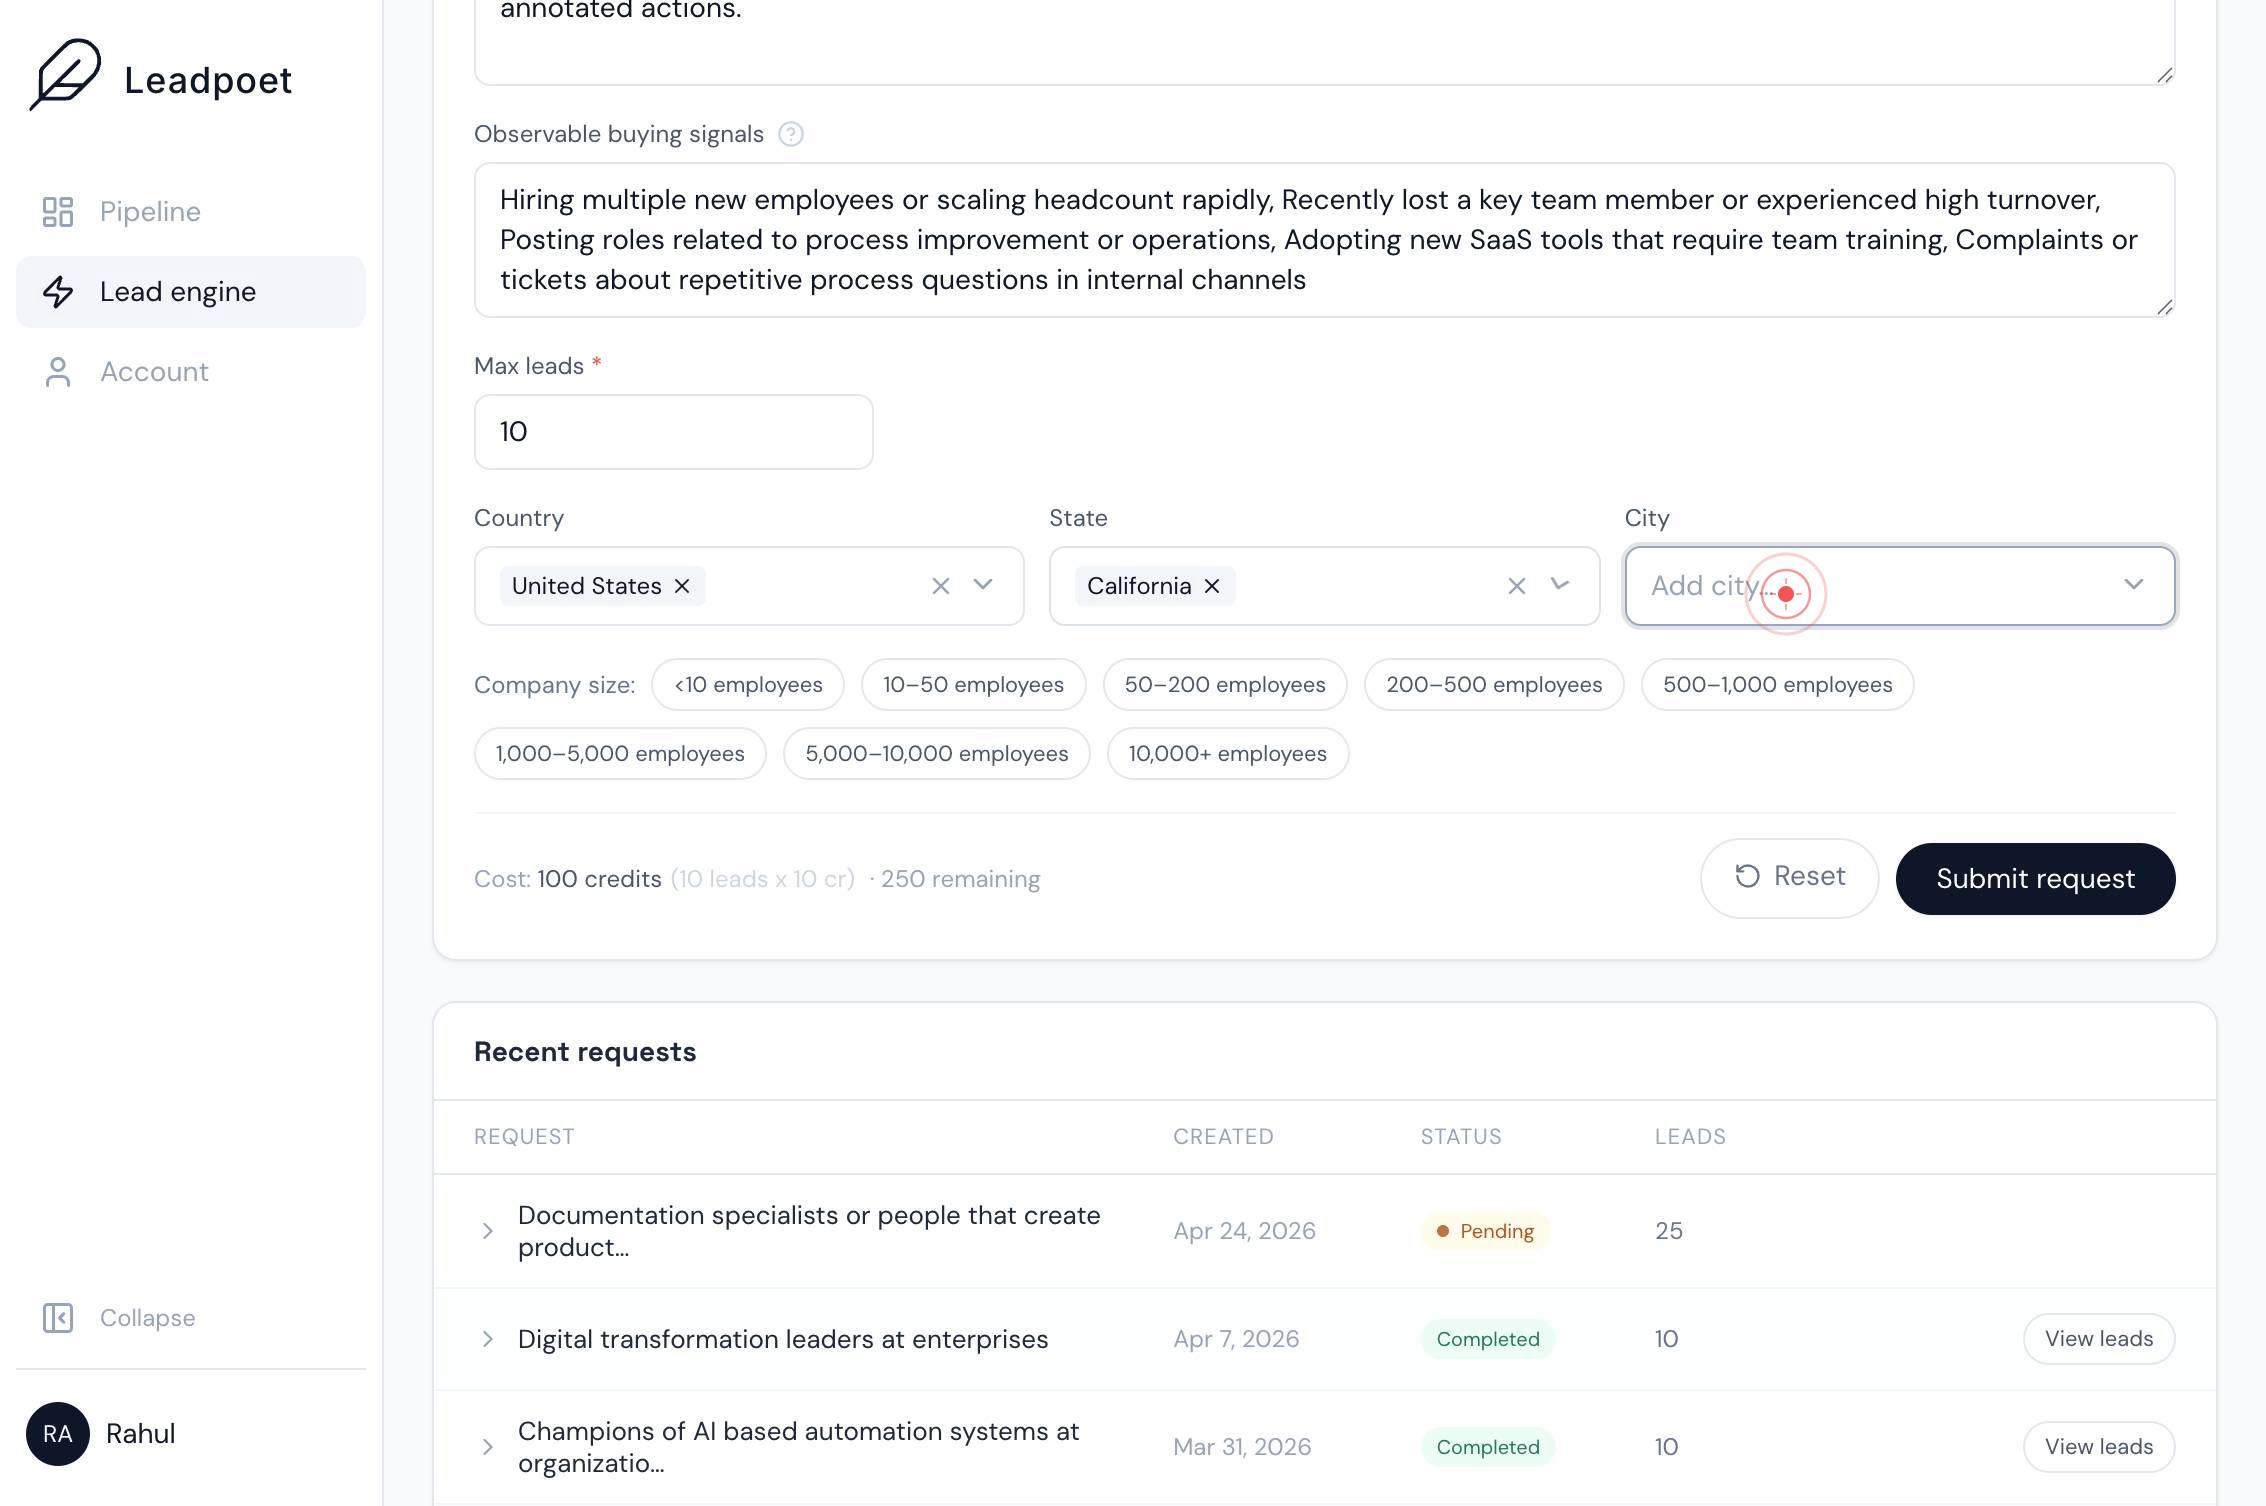
CityClick the 'City' dropdown to open the city selection list. This narrows results to a specific metropolitan area.
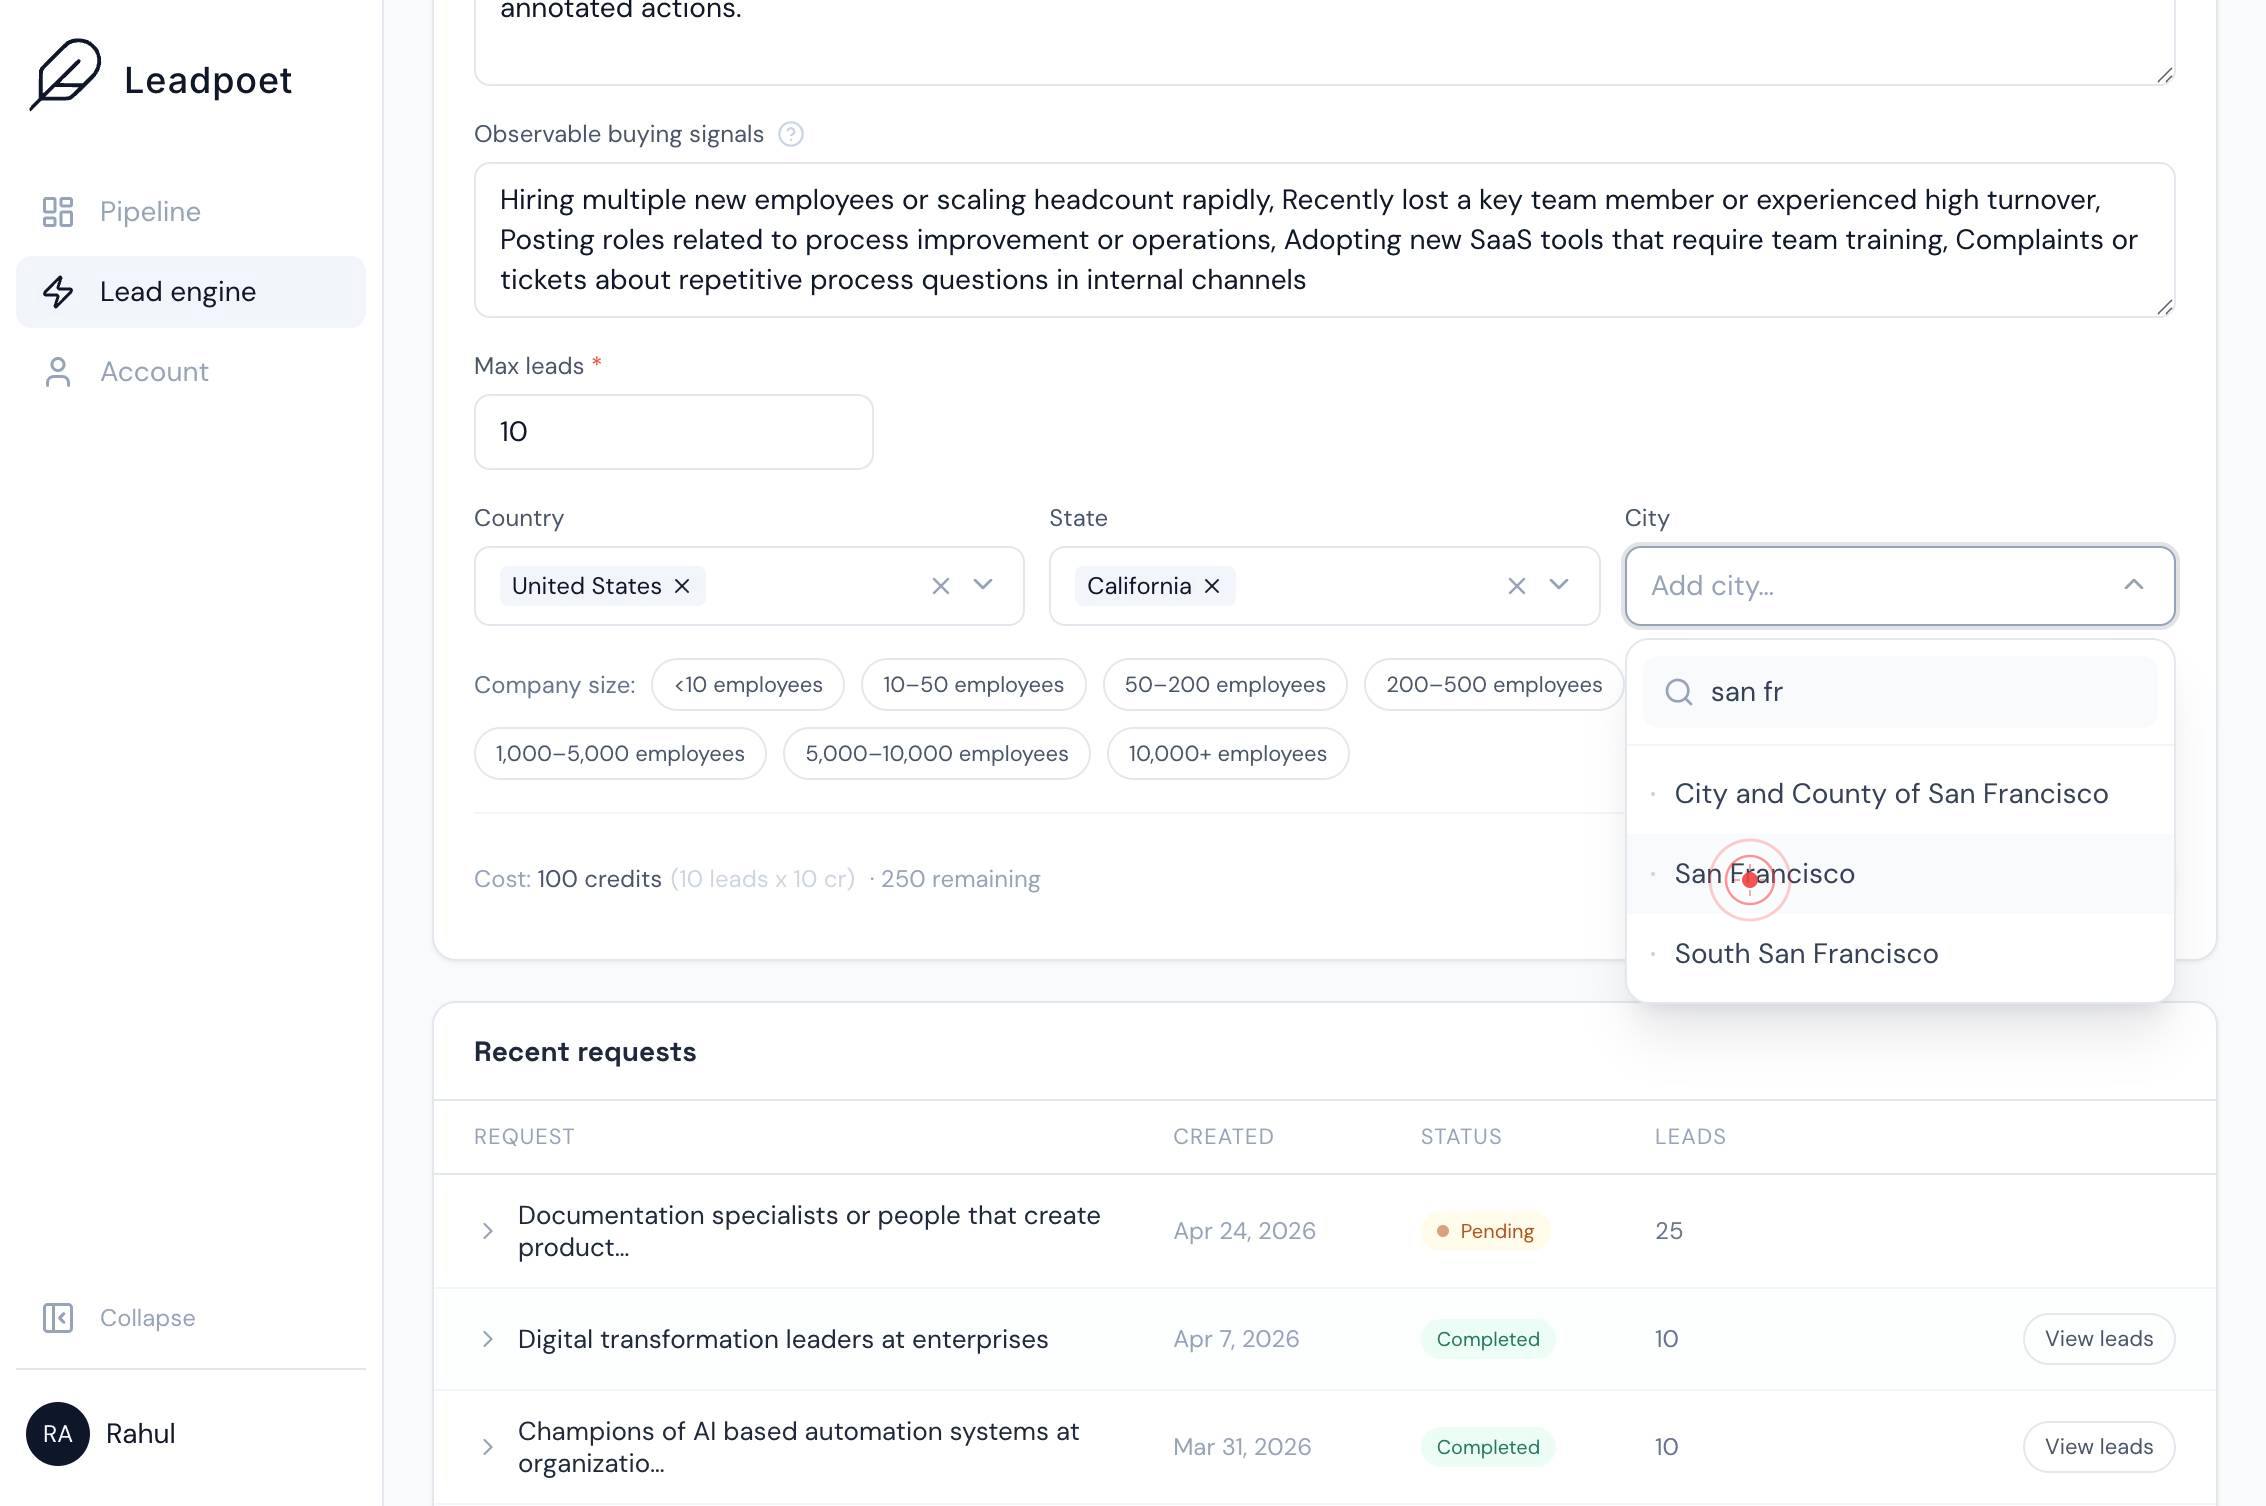
Search…Type 'San Francisco' in the search field that appears in the City dropdown to locate San Francisco.
San FranciscoClick 'San Francisco' from the dropdown options to select it as your city filter. Lead results will now be geographically limited to the San Francisco area.
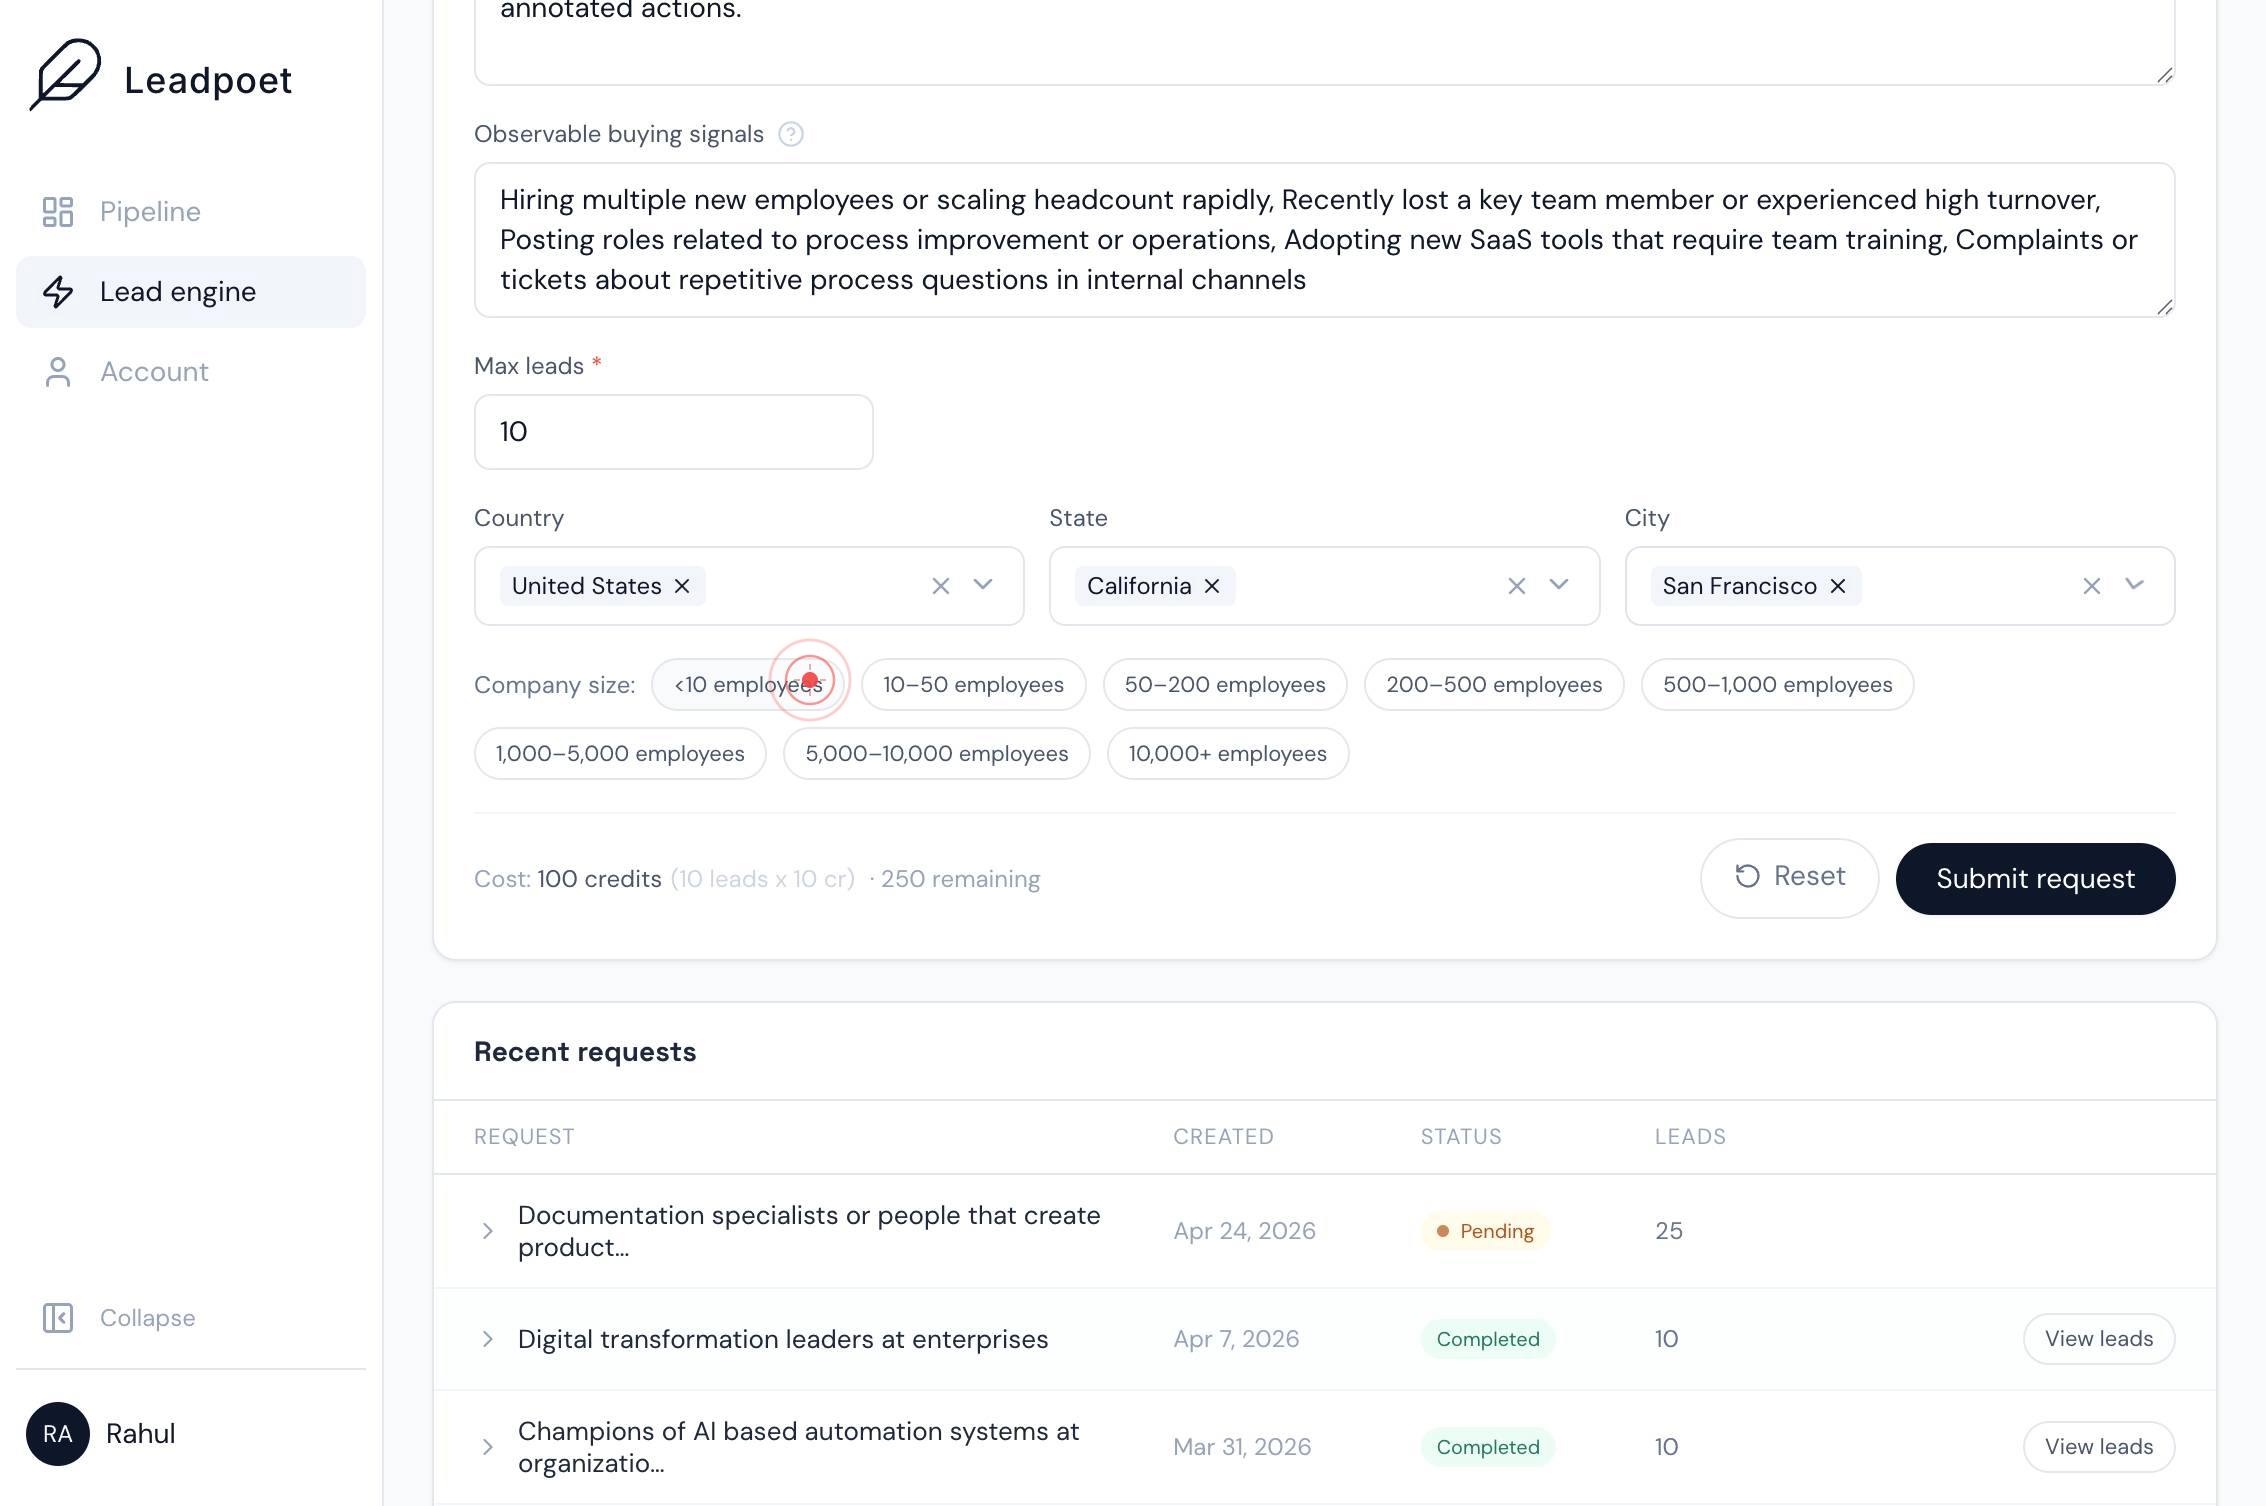
<10 employeesClick the '<10 employees' button to deselect it if it is currently selected. You want to exclude very small companies from your results.
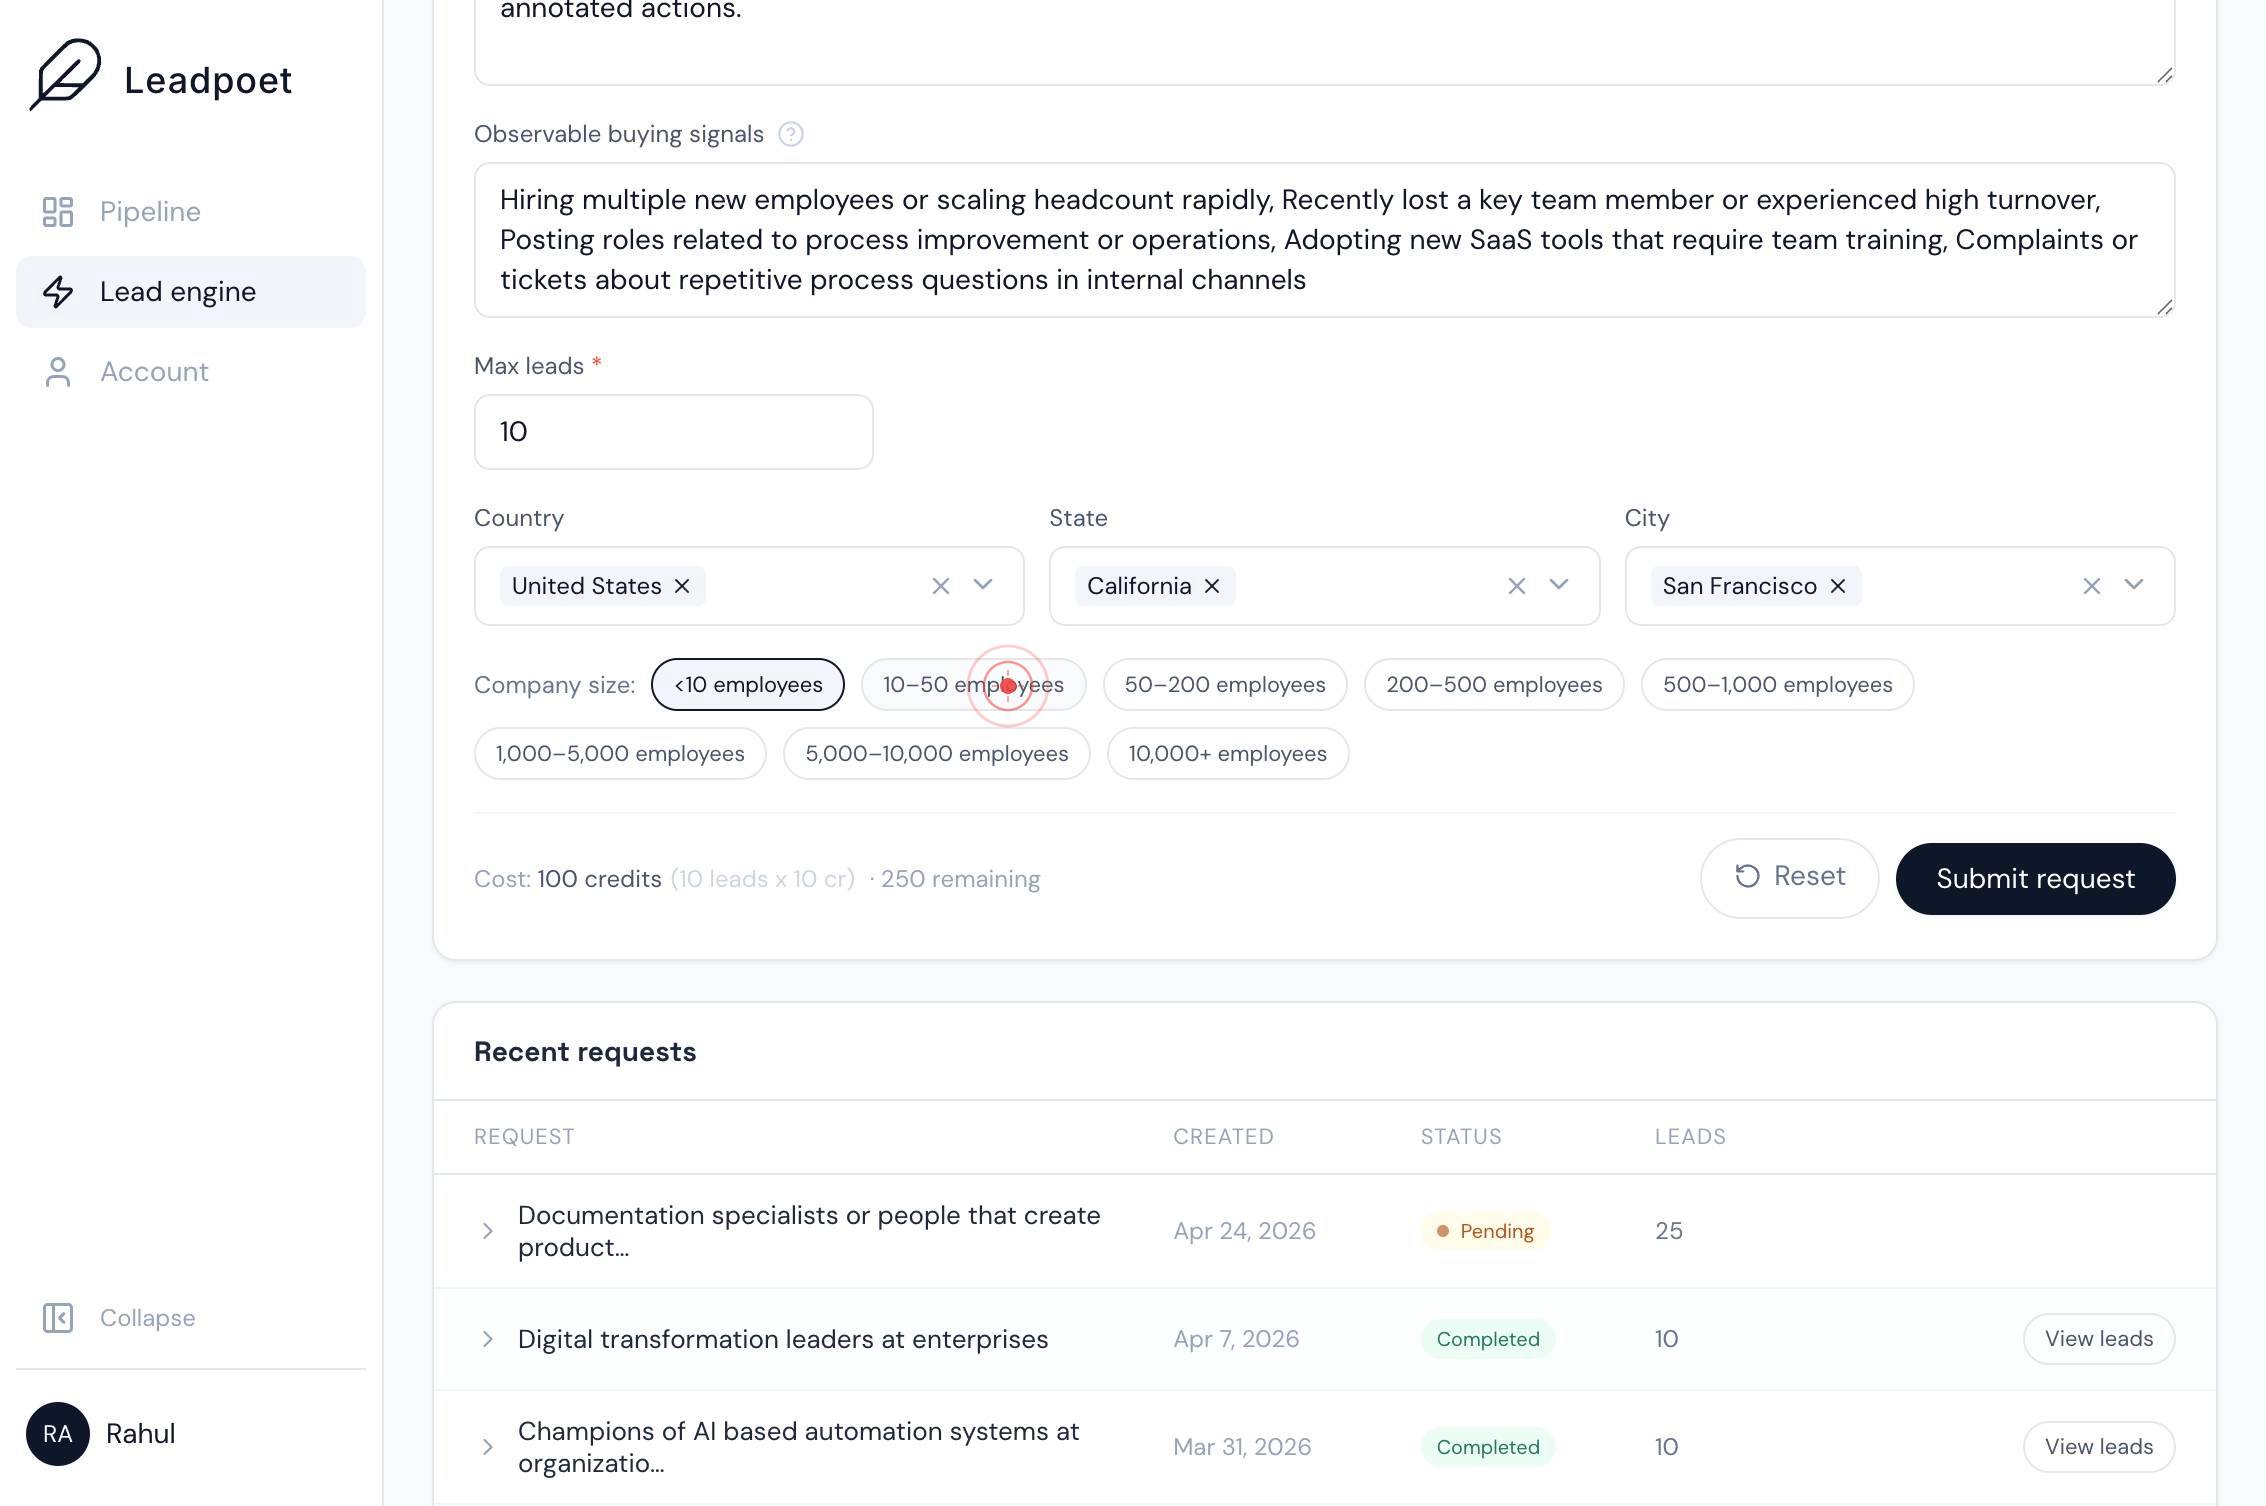
10–50 employeesClick the '10–50 employees' button to select it as your company-size filter. This ensures you only receive leads from mid-sized companies that match your ideal customer profile.
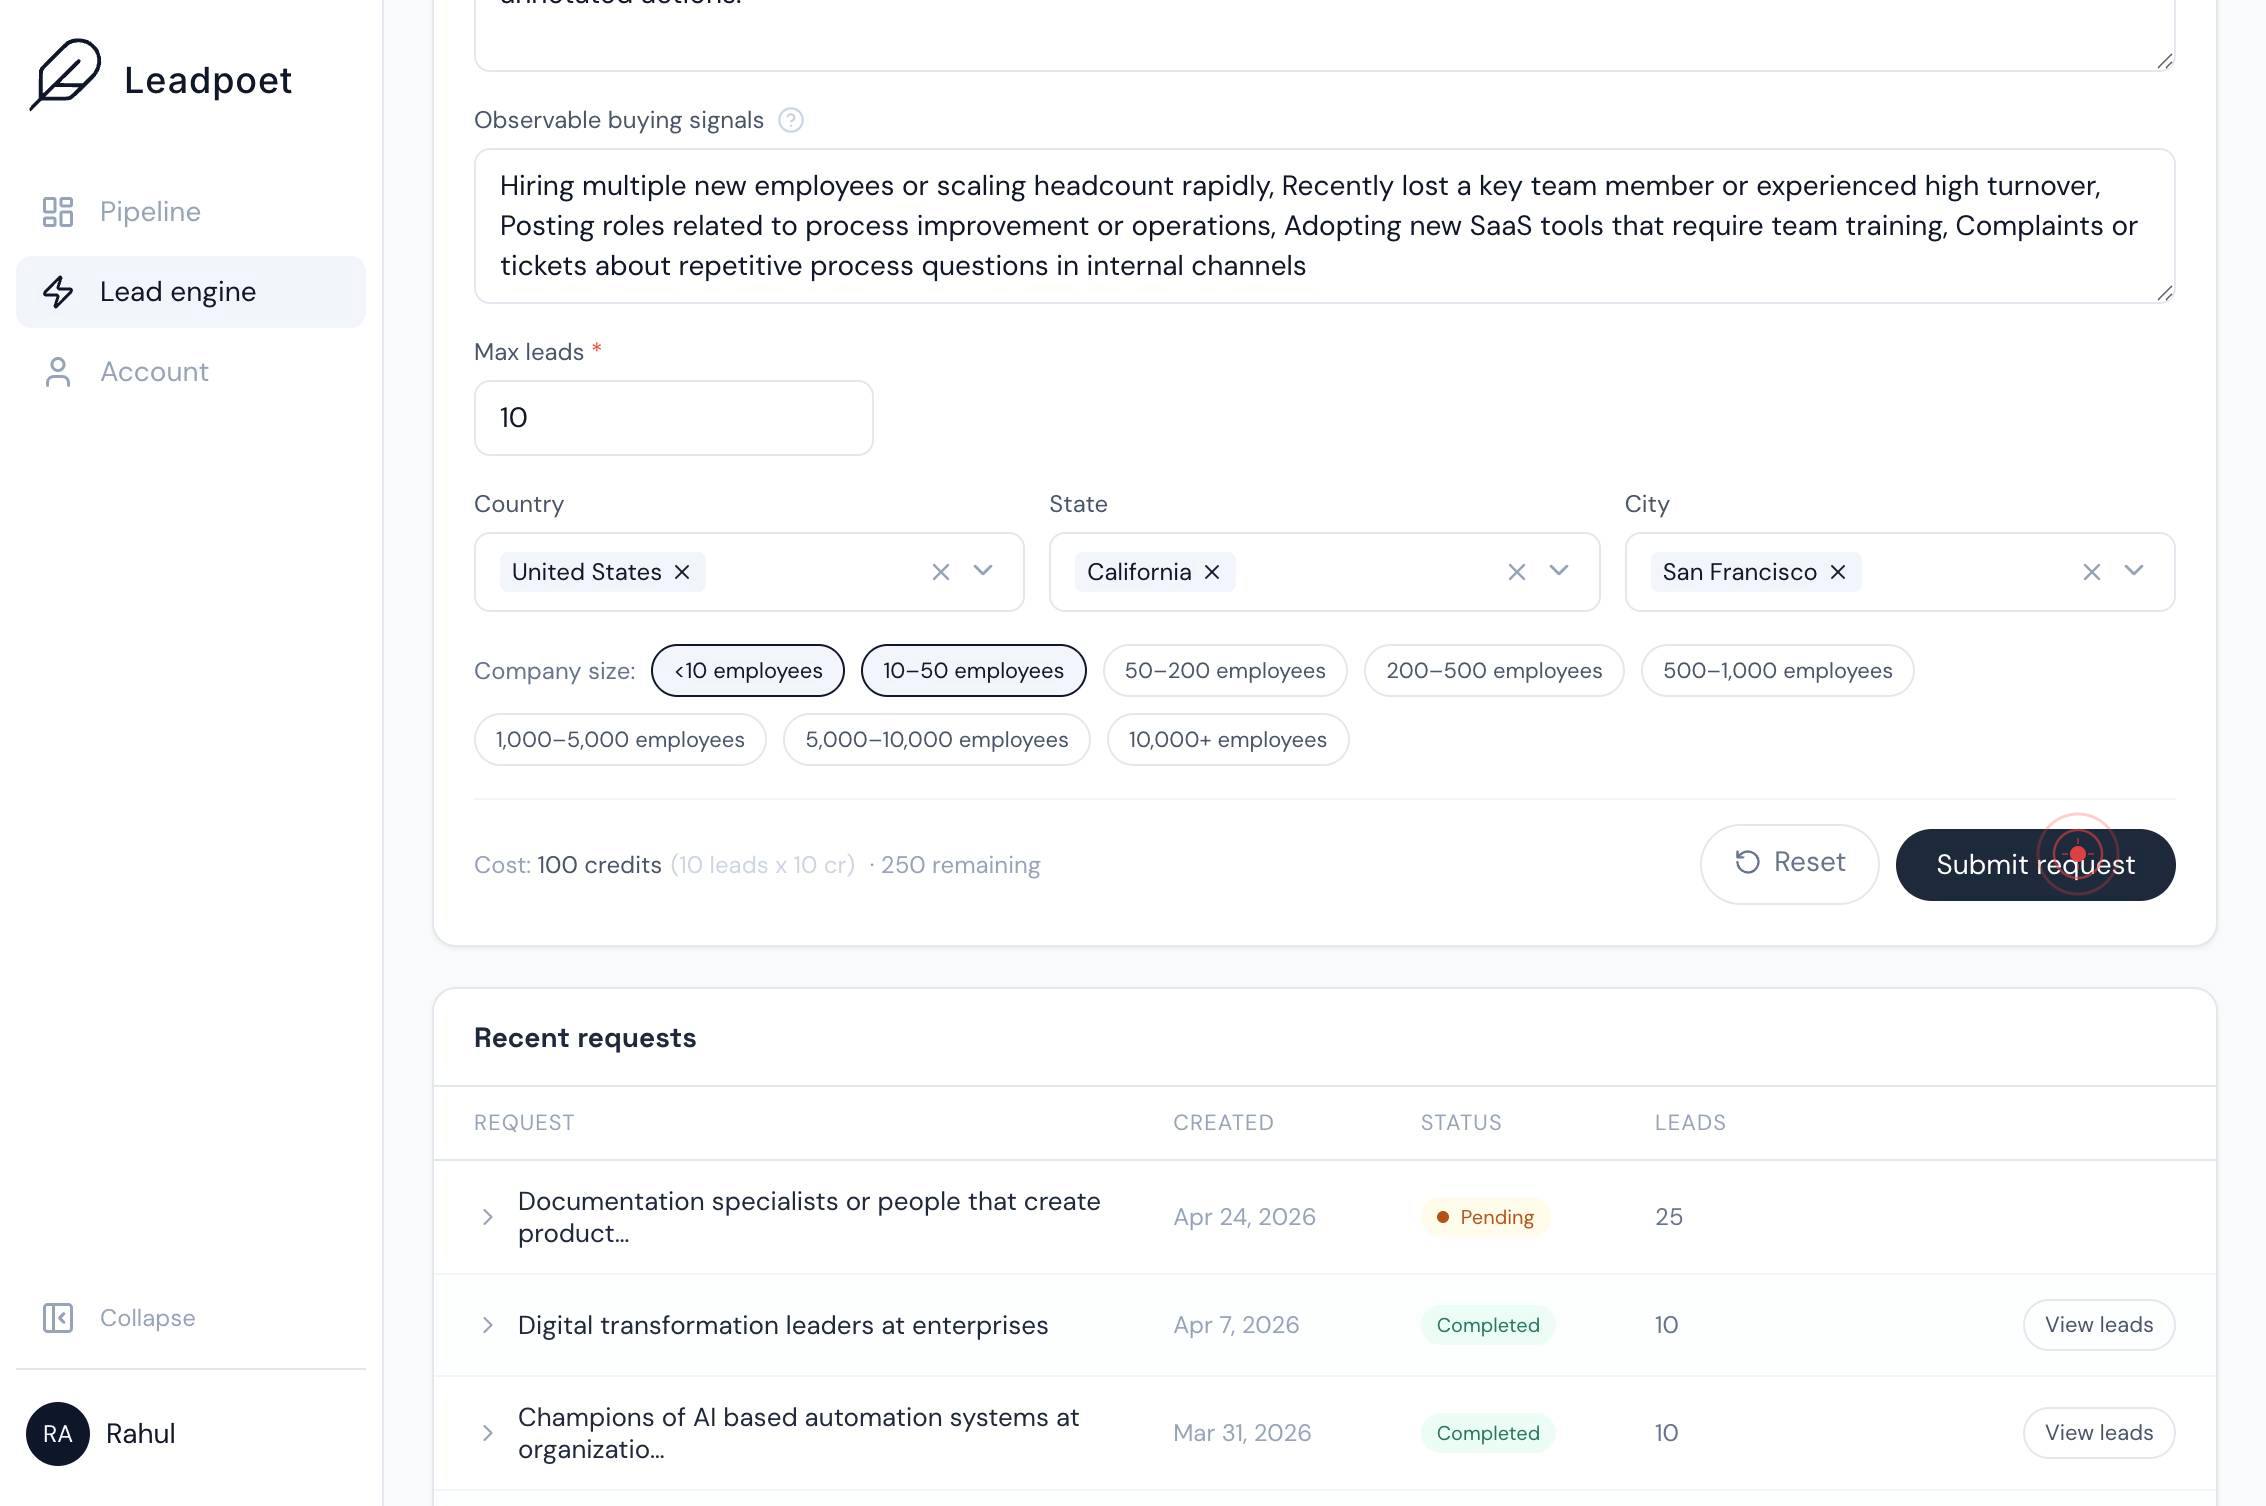
Submit requestClick the 'Submit request' button to finalize and submit your lead request. LeadPoet will now process your request with all applied filters and begin generating the lead list.
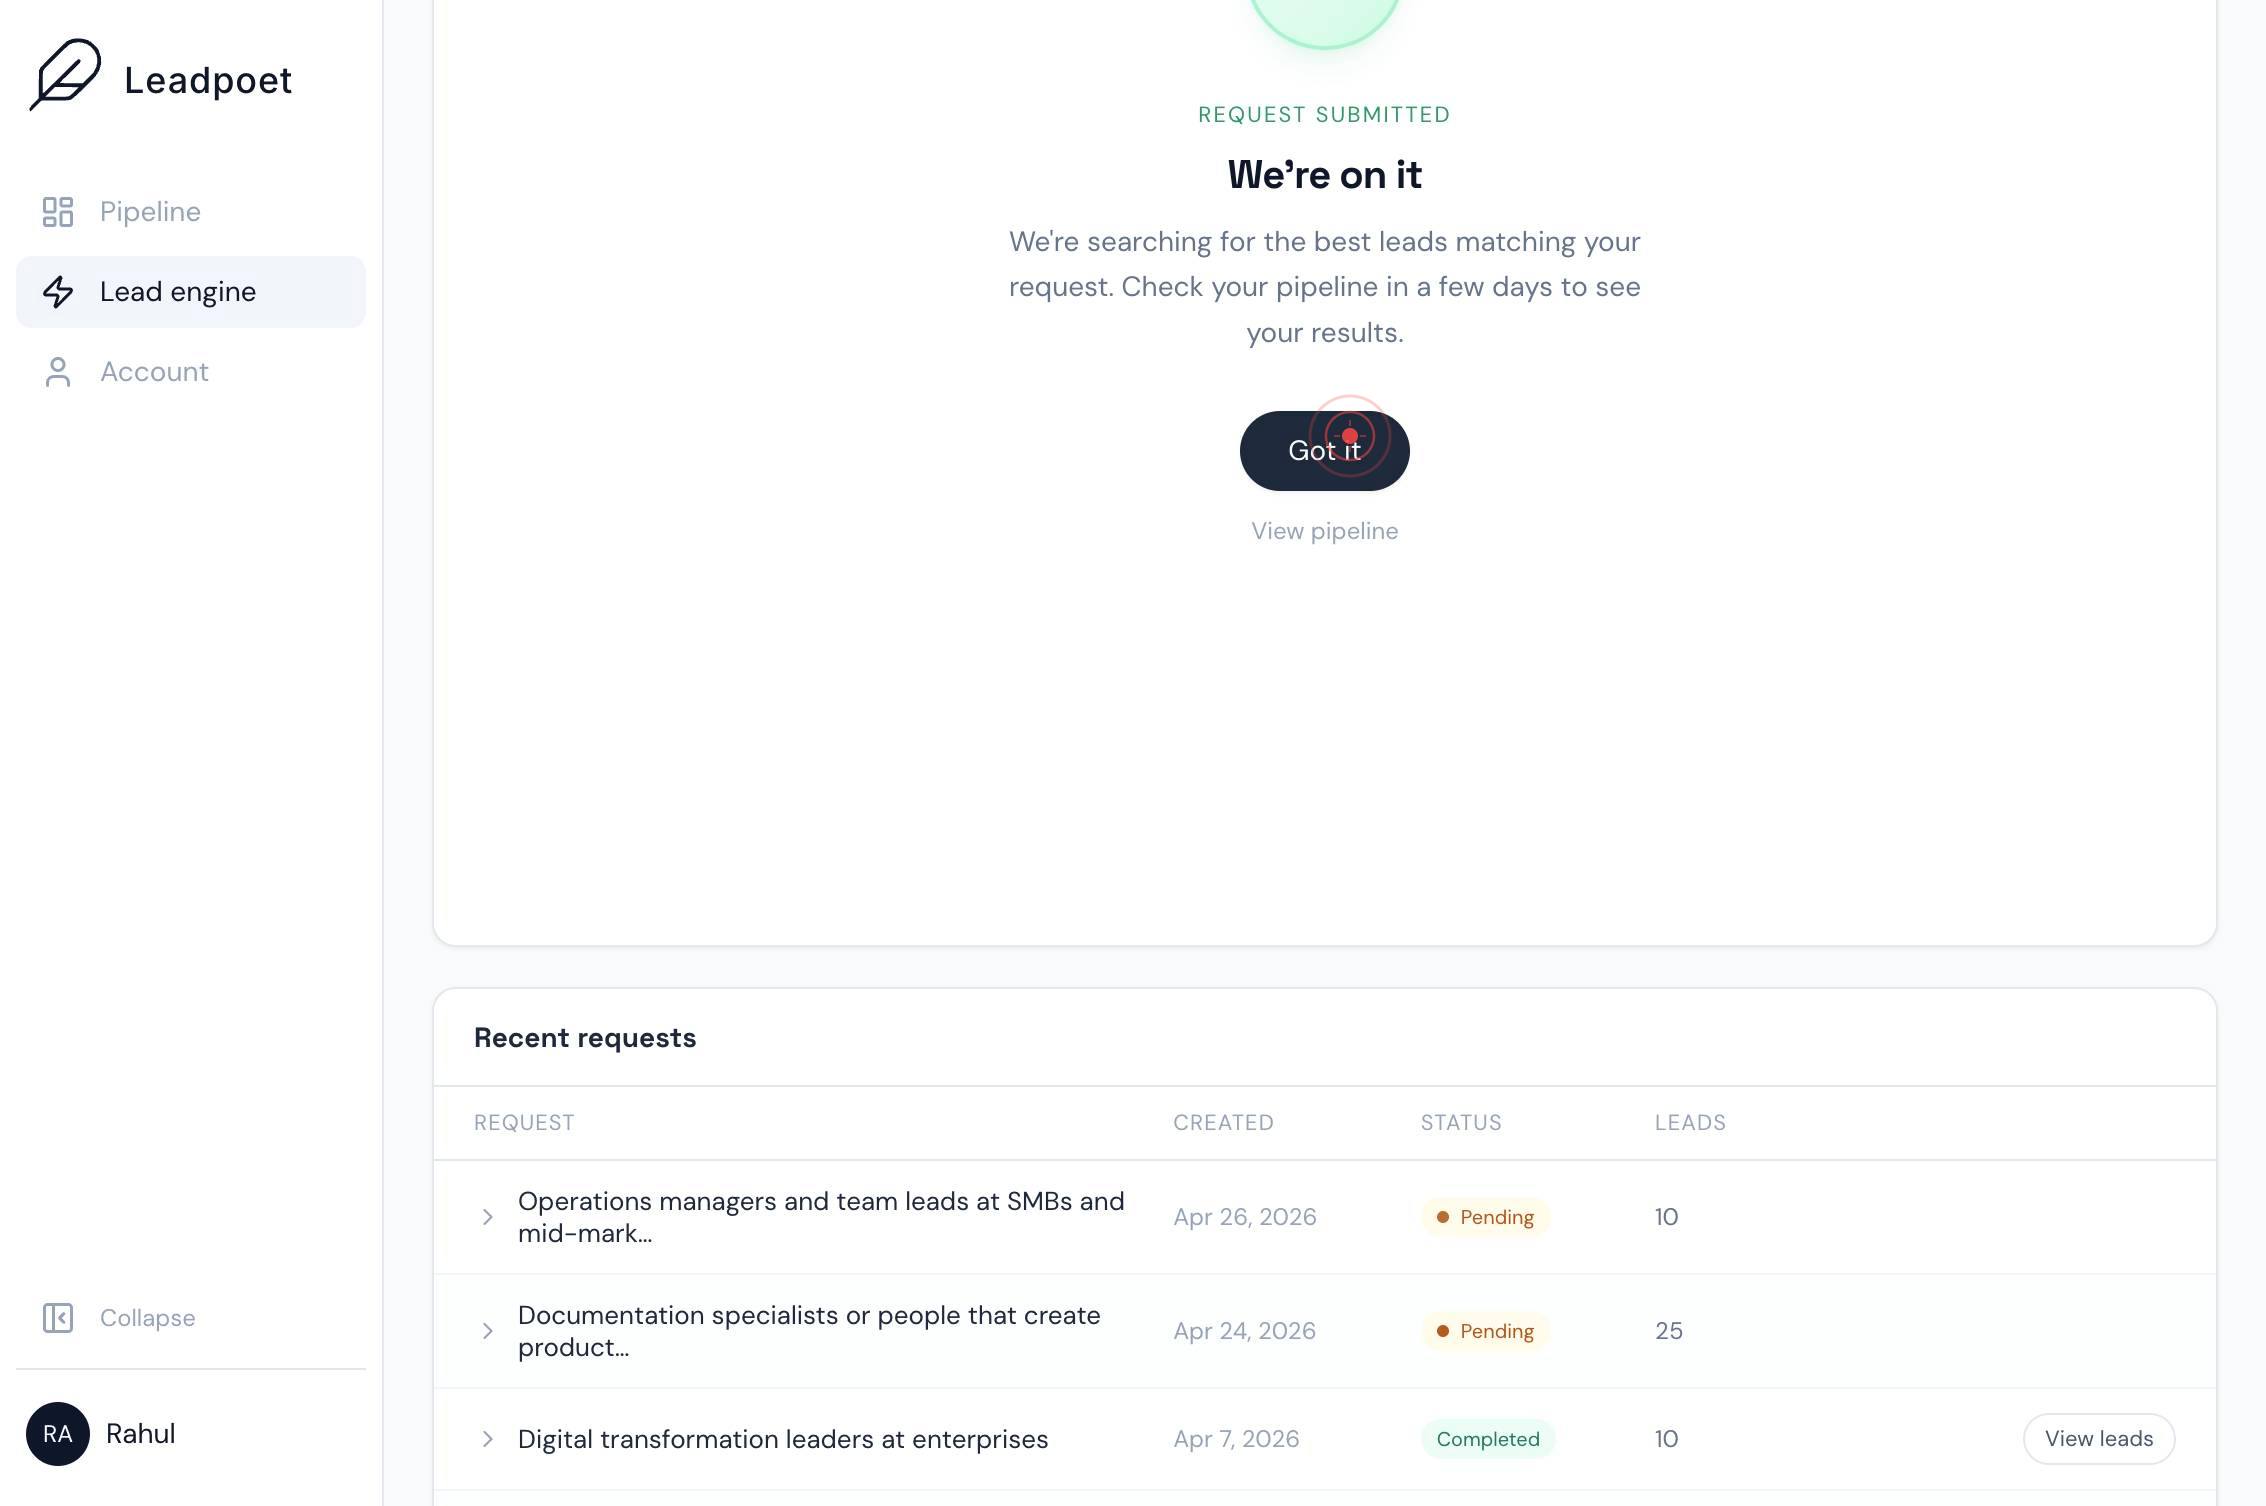
Got itClick the 'Got it' button on the confirmation dialog to acknowledge the successful submission. Your lead request is now queued for processing.
Confirm it worked
- 1The 'Submit request' button is clickable and the form displays all selected filters: max leads, United States, California, San Francisco, and 10–50 employees
- 2After clicking 'Submit request', a confirmation dialog appears with a 'Got it' button, indicating the lead request has been queued
- 3Within your LeadPoet dashboard, a new lead request entry appears in your requests or results section with the applied filters visible
Common issues
Keep reading
Salesforce Web-to-Lead: Steps Guide to Create and Set Up
Salesforce Web-to-Lead: Steps Guide to Create and Set Up Our organization uses Salesforce as its primary CRM tool, and in that, we use it to create lead records manually from the Lead object. The sa
salesforcefaqs.comSalesforce Leads-Astrea's Guide to Salesforce
Salesforce Leads-Astrea's Guide to Salesforce - Home - Community Cloud - Sales Cloud - Service Cloud - Assigning your Leads - Lead from your site - Converting a Lead - Lead Management - Guide to Sale
thesalesforcetutorial.com[GA4] How to report on your lead generation form - Analytics Help
[GA4] How to report on your lead generation form - Analytics Help # [GA4] How to report on your lead generation form This article continues from How to generate more leads on your website and shows
support.google.com