Guide
Update Personal Information on Leadpoet
Overview
Leadpoet is a done-for-you email lead generation platform that powers your sales pipeline. Keeping your account profile current with accurate personal information—including your full name, company affiliation, and job title—ensures proper identification within the platform and helps maintain organized team records. This is especially important if you've changed roles, companies, or want to ensure consistency across your Leadpoet account and any integrated tools. This brief workflow walks you through updating these core profile fields in your account settings.
Before you begin
- You have an active Leadpoet account with login credentials
- You are logged into leadpoet.com
- You have access to the Account or profile settings section (typically available to all account holders)
Step by step
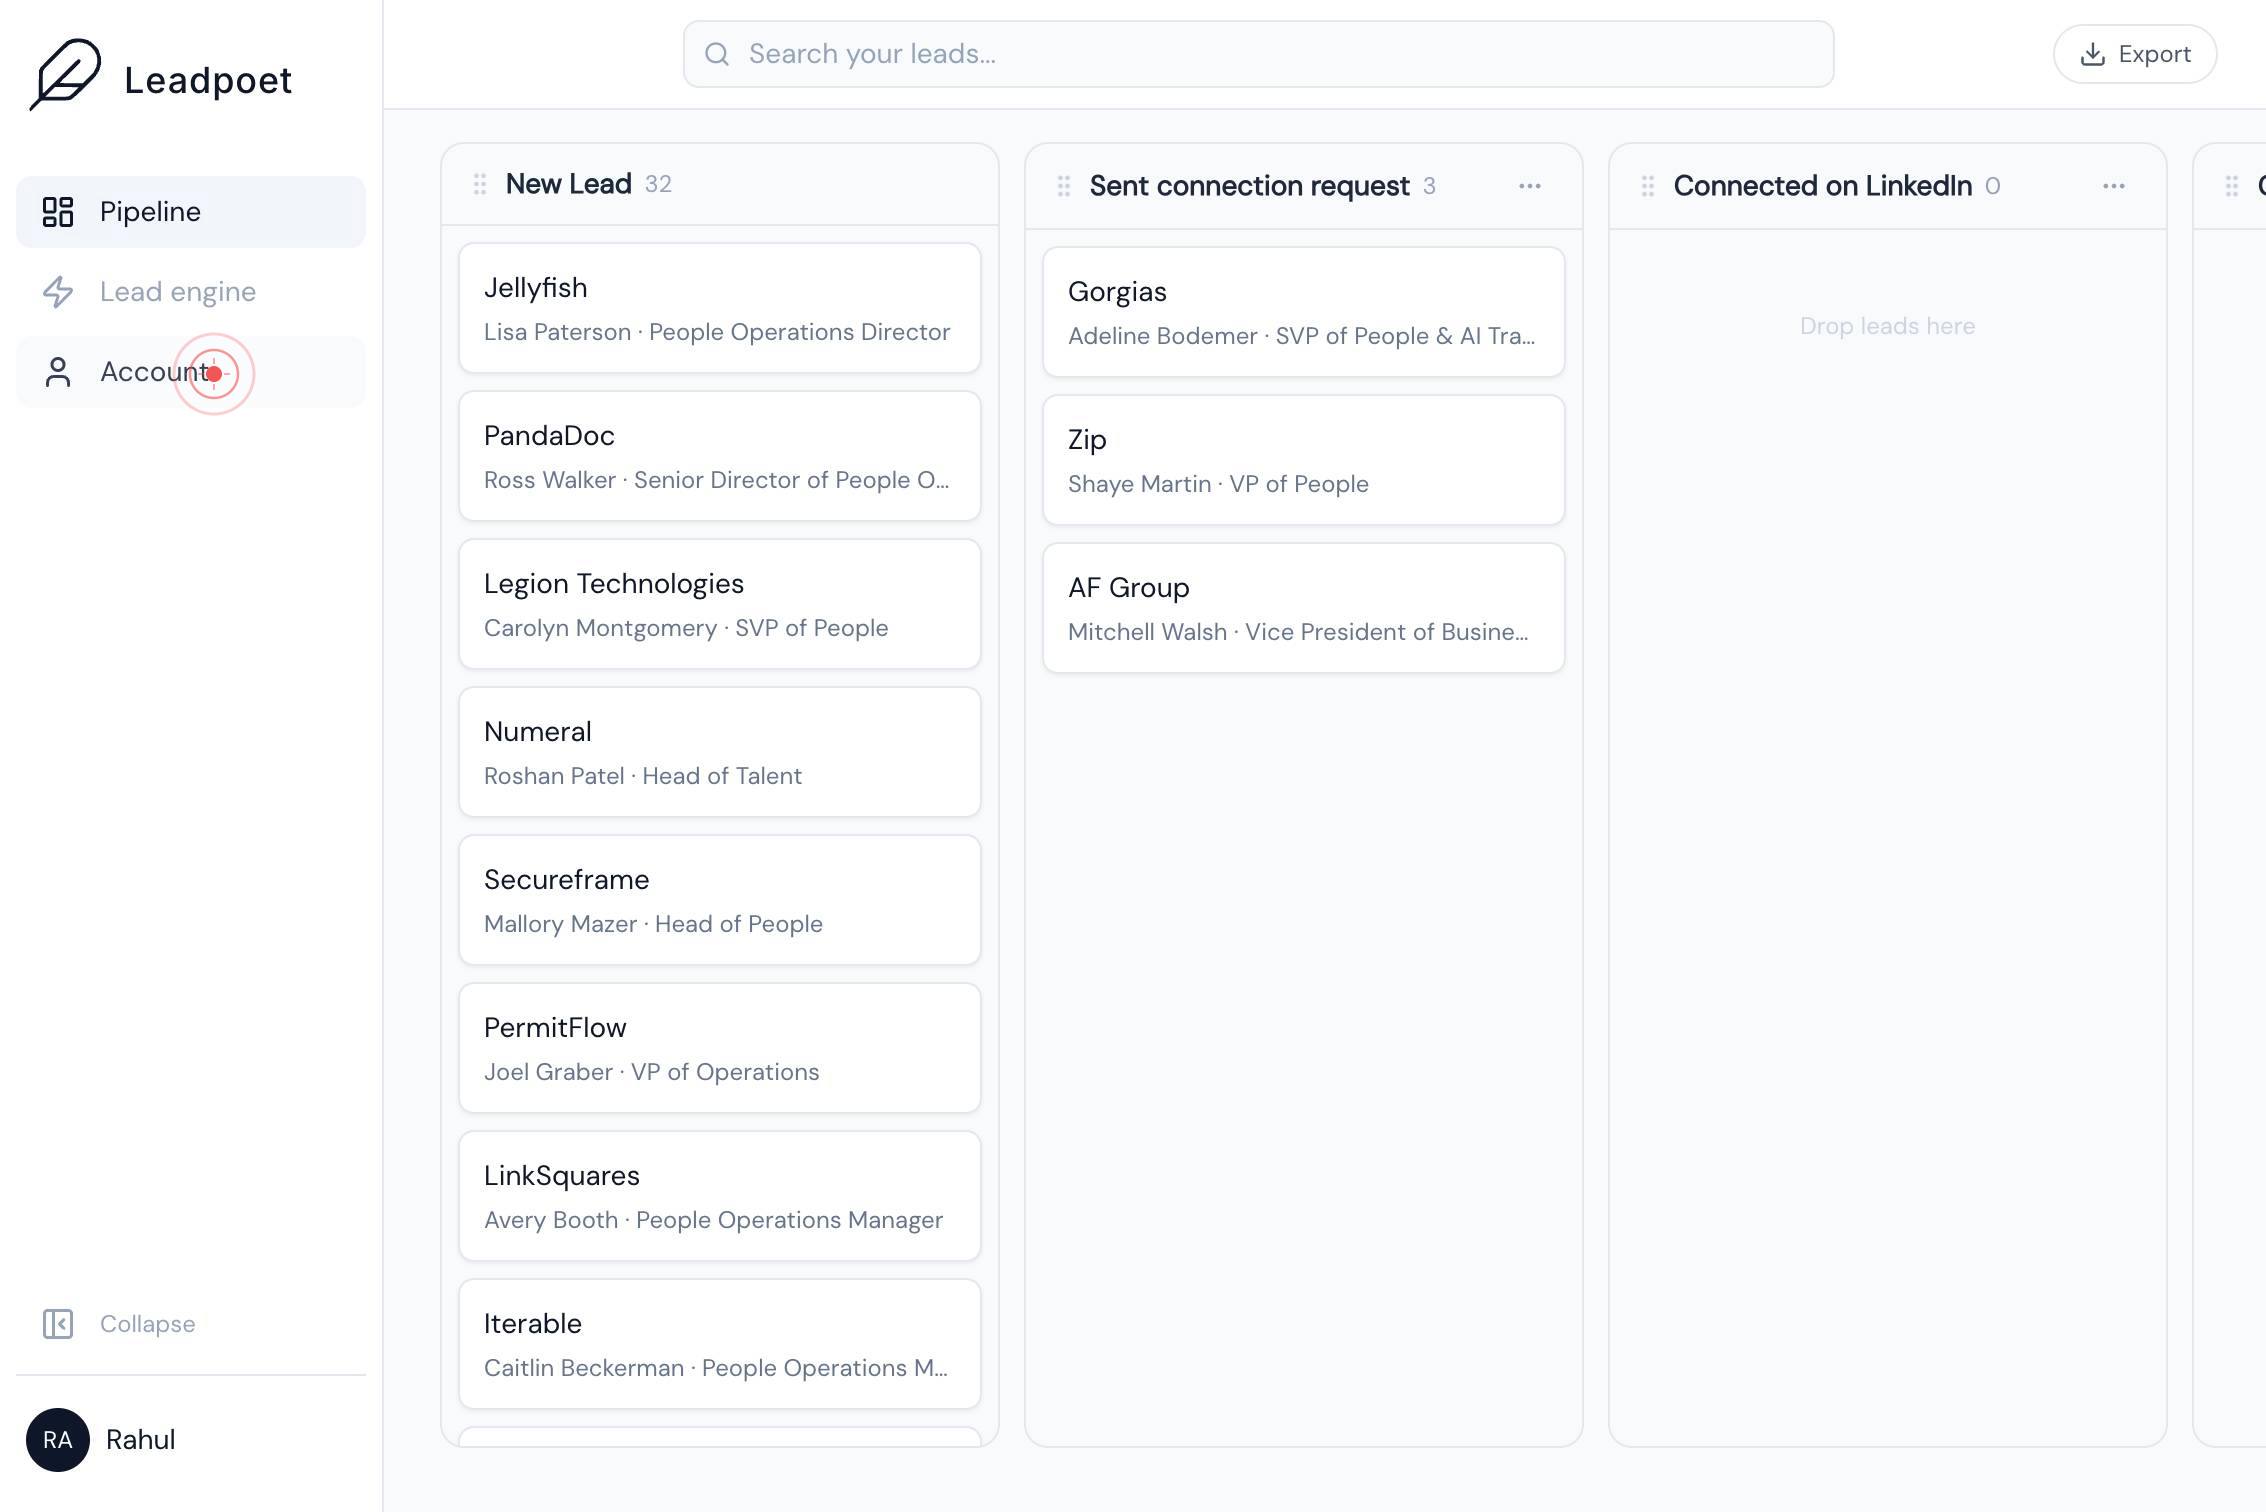
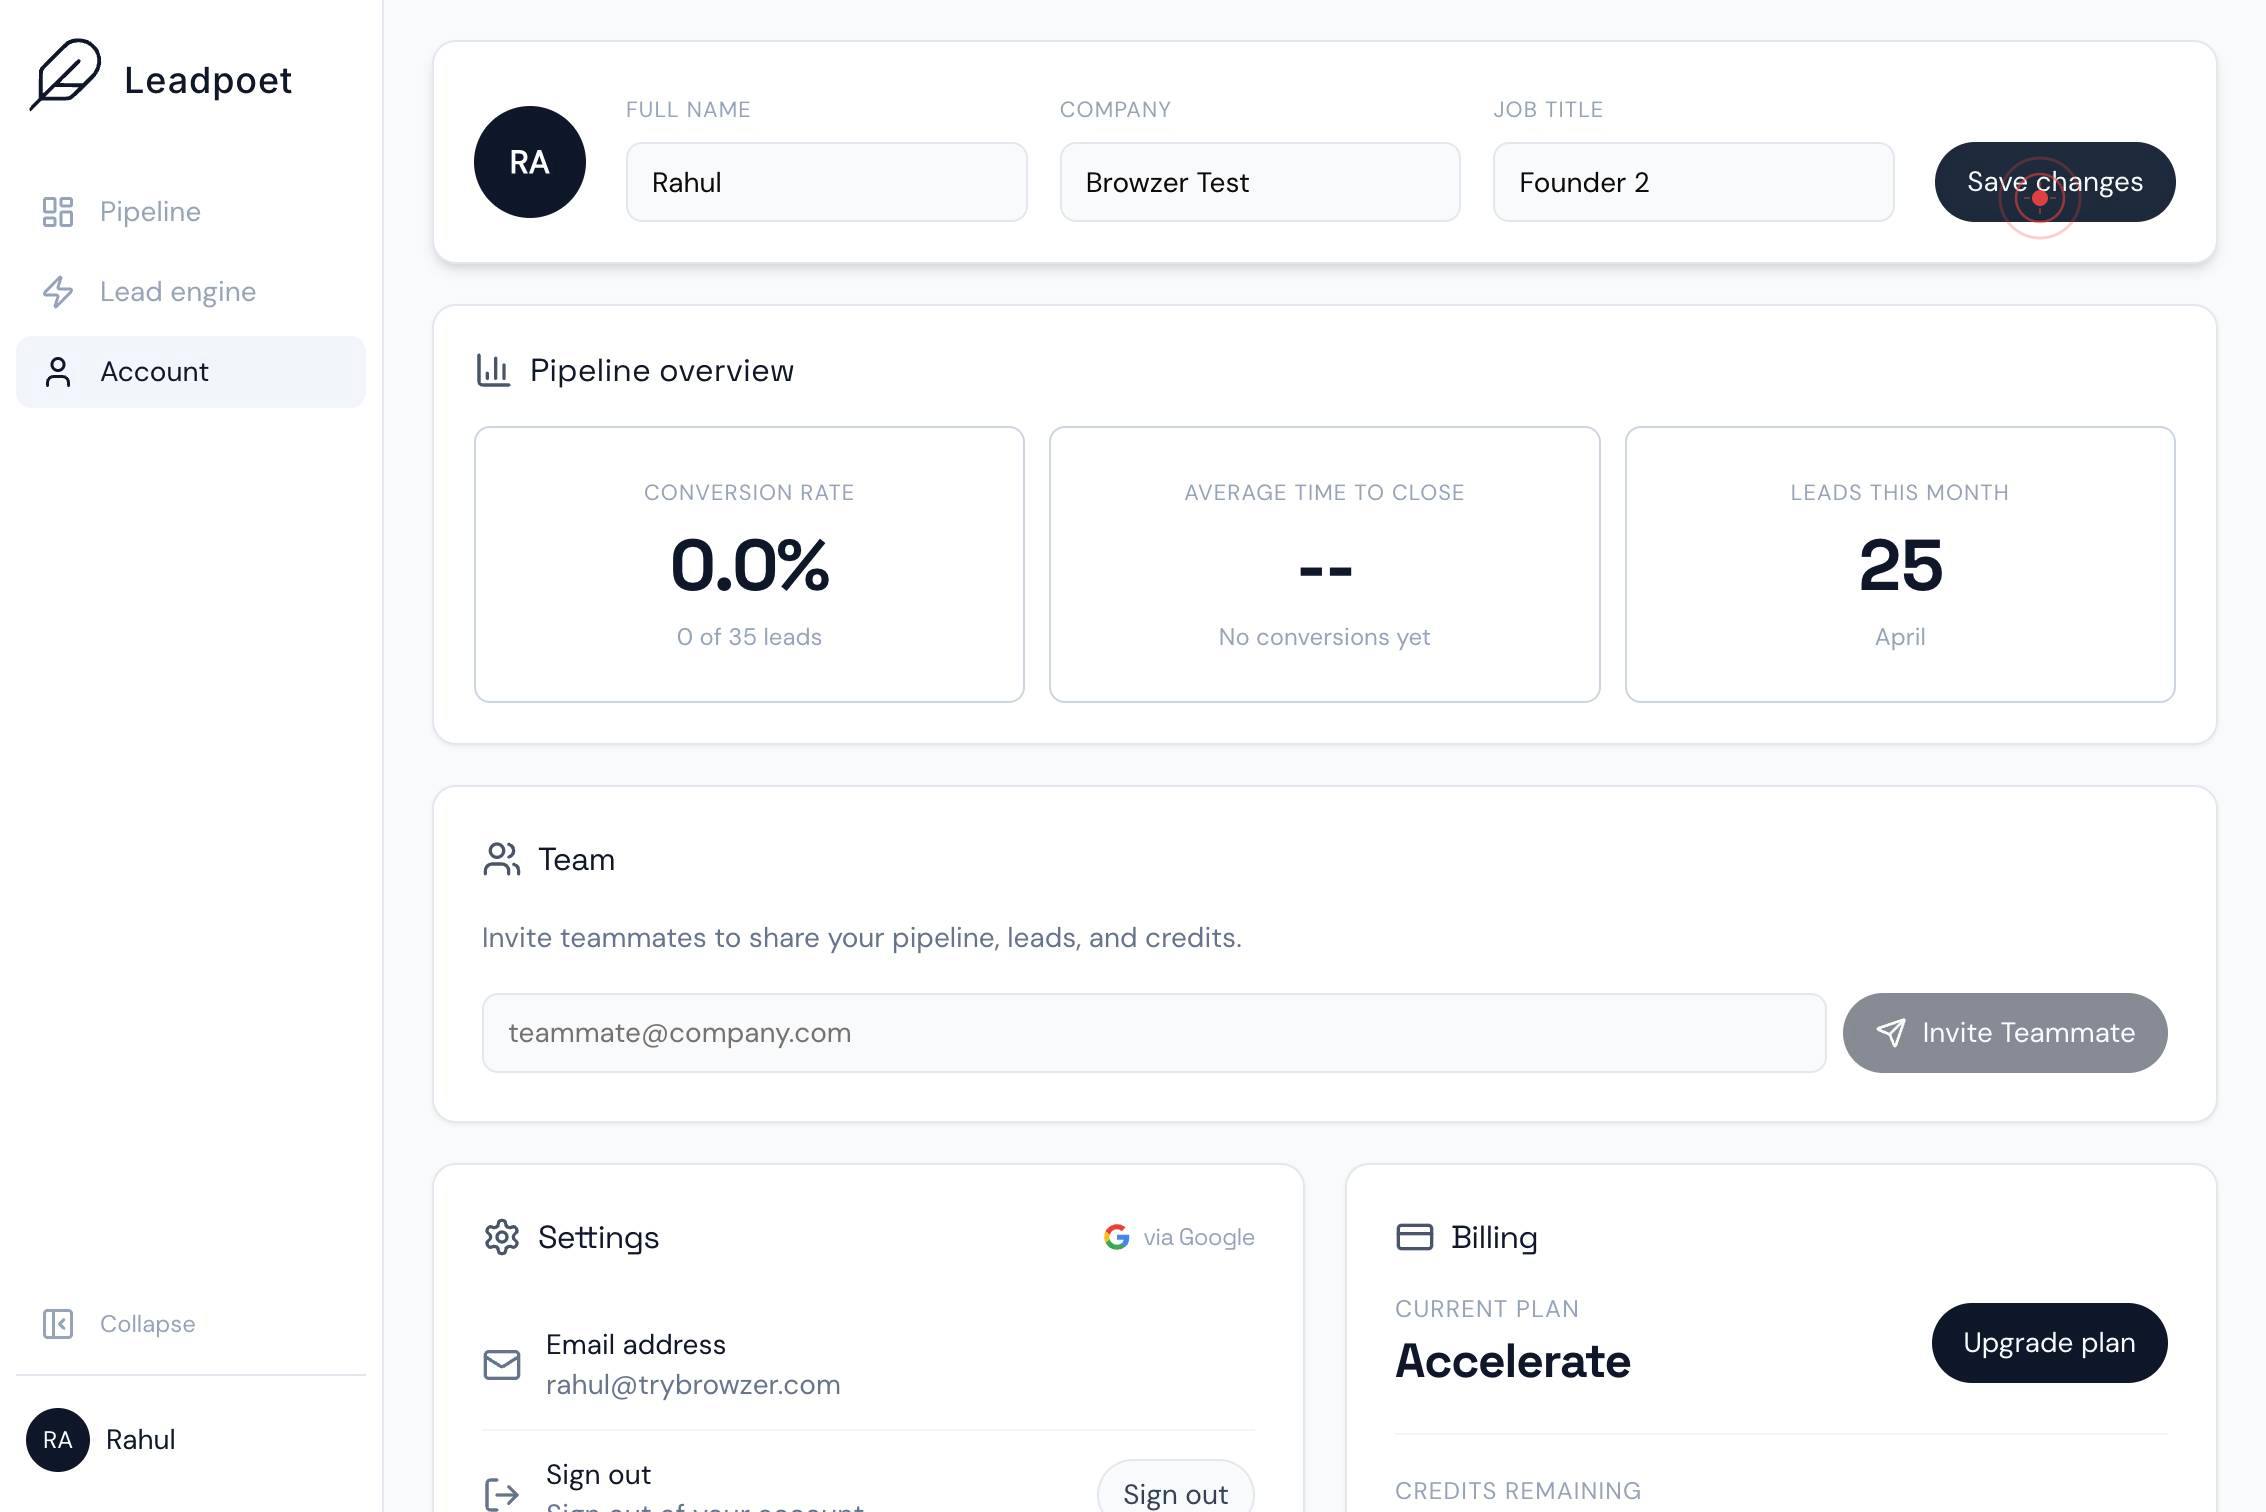
AccountClick the Account button in the navigation or menu to open your account settings page where profile information can be edited.
Full nameClick on the Full name text field to activate it and prepare to enter your updated name.
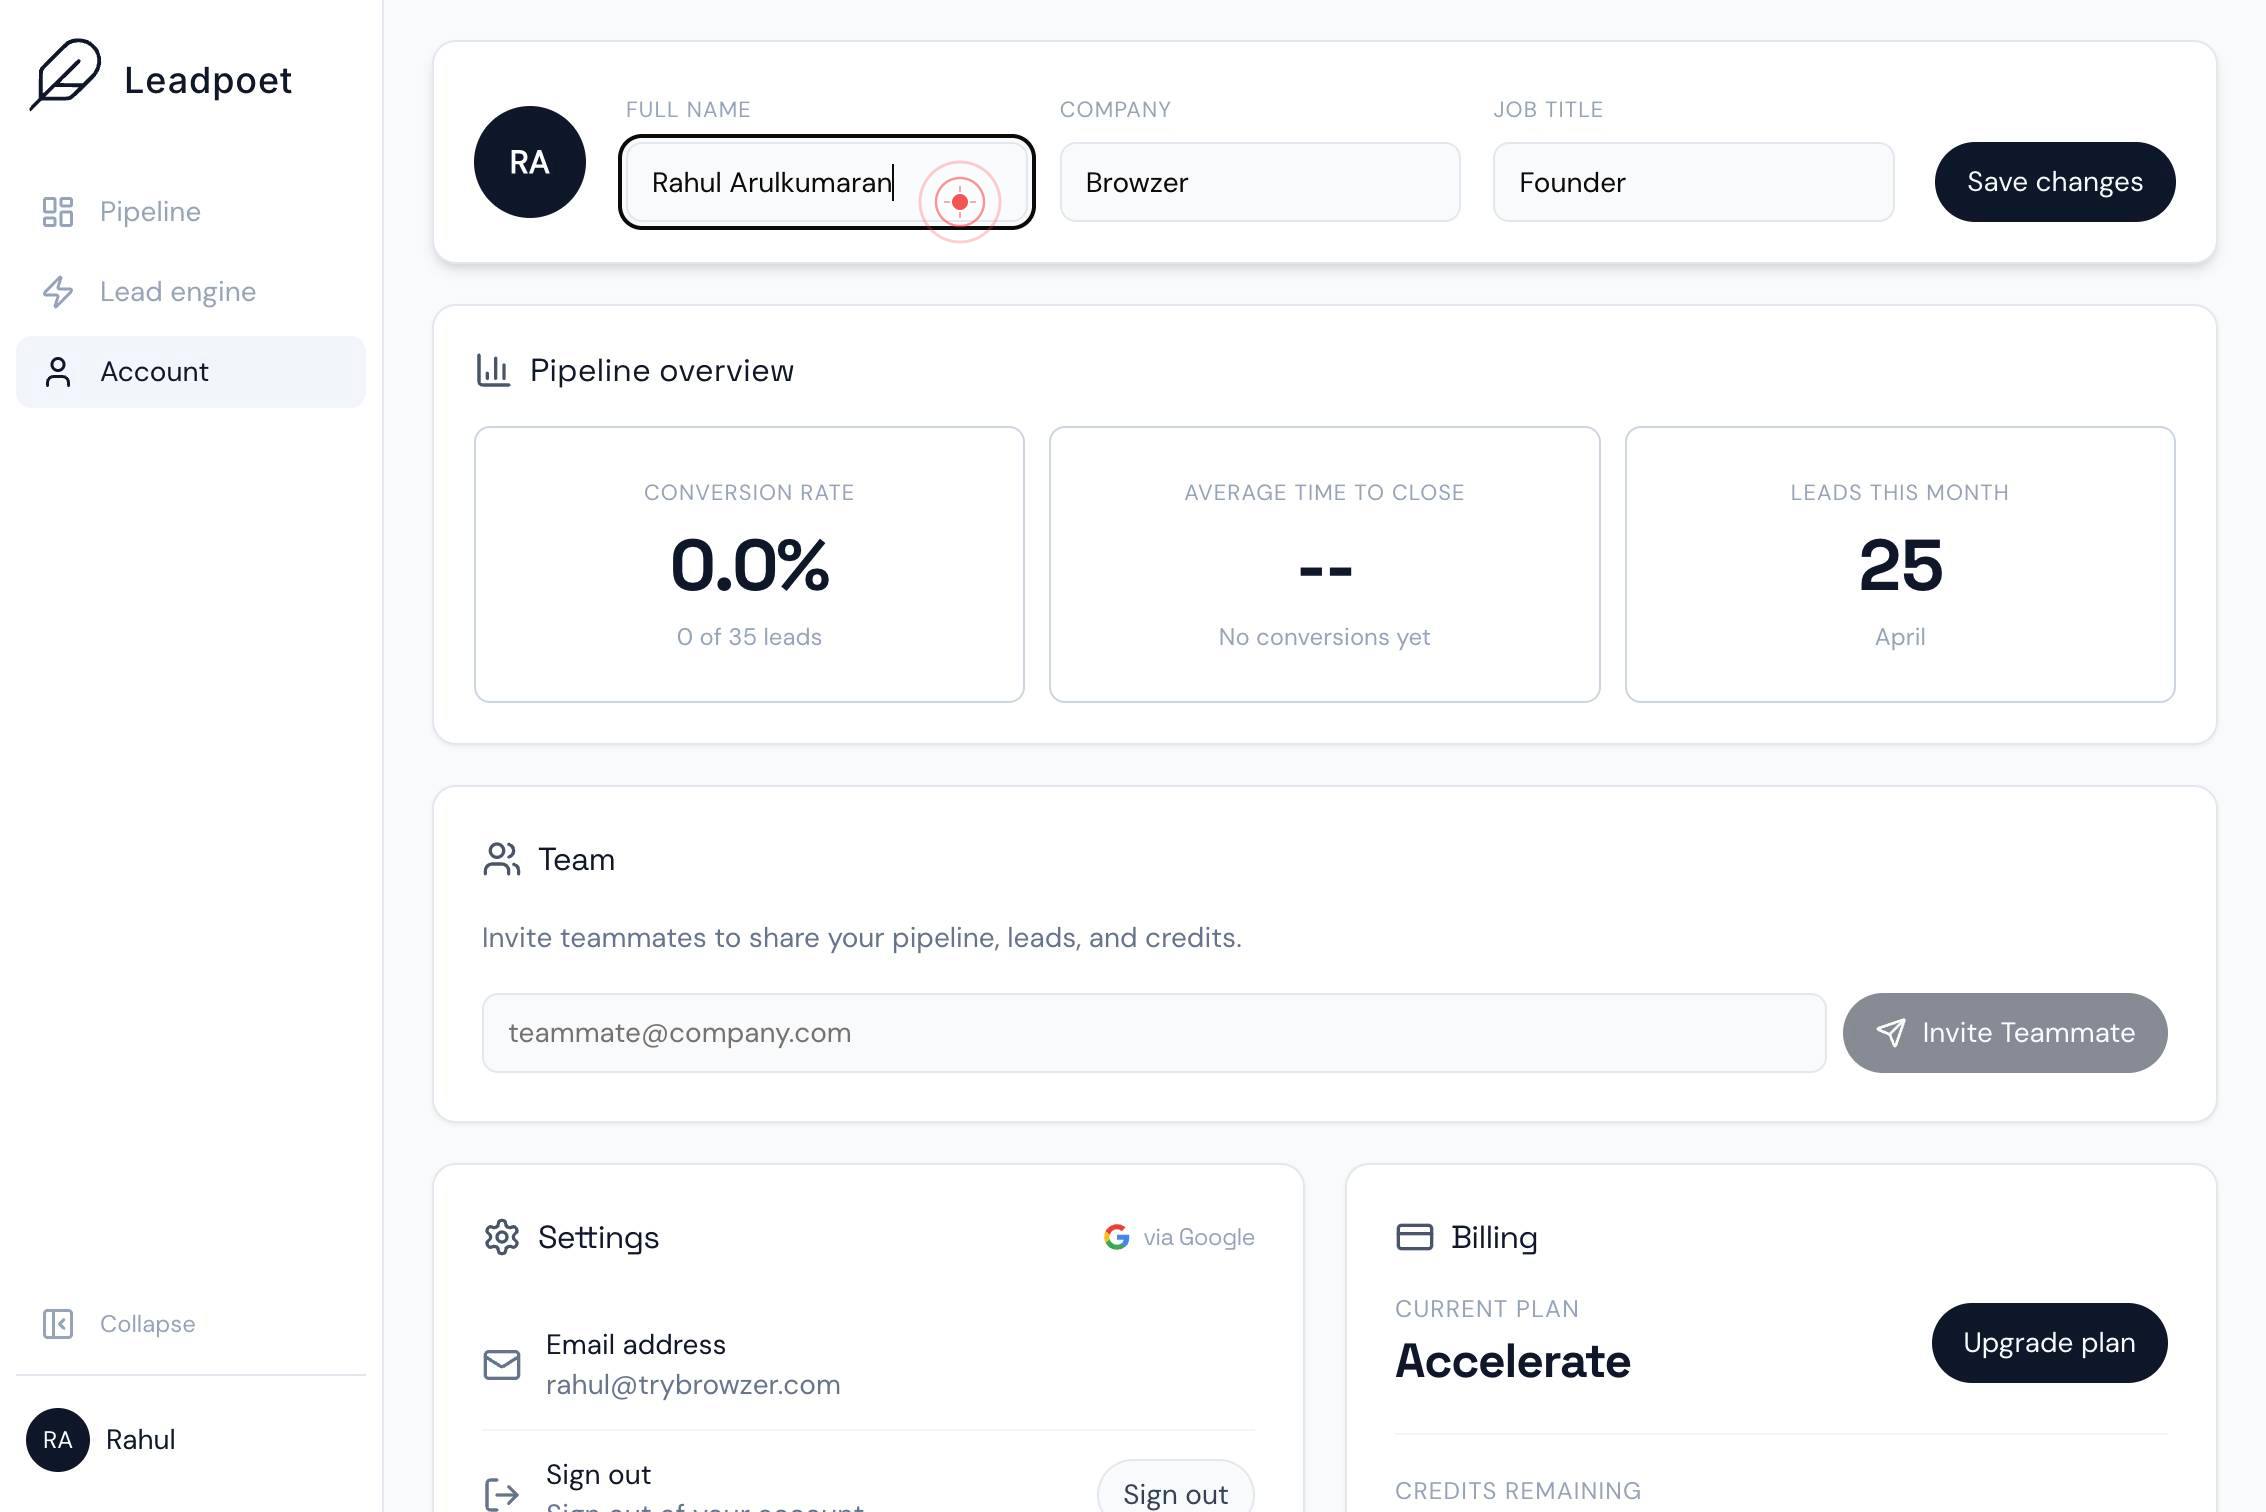
Full nameType your full name into the field. Clear the existing text first if you are replacing it, or add to it as needed.
CompanyClick on the Company text field to select it and prepare to enter or update your company name.
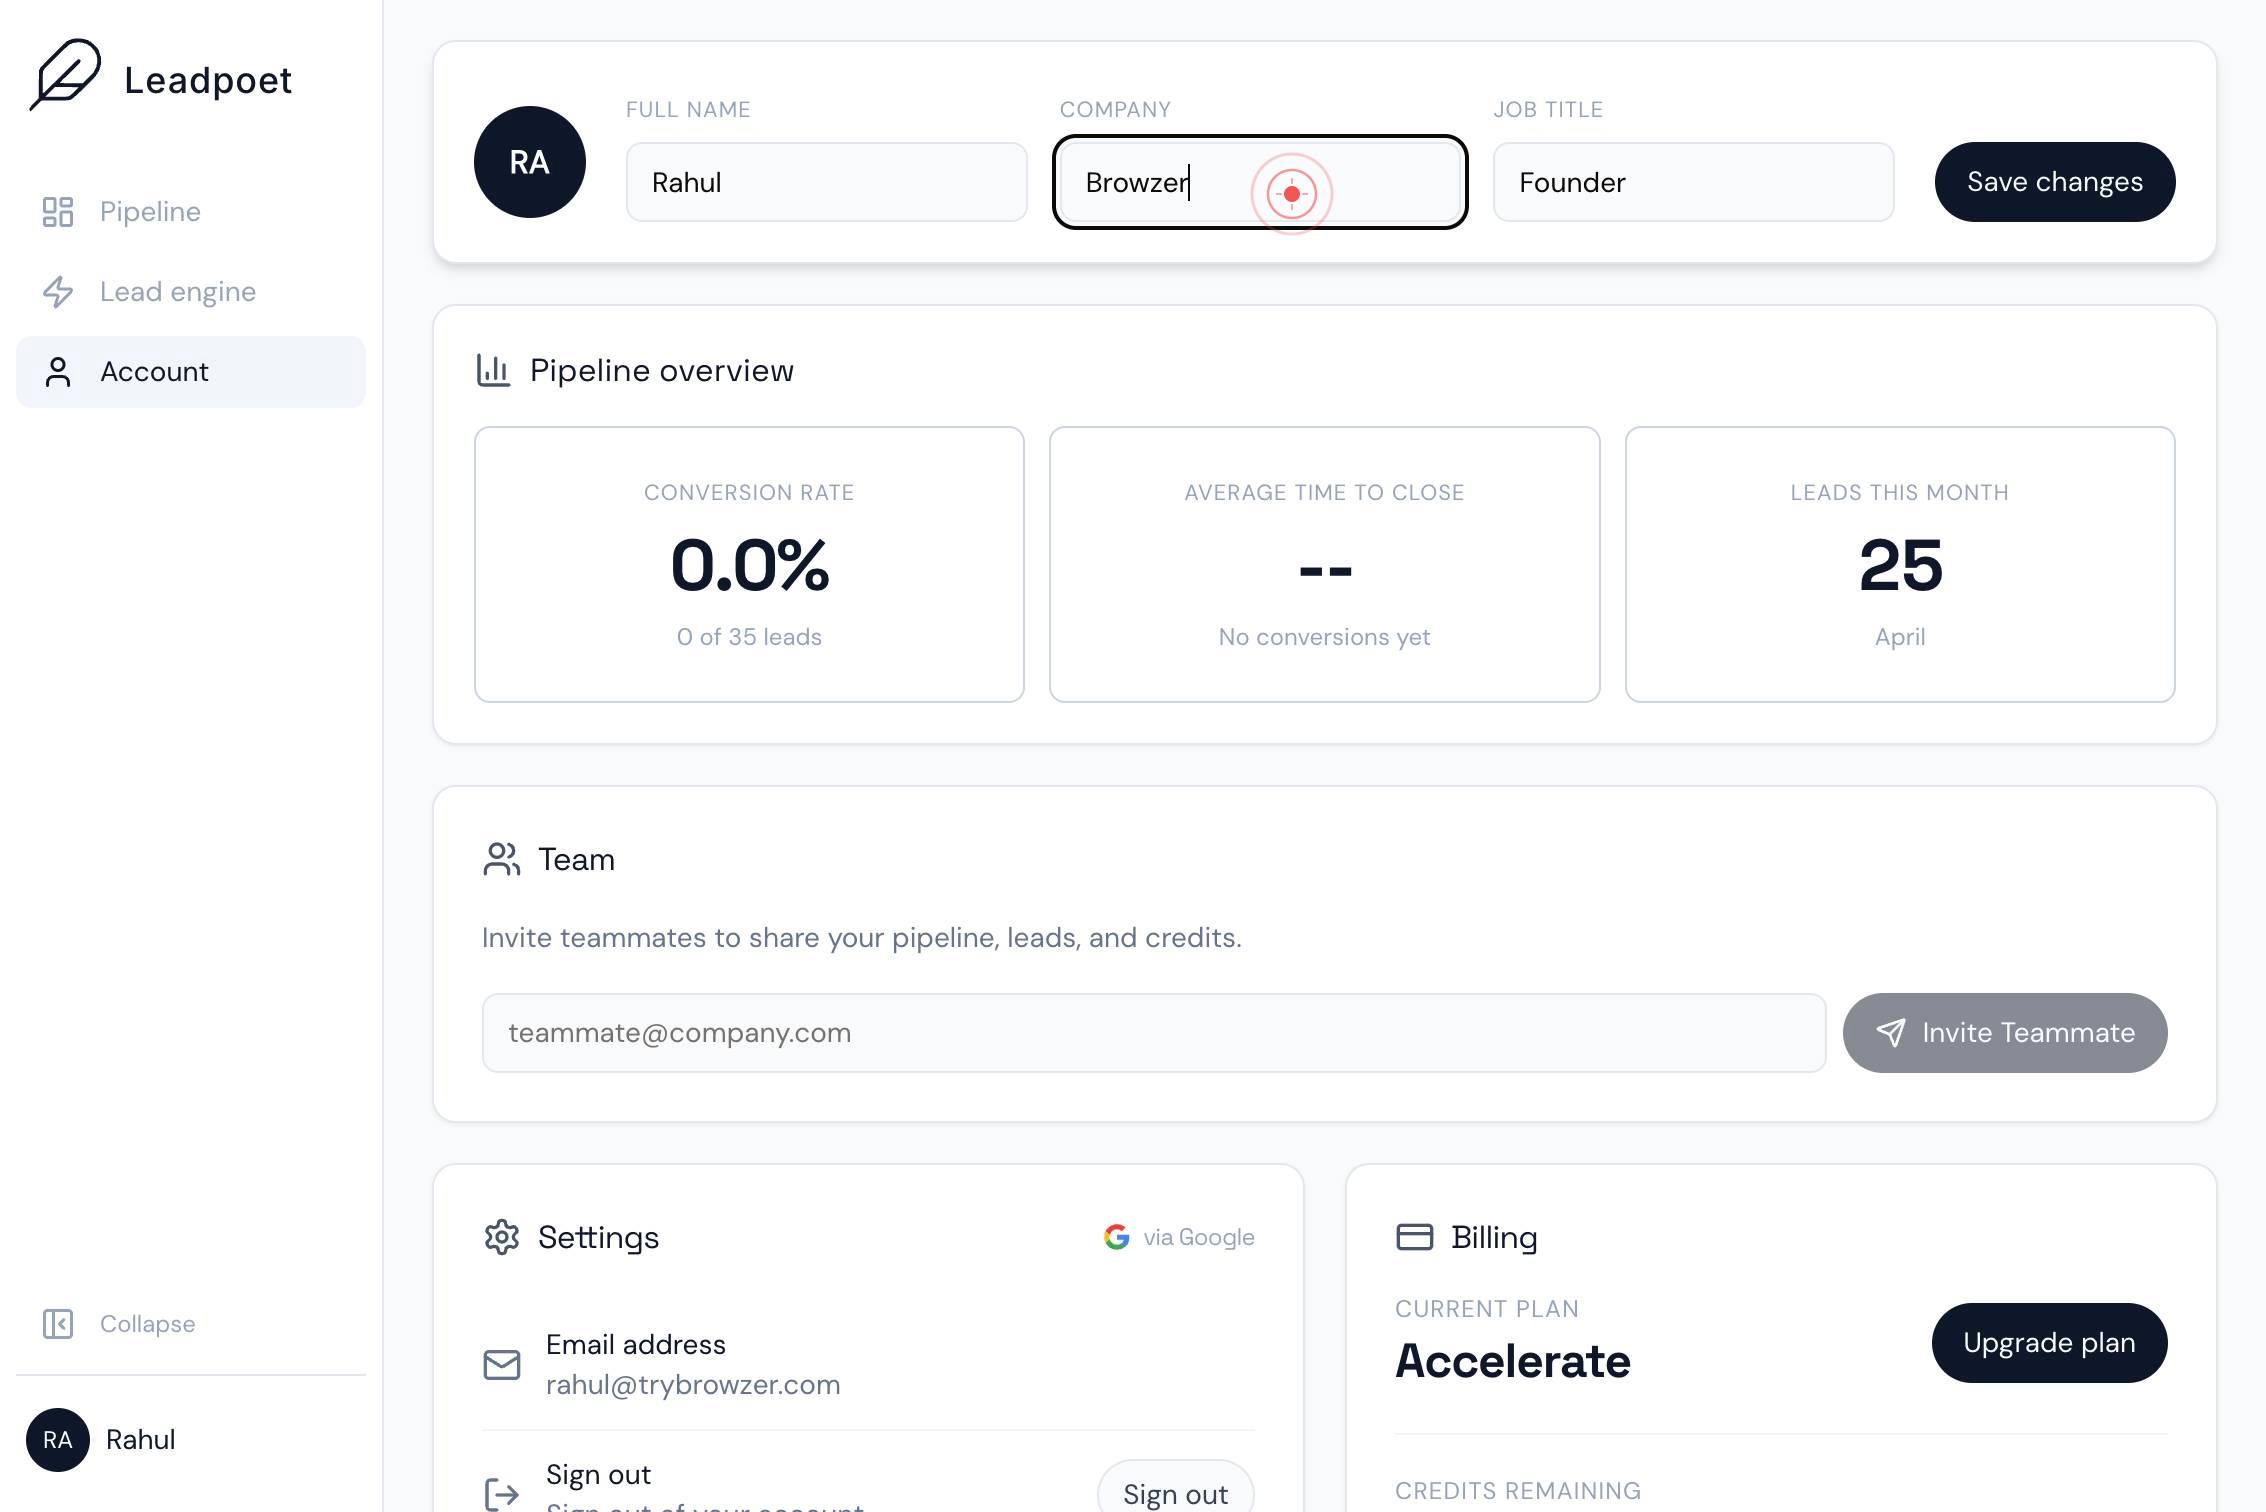
CompanyType your company name into the field. Replace the existing text or add your current company affiliation.
Job titleClick on the Job title text field to activate it and prepare to enter or update your professional role.
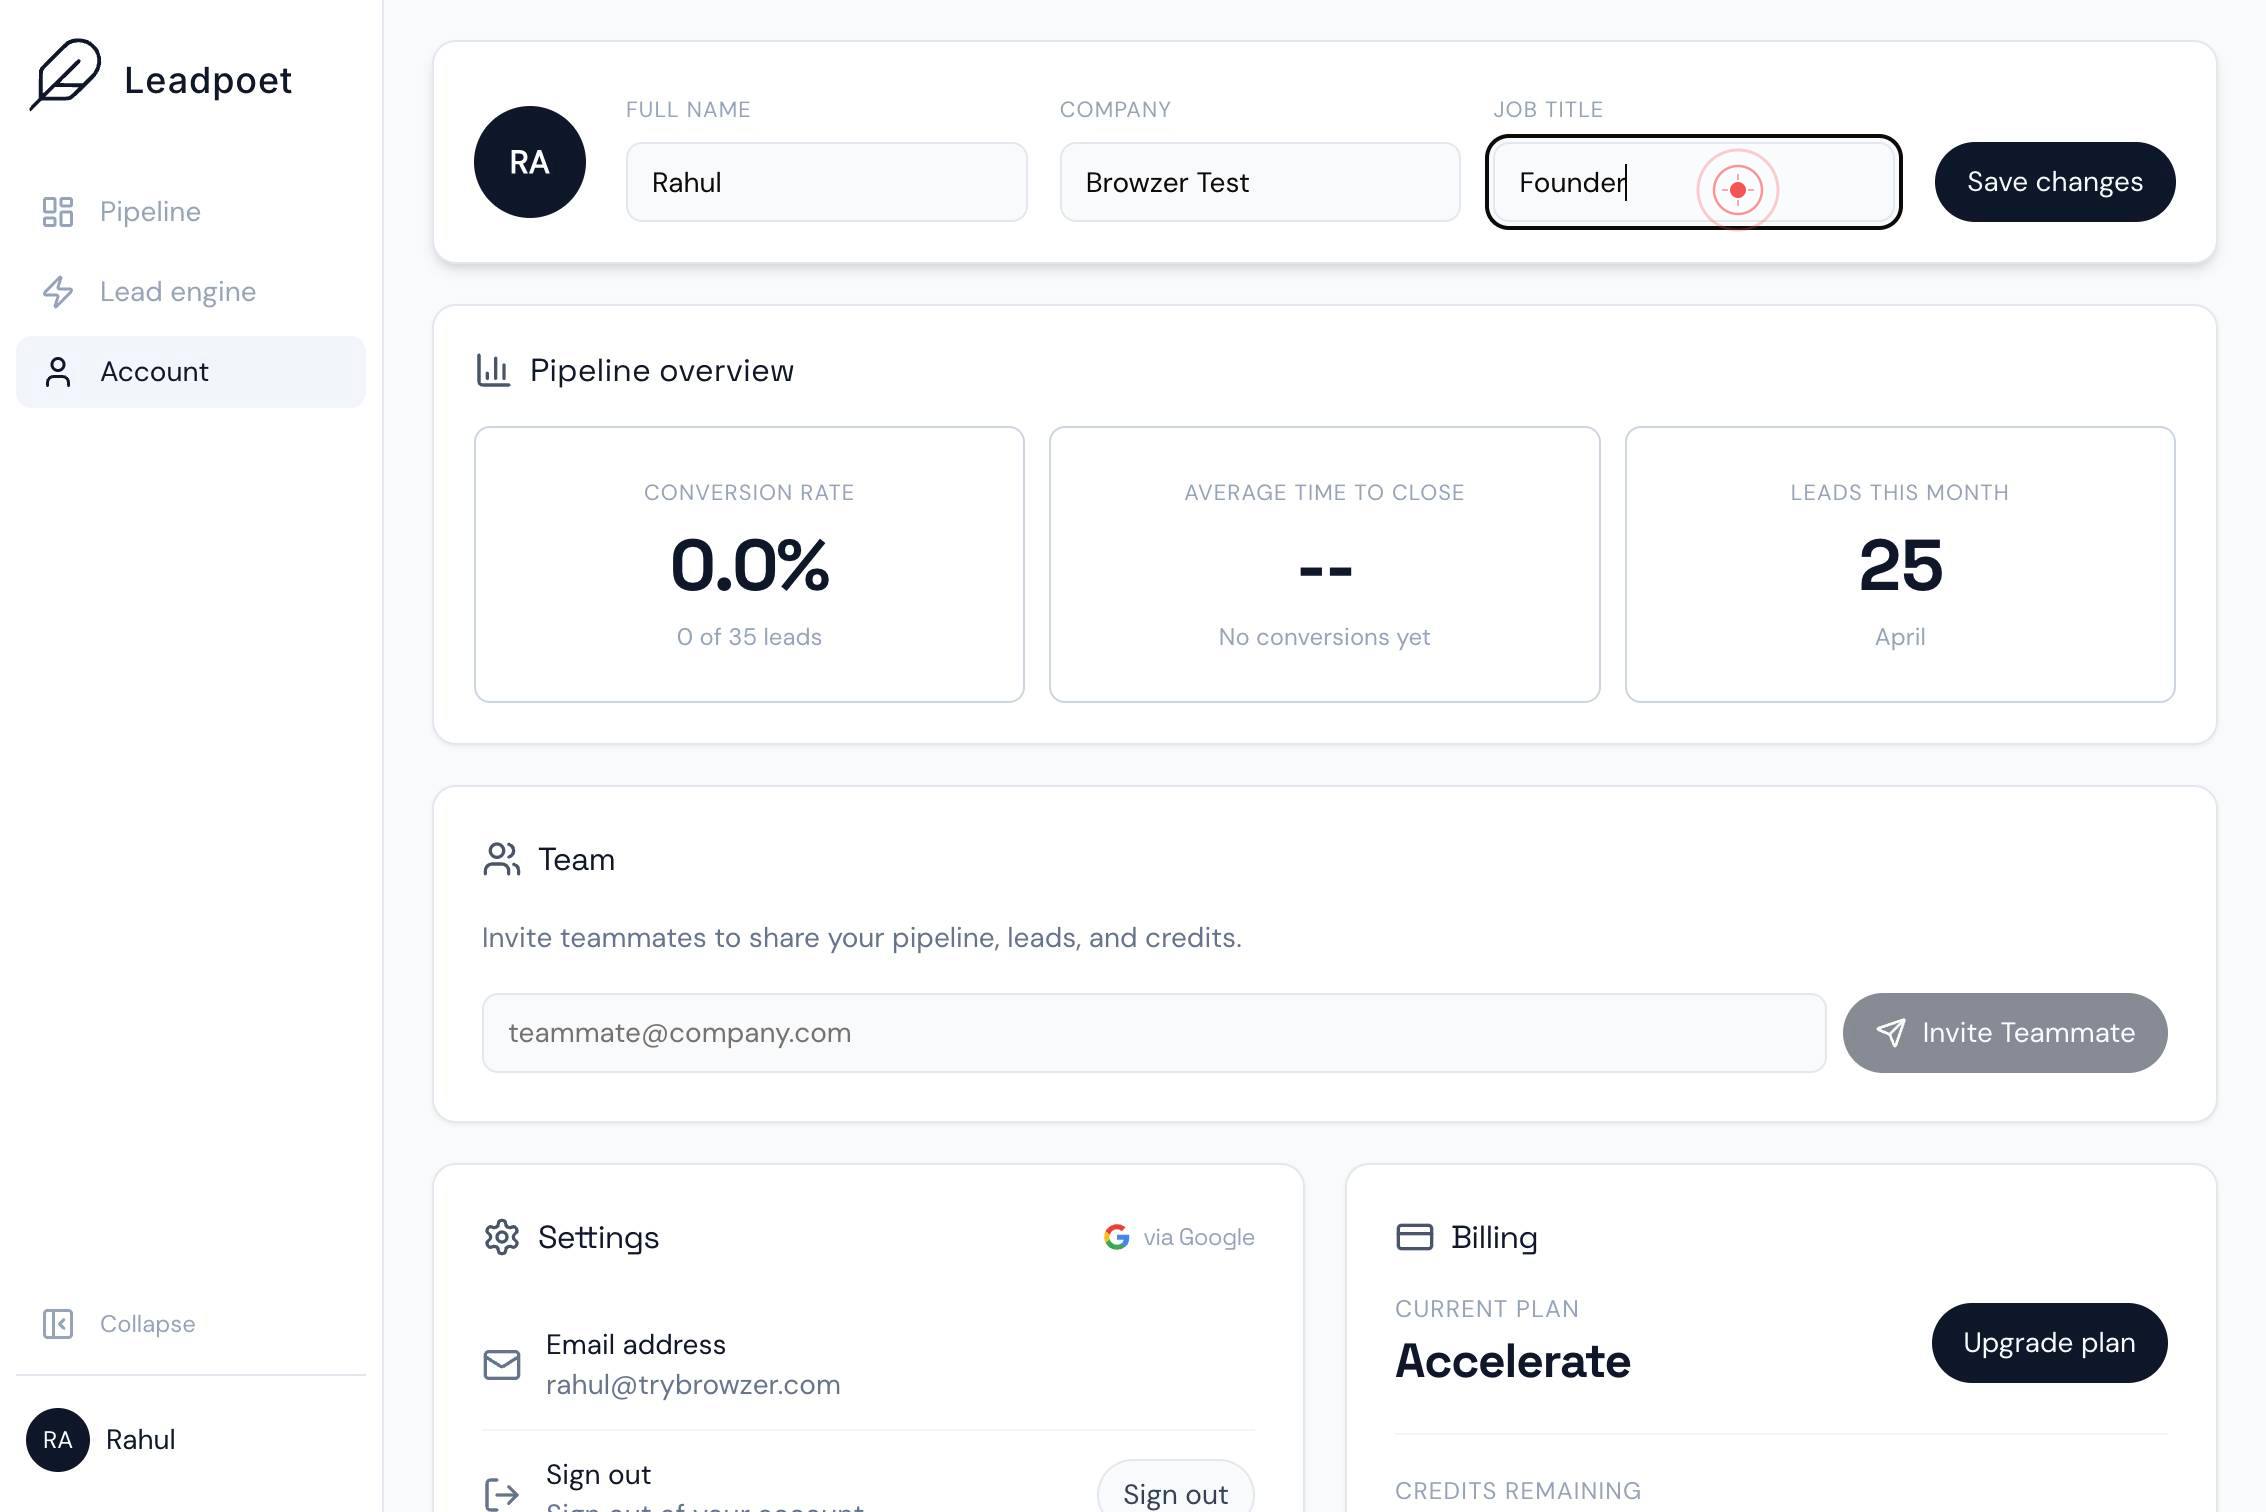
Job titleType your job title into the field. Replace the existing text with your current position or role at your organization.
Save changesClick the Save changes button to confirm and apply all updates to your personal information.
Confirm it worked
- 1After clicking 'Save changes', you see a confirmation message or the page refreshes without errors
- 2Your updated full name, company, and job title are now displayed in your profile when you navigate back to Account settings
- 3The changes persist after logging out and logging back in
Common issues
Keep reading
How to Update and View Your Profile Information | UpLead Help Center
How to Update and View Your Profile Information | UpLead Help Center How to Update and View Your Profile Information | UpLead Help Center [Skip to main content](#main-content) [); this.$watch('visible', () => this.updateStore()); this.$watch('dismissed', () => this.updateStore()); this.updateStore();// Nativ
leadmarketingstrategies.com