Guide
Add Integrations by Scrolling
Overview
Sprinto relies on integrations to enable continuous monitoring and compliance checks across your technology stack. By adding vendor integrations, you establish secure data flows between Sprinto and your operational tools, allowing Sprinto to access the information needed for security assessments, access control validation, and compliance monitoring. This workflow guides you through selecting and adding multiple integrations in a single session, streamlining your initial setup or expansion of connected systems.
Before you begin
- You have an active Sprinto account with admin or integration management permissions
- You have access to app.sprinto.com and are currently logged in
- You have identified which vendors you want to integrate (for this example: HubSpot Sales, GoDaddy, Gusto, Heroku, Stripe, Deel, and Notion)
Step by step
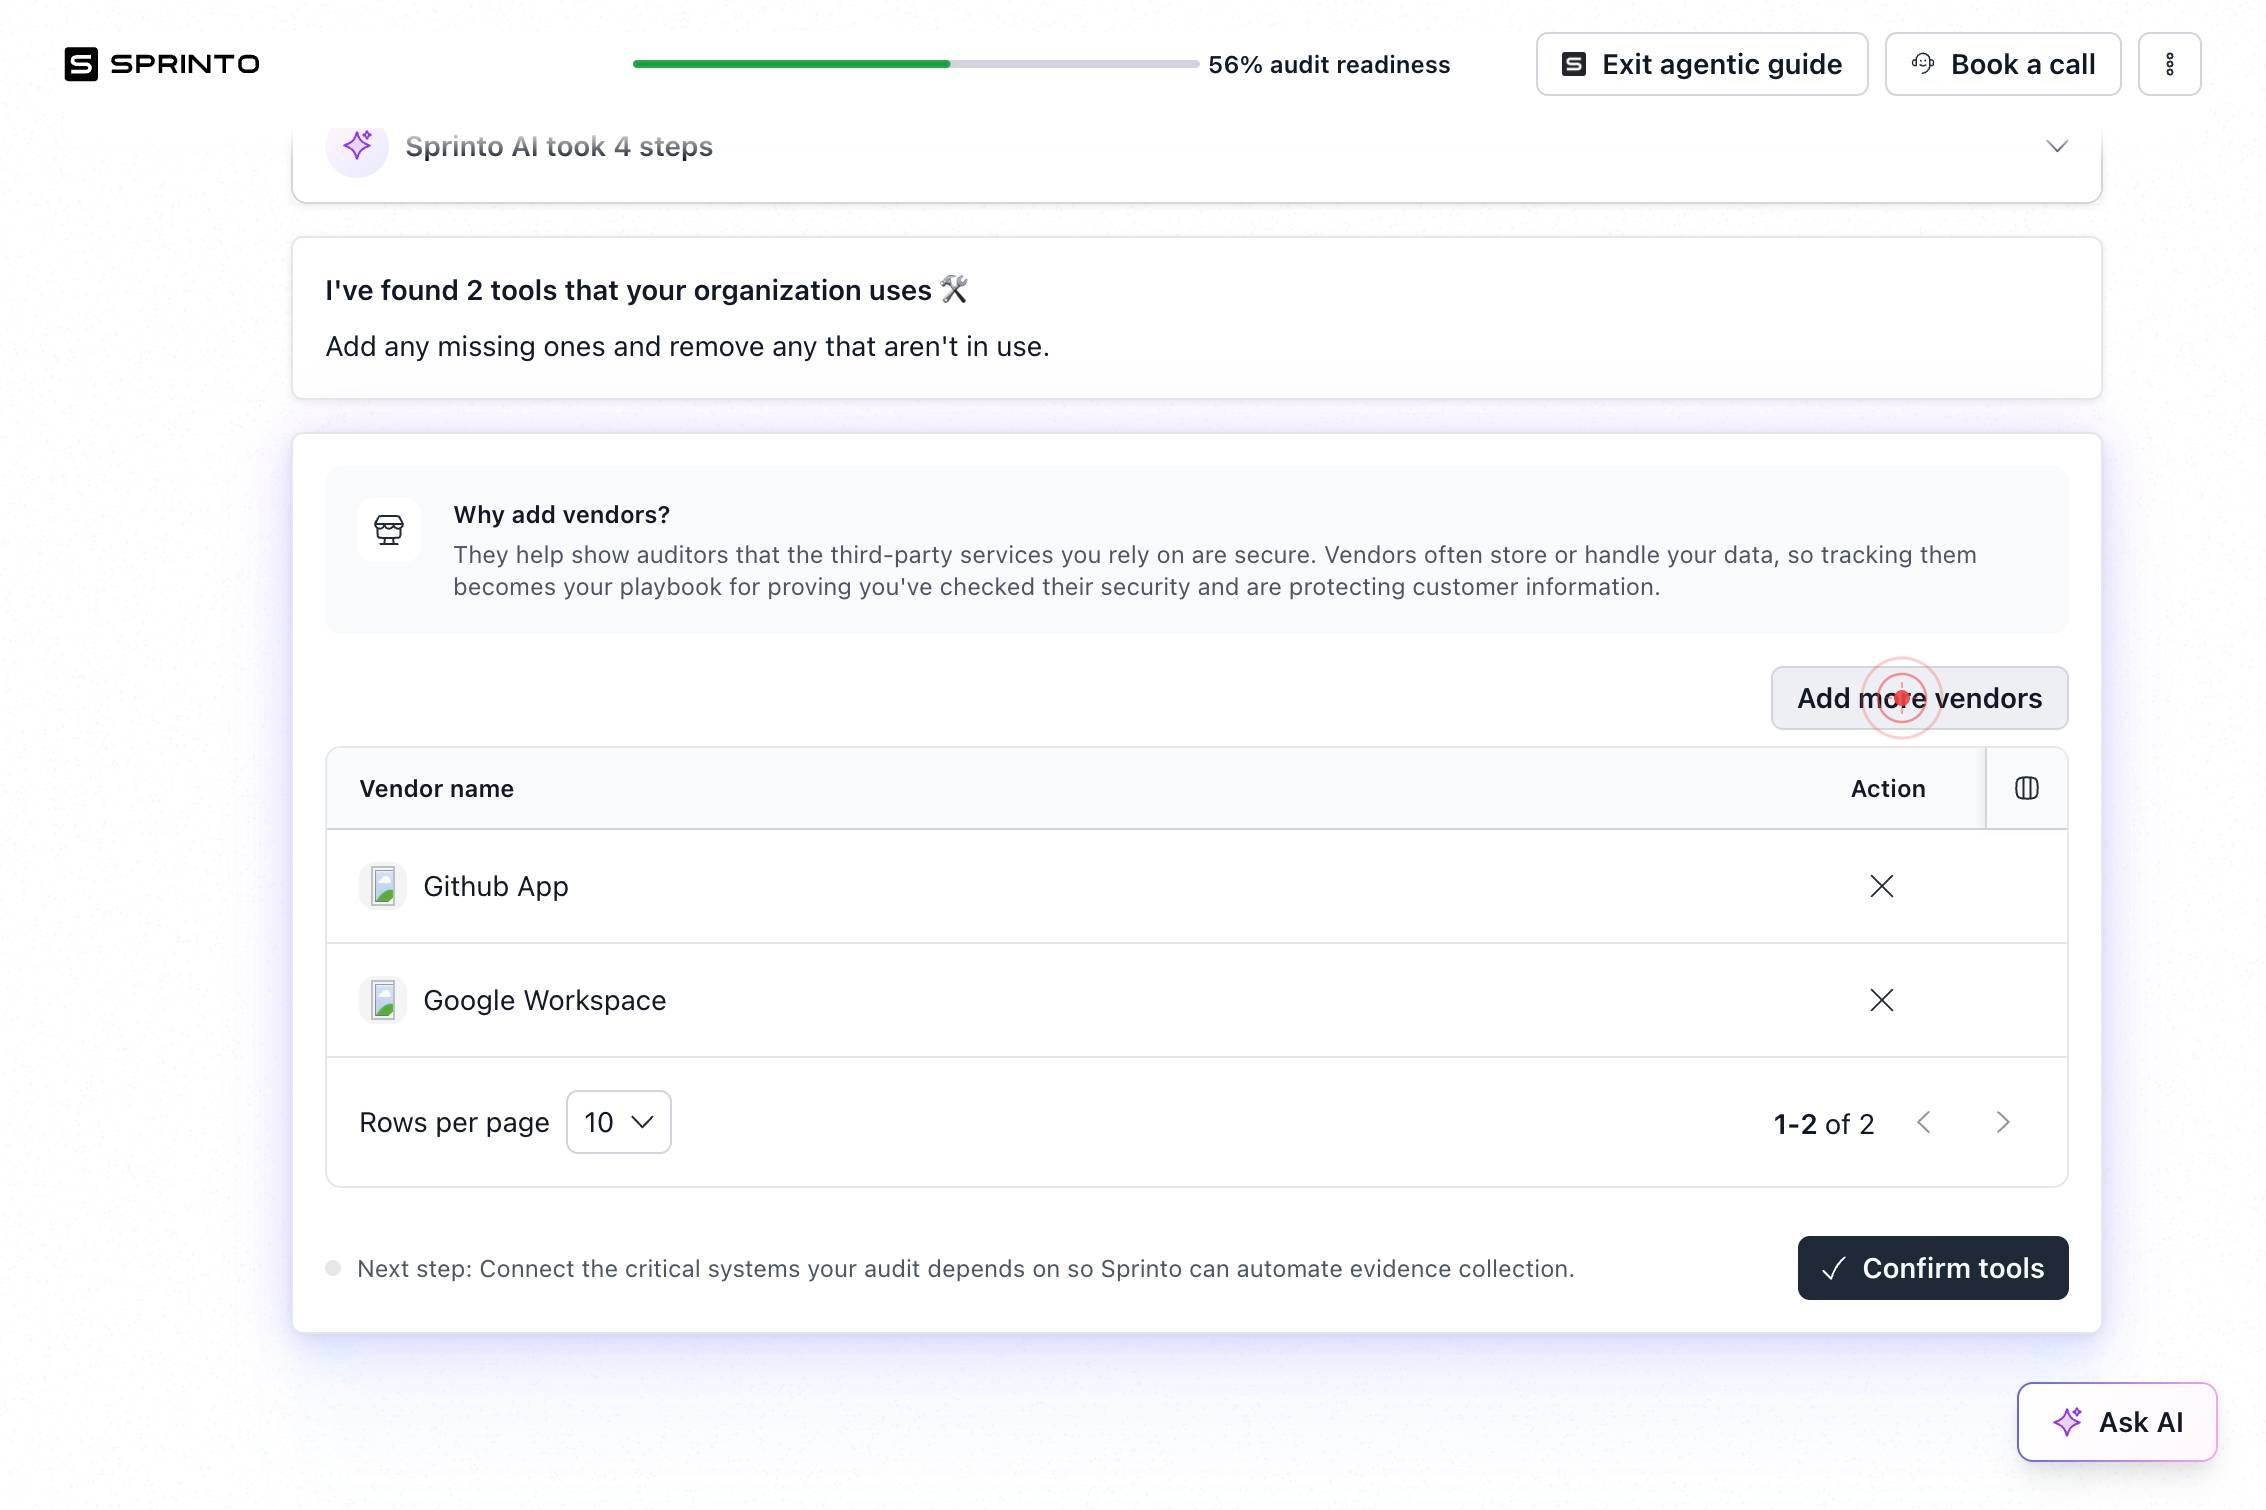
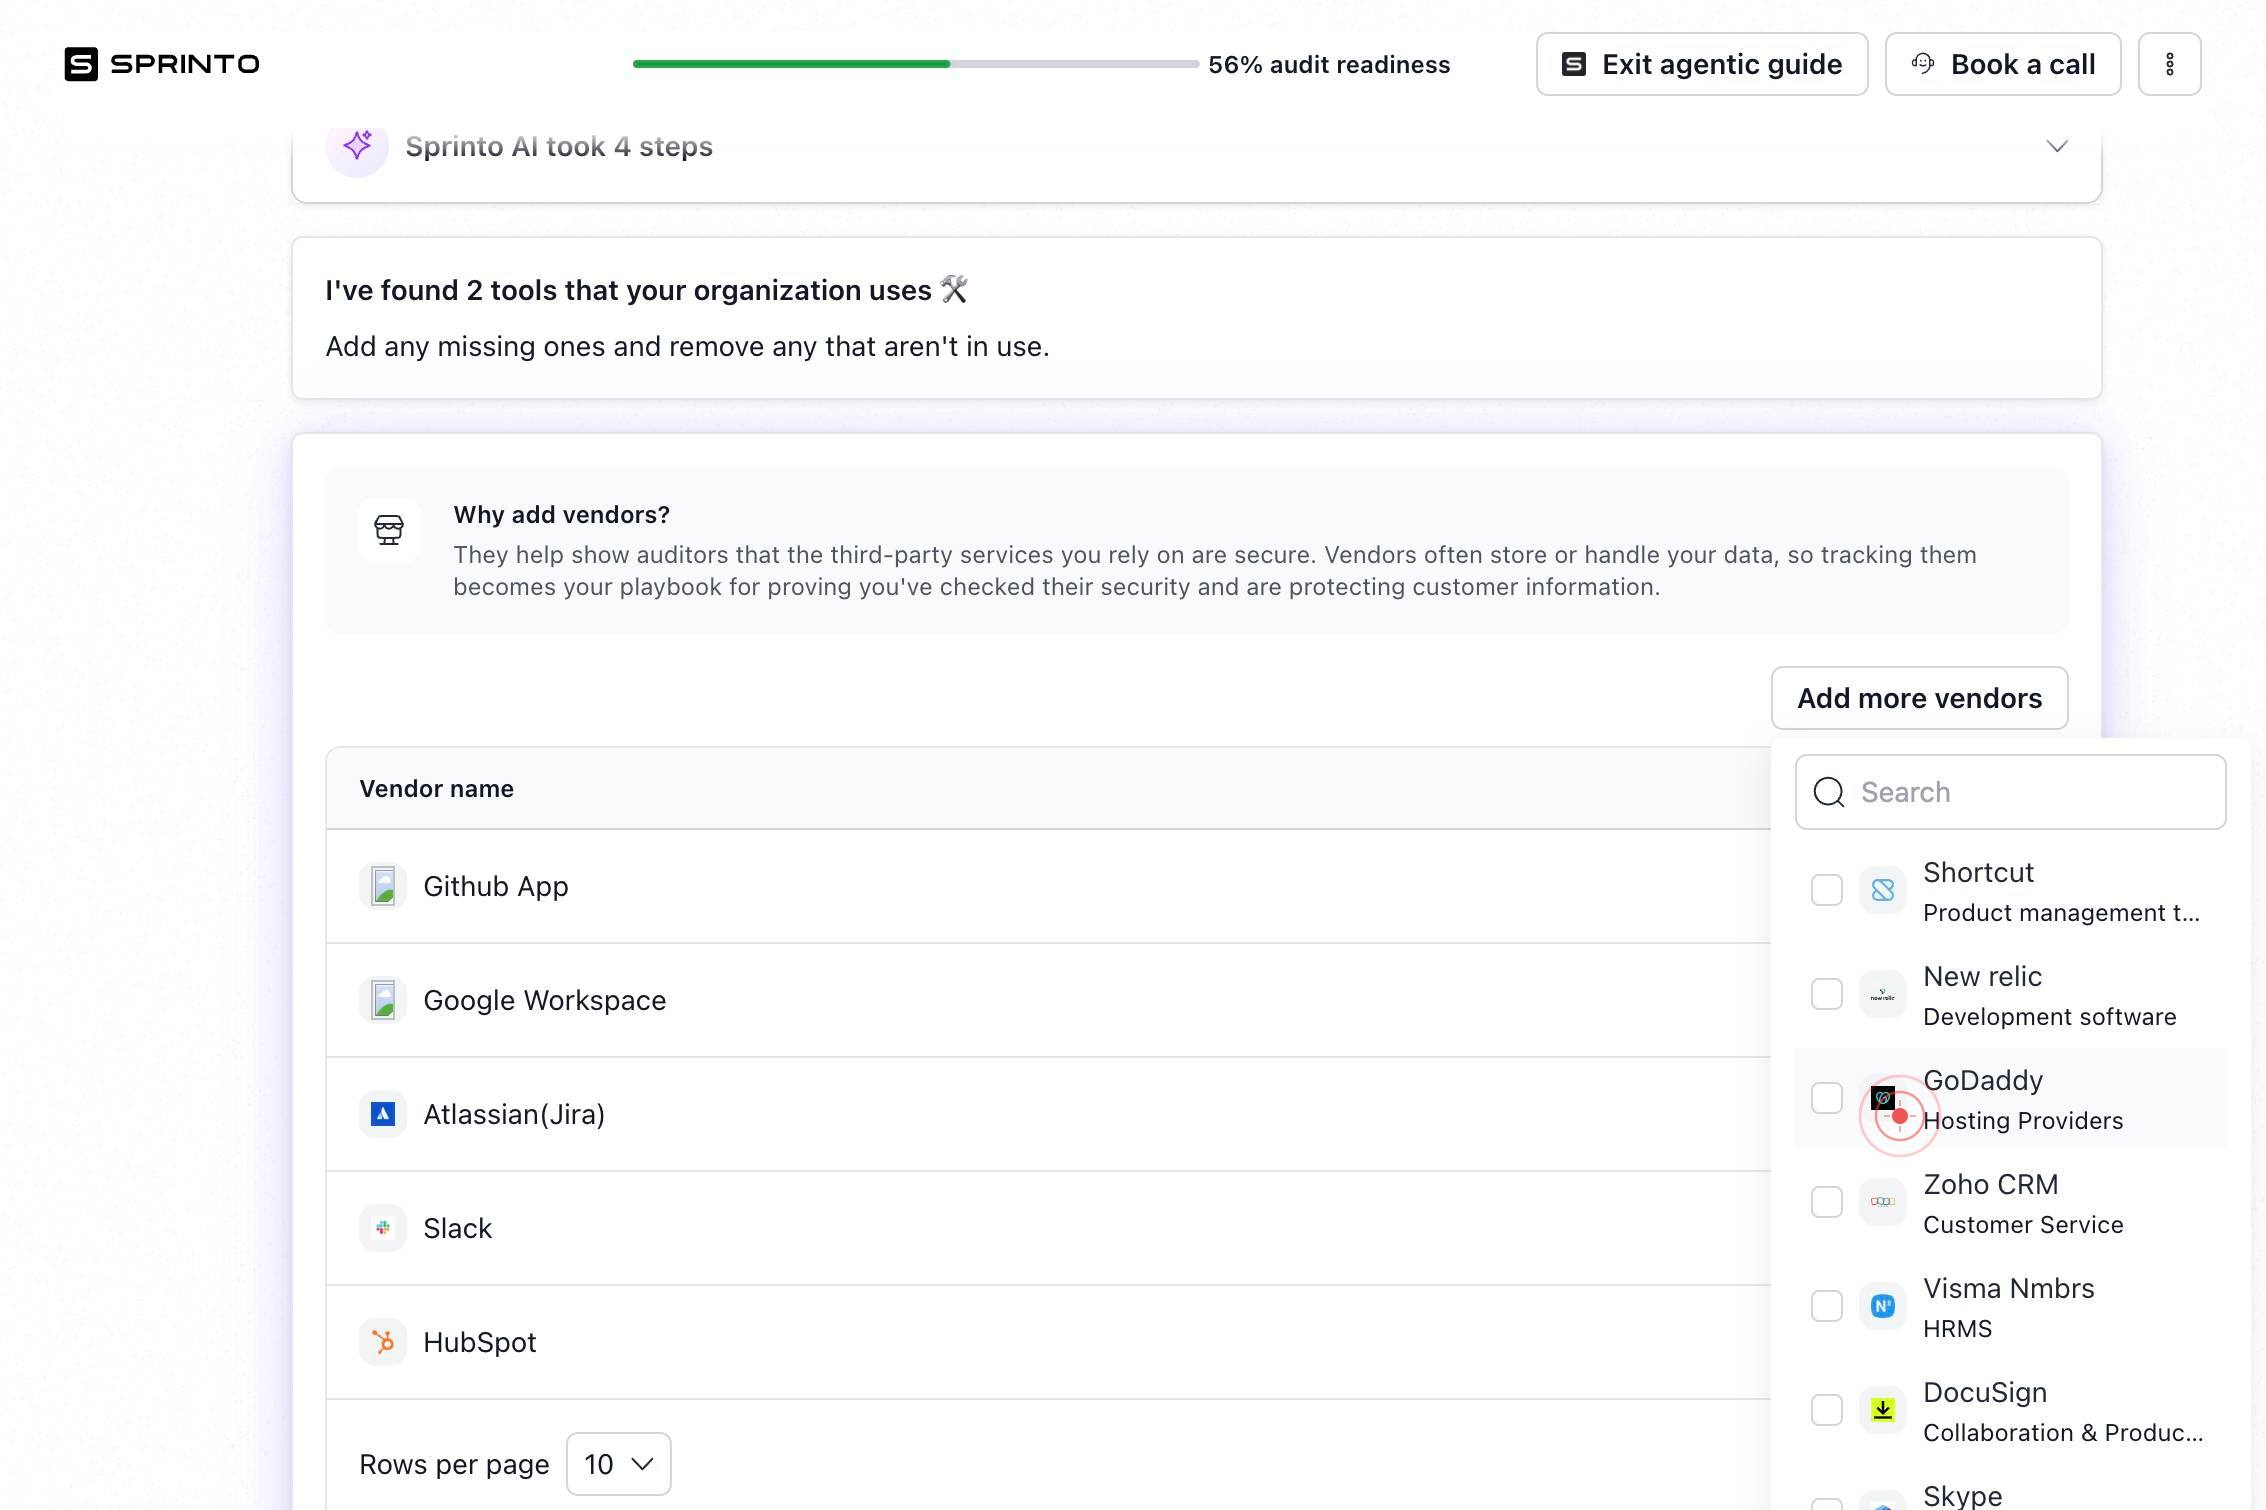
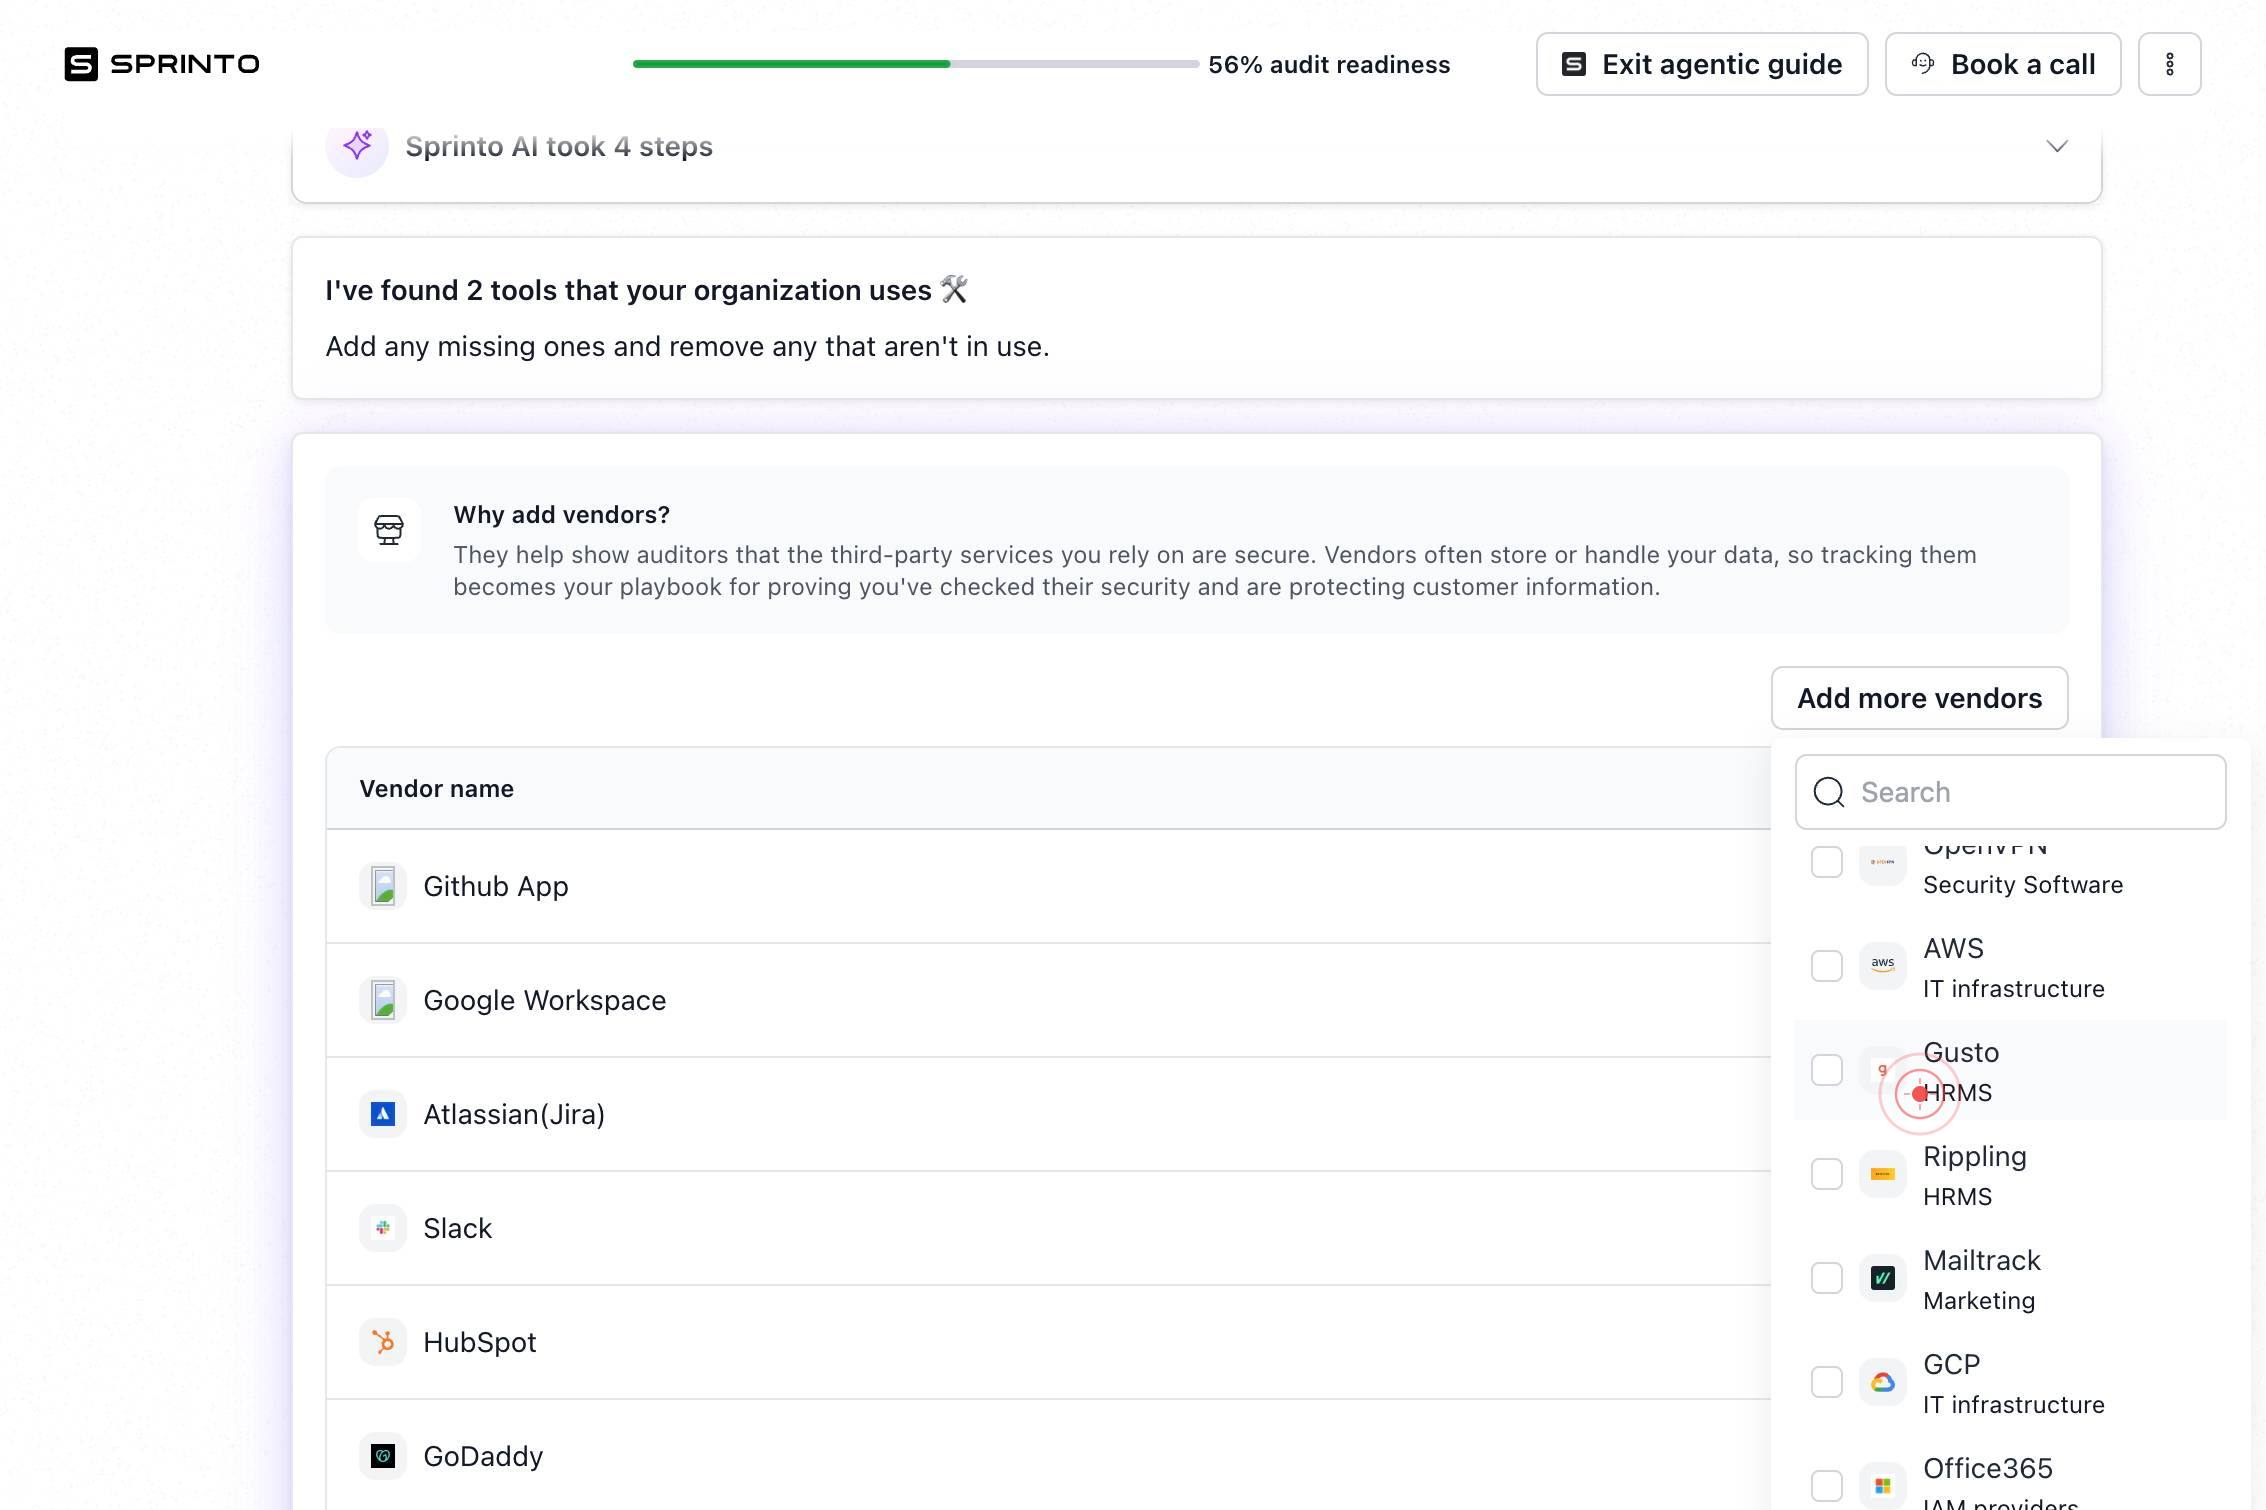
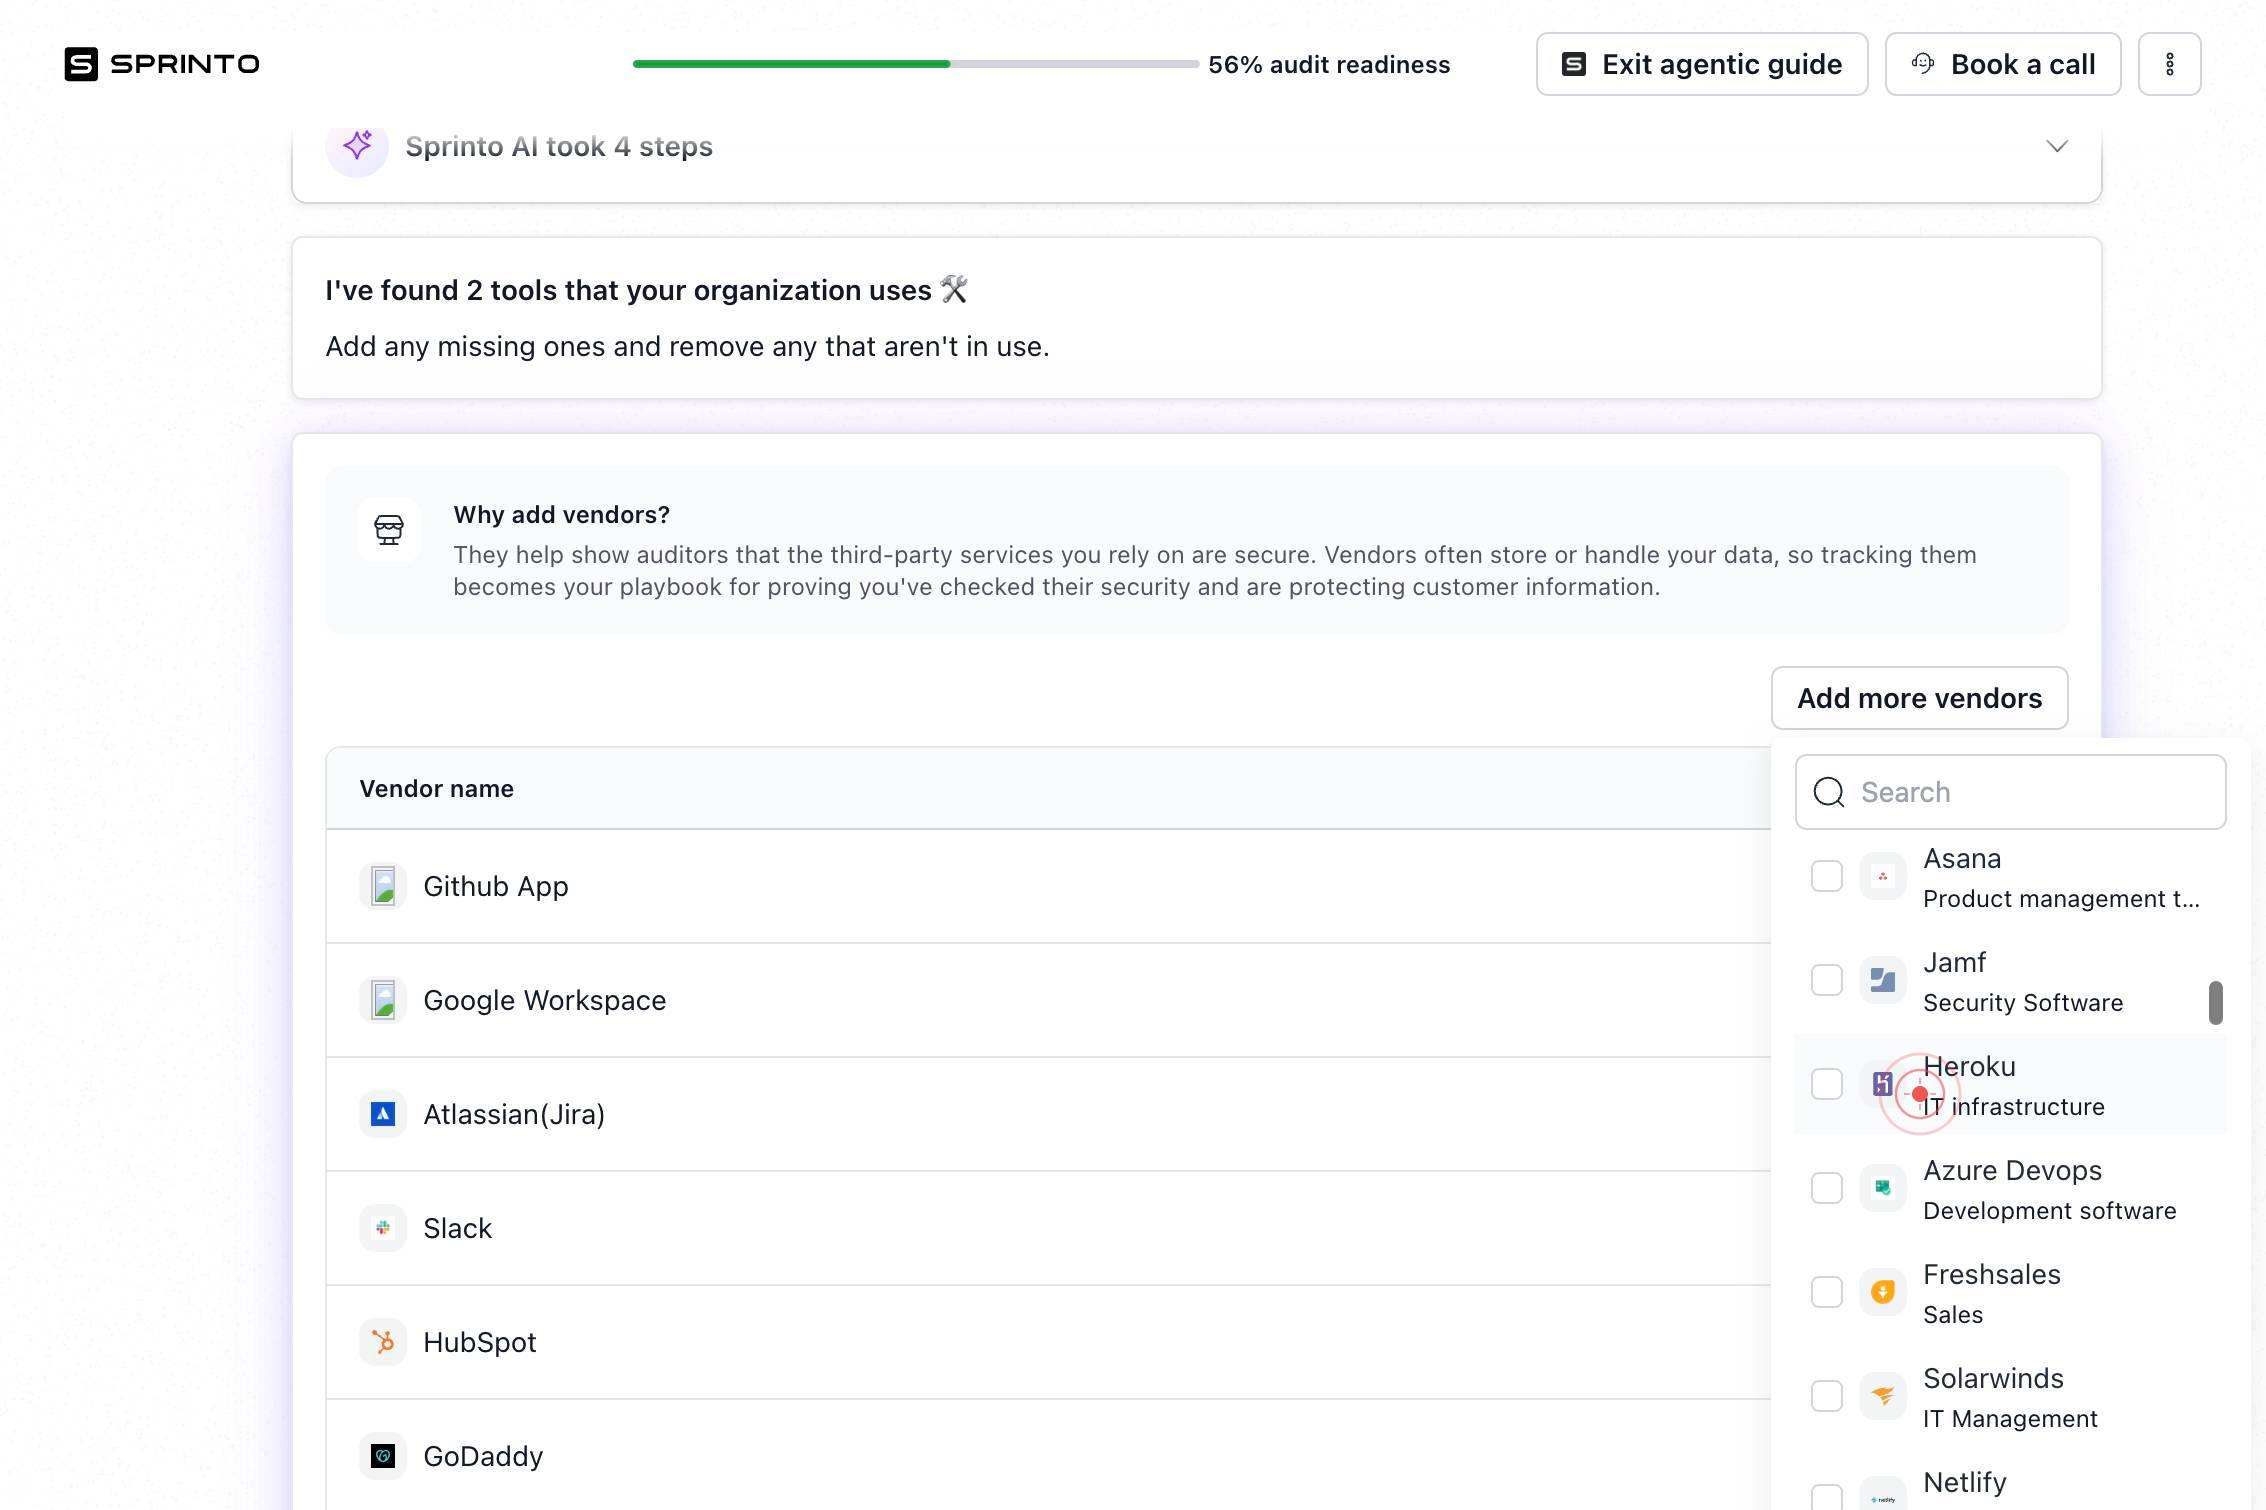
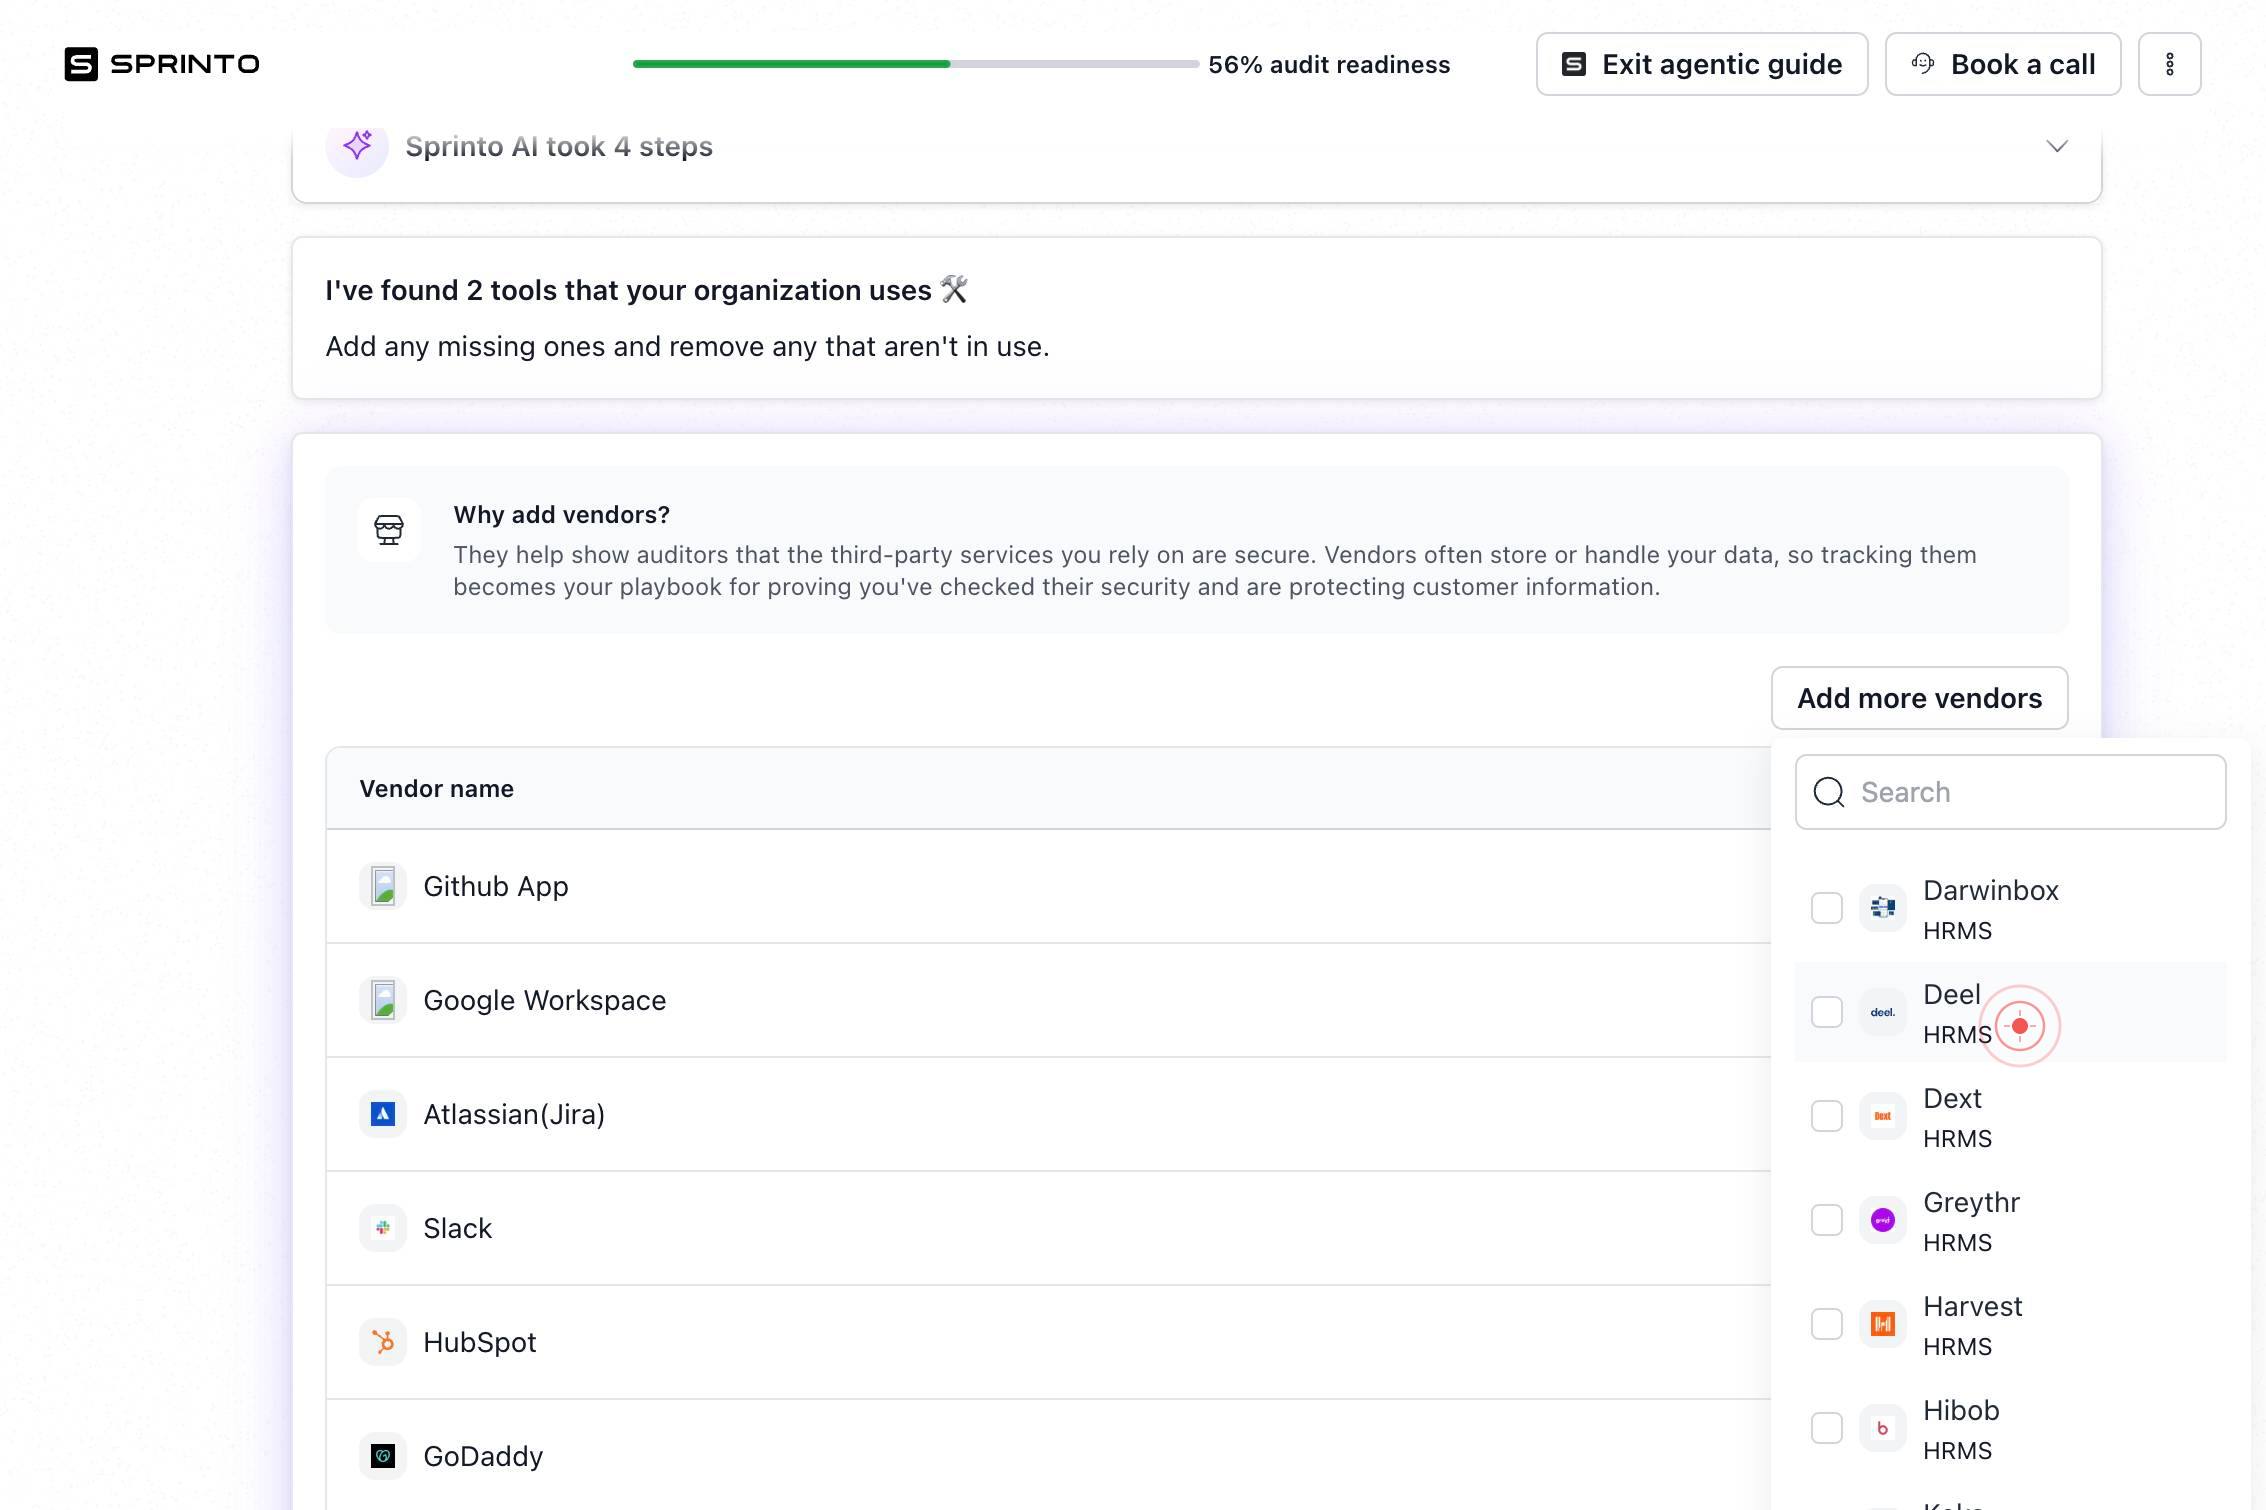
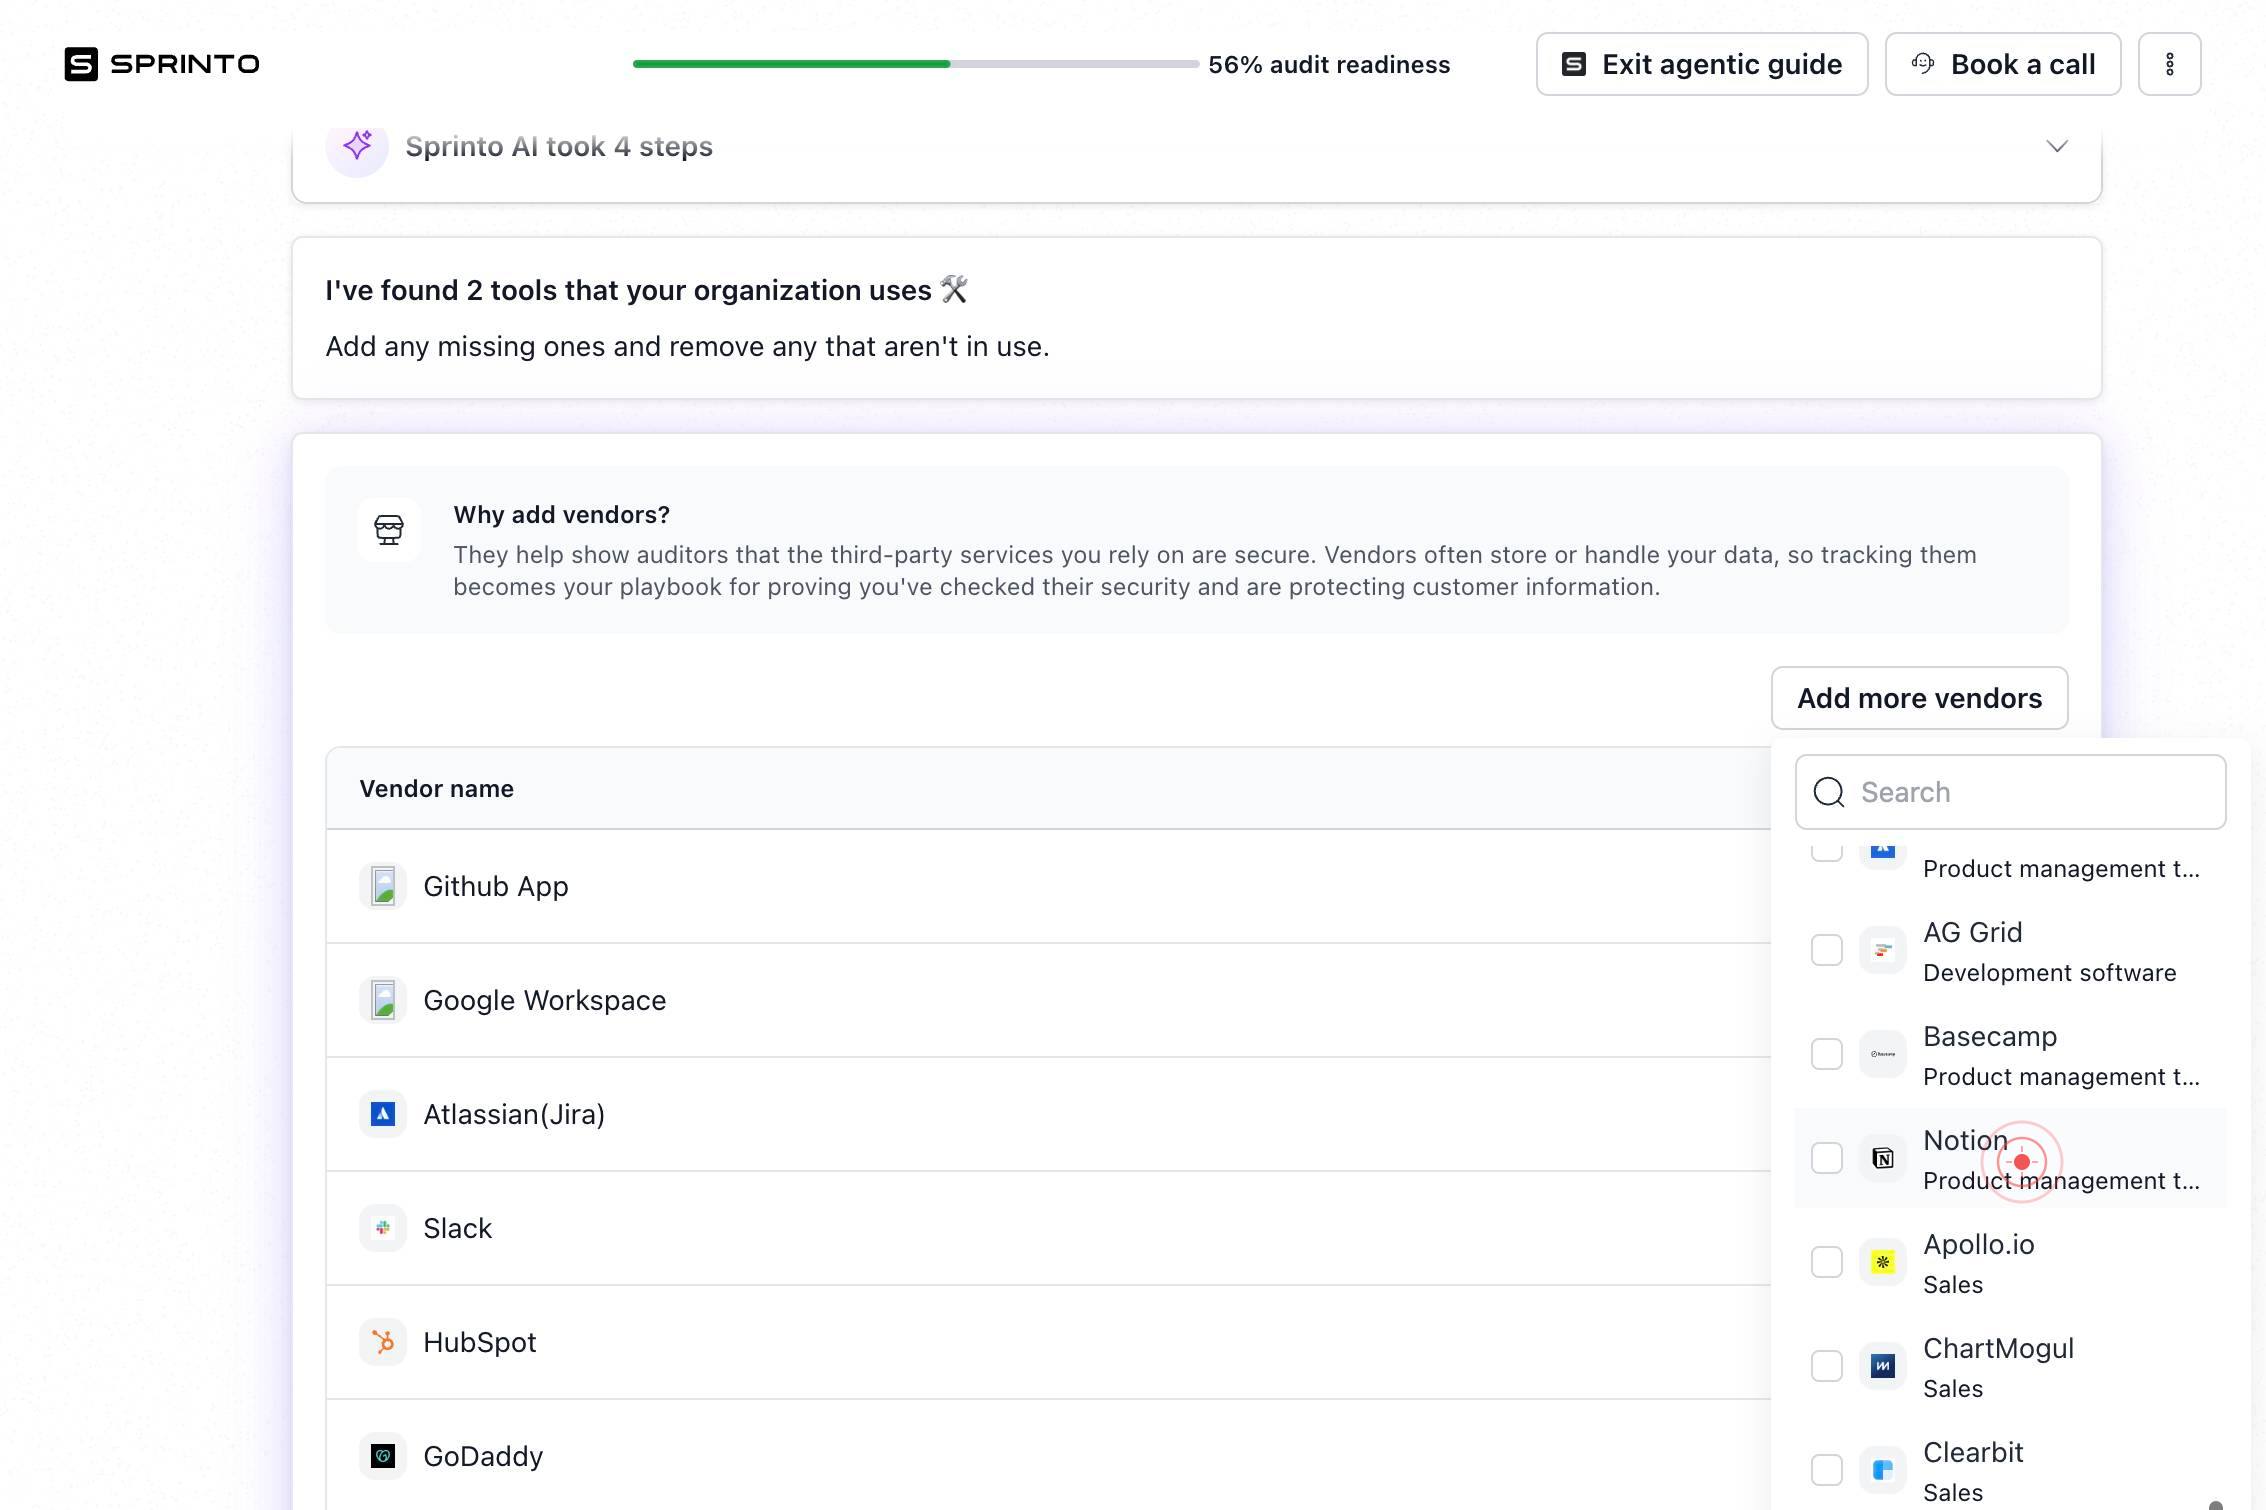
Add more vendorsClick the 'Add more vendors' button to open the vendor integration selection interface. This initiates the workflow for connecting additional tools and services to your Sprinto account.
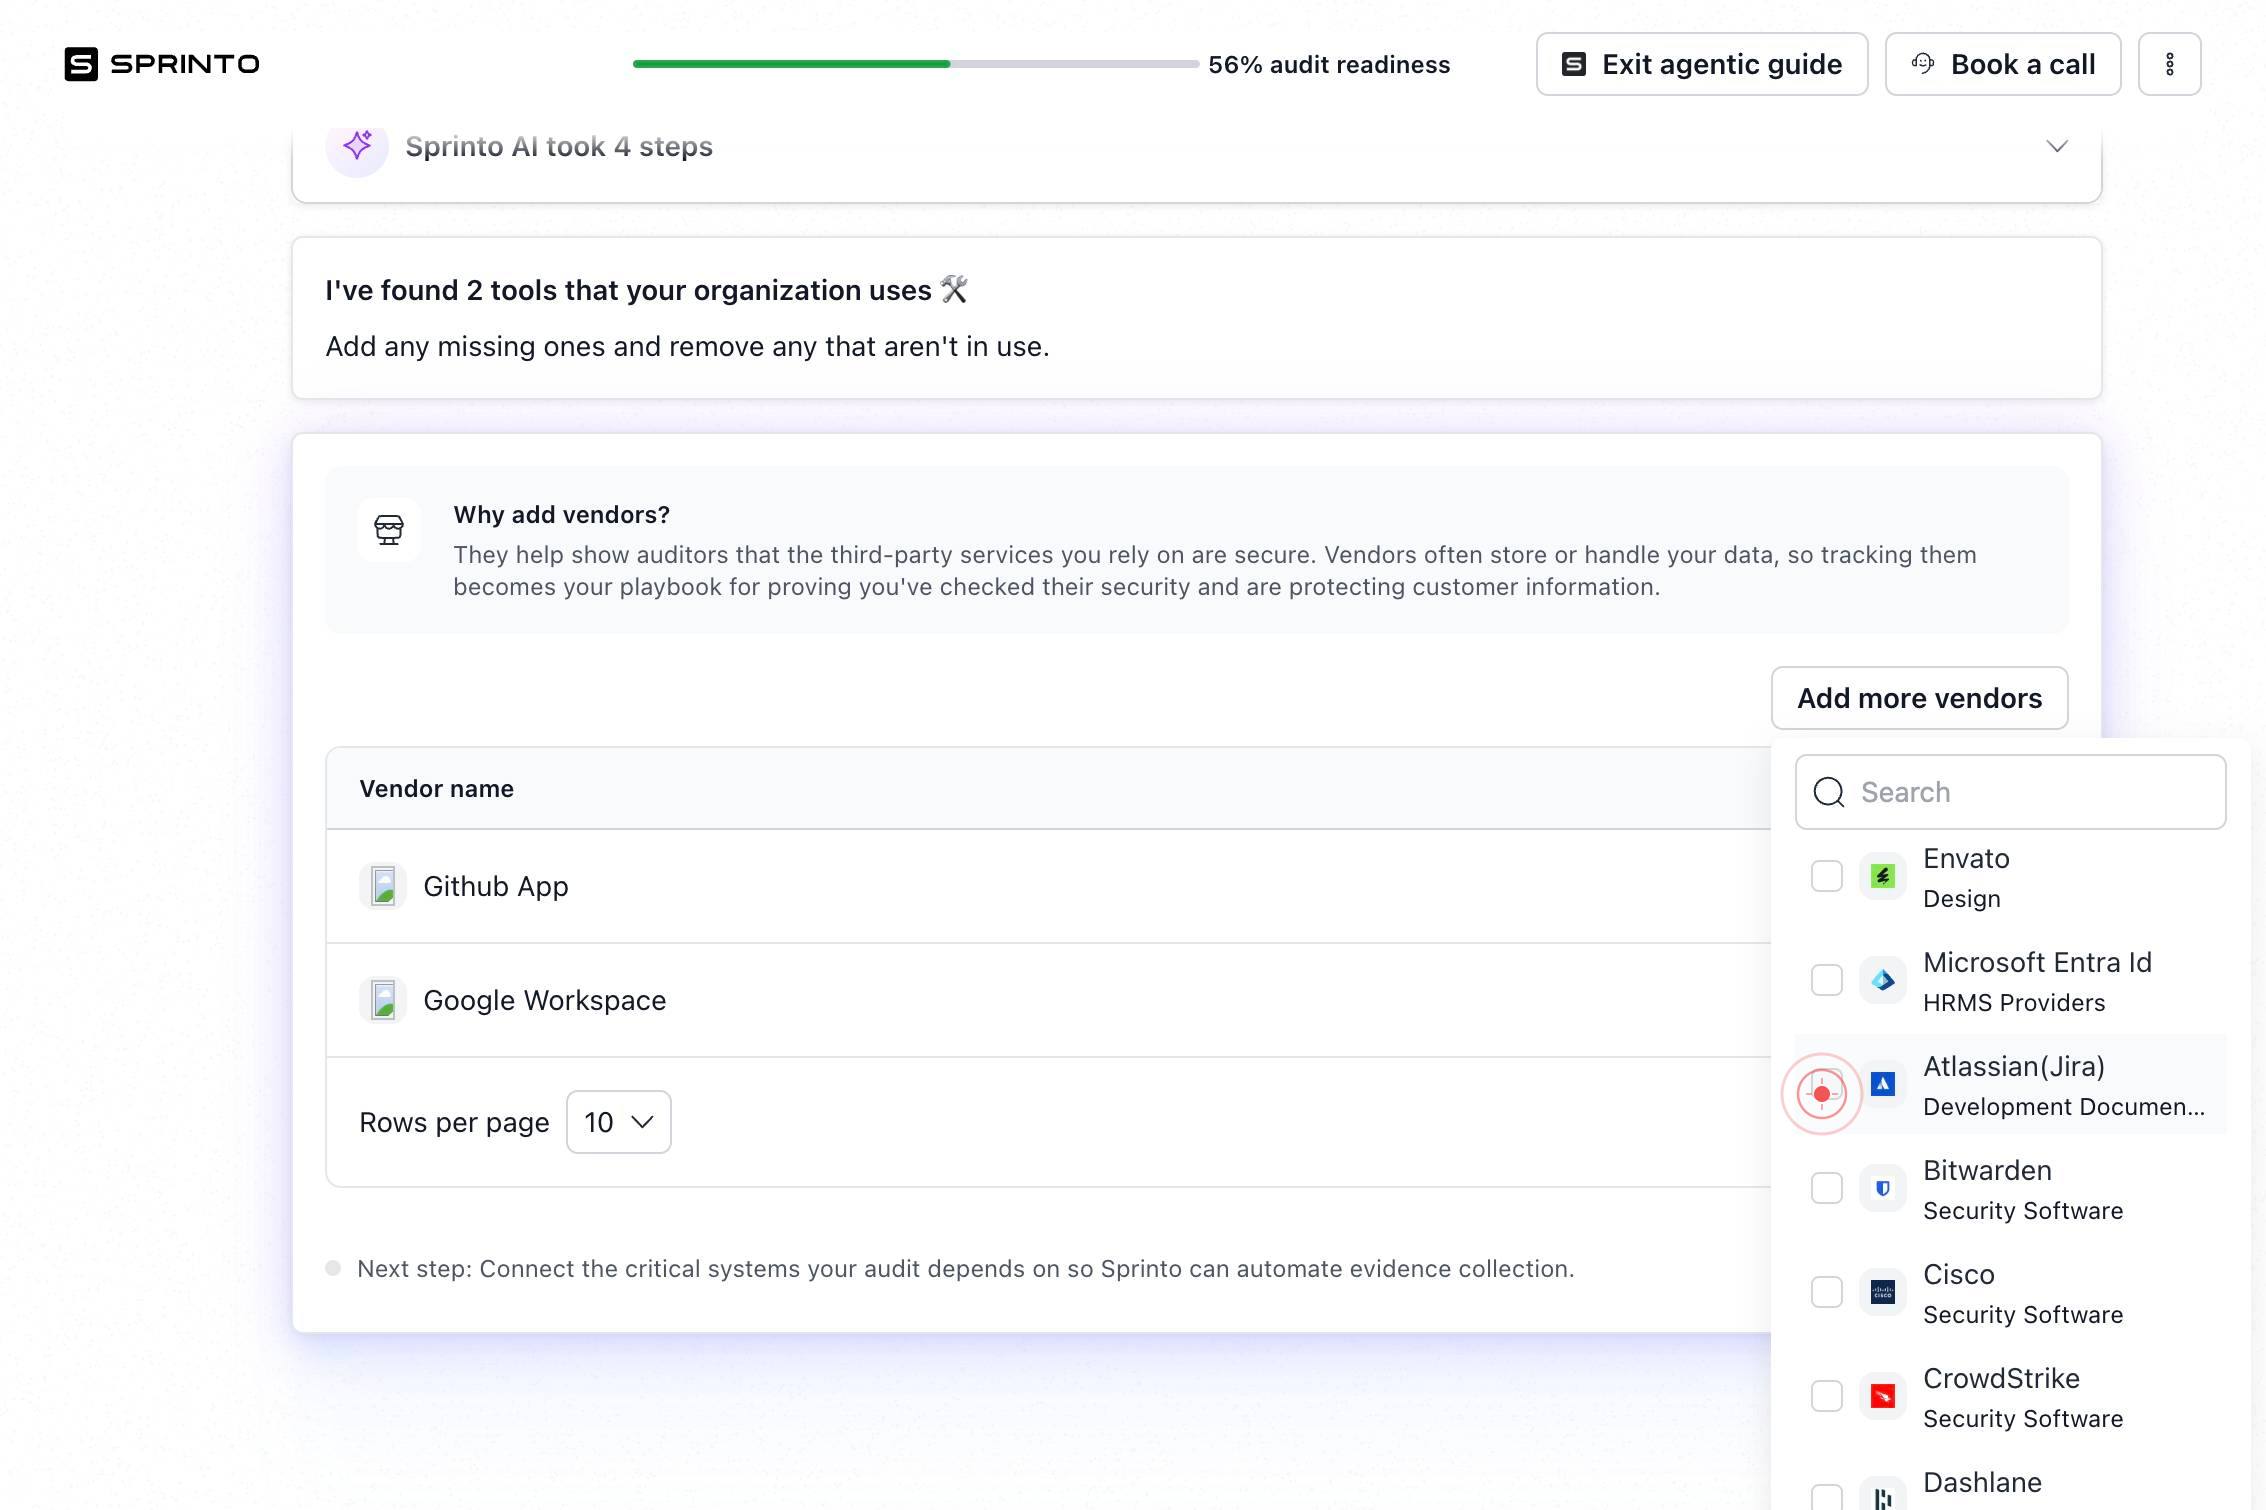
SearchClick in the search field and type the name of the first vendor you want to add. The search interface will filter available integrations as you type, helping you quickly locate the vendor you need.
buttonClick the first button that appears in the search results interface. This typically confirms or applies your search query and displays matching integration options.
buttonClick the second button to proceed to the list of filtered integration options. This action may clear the search field or advance to the next step in the selection process.
HubSpot SalesSelect 'HubSpot Sales' from the list of available integrations. This adds HubSpot's sales platform to your Sprinto-connected vendors, enabling monitoring of sales-related data and user access.
GoDaddy Hosting ProvidersSelect 'GoDaddy Hosting Providers' from the integration list. This connects your GoDaddy hosting and domain infrastructure to Sprinto for IT security and compliance monitoring.
Gusto HRMSSelect 'Gusto HRMS' from the available options. This integration connects your Gusto HR system to Sprinto, enabling employee access and payroll compliance monitoring.
Heroku IT infrastructureSelect 'Heroku IT infrastructure' from the integration list. This adds Heroku, your cloud application platform, to Sprinto's monitoring scope for infrastructure security and access control.
Stripe FinanceSelect 'Stripe Finance' from the options. This integration connects your Stripe payment processing system to Sprinto, enabling monitoring of payment transactions, customer data, and financial access controls.

Deel HRMSSelect 'Deel HRMS' from the integration list. This adds Deel, your global payroll and contractor management platform, to Sprinto's monitoring, enabling visibility into contractor access and payroll operations.
Notion Product management toolsSelect 'Notion Product management tools' as your final integration. This connects Notion, your workspace collaboration and documentation platform, to Sprinto for monitoring document access and organizational knowledge management.
Confirm it worked
- 1After selecting all integrations, you see a confirmation screen or success message indicating the vendors have been added to your integration queue
- 2The selected integrations appear in your Sprinto integrations dashboard or vendor list
- 3The integration status shows as 'pending configuration' or 'connected' (depending on Sprinto's workflow)
Common issues
Keep reading
Adding integrations - Home Assistant
On this page - Prerequisites - Adding integrations - Looking at integration details - Modifying the integration Let’s start by adding your first integrationIntegrations connect and integrate Home As
home-assistant.ioHow to Add Integrations in SheetXAI | SheetXAI Help Center | SheetXAI
How to Add Integrations in SheetXAI | SheetXAI Help Center | SheetXAI # How to Add Integrations in SheetXAI ## Overview ## Overview SheetXAI integrations let you connect external tools (like WordP
sheetxai.comAdd New User with Integration Manager Permissions - Extensiv
Add New User with Integration Manager Permissions - Extensiv You are viewing an Archived item in your Knowledge Base, it is not publicly accessible. # Using Hub feedbacks#update" data-
help.extensiv.com