Guide
Add Employee During Onboarding
Overview
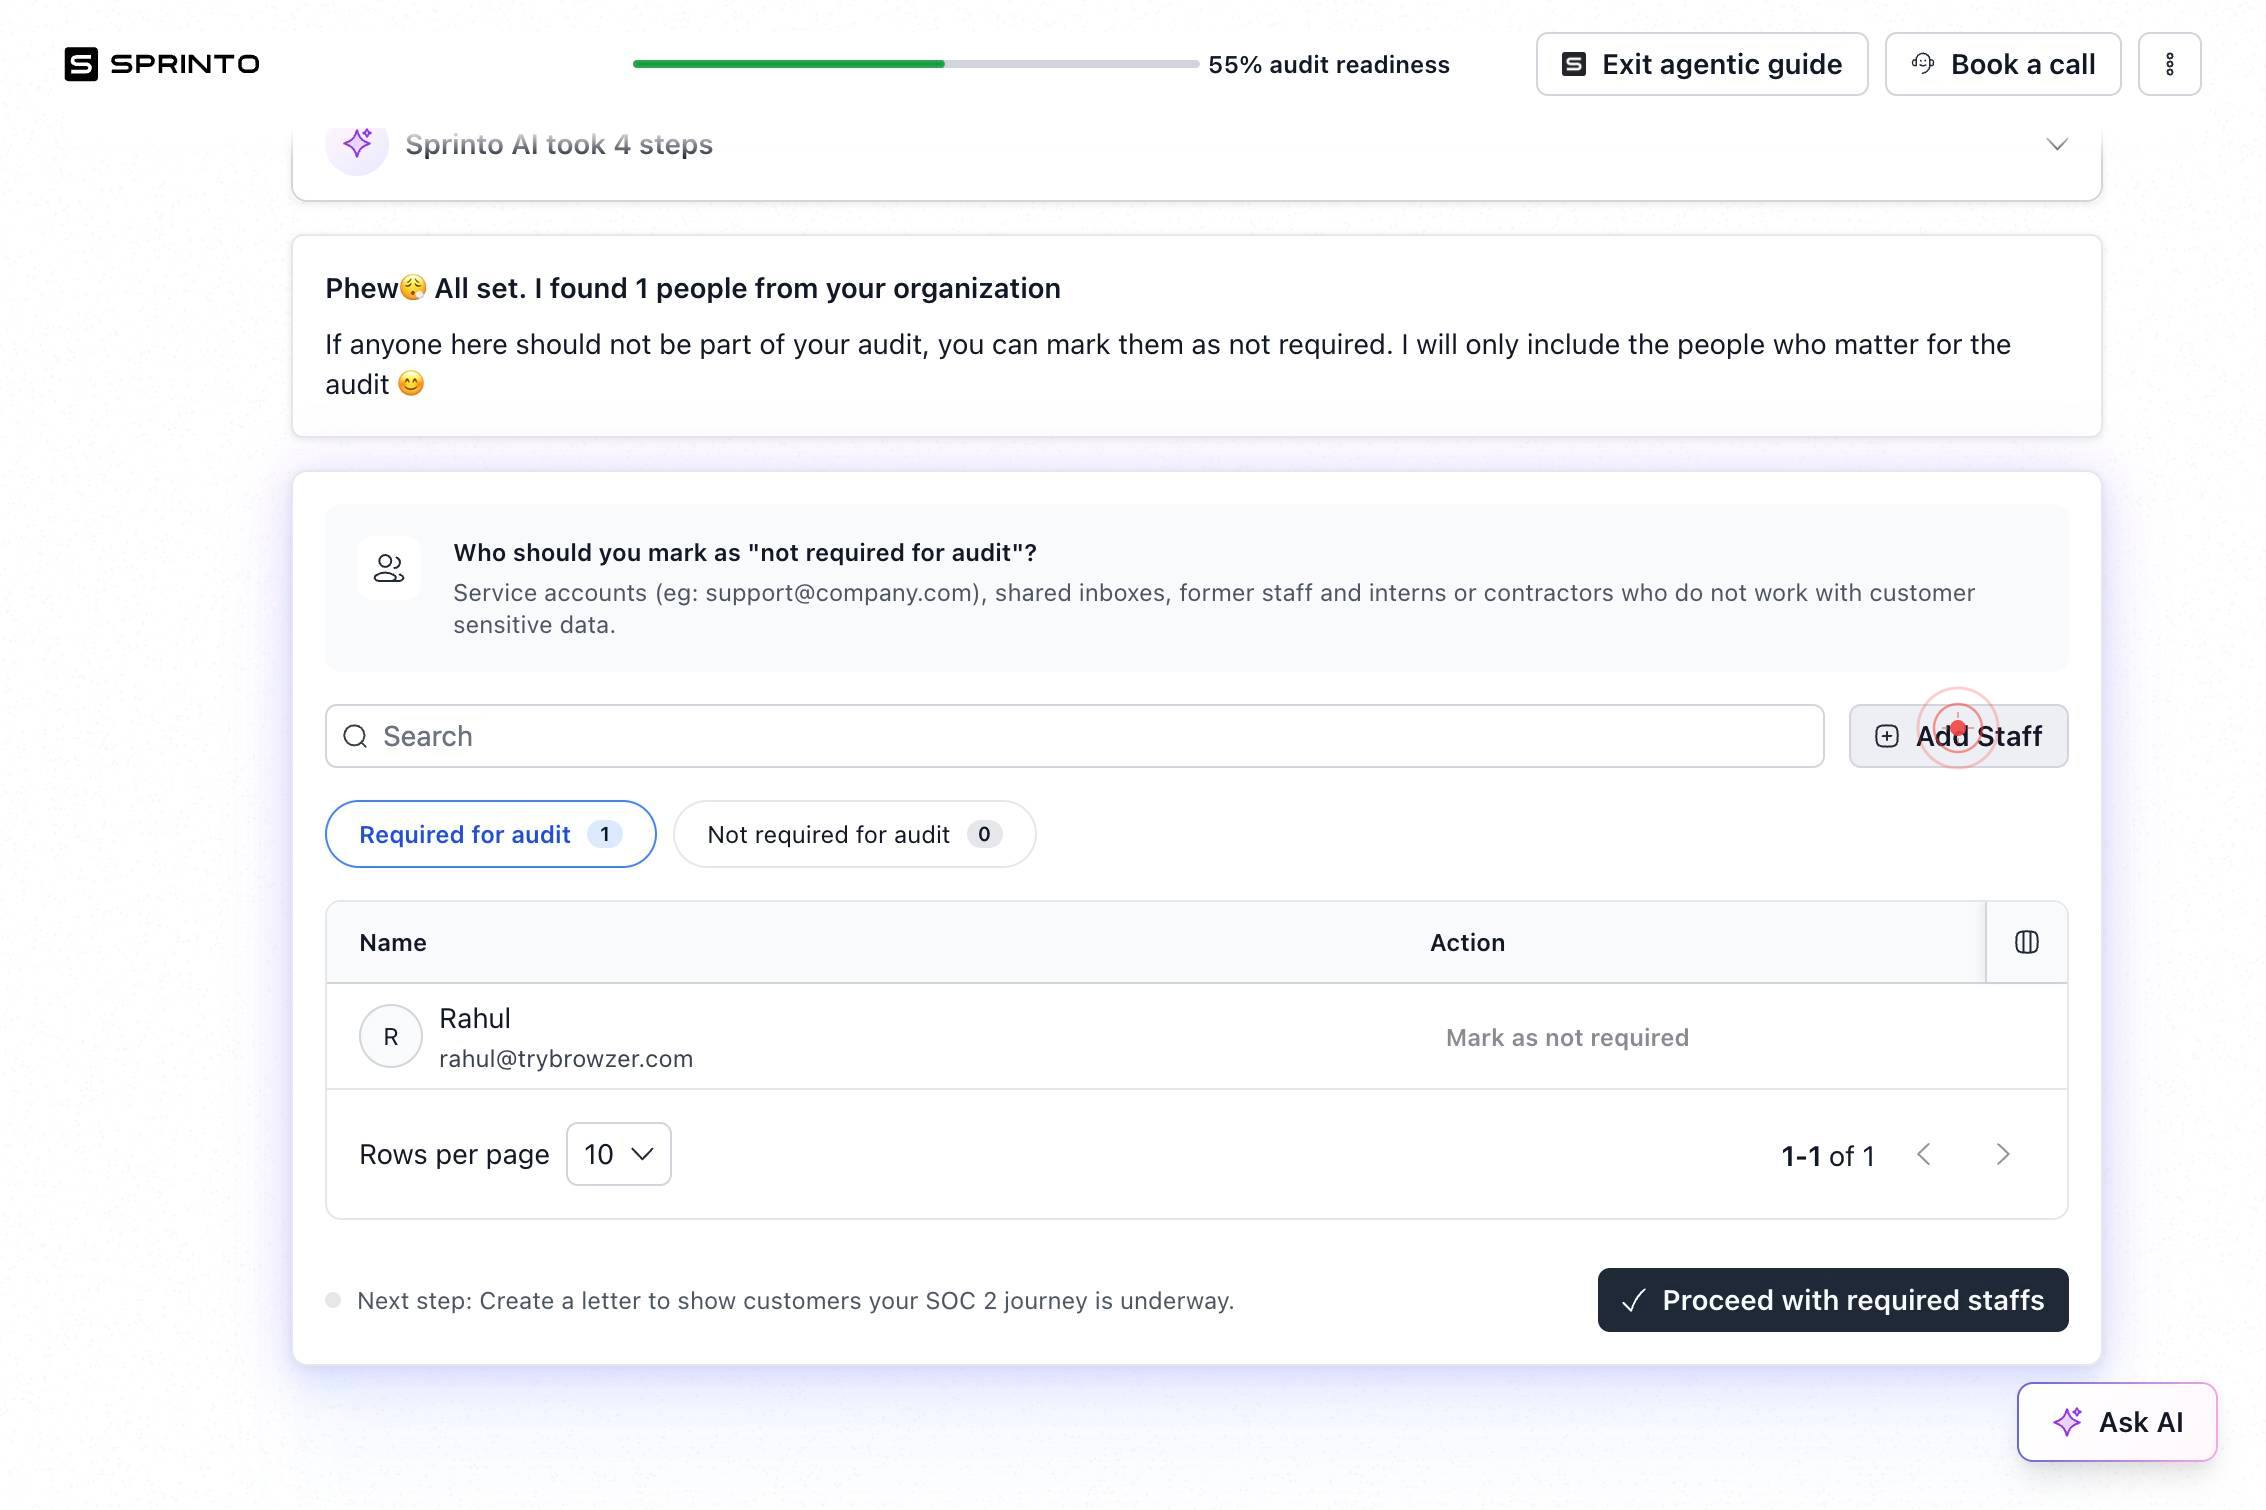
Sprinto is a compliance and governance platform that helps organizations manage staff records and coordinate background checks during employee onboarding. Adding a staff member to Sprinto early in the onboarding journey ensures that compliance workflows—such as identity verification and background checks—begin immediately and run in parallel with HR onboarding activities. This reduces time-to-productivity and ensures your organization stays compliant with background check requirements from day one. The staff record you create serves as the single source of truth for all compliance activities linked to that employee.
Before you begin
- You have an active Sprinto account with access to the People section and Configuration tab.
- You have administrative or staff management permissions to create new staff records in Sprinto.
- You have the new employee's email address and first name available.
- You have determined the employee's official date of joining (or can select an upcoming date).
- Background check integration (such as Checkr) is already configured in Sprinto so that checks can be initiated automatically.
Step by step
Add StaffClick the 'Add Staff' button to open the new staff creation form. This initiates the onboarding workflow and prepares Sprinto to accept the employee's details.
Staff emailClick on the 'Staff email' field to activate the email input box.
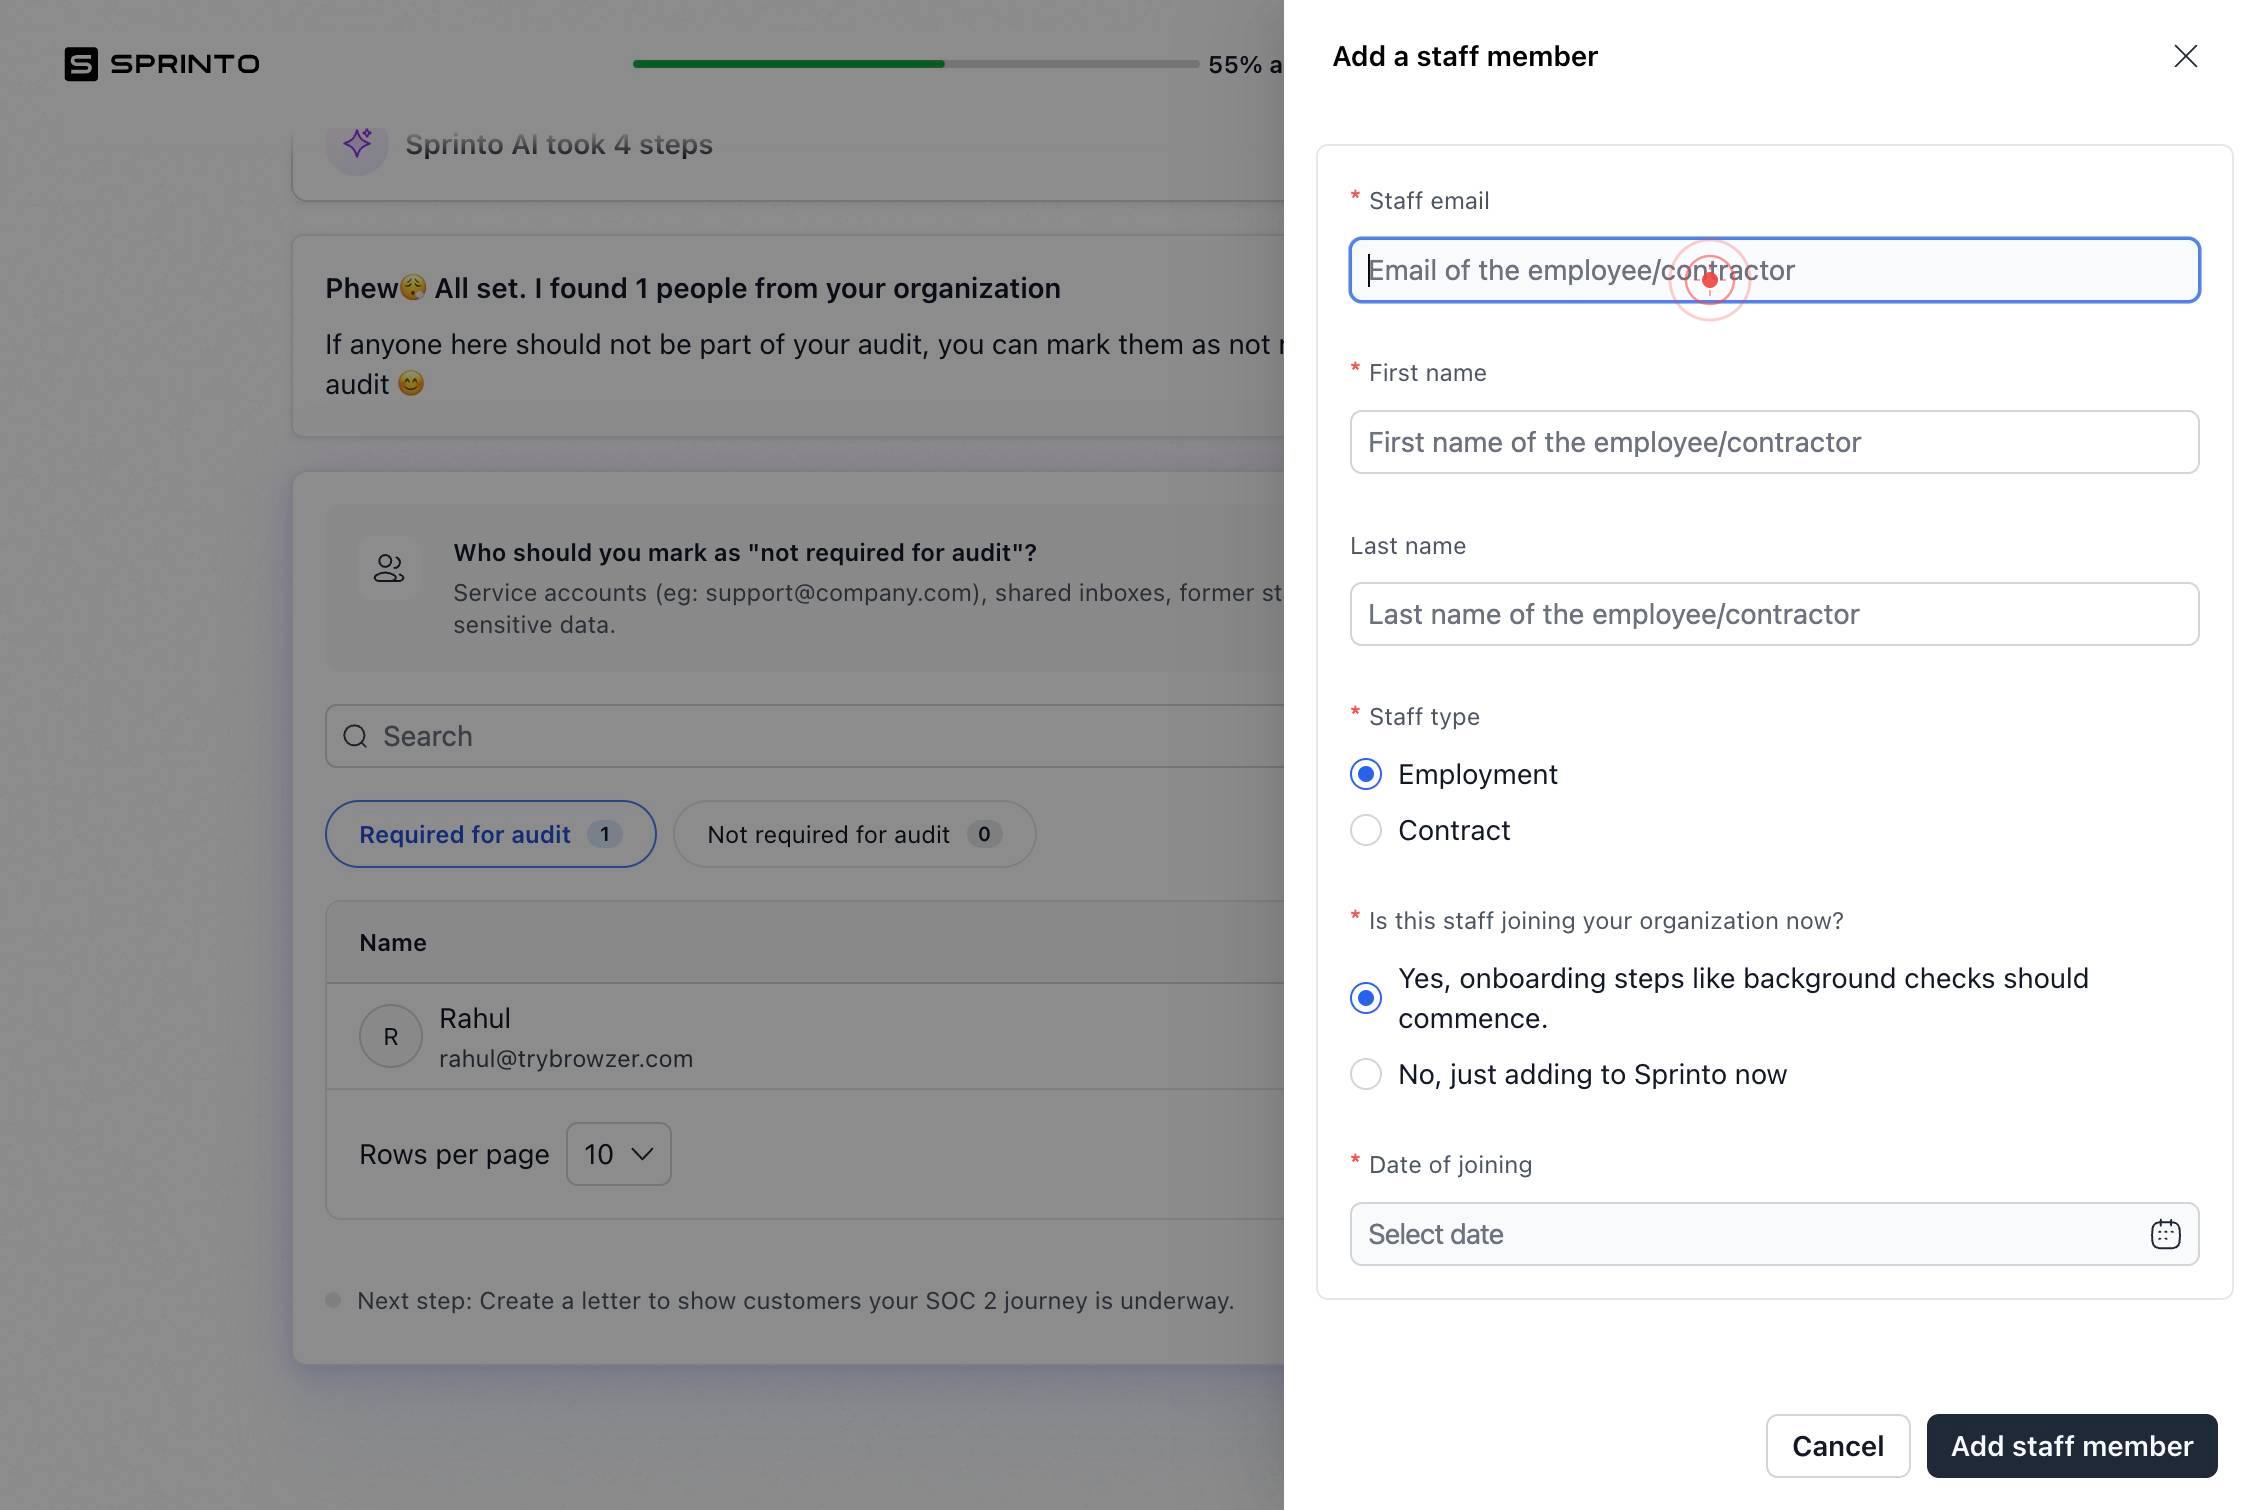
Staff emailEnter the new employee's email address in the 'Staff email' field. This email serves as the unique identifier for the staff member in Sprinto and is used for all compliance communications.
First nameClick on the 'First name' field to activate the name input box.
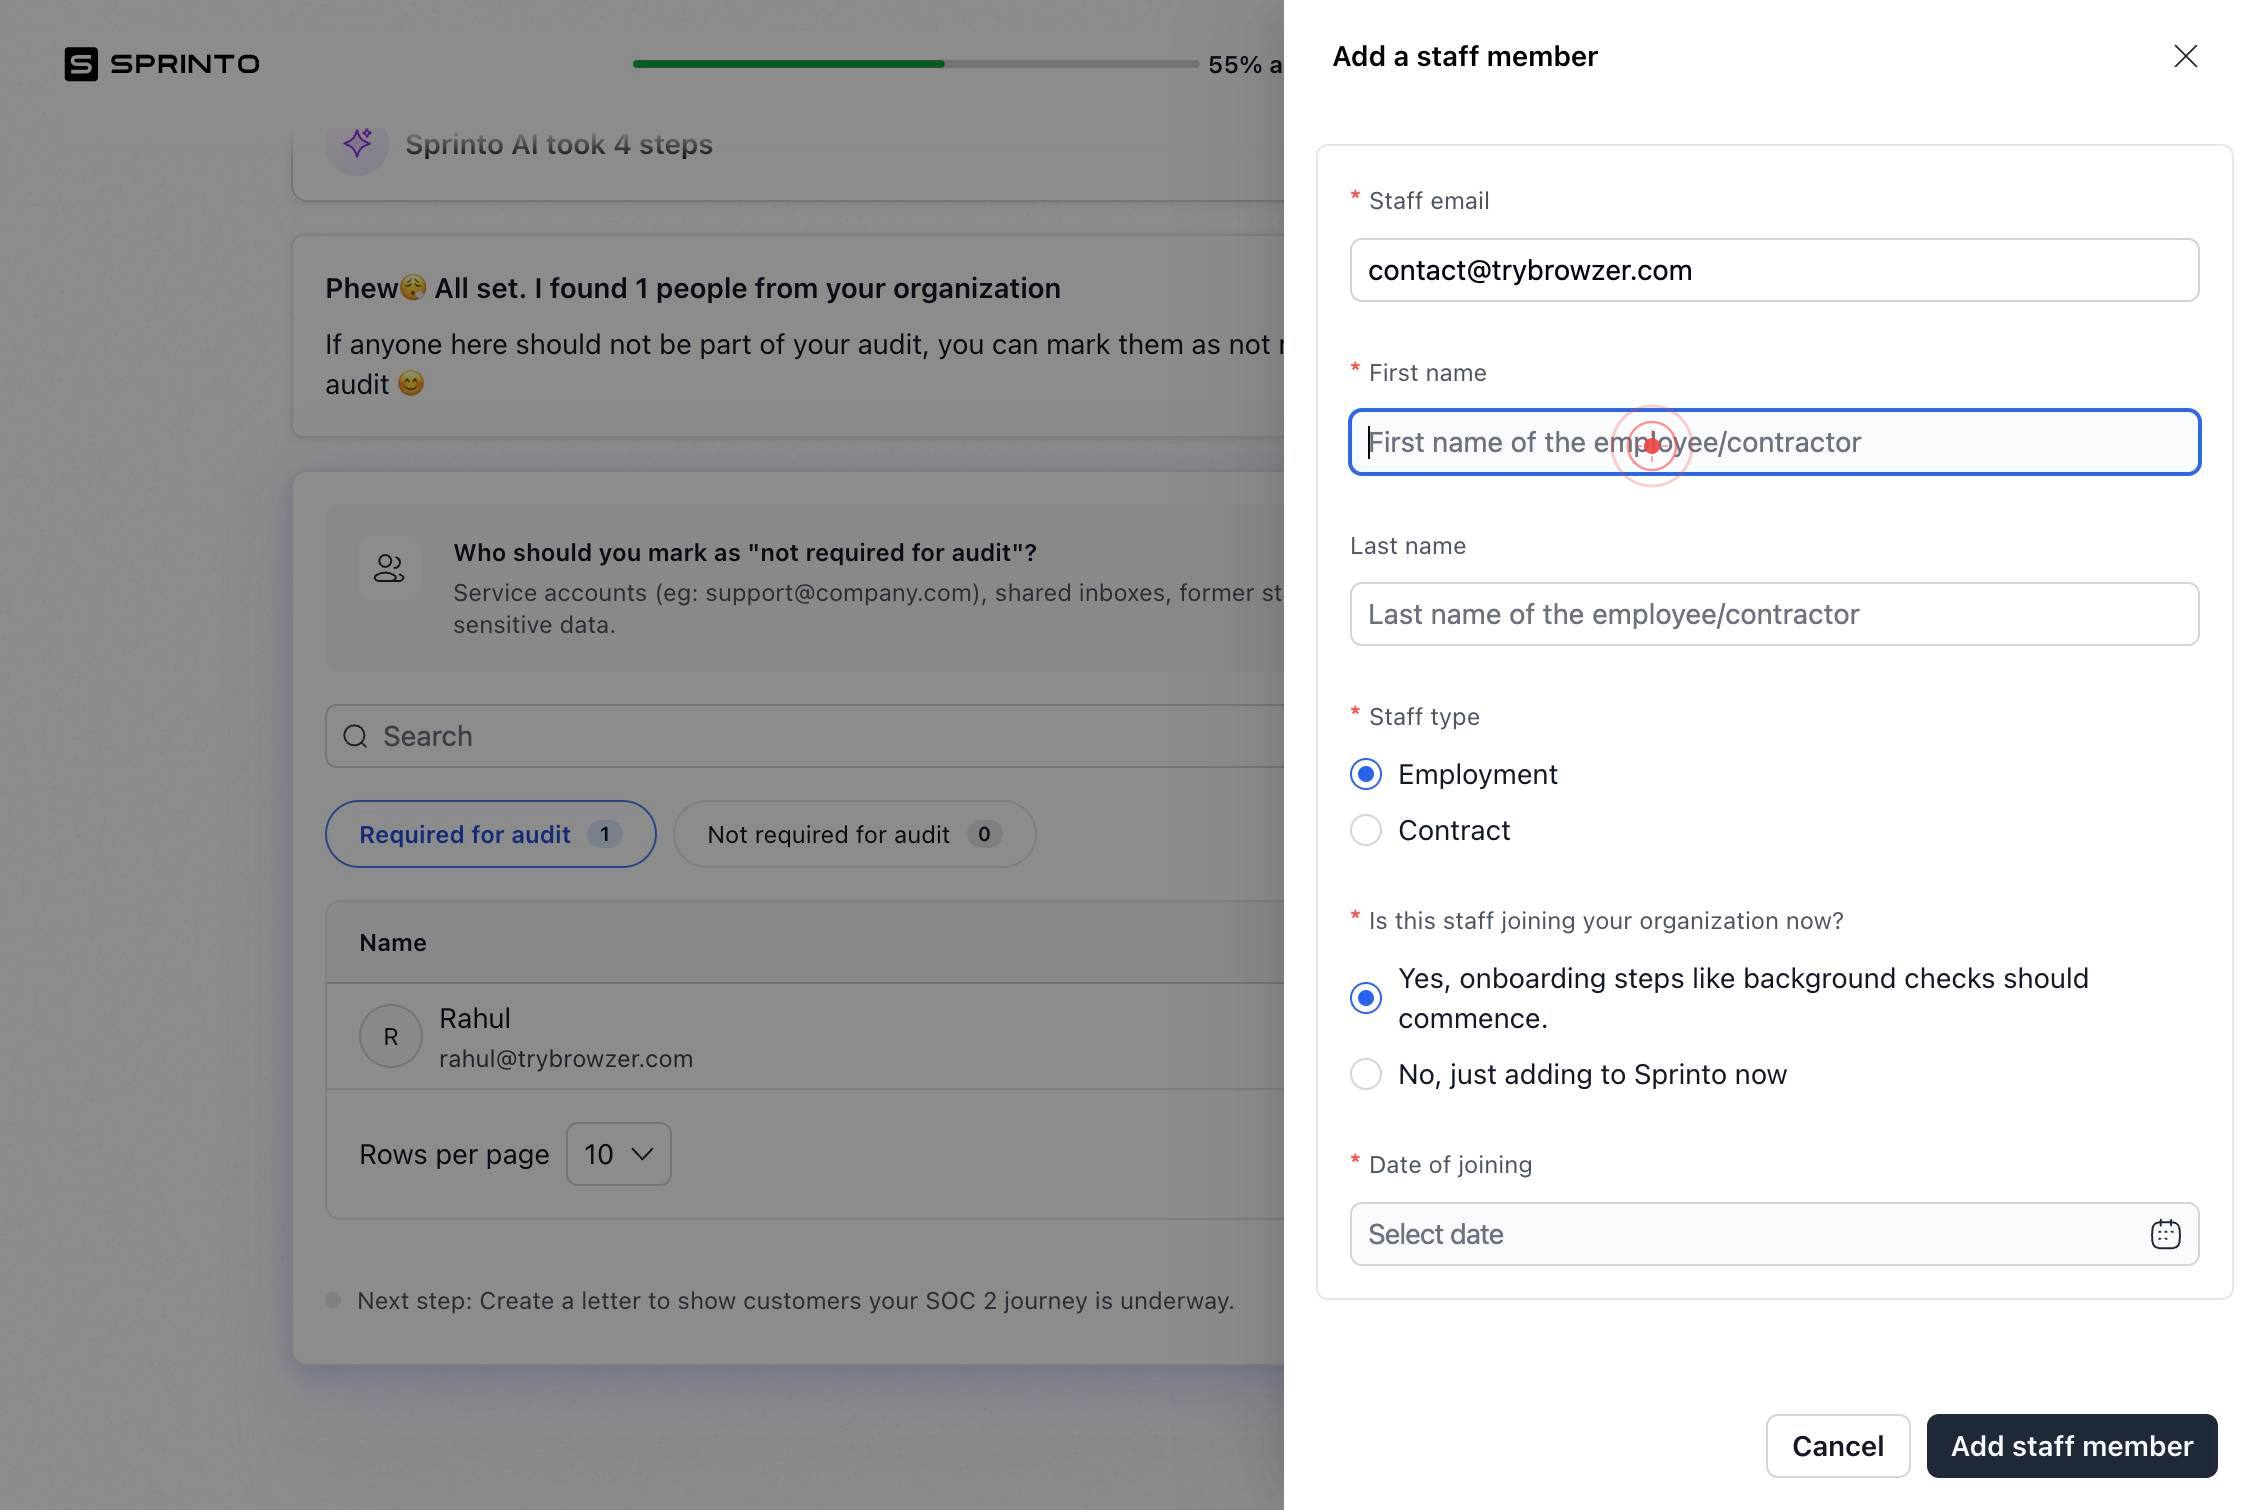
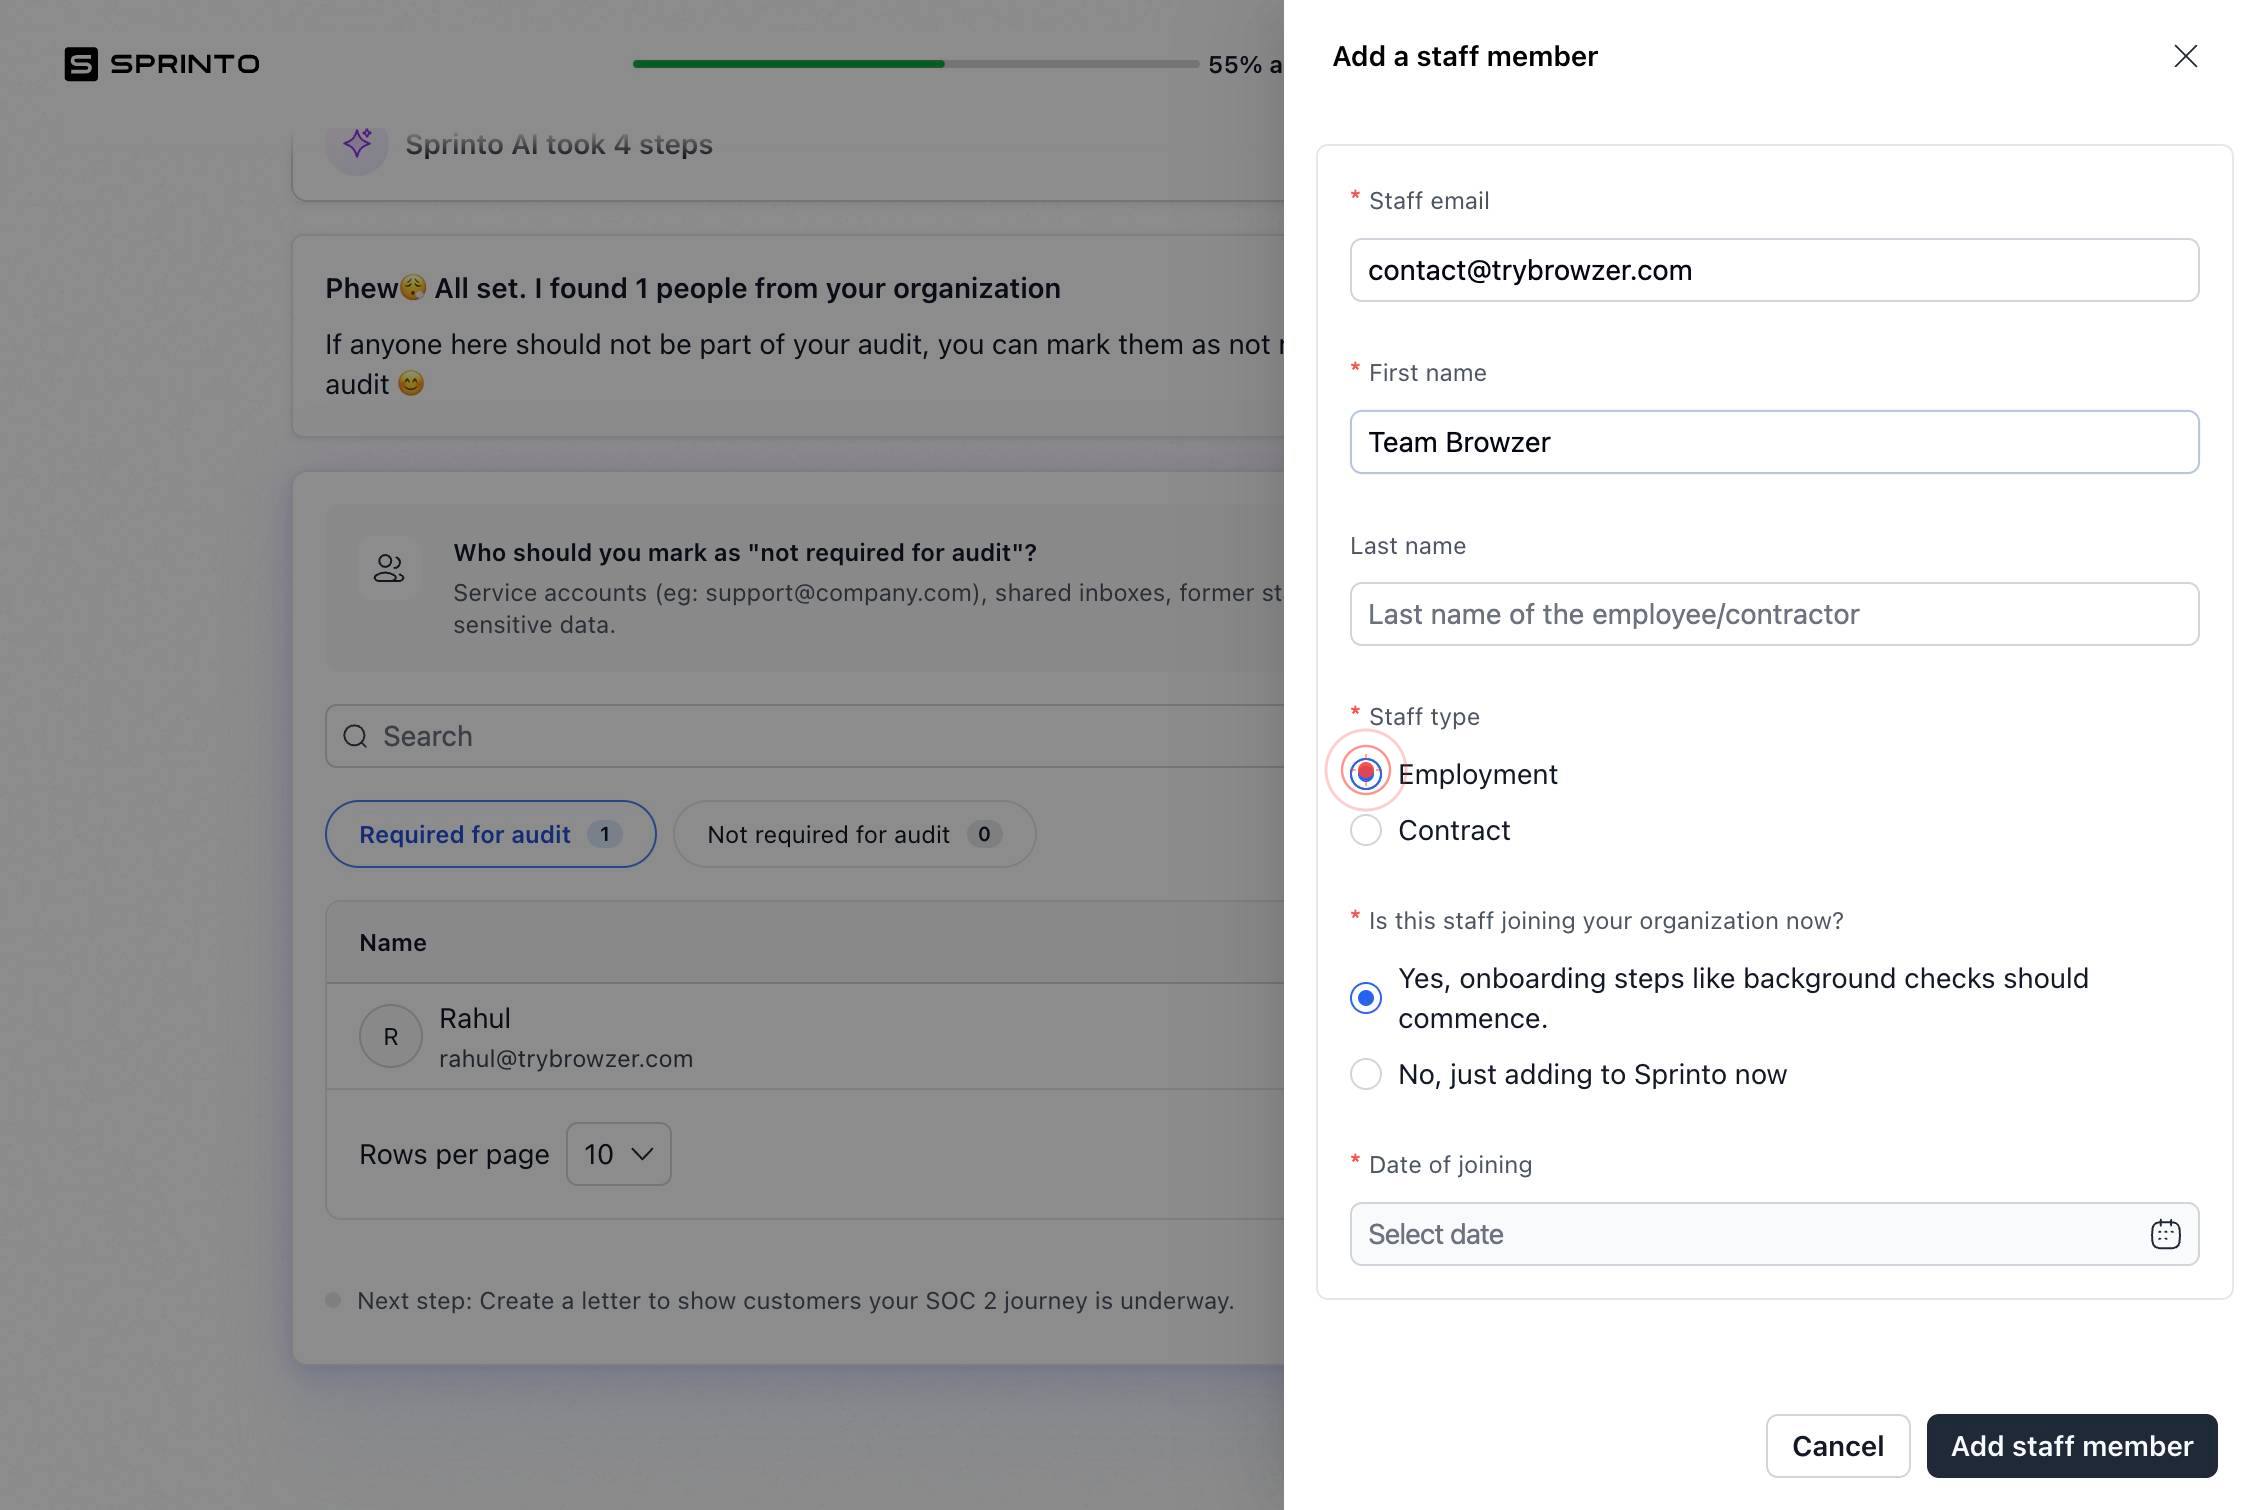
First nameEnter the employee's first name in the 'First name' field. This name will appear in all compliance reports and staff records.
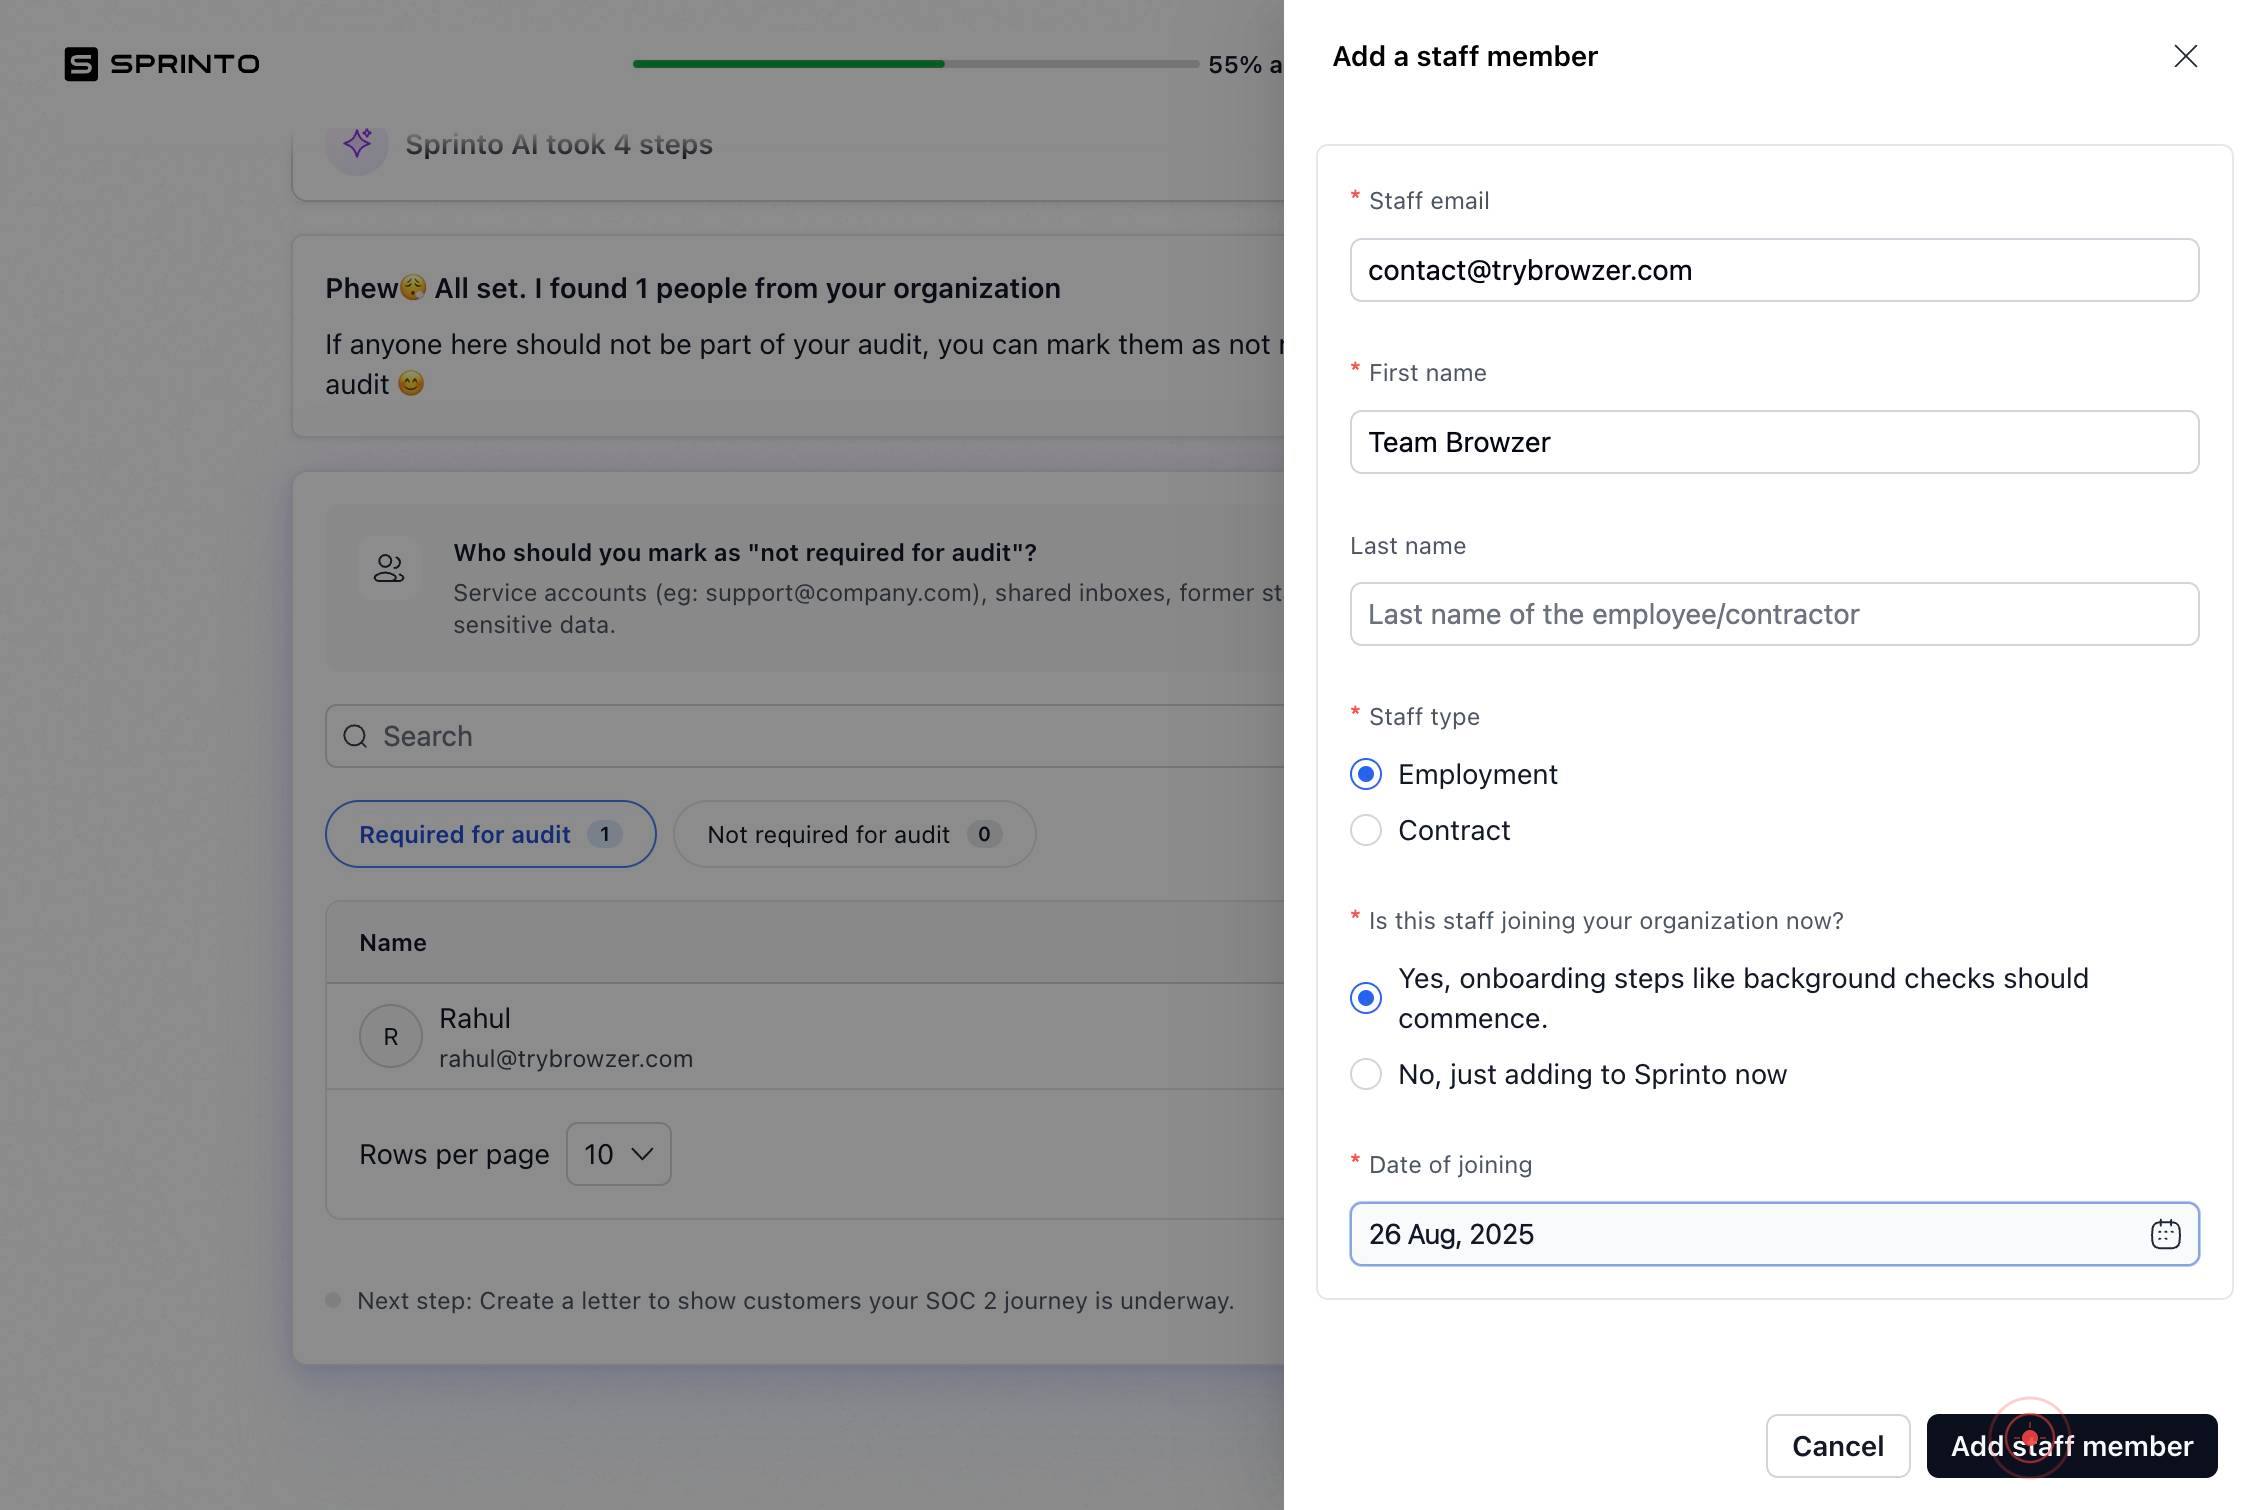
EmploymentClick the 'Employment' radio button to confirm the staff member's employment type. This setting categorizes the employee and determines which compliance workflows apply.
Yes, onboarding steps like background checks should commence.Select 'Yes, onboarding steps like background checks should commence.' to enable all mandatory compliance checks. This ensures the background verification process begins immediately.

Date of joiningClick on the 'Date of joining' field to open the date picker. This field captures the employee's official start date for compliance and verification purposes.
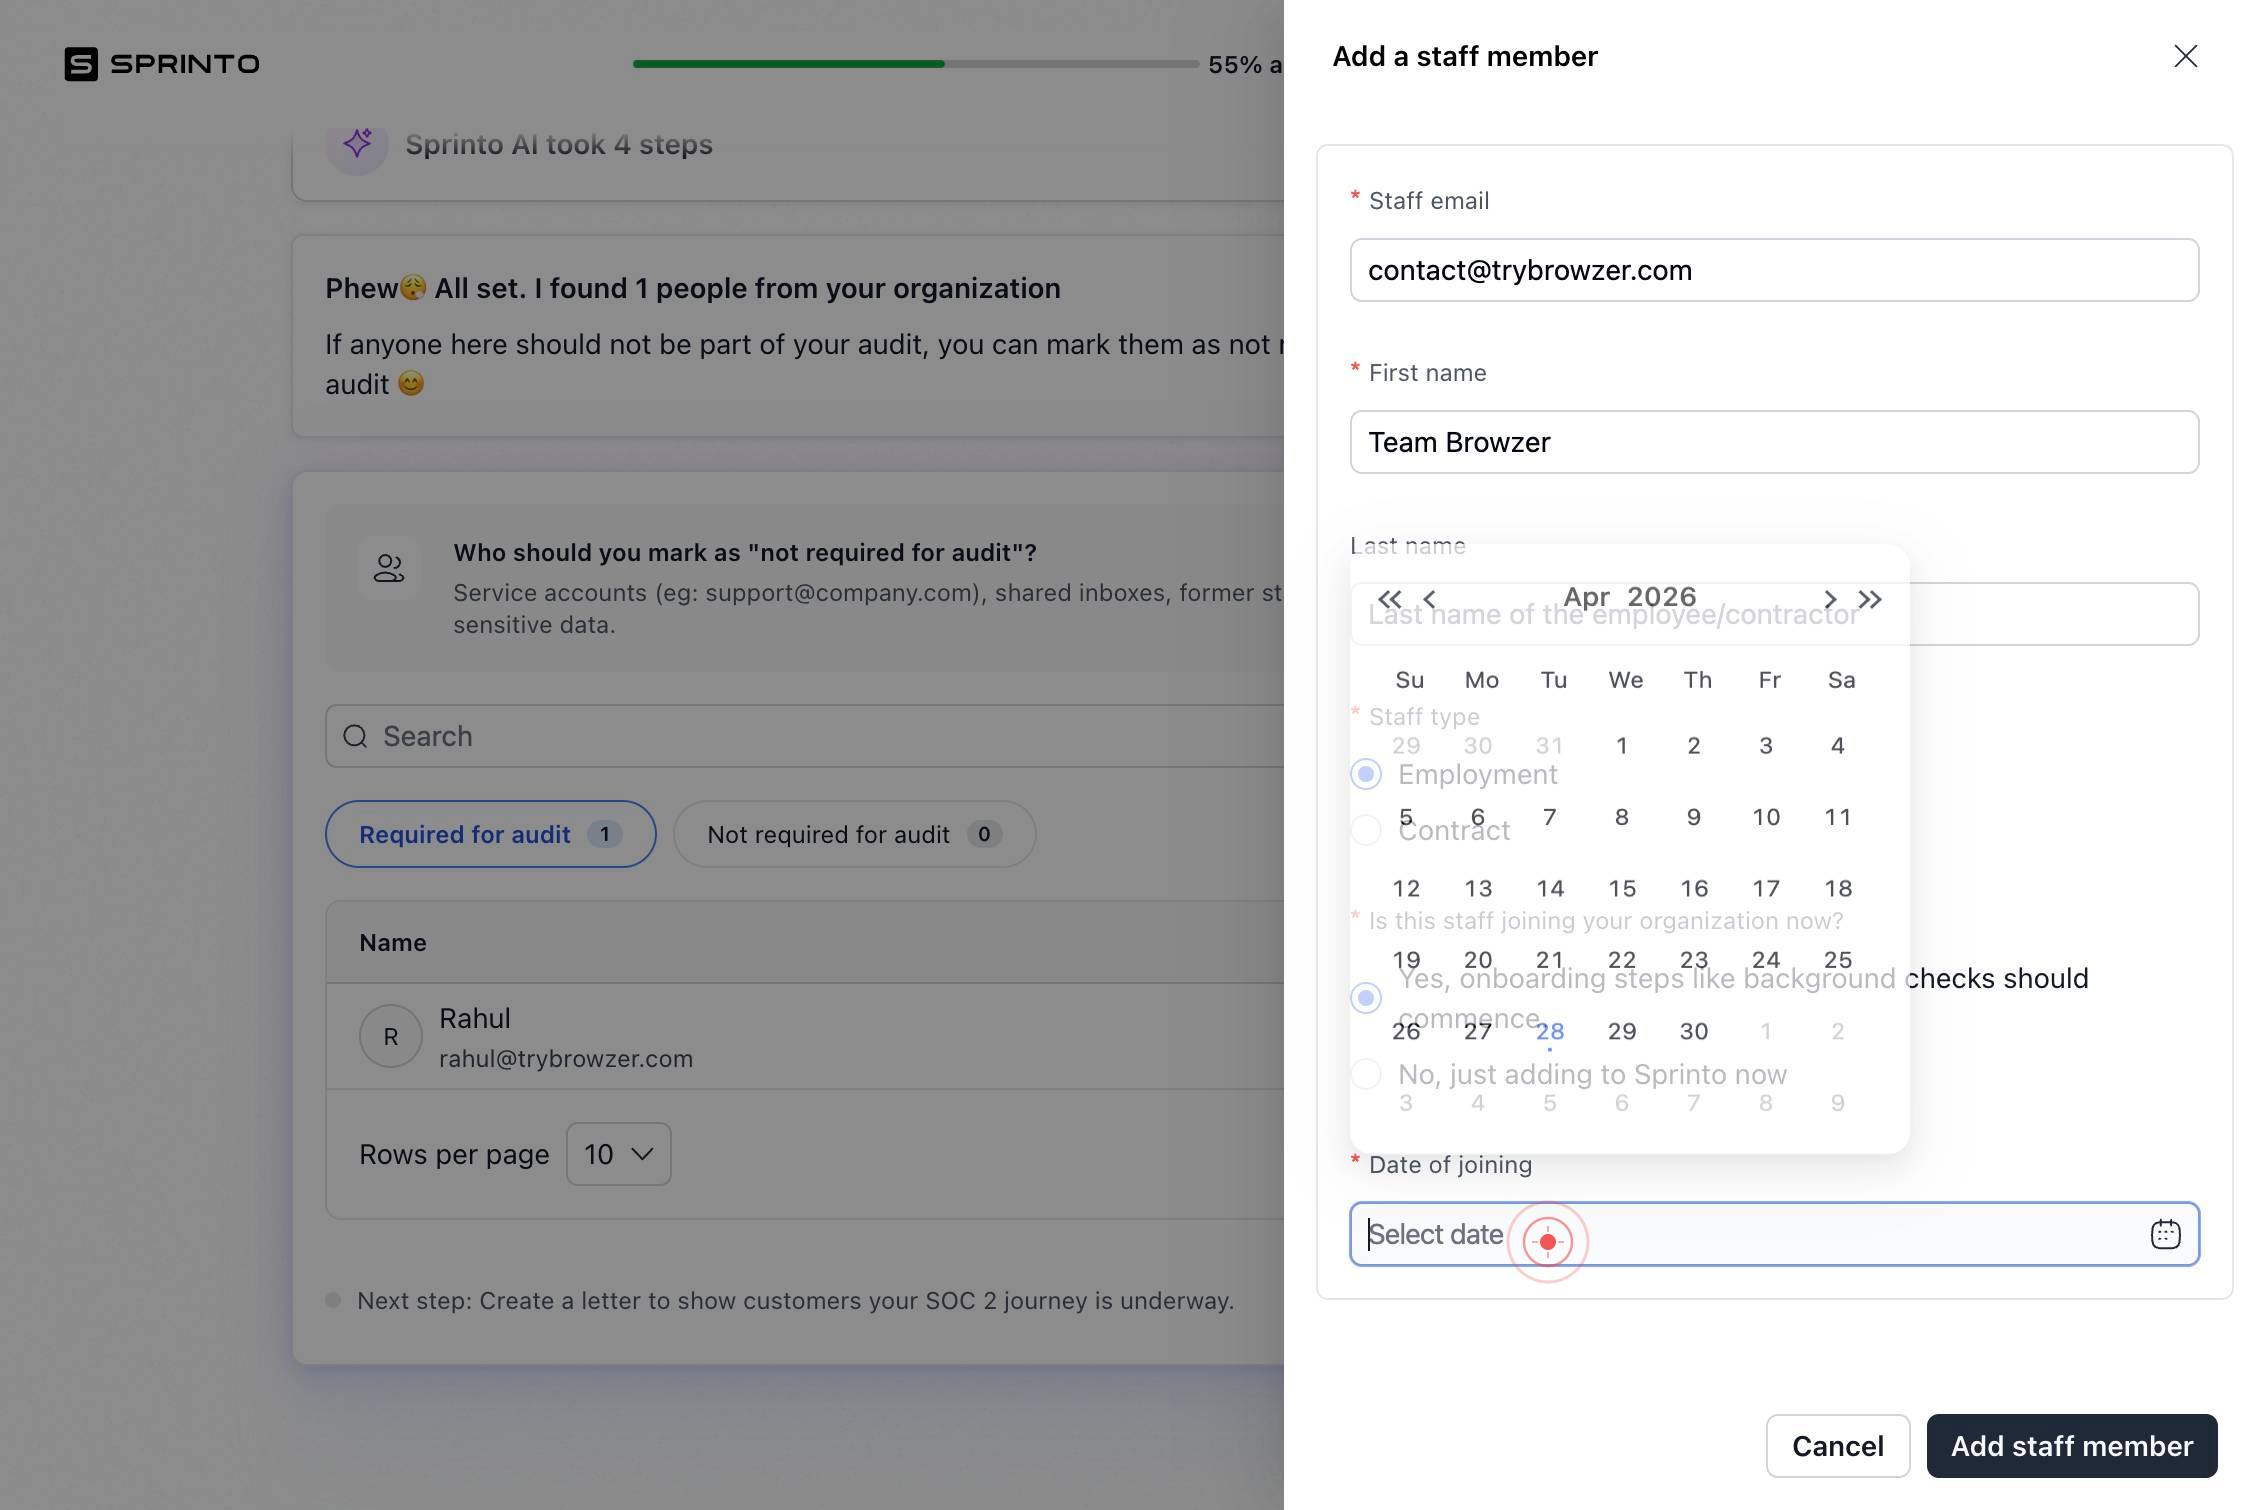
AprClick the 'Apr' button in the date picker to navigate to April. This allows you to select the correct month for the joining date.
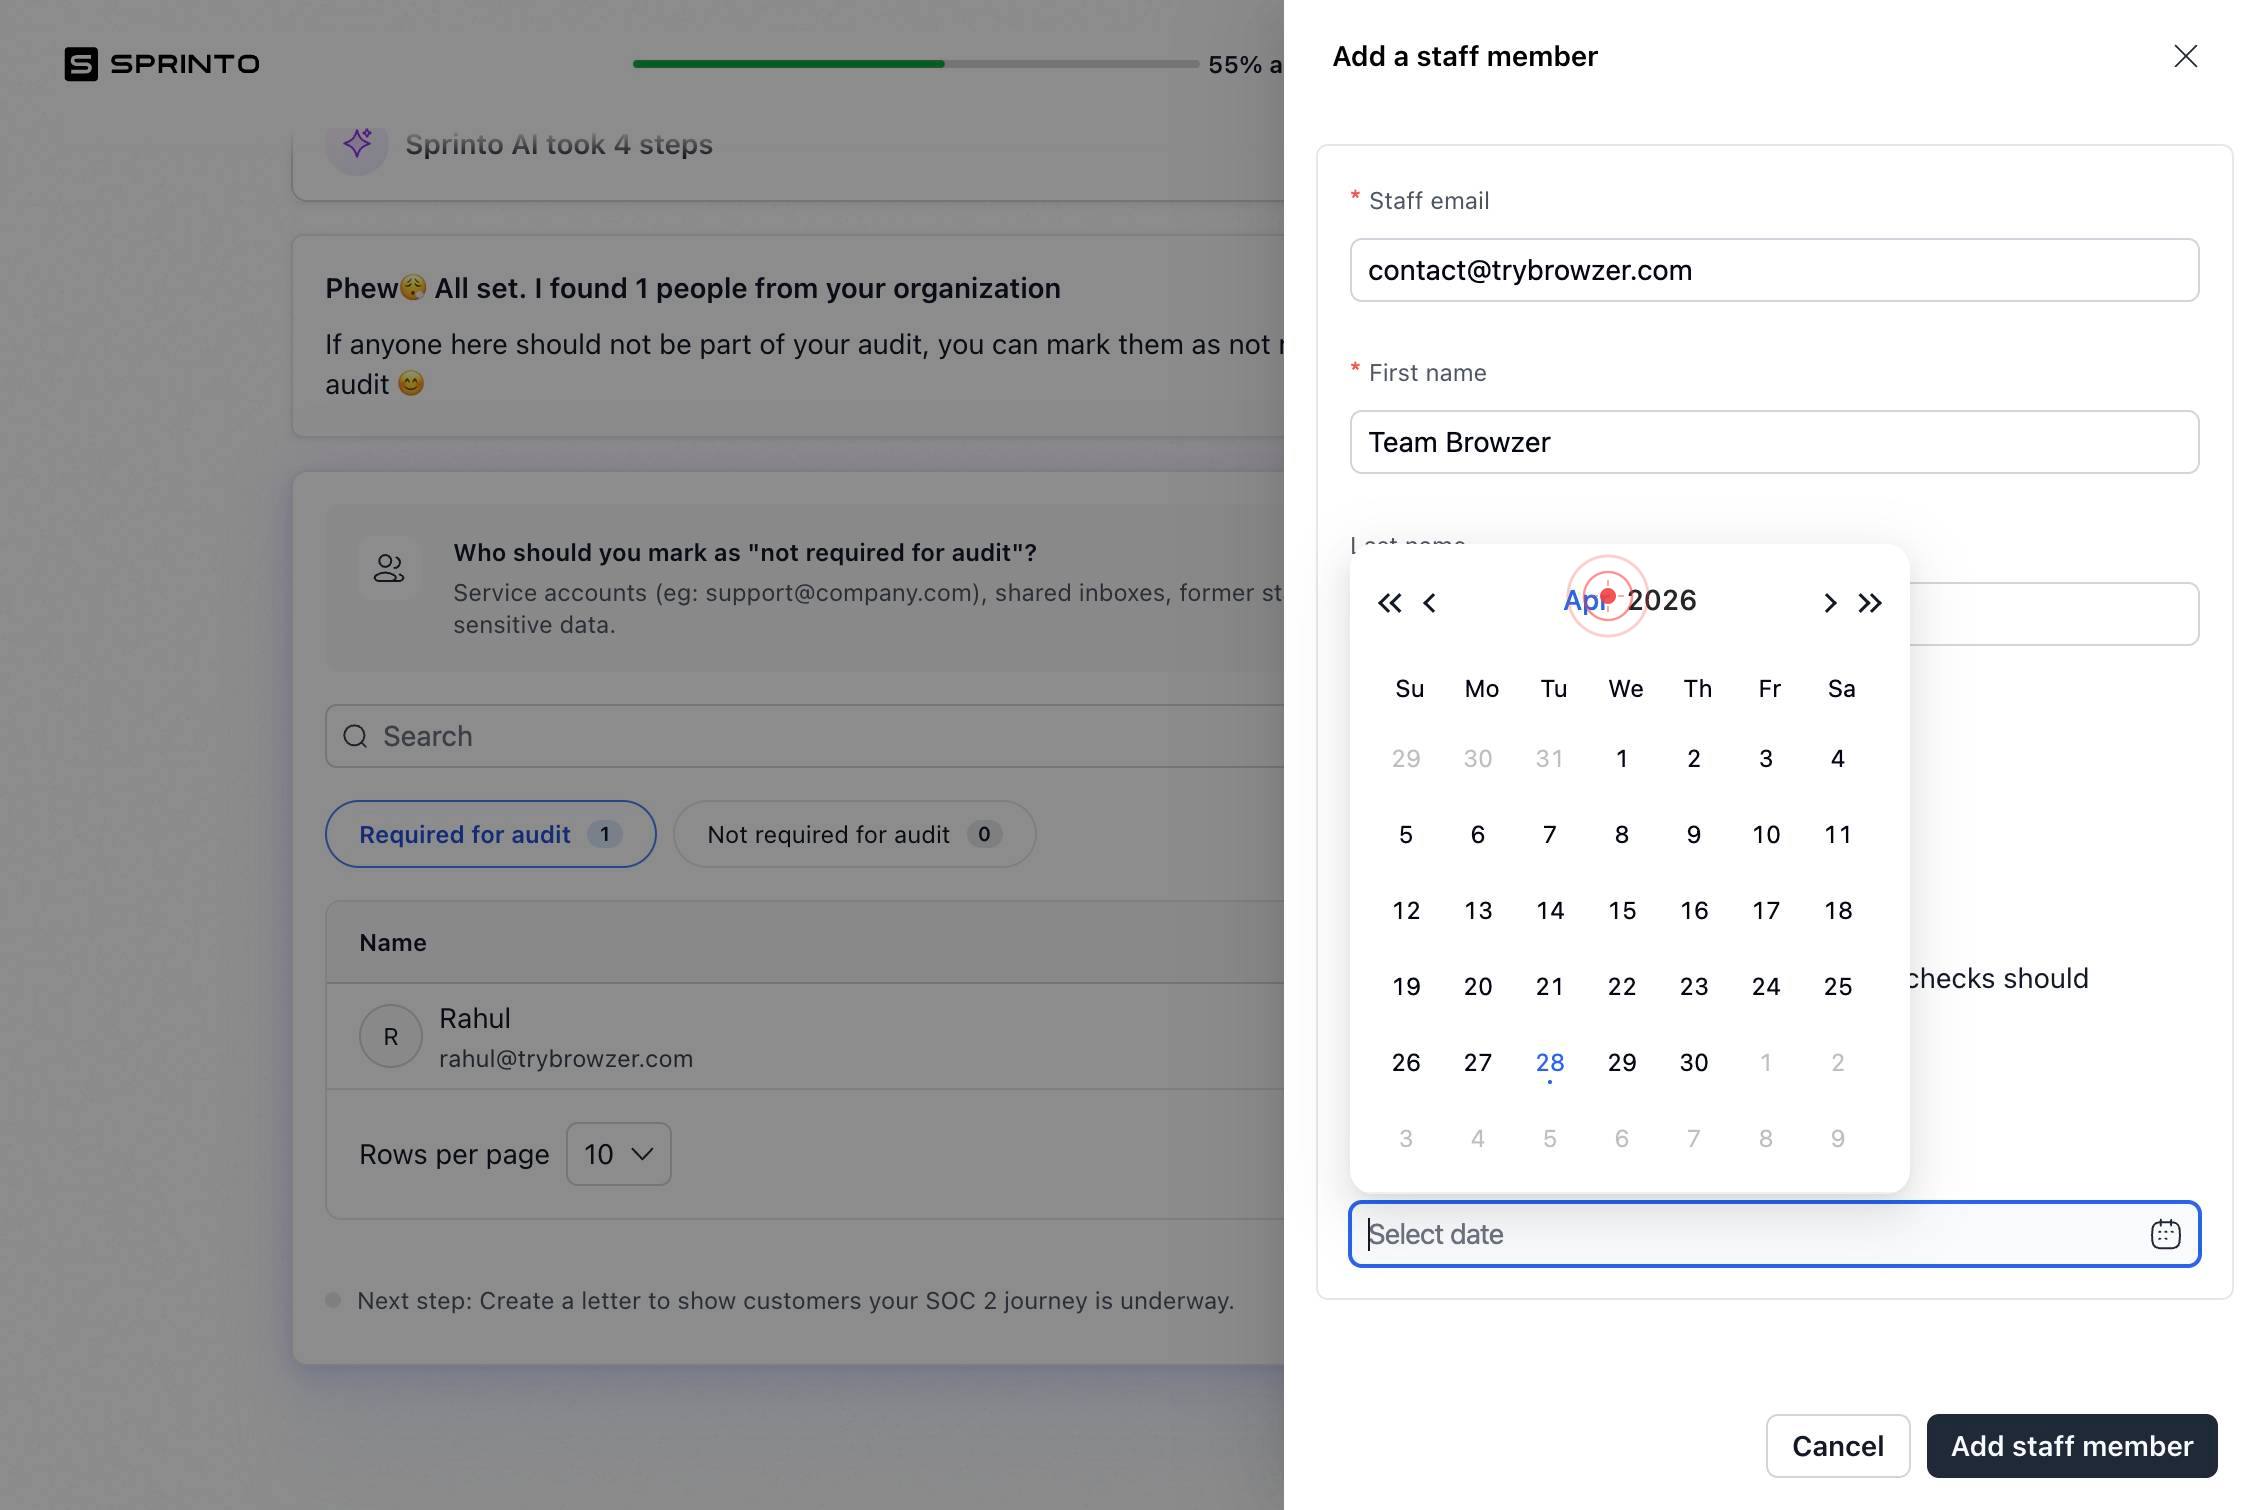
buttonClick the forward or navigation button to advance the calendar to the correct month. This helps you locate the target month if April was not the correct choice.

AugSelect 'Aug' (August) from the calendar interface to set the joining month to August.
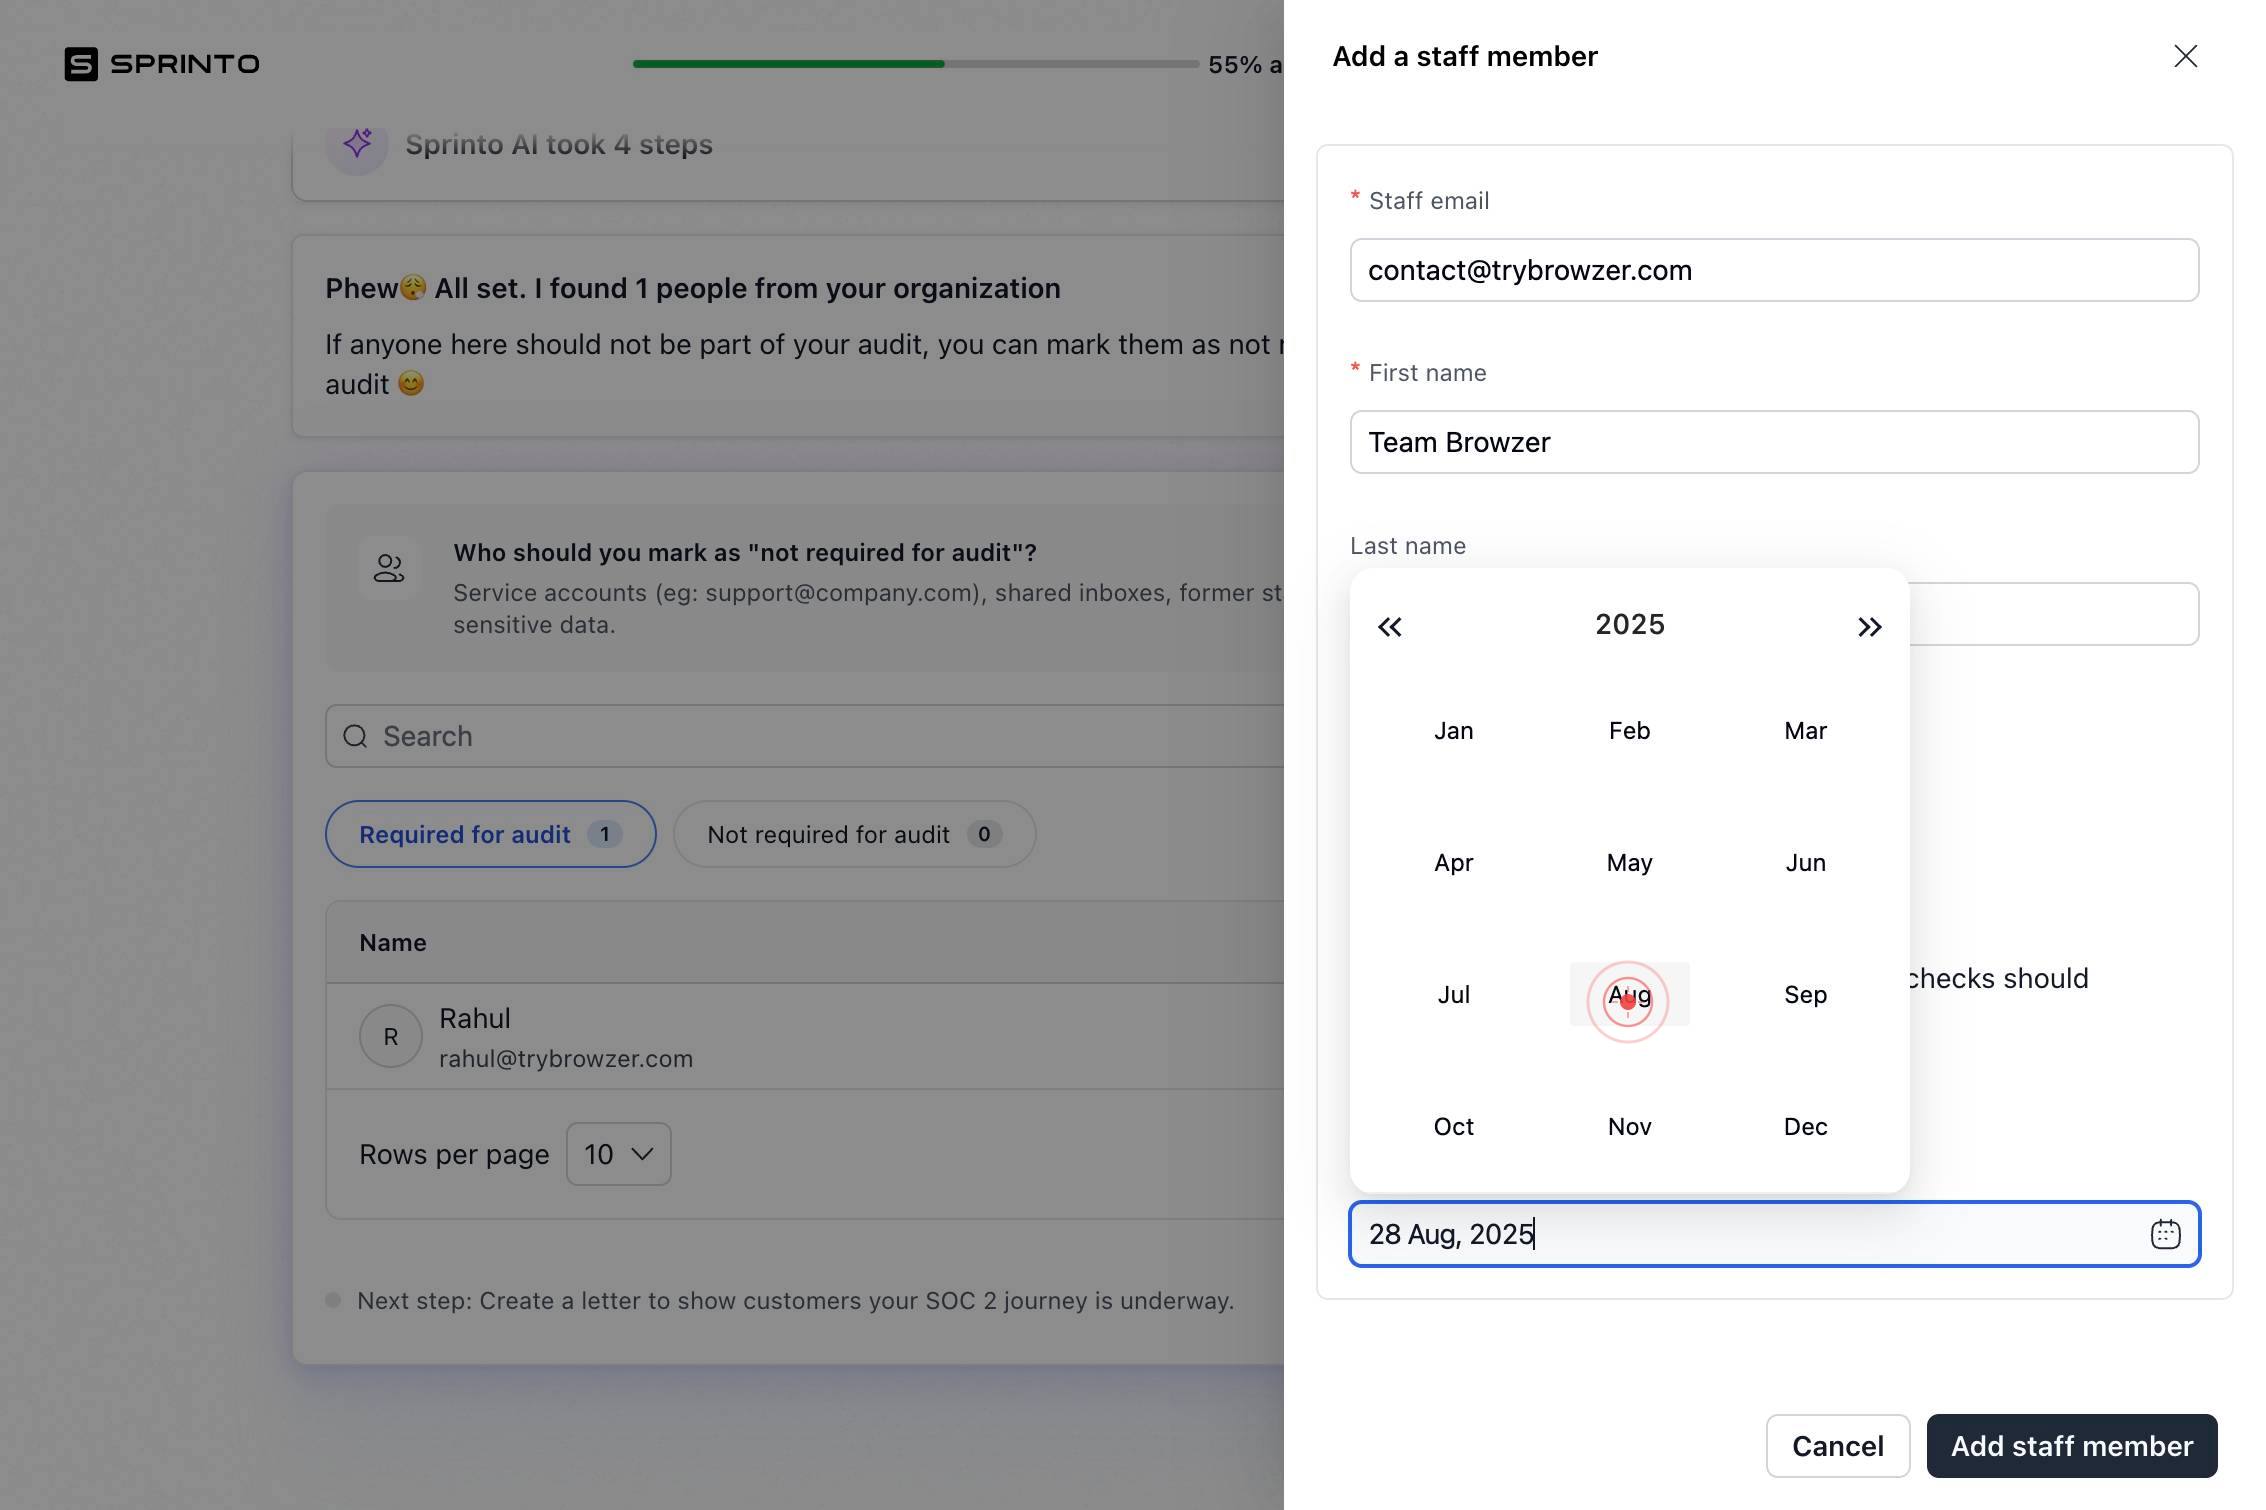
26Click on day '26' in the calendar to set the joining date to the 26th of the selected month. This completes the date selection.

Date of joiningConfirm the date entry by typing or clicking in the 'Date of joining' field if a text confirmation is required. This validates and locks the selected date in the form.
Add staff memberClick the 'Add staff member' button to submit the new staff member record. This creates the employee profile in Sprinto and triggers the onboarding and background check workflows.
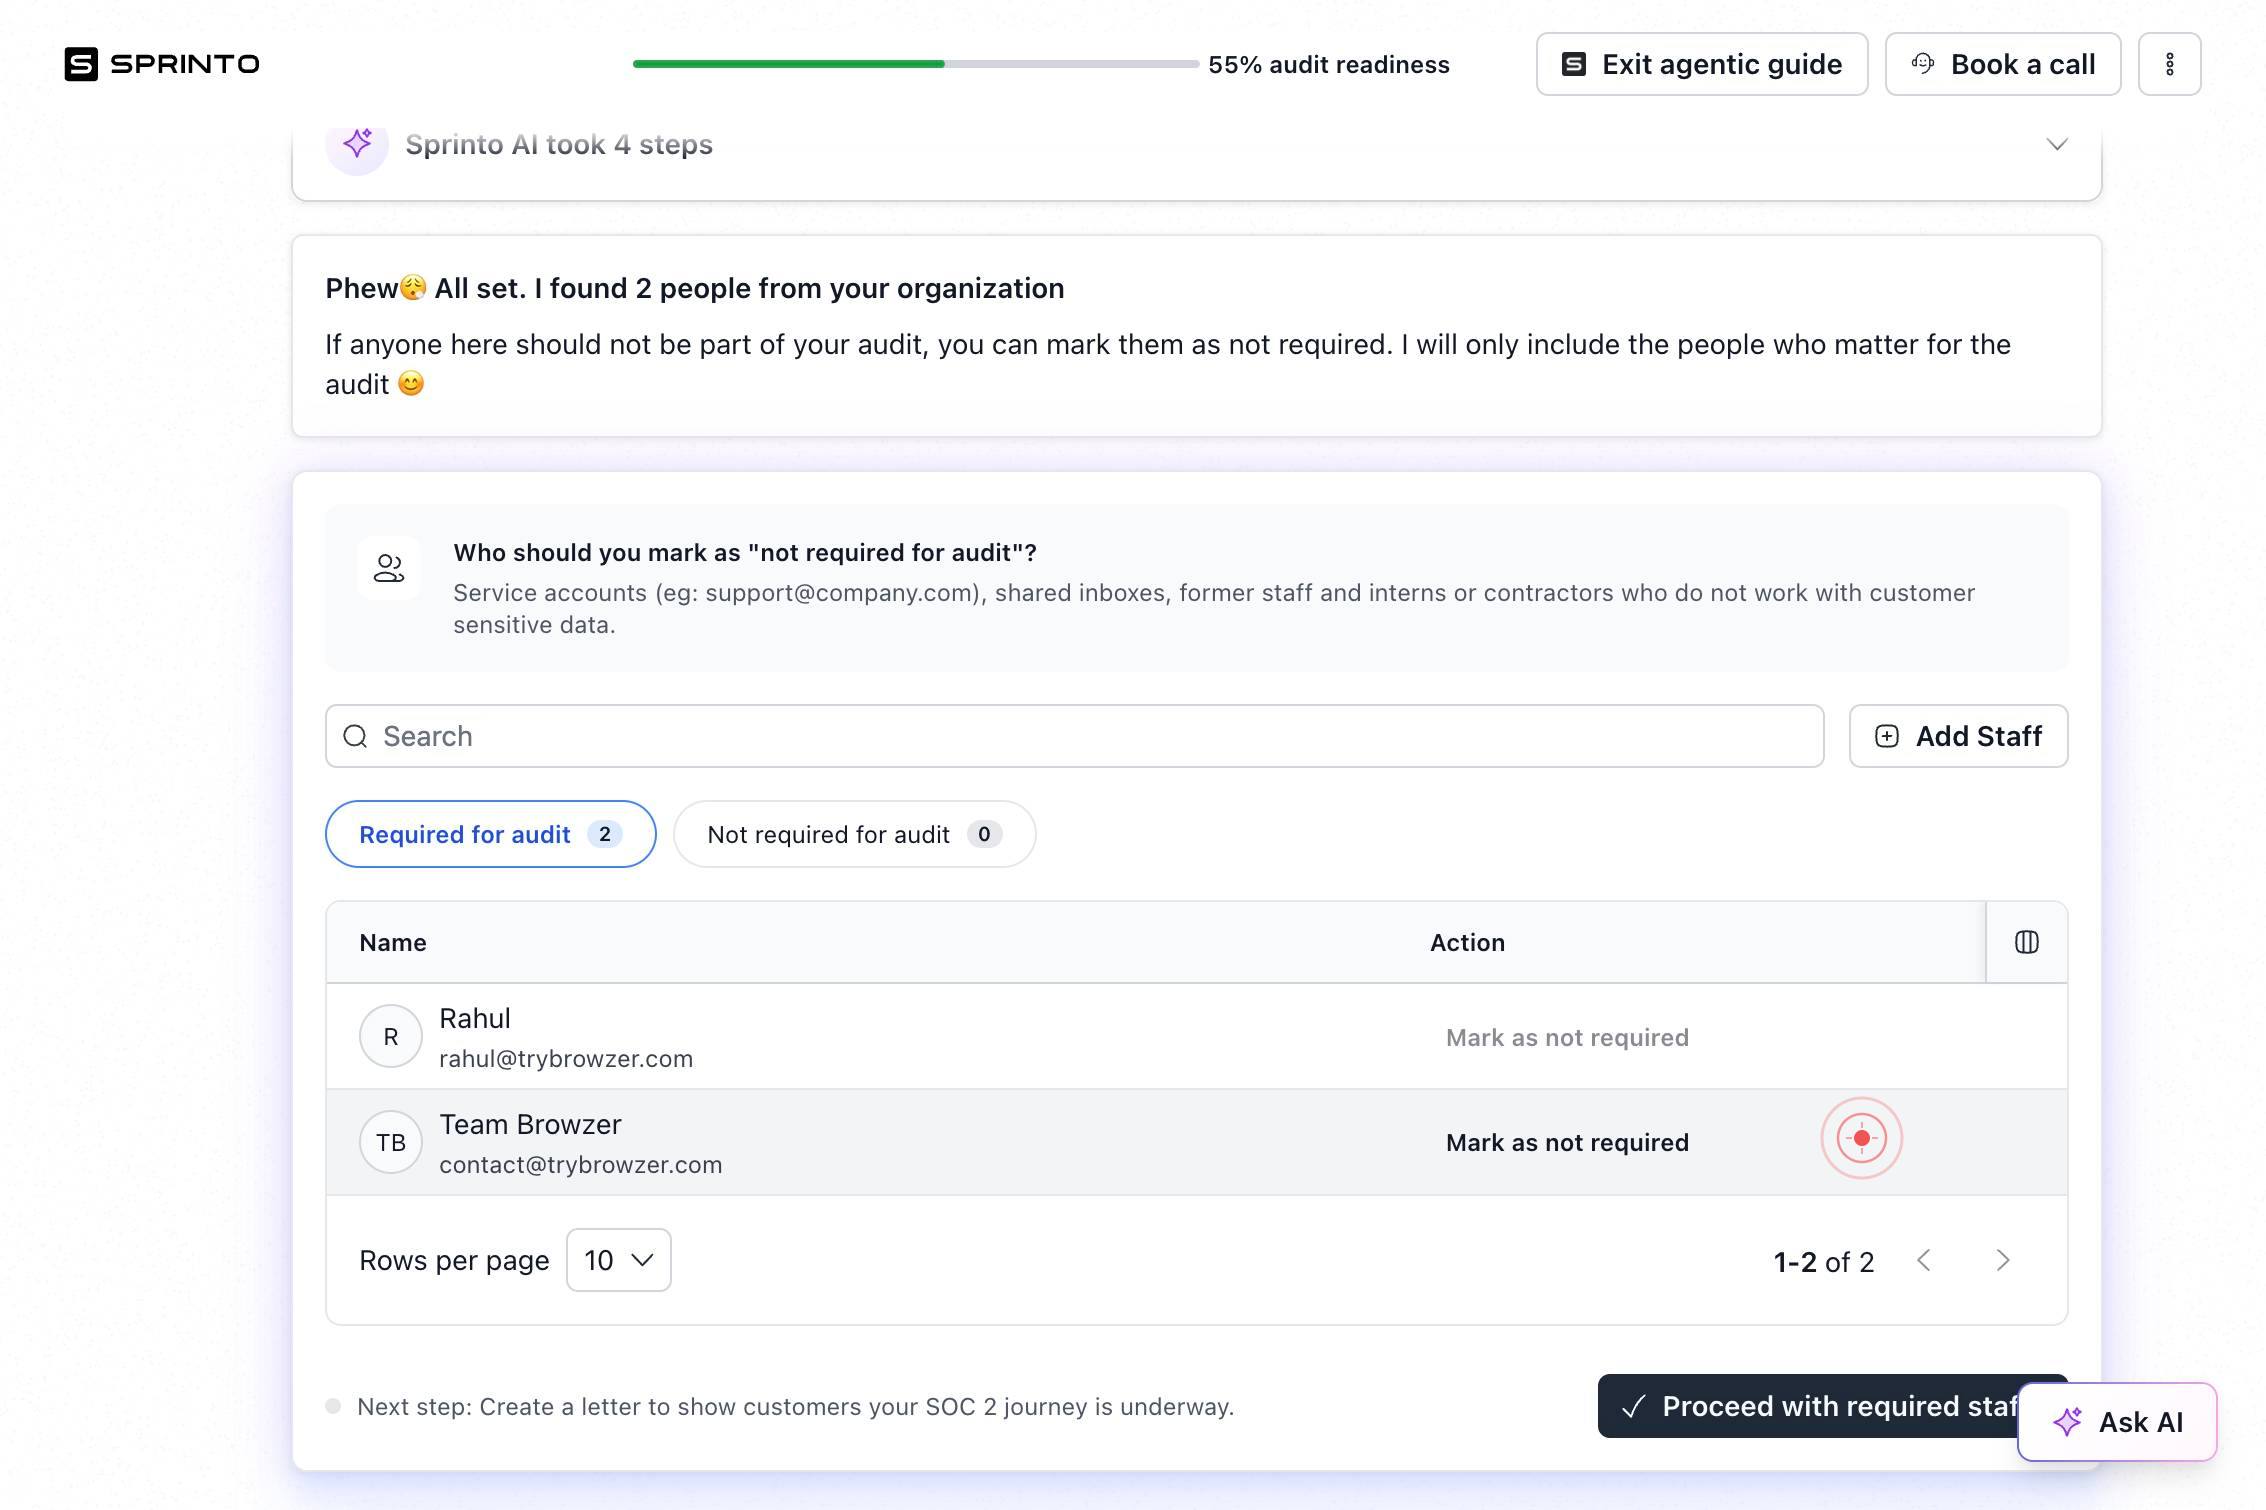
Mark as not requiredClick 'Mark as not required' if any compliance step (such as background checks or specific verifications) should be exempted for this employee. This removes that step from the onboarding checklist.
Confirm it worked
- 1The new staff member appears in the staff list in the People section with their email and name correctly displayed.
- 2The staff record shows the joining date you entered.
- 3A background check workflow has been initiated for the new employee (visible in the compliance checklist or task board).
- 4The staff member status reflects 'Active' and onboarding workflows are in progress.
Common issues
Keep reading
Adding Employees
Adding Employees Adding Employees | | **Important:**If you are using ADP Workforce Now 2.01, you must use the New Hire Wizard to add employees, regardless of whether the employee is paid through the
otcdc1.adp.comHow to add an employee
How to add an employee –Help Center Home [Skip to main content](#page-container) ## Search # How to add an employee * Updated3 months ago Add an employee using their hiring paperwork, or just invite t
help.onpay.comAdding a New Employee
Adding a New Employee 1. Adding New Employees 2. Human Resources 3. Empeon Help Center March 17, 2025 # Adding a New Employee ### Adding New Employees Within Empeon Workforce, there are three way
help.empeon.com