Guide
Add Connector - Google Drive
Overview
Airbyte's Google Drive connector enables AI agents and data pipelines to fetch, search, and sync files and metadata from Google Drive in real time. To establish this connection, you must first authenticate with your Google account, explicitly grant Airbyte the necessary permissions to access your Google Drive, and then configure which data categories (drives, files, change history, and account metadata) you want to include in your sync. This one-time setup allows your agents to interact with Google Drive data through strongly typed, documented tools without storing credentials in your application.
Before you begin
- A Google account with access to Google Drive (the account you will use to authenticate)
- An active Airbyte workspace where you have permission to add credentials
- Access to the Airbyte app at app.airbyte.ai with appropriate role permissions (typically Admin or Connector Admin)
Step by step
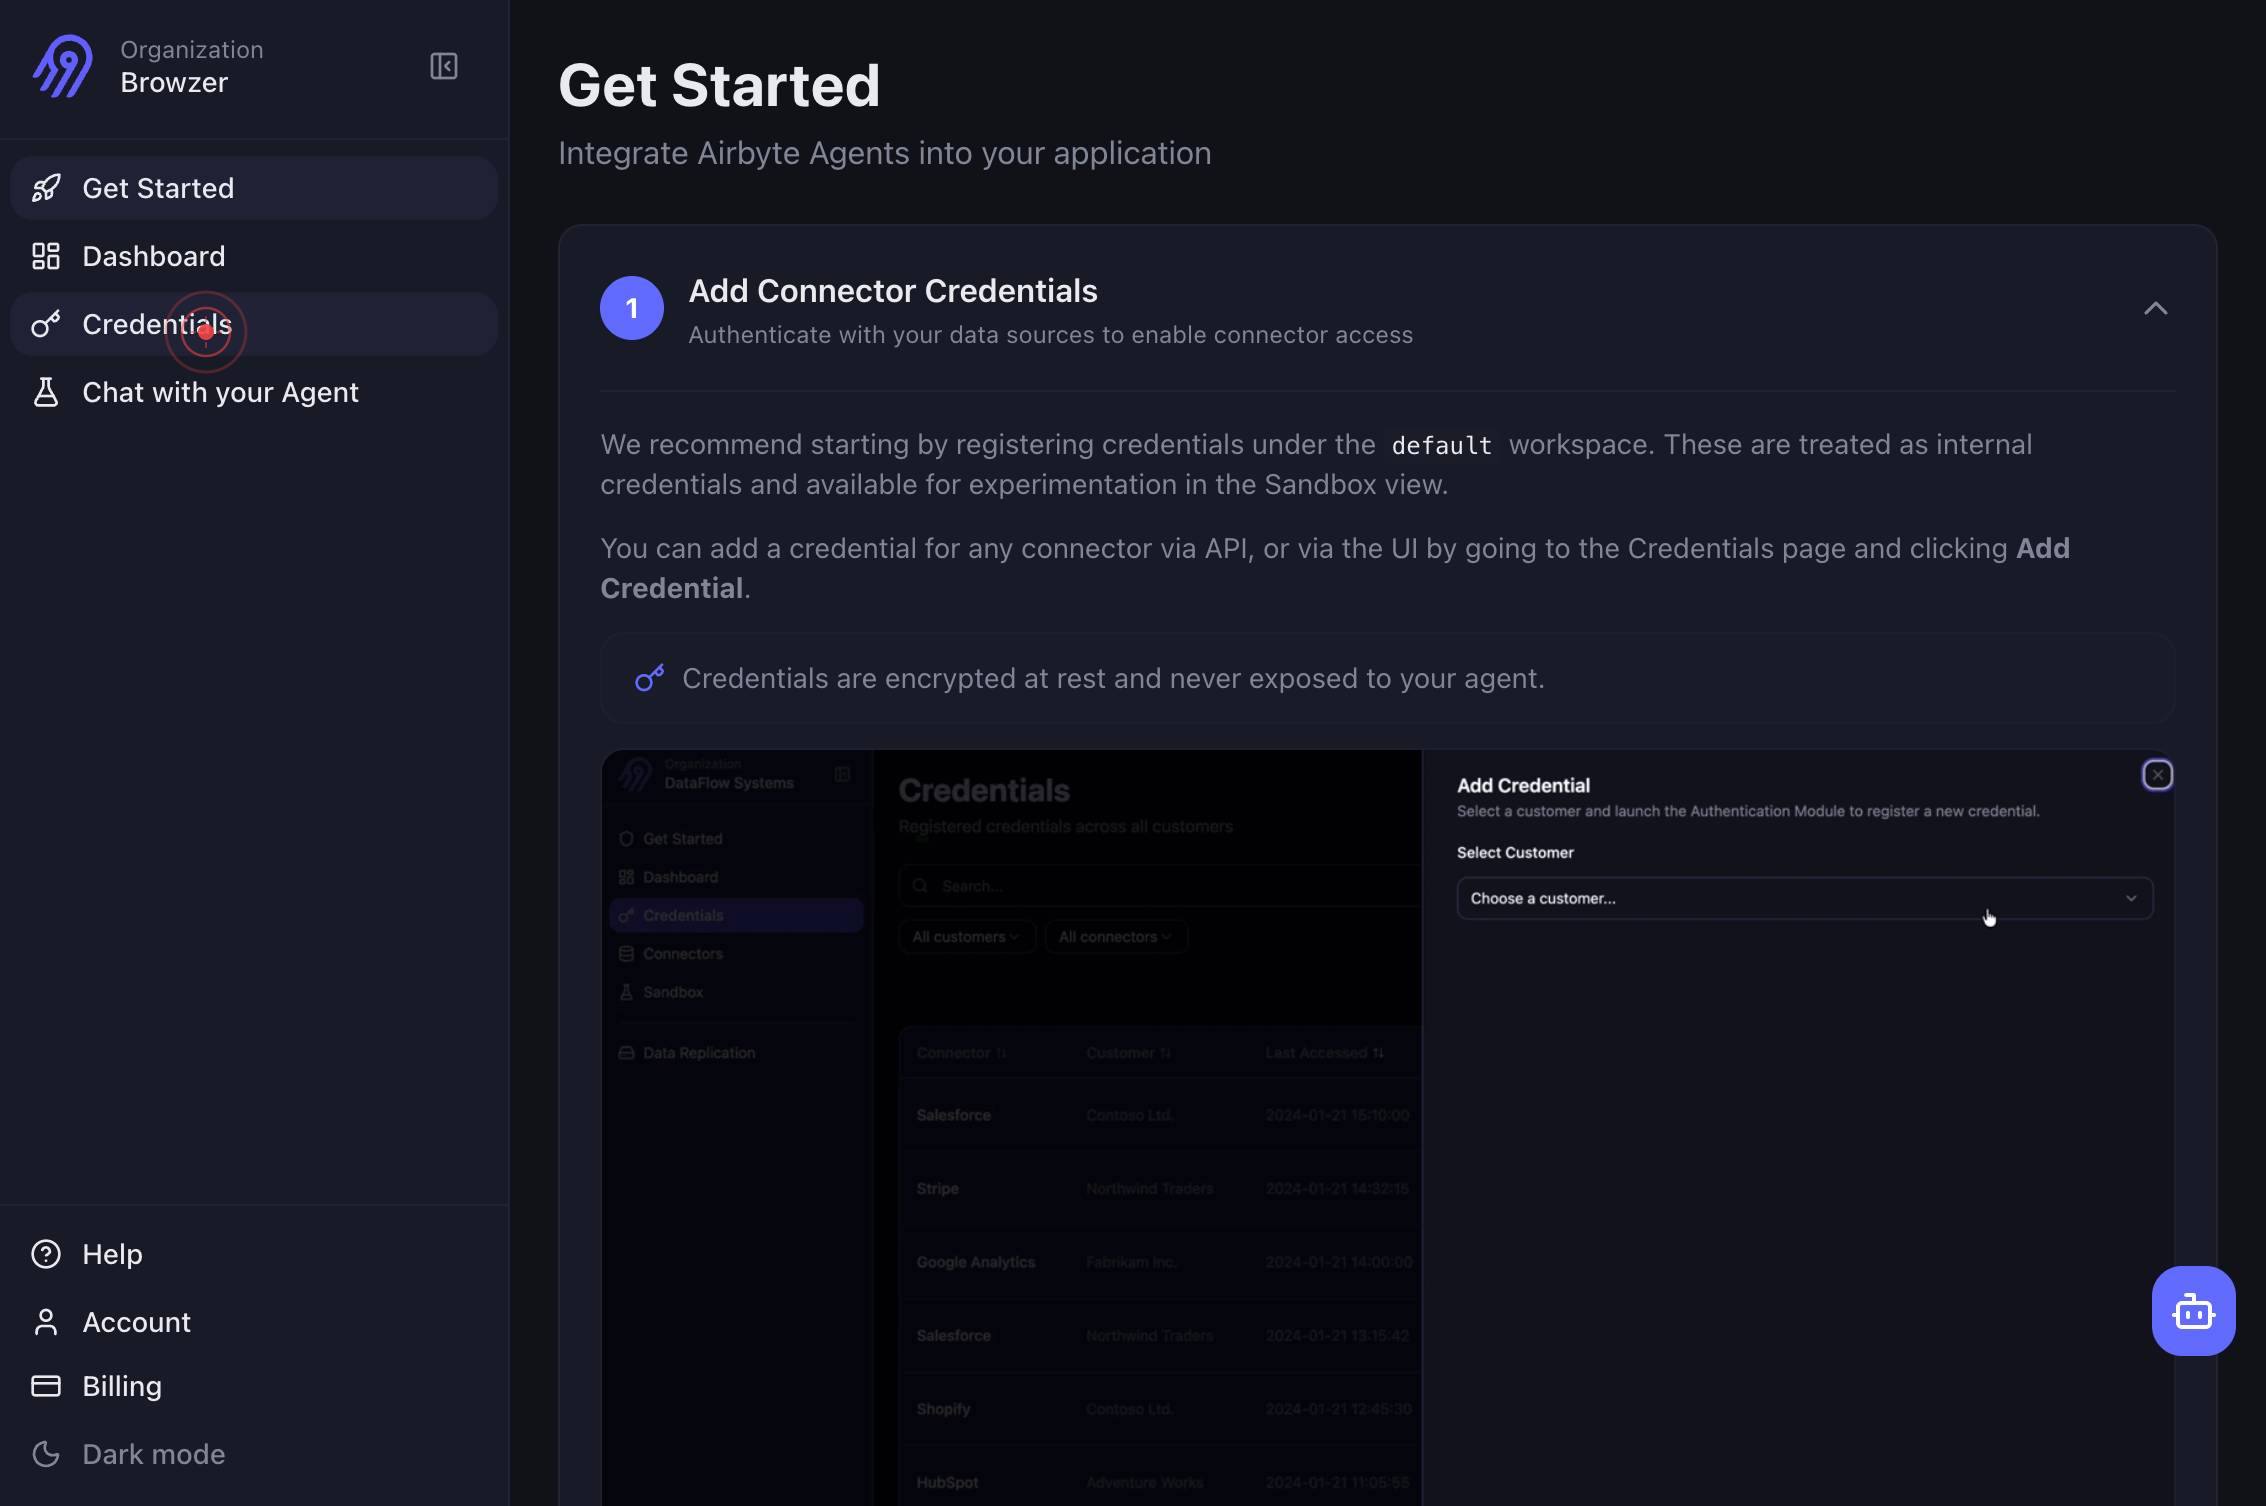
CredentialsNavigate to the Credentials section of Airbyte by clicking the Credentials link in the main navigation. This is where all data source authentication tokens and connector configurations are stored.
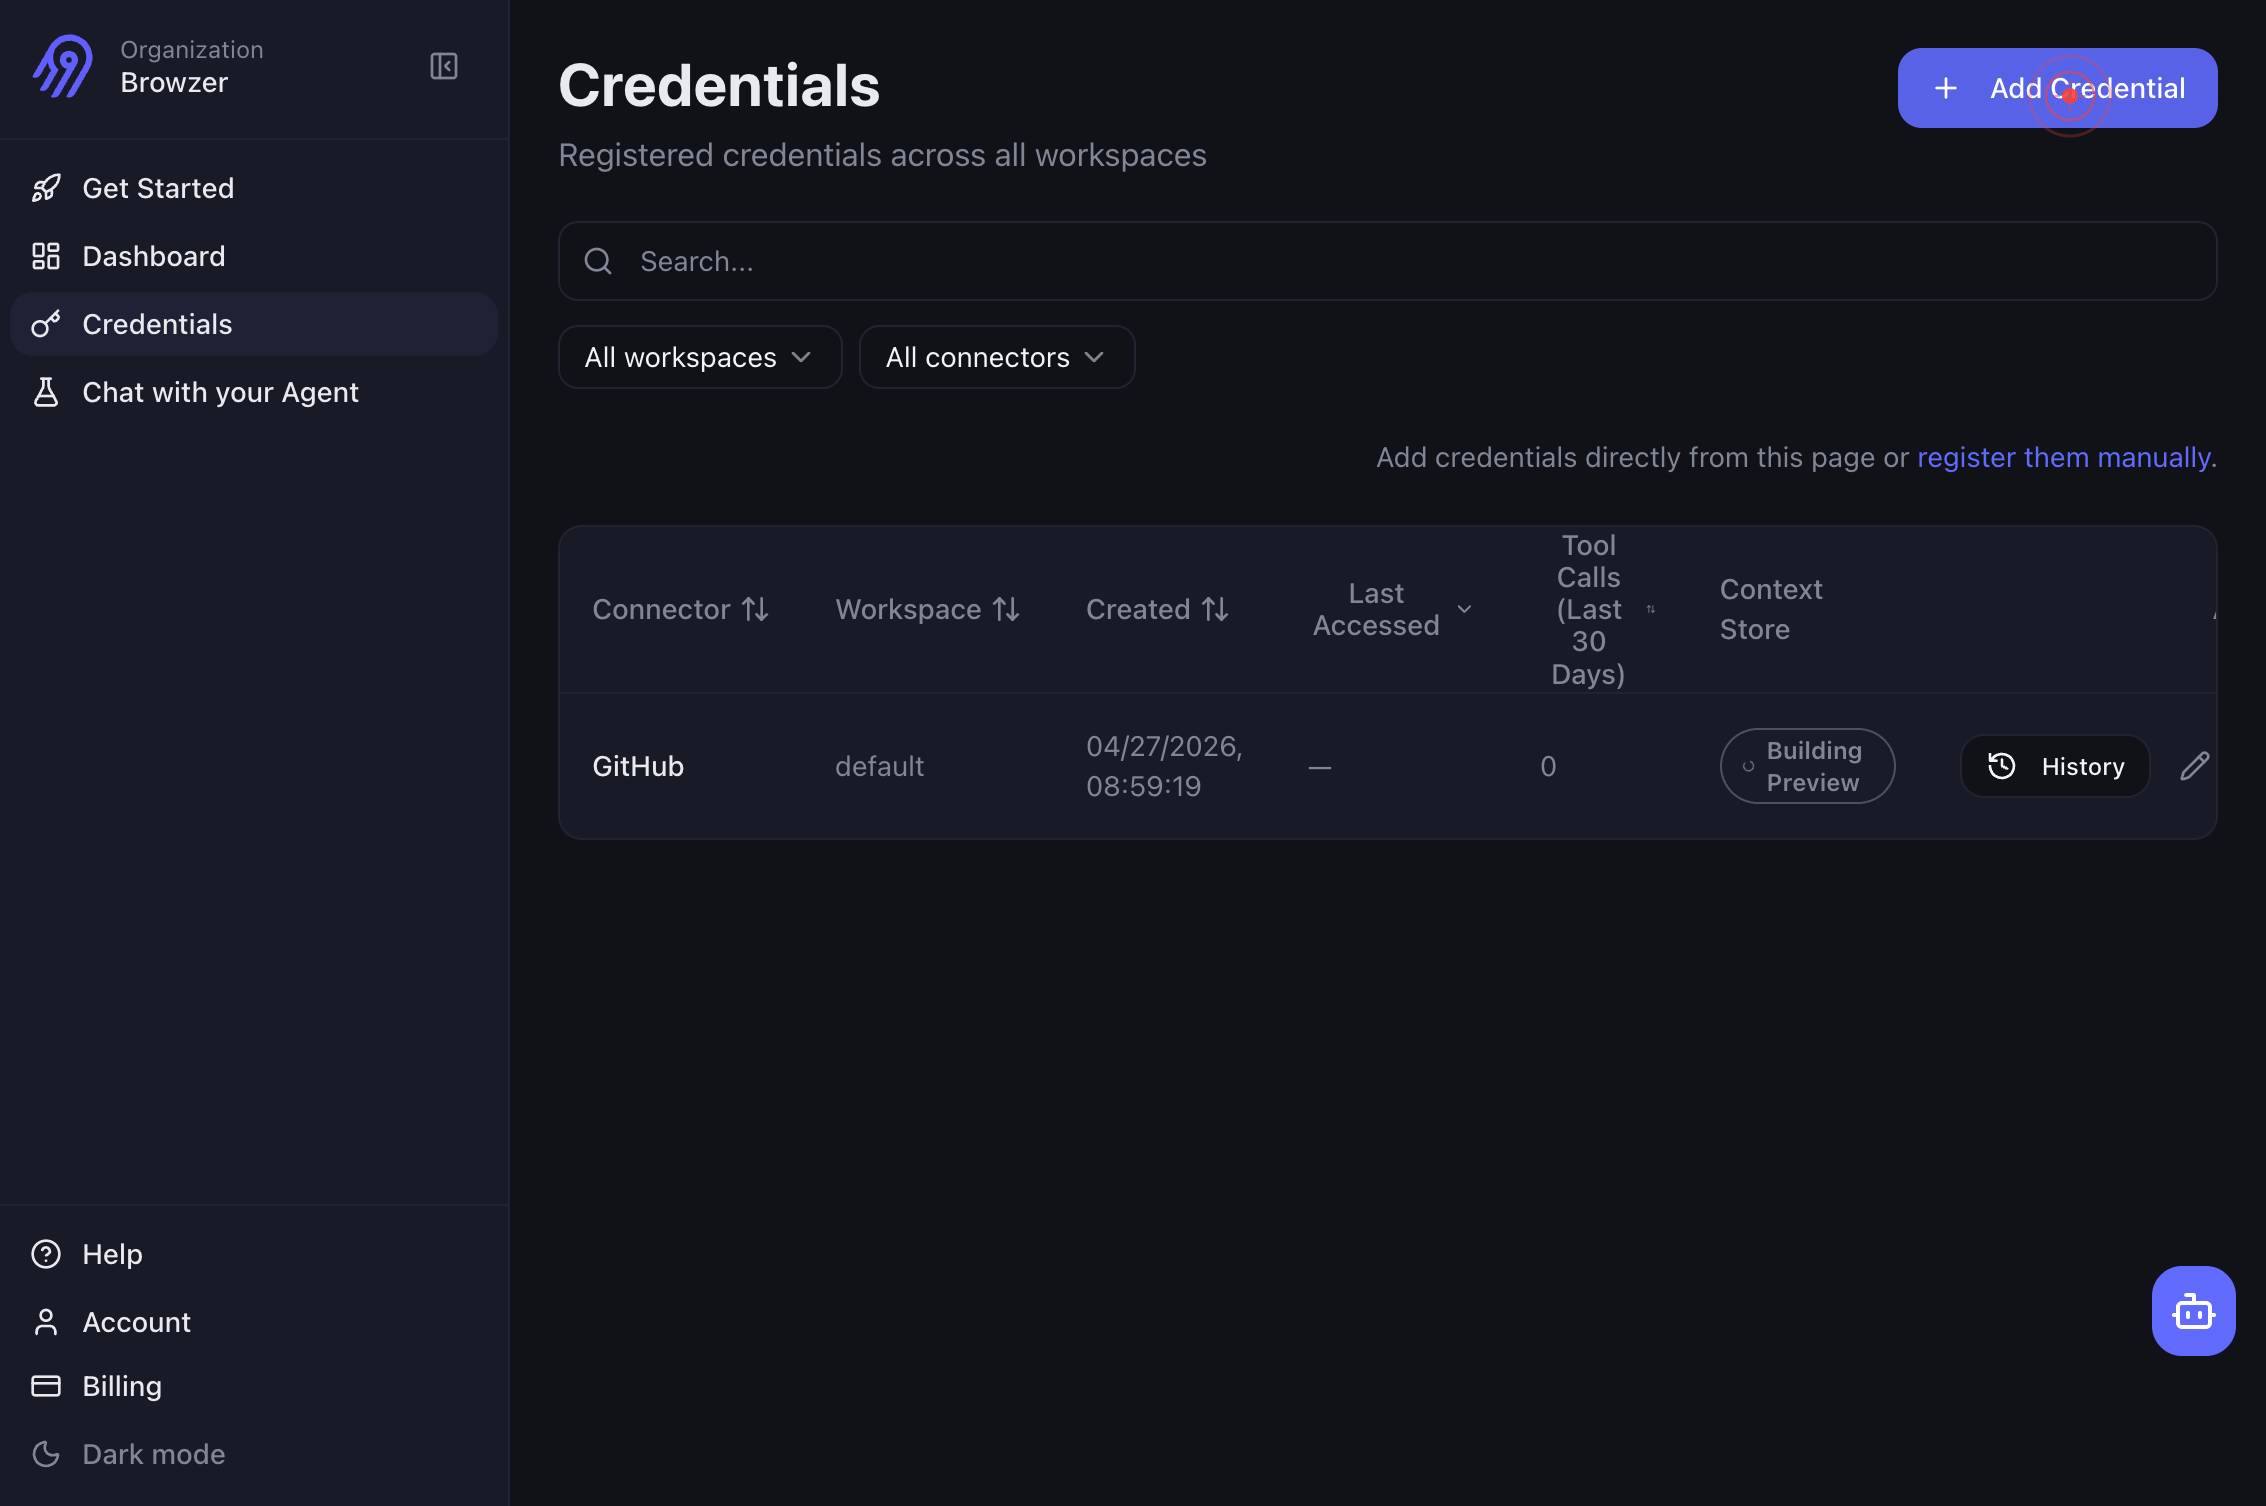
Add CredentialClick the Add Credential button to initiate the process of creating a new connector credential.
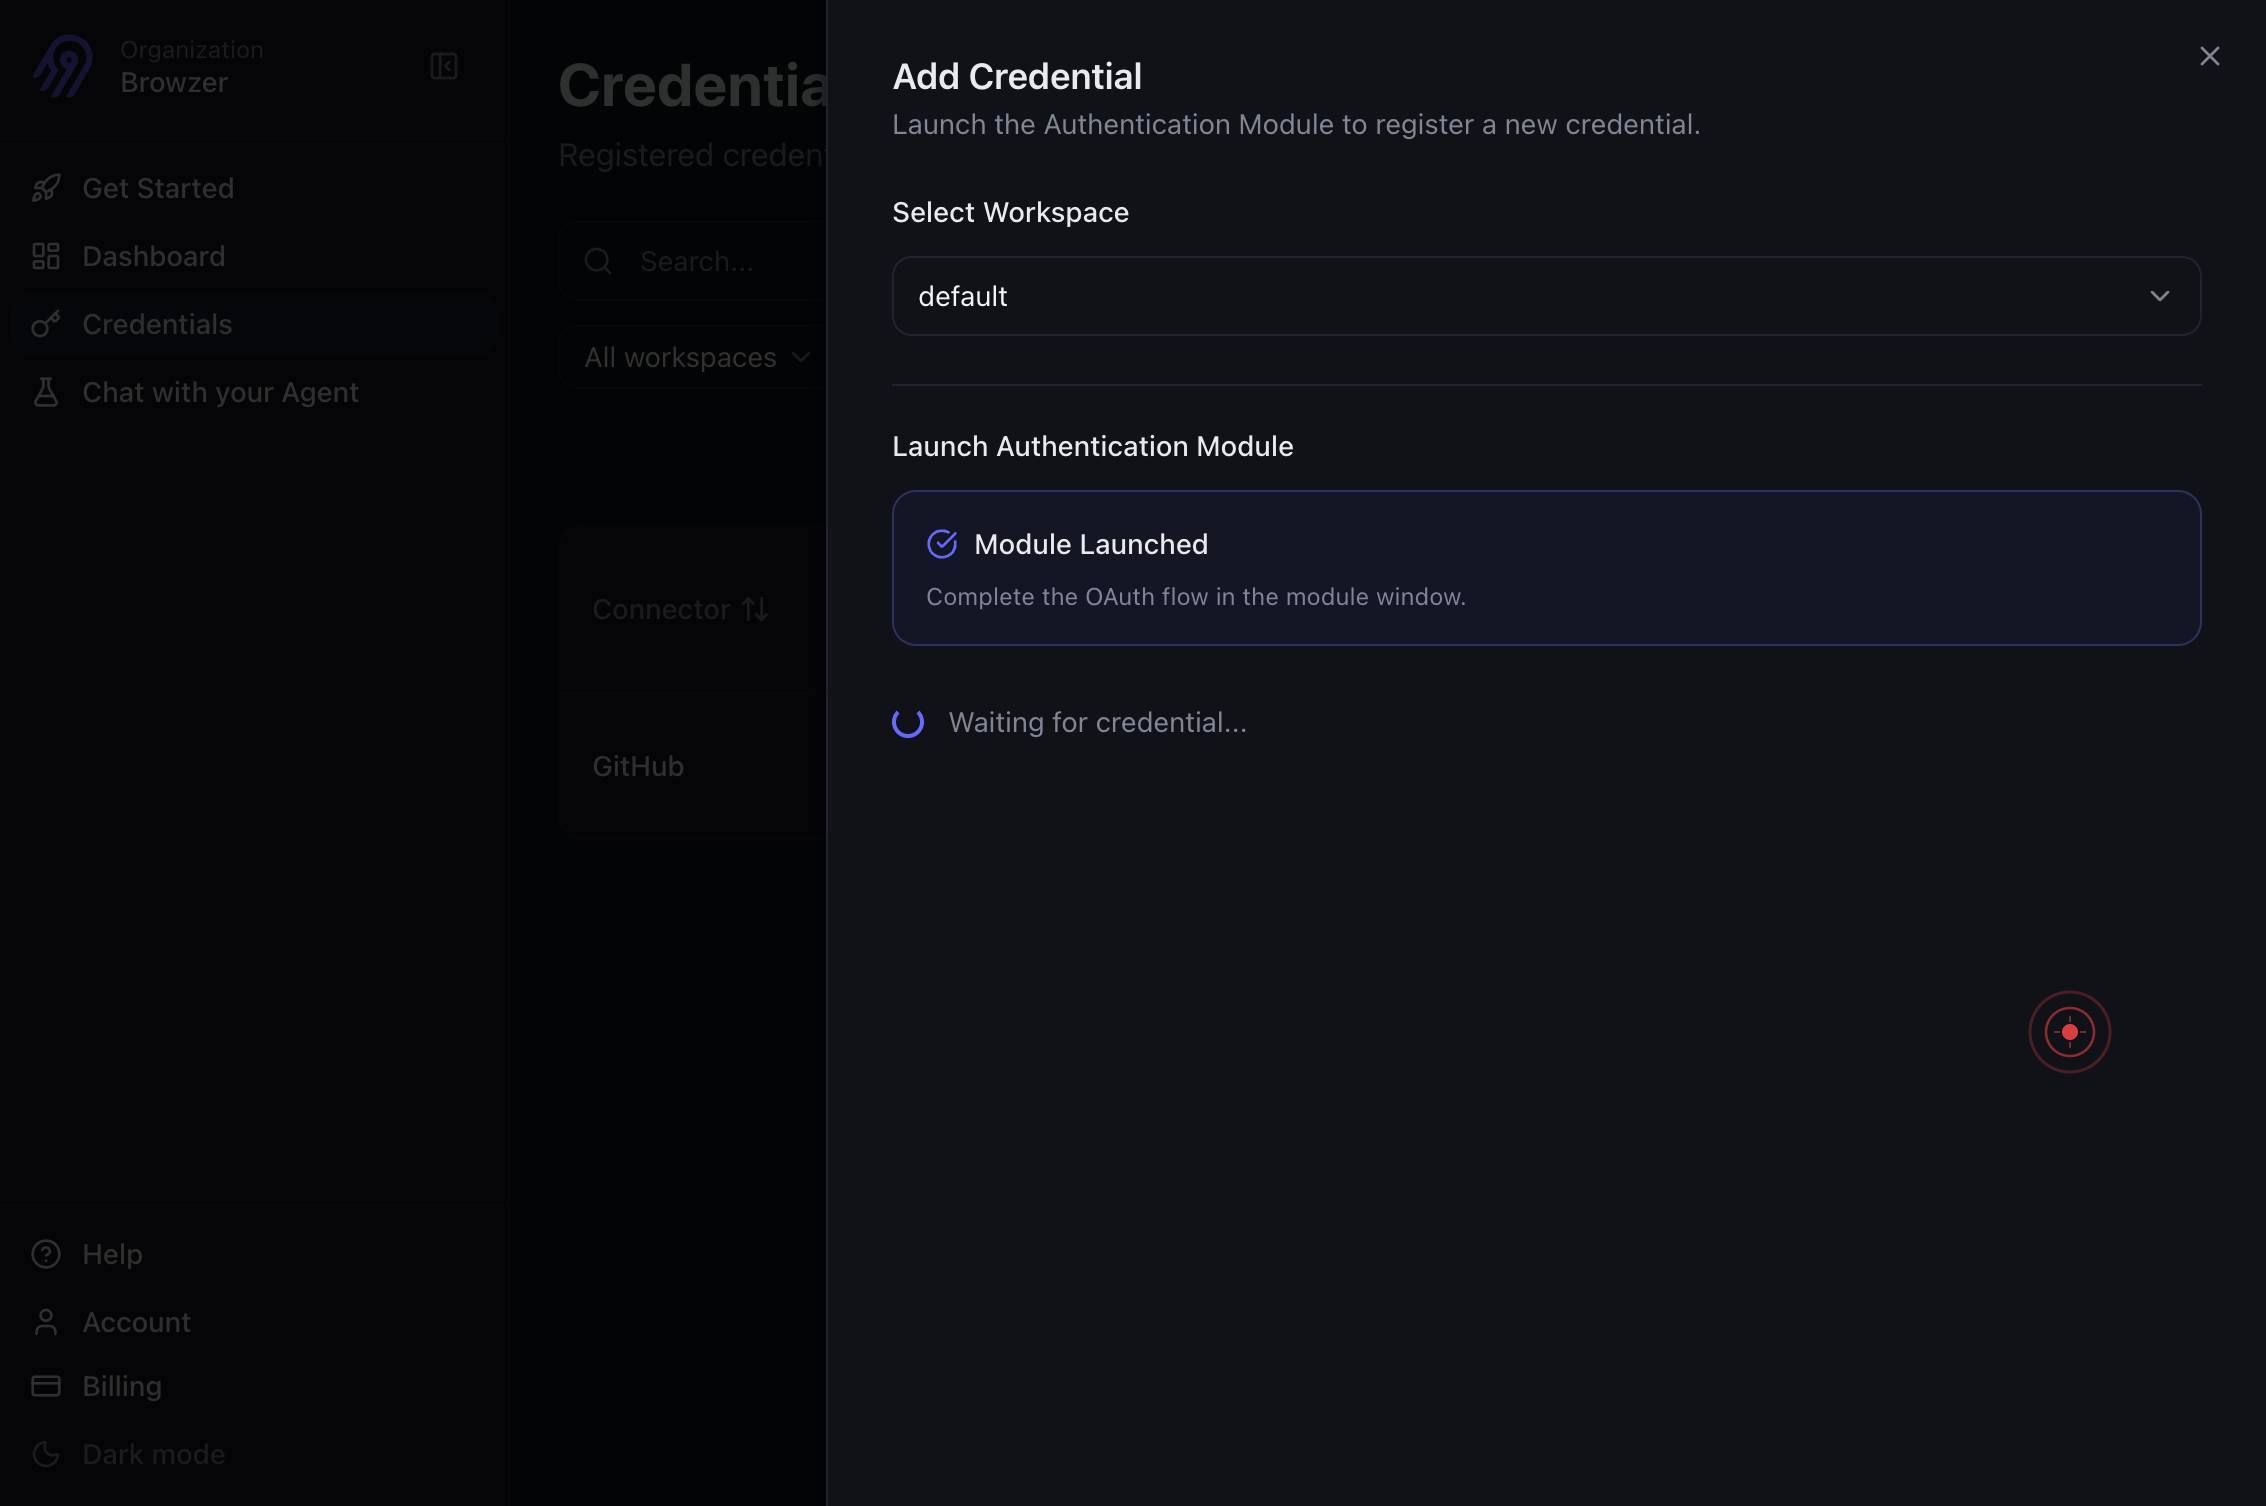
Google DriveSelect Google Drive from the list of available connectors. This tells Airbyte you want to authenticate and configure a Google Drive data source.
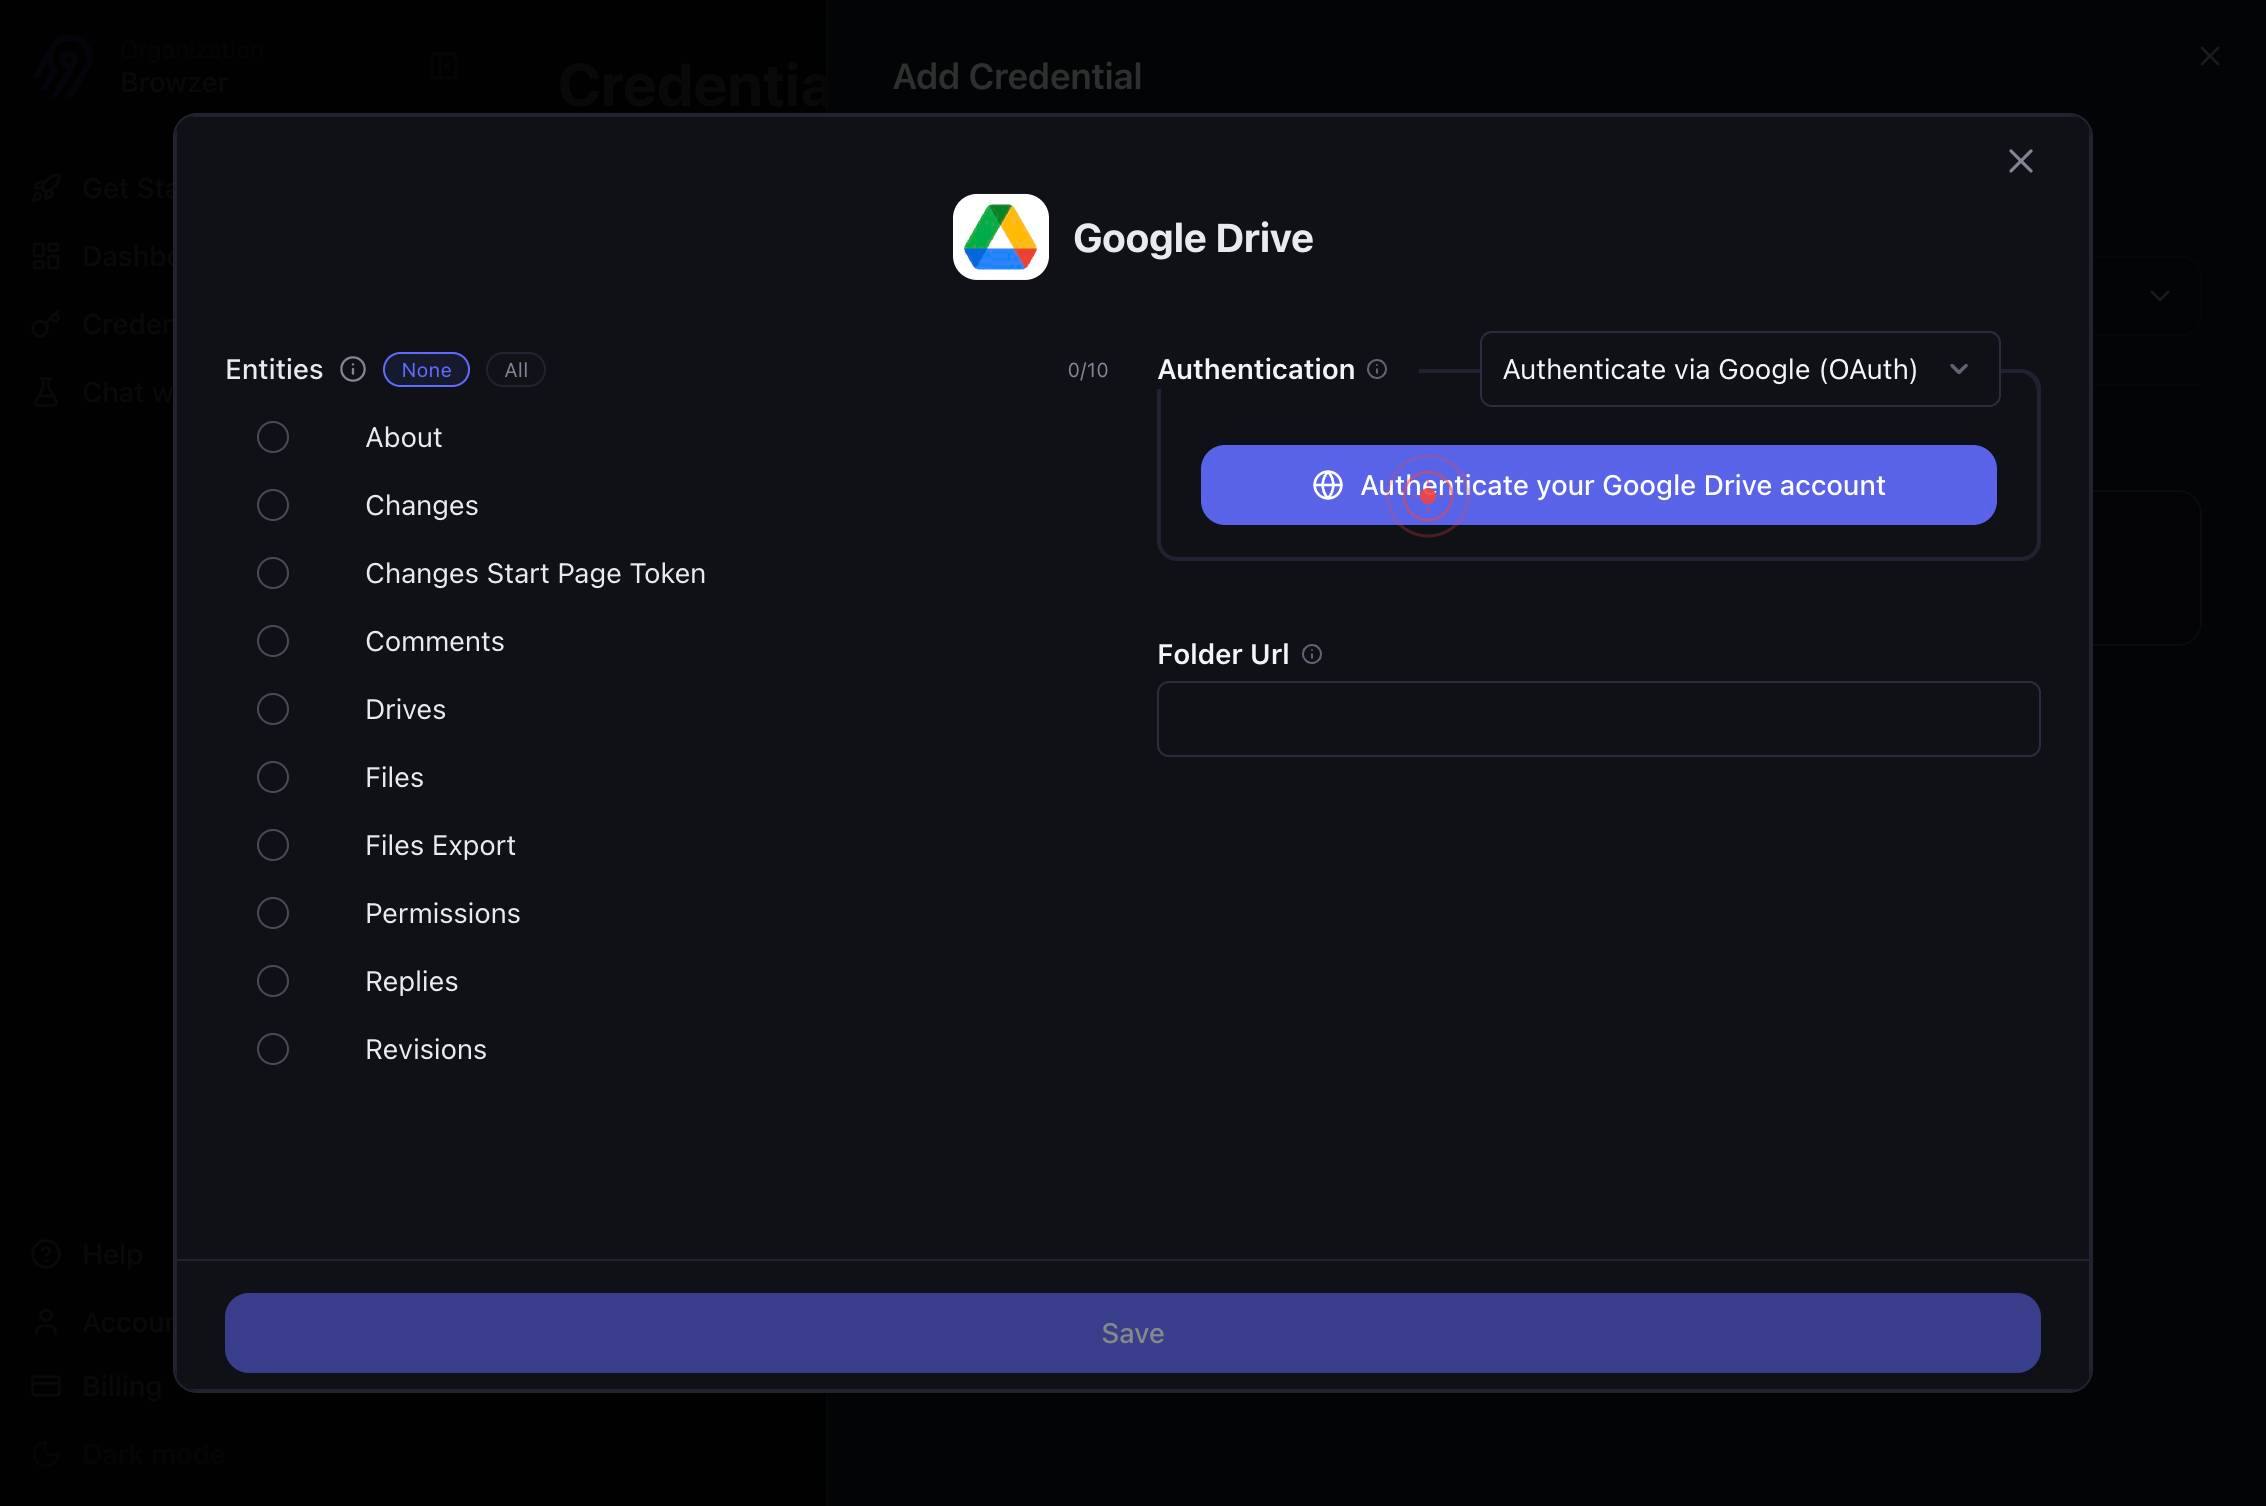
Authenticate your Google Drive accountClick the Authenticate your Google Drive account button to begin the OAuth flow. This will redirect you to Google's authentication service.
Switch to the Google login tab that opens in a new browser tab. This tab contains Google's login and permission consent screens.
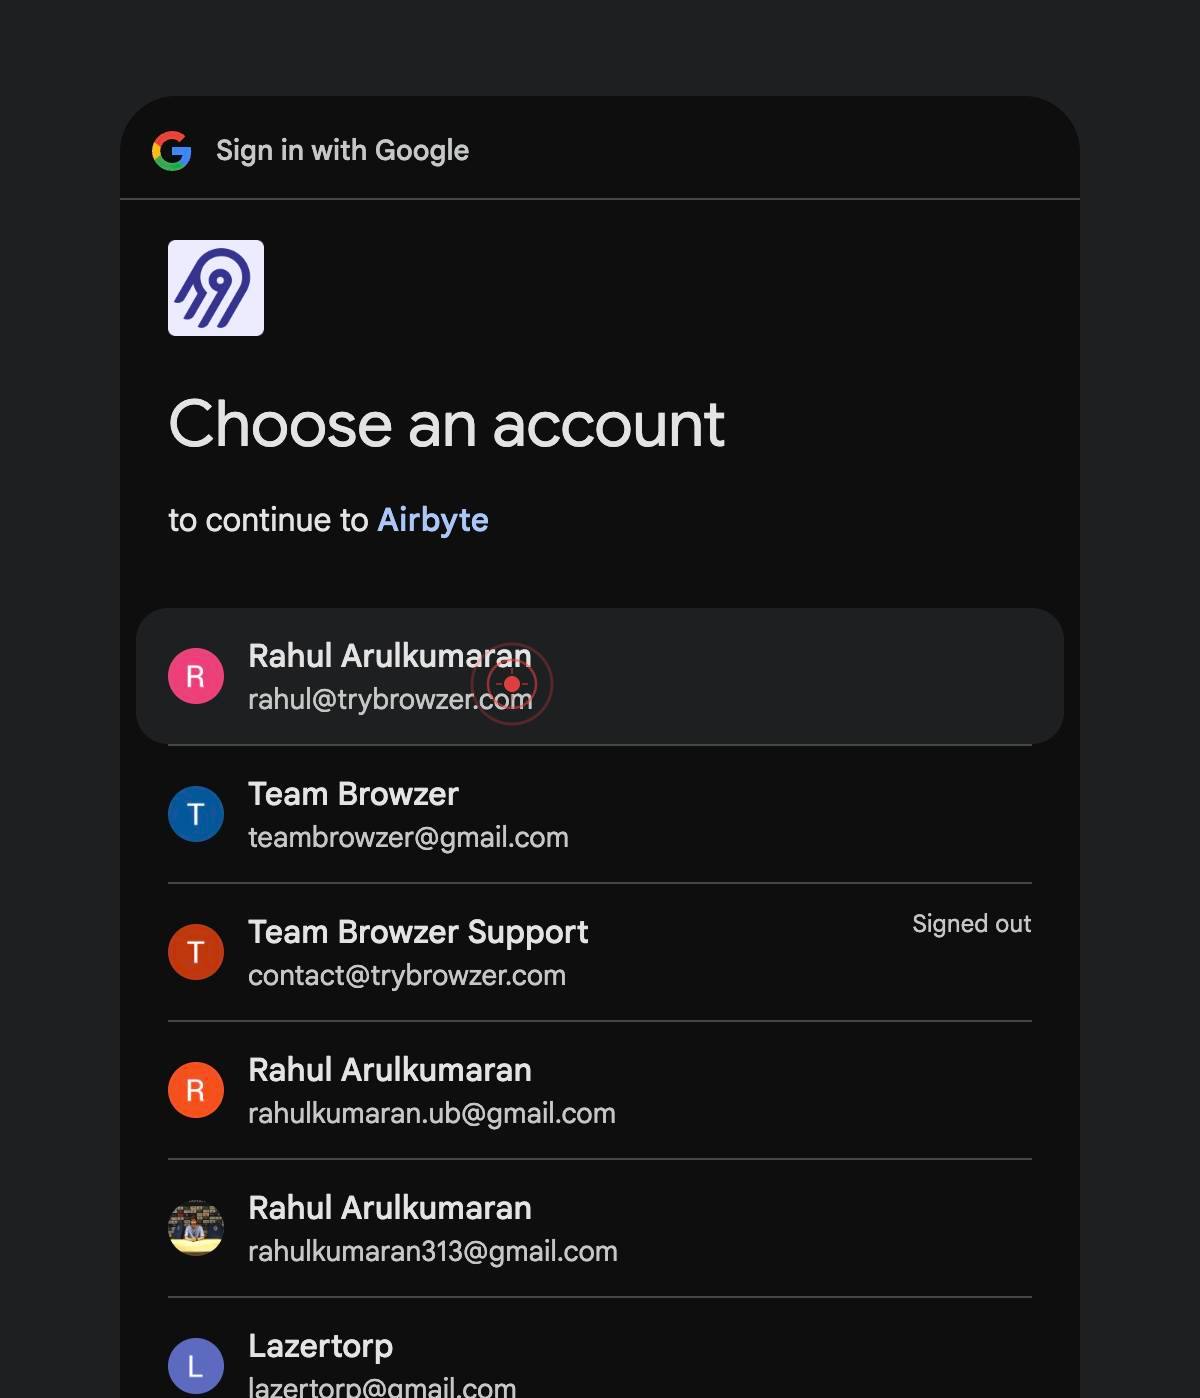
You are now on the Google Accounts login page. This page allows you to select or log in to your Google account.
Rahul Arulkumaran rahul@trybrowzer.comClick on your Google account (rahul@trybrowzer.com in this example) from the list of available accounts. If you only see one account or yours is not listed, you may need to enter your email or log in manually.
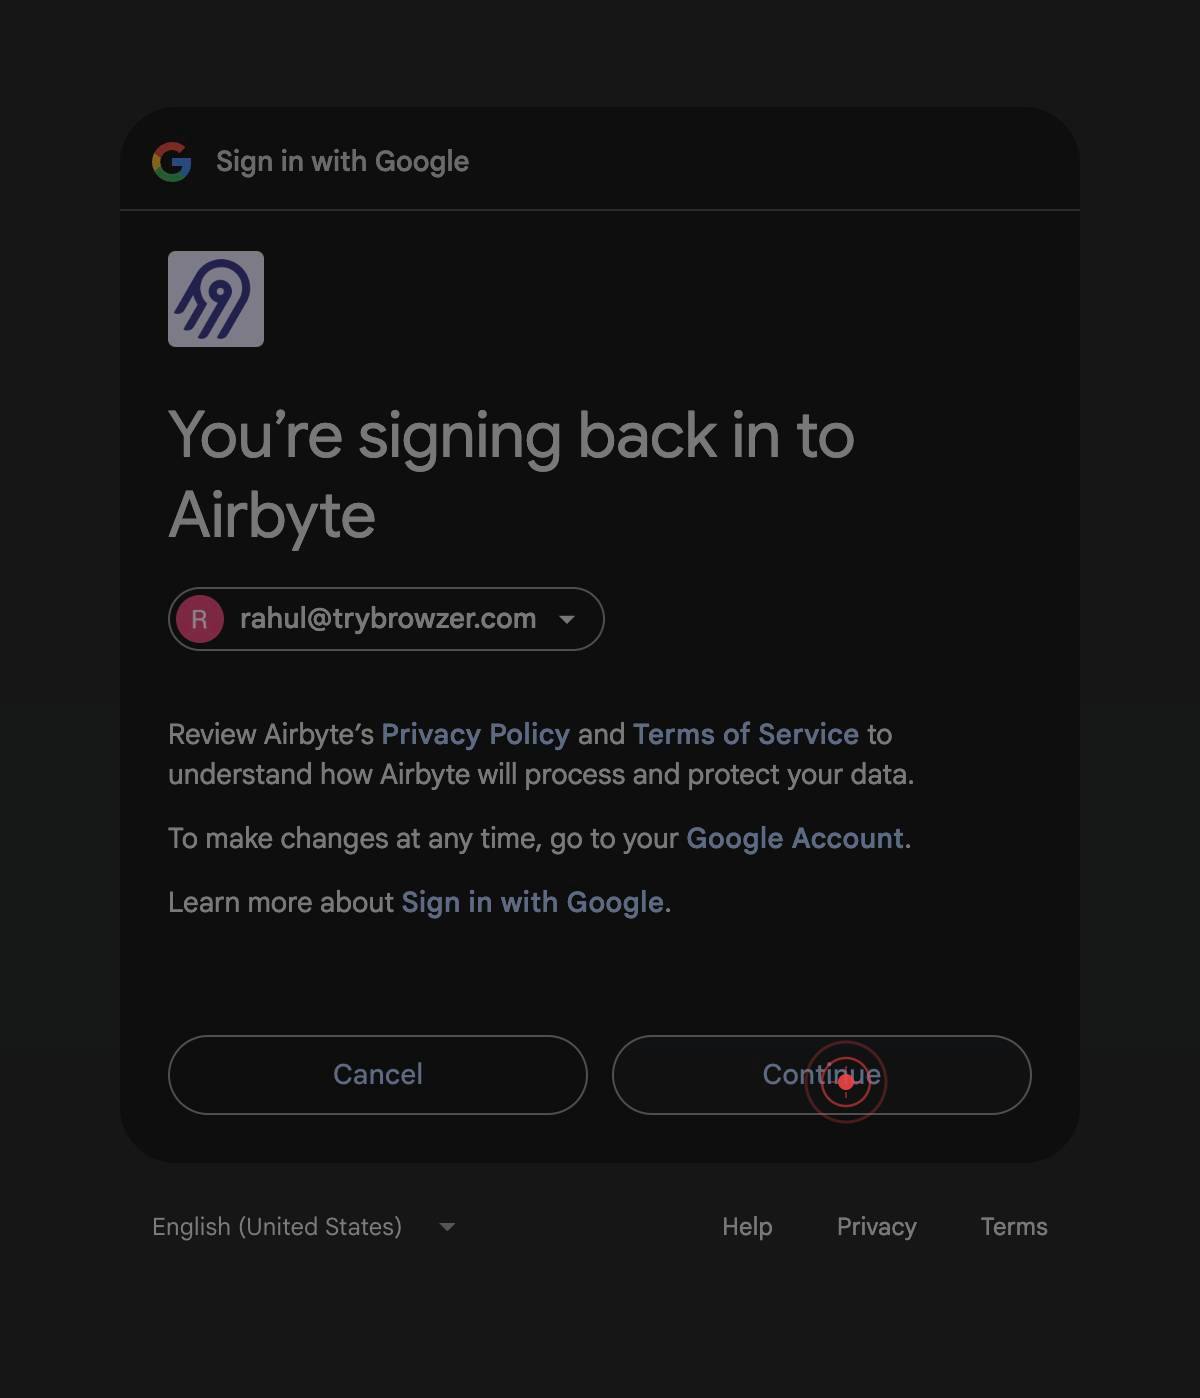
Google will verify your account and may redirect you to a consent screen. Wait for the page to load completely.
ContinueClick the Continue button to proceed past any account verification or initial confirmation screen.
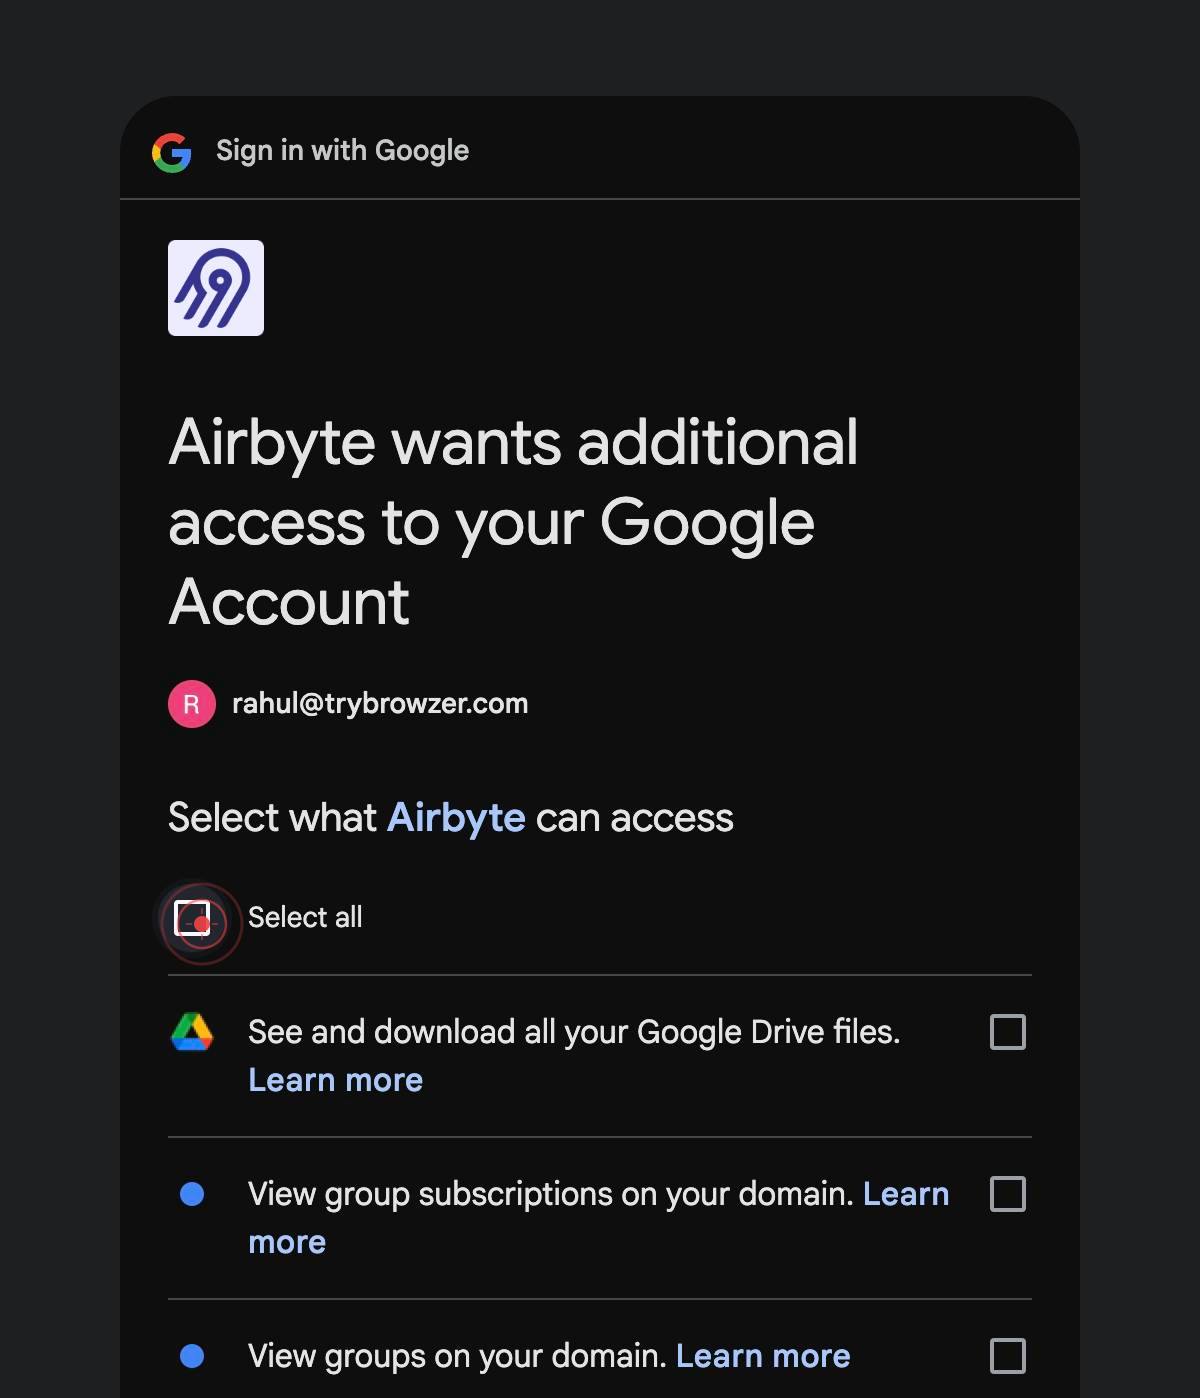
You will now see Google's permission consent screen. Wait for the page to fully load to see all permissions being requested.
Select allClick the Select all checkbox to grant Airbyte all requested permissions to access your Google Drive, including read and write access to files, folders, and metadata. This is required for the connector to function.
ContinueClick the Continue button to finalize your permission grant and complete the OAuth flow.

Google will redirect you back to the Airbyte application. You should now see the connector configuration form with options to customize your sync settings.
genericClick the generic element (a collapsible section or toggle area) to expand or reveal the first data sync option.

Include DrivesCheck the Include Drives checkbox to enable syncing data about all shared drives in your Google account. This option includes drive metadata and structure.

genericClick the next generic element to expand or reveal the second data sync option.

Include FilesCheck the Include Files checkbox to enable syncing file metadata and file contents from Google Drive. This is typically the main data you want to access.

genericClick the next generic element to expand or reveal the third data sync option.

Include ChangesCheck the Include Changes checkbox to enable syncing change history and revision data from Google Drive. This tracks when files were modified and by whom.

genericClick the final generic element to expand or reveal the fourth data sync option.
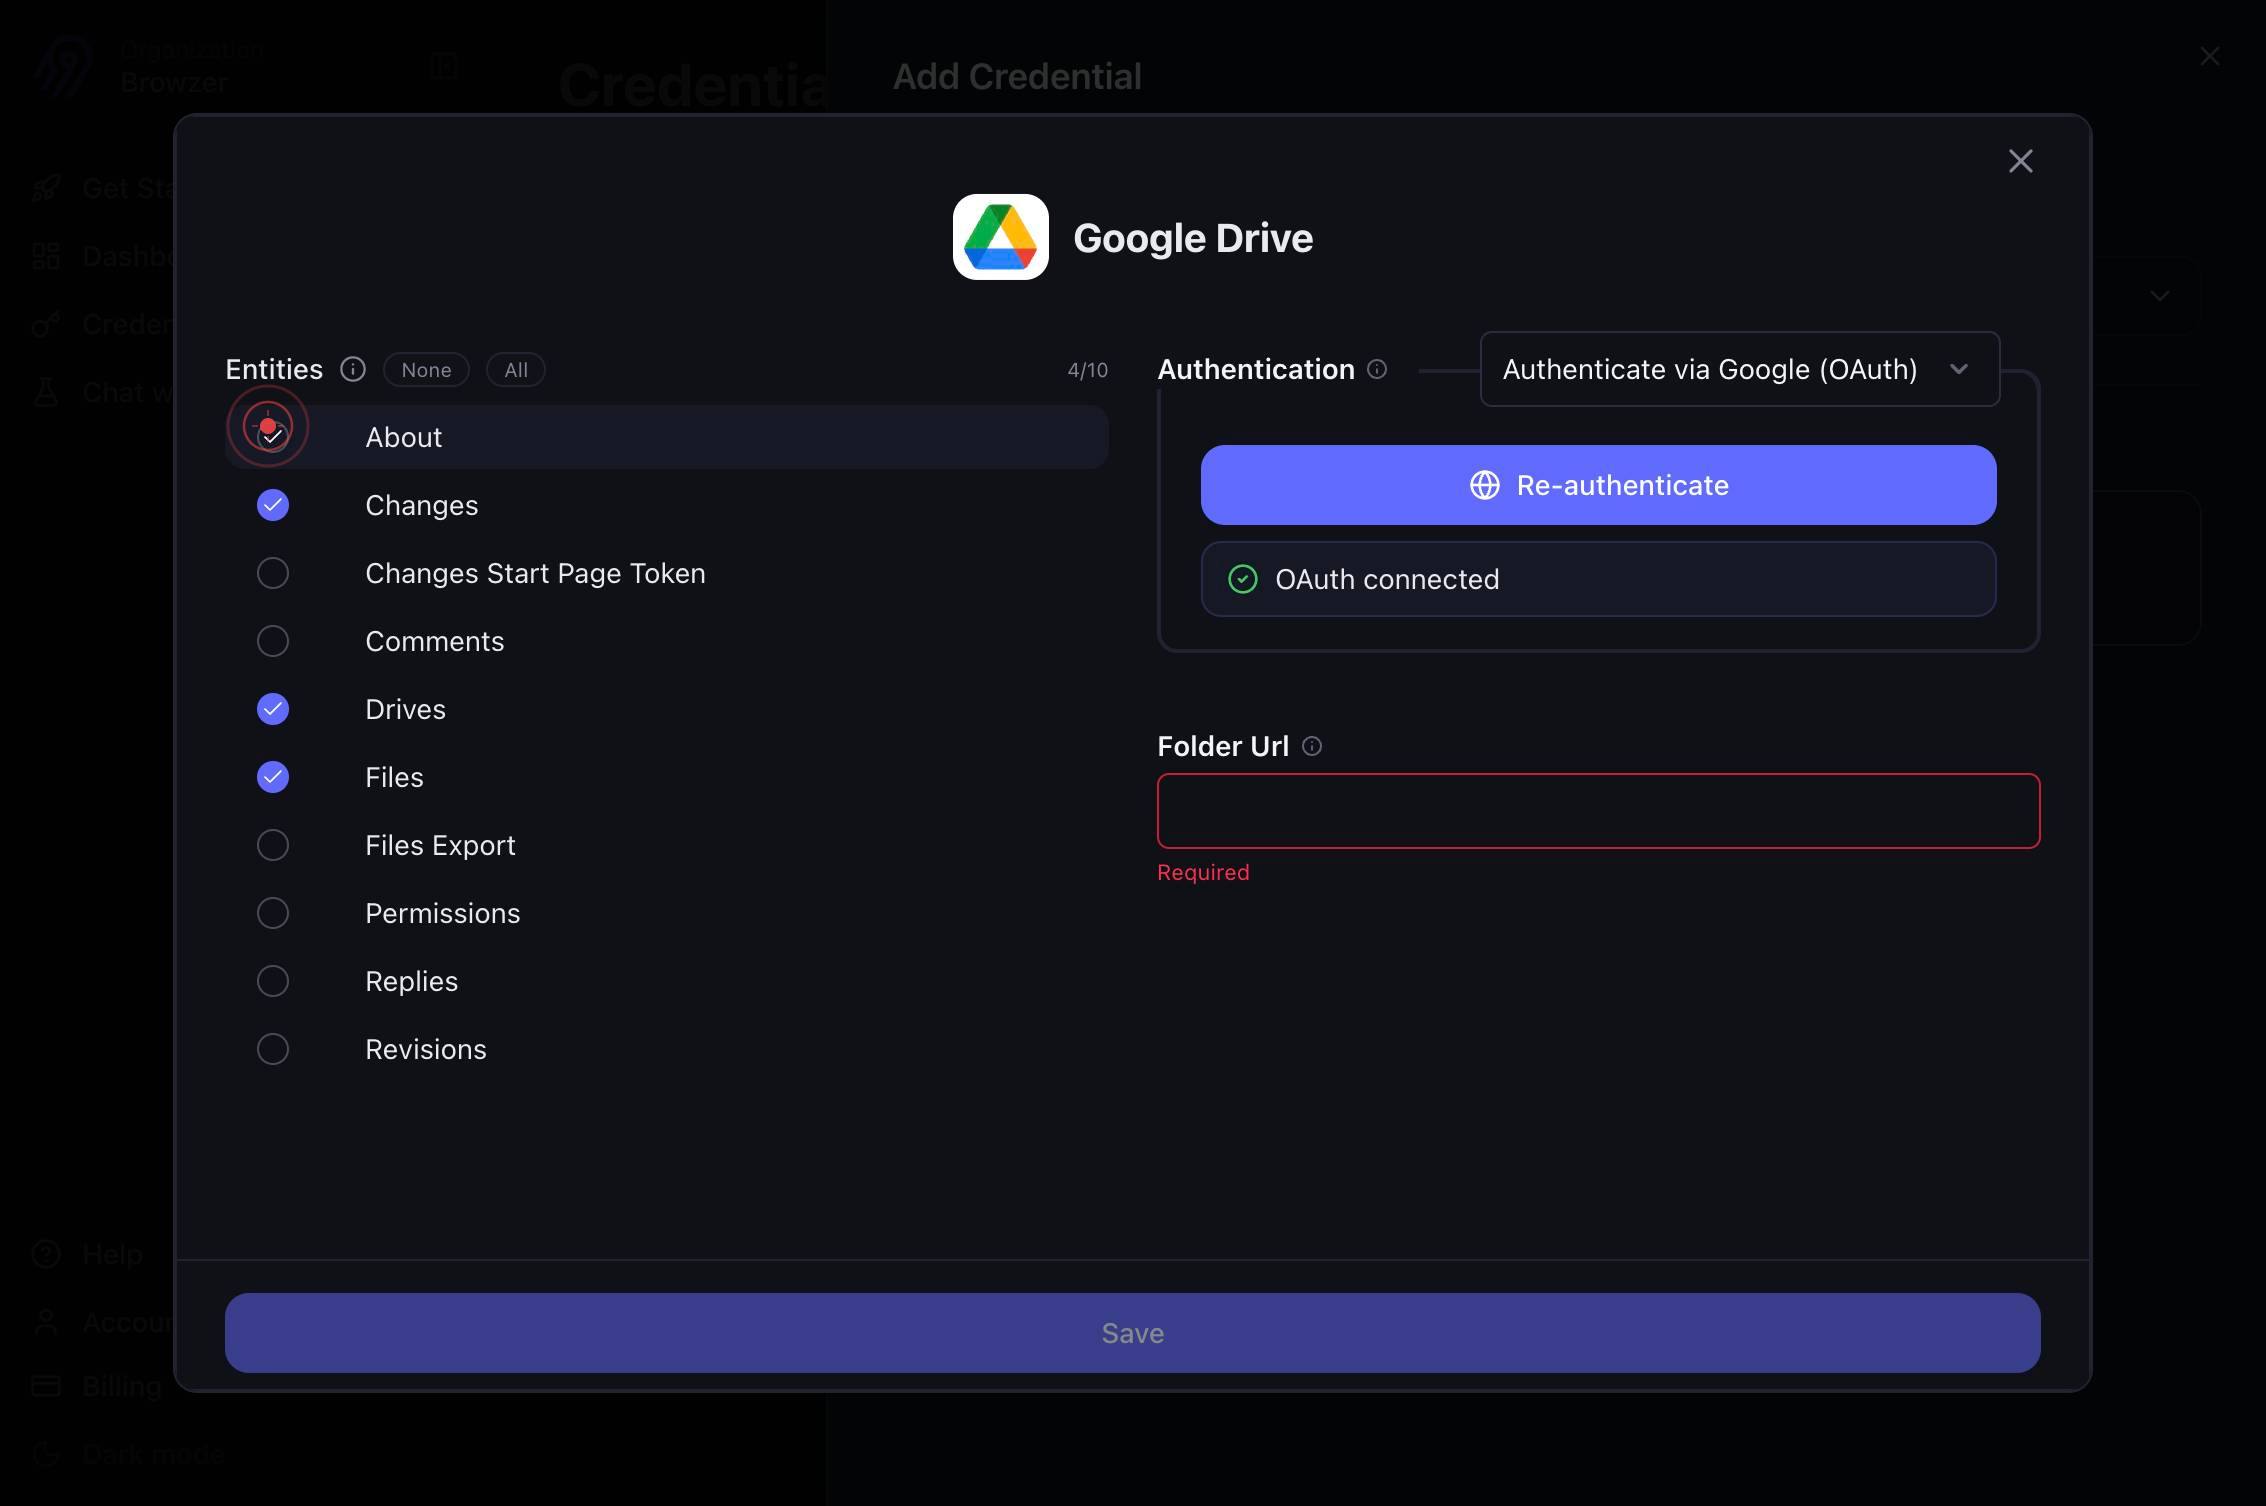
Include AboutCheck the Include About checkbox to enable syncing account metadata, including information about storage quota, user info, and Drive settings.

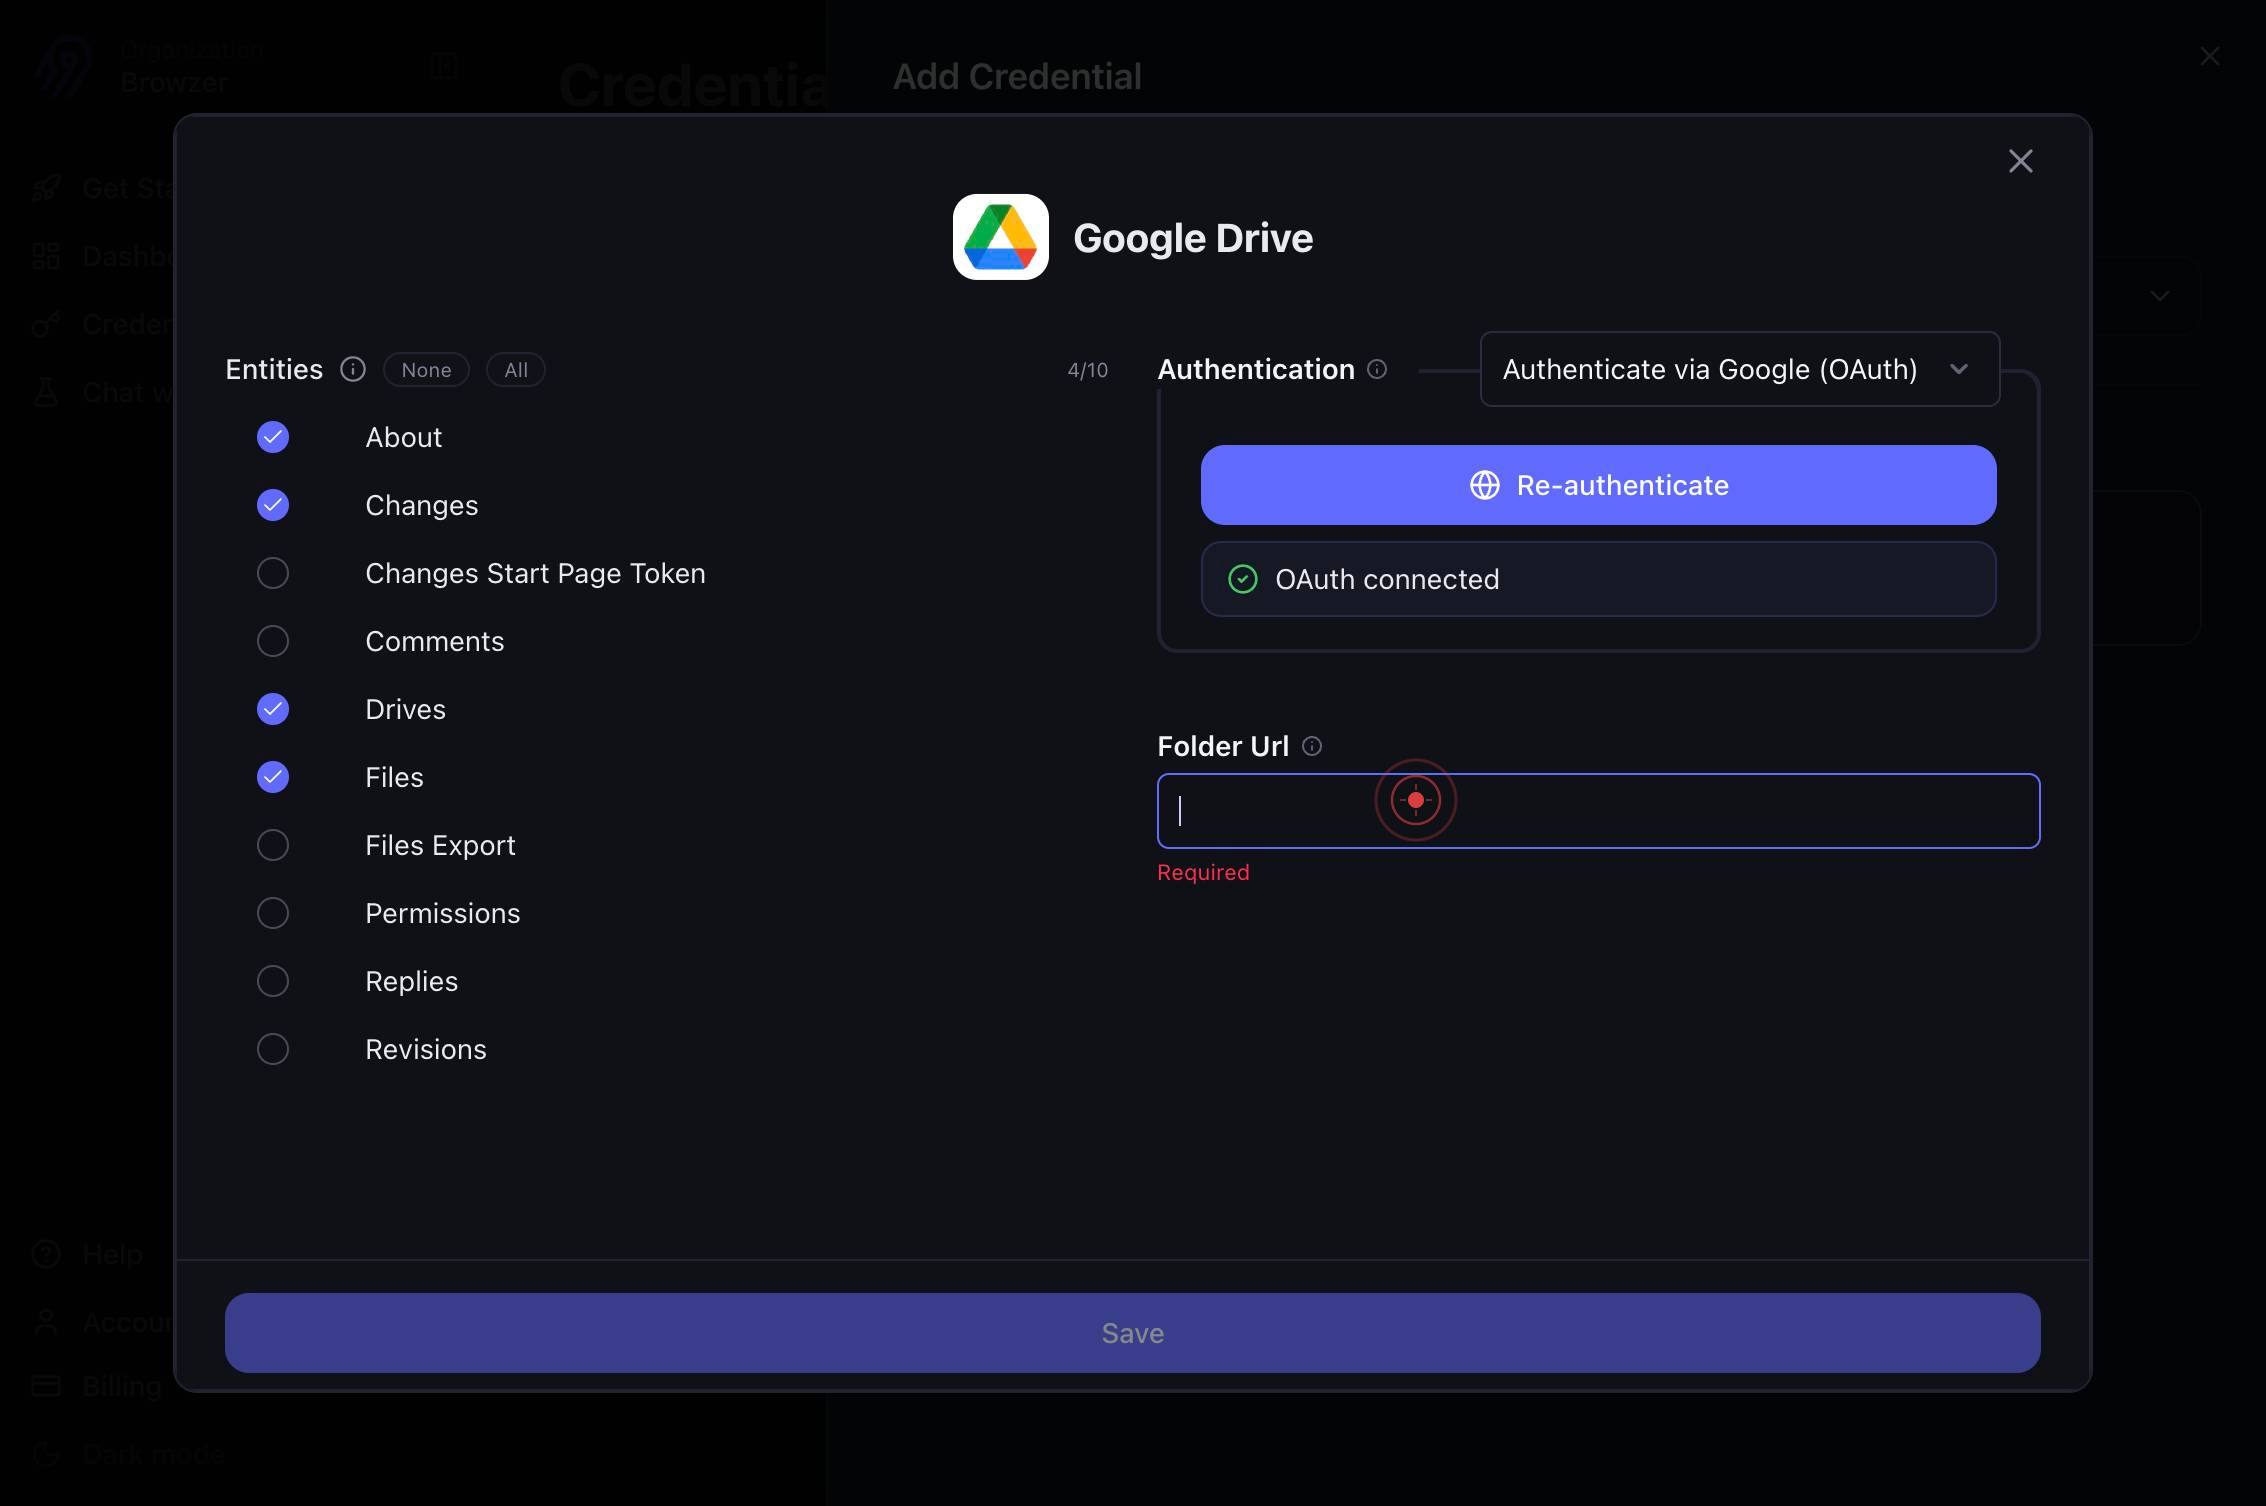
Folder UrlClick on the Folder Url text field to focus it for input. You will use this field to optionally specify a particular Google Drive folder to restrict data sync scope.
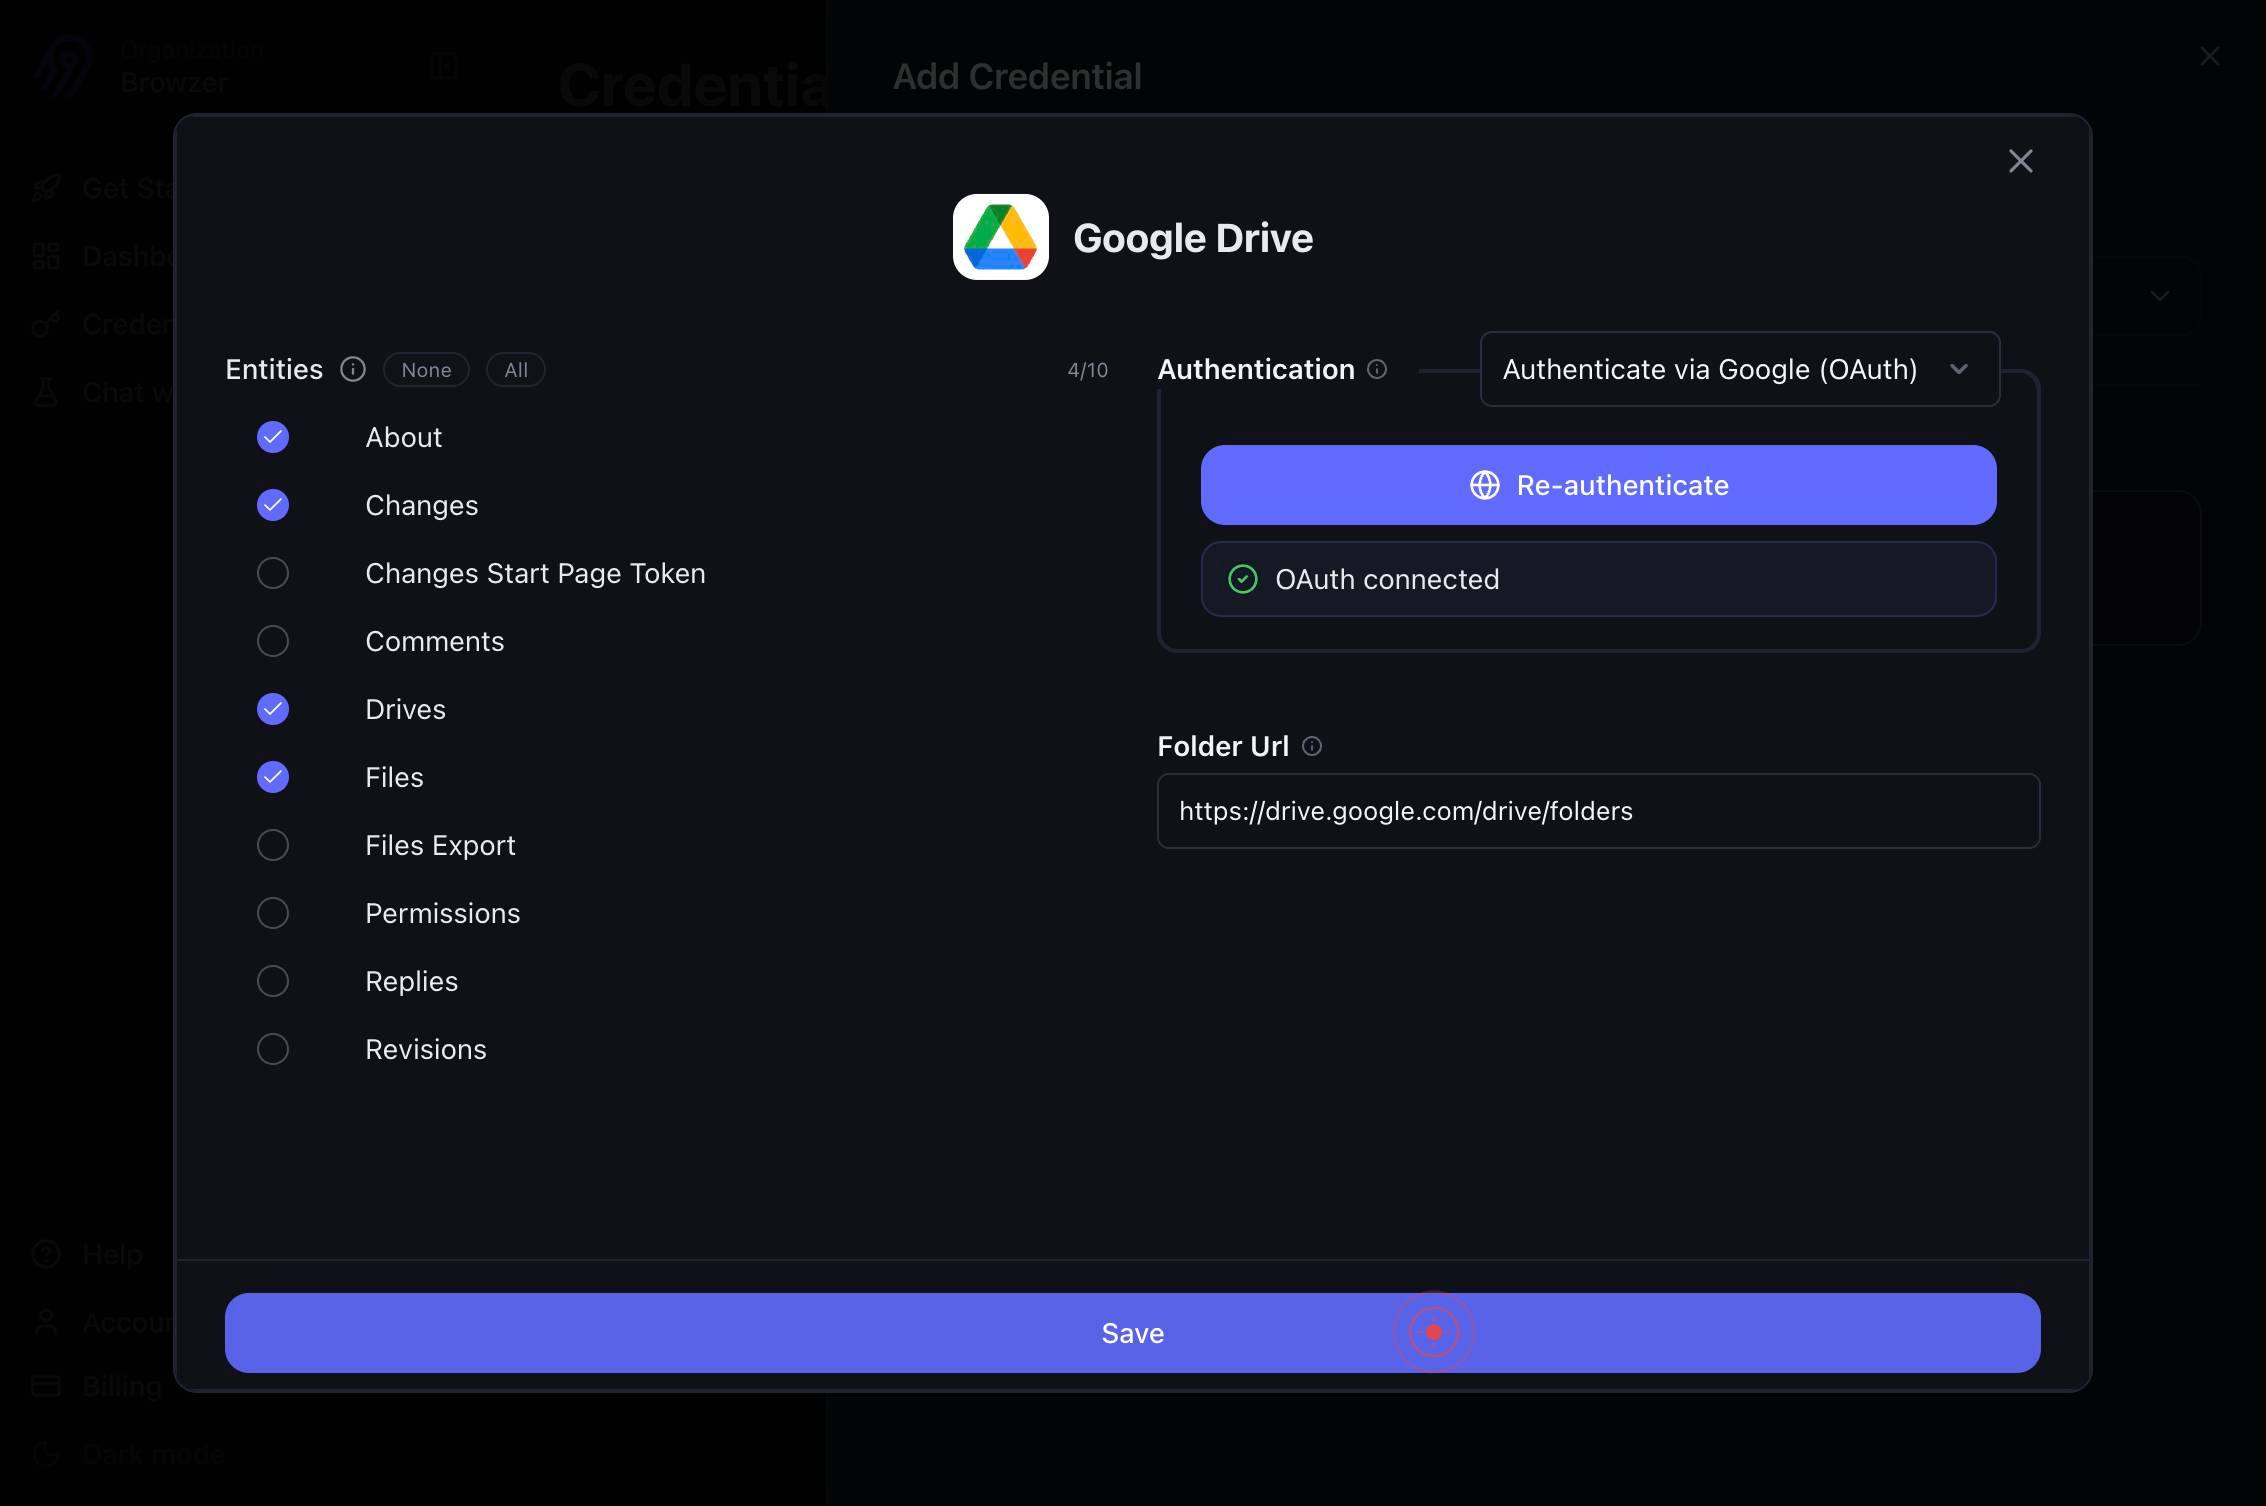
Folder UrlType the Google Drive folder URL into the Folder Url field. The URL should be in the format https://drive.google.com/drive/folders/{FOLDER_ID}. This restricts the connector to only sync files and metadata from this folder.
SaveClick the Save button to finalize the Google Drive connector configuration and create the credential. Airbyte will now validate the configuration and store your authenticated Google credentials.
Confirm it worked
- 1The Google Drive credential appears in your Credentials list with status 'Active' or 'Connected'
- 2The connector configuration screen shows all four data sync options (Drives, Files, Changes, About) are either enabled or disabled per your choice
- 3A Folder URL is successfully saved and persisted in the configuration (visible in the Folder Url text field)
- 4No error messages appear on the screen after clicking Save; you are redirected to the Credentials dashboard
Common issues
Keep reading
Create and configure a Google Drive connection | Integration Connectors | Google Cloud Documentation
Create and configure a Google Drive connection | Integration Connectors | Google Cloud Documentation # Create and configure a Google Drive connection The page describes how to create and configure a
cloud.google.comGoogle Drive connector | Integration Connectors | Google Cloud Documentation
Google Drive connector | Integration Connectors | Google Cloud Documentation # Google Drive connector The Google Drive connector lets you create and configure a Google Drive connection in Integratio
cloud.google.comOneDrive | Integration Connectors | Google Cloud Documentation
OneDrive | Integration Connectors | Google Cloud Documentation # OneDrive The Onedrive connector lets you perform insert, delete, update, and read operations on OneDrive. ## Before you begin Befor
docs.cloud.google.com