Guide
Context Store Readiness Check
Overview
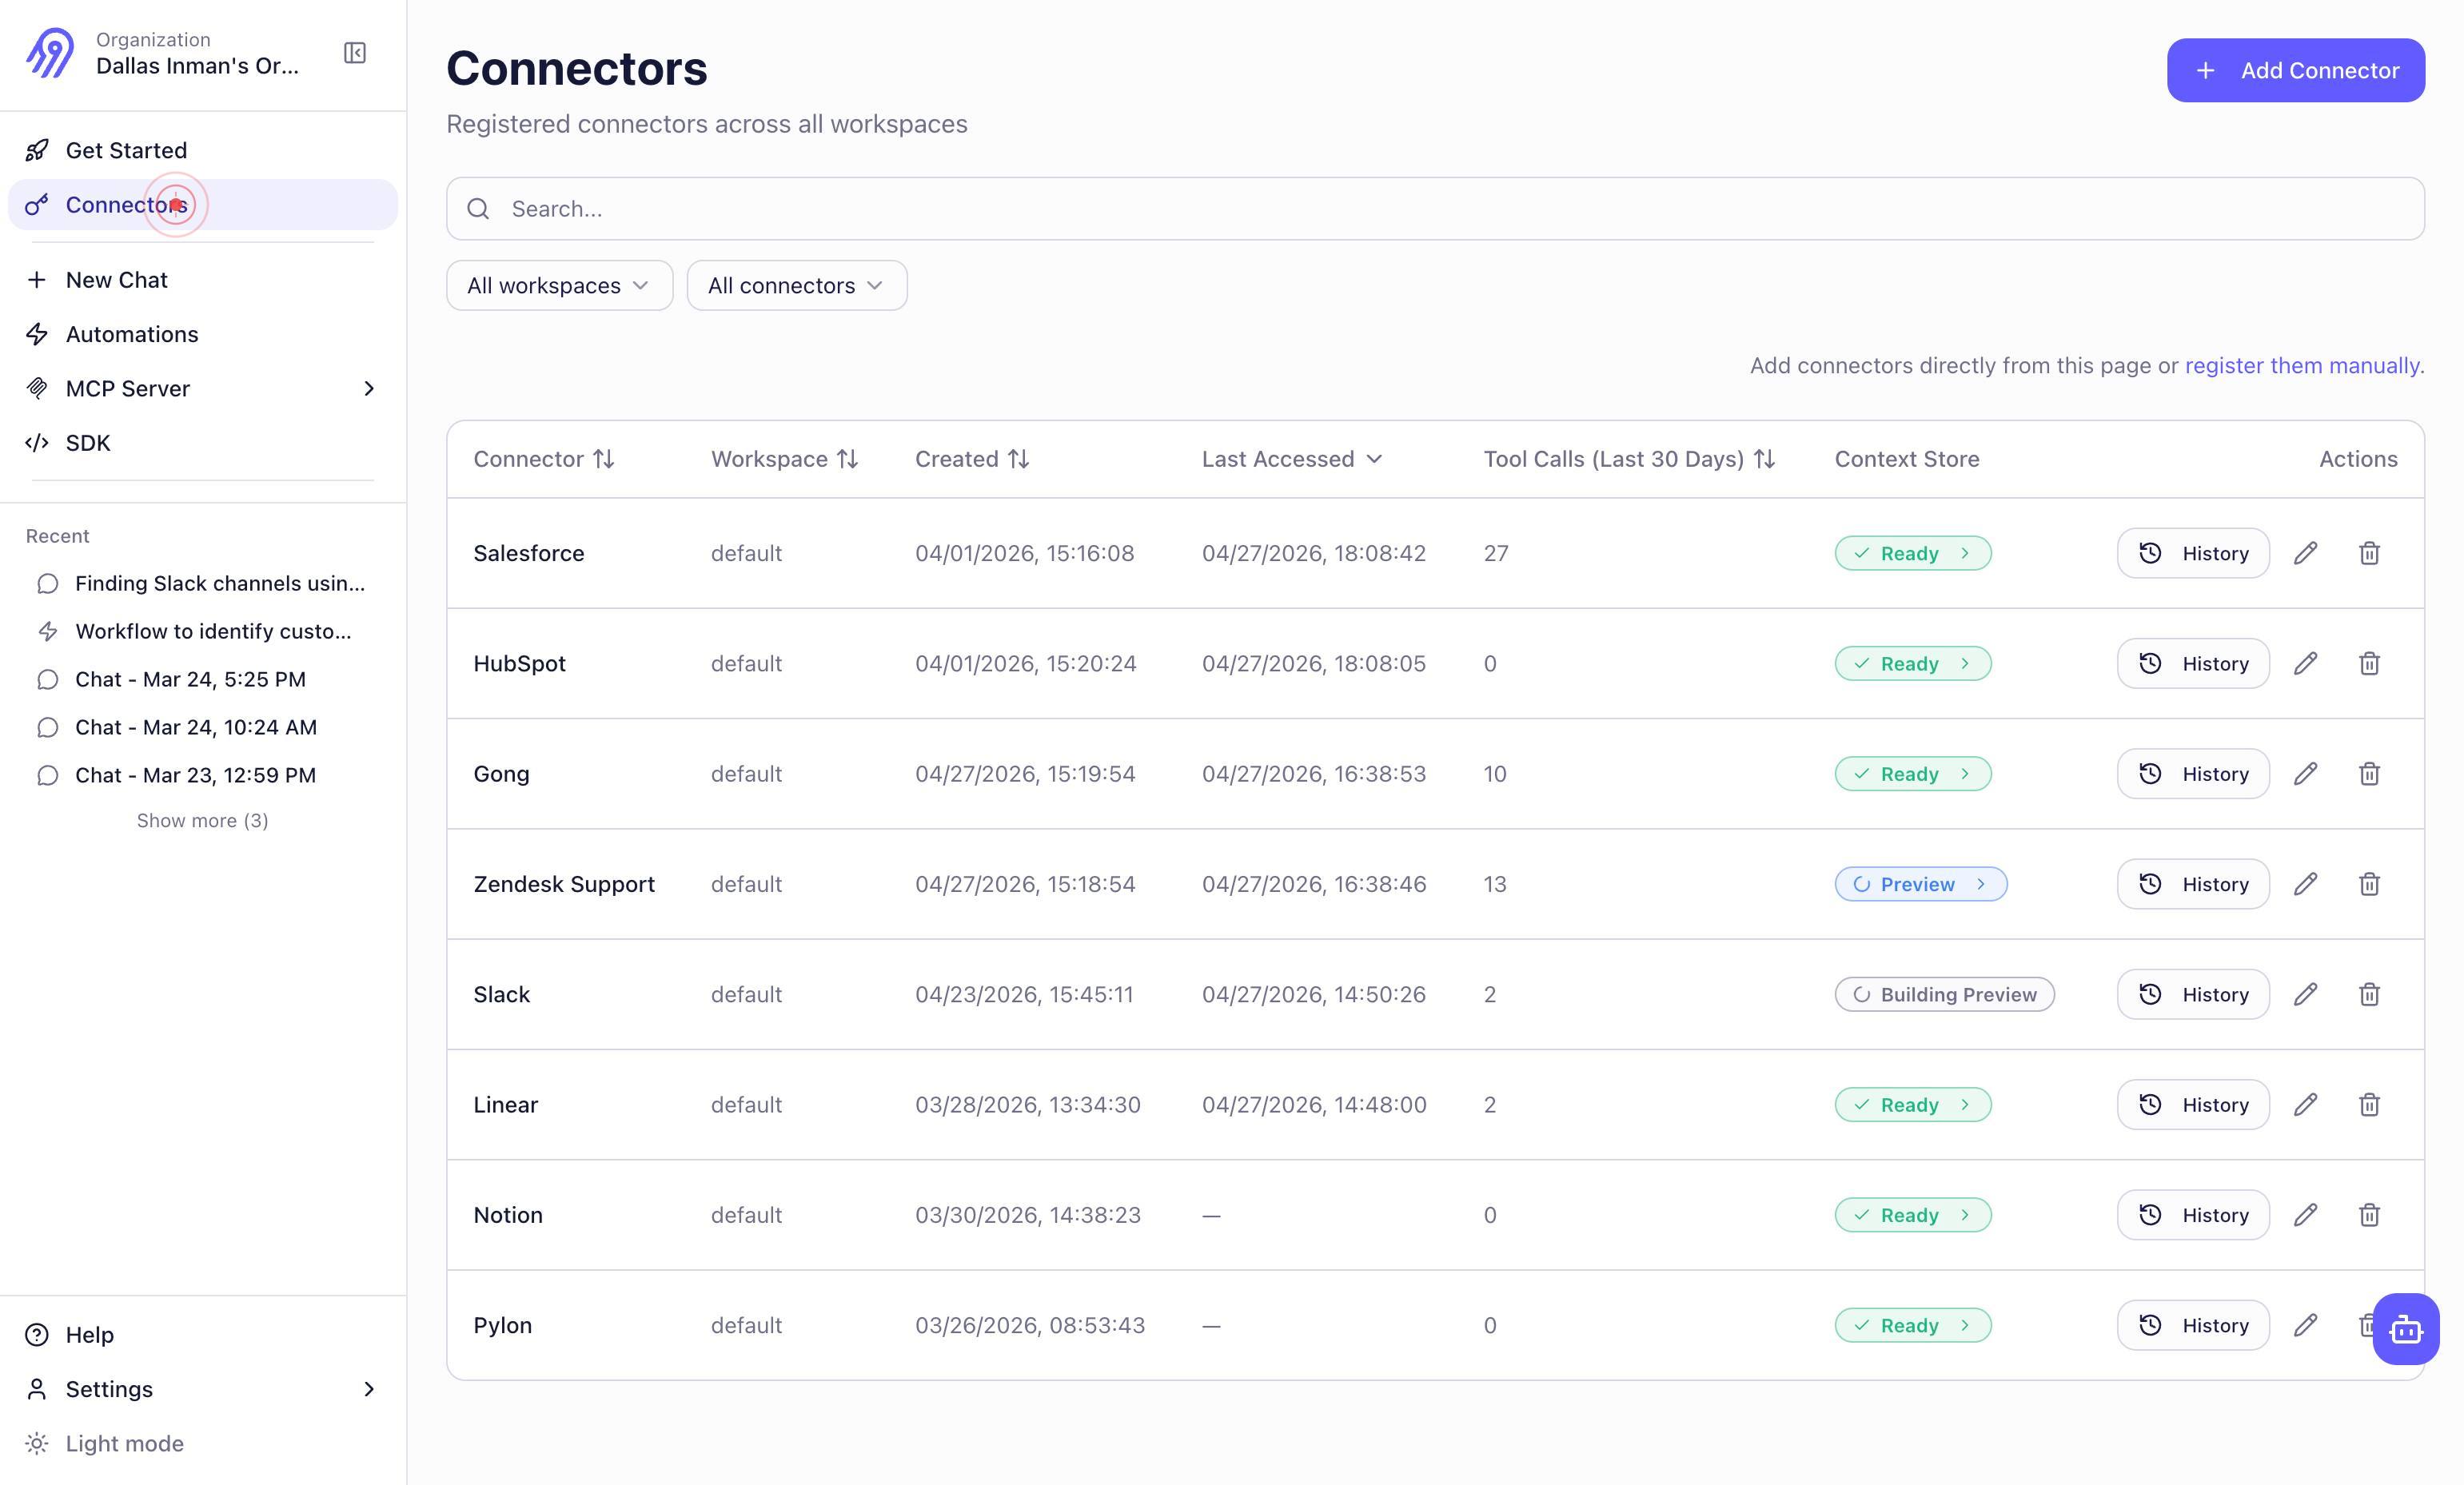
Airbyte's Agent Engine powers demanding agentic workflows by providing end-to-end capabilities for real-time data fetching, searching, and writing across multiple sources. Before using connectors in production agent pipelines, you need to verify their readiness status. A "Ready" connector means it has been tested, authenticated, and is prepared to handle live data operations without resource-intensive workarounds. This workflow guides you through Airbyte's connector management interface to confirm which connectors are production-ready and review their deployment history, ensuring your AI agents have reliable access to the data sources they need.
Before you begin
- Active Airbyte account with access to app.airbyte.ai
- Permission to view Connectors section (typically available to workspace members or admins)
- At least one connector configured in your Airbyte workspace
- Understanding of which data sources your AI agents will require
Step by step
ConnectorsNavigate to the Connectors section by clicking the Connectors link in the main navigation. This page displays all available connectors in your Airbyte workspace, organized by their configuration status and readiness.
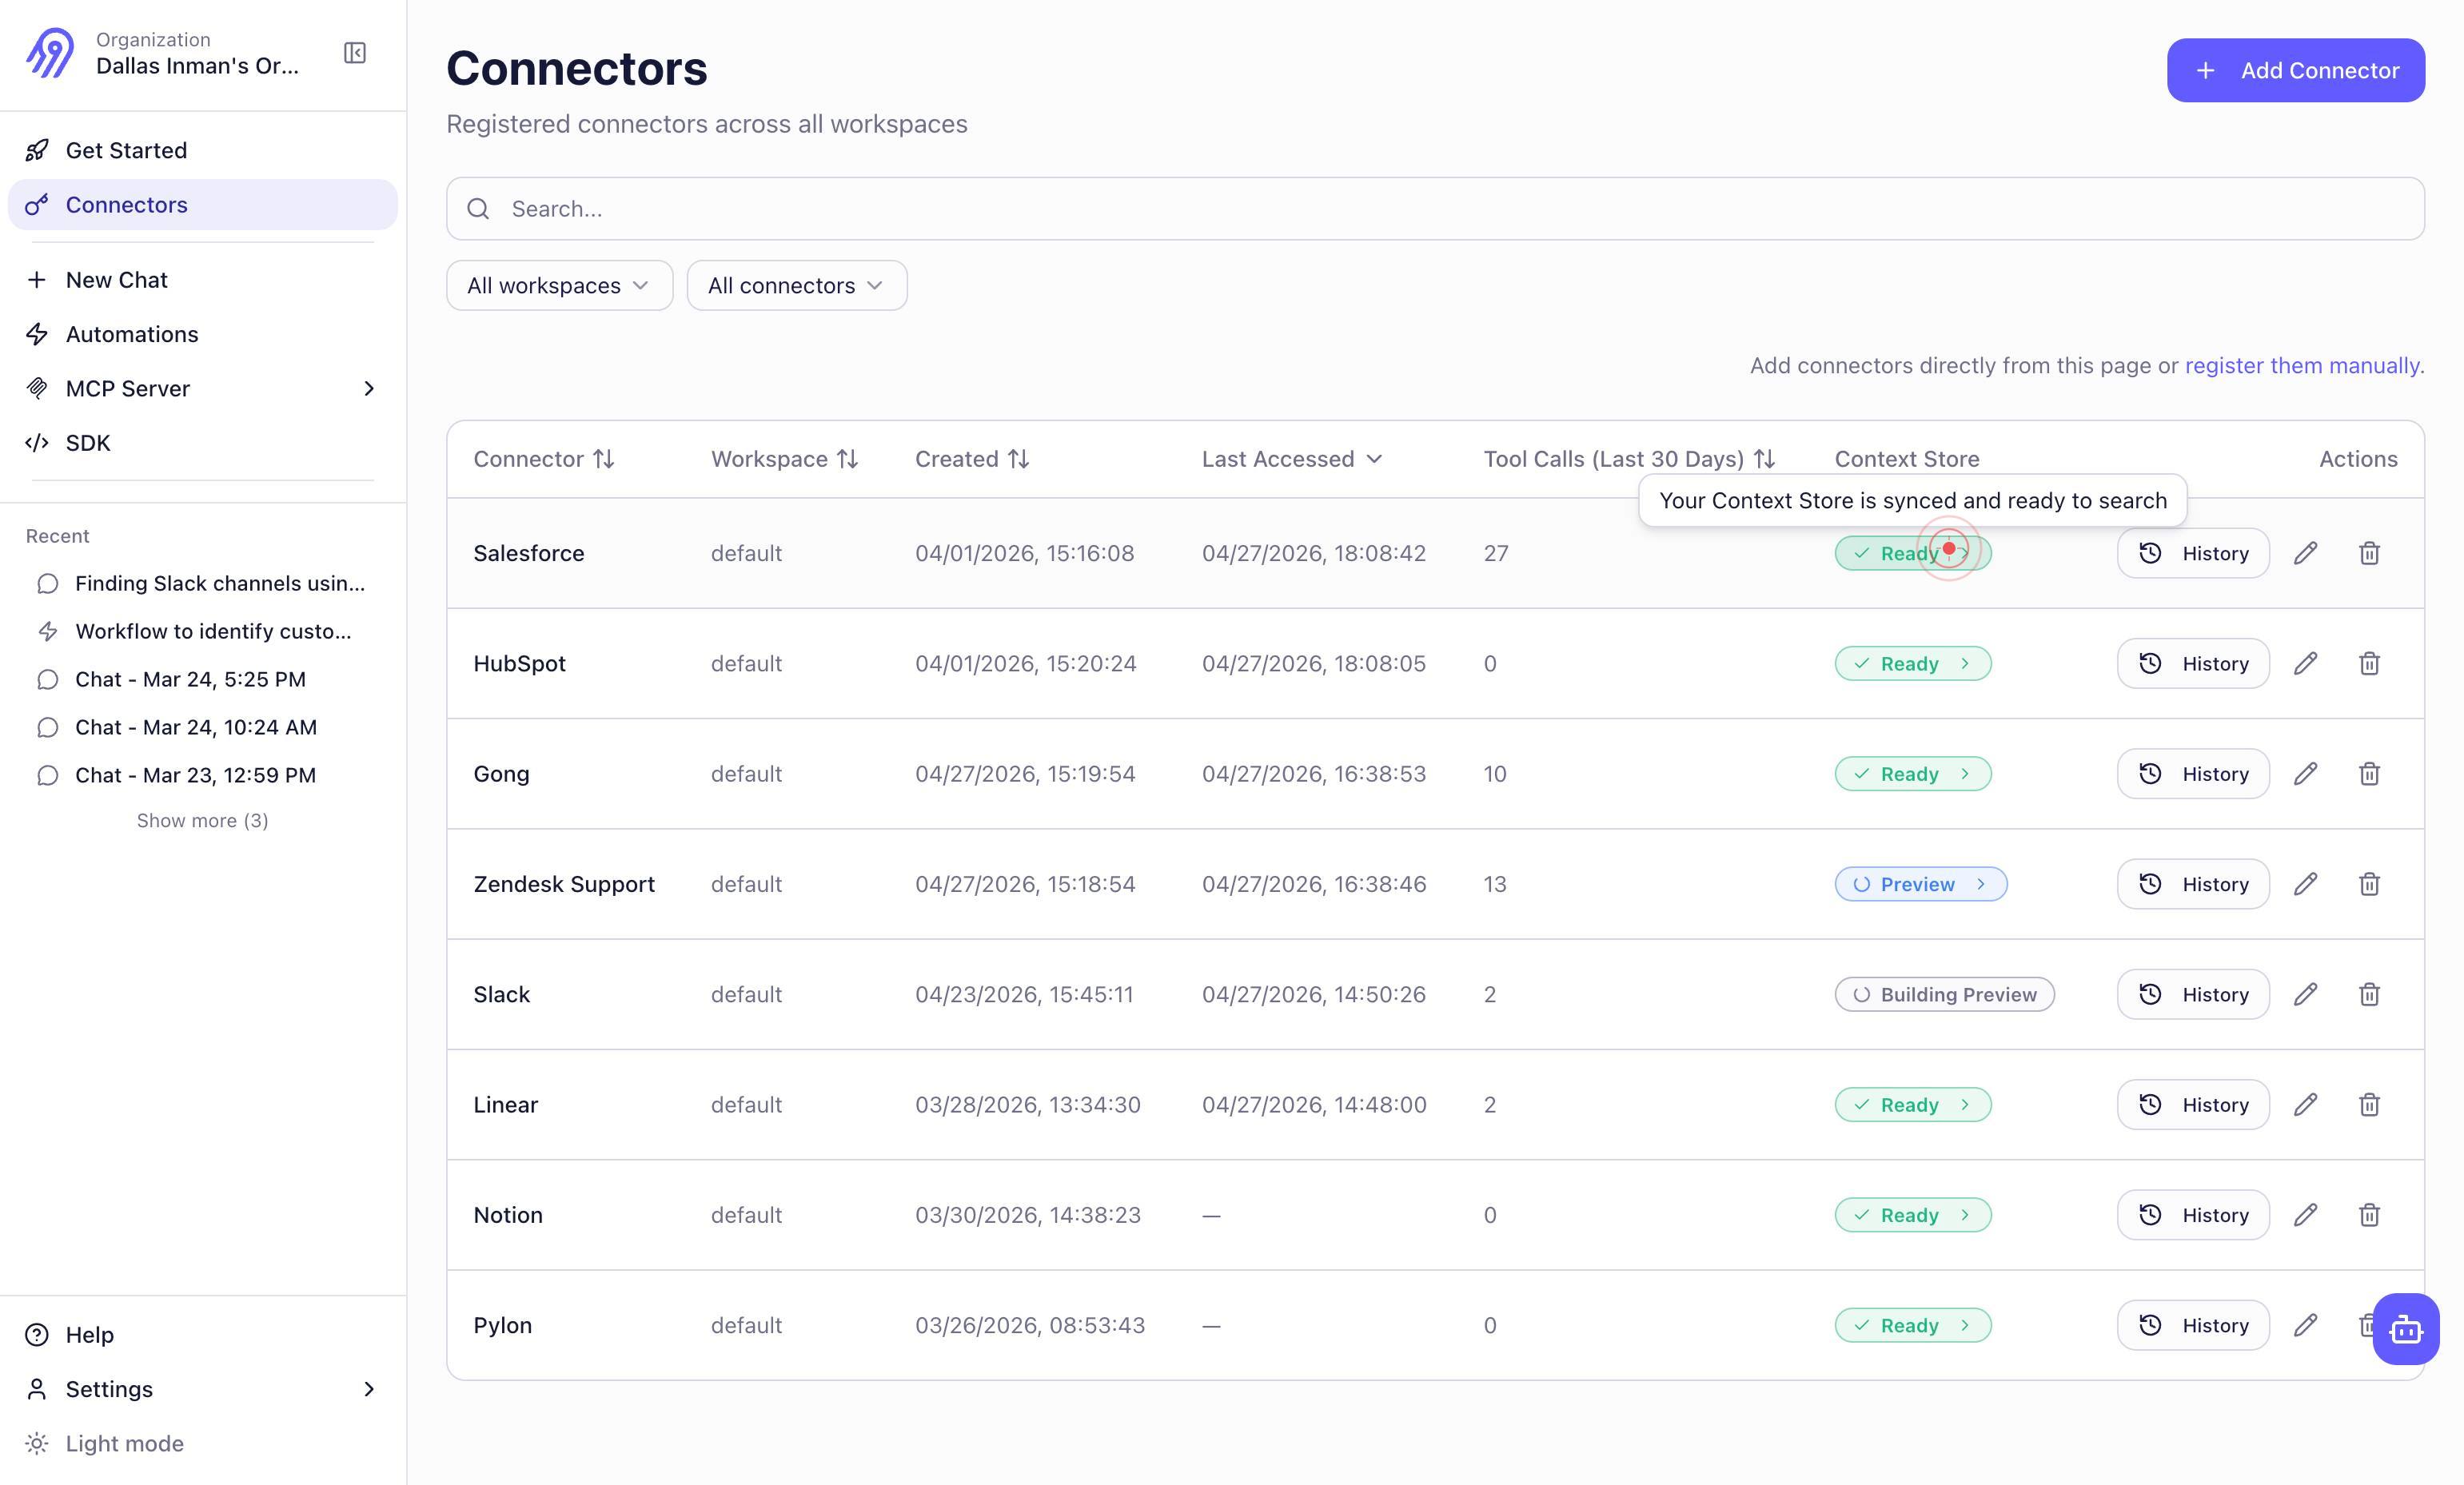
ReadyClick the Ready button to filter the connector list to show only connectors that have been verified and are prepared for production use. This filter narrows the view to connectors your AI agents can safely depend on.
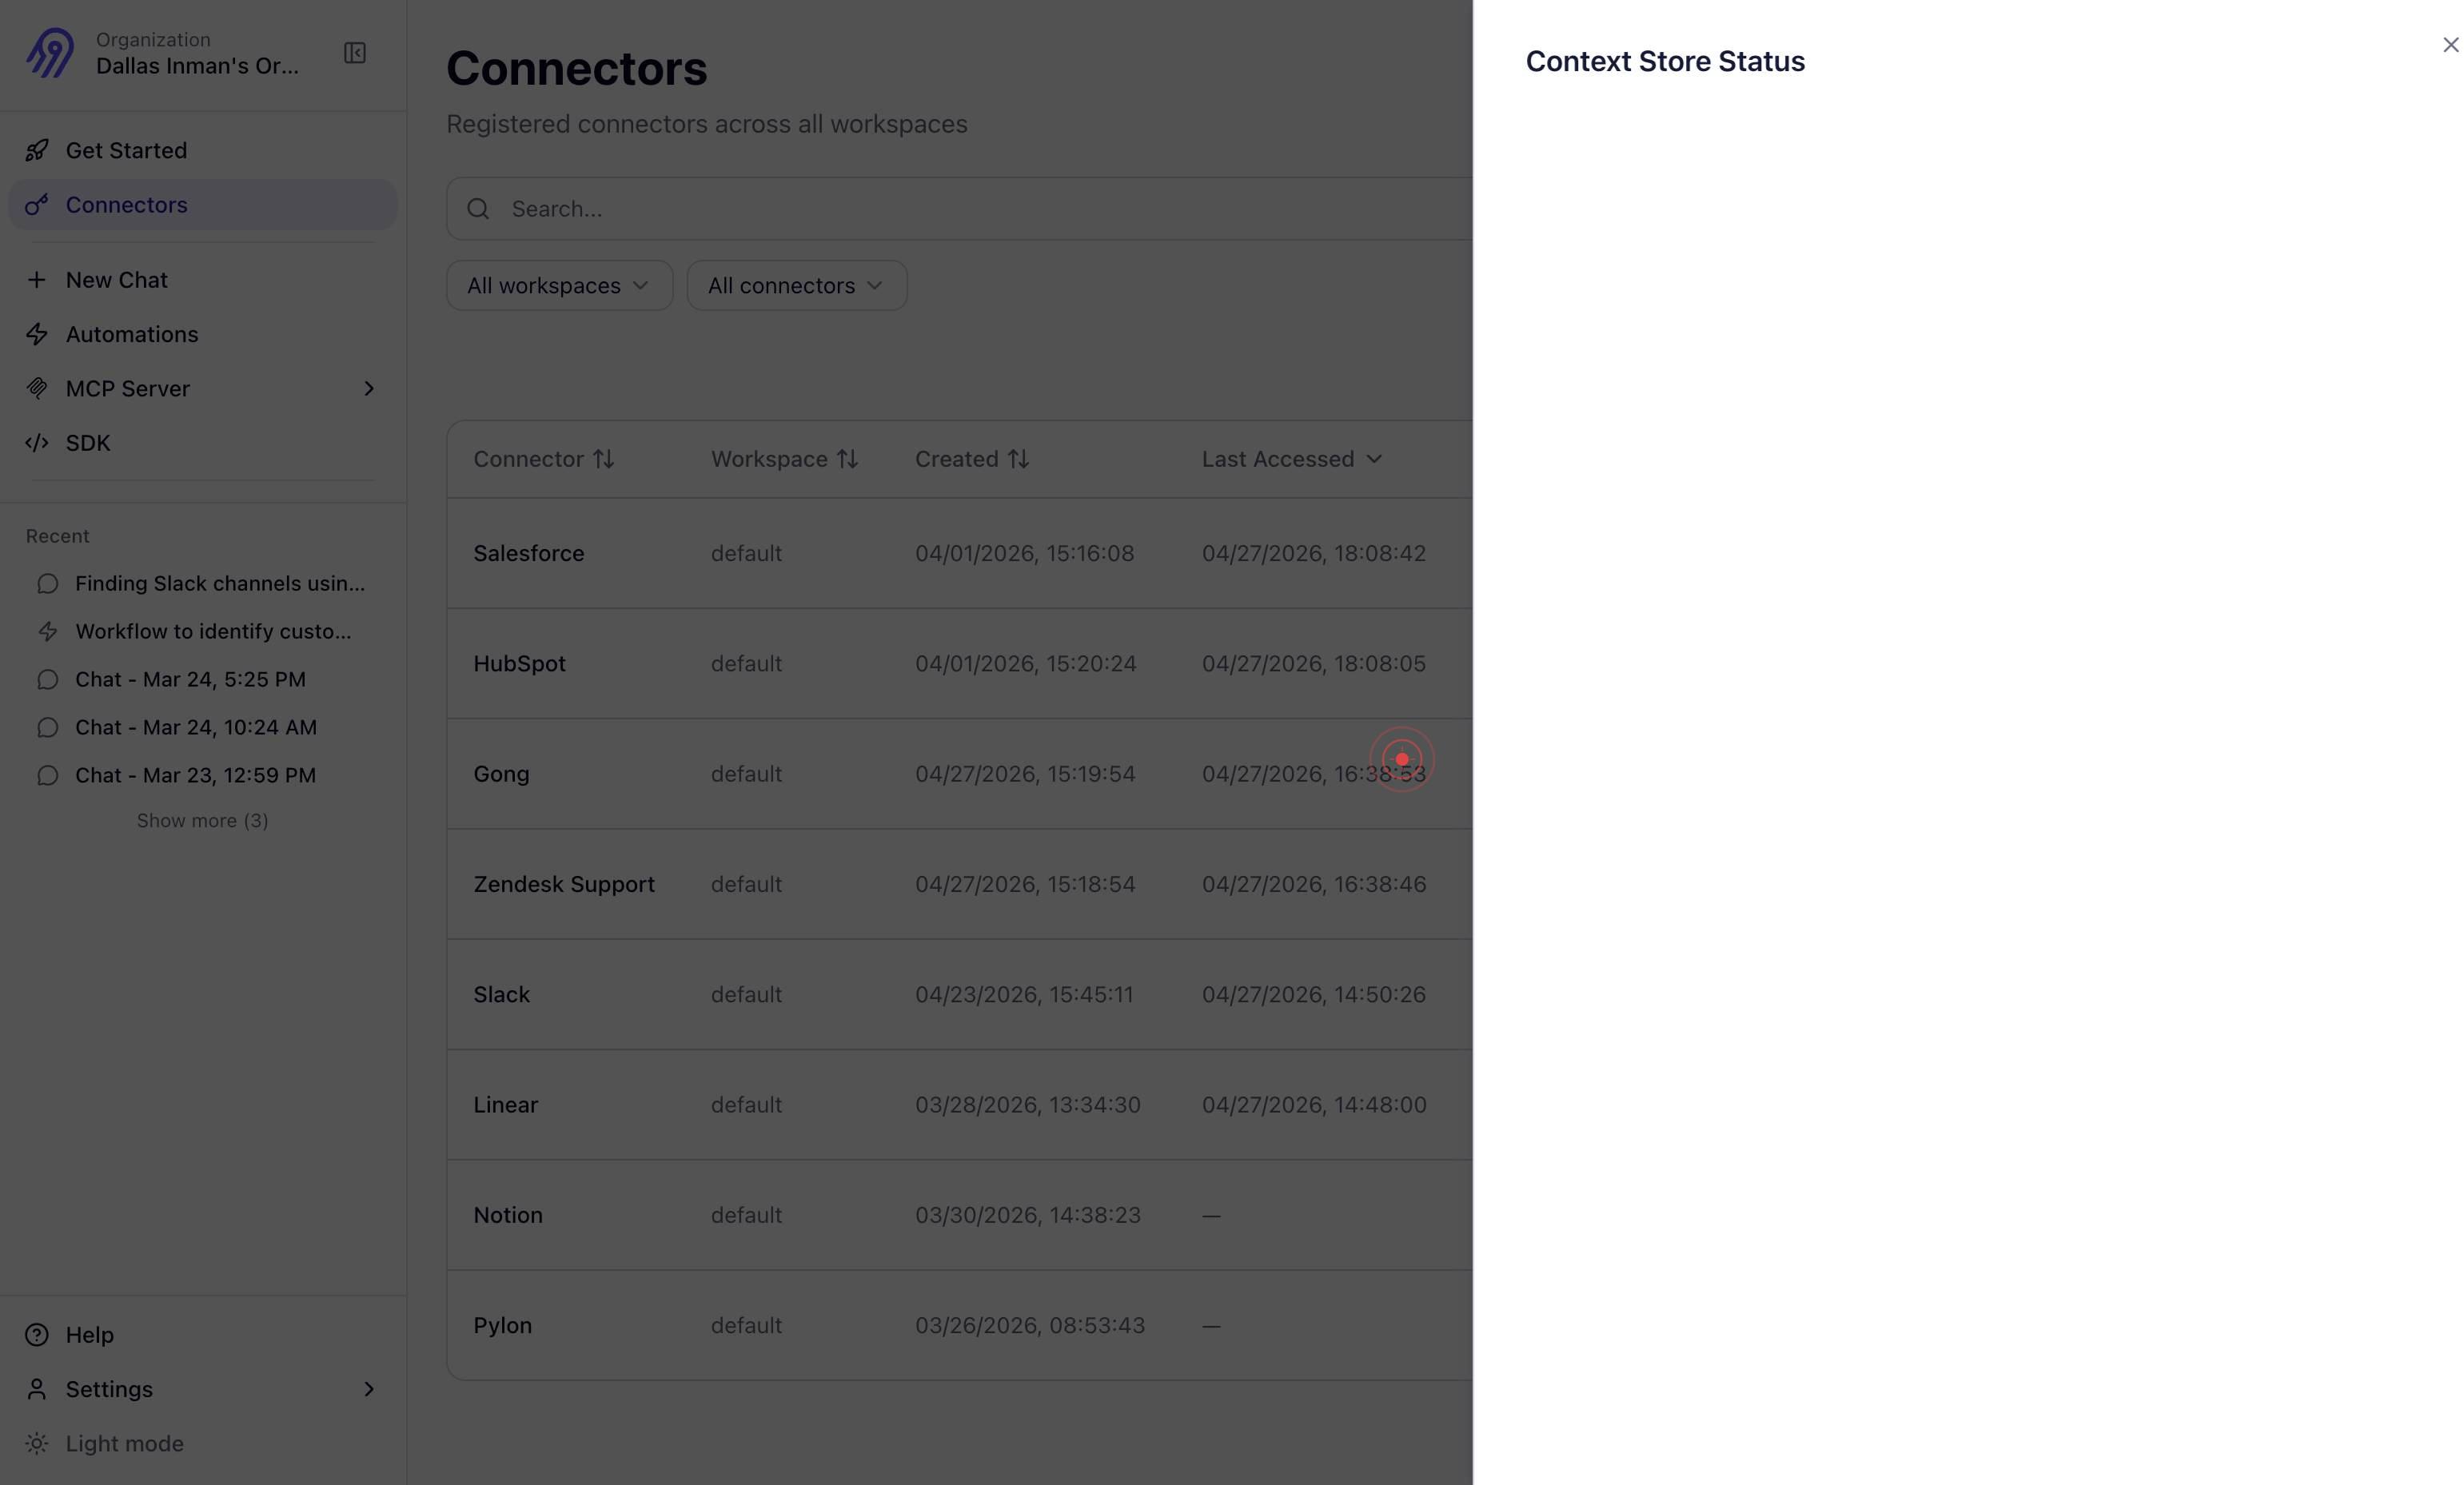
genericSelect or interact with the filtered connector list by clicking on a generic element (such as a connector row or card). This action allows you to view details about a specific ready connector, including its configuration and recent activity.
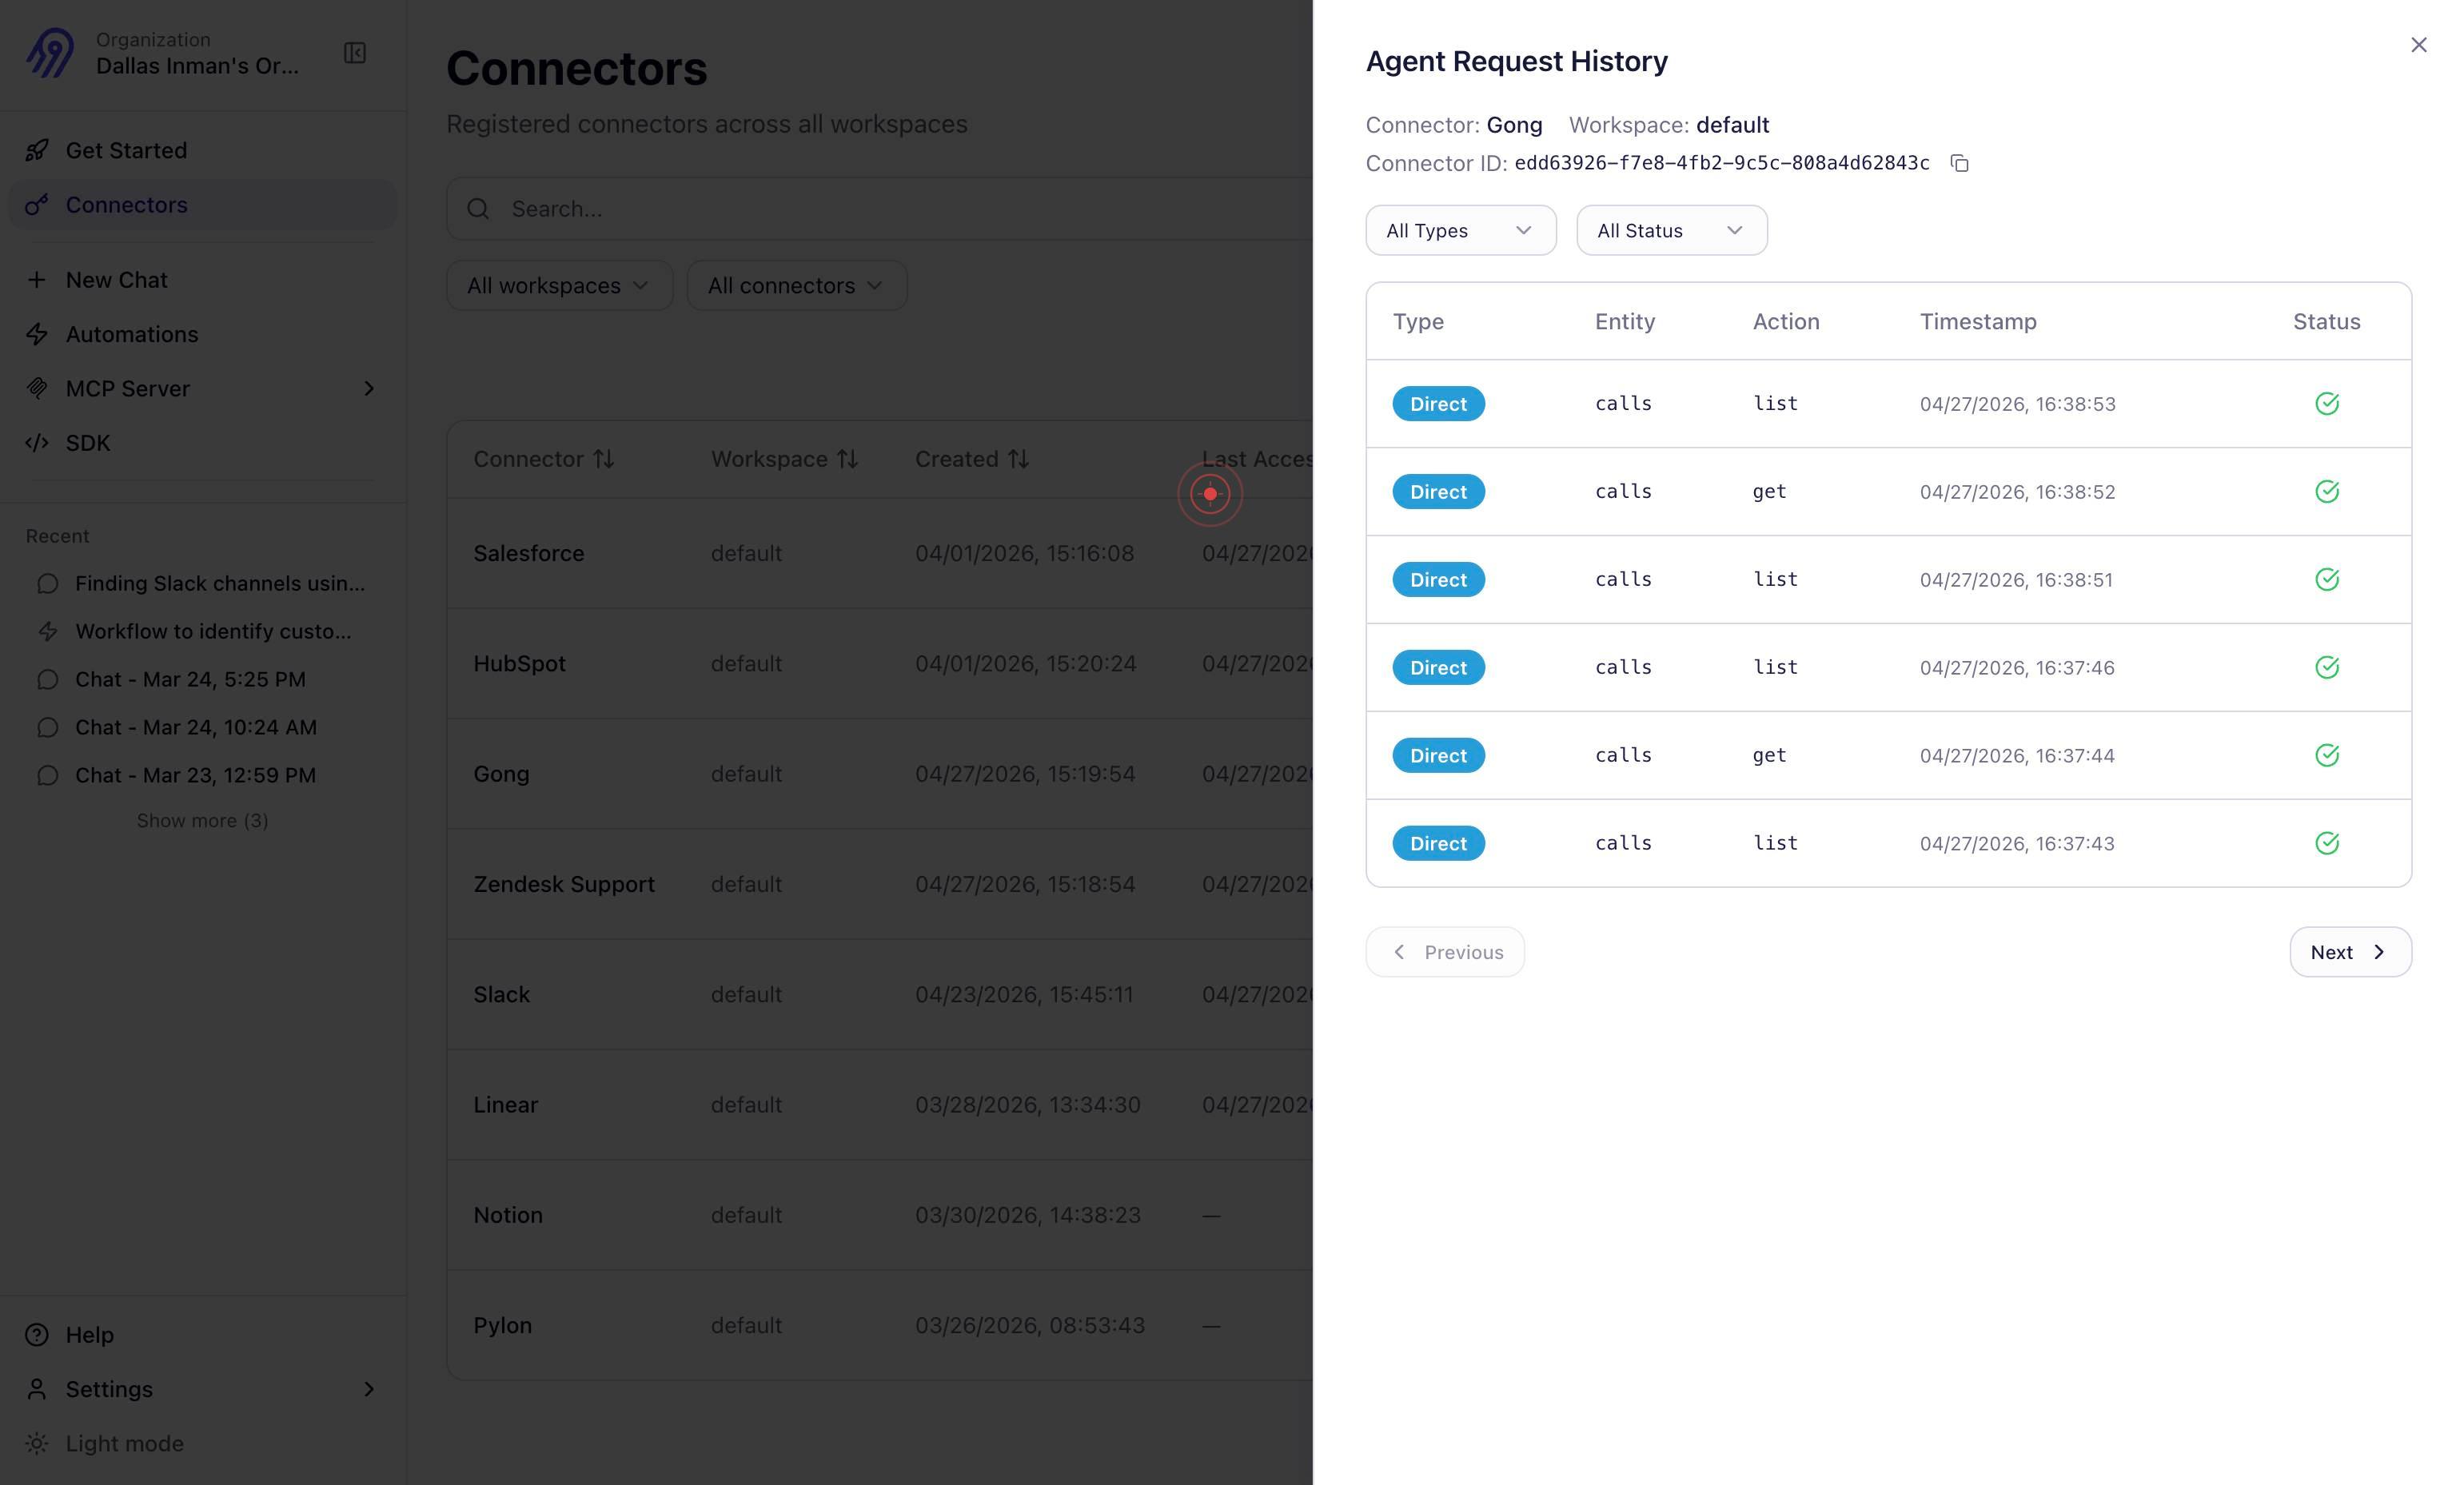
HistoryClick the History button to review the deployment and configuration history of the selected connector. This shows you when the connector was last updated, any successful connections, and any past configuration changes.

genericClick on a generic element within the History view to examine specific history entries in detail. This allows you to inspect individual deployment records, timestamps, and any associated messages or logs.
Confirm it worked
- 1You can see the Connectors list page displaying available connectors with status indicators
- 2The filter shows only connectors with "Ready" status displayed in the main view
- 3The History tab opens and displays a timeline of connector deployments, updates, or configuration changes
- 4You can confirm which connectors are marked as Ready and eligible for agent use
Common issues
Keep reading
Production Readiness in action
Production Readiness in action | Cortex [![Logo](https://docs.cortex.io/~gitbook/image?url=https%3A%2F%2F276414655-files.gitbook.io%2F%7E%2Ffiles%2Fv0%2Fb%2Fgitbook-x-prod.appspot.com%2Fo%2Forganizati
docs.cortex.ioRelease Checklist | ContextSDK Docs
# Release Checklist Before you ship your first release with the ContextSDK, we recommend taking a few steps to validate the integration works as expected. {% stepper %} {% step %} Validate the Conte
docs.contextsdk.comIntroducing the ContextStore CLI
Introducing the ContextStore CLI # Introducing the ContextStore CLI John Long ContextStore· AI Mar 2026 Your context repository might span multiple spaces — Product, Marketing, Engineering. But wh
32pixels.co