Guide
Add Connector - Notion
Overview
Airbyte's Agent Engine allows AI agents to fetch, search, and write data across your connected tools. Adding a Notion connector creates a secure, reusable credential that your agents can use to interact with Notion pages without storing passwords or API keys directly in your codebase. This workflow guides you through Notion's OAuth authorization process, which protects your account security while allowing Airbyte to access only the pages you explicitly permit. Once saved, the credential is ready for use across multiple agent workflows.
Before you begin
- An active Airbyte account with access to the Credentials section (app.airbyte.ai)
- A Notion account with workspace owner or admin permissions
- If using Notion AI Connectors (beyond basic page read access), a Notion Business or Enterprise Plan
- At least one Notion page that you intend to grant Airbyte access to
Step by step
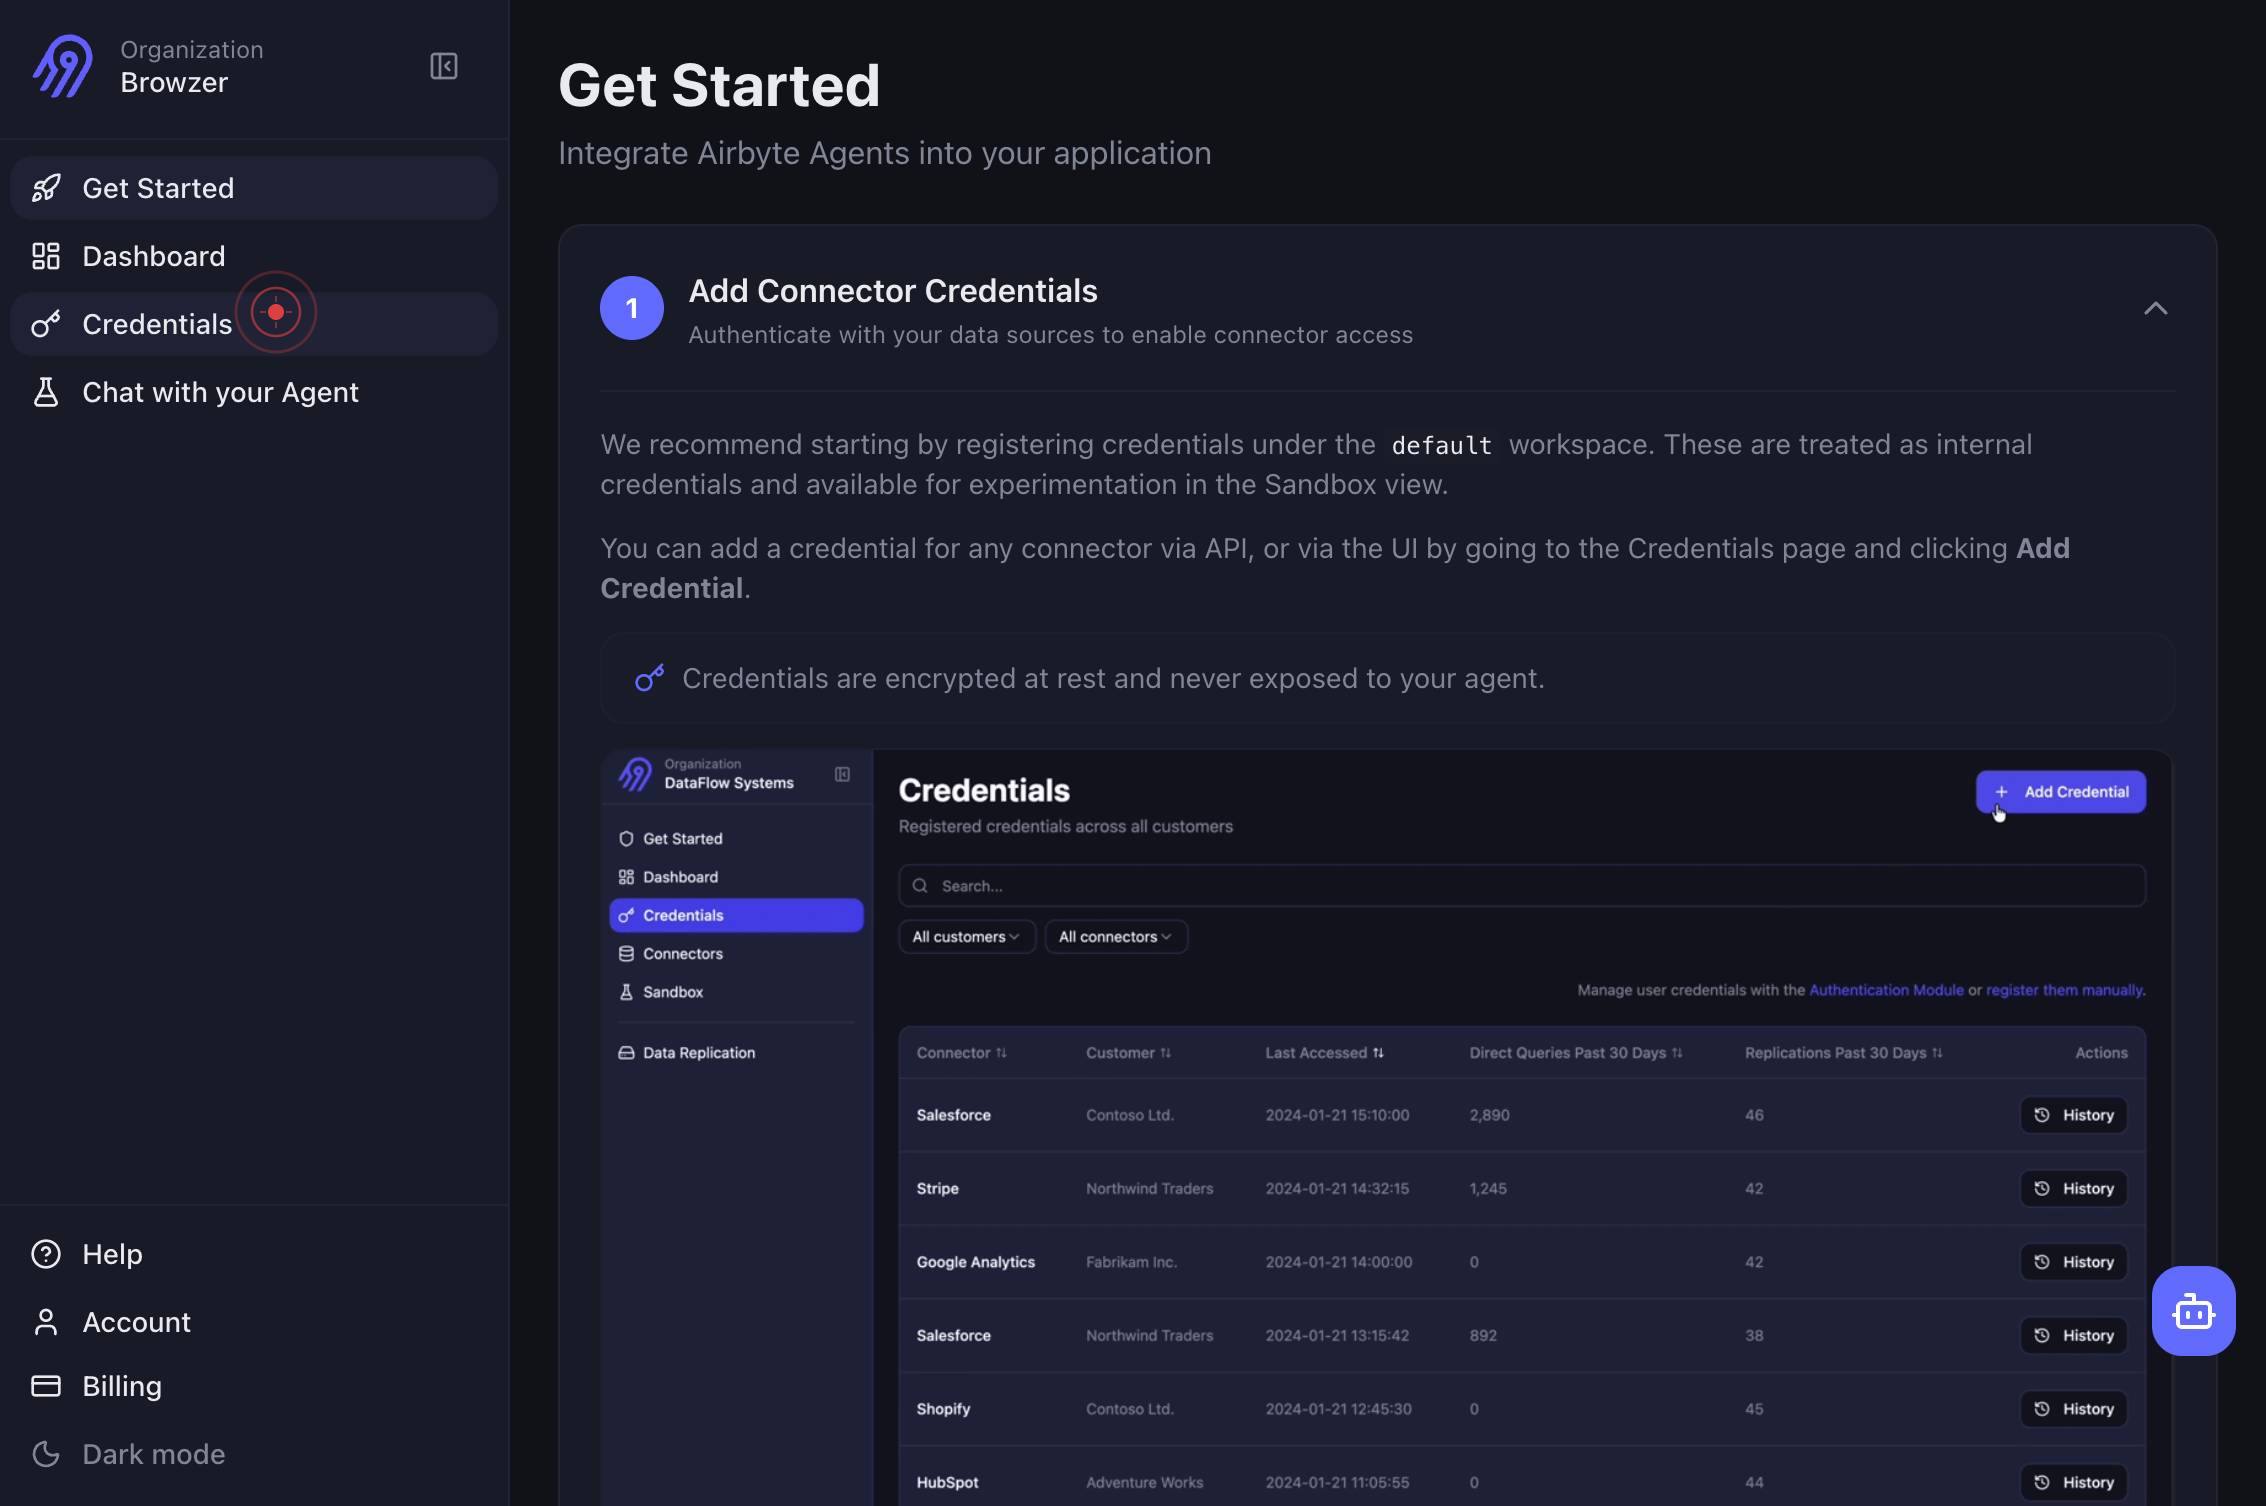
CredentialsNavigate to the Credentials section in Airbyte by clicking the Credentials link in the top navigation. This is where you manage all connector authentications and API keys.
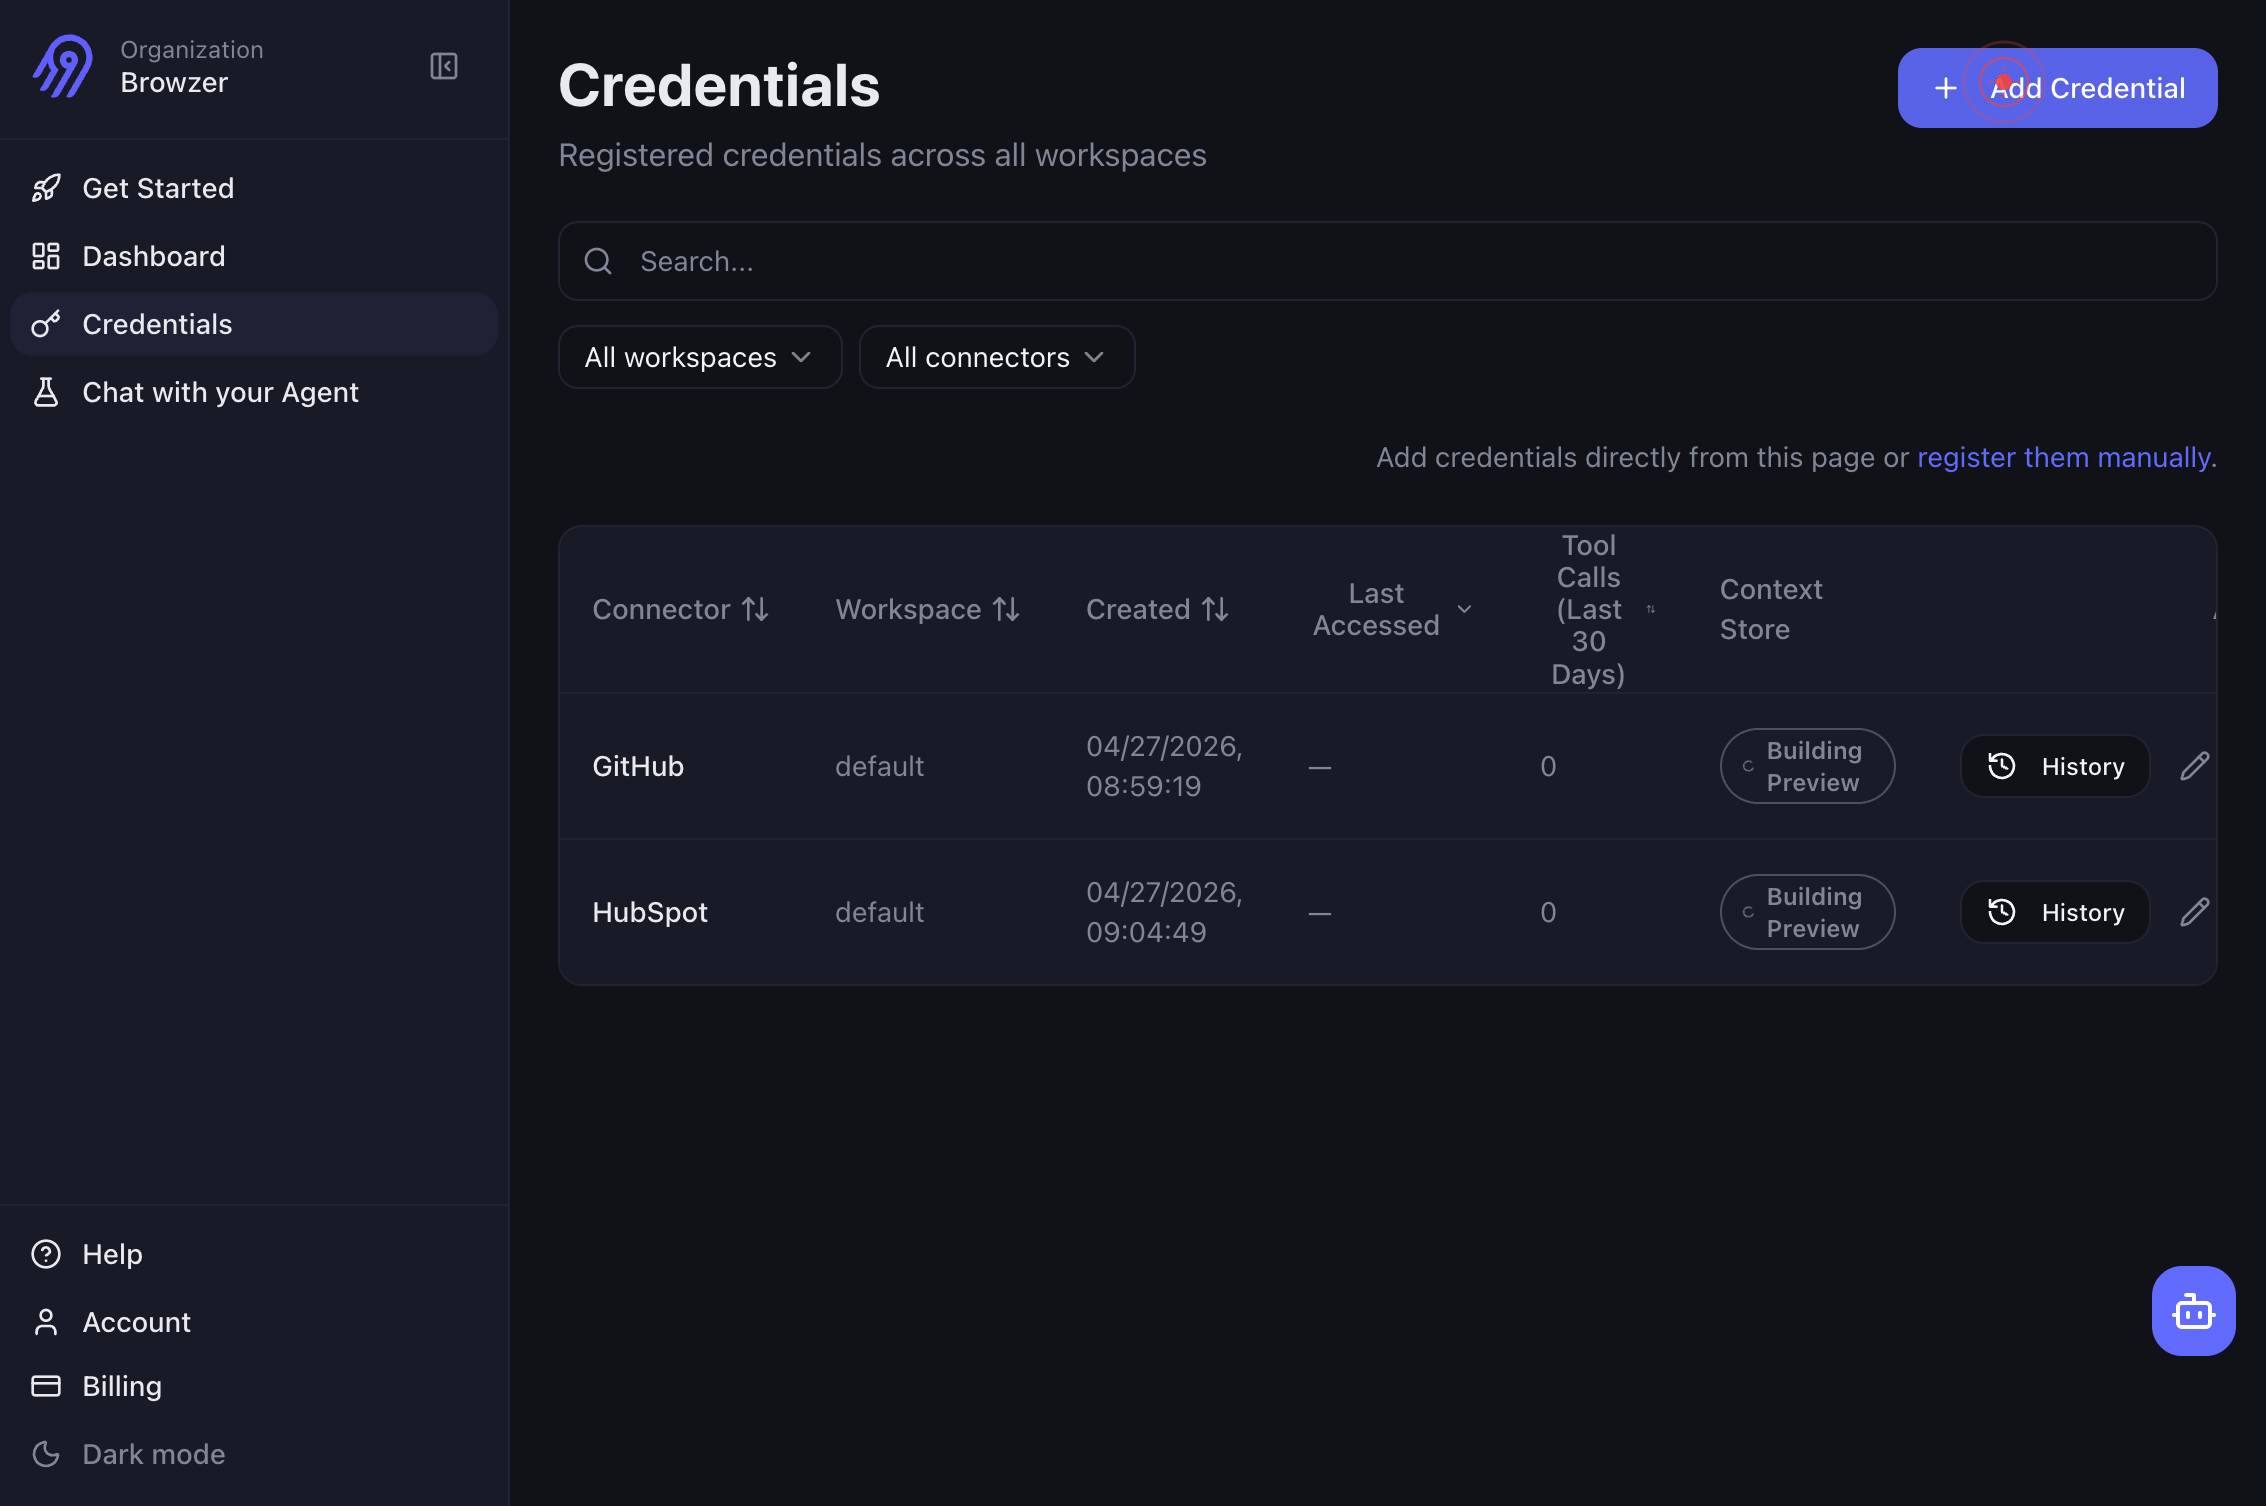
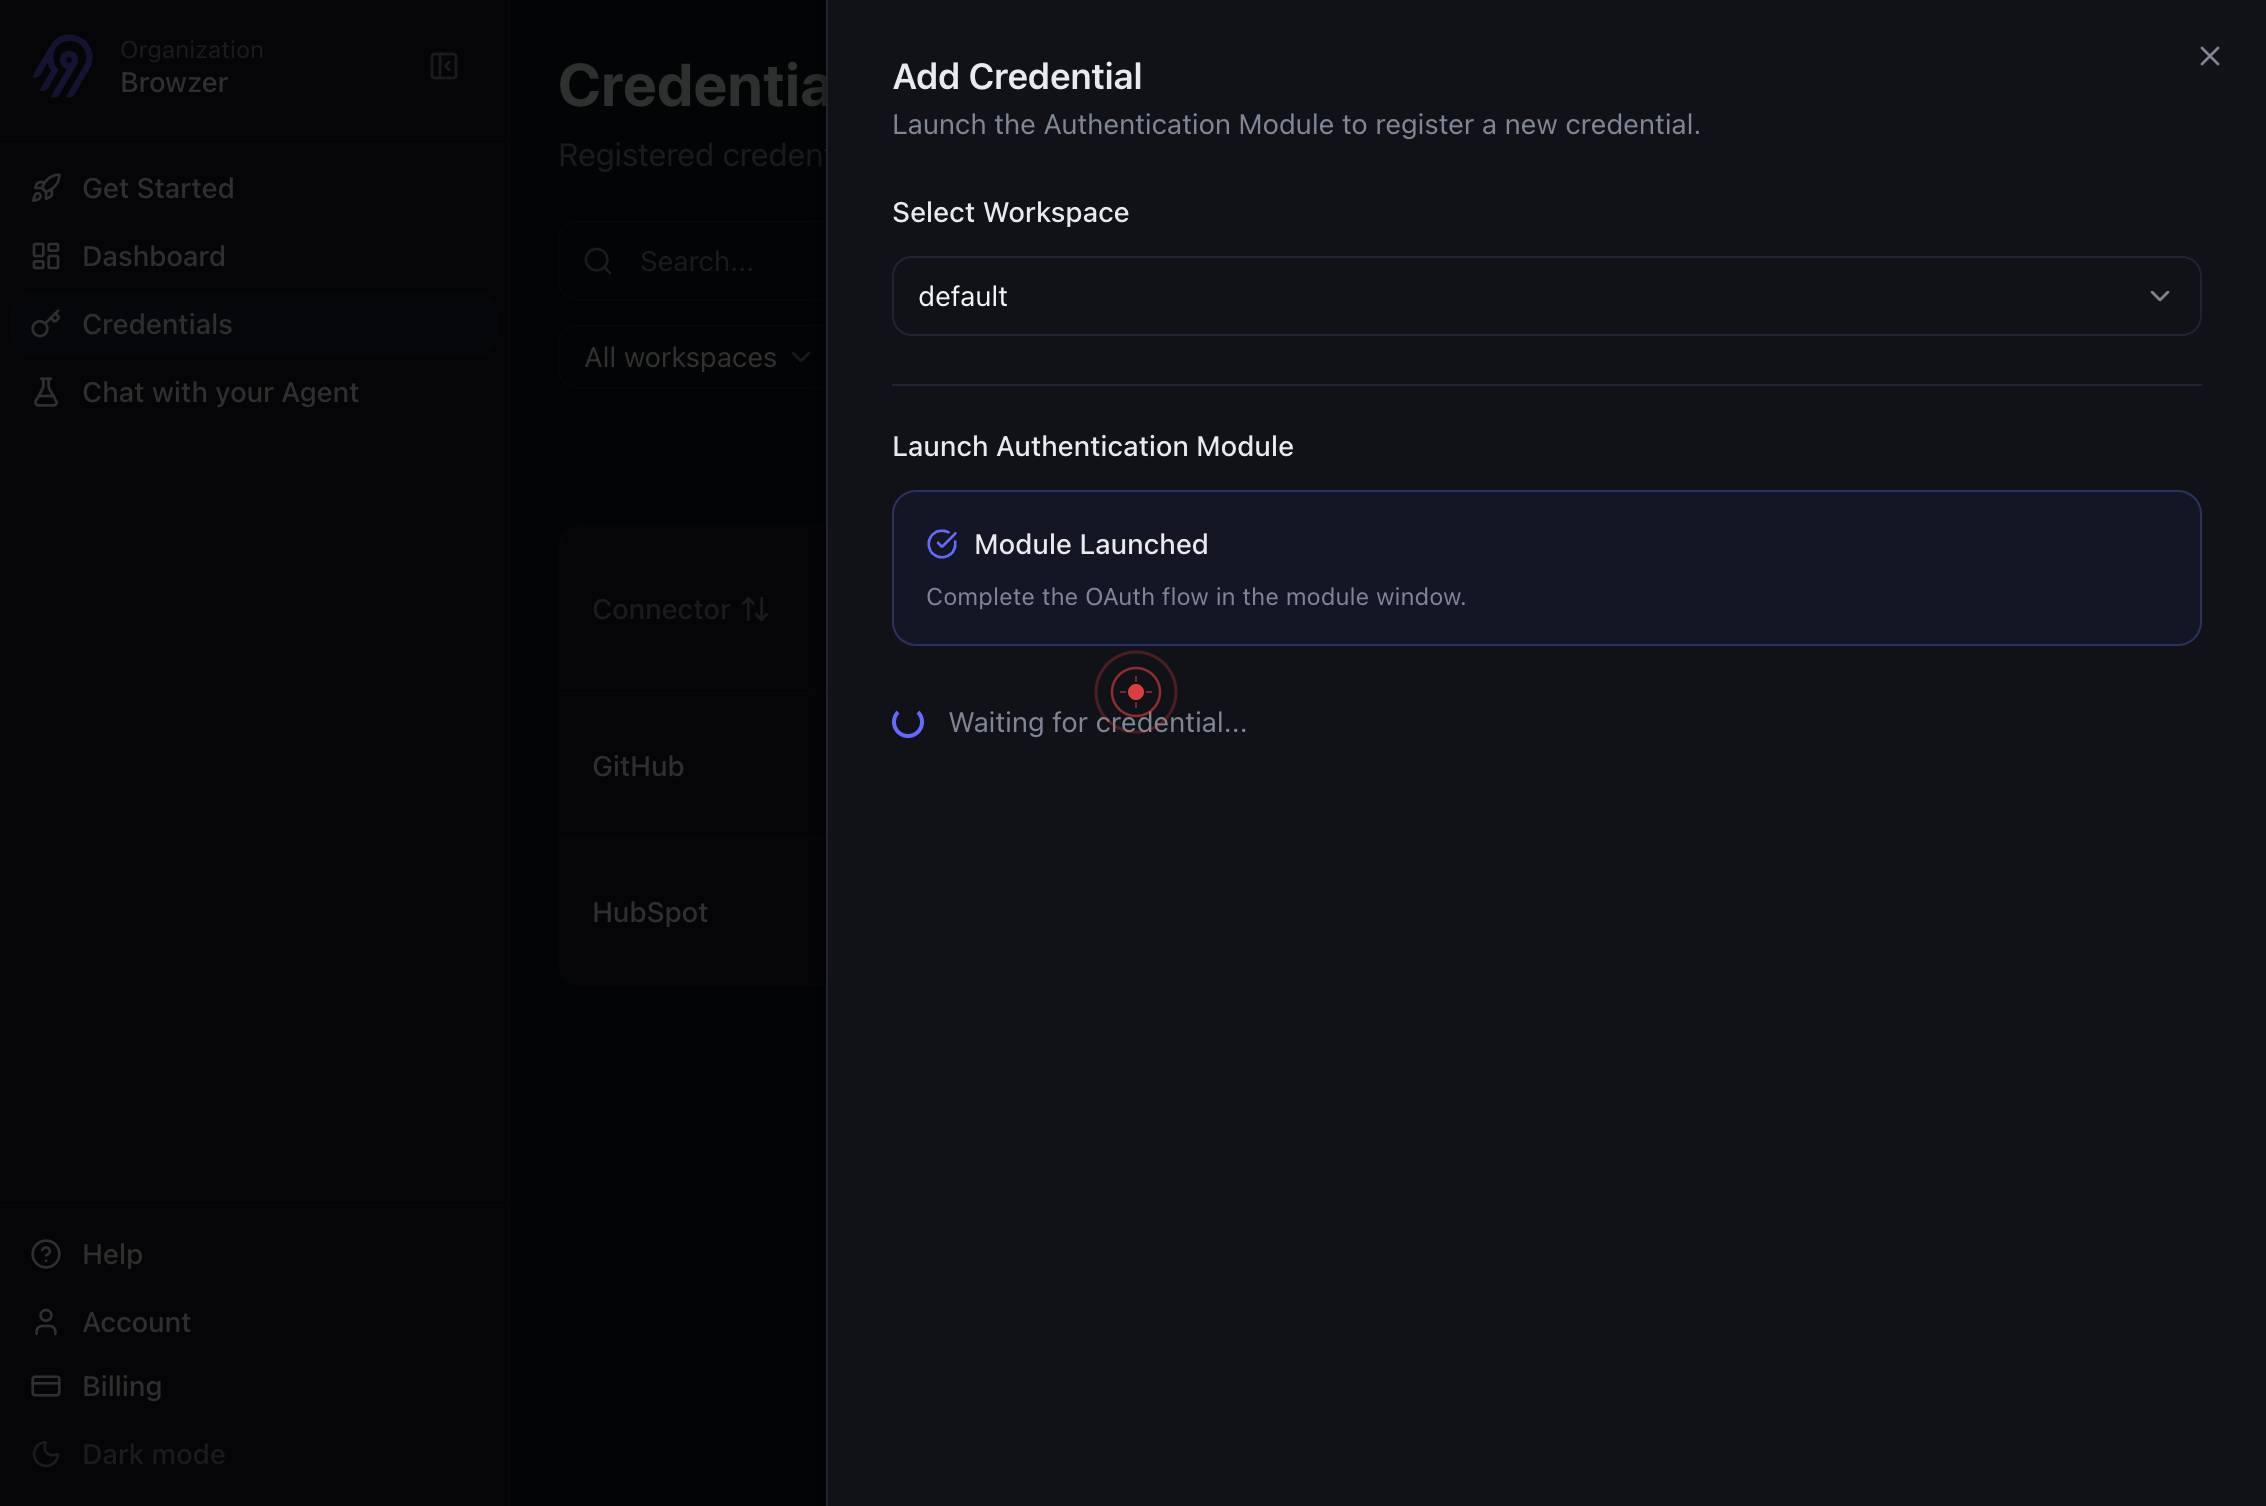
Add CredentialClick the 'Add Credential' button to begin creating a new connector credential. This opens a list of available connectors to authenticate.
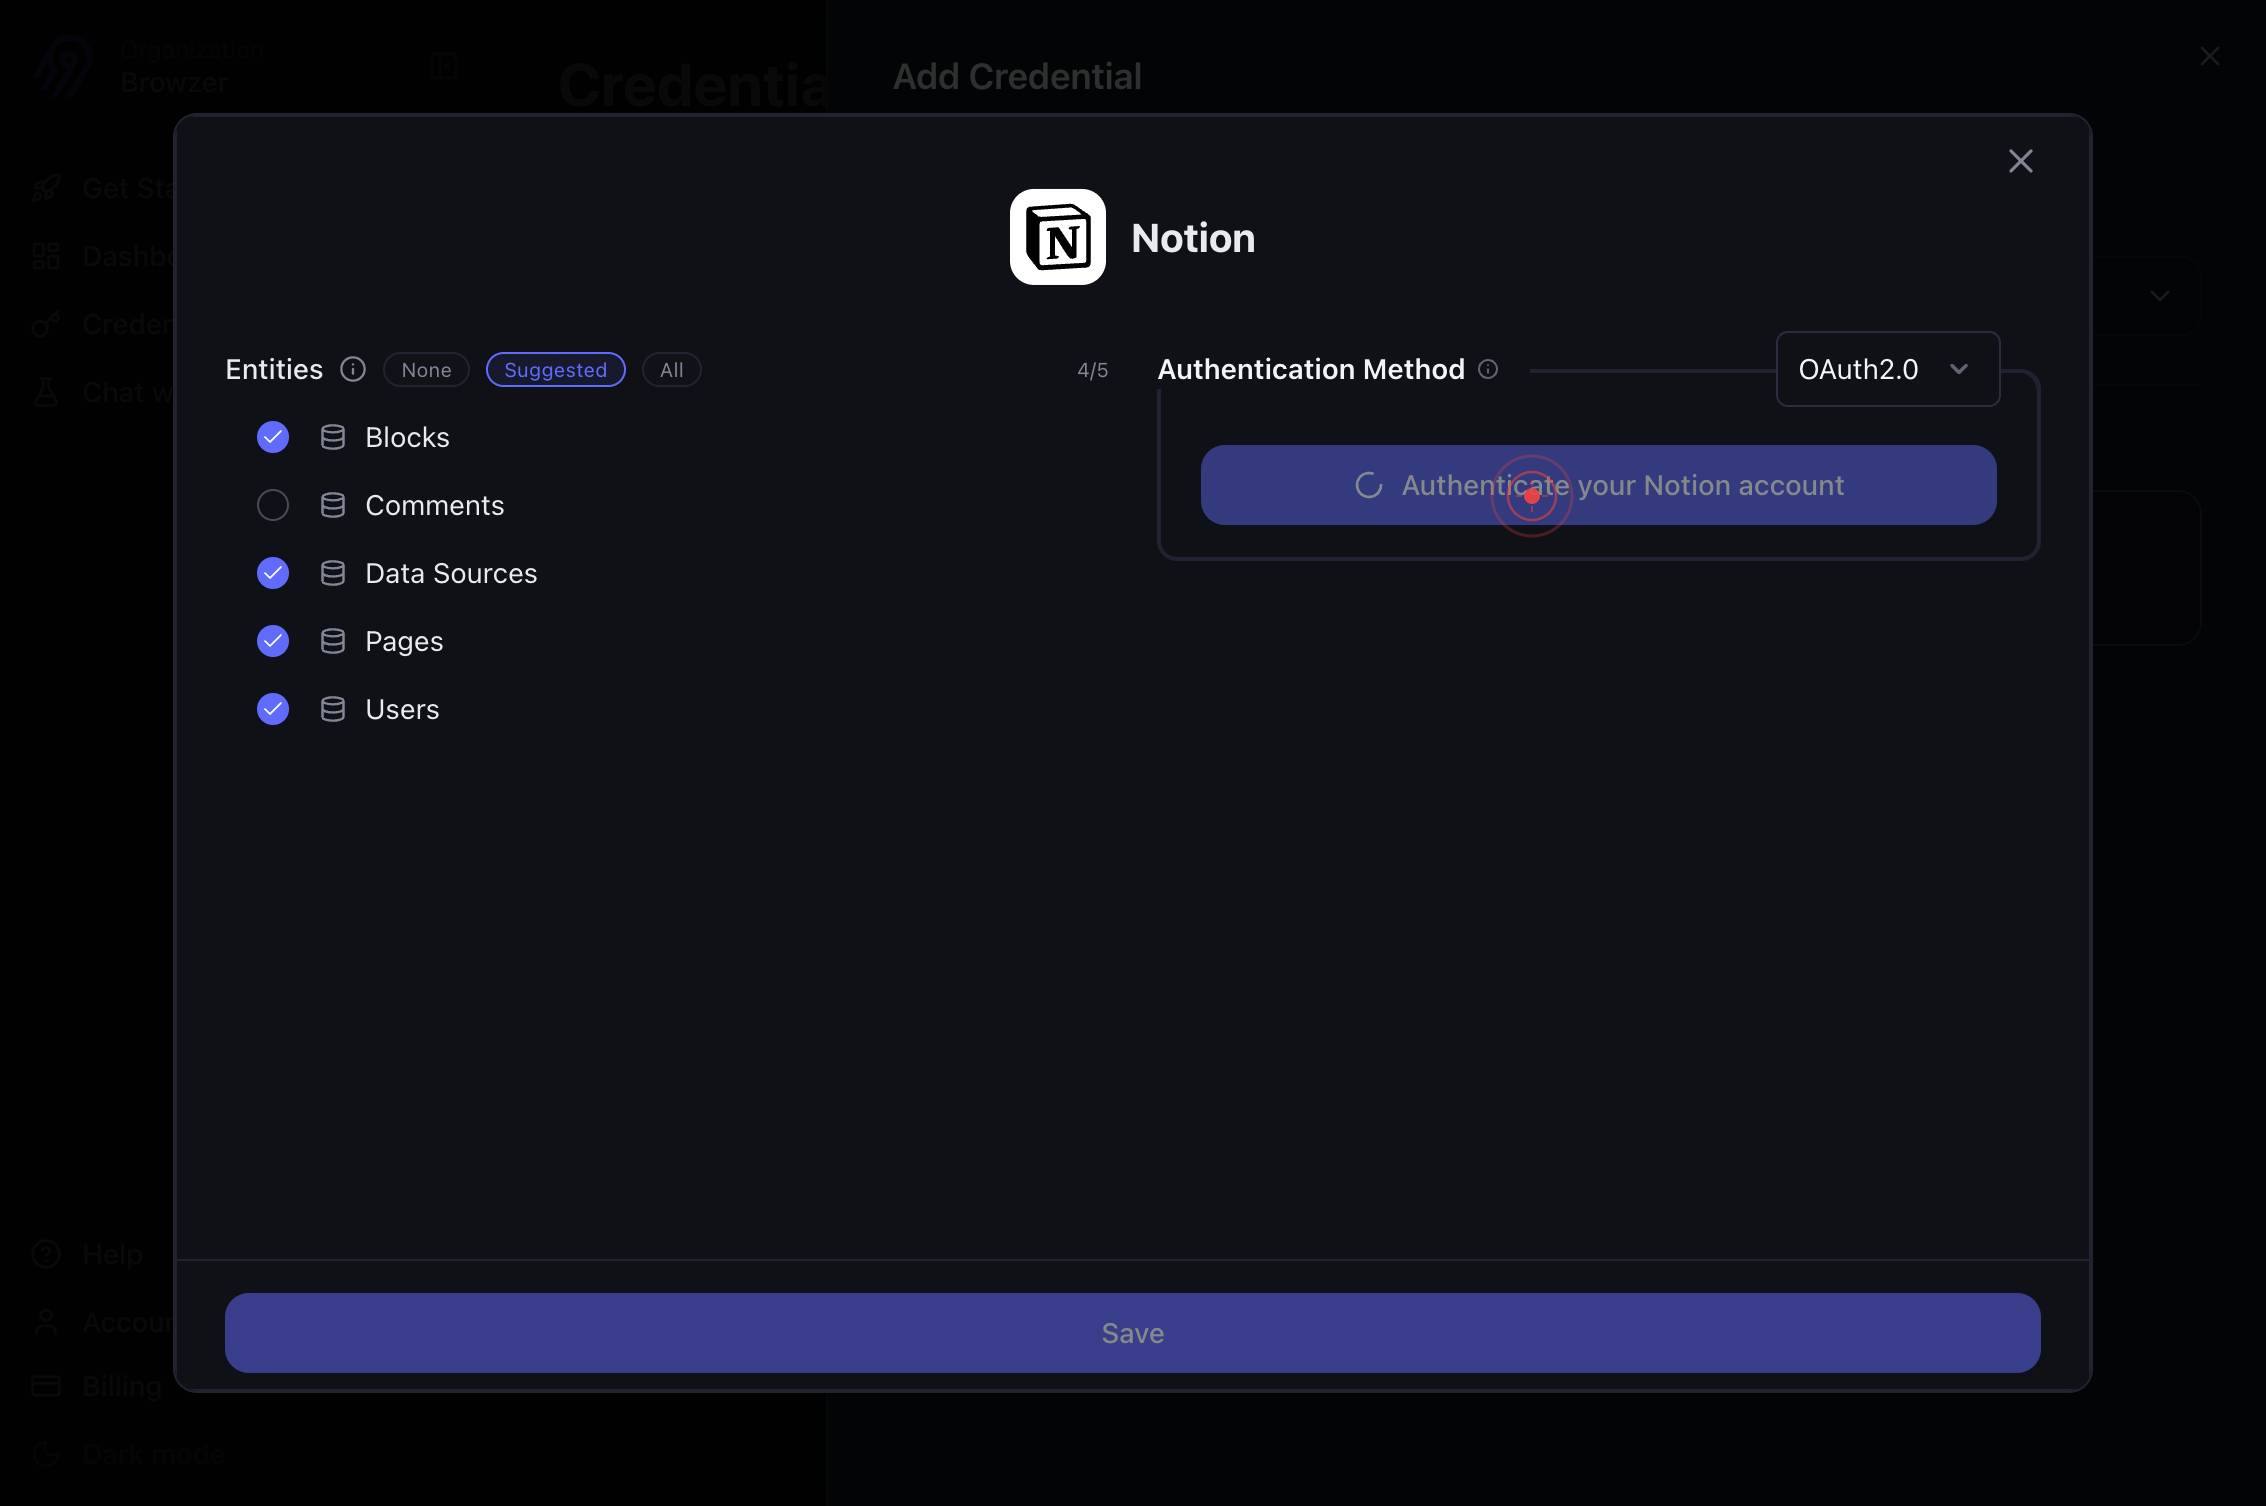
NotionSelect 'Notion' from the available connectors. This initiates the Notion-specific authentication flow.
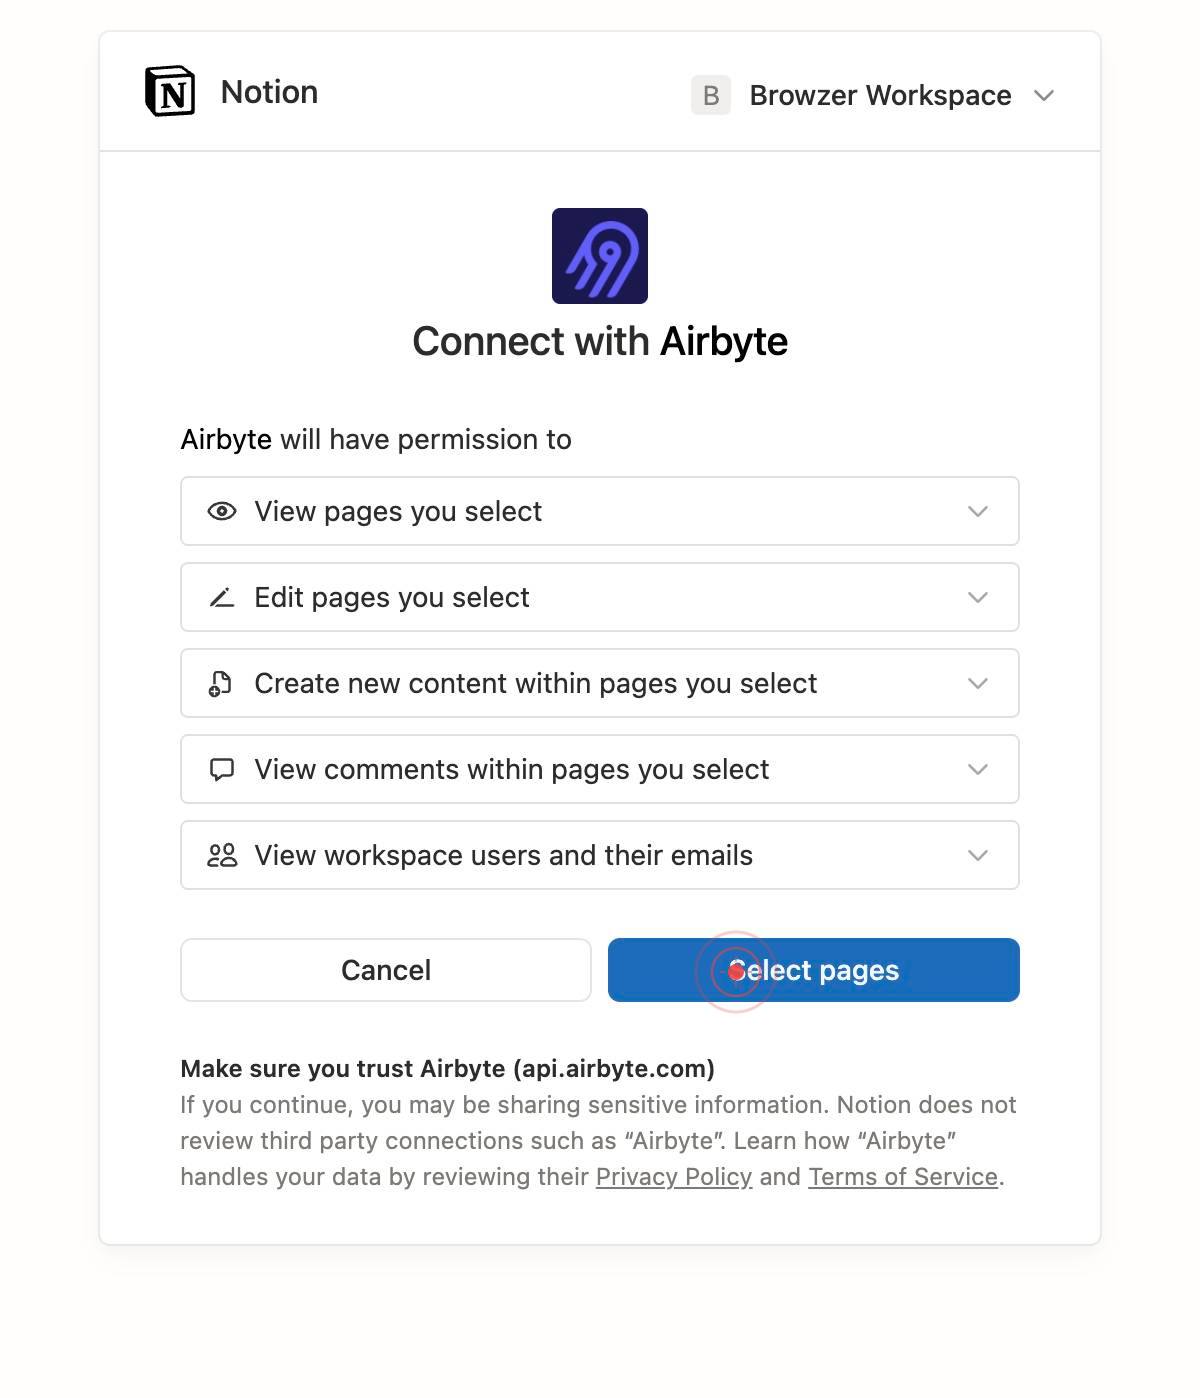
Authenticate your Notion accountClick the 'Authenticate your Notion account' button to begin the OAuth authorization process. This will redirect you to Notion's login and permission screen.
The browser automatically switches to the new Notion authentication tab. If the tab doesn't open automatically, check for browser pop-up blockers or manually switch to the Notion tab that appears.
You are now on Notion's website (www.notion.so) in the authentication flow. If you are not already logged in, Notion will prompt you to log in with your workspace credentials.
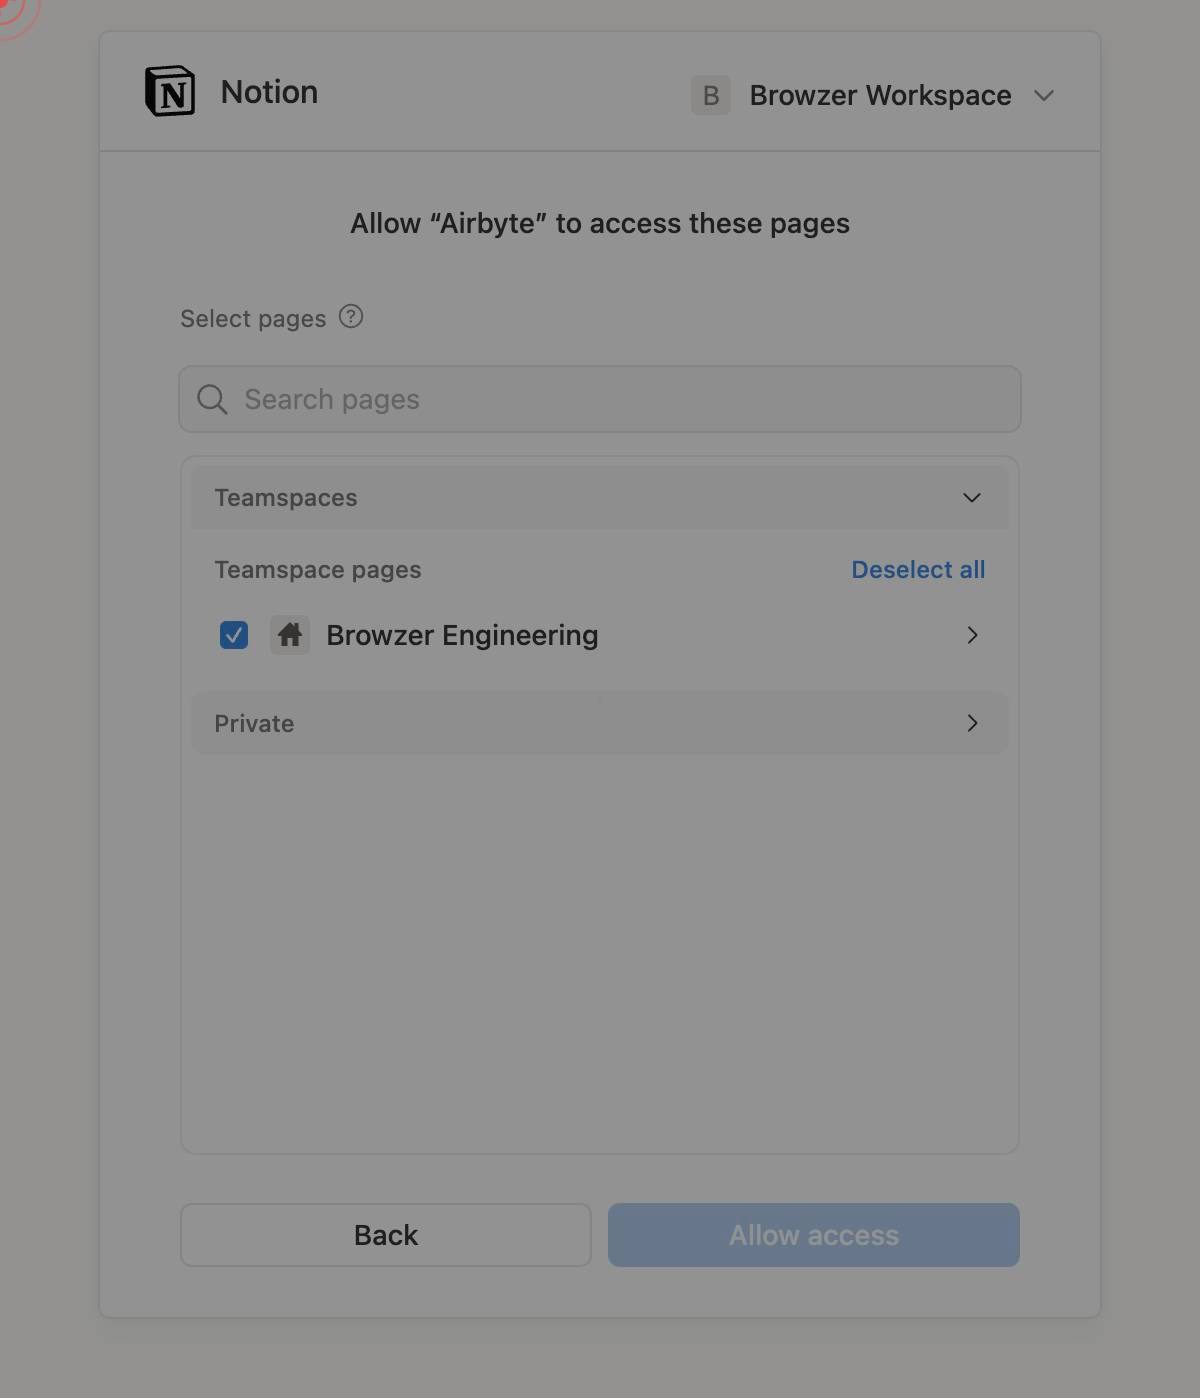
Select pagesClick the 'Select pages' button to view and choose which Notion pages Airbyte is allowed to access. This is a critical security step—only selected pages will be available to your agents.
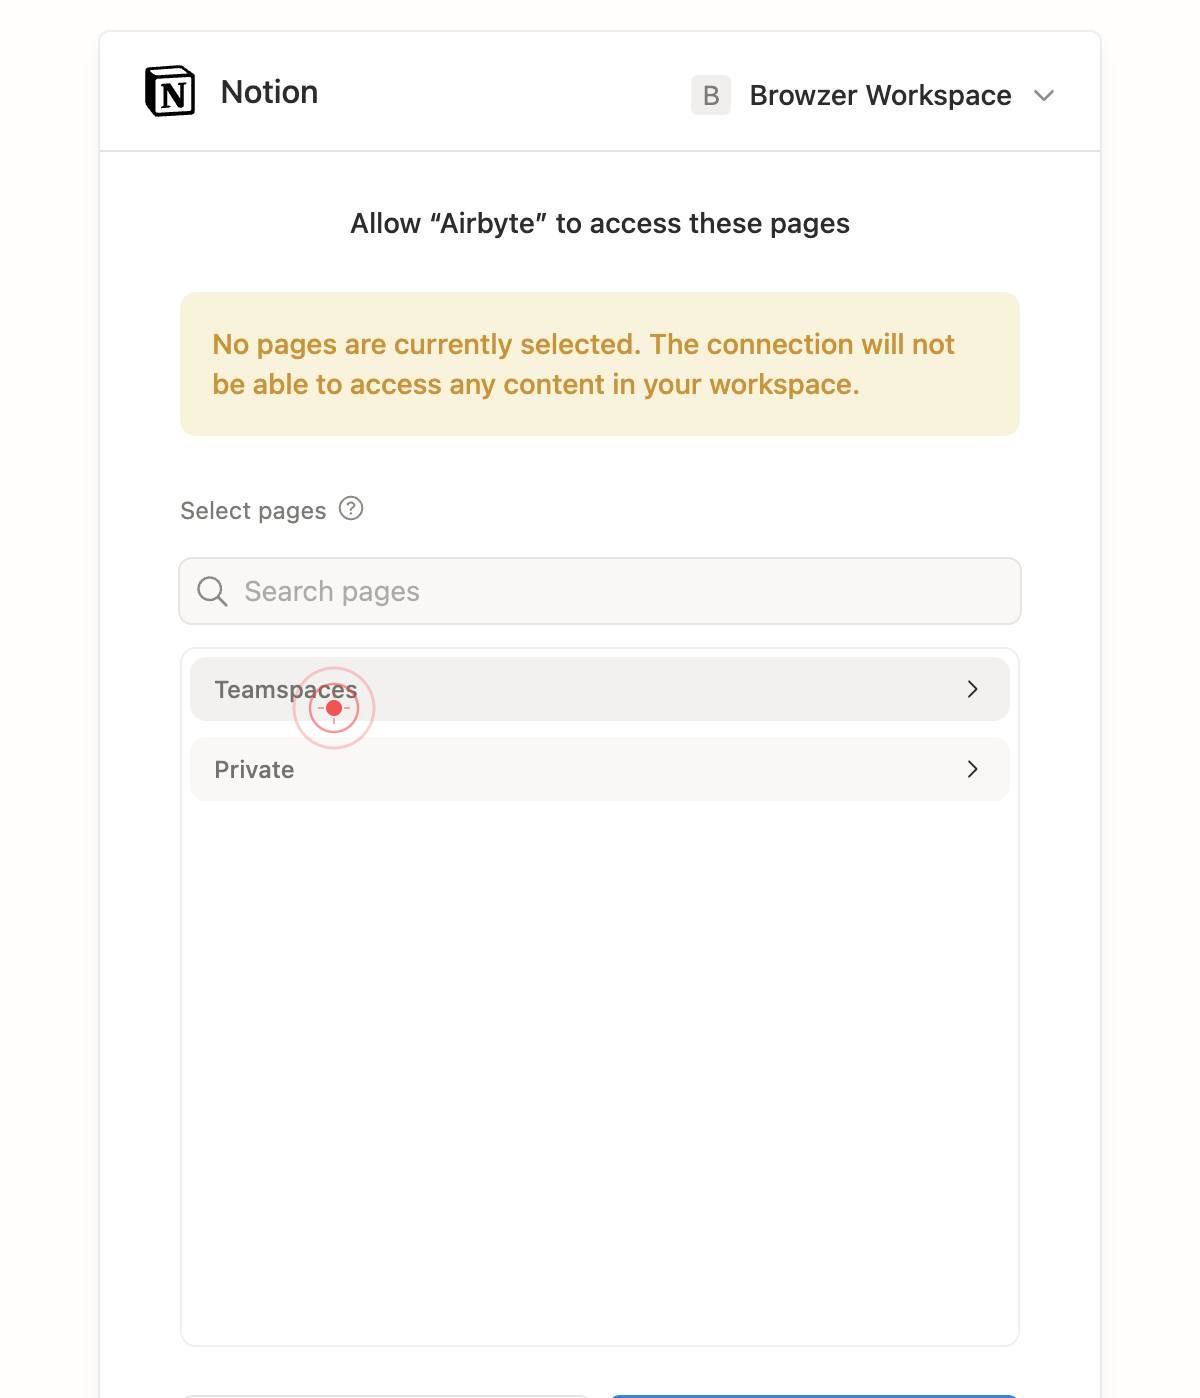
Search pagesUse the 'Search pages' text field to filter and locate specific pages in your Notion workspace. Type the page name or keyword to narrow the list if you have many pages.
TeamspacesClick on 'Teamspaces' (or the specific workspace/collection folder name) to expand and view pages within that section of your Notion workspace. This helps you navigate the page hierarchy.
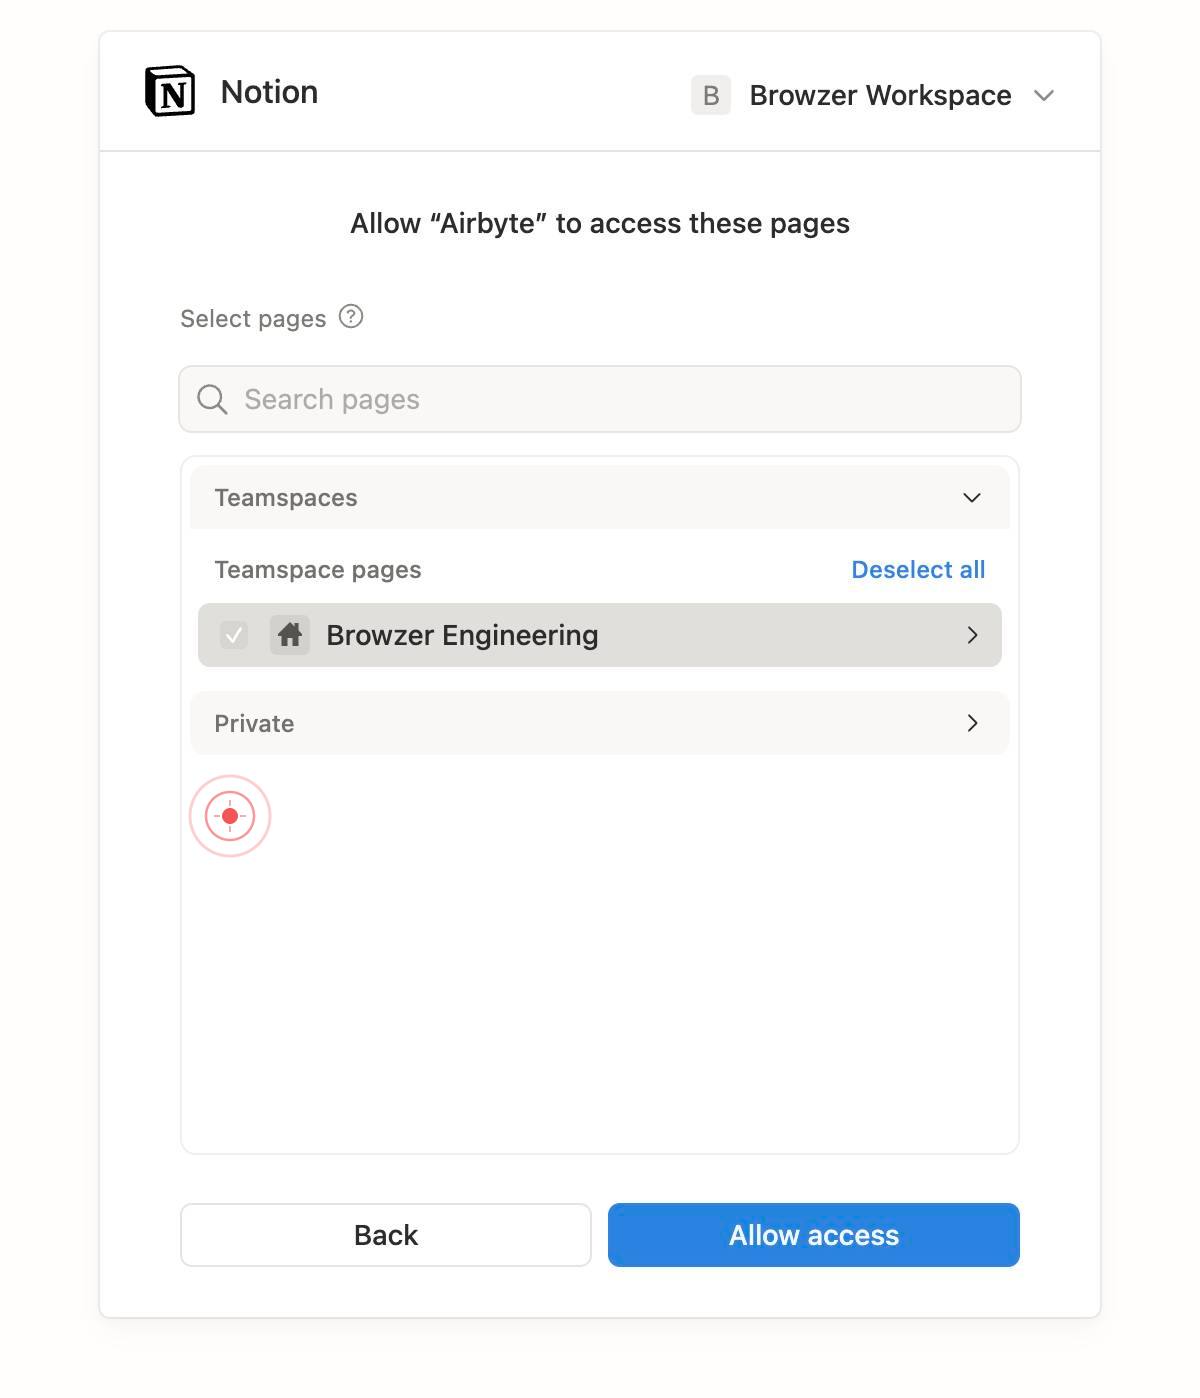
checkboxCheck the checkbox next to each page you want to grant Airbyte access to. You can select multiple pages—only the checked pages will be accessible to your agents.
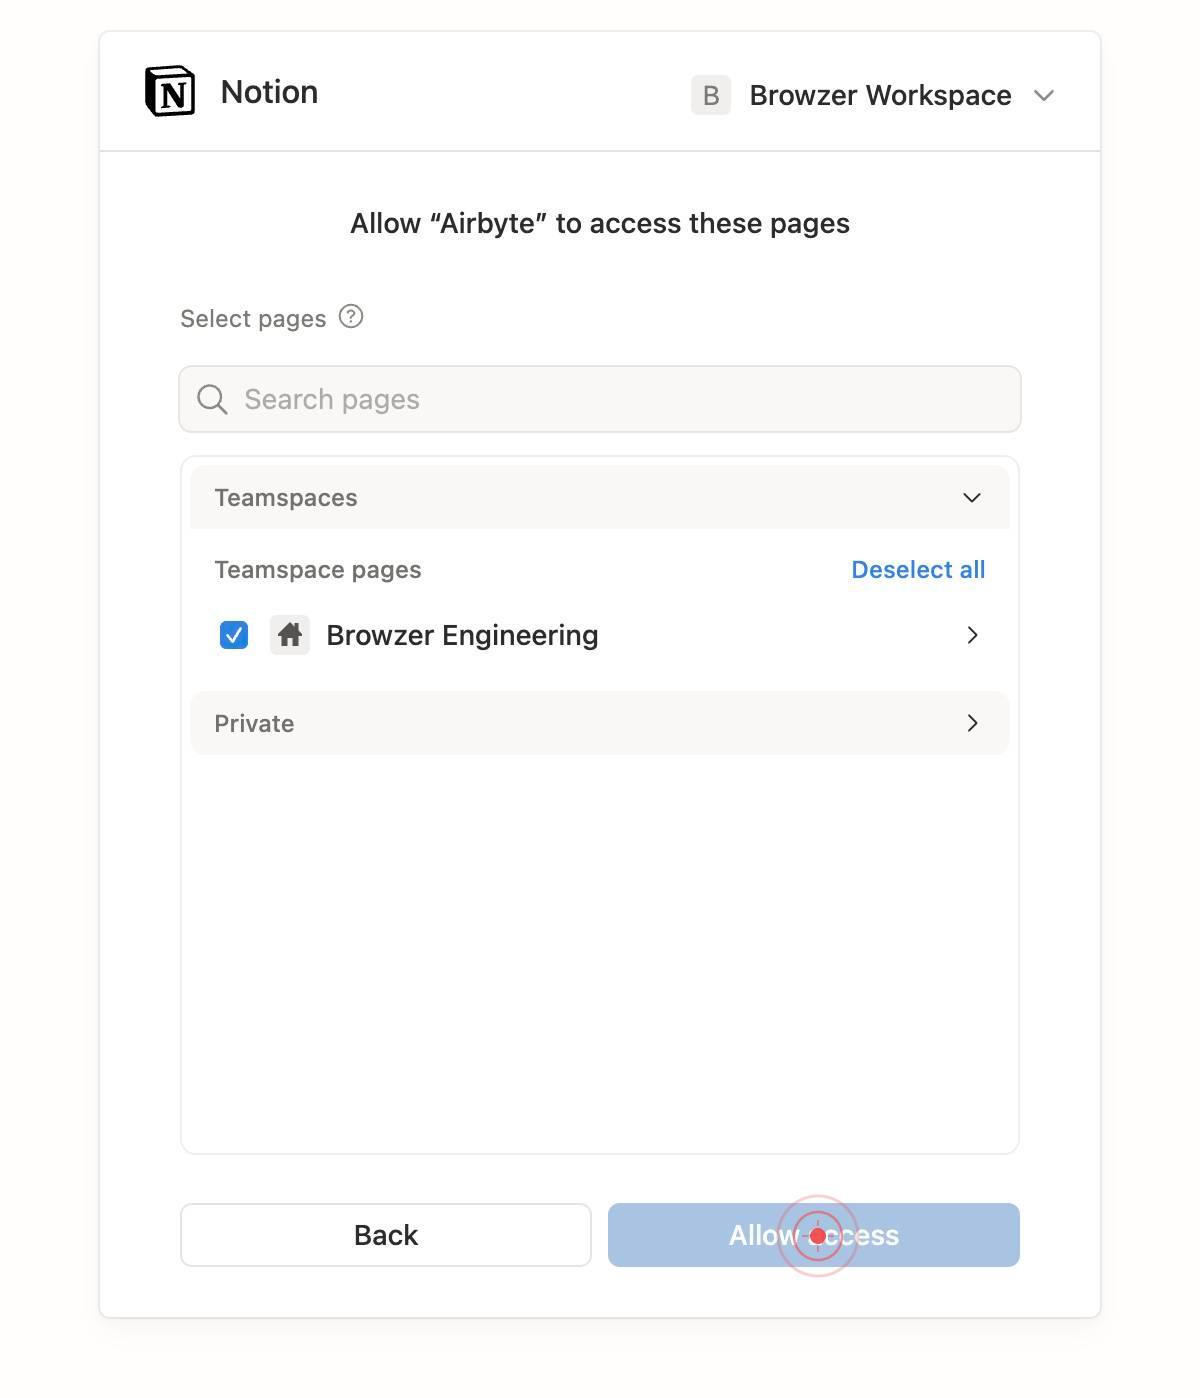
Allow accessClick the 'Allow access' button to confirm your page selections and grant Airbyte permission to access the chosen pages in your Notion workspace. This completes Notion's OAuth authorization.
linkNotion displays a confirmation or callback link that redirects you back to Airbyte. Click this link (or allow the automatic redirect) to return to Airbyte and complete the credential setup.
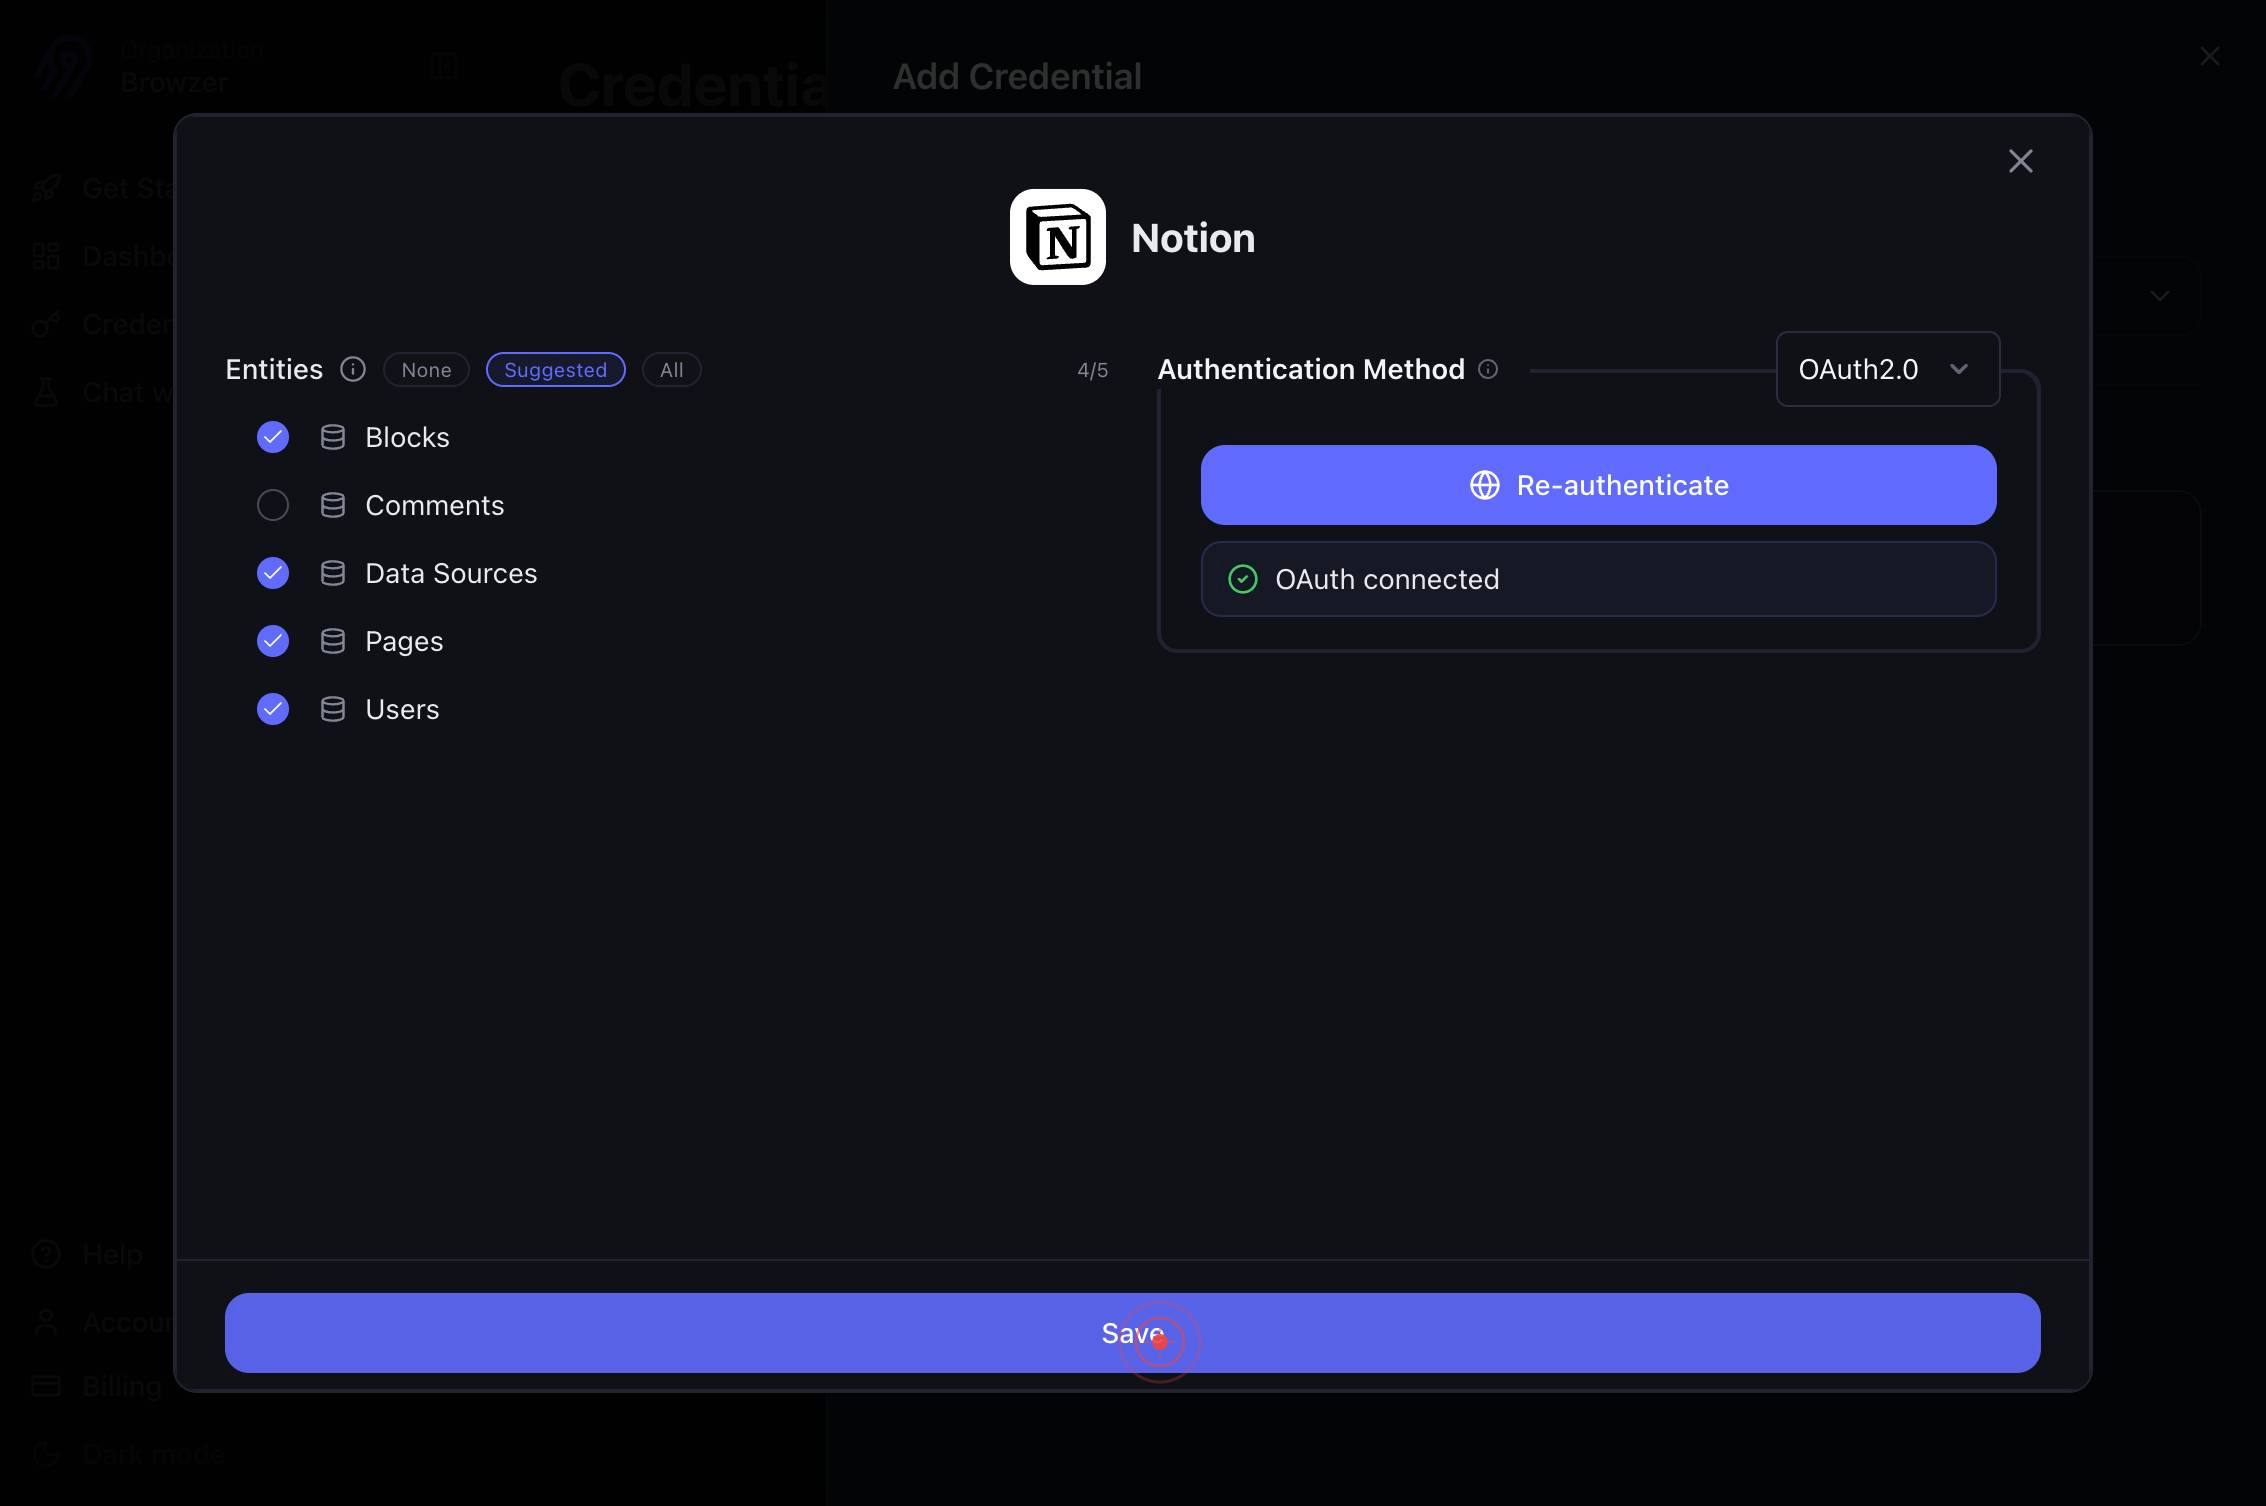
The browser navigates back to app.airbyte.ai and displays the credential summary, showing your authenticated Notion account and the pages you selected.
SaveClick the 'Save' button to persist the Notion connector credential in Airbyte. The credential is now available for use in agent connections and workflows.
Confirm it worked
- 1The credential appears in your Airbyte Credentials list with a 'Connected' or 'Active' status indicator
- 2The Notion connector displays the authenticated workspace name and the list of selected pages
- 3You can close the credential details and return to the Credentials dashboard without error messages
- 4The saved credential is available in the dropdown when creating a new Airbyte connection or configuring an agent
Common issues
Keep reading
Use AI connectors to access more of your team’s knowledge
Use AI connectors to access more of your team’s knowledge Play --- In an ideal world, your team's knowledge would be neatly organized in one place, regularly updated, and consistently shared across
notion.soNotion AI Connectors – Notion Help Center
Notion AI Connectors – Notion Help Center --- Note: To connect third-party apps to Notion AI, you must be on the Business or Enterprise Plan. Notion Mail is free to connect for all plans; you’ll ne
notion.comAdd & manage connections – Notion Help Center
Add & manage connections – Notion Help Center --- Note: On Enterprise Plans, the following can be restricted to workspace owners: The ability to add connections and decide who can connect or discon
notion.so