Guide
Add User to Team
Overview
The Exa API Dashboard allows you to manage team access to your project, enabling collaboration among developers and team members. When you need to add someone new to your project—whether a colleague, contractor, or team member—you invite them through the Team Settings interface. Once invited, they will receive an email with access details and can begin using the API within your project's environment. This is essential for teams building AI applications that integrate live web data through Exa, as it ensures the right people have the appropriate access to manage API keys, usage, and project settings.
Before you begin
- You have an active Exa API Dashboard account at dashboard.exa.ai with admin or team management permissions
- You are logged in to your Exa dashboard
- You have the email address of the person you want to invite to your team
- The person you are inviting does not already have access to your project
Step by step
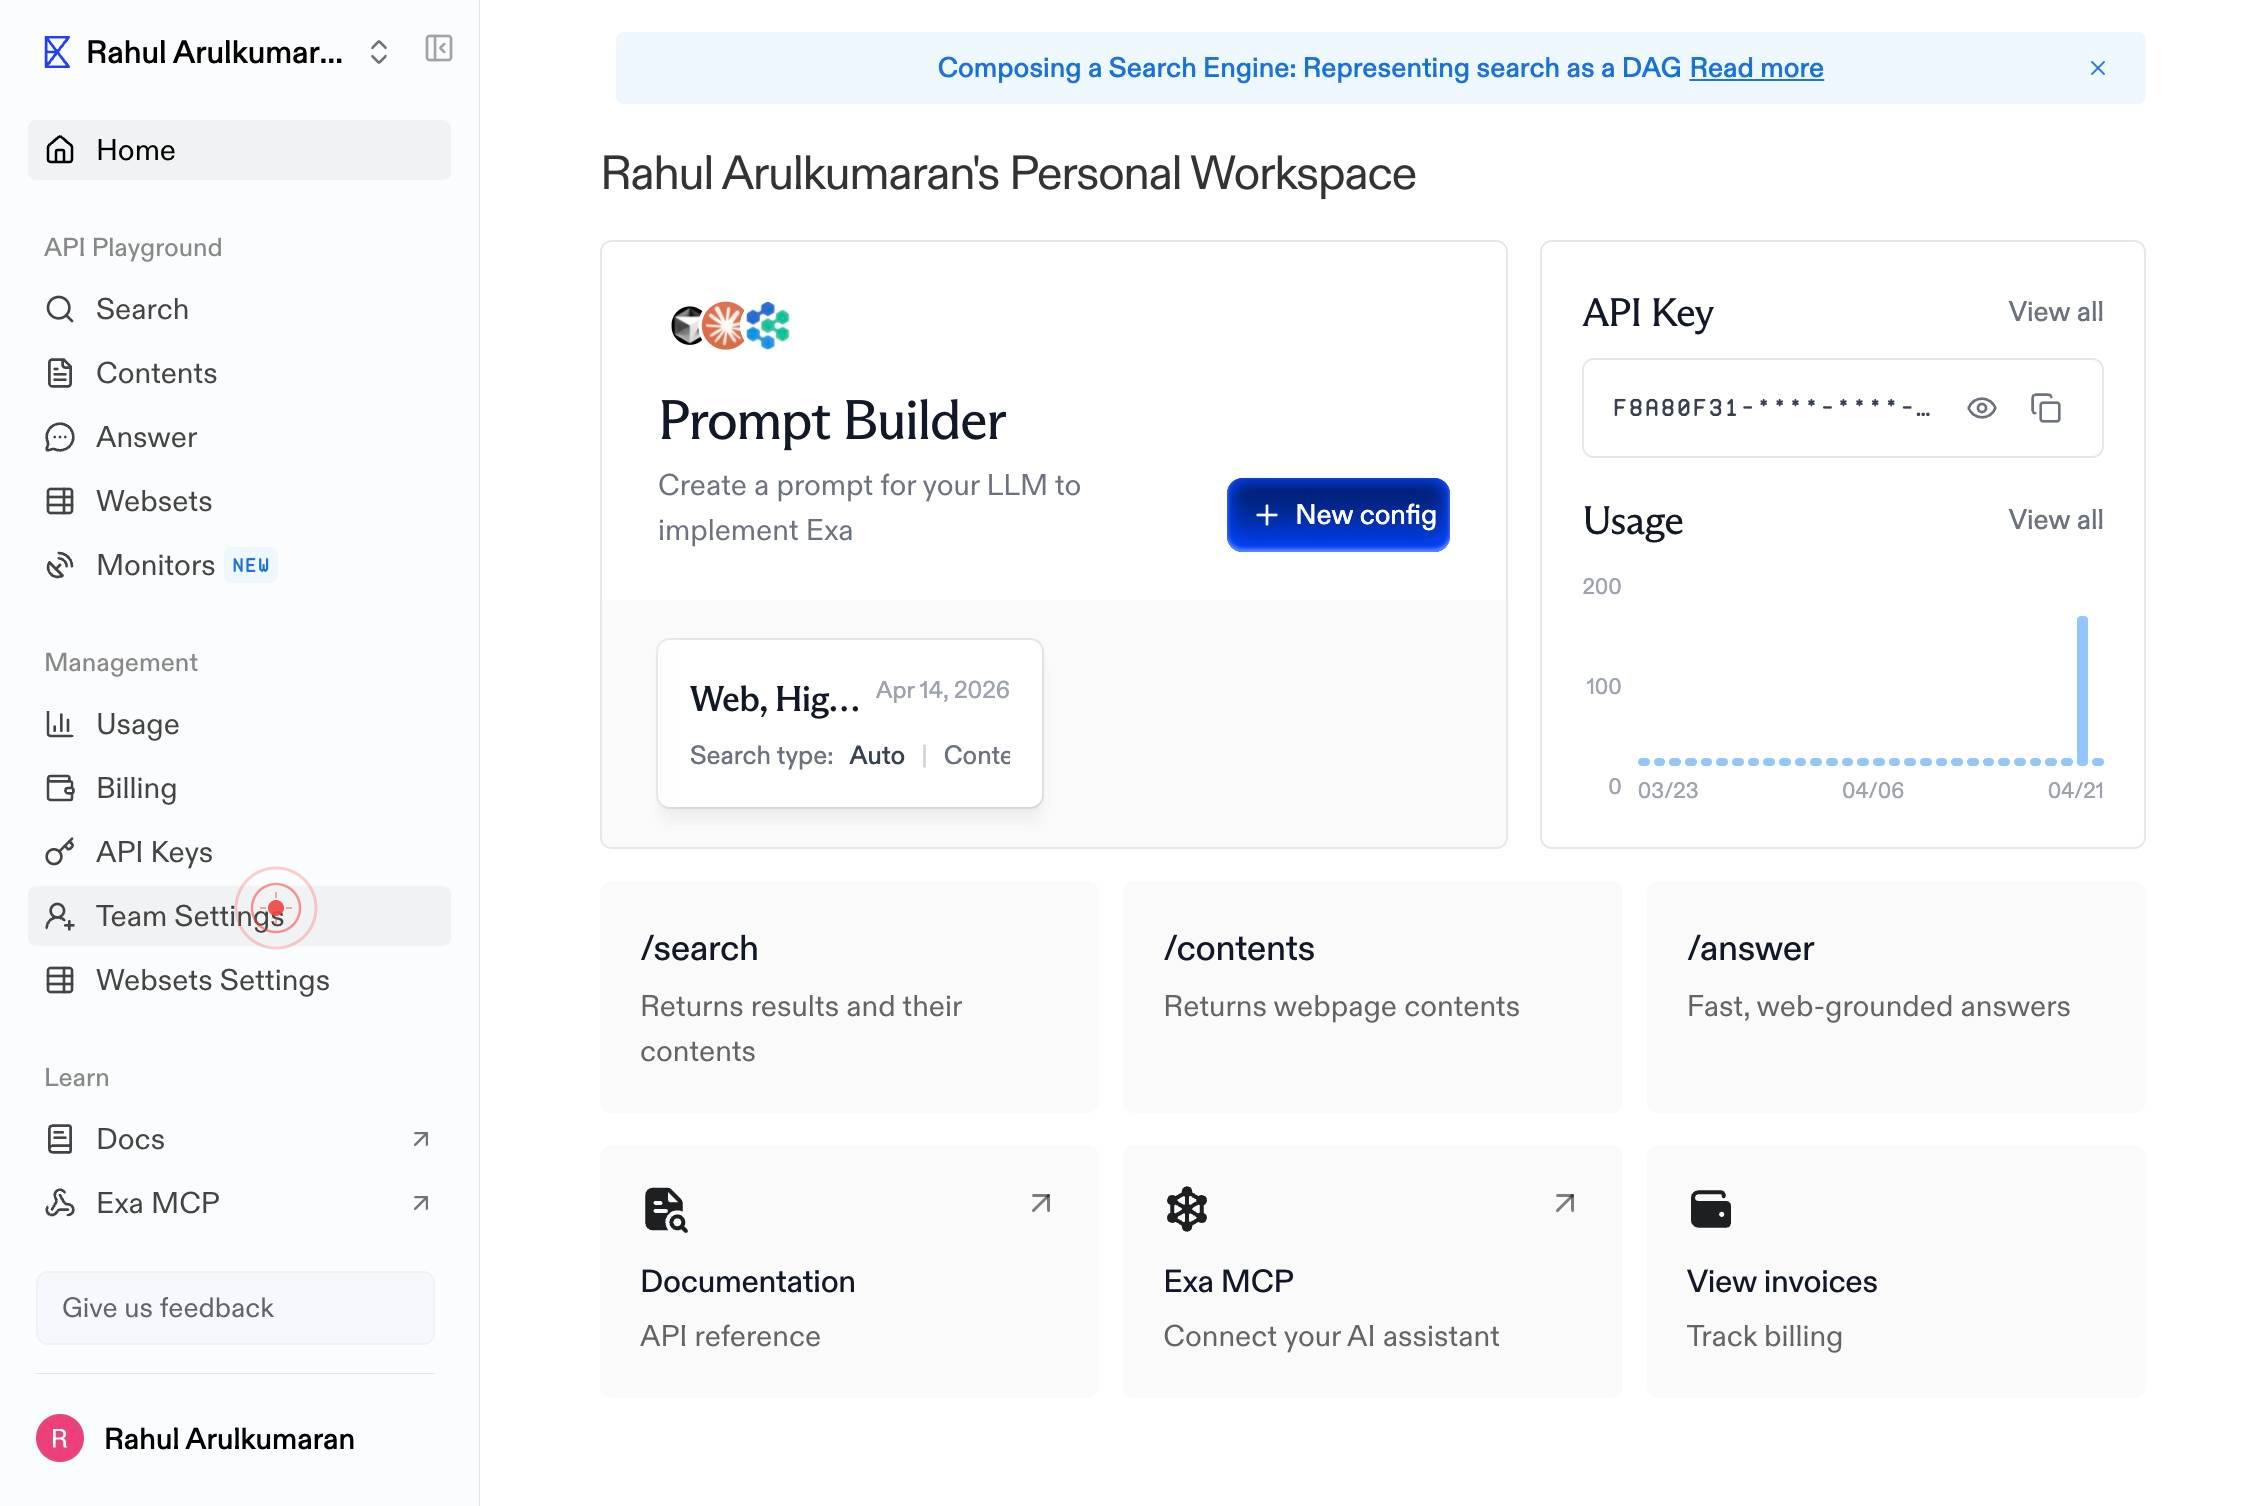
Team SettingsNavigate to Team Settings by clicking the Team Settings link in the dashboard navigation. This page displays your current team members and provides options to manage team access.
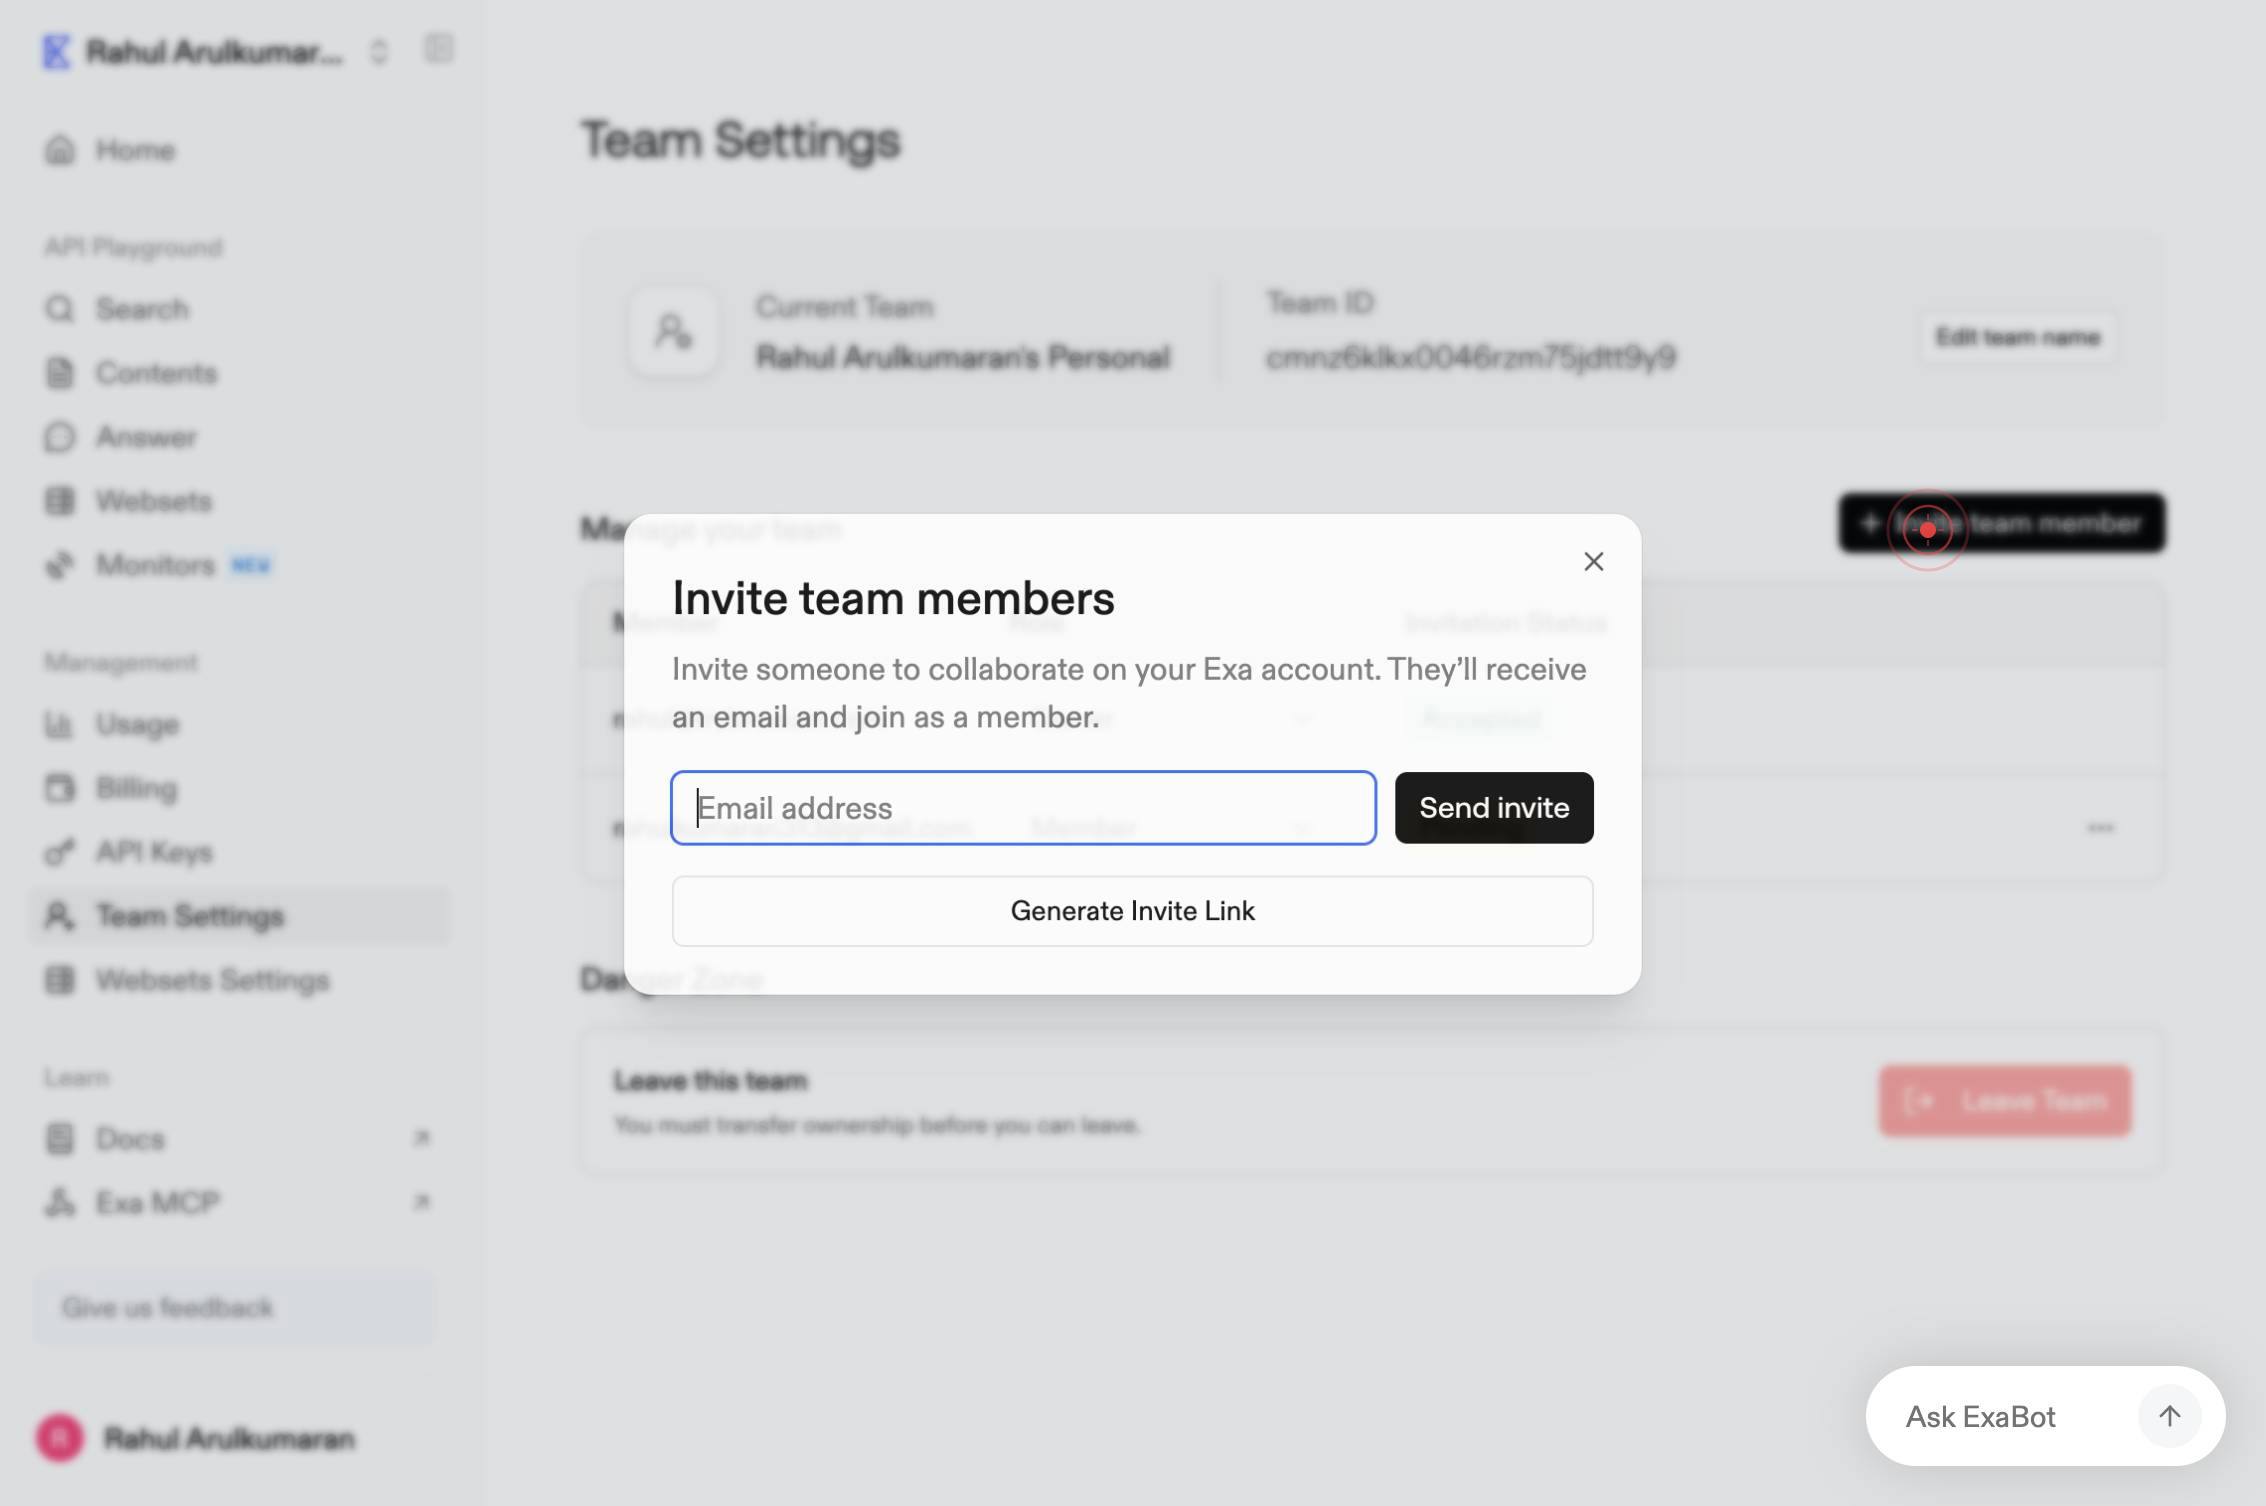
Invite team memberClick the 'Invite team member' button to open the invitation dialog or form where you can enter the email address of the person you want to add.
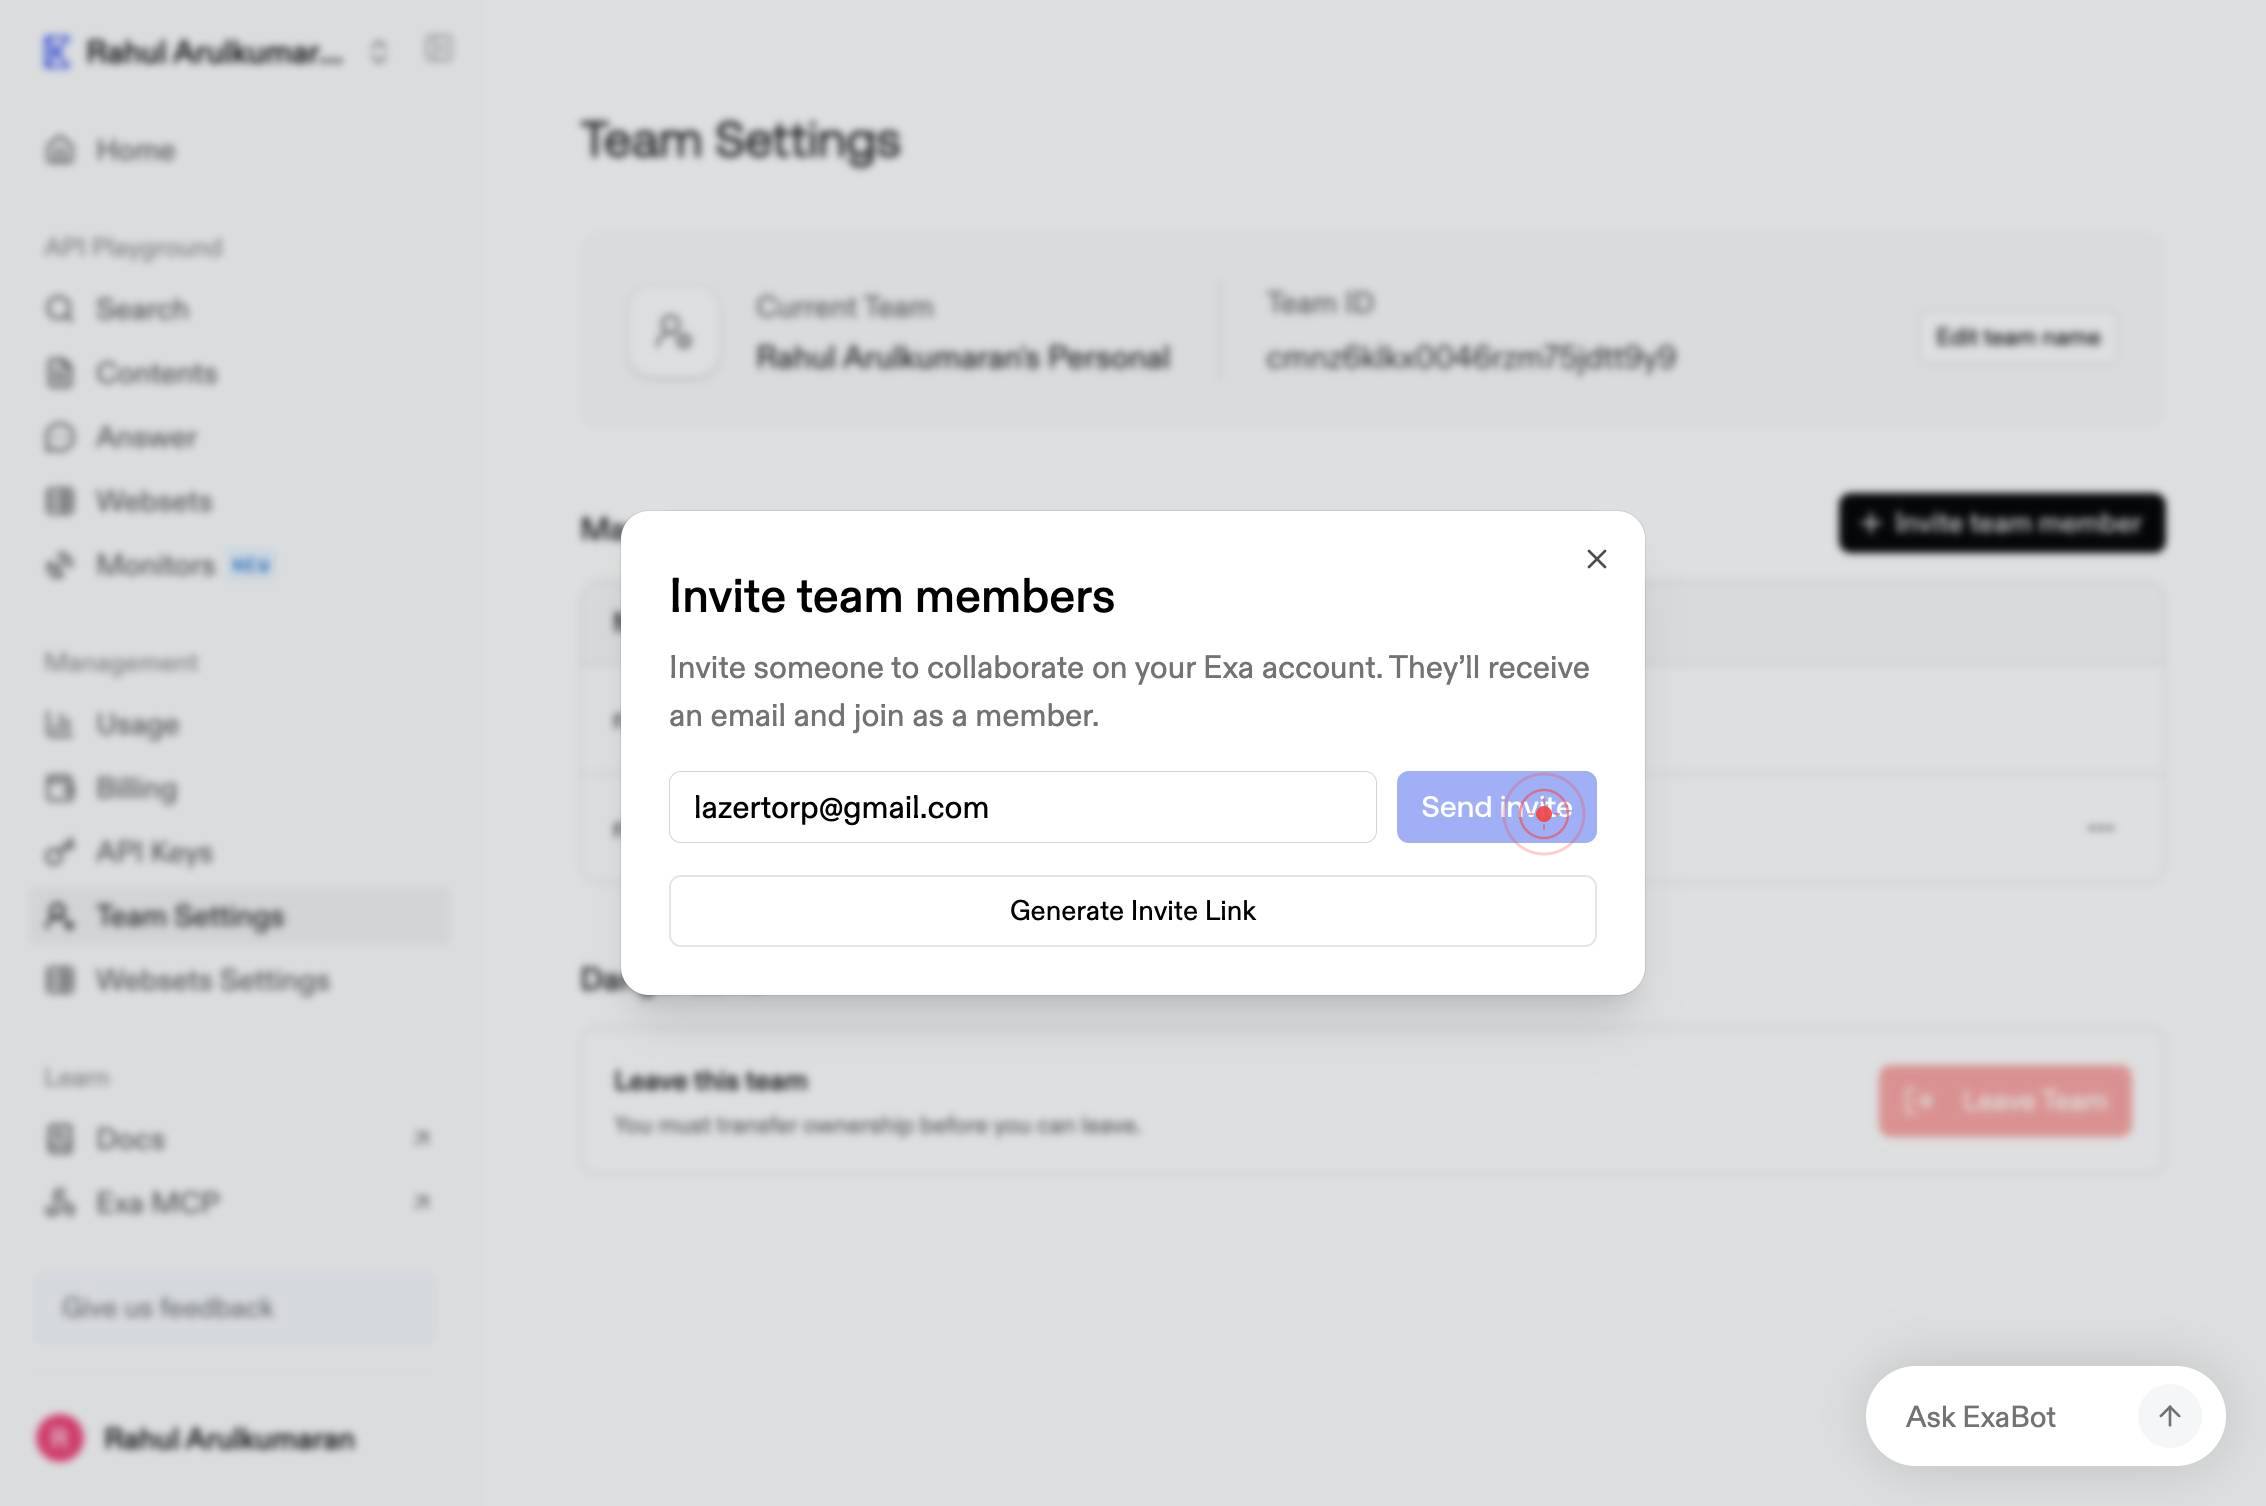
Email addressEnter the email address of the team member you want to invite in the 'Email address' field. Make sure the email is spelled correctly and in a valid format (e.g., firstname.lastname@company.com).
Send inviteClick the 'Send invite' button to dispatch the invitation email to the team member. They will receive an email with instructions on how to access the project.
Confirm it worked
- 1The Team Settings page loads and displays the list of current team members
- 2The 'Invite team member' dialog or form appears after clicking the invite button
- 3The email address you entered is visible in the invitation form before sending
- 4A confirmation message appears indicating the invitation has been sent successfully, and the invited user receives an email with access instructions
Common issues
Keep reading
Adding Users to an Existing Team
Adding Users to an Existing Team [Previous](https://docs.oracle.com/en/cloud/saas/account-reconcile-cloud/adarc/admin_teams_delete.html) [Next](https://docs.oracle.com/en/cloud/saas/account-reconcile
docs.oracle.comAdd-TeamUser (MicrosoftTeams) | Microsoft Learn
Add-TeamUser (MicrosoftTeams) | Microsoft Learn Ask Learn Ask Learn # Add-TeamUser Module: [MicrosoftTeams PowerShell module](https://learn.microsoft.com/en-us/powershell/module/microsoftteams/?vie
learn.microsoft.comAdding Users to Existing Teams
Adding Users to Existing Teams [Previous](ent_journals_creating_teams_adding_users.html)[Next](ent_journals_removing_members_from_team.html)JavaScript must be enabled to correctly display this content
docs.oracle.com