Guide
Remove User from Team
Overview
The Exa API Dashboard allows teams to collaborate on live web data integration projects. As a team administrator, you may need to remove users who are no longer part of your organization or project. Removing a user immediately revokes their access to all shared team resources, including API keys, Websets, Monitors, and usage data. This action is typically performed when a team member leaves the organization, completes a contract, or no longer requires access to your Exa account.
Before you begin
- You must be logged into dashboard.exa.ai with an account that has team administrator or owner privileges
- At least one team member must be added to your Exa account (accessible via Team Settings)
- You must have identified the specific user you want to remove from the team
Step by step
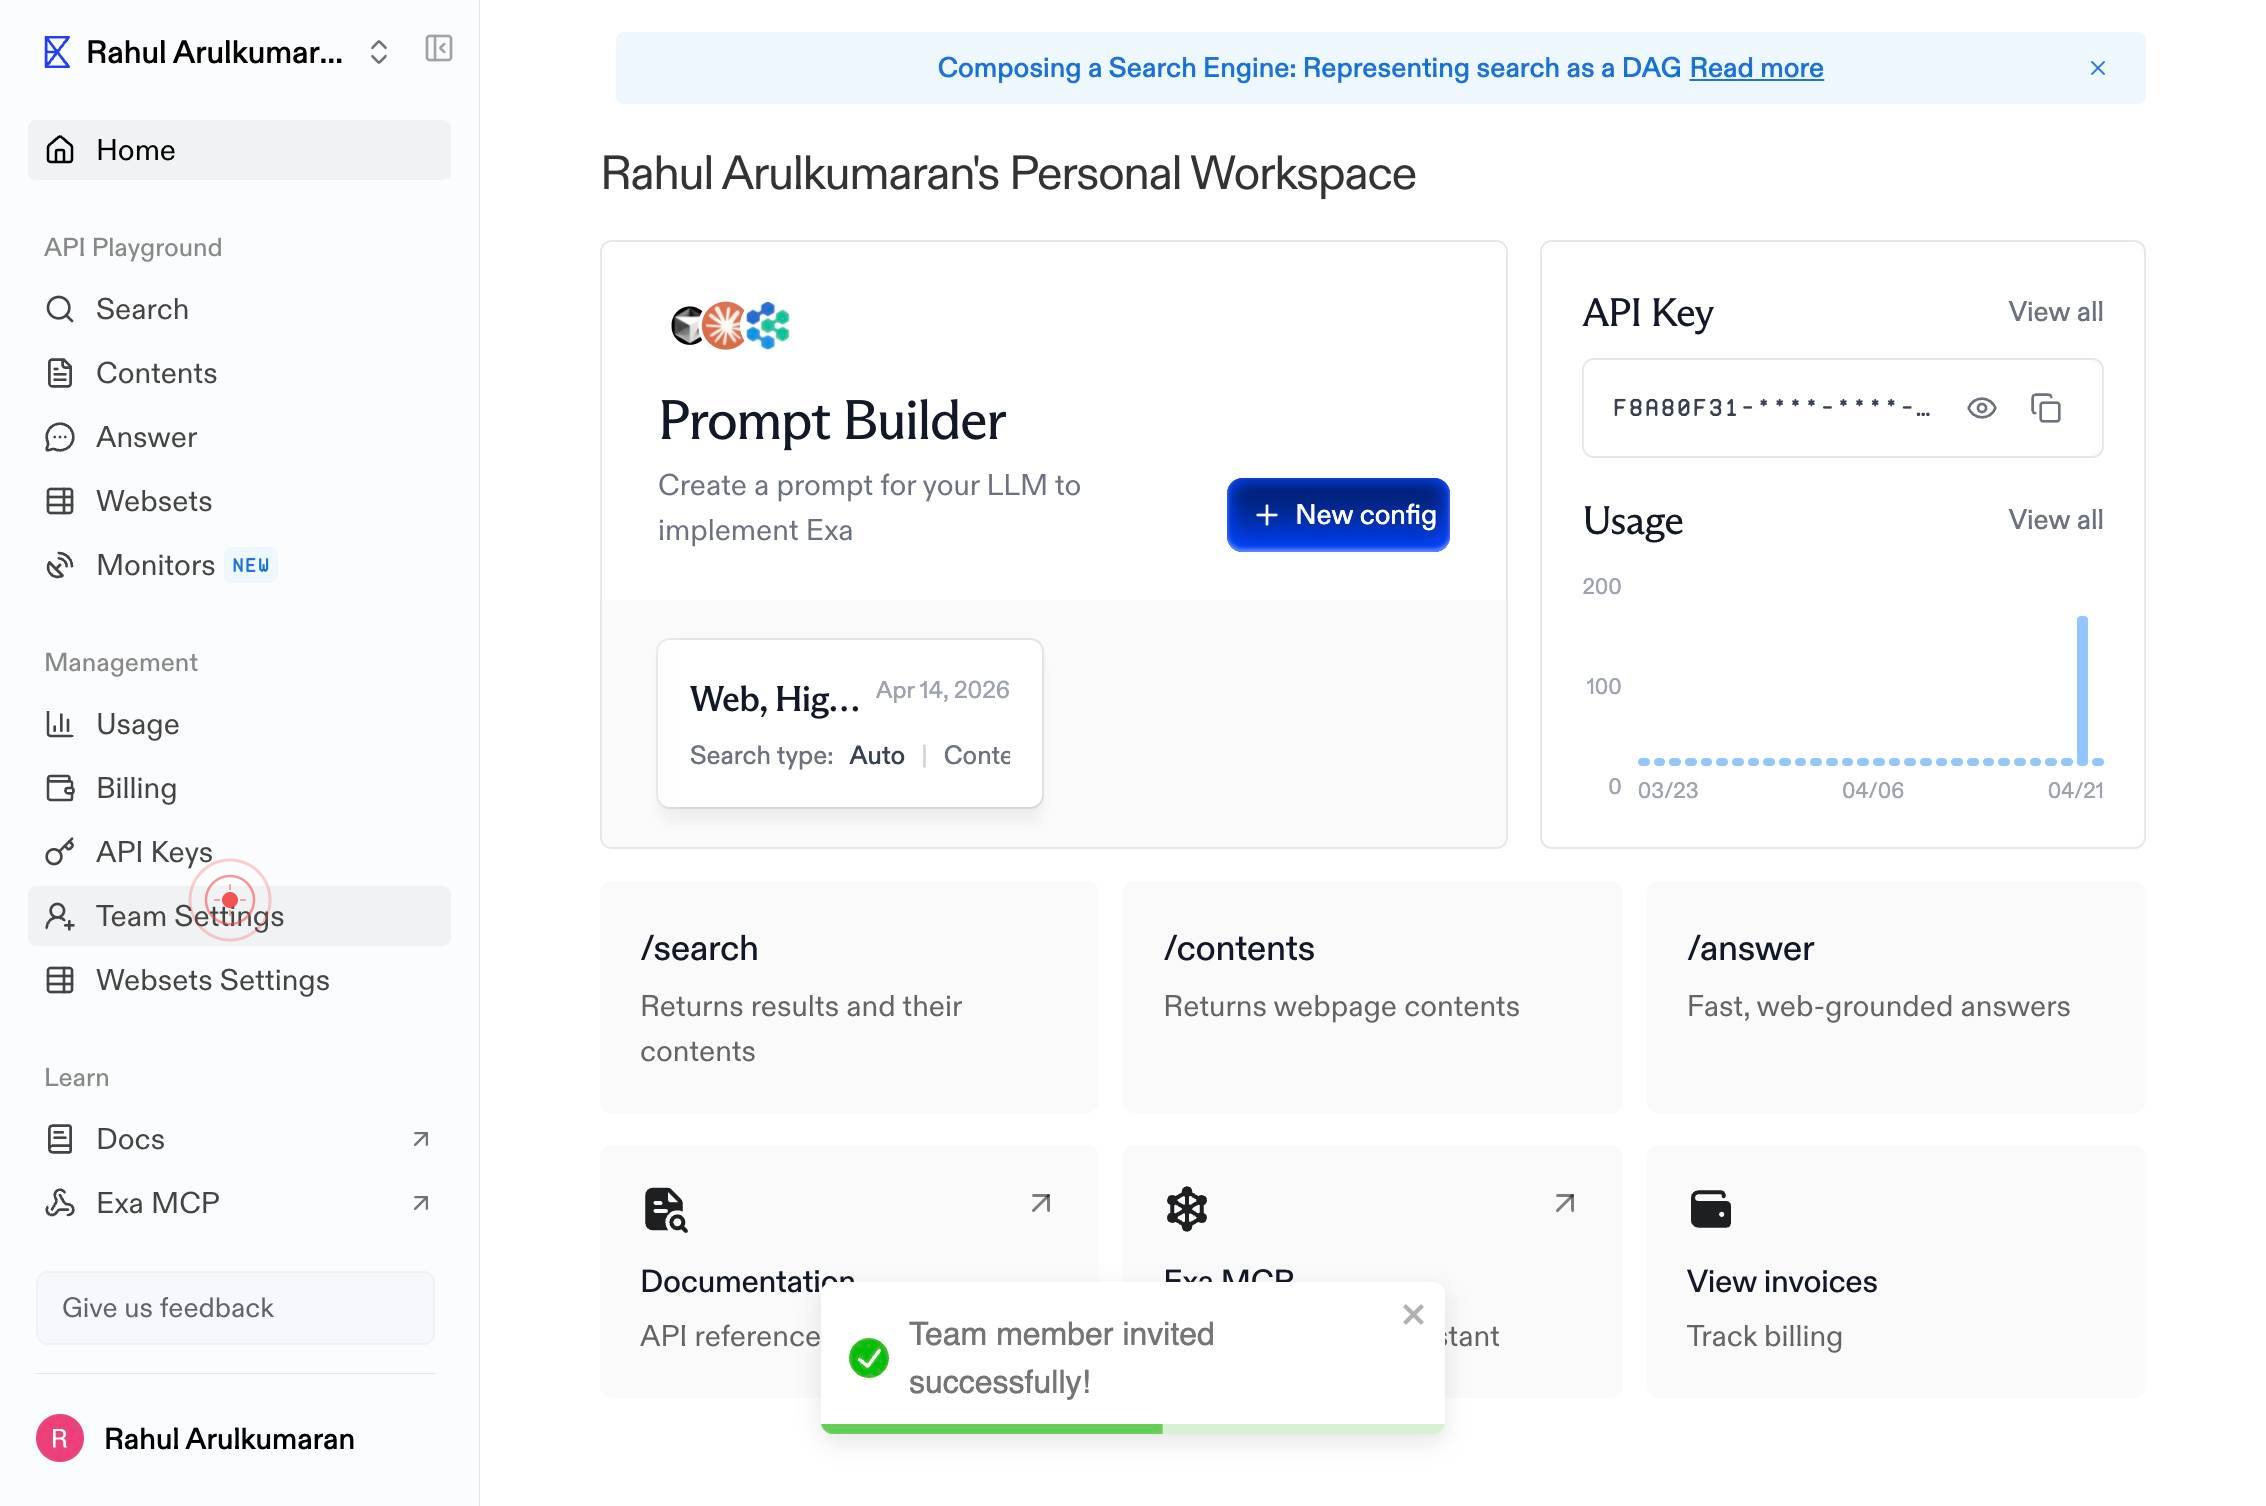
Team SettingsNavigate to Team Settings by clicking the 'Team Settings' link in the left navigation menu of dashboard.exa.ai. This is where all team membership and access controls are managed.
Rahul Arulkumaran's Personal Home API Playground Search Contents Answer Websets Monitors NEW Management Usage Billing API Keys Team Settings Websets Settings Learn Docs Exa MCP Integrations Give us feedback Rahul Arulkumaran Team Settings Current TeaSelect the team member you wish to remove by clicking on their profile or name within the Team Settings interface. This displays options for managing that specific user.
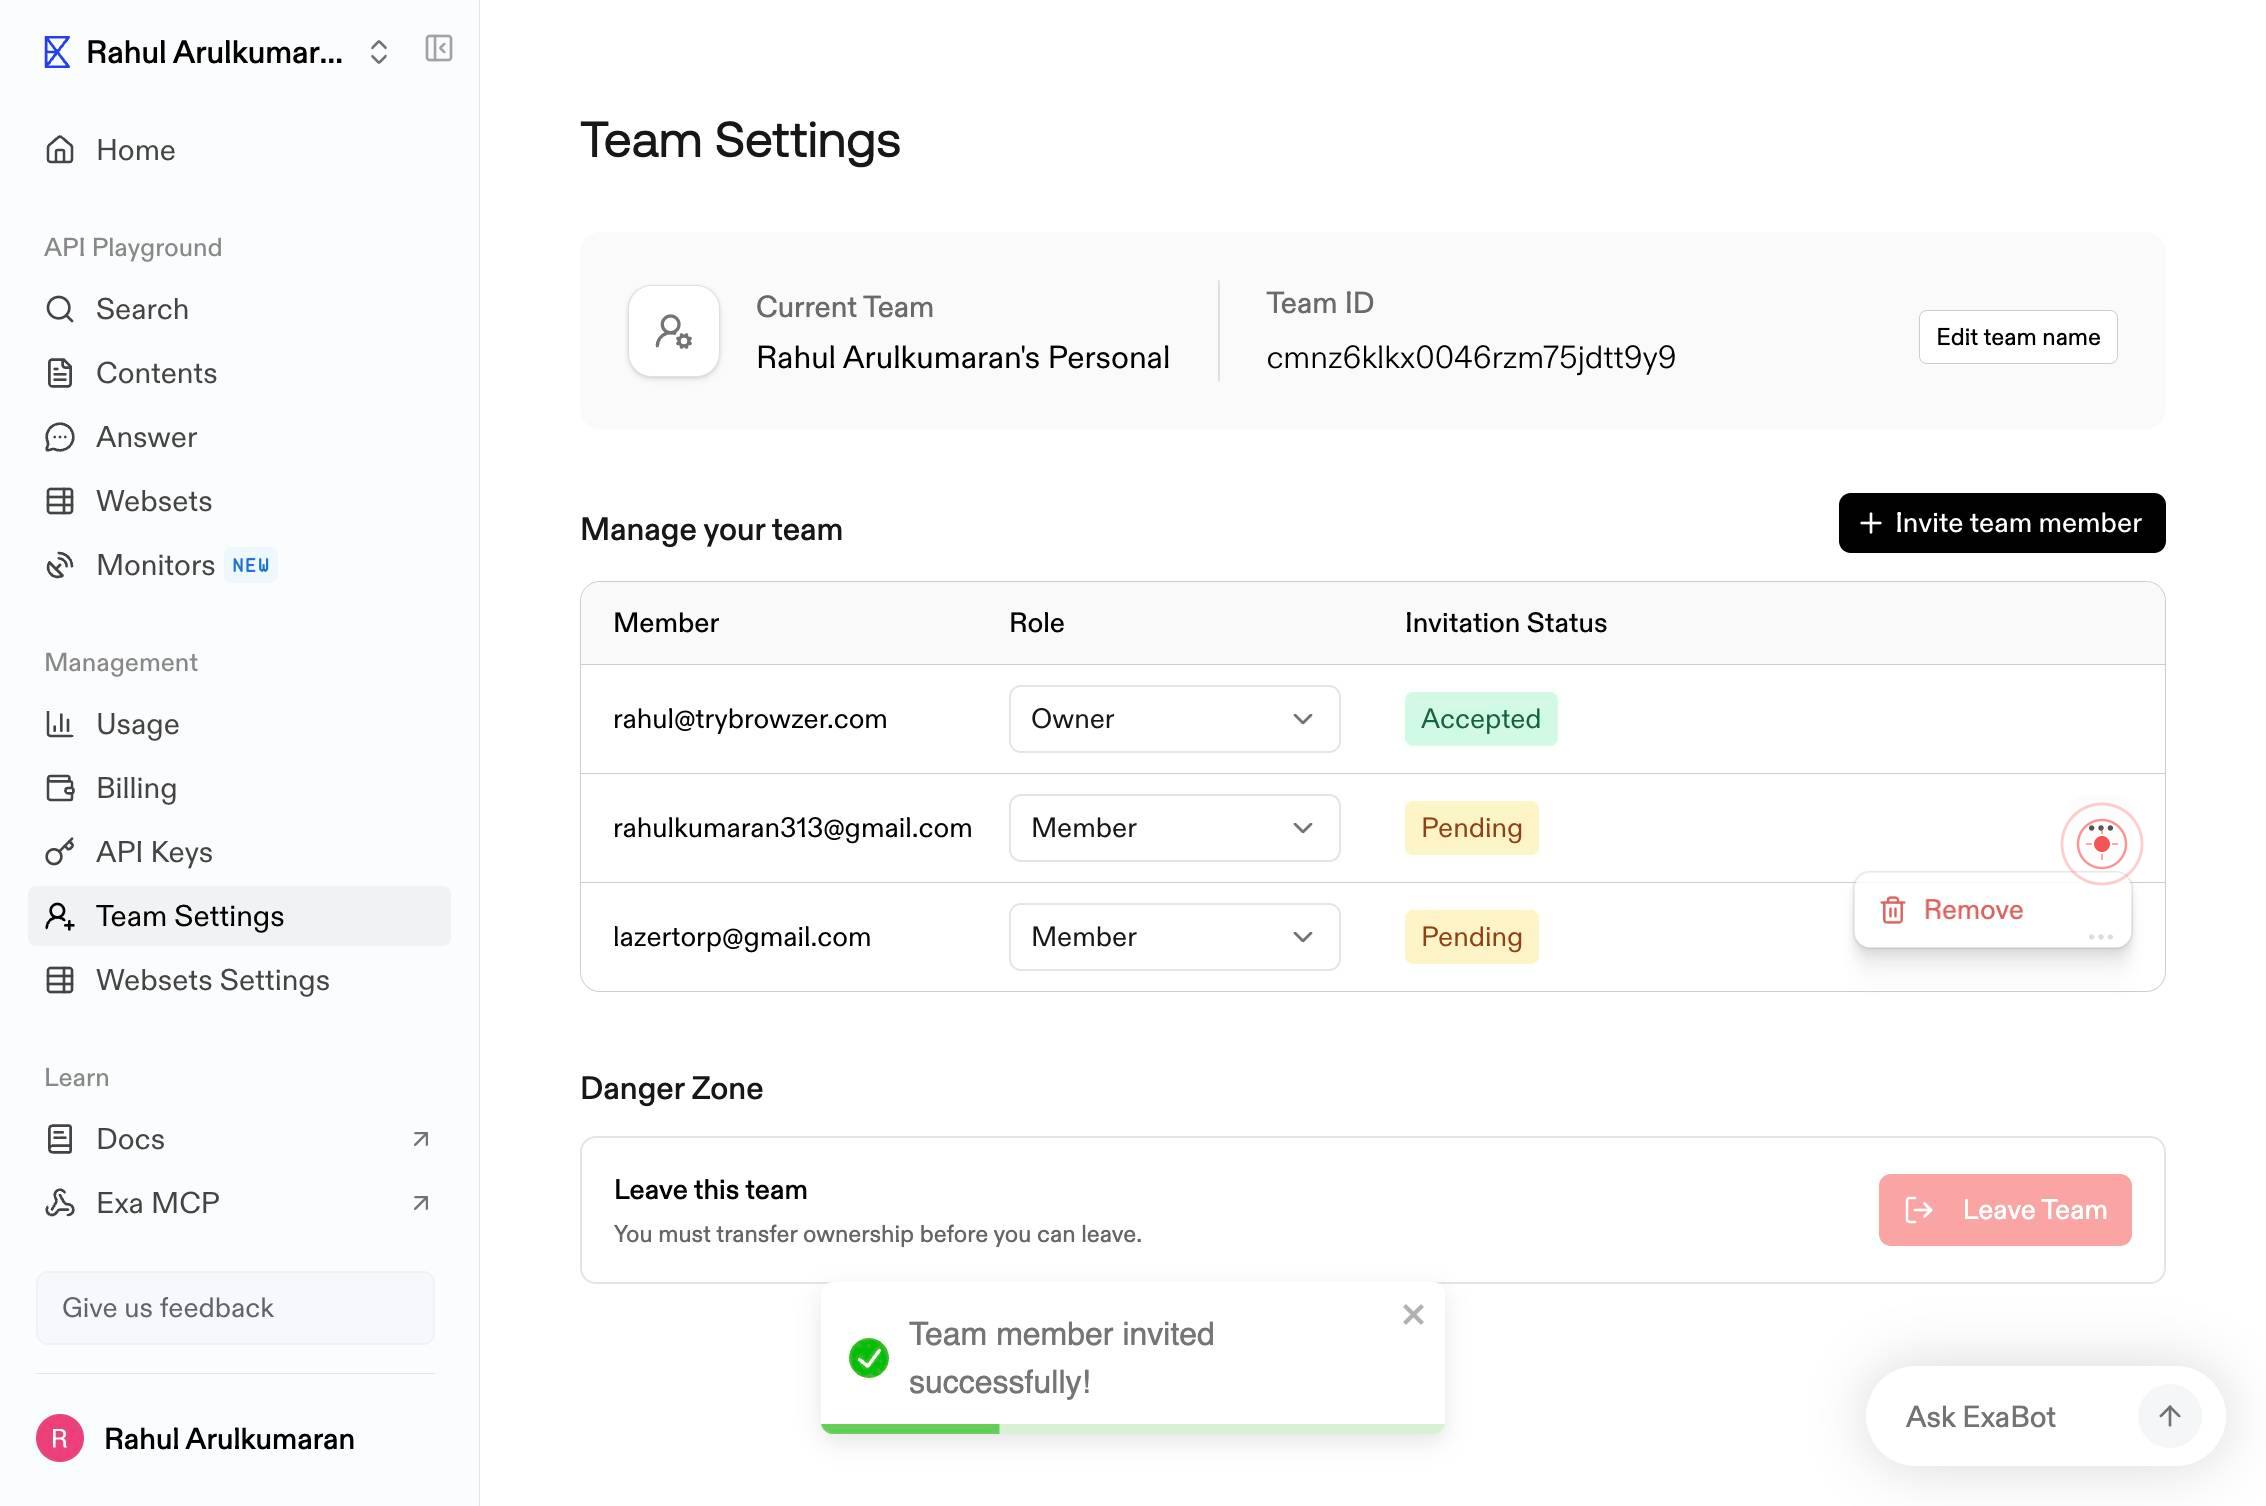
RemoveClick the 'Remove' menu item to initiate the user removal process. This action will trigger a confirmation dialog to prevent accidental removals.

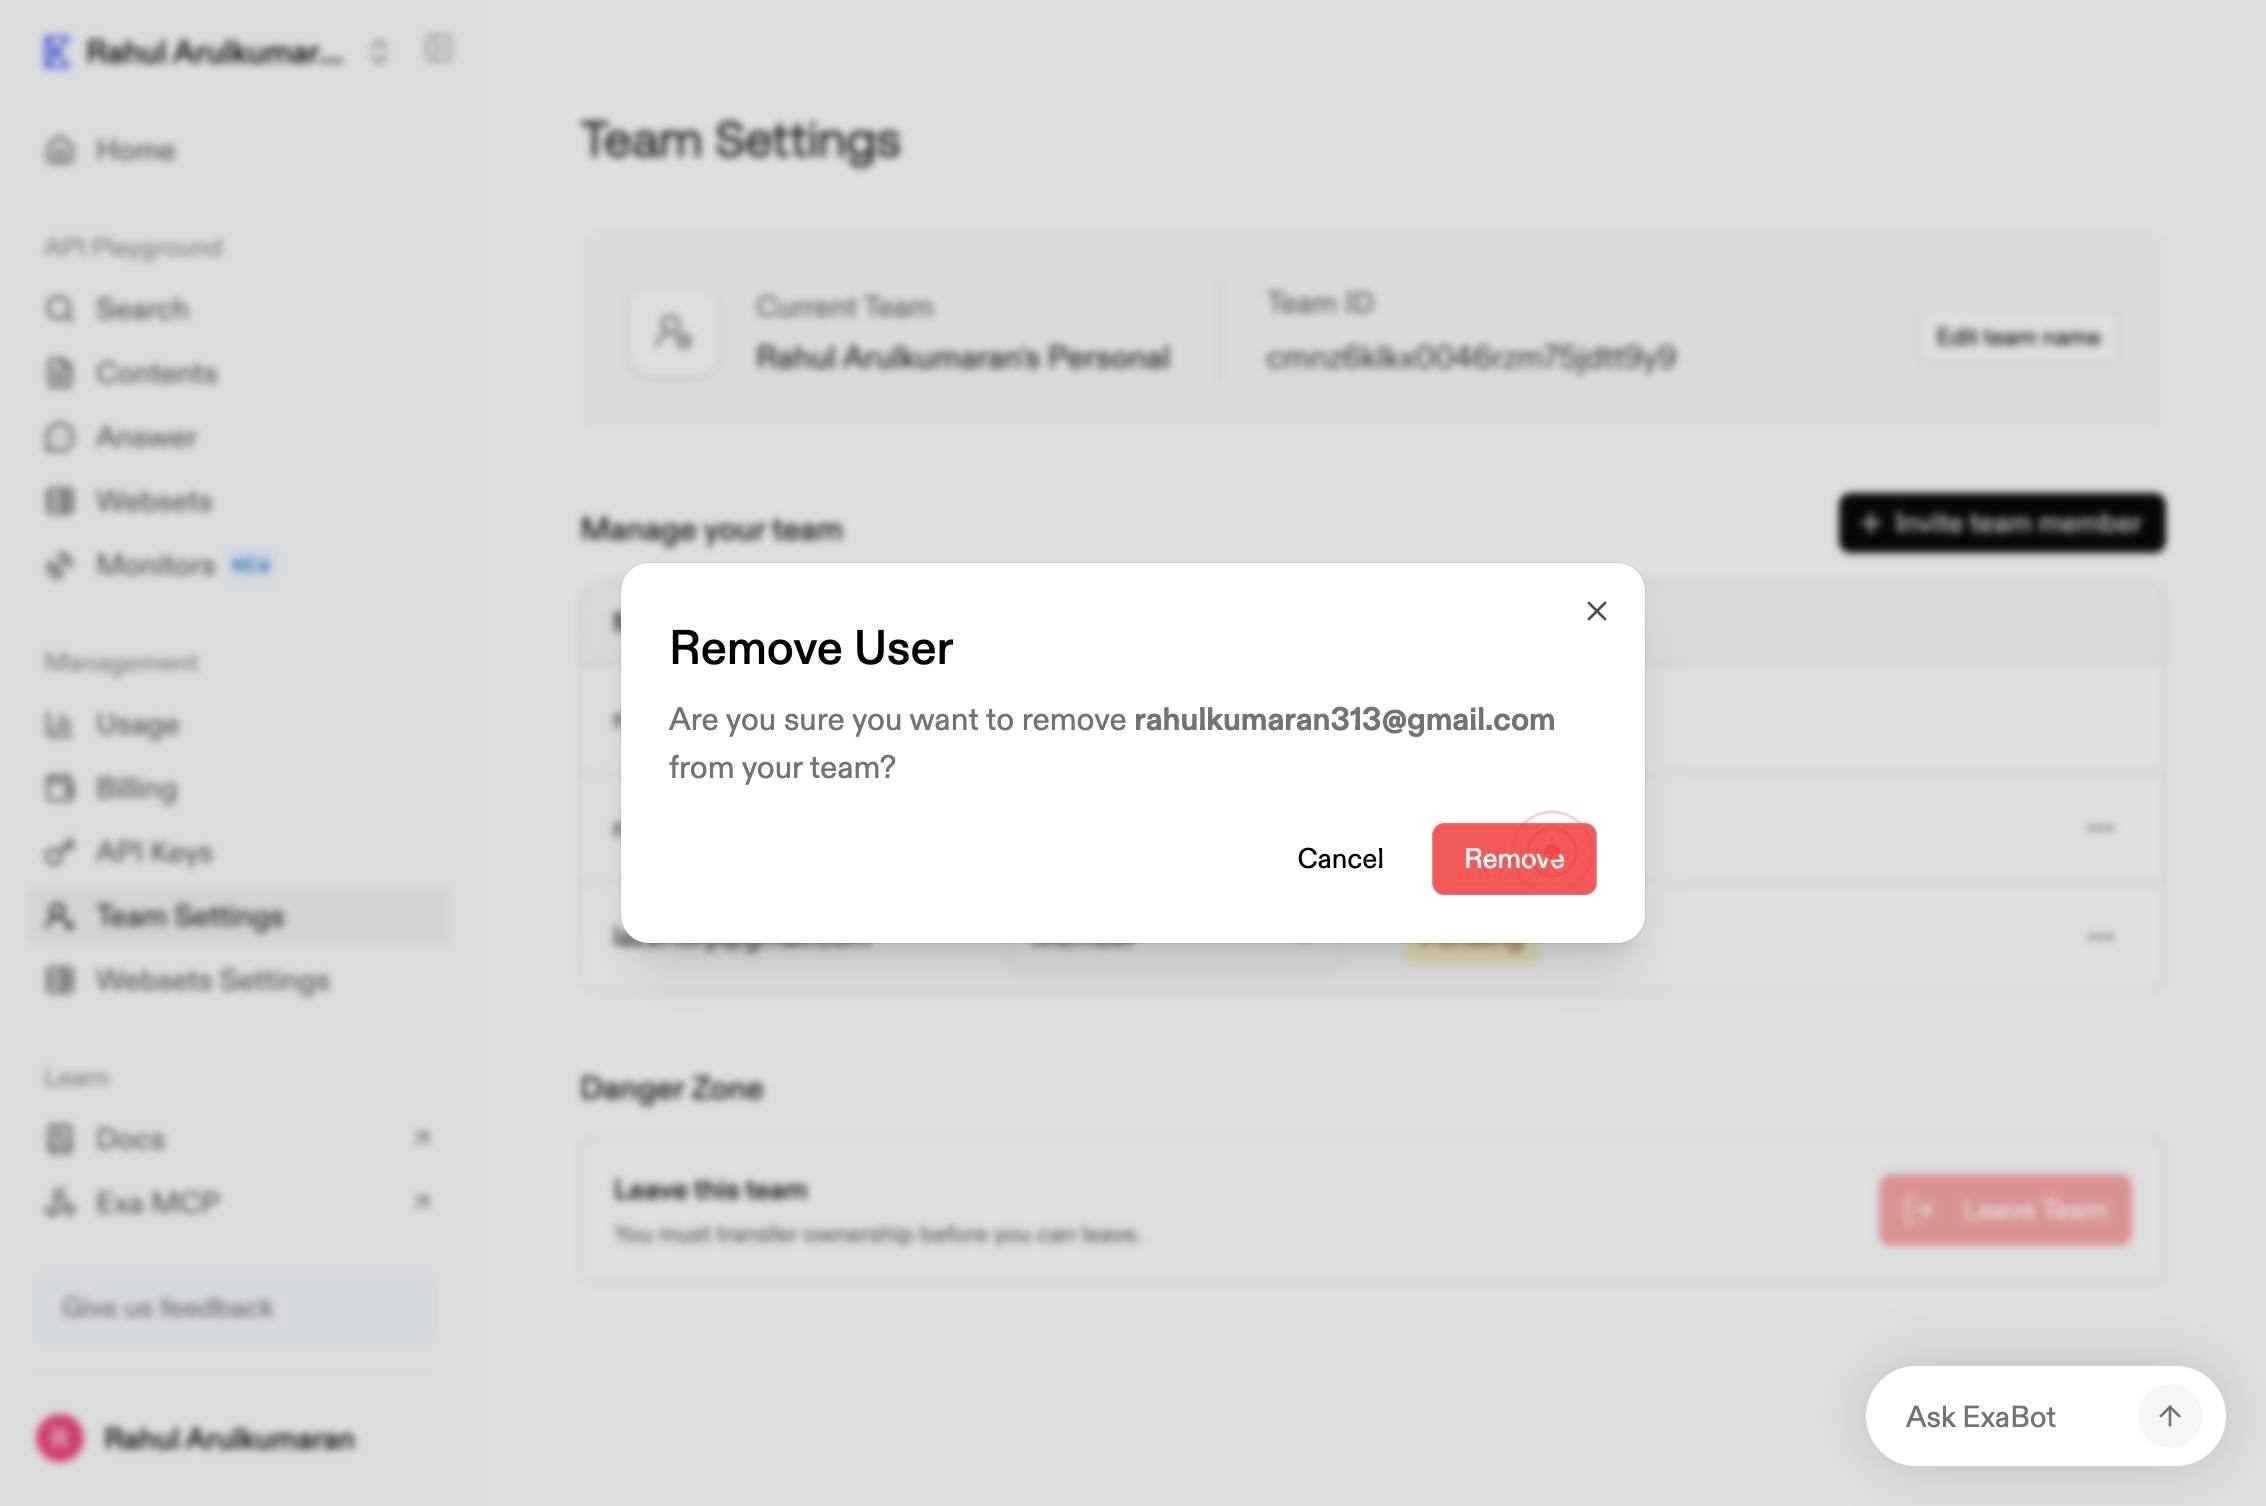
RemoveClick the 'Remove' confirmation button to finalize the removal of the user from your team. The user will no longer have access to shared team resources, API keys, or Websets.
Confirm it worked
- 1The removed user no longer appears in the team member list within Team Settings
- 2The confirmation message displays indicating the user has been successfully removed
- 3The removed user loses access to the team's shared resources (Websets, API keys, Monitors) on their next login or session refresh
Common issues
Keep reading
Removing organization members from a team - GitHub Docs
# Removing organization members from a team People with owner or team maintainer permissions can remove team members from a team. This may be necessary if a person no longer needs access to a reposit
docs.github.comRemove-TeamUser (MicrosoftTeams) | Microsoft Learn
Remove-TeamUser (MicrosoftTeams) | Microsoft Learn # Remove-TeamUser Module: [MicrosoftTeams PowerShell module](https://learn.microsoft.com/en-us/powershell/module/microsoftteams/?view=teams-ps) Re
learn.microsoft.comRemoving organization members from a team - GitHub Docs
# Removing organization members from a team People with owner or team maintainer permissions can remove team members from a team. This may be necessary if a person no longer needs access to a reposit
help.github.com