Guide
Exa Prompt Builder
Overview
Exa is a web search and research API that enables developers to integrate live web data directly into AI applications. This workflow guides you through the Exa Dashboard to configure a new API integration tailored to your tech stack. By selecting Claude (Anthropic's language model) and Python, you'll generate a customized setup prompt that includes the necessary authentication and configuration code. This is particularly useful when you want to enhance your AI application with real-time web search capabilities without building search infrastructure from scratch.
Before you begin
- An active account on the Exa Dashboard (dashboard.exa.ai)
- Access to the Exa Dashboard homepage with the 'New config' button visible
- An Exa API key (you will need this when implementing the generated prompt, though it's not required for this configuration step)
Step by step
New configClick the 'New config' button on the Exa Dashboard to begin creating a fresh API configuration for your project.
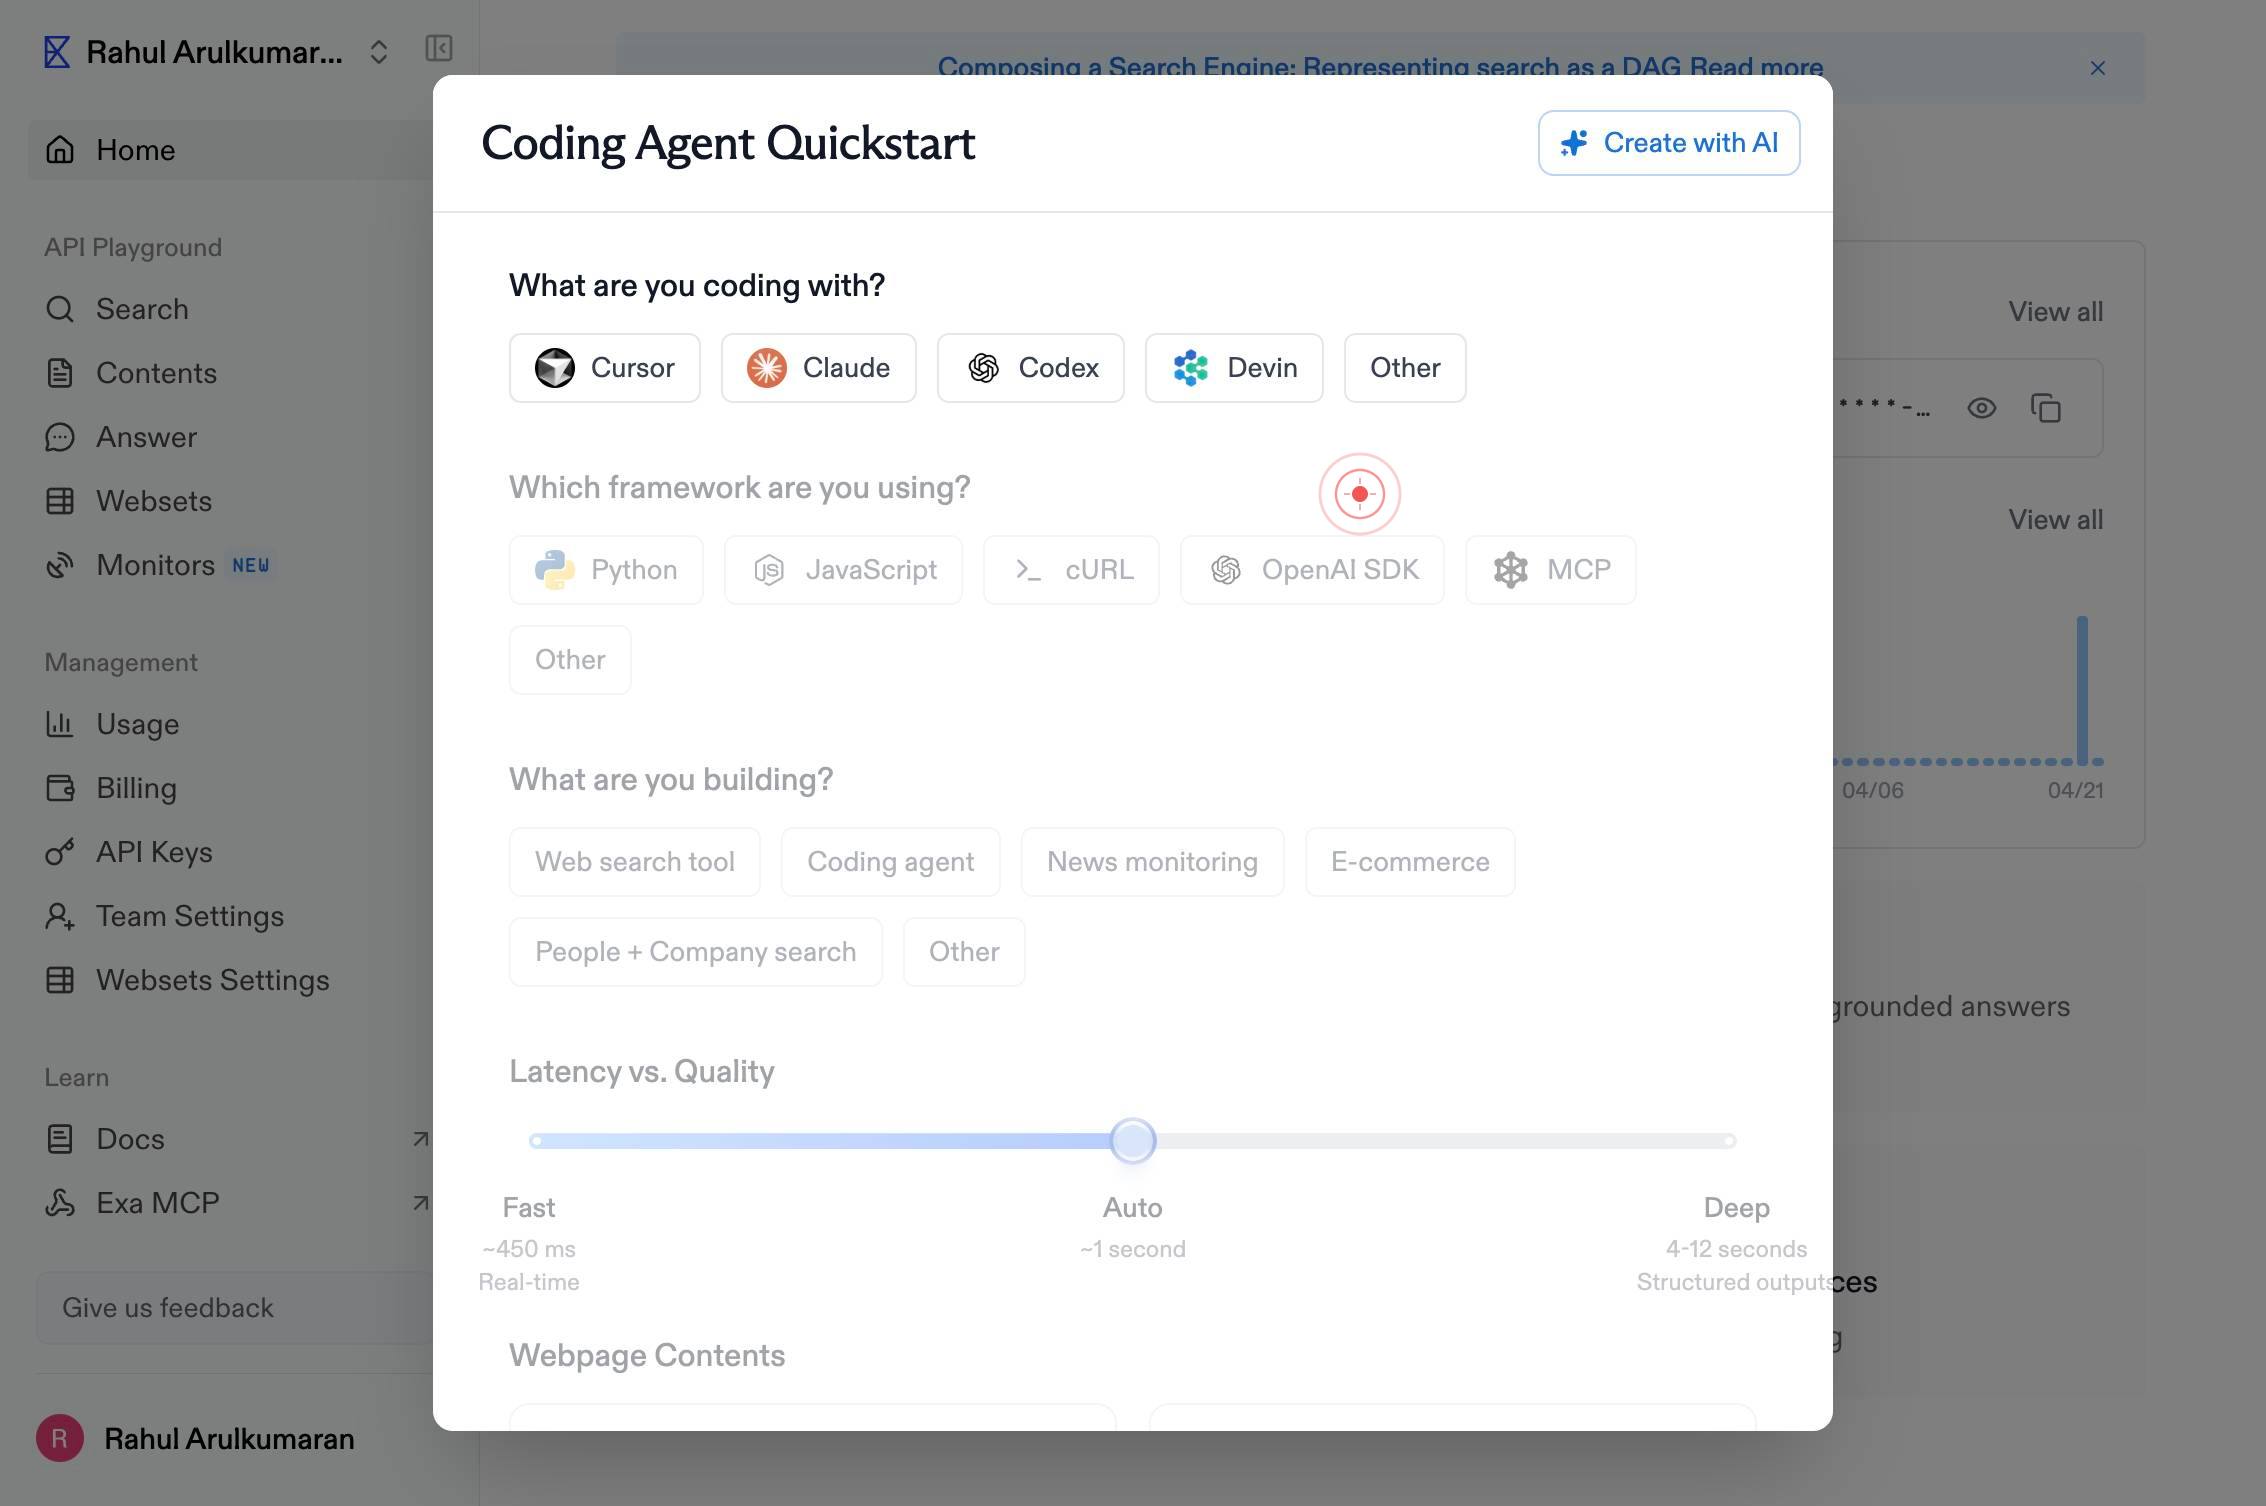
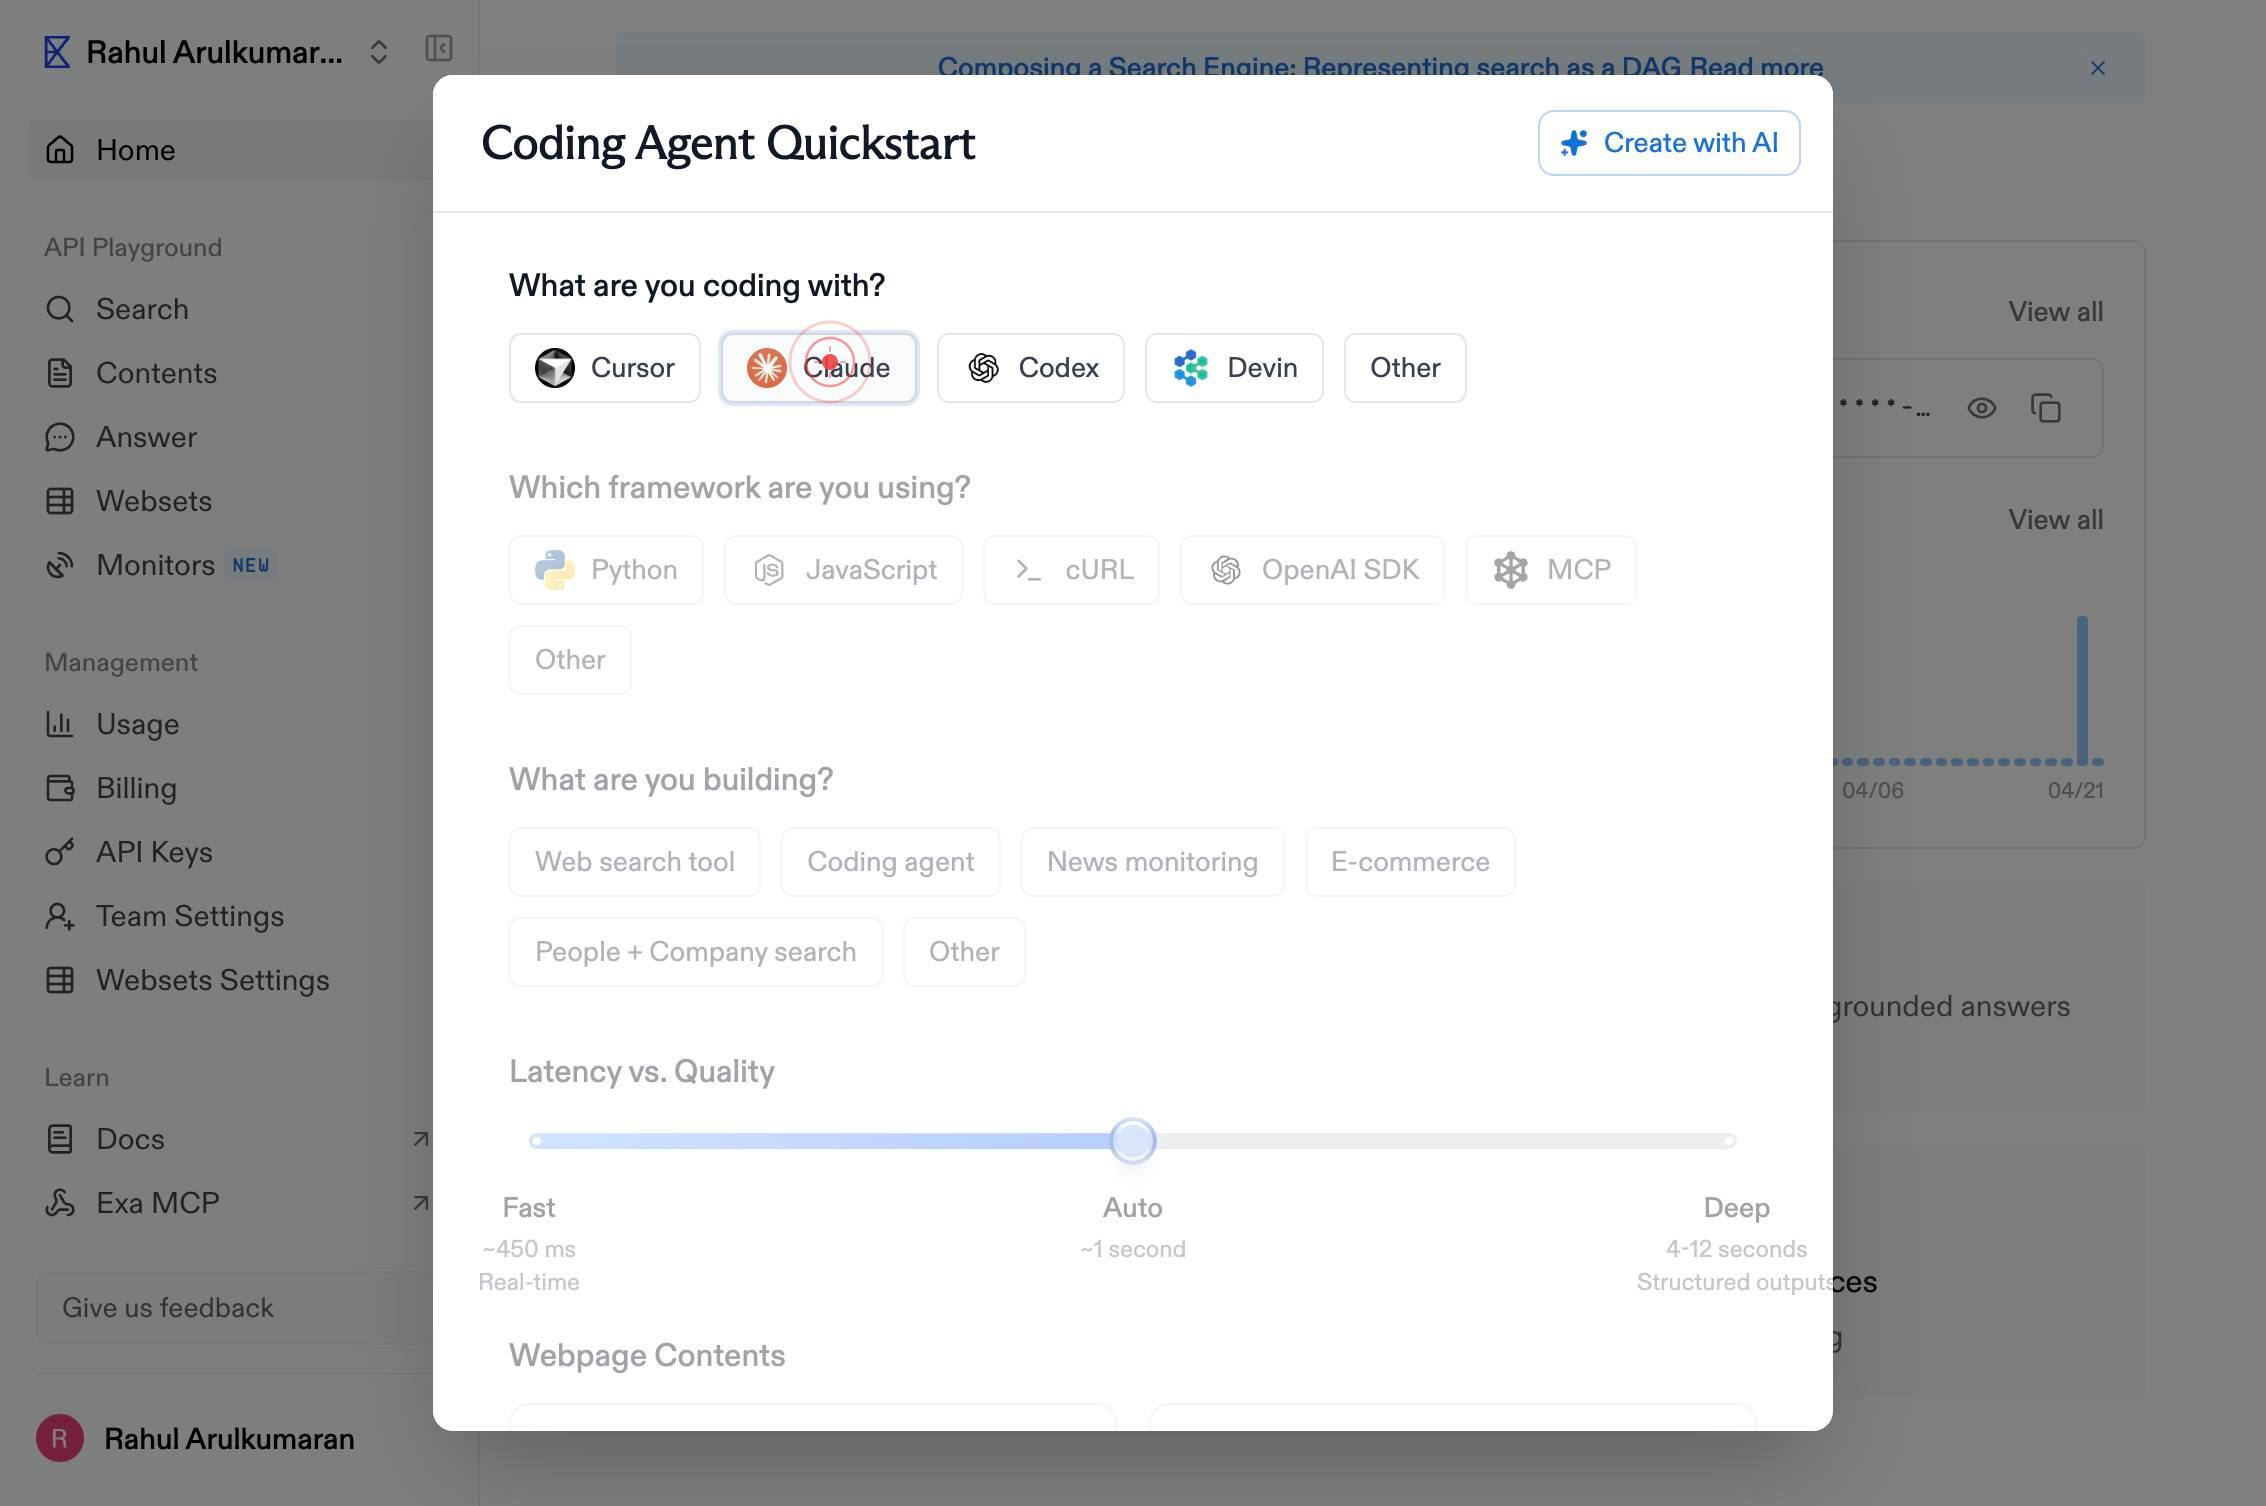
ClaudeSelect Claude as your AI model by clicking the 'Claude' button. This configures the generated prompt to be compatible with Anthropic's Claude API.
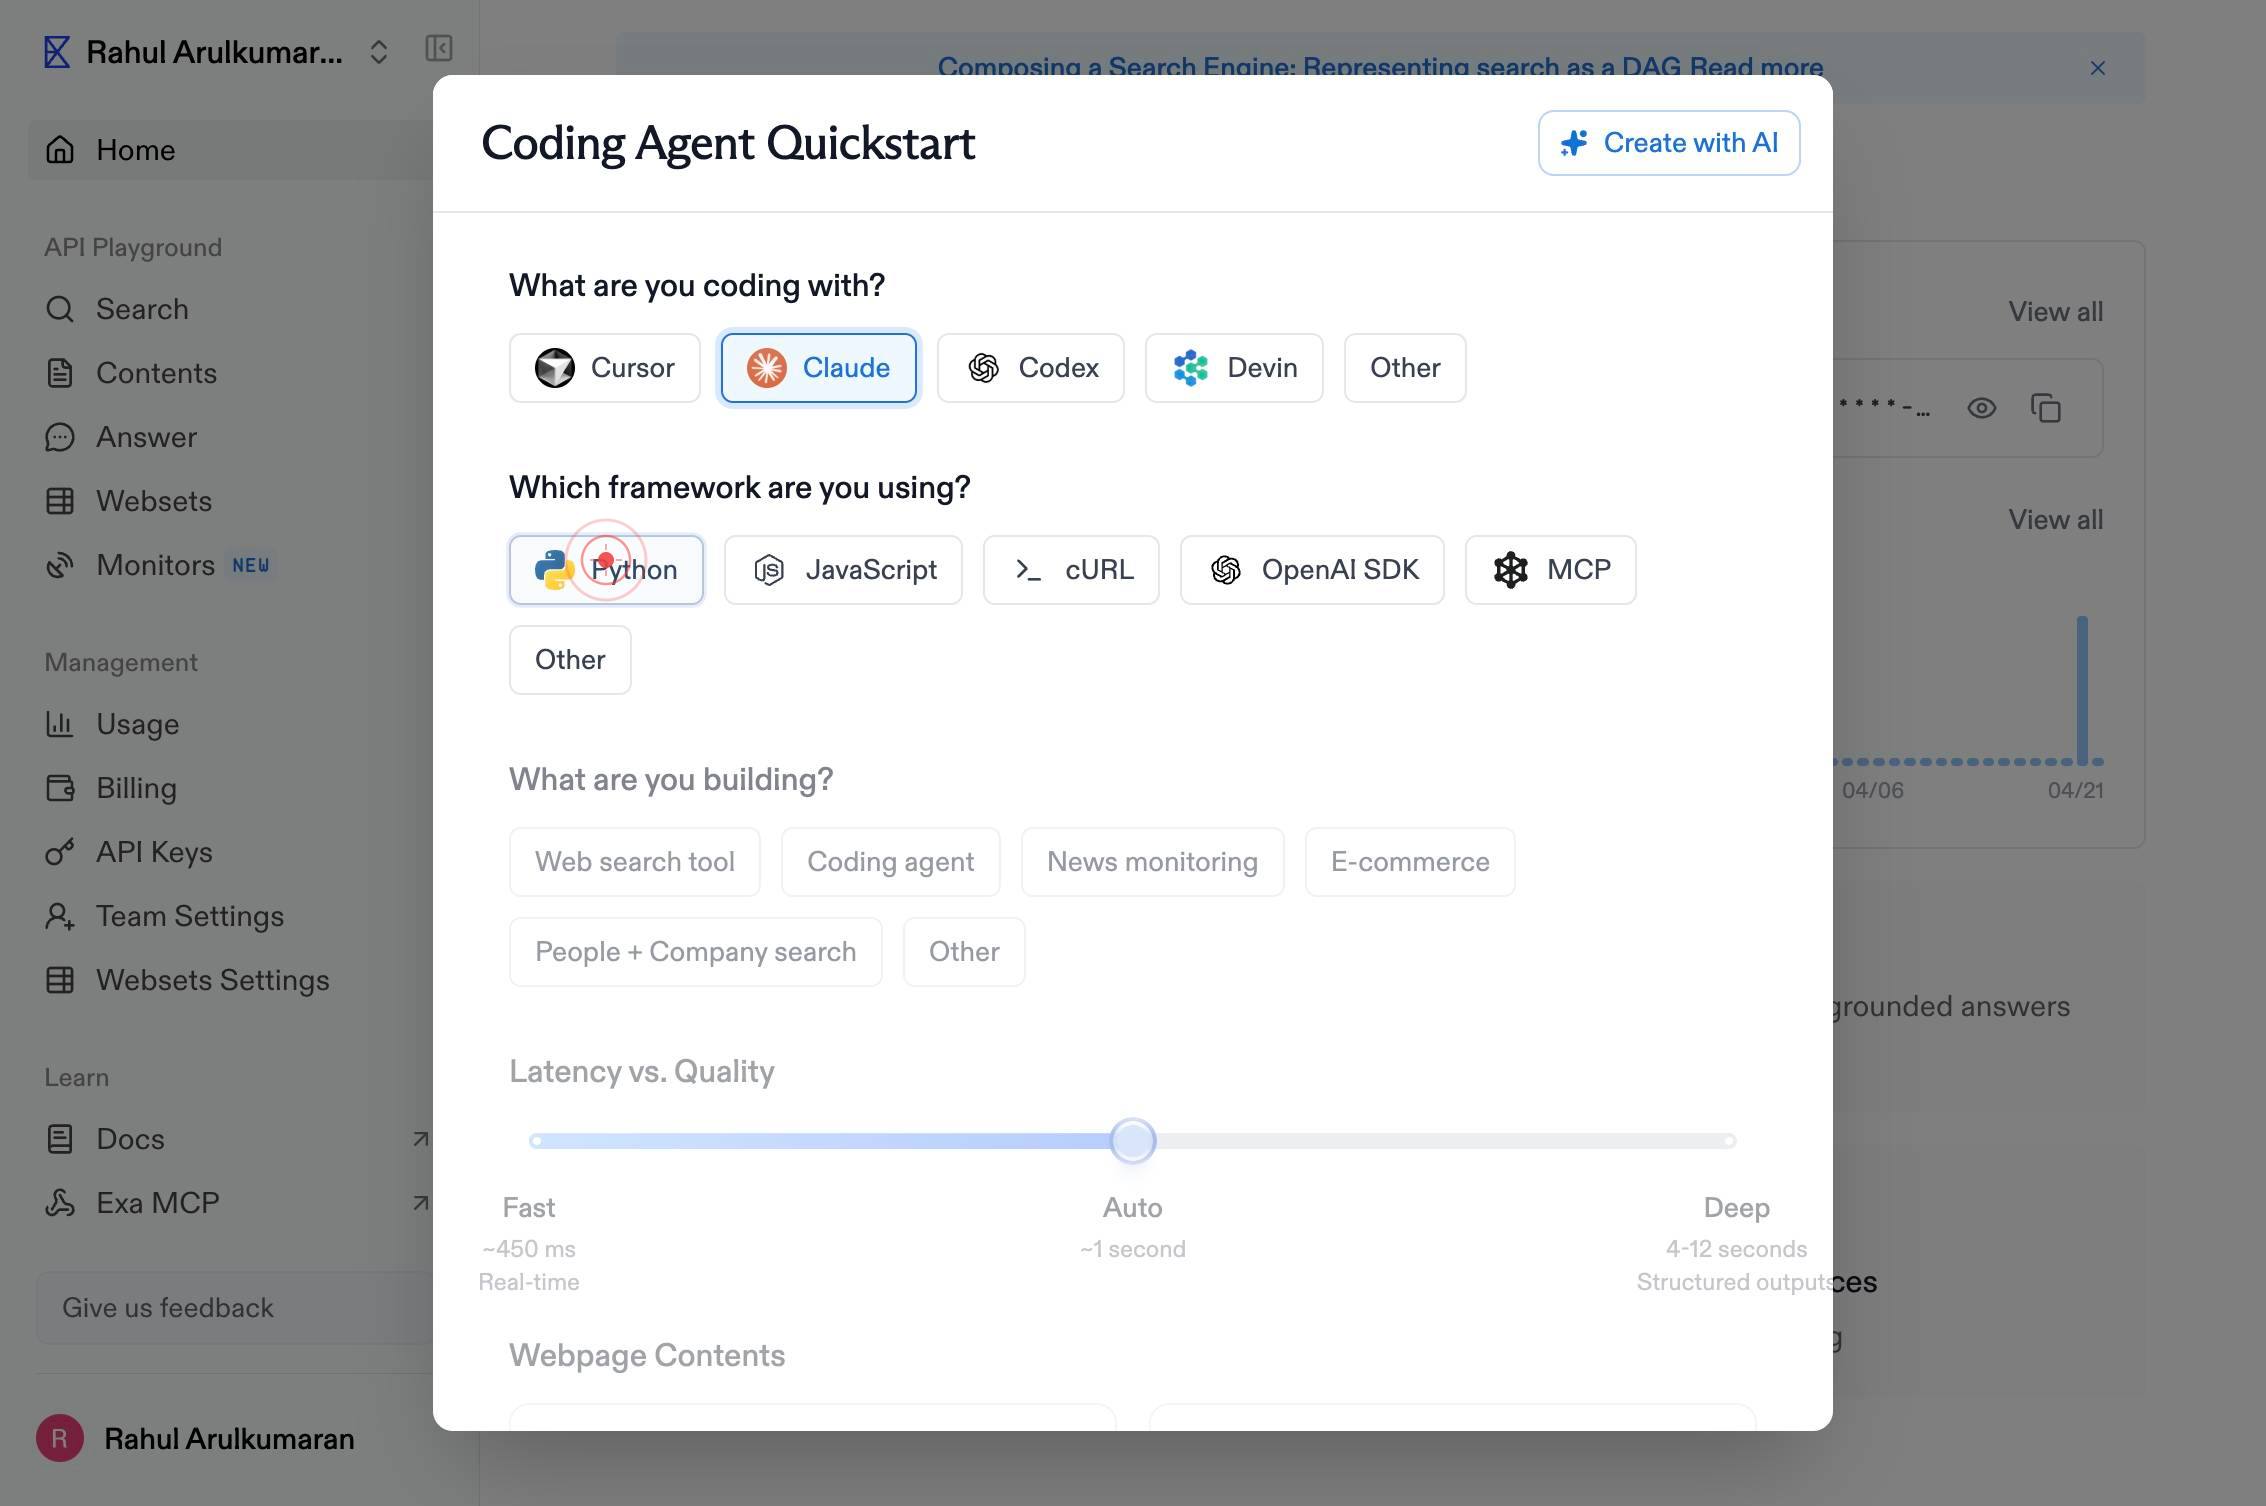
PythonClick the 'Python' button to specify Python as your implementation language. This ensures the generated setup code follows Python syntax and conventions.
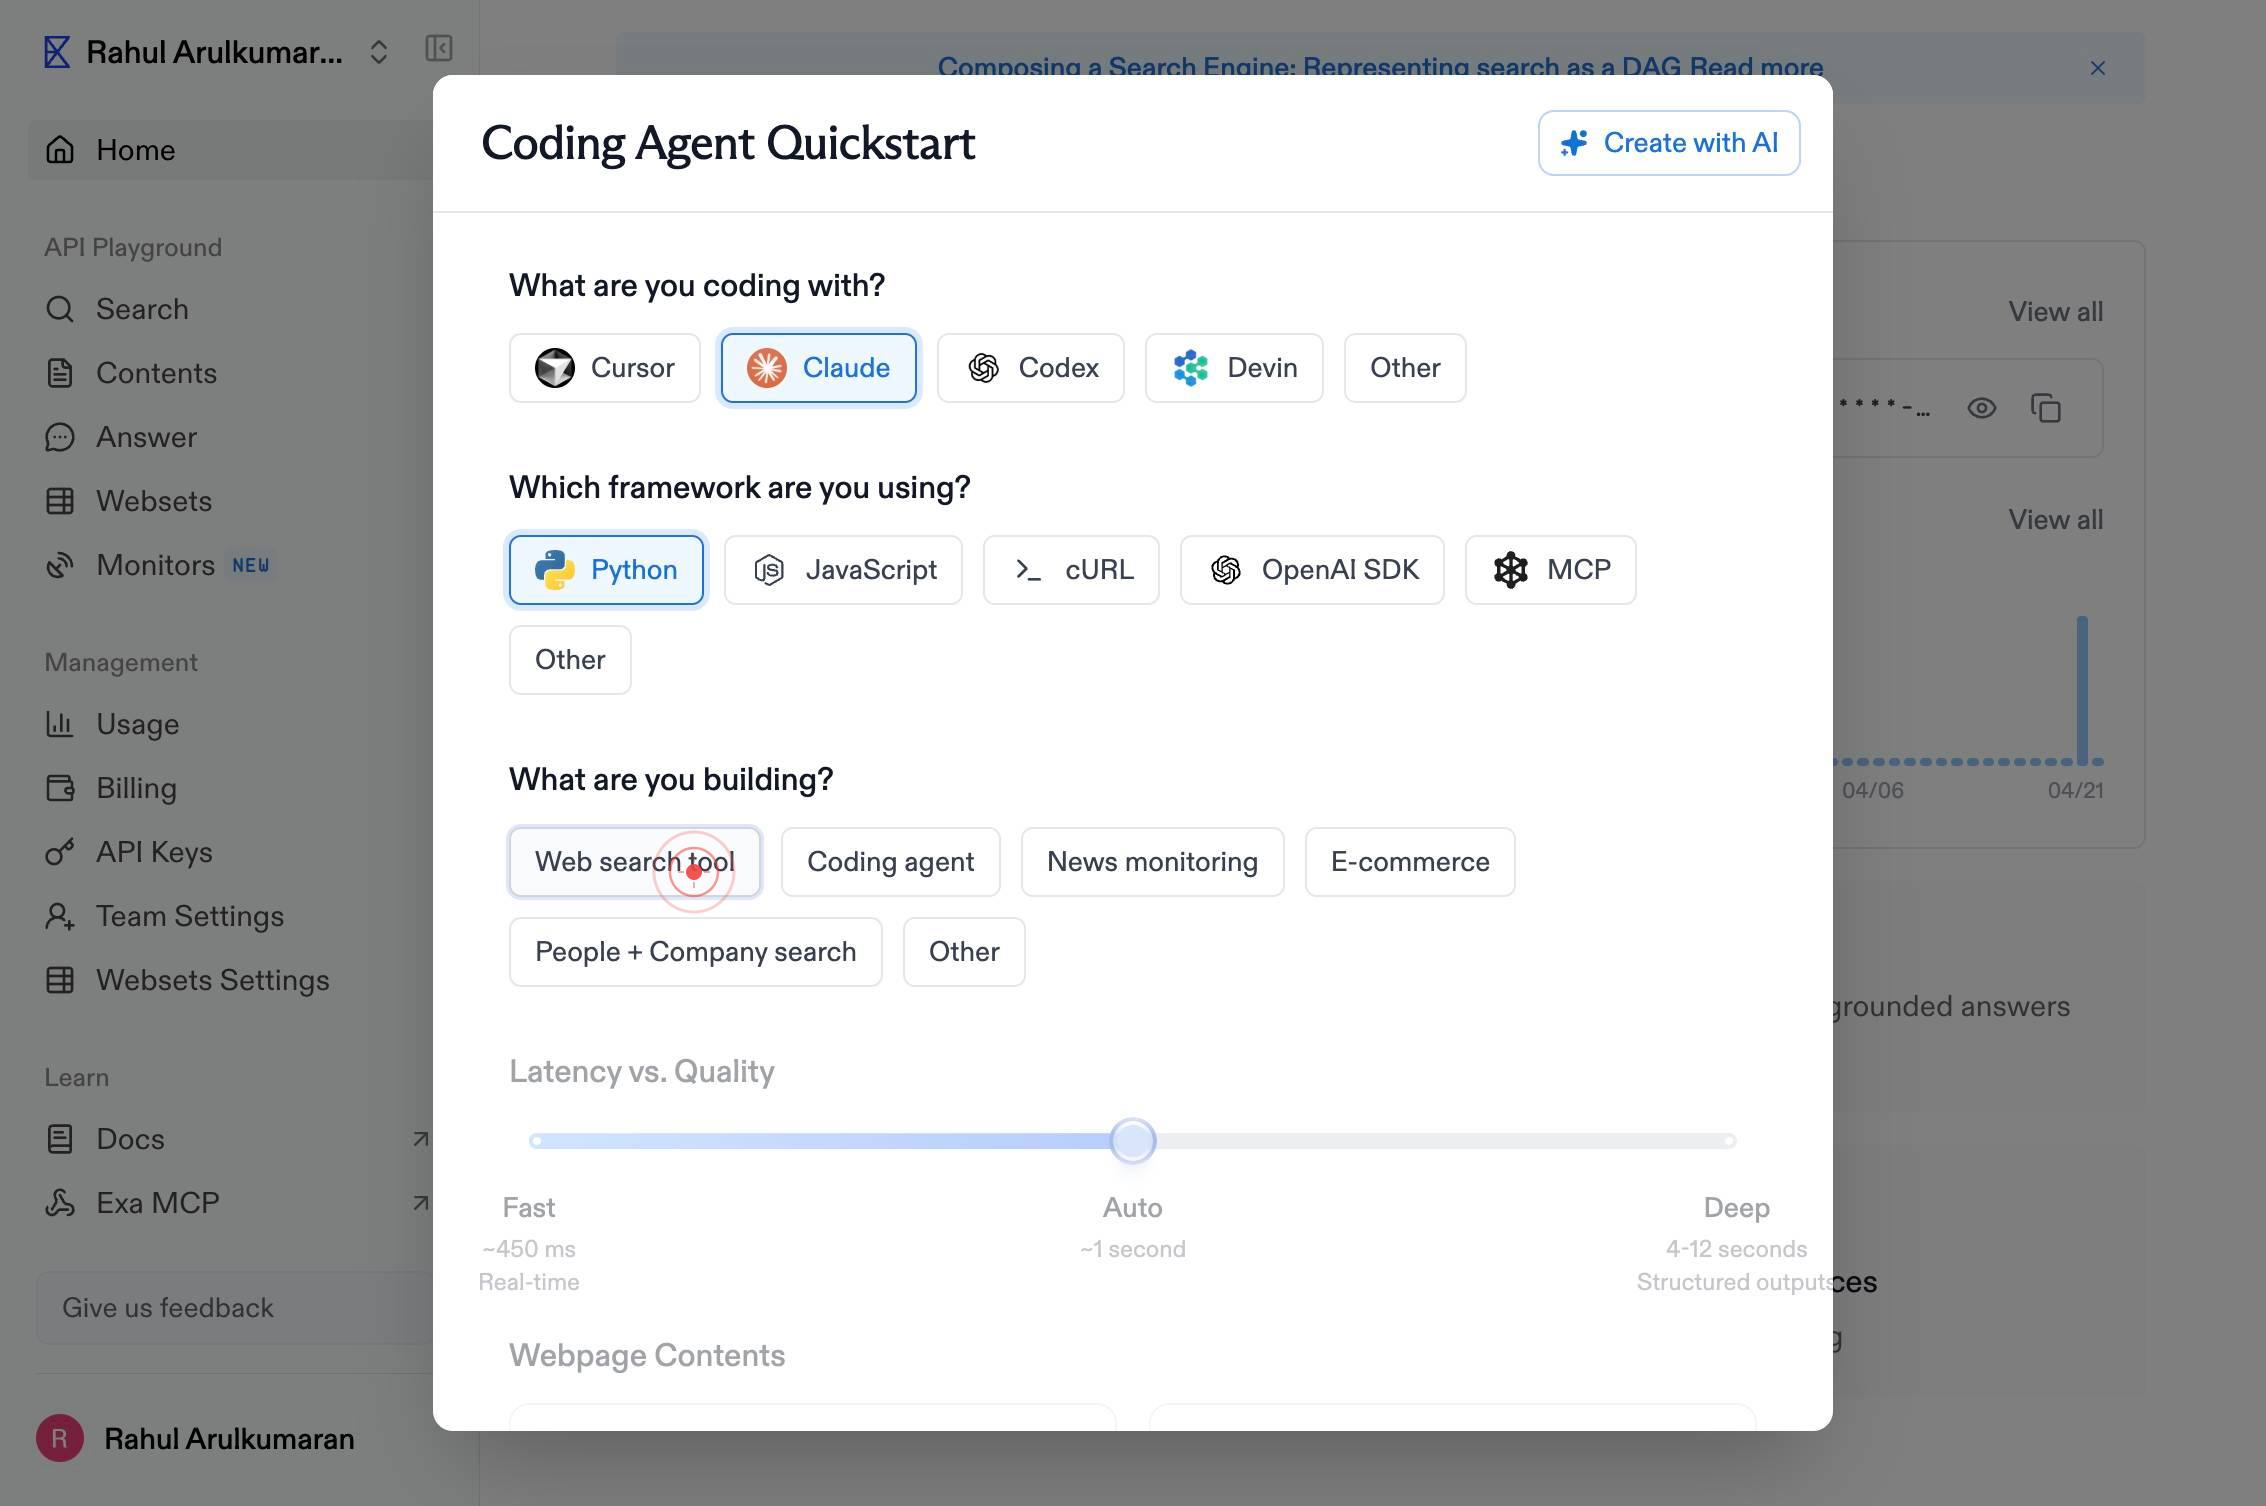
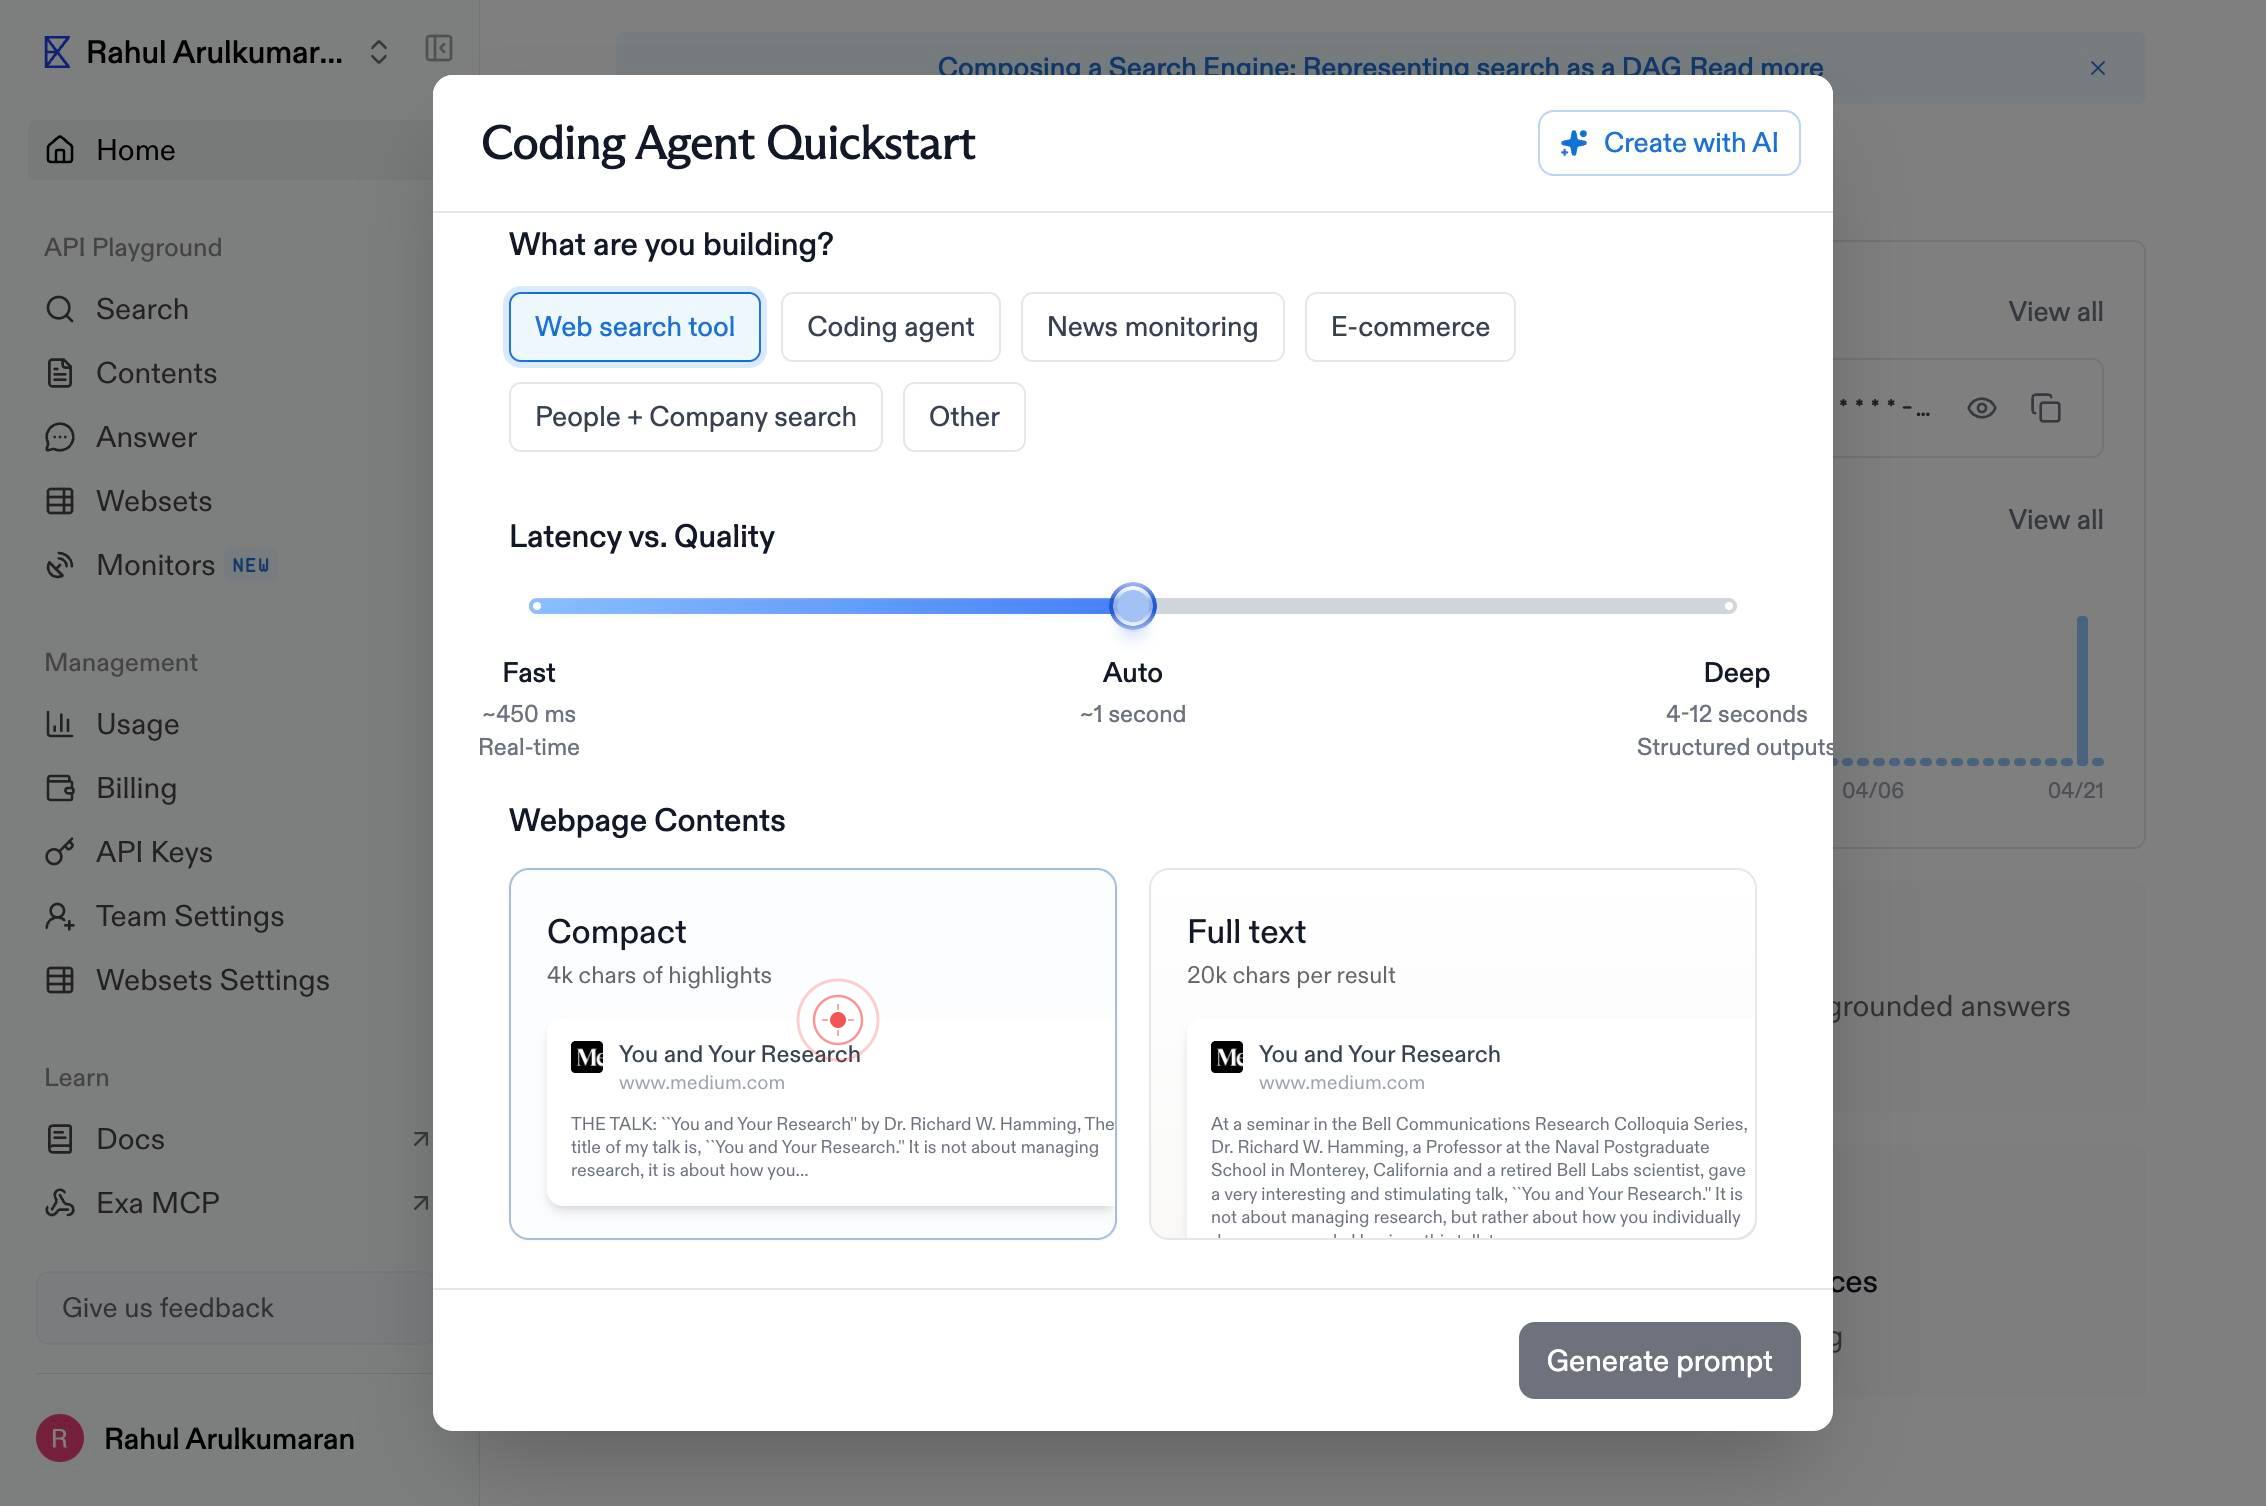
Web search toolClick the 'Web search tool' button to enable the web search functionality in your configuration. This adds the live web search capability to your API setup.
Compact 4k chars of highlightsYou and Your Research www.medium.com THE TALK: ``You and Your Research'' by Dr. Richard W. Hamming, The title of my talk is, ``You and Your Research.'' It is not about managing research, it is about how you...From the list of example search results, click one to select it. This example result (showing a Medium article about 'You and Your Research' by Richard Hamming) demonstrates how Exa search results are formatted and presented.
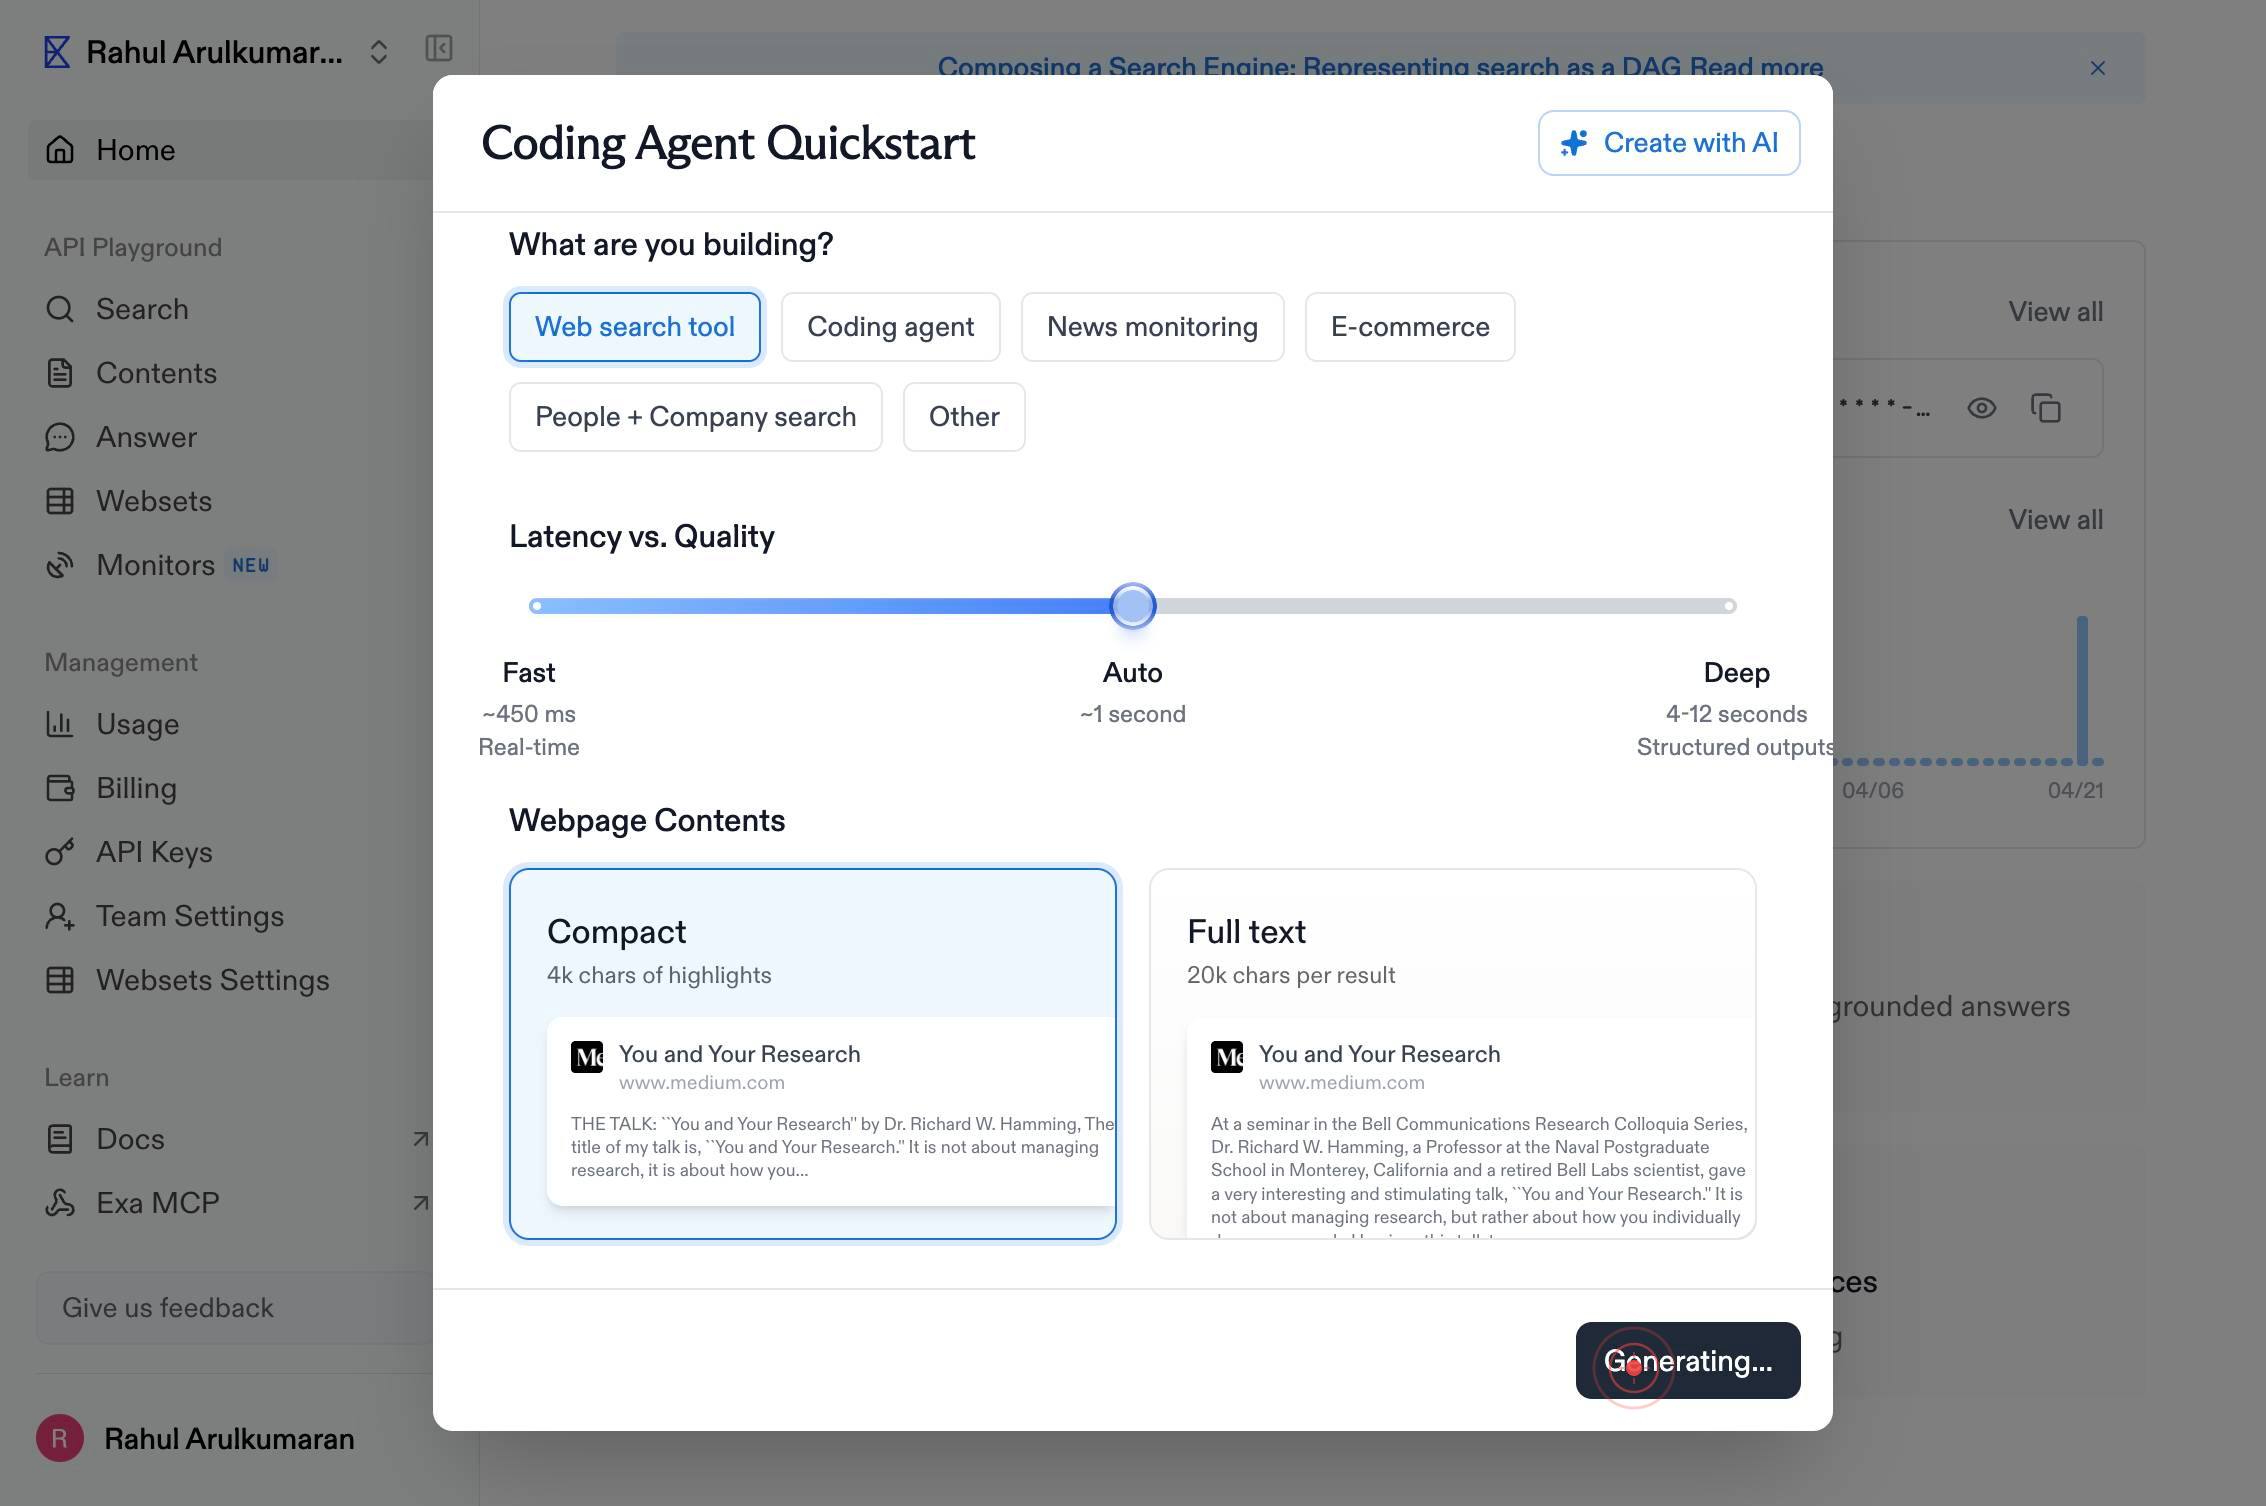
Generate promptClick the 'Generate prompt' button to create the customized API setup prompt based on your selections (Claude model, Python language, and web search tool).
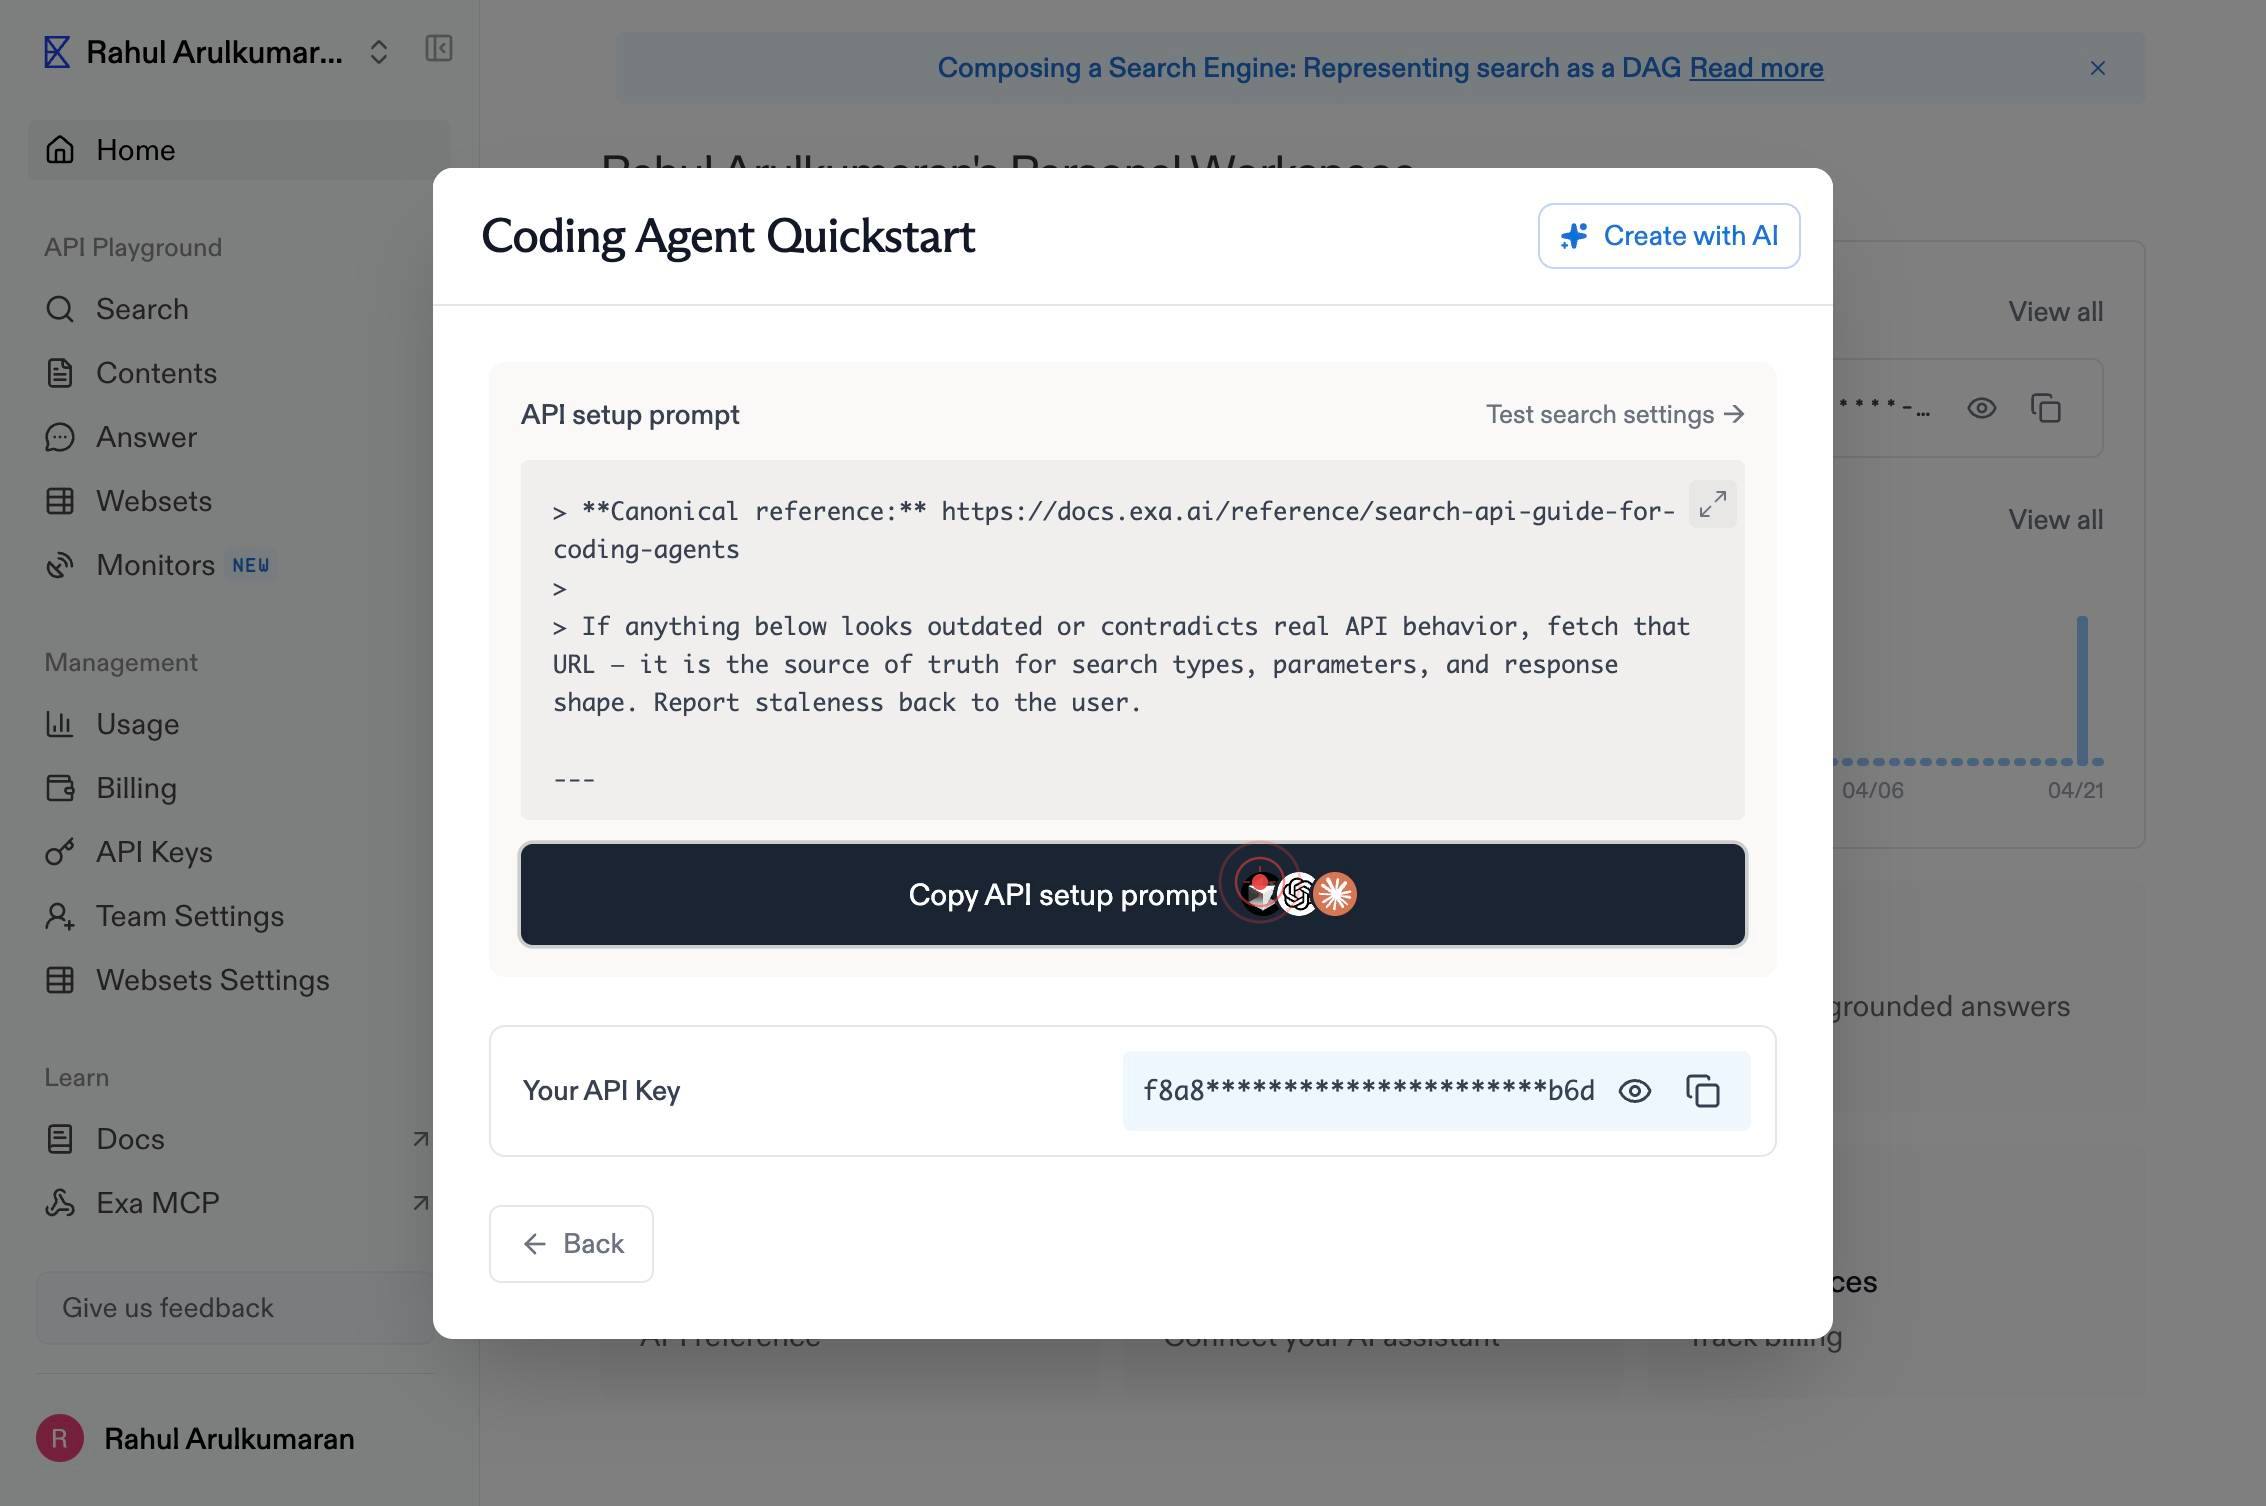
Copy API setup promptClick the 'Copy API setup prompt' button to copy the generated prompt to your clipboard, making it ready to paste into your project code or documentation.
Confirm it worked
- 1After step 2: The Claude model is selected and highlighted on the dashboard
- 2After step 3: Python is selected as the target language
- 3After step 6: A 'Copy API setup prompt' button appears, indicating the prompt has been generated
- 4After step 7: The API setup prompt has been copied to your clipboard, ready to paste into your code editor or documentation
Common issues
Keep reading
Prompting Websets - Exa
> ## Documentation Index > > Fetch the complete documentation index at: https://exa.ai/docs/llms.txt > Use this file to discover all available pages before exploring further. # Prompting Websets >
exa.aiExa - PromptLayer
> Fetch the complete documentation index at: https://docs.promptlayer.com/llms.txt > Use this file to discover all available pages before exploring further. > > ## Documentation Index # Exa [Exa](h
docs.promptlayer.comBuilding a News Summarizer - Exa
> ## Documentation Index > > Fetch the complete documentation index at: https://exa.ai/docs/llms.txt > Use this file to discover all available pages before exploring further. # Building a News Summa
docs.exa.ai