Guide
Add GitHub Integration
Overview
Nia's GitHub integration uses OAuth to securely connect your GitHub account without storing credentials directly. This connection allows Nia to discover, index, and make searchable content from GitHub repositories alongside other integrated data sources (Notion, Slack, Confluence, etc.). The GitHub integration primarily helps Nia avoid GitHub's strict API rate limits when indexing public repositories—you can choose to grant access to your personal repositories, but it is optional and not required for the integration to function. Once connected, GitHub data flows through Nia's unified connector lifecycle: installation, configuration, indexing, and search.
This process involves redirecting to GitHub's OAuth authorization page, where you approve the Nia app's permissions, select which organization or repositories to grant access to, and then returning to Nia to complete the installation.
Before you begin
- You have a valid Nia account on app.trynia.ai and are currently signed in.
- You have an active GitHub personal account or organization account with permission to install GitHub Apps.
- Your GitHub account email address is verified (required by GitHub).
- You have not previously installed the Nia GitHub App on your GitHub account (if you have, you will need to uninstall it first from GitHub Settings → Applications → Installed GitHub Apps).
Step by step
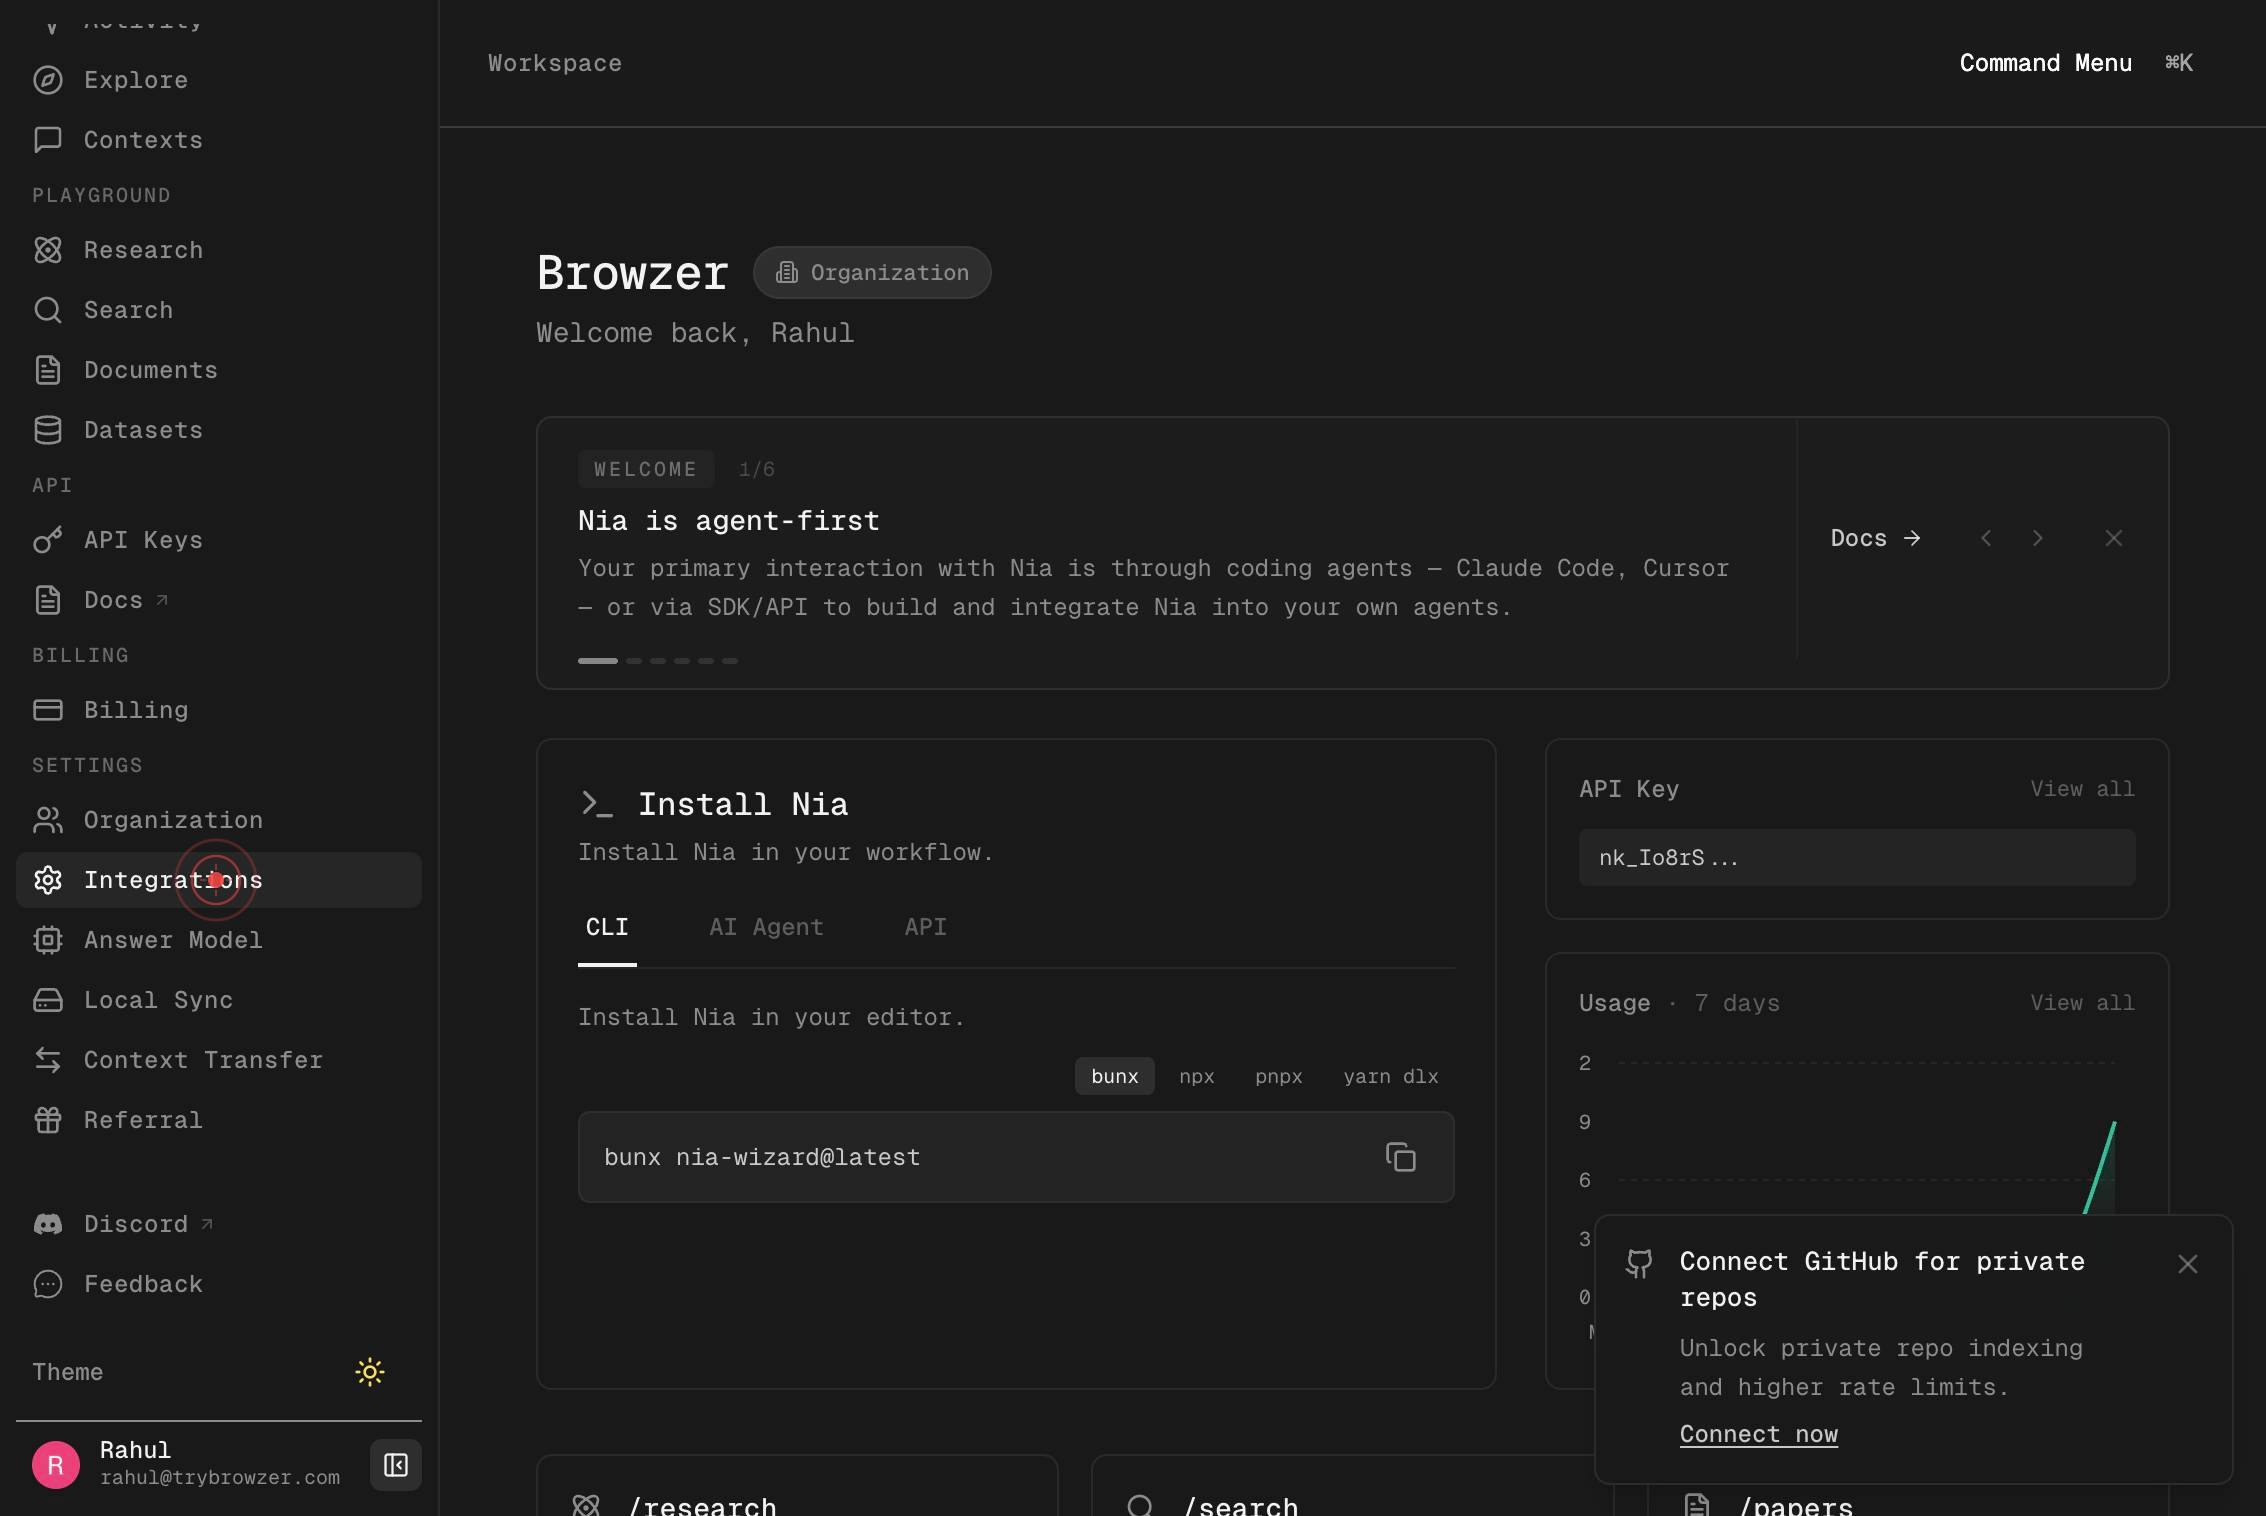
IntegrationsNavigate to the Integrations section of Nia by clicking the Integrations link in your app sidebar or navigation menu. This page shows all available external data sources and connectors that Nia supports.
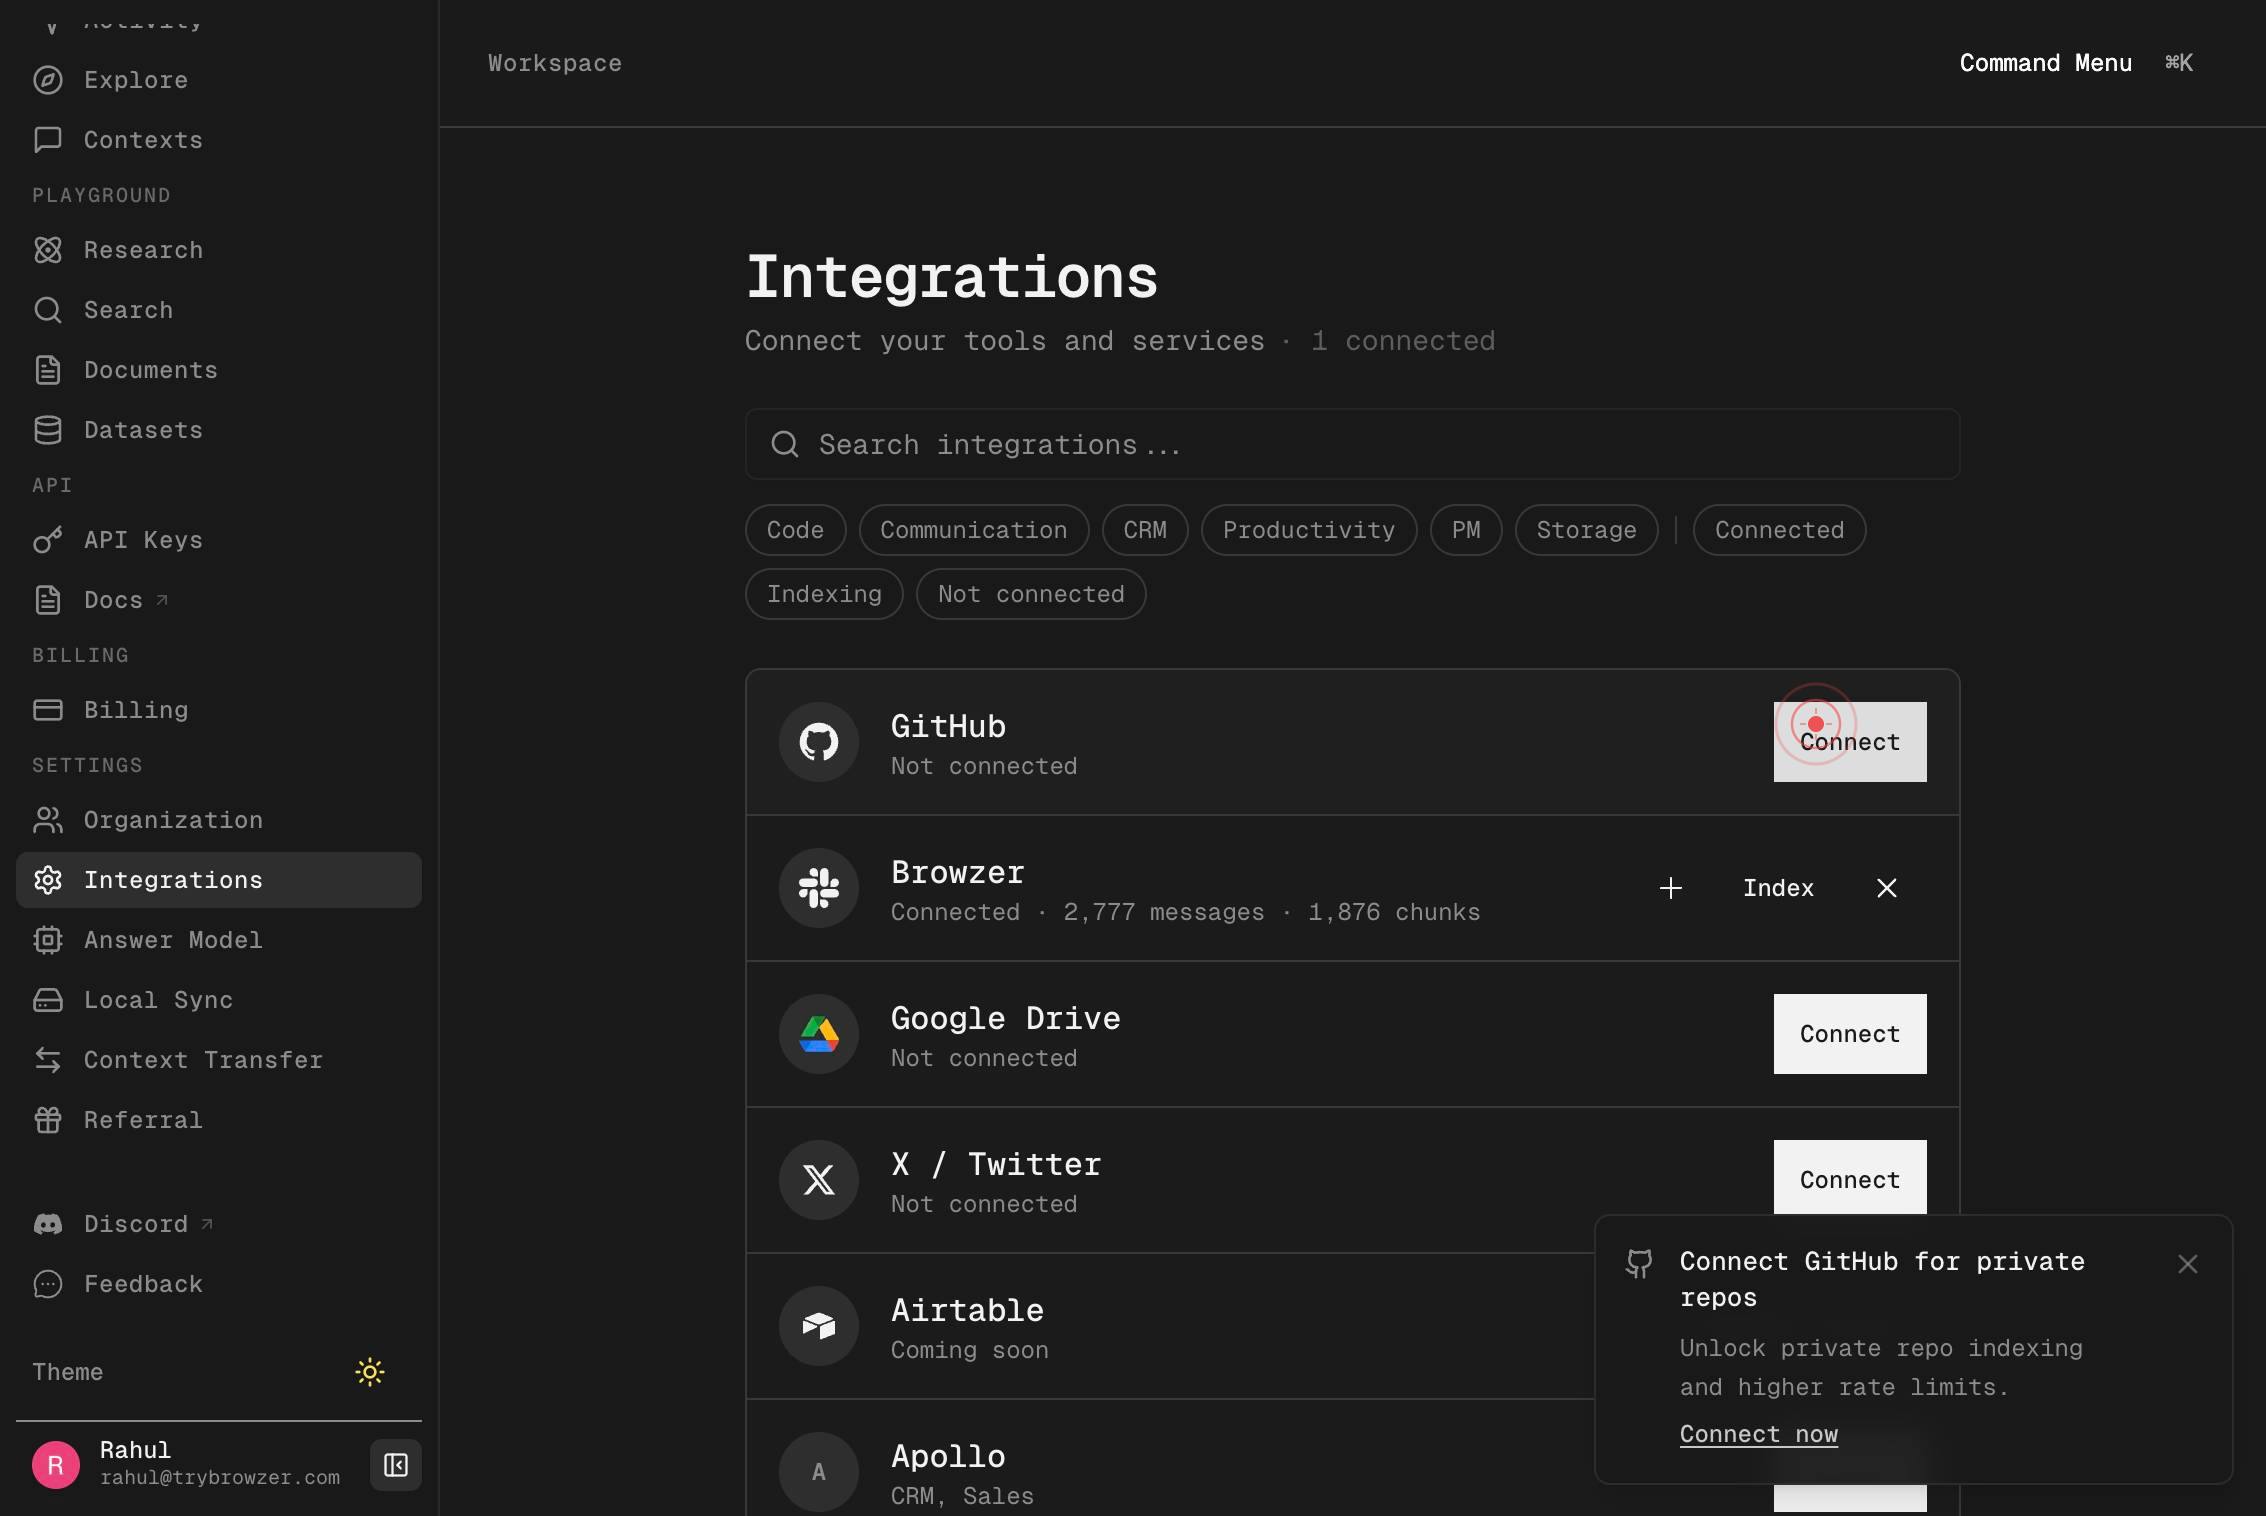
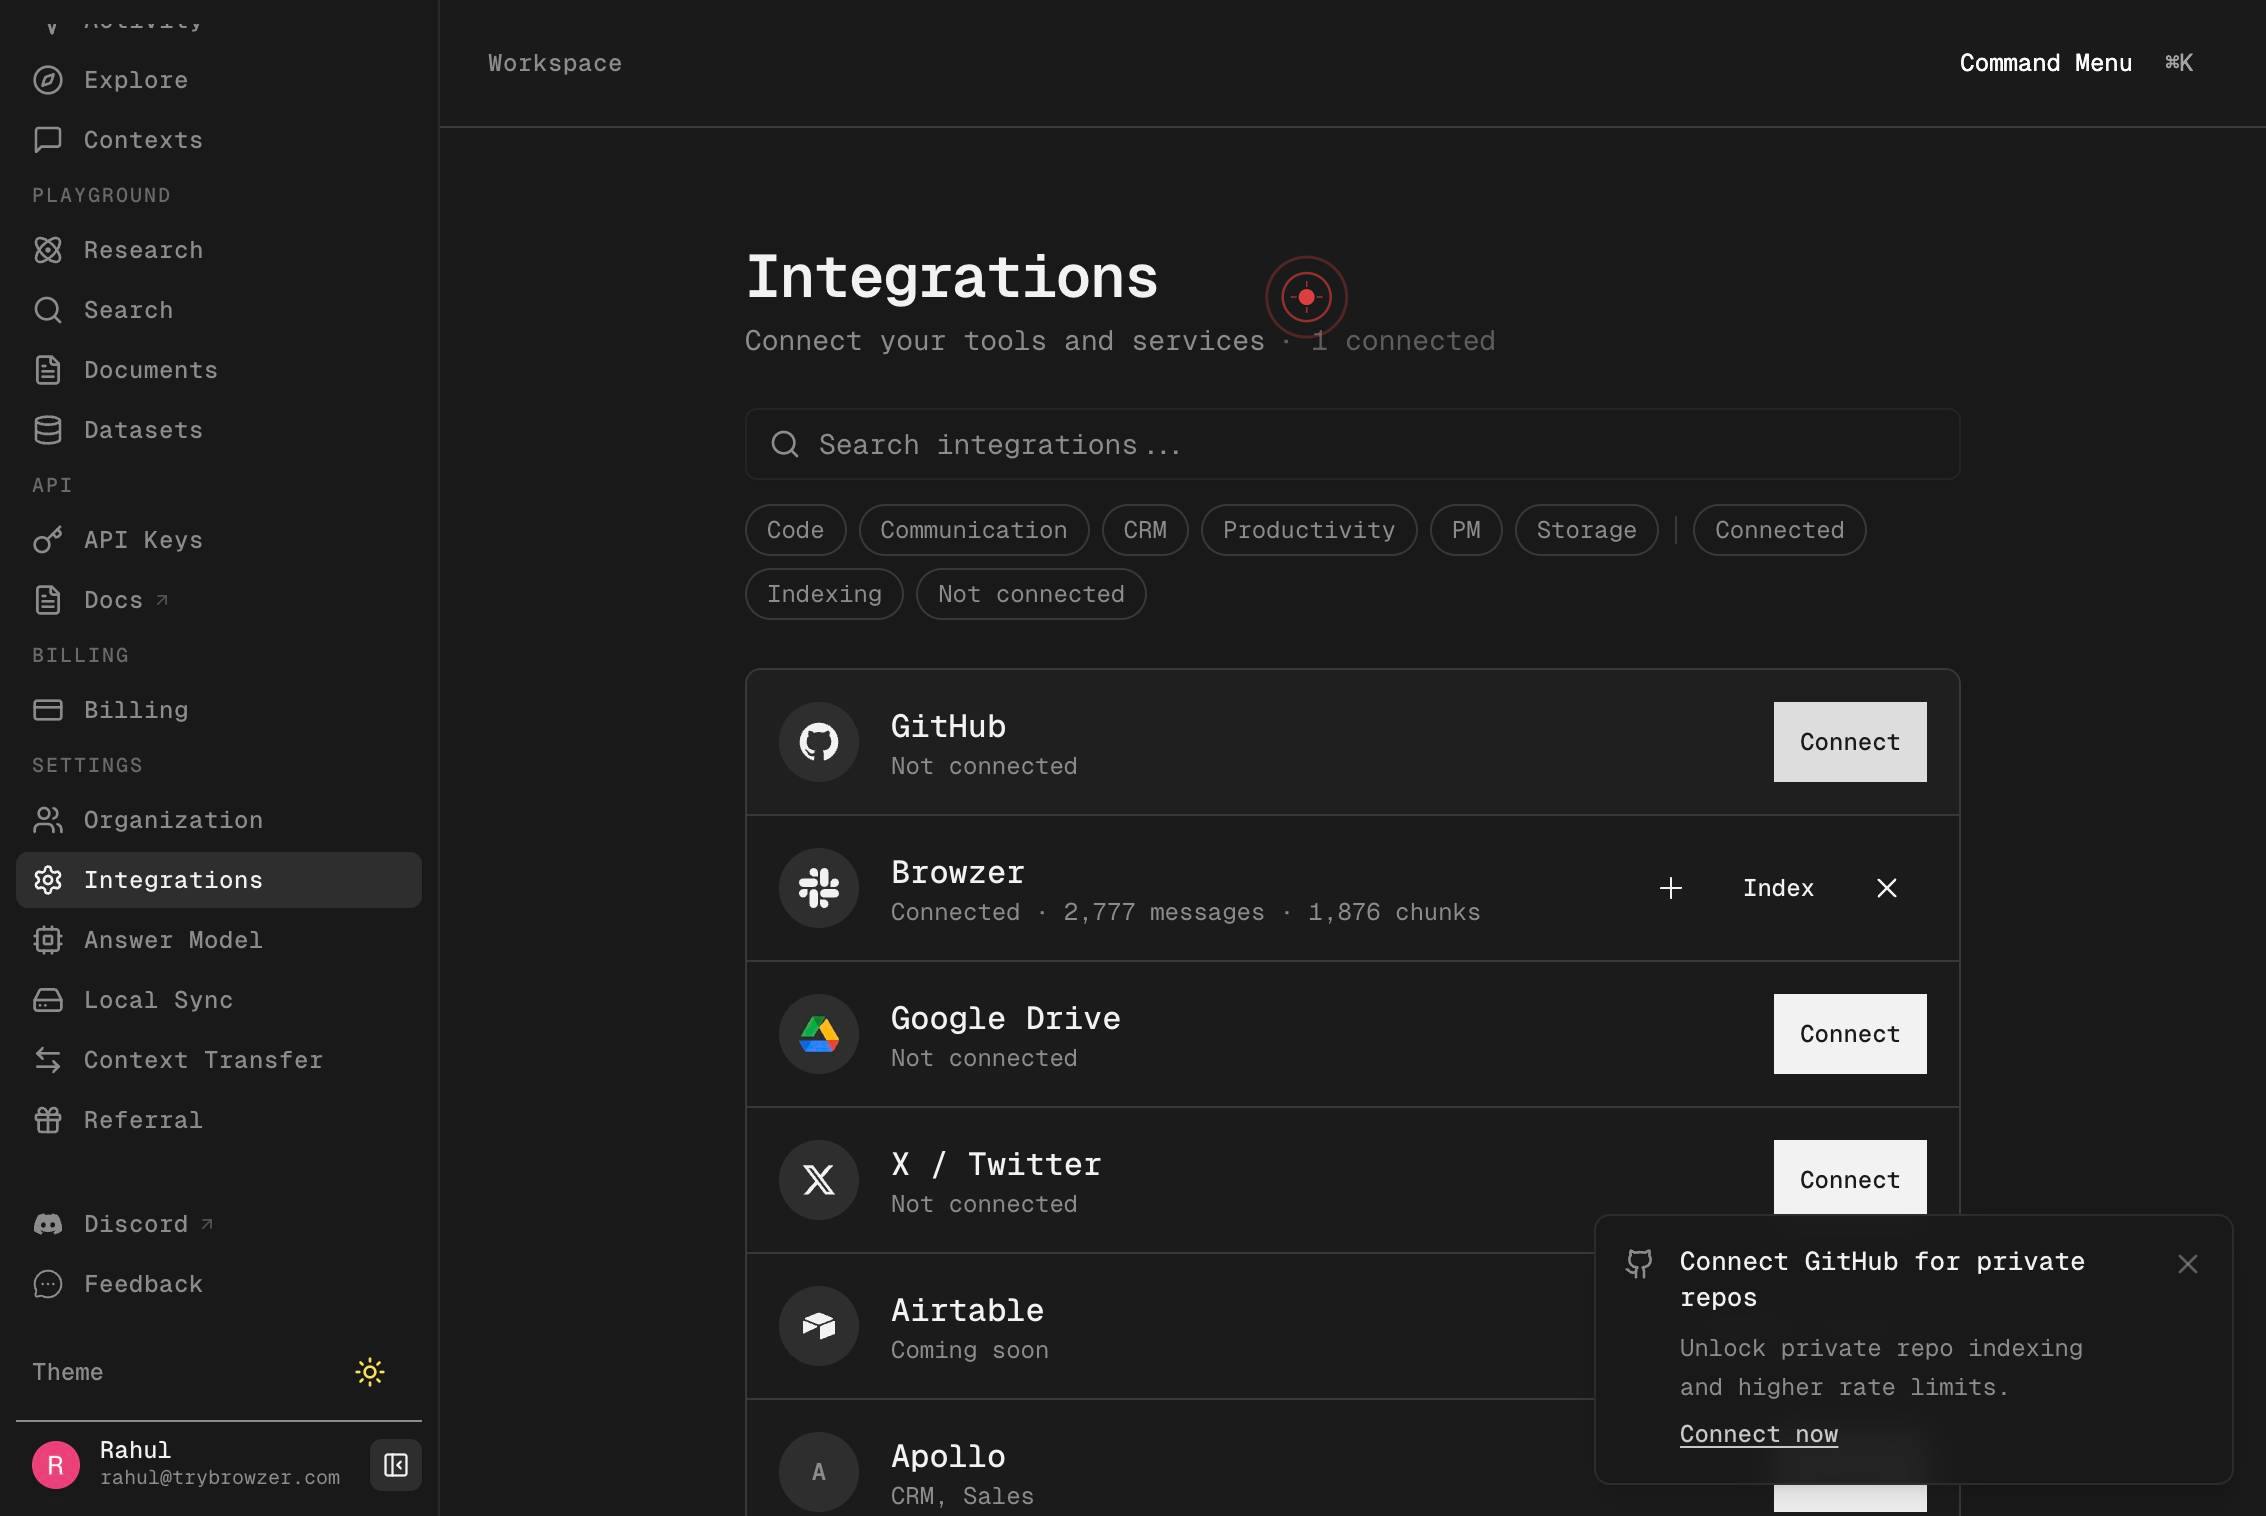
ConnectClick the Connect button next to GitHub (or in the GitHub connector card) to begin the OAuth authorization process. This initiates the handshake between Nia and GitHub.
Your browser automatically navigates to GitHub's authentication page. This is the beginning of GitHub's OAuth flow, where you will authorize Nia's access.
Continue as rahul-browzerGitHub displays your currently logged-in account. Click the 'Continue as [your-username]' button to proceed with authorization using this account. If the wrong account is shown, do not continue; instead, sign out of GitHub and return to Nia to start over.
Your browser navigates to GitHub's app authorization confirmation page, where you review the permissions and settings for the Nia app.
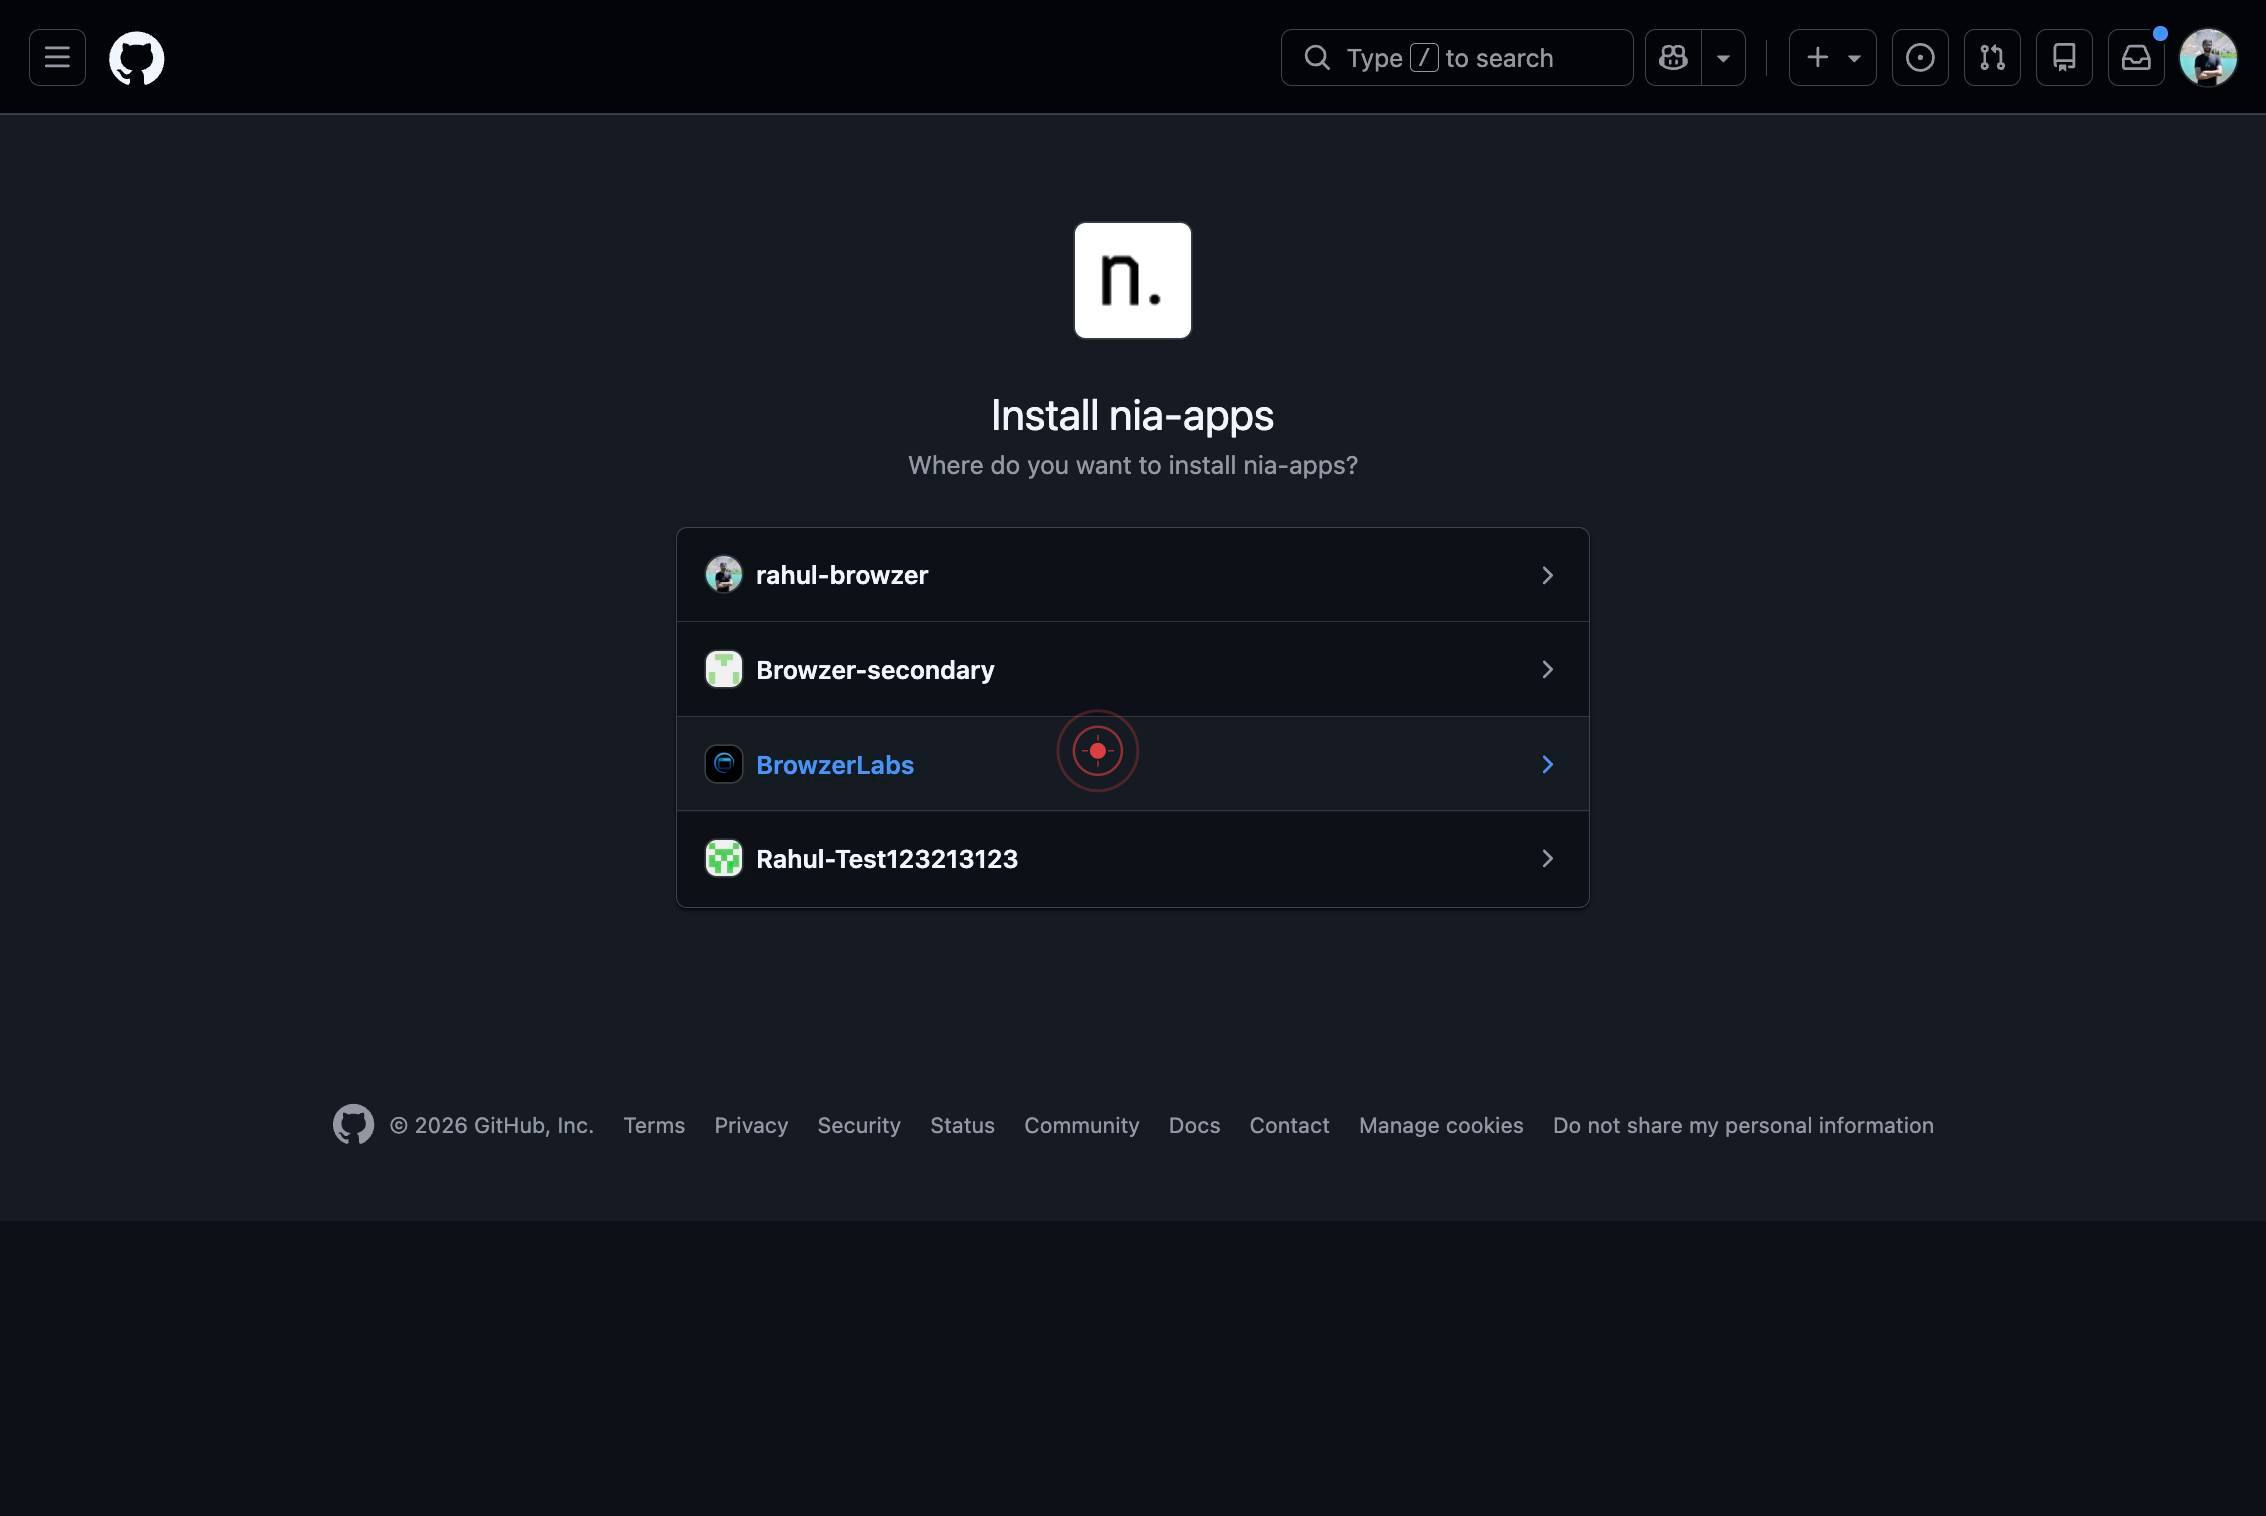
BrowzerLabsOn the authorization page, select the organization or account scope to grant Nia access to. Click on the organization name (e.g., 'BrowzerLabs') if you want to install the app for that organization, or use the current personal account scope if you prefer.
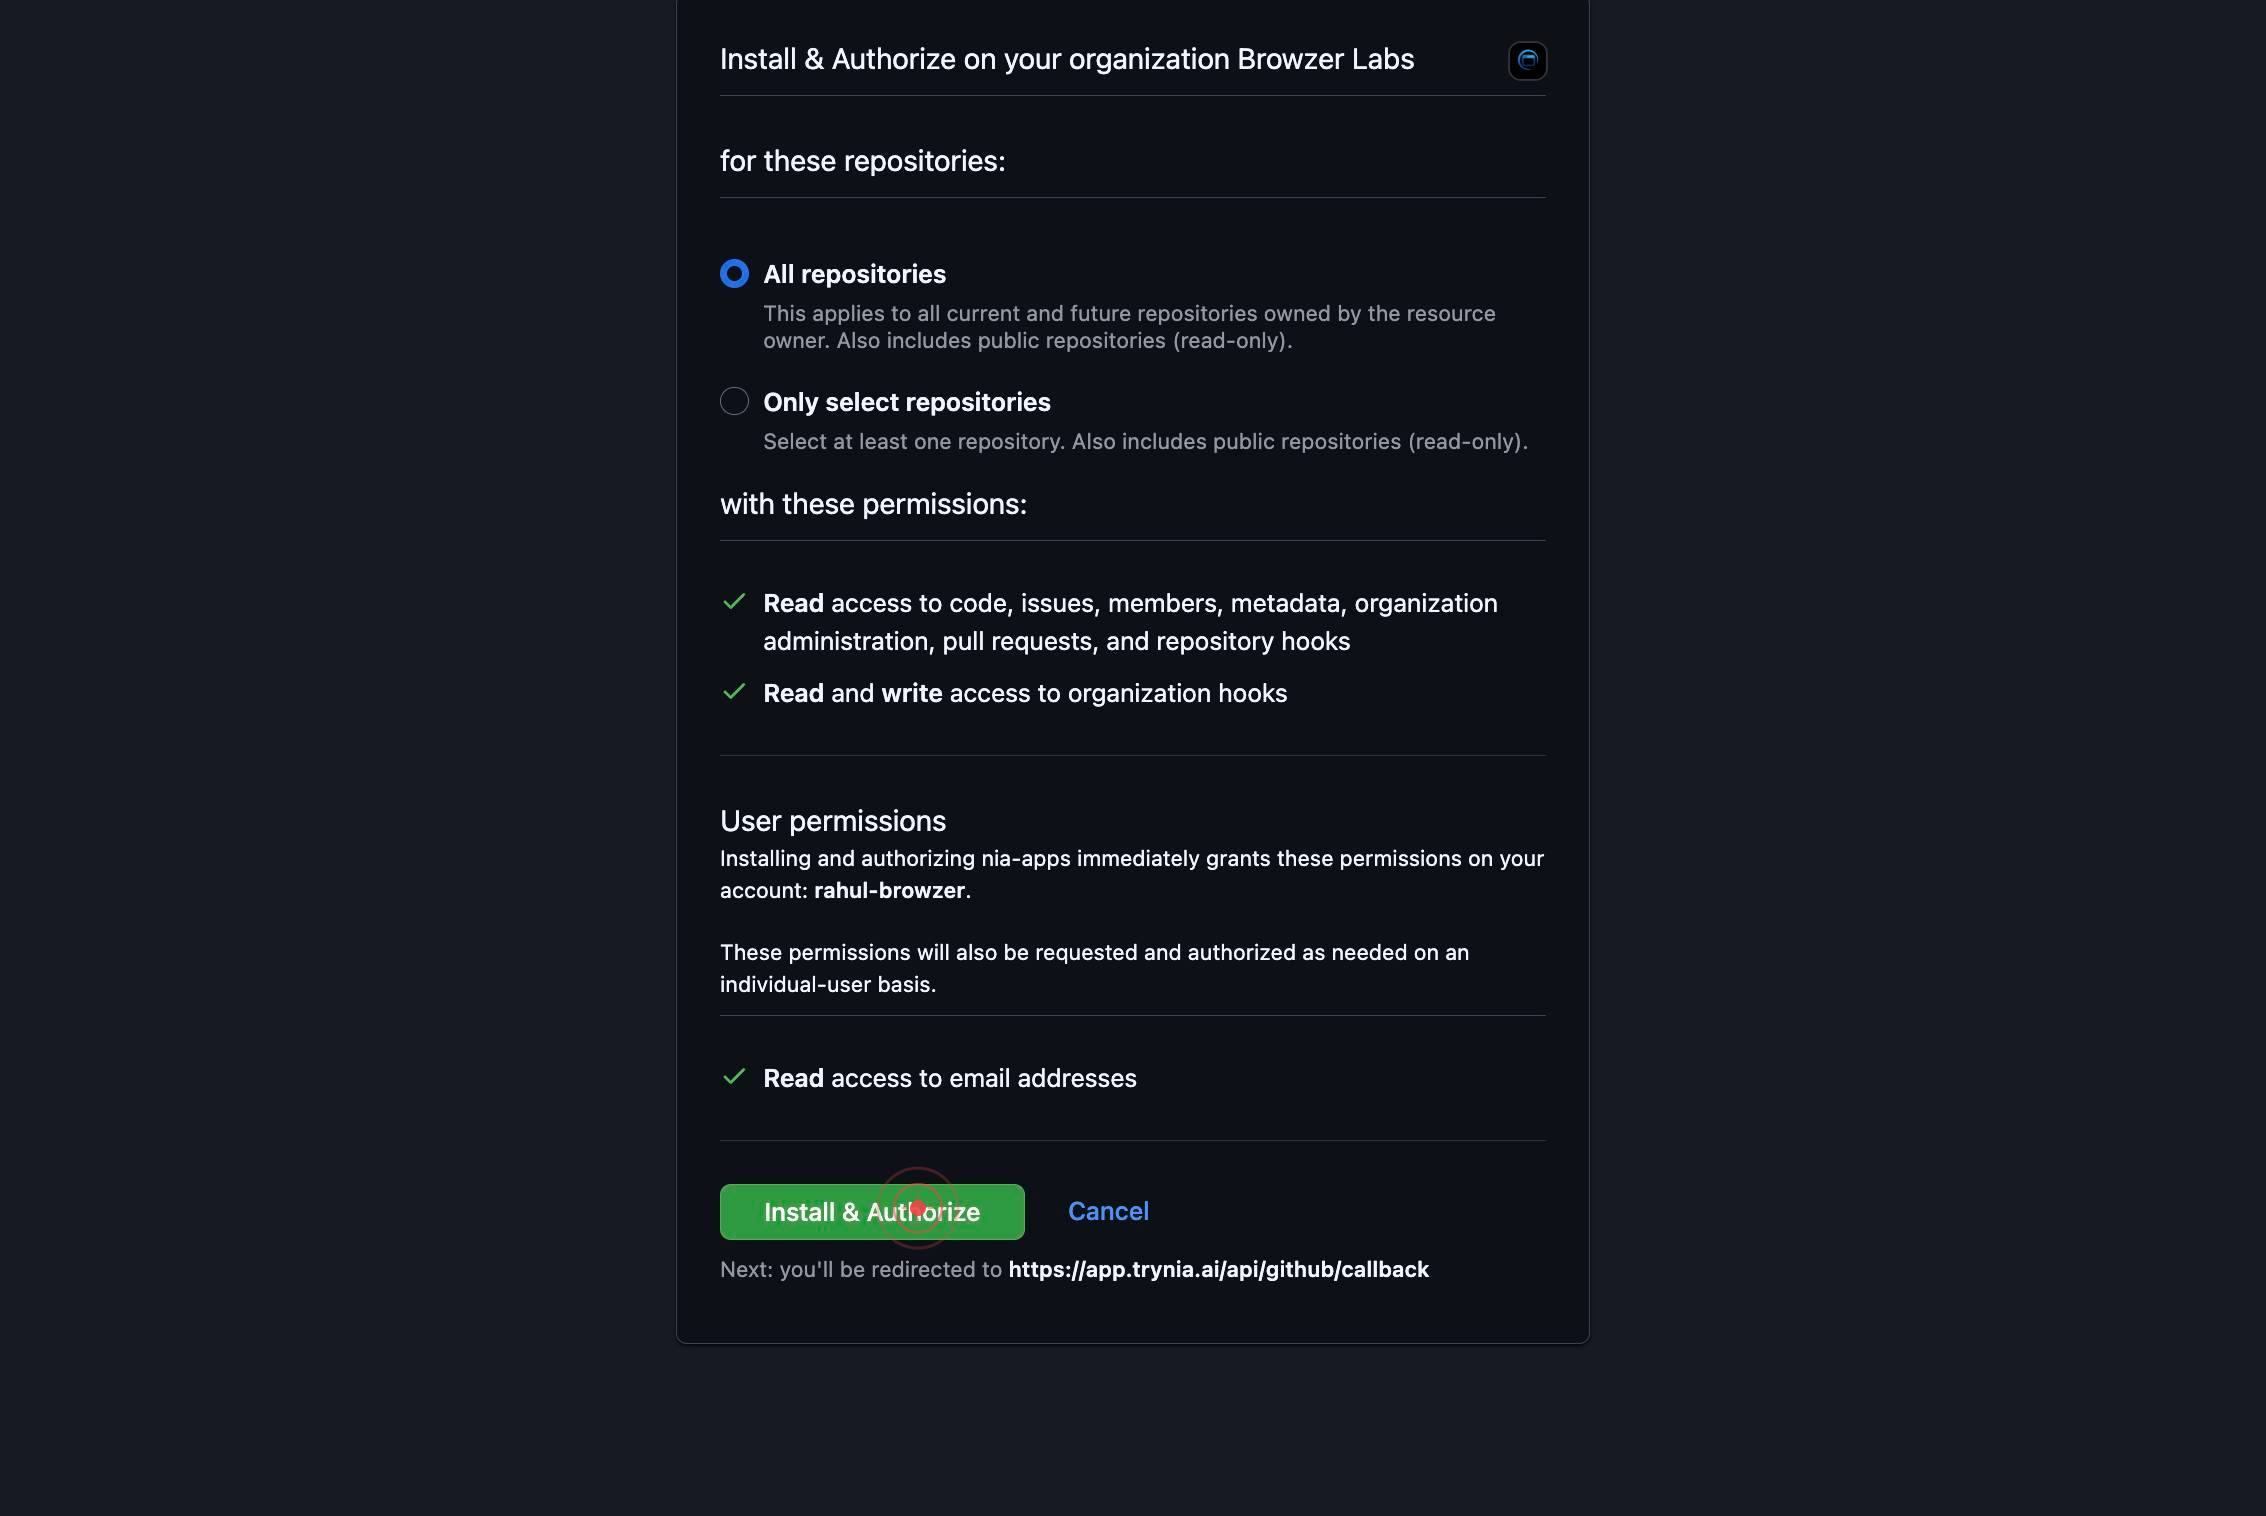
Review the final confirmation screen showing the Nia app's requested permissions and repository access scope. This is your last chance to review what you are authorizing before installation.
Install & AuthorizeClick the 'Install & Authorize' button to complete the OAuth authorization. This grants Nia permission to access your GitHub account and repositories according to the scope you selected.
After clicking Install & Authorize, GitHub processes your request and prepares to redirect you back to Nia. You may see a brief confirmation or processing screen.
Your browser automatically redirects back to app.trynia.ai to complete the integration. Nia receives and processes the OAuth callback, which finalizes the GitHub connector installation.
You are returned to app.trynia.ai and the integration setup is complete. The GitHub connector is now installed and linked to your Nia account. You can now configure sync settings, trigger indexing, and begin searching GitHub repository data.
Confirm it worked
- 1After returning to app.trynia.ai at the end of the workflow, you should see the GitHub integration listed under Integrations with a status of 'Connected' or 'Authorized'.
- 2In GitHub Settings → Applications → Installed GitHub Apps, the Nia app should now appear in your list of installed apps.
- 3If you granted repository access, you should be able to configure which repositories Nia can access (or see 'All repositories' selected if you granted full access).
- 4You can trigger an index action on the GitHub installation to begin syncing repository data into Nia's search index.
Common issues
Keep reading
Github Code Search - Nia AI Documentation
> Search code in a GitHub repository using GitHub's Code Search API. [...] paths: /github/search: post: tags: - GitHub Search summary: Github Code Search description: |- Search code in a GitHub repository using GitHub's Code Search API. Rate limited to 10 requests/minute by GitHub. Requires authentication for private repos (via user's GitHub App installation). operationId: github_code_search_v2_github_search_post requestBody: content: application/json: schema: $ref: '#/components/schemas/GitHubSearchRequest' required: true responses: '200': description: Successful Response content: application/json: schema: {} '422': description: Validation Error content: application/json: schema: $ref: '#/components/schemas/HTTPValidationError'
docs.trynia.aiTracer - Nia AI Documentation
Tracer is an autonomous agent that searches code on GitHub without requiring you to [...] first. It delegates [...] to specialized sub-agents — each handling search, reading, or analysis in parallel — to deliver [...] , more thorough results than a single- [...] | Tool | Purpose | | --- | --- | | `github_search` | Code search with qualifiers (`language:`, `path:`) | | `github_list` | Browse file tree structure | | `github_read` | Read file contents with optional line ranges | | `github_glob` | Find files matching glob patterns | [...] | Parameter | Type | [...] | Description | [...] --- | --- | --- | --- | [...] query` | string | Yes | Your research question | [...] repositories` | string[] | No | Repositories to [...] ` | string [...] ` | string | [...] | `"tracer-fast"` (H [...] u) or `"tracer- [...] "` (Op [...] ). Defaults to [...] ## MCP Integration [...] Tracer is available as an MCP tool. Once configured, use it in Claude Code, Cursor, or any MCP-compatible agent:
docs.trynia.aiIntegrating GitHub with Slack - GitHub Docs
To use the GitHub integration for Slack, you need: [...] - A GitHub account. - A Slack workspace where you have permission to install apps. [...] in a single workspace [...] The GitHub integration for Slack only needs to be installed once per workspace, and can be installed by anyone with admin permissions in the Slack workspace. [...] 1. Go to the GitHub integration for Slack page. 2. Click Add to Slack. 3. If you're not already signed in to Slack, you'll be prompted to do so. 4. Follow the prompts on screen to allow GitHub access to your Slack workspace. 5. Once the integration is installed, you can invite the GitHub app to specific channels by typing `/invite @github` in the desired channel. [...] 1. In your Slack Enterprise Grid settings, under "Integrations", click Install apps. [...] 2. Search for the GitHub [...] 3. Click the ellipsis (...) [...] and select Add to more workspaces. [...] 4. Follow the prompts on screen to complete the installation
docs.github.comIntegrating GitHub with Teams - GitHub Docs
Set up the GitHub integration with Teams to improve collaboration and streamline workflows. [...] The GitHub integration for Microsoft Teams gives you and your teams visibility into your GitHub projects directly in Teams channels. You can triage issues, collaborate on pull requests, and keep track of changes without leaving Teams. [...] When you grant the GitHub app access [...] Teams workspace, [...] granting it certain permissions [...] The permissions provided are necessary [...] provide the features [...] To use the GitHub integration for Teams, you need: [...] - A GitHub account. - A Teams workspace where you have permission to install apps. [...] ## Installing the GitHub integration for Teams in a single workspace [...] 1. Go to the GitHub integration for Teams listing in the Teams app store. 2. Click Add. 3. Follow the prompts to sign in to Teams and approve access. 4. In Teams, run `@GitHub Notifications signin` and follow the prompts to connect your GitHub account.
docs.github.com