Guide
Create Vault
Overview
Nia vaults are containers for indexed knowledge—combining documents, notes, code, and personal data into a searchable, AI-accessible knowledge base. Creating a vault is the first step in setting up a workspace where agents can ingest sources, build graph relationships between concepts, and perform AI-powered semantic search and Q&A.
This workflow walks you through the web UI at app.trynia.ai to create a new vault with a display name and optional description. Once created, your vault will be bootstrapped with internal structure files (schema.md, index.md, log.md, META.md) and ready to accept data sources. If you want to ingest sources immediately after creation, you'll need to trigger that separately via the Nia CLI or run menu.
Before you begin
- Active Nia account (sign in at app.trynia.ai or create one using the nia-wizard setup utility)
- API key generated and stored securely if you plan to trigger ingest programmatically after vault creation (though this UI workflow does not require it)
Step by step
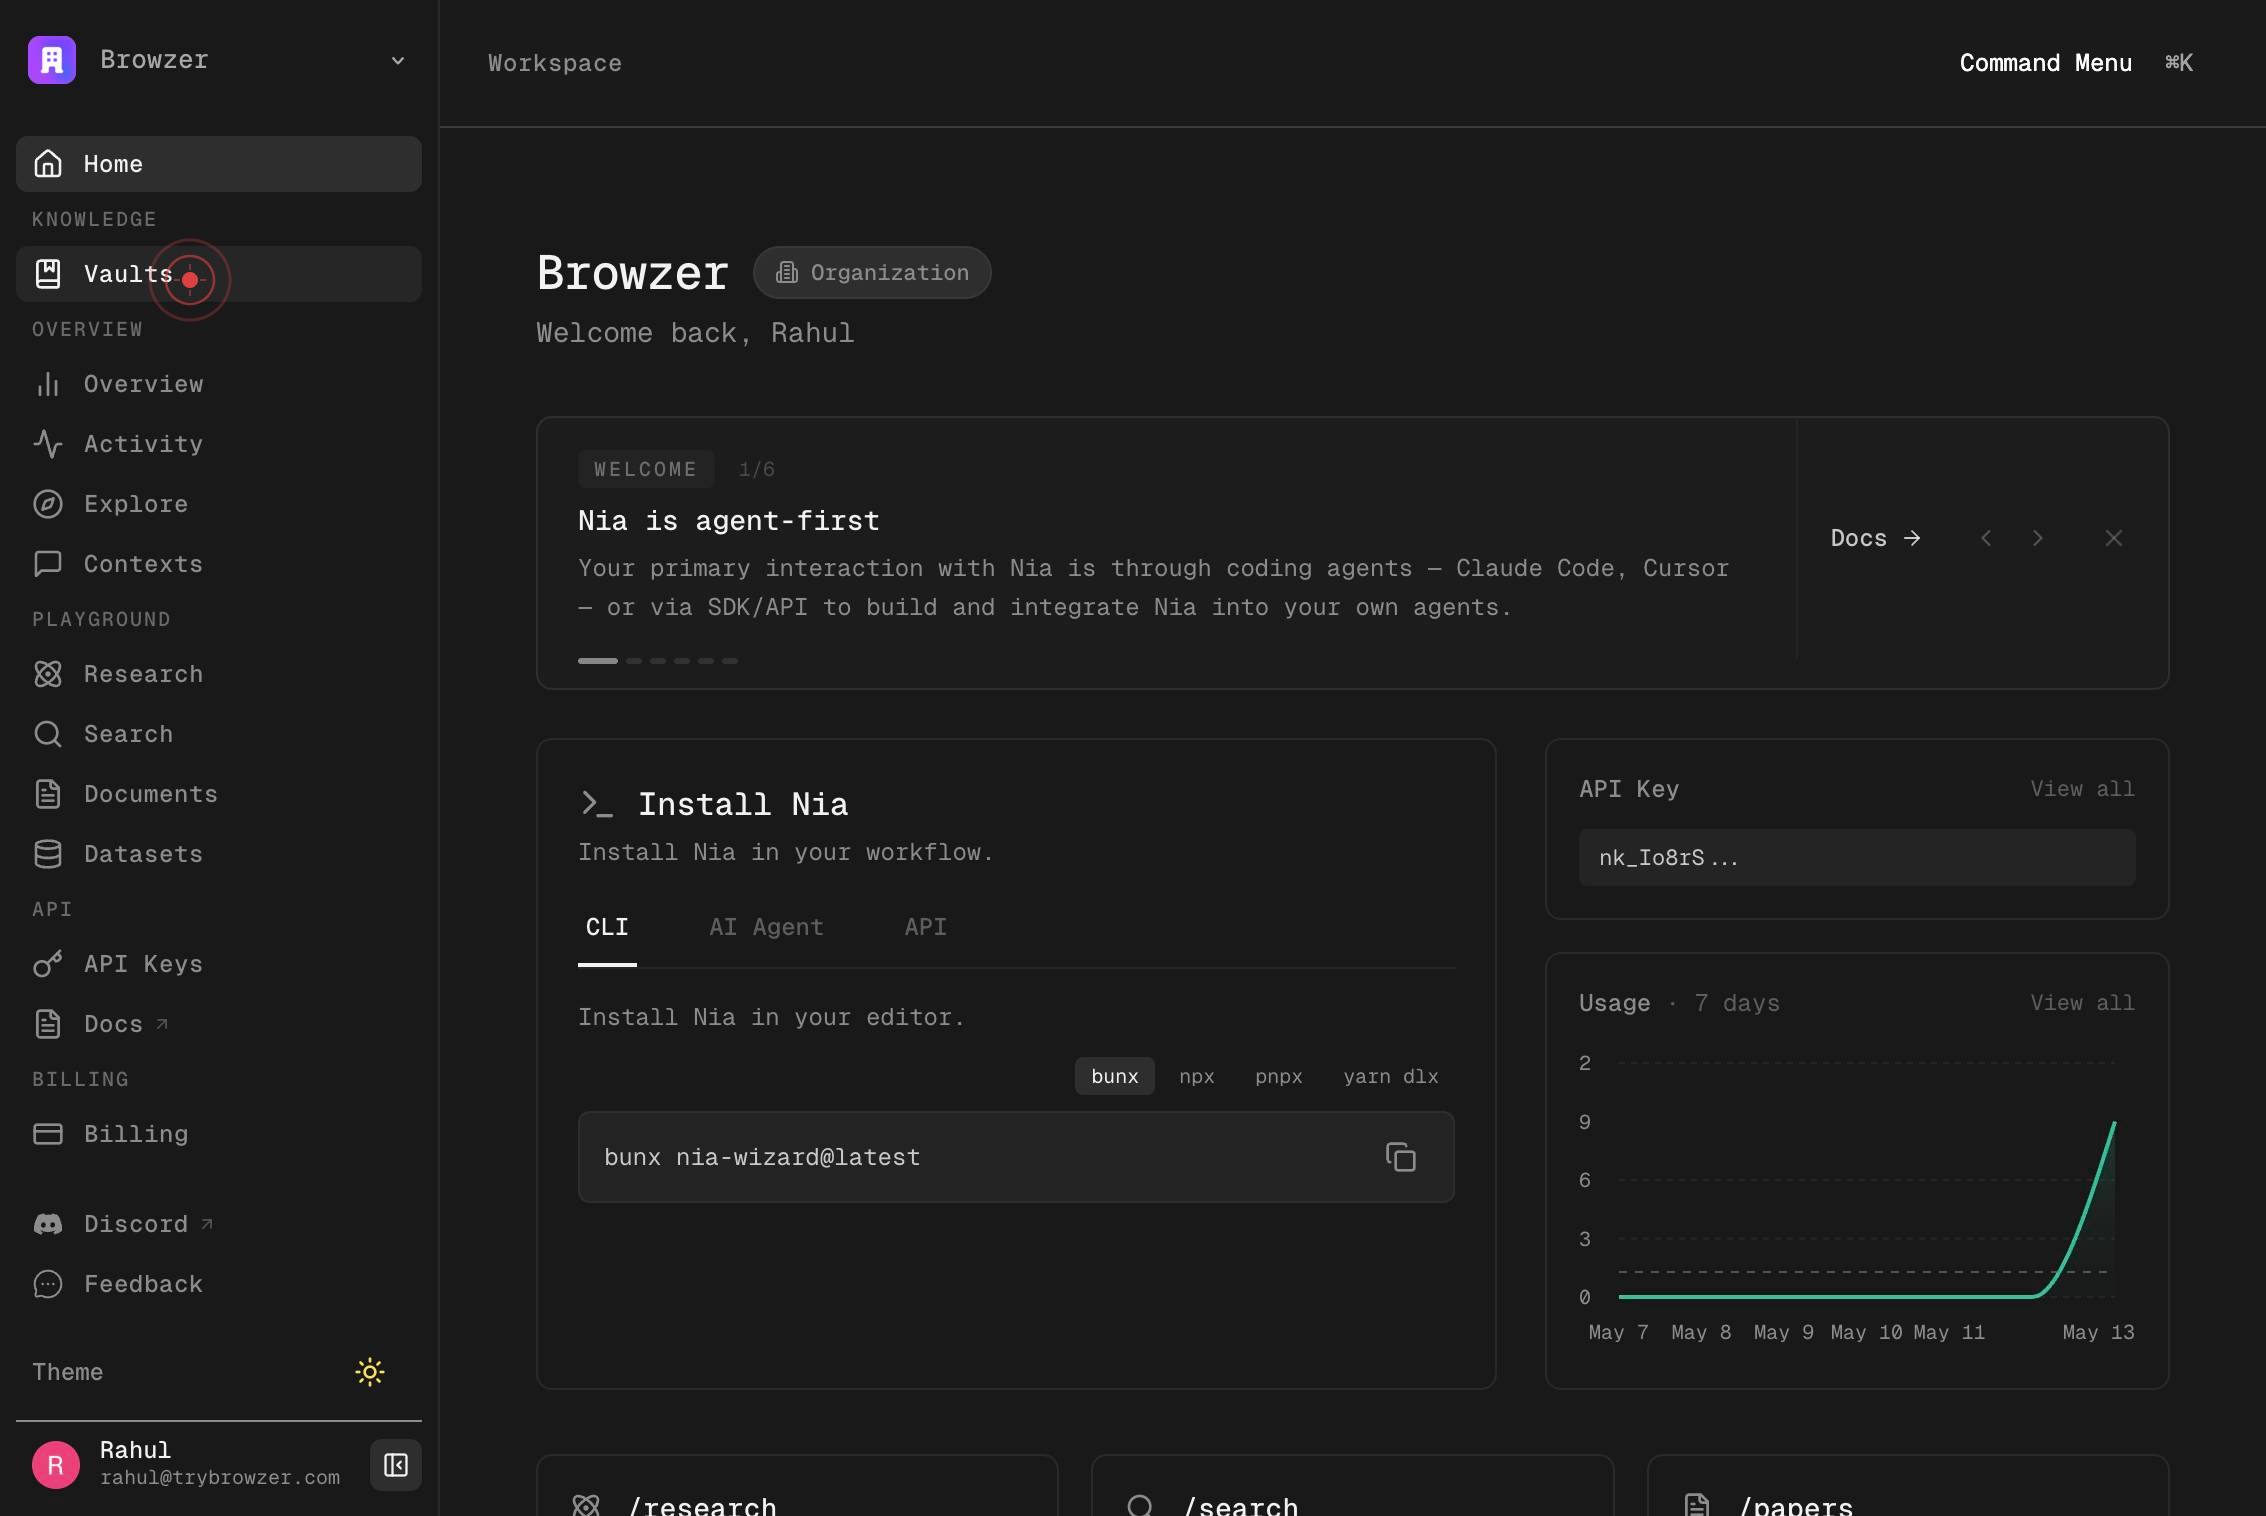
VaultsNavigate to the Vaults section of your Nia workspace by clicking the Vaults link in the left sidebar or top navigation. This displays your vault list and management interface.
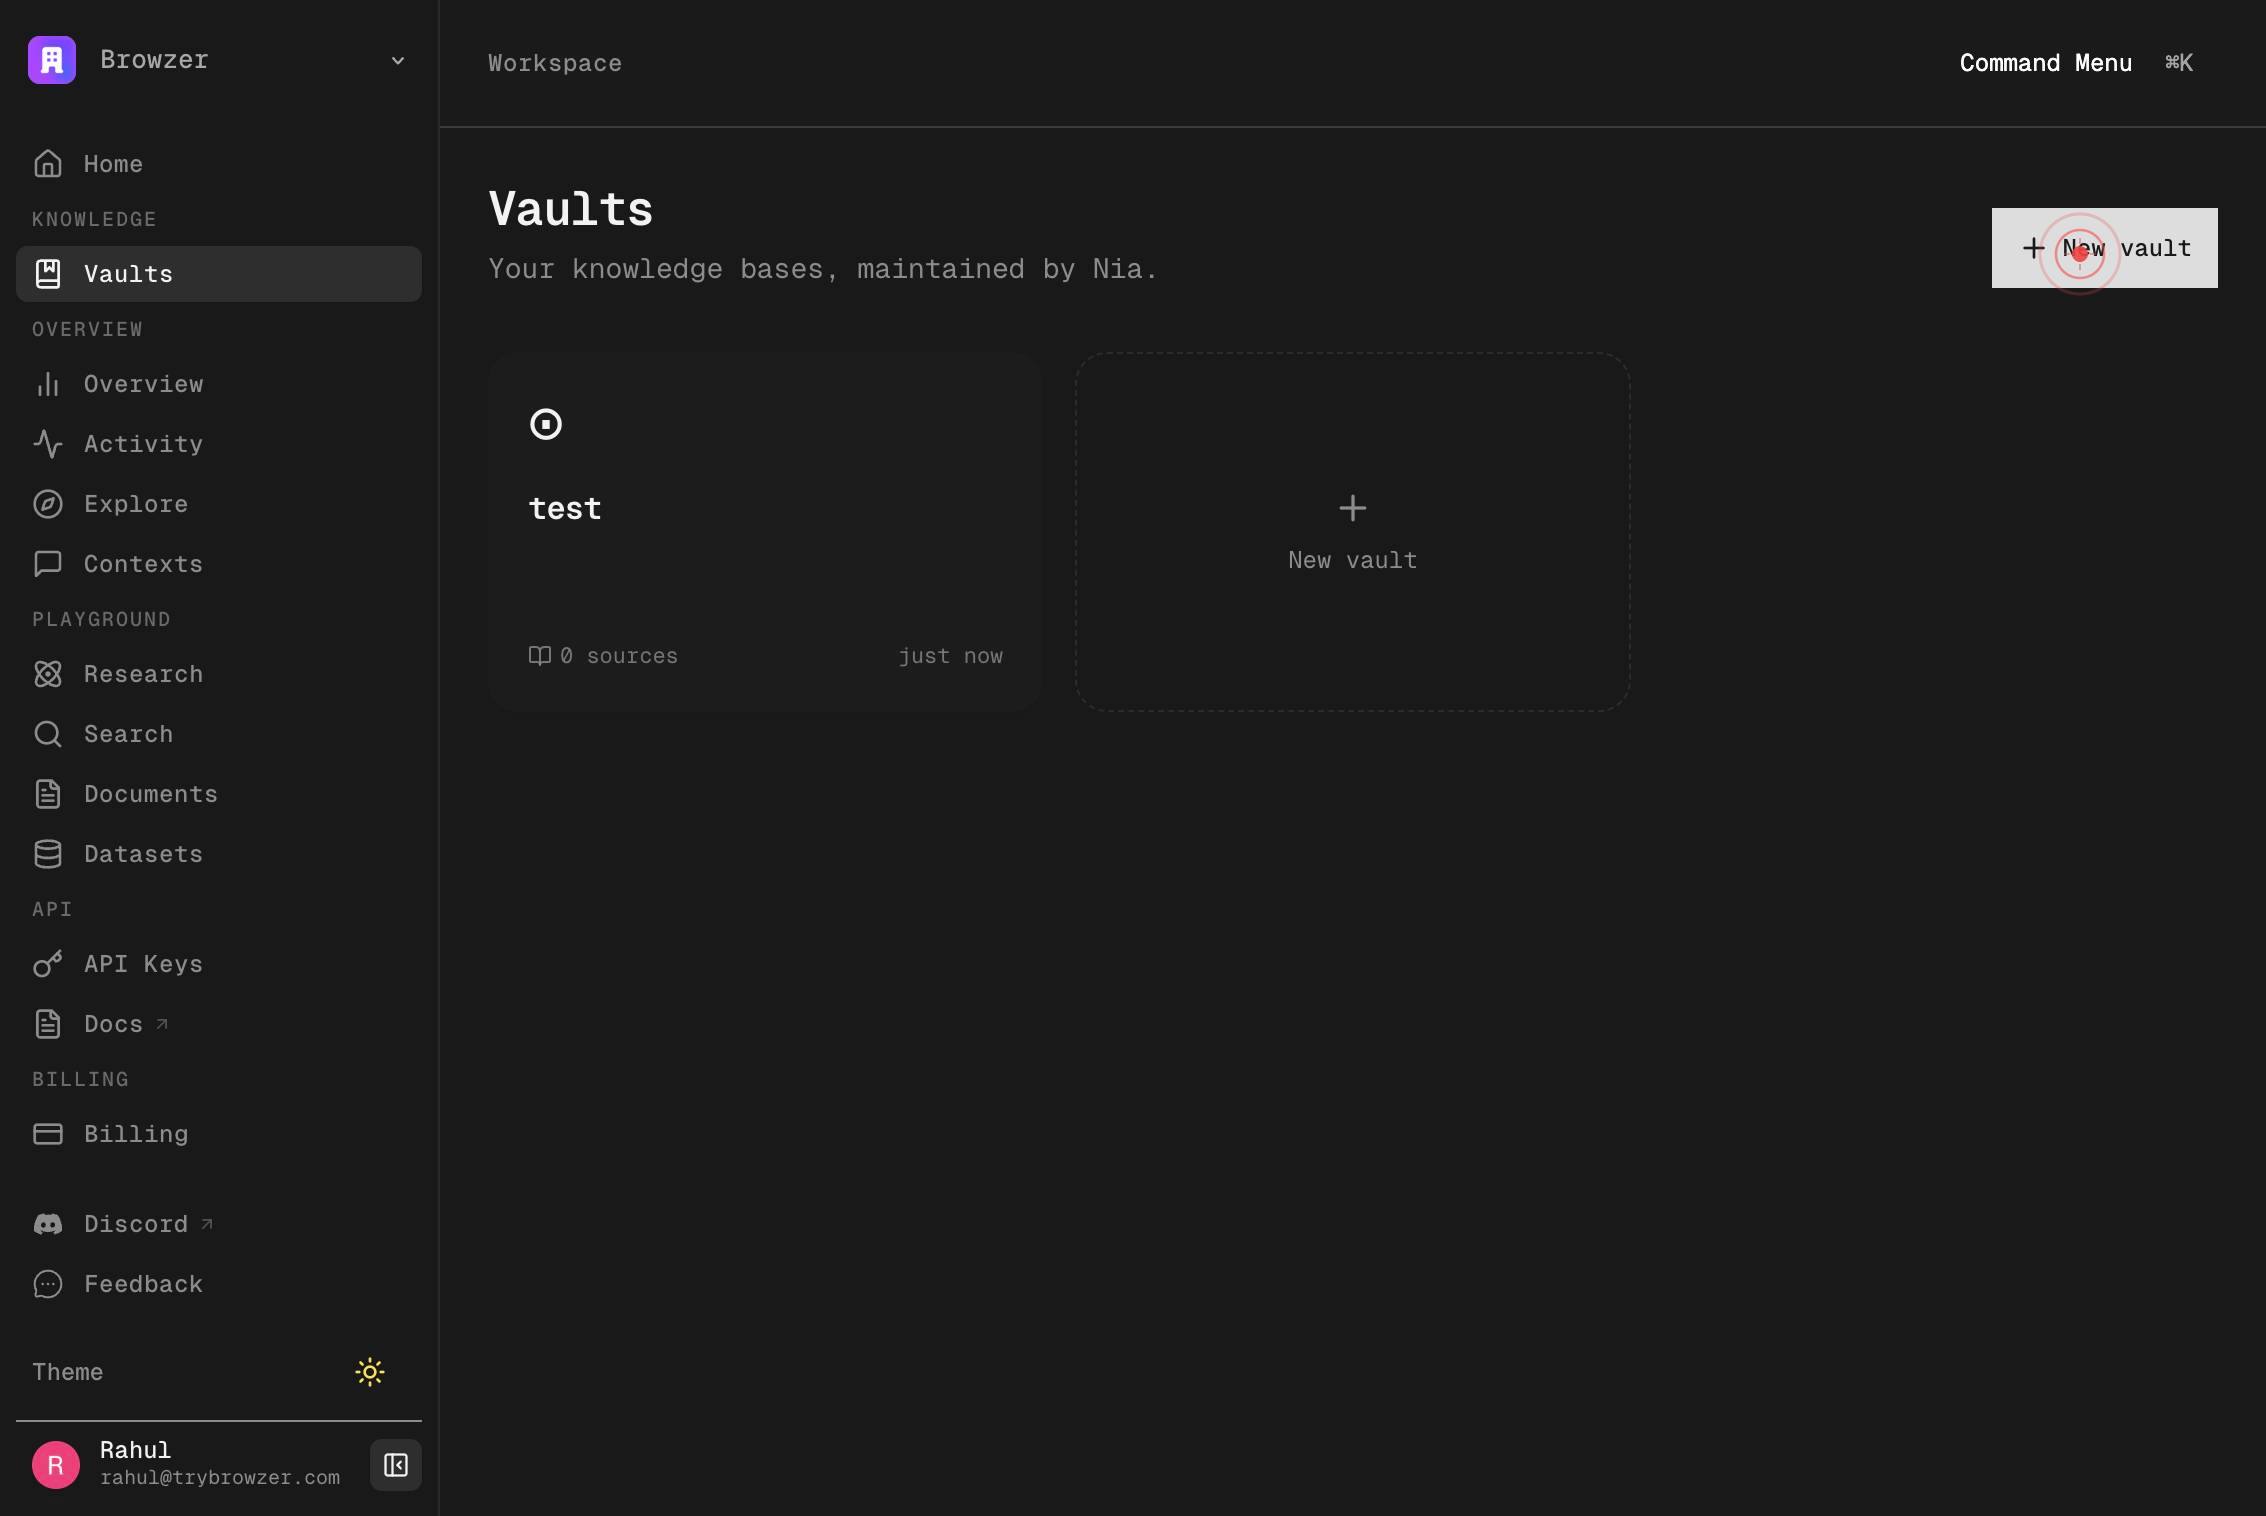
New vaultClick the New vault button or link to open the vault creation form. This initiates the process of defining a new vault namespace.
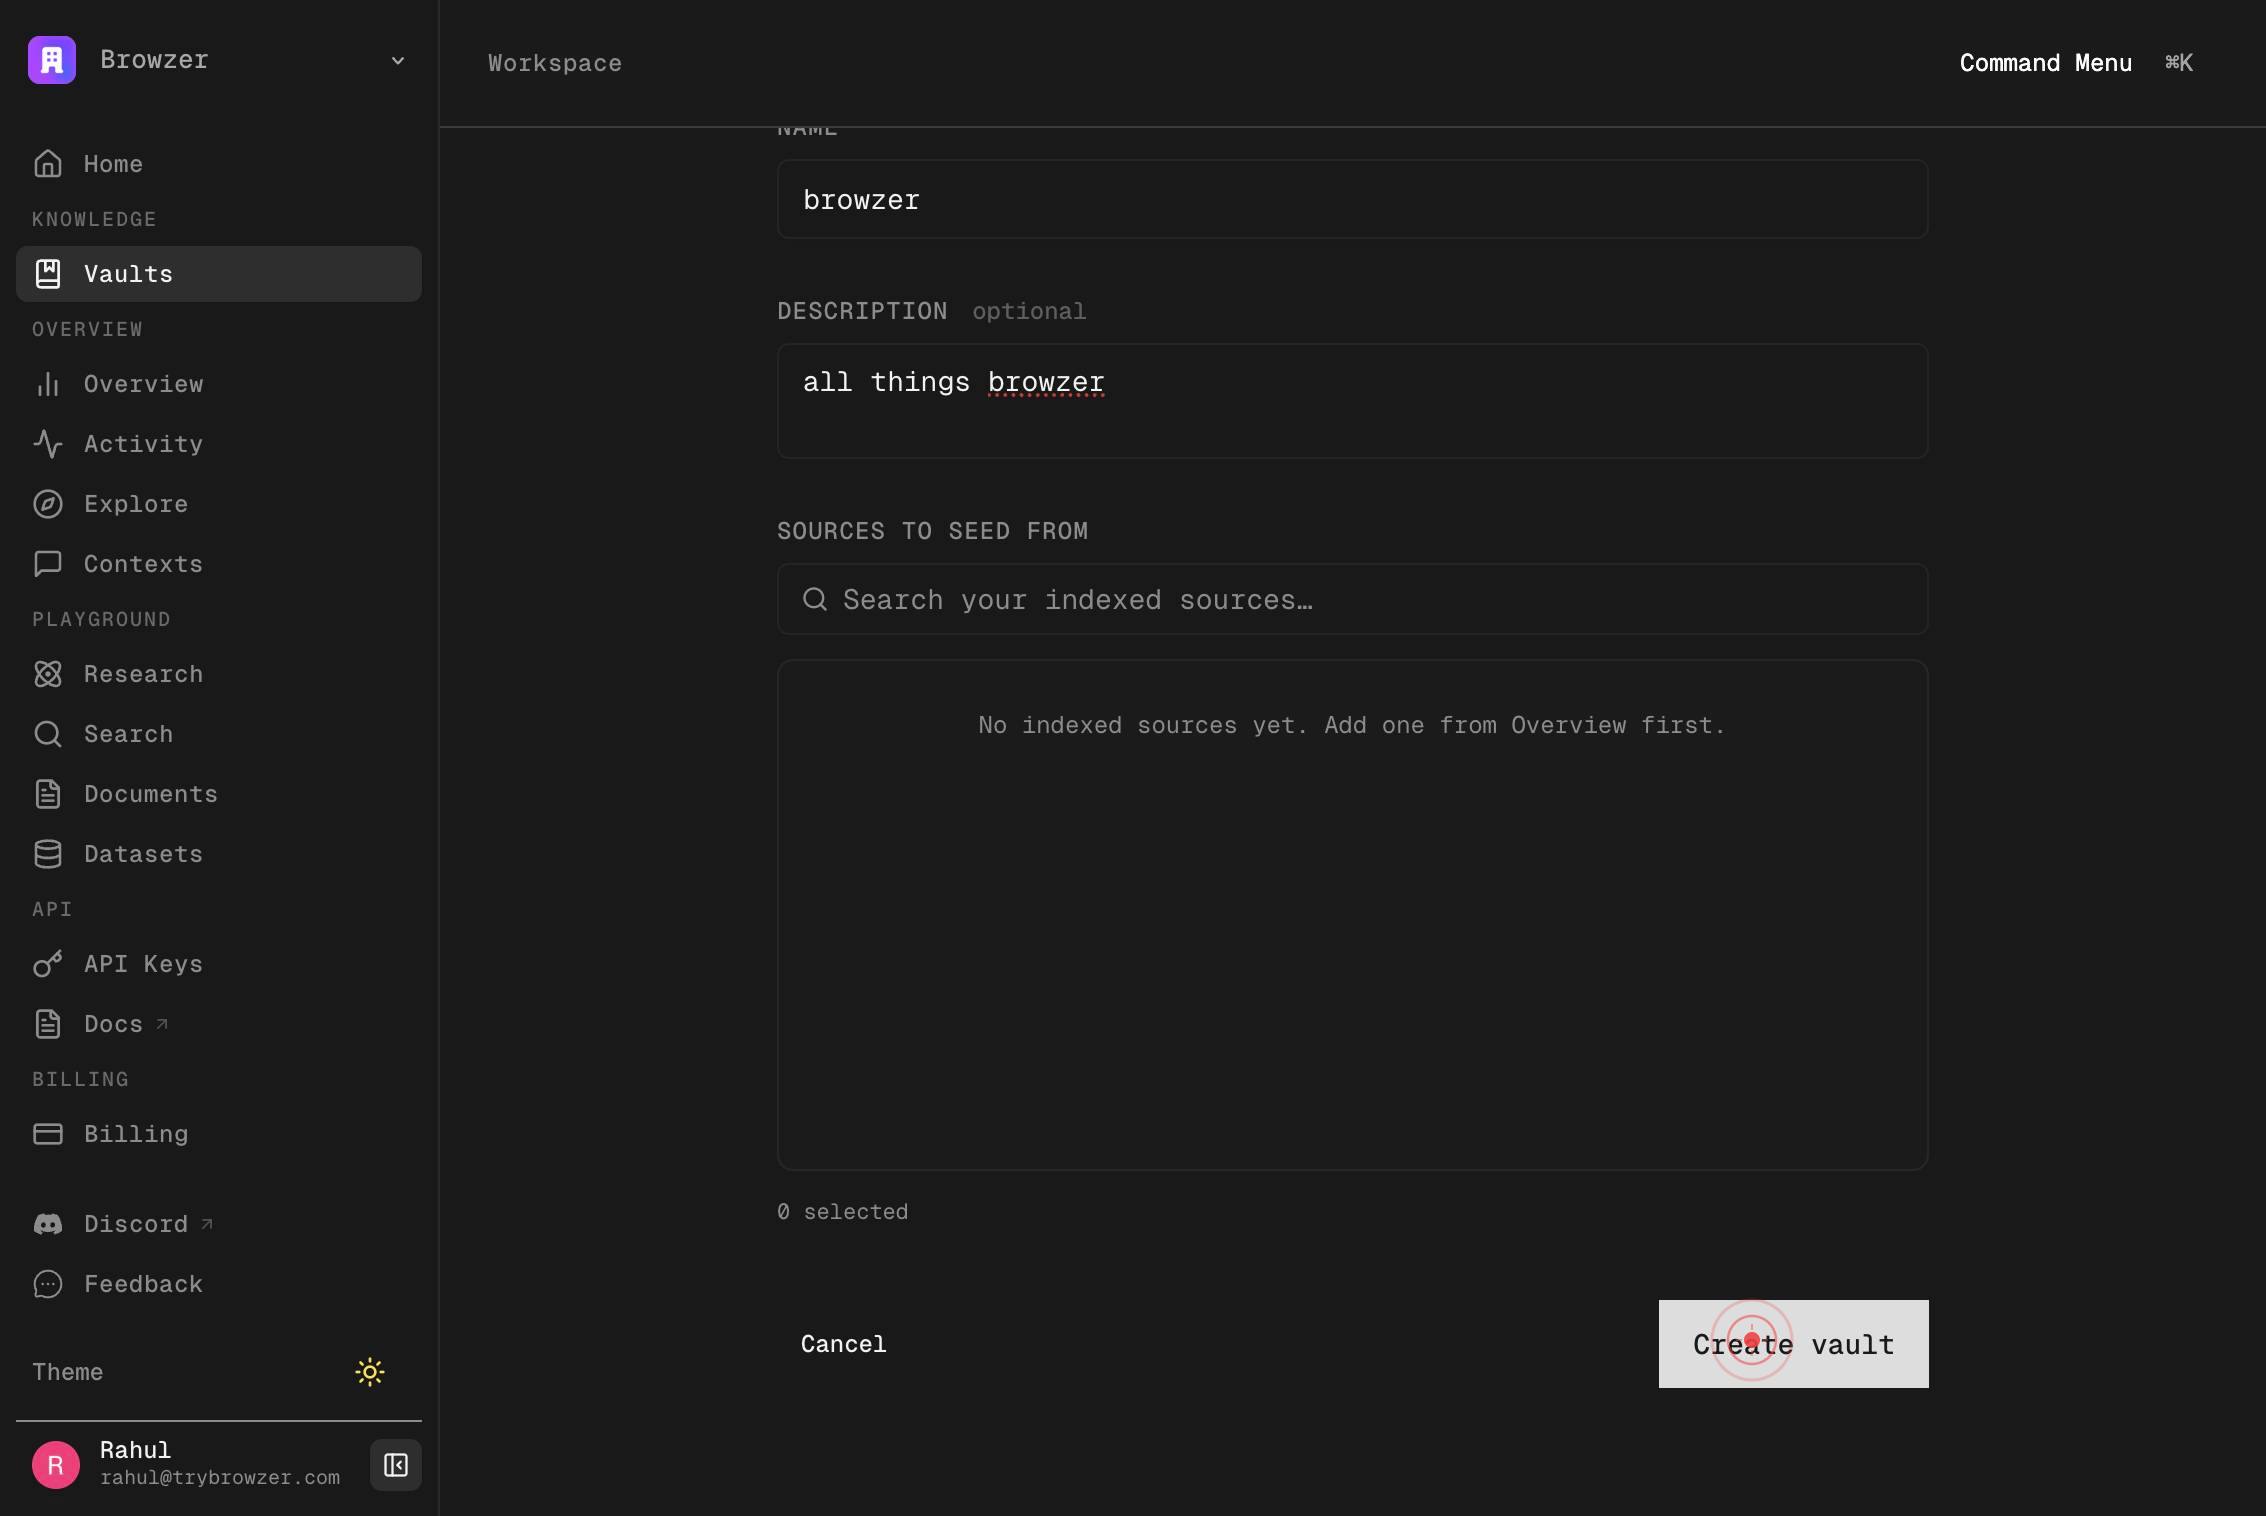
NameEnter your vault's display name in the Name textbox. This name identifies your vault and will appear in the vault list and workspace header.
Description optionalClick the Description optional textbox to focus it, preparing to enter an optional description for your vault.

Description optionalType a description for your vault in the Description field. This can include details about the vault's scope, its intended sources, or guidance for agents using it.
Create vaultClick the Create vault button to finalize the vault creation. Nia will bootstrap the vault namespace with its internal structure (schema.md, index.md, log.md, META.md) and return you to the Vaults page.
Confirm it worked
- 1You are redirected to the Vaults page and your newly created vault appears in the vault list with the name you provided
- 2The vault detail page displays your vault name and description (if provided)
- 3The vault workspace is accessible, showing the page tree, graph view, search palette, and Settings controls
- 4The vault has been bootstrapped with internal files visible in its file structure (schema.md, index.md, log.md, META.md)
Common issues
Keep reading
Create Vault - Nia AI Documentation - trynia.ai
# Create Vault [...] > Create a new vault. [...] Body: {display_name: str, description?: str, source_ids?: [str], schema_md?: str} [...] Bootstraps the vault namespace with schema.md/index.md/log.md/META.md. [...] paths: /vaults: post: tags: - Usage summary: Create Vault description: >- Create a new vault. Body: {display_name: str, description?: str, source_ids?: [str], schema_md?: str} Bootstraps the vault namespace with schema.md/index.md/log.md/META.md. Does NOT auto-trigger ingest — call POST /v2/vaults/{id}/run with mode=ingest after creation if you want immediate ingestion. operationId: create_vault_v2_vaults_post responses: '200': description: Successful Response content: application/json: schema: type: object additionalProperties: true title: Response Create Vault V2 Vaults Post
docs.trynia.aiVault - Nia AI Documentation
## Quick Start [...] ## Run the setup wizard [...] The wizard handles everything: creates your account, sets up the API key in your config so any agent can authenticate securely, installs the CLI skills, and walks you through creating your first vault. After the wizard finishes, your agent is fully configured — no manual key management needed. [...] The agent understands Nia's CLI and will run the right commands: create the vault, add your sources, and trigger the first ingest. You can also do it manually: [...] ```bash nia vault init "My Life" --from-source <source-id-1>,<source-id-2> ``` [...] ## Wiring Into Your Project [...] ```bash nia vault init "My Project" --from-source <id1>,<id2> [...] This creates the vault, [...] ingest, and appends a setup block to your project's [...] DE.md` / `AGENTS.md` automatically. [...] # Or install as a [...] nia vault skill <vault [...] id> > .cla [...] # Or pipe a guided setup prompt into your agent nia vault setup <vault-id> | claude
docs.trynia.ai