Guide
Create Read-only Nia API Key
Overview
Nia is a Search & Index API platform for agents and developers. API keys are the primary authentication mechanism for accessing Nia's services programmatically. A read-only API key provides limited access—suitable for development, testing, or sandboxed environments where full write permissions are not required. This workflow walks you through generating a labeled read-only key directly from your Nia workspace settings, then copying it for immediate integration into your applications or configuration files. Read-only keys are safer to distribute in shared codebases or CI/CD pipelines because they cannot modify or delete data.
Before you begin
- Active Nia account at app.trynia.ai with valid login credentials
- Access to your Nia workspace (verify you can see the main dashboard or sidebar navigation)
- A descriptive label in mind for your API key (e.g., 'Testing', 'Production Agent', 'Third-party Integration') to help you manage multiple keys
Step by step
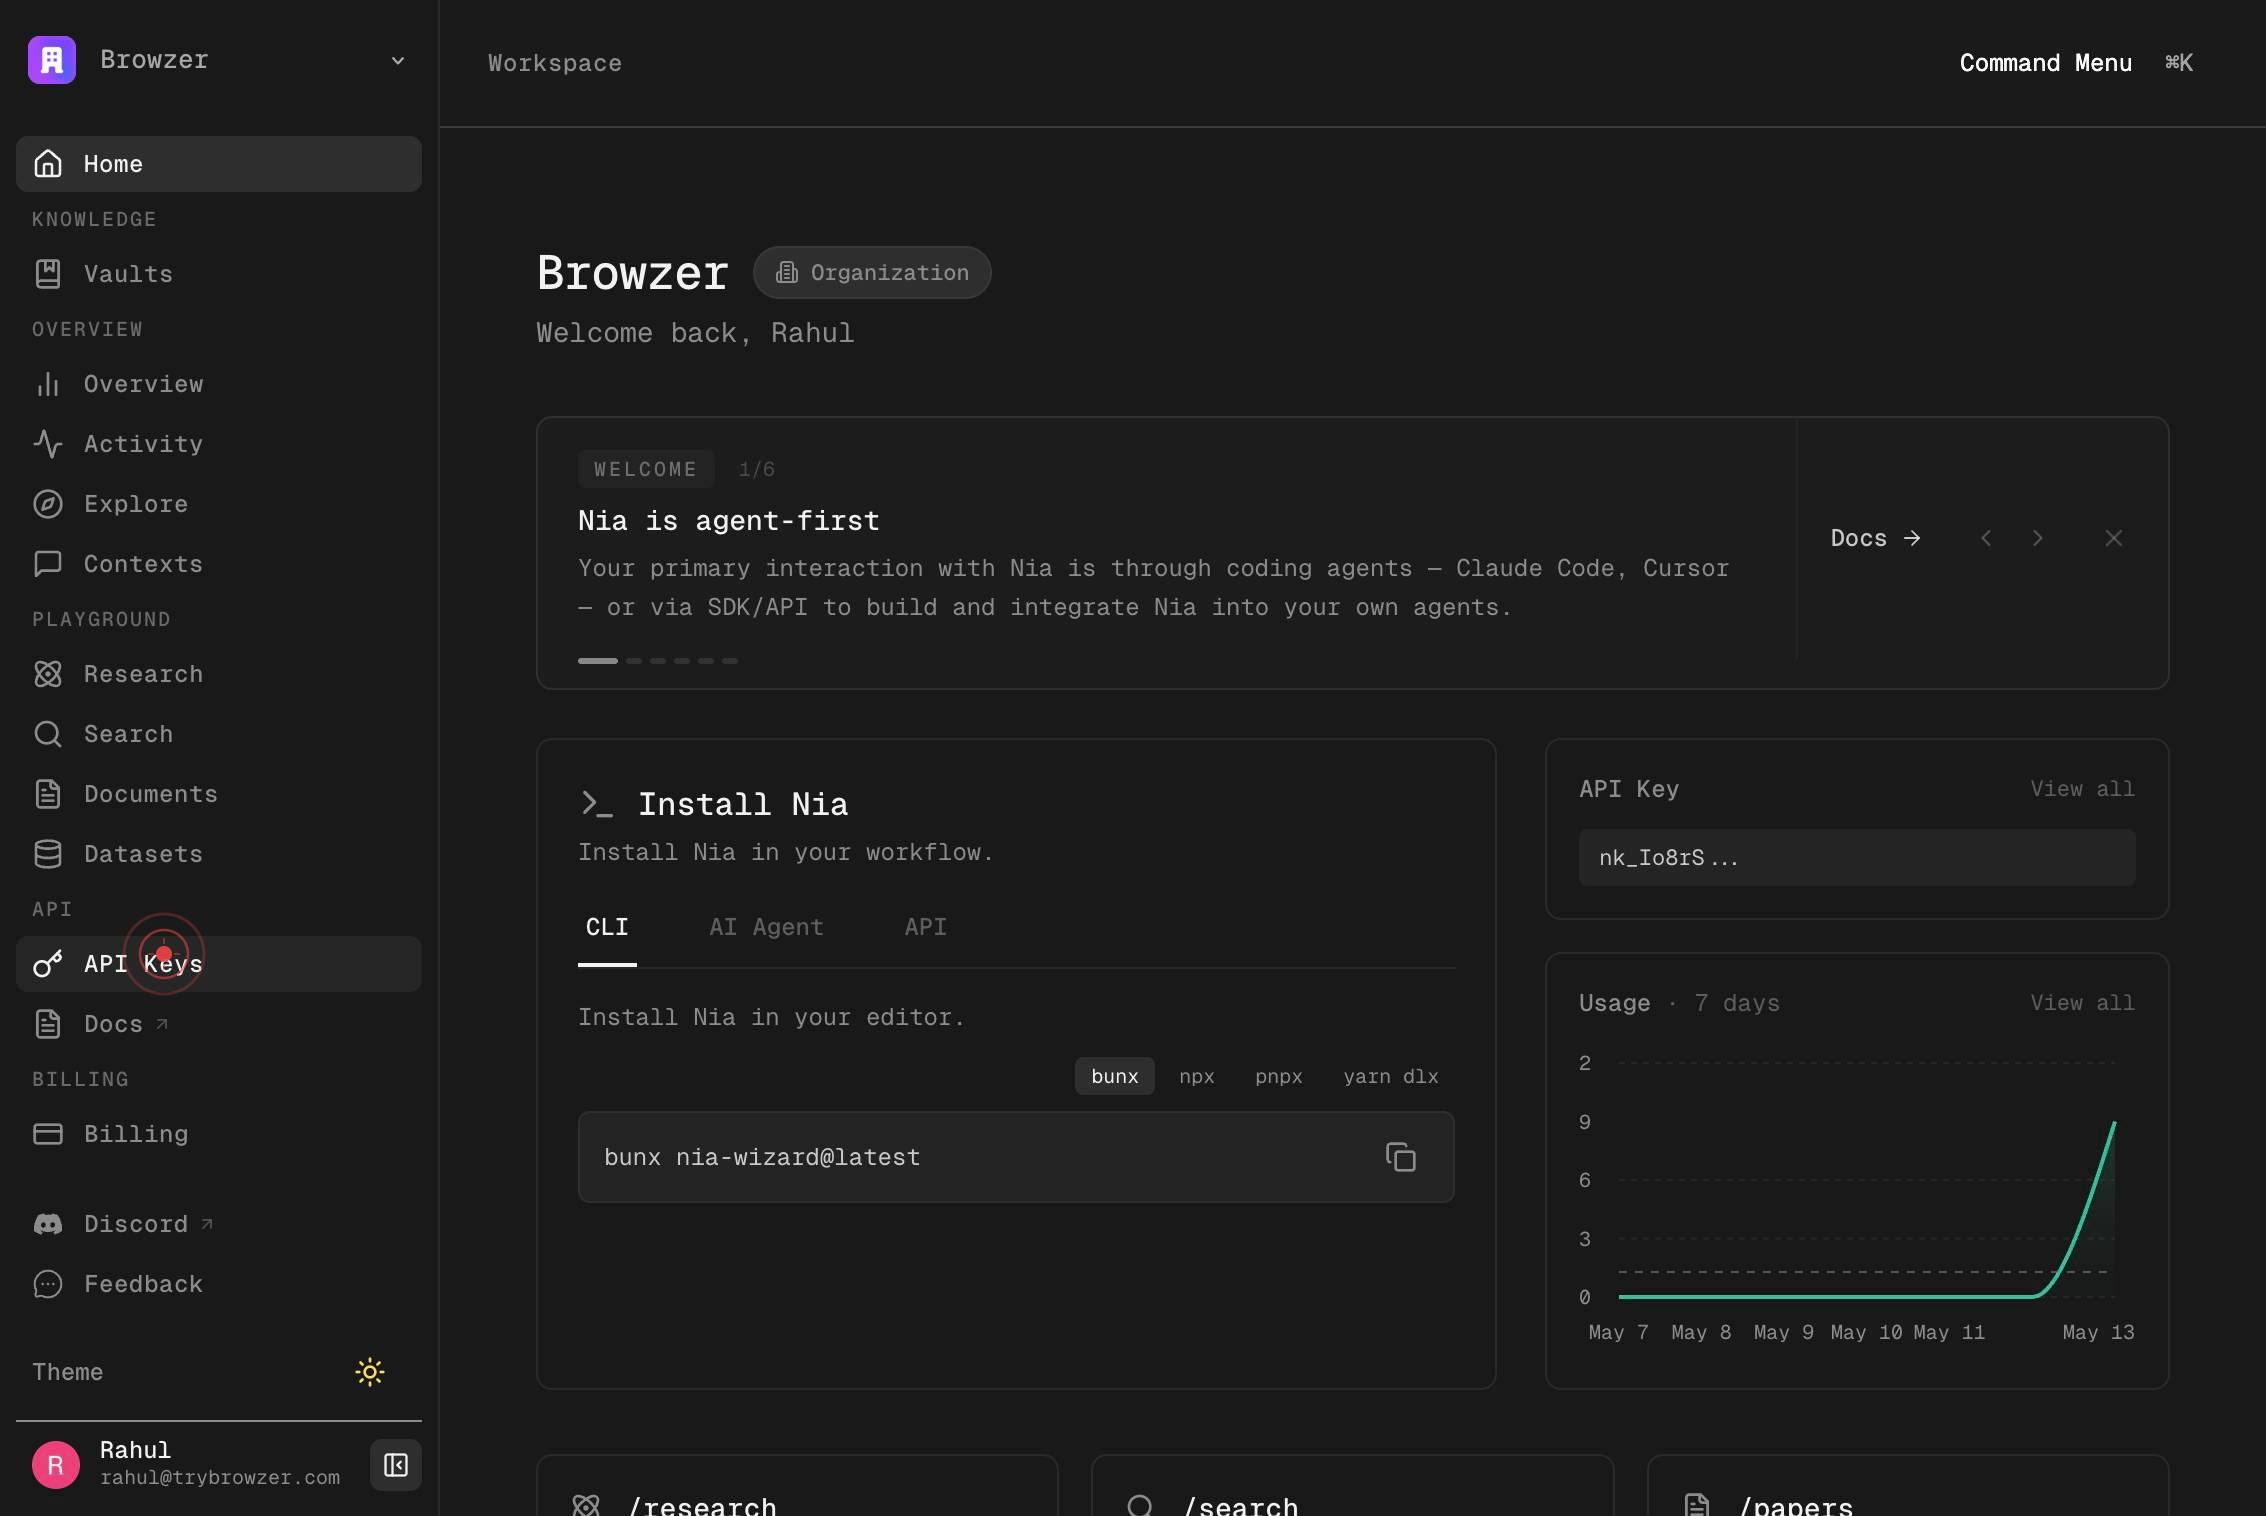
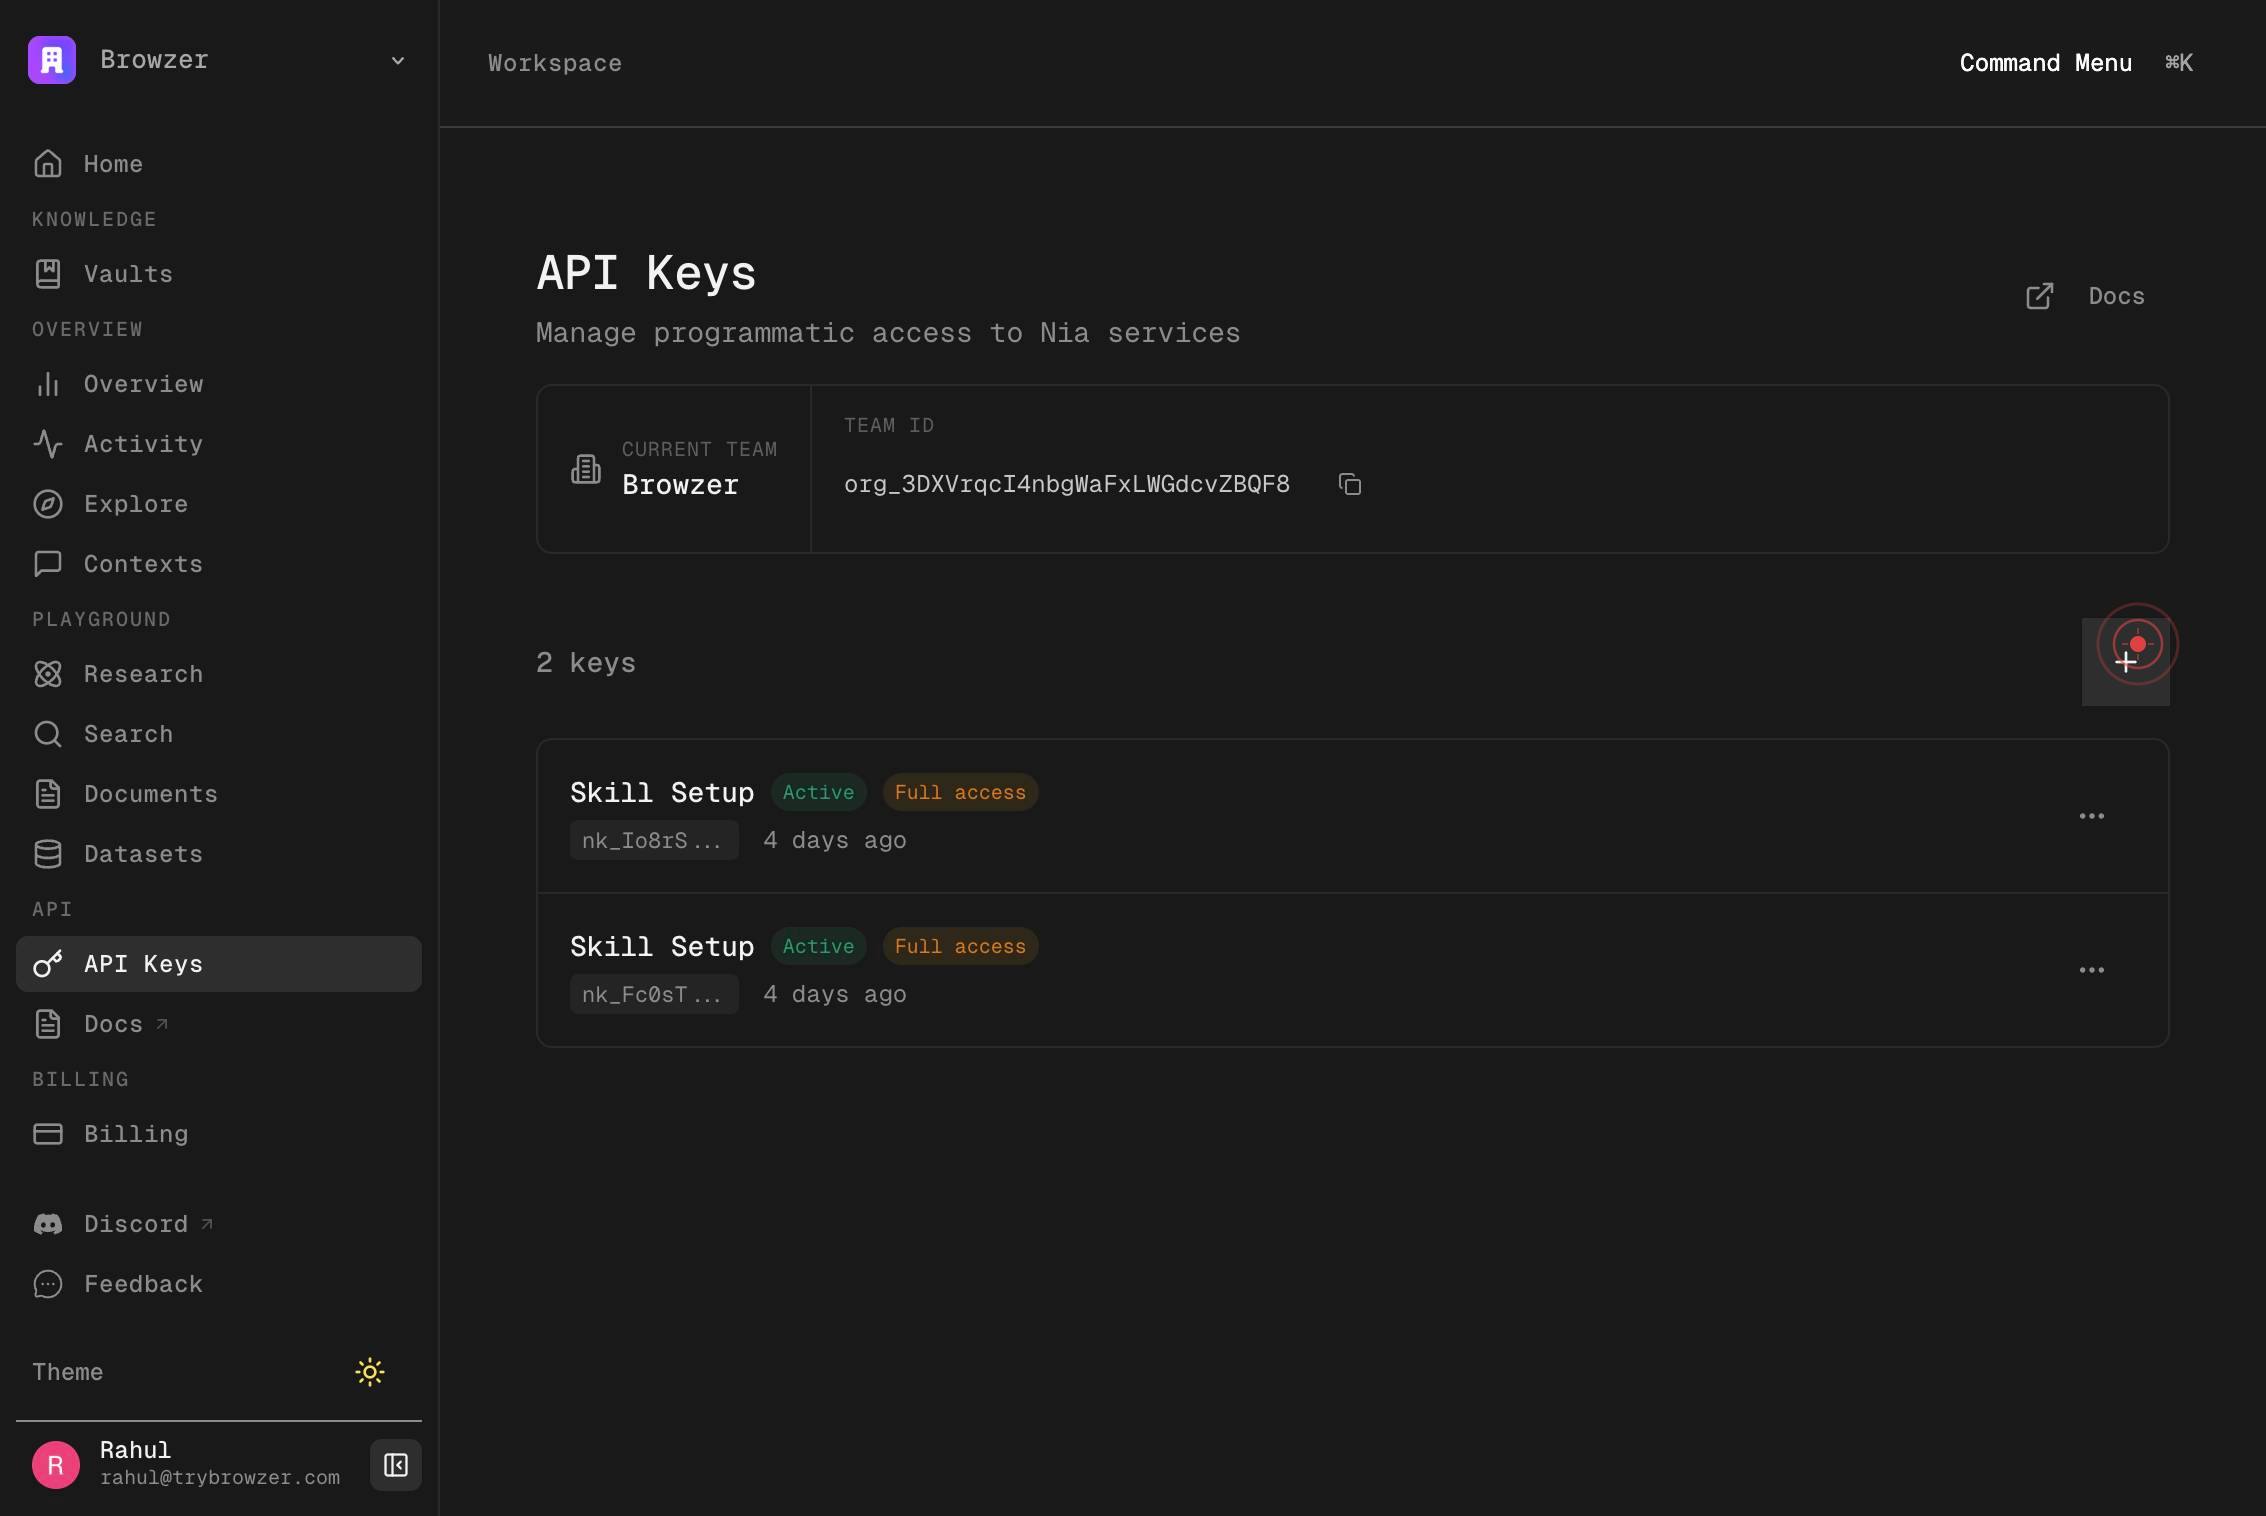
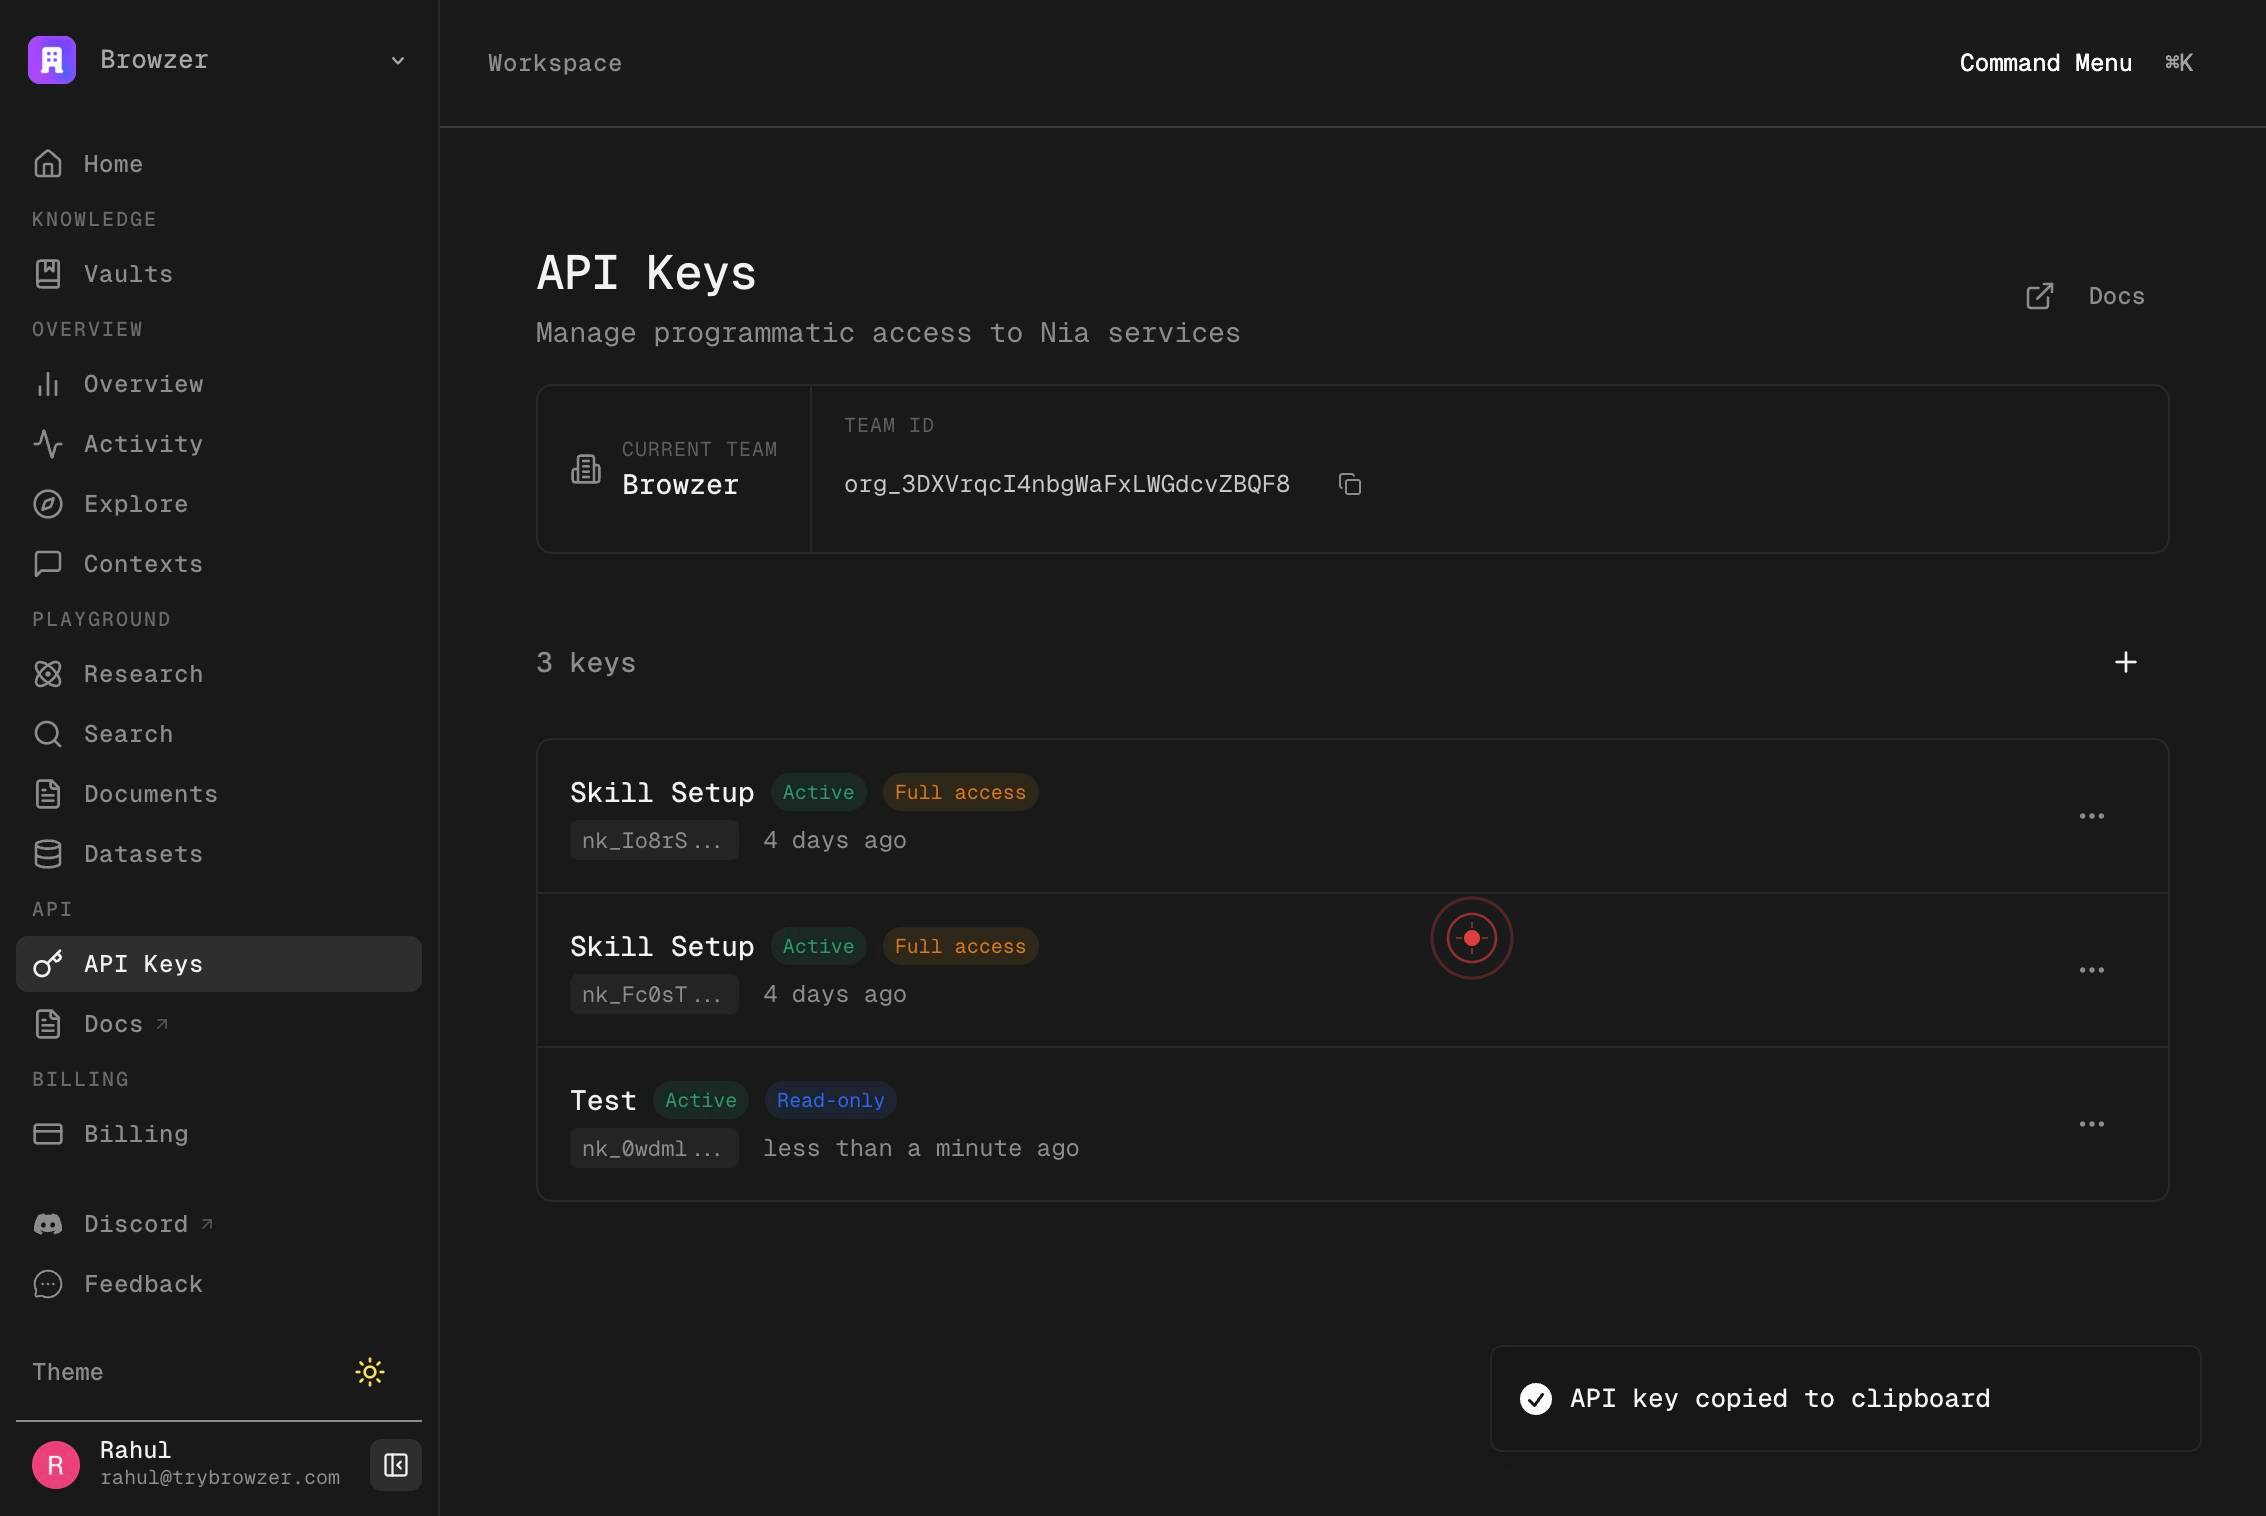
API KeysNavigate to the API Keys section by clicking the 'API Keys' link in the left sidebar or main navigation menu. This page displays all your existing API keys and provides the interface to create new ones.
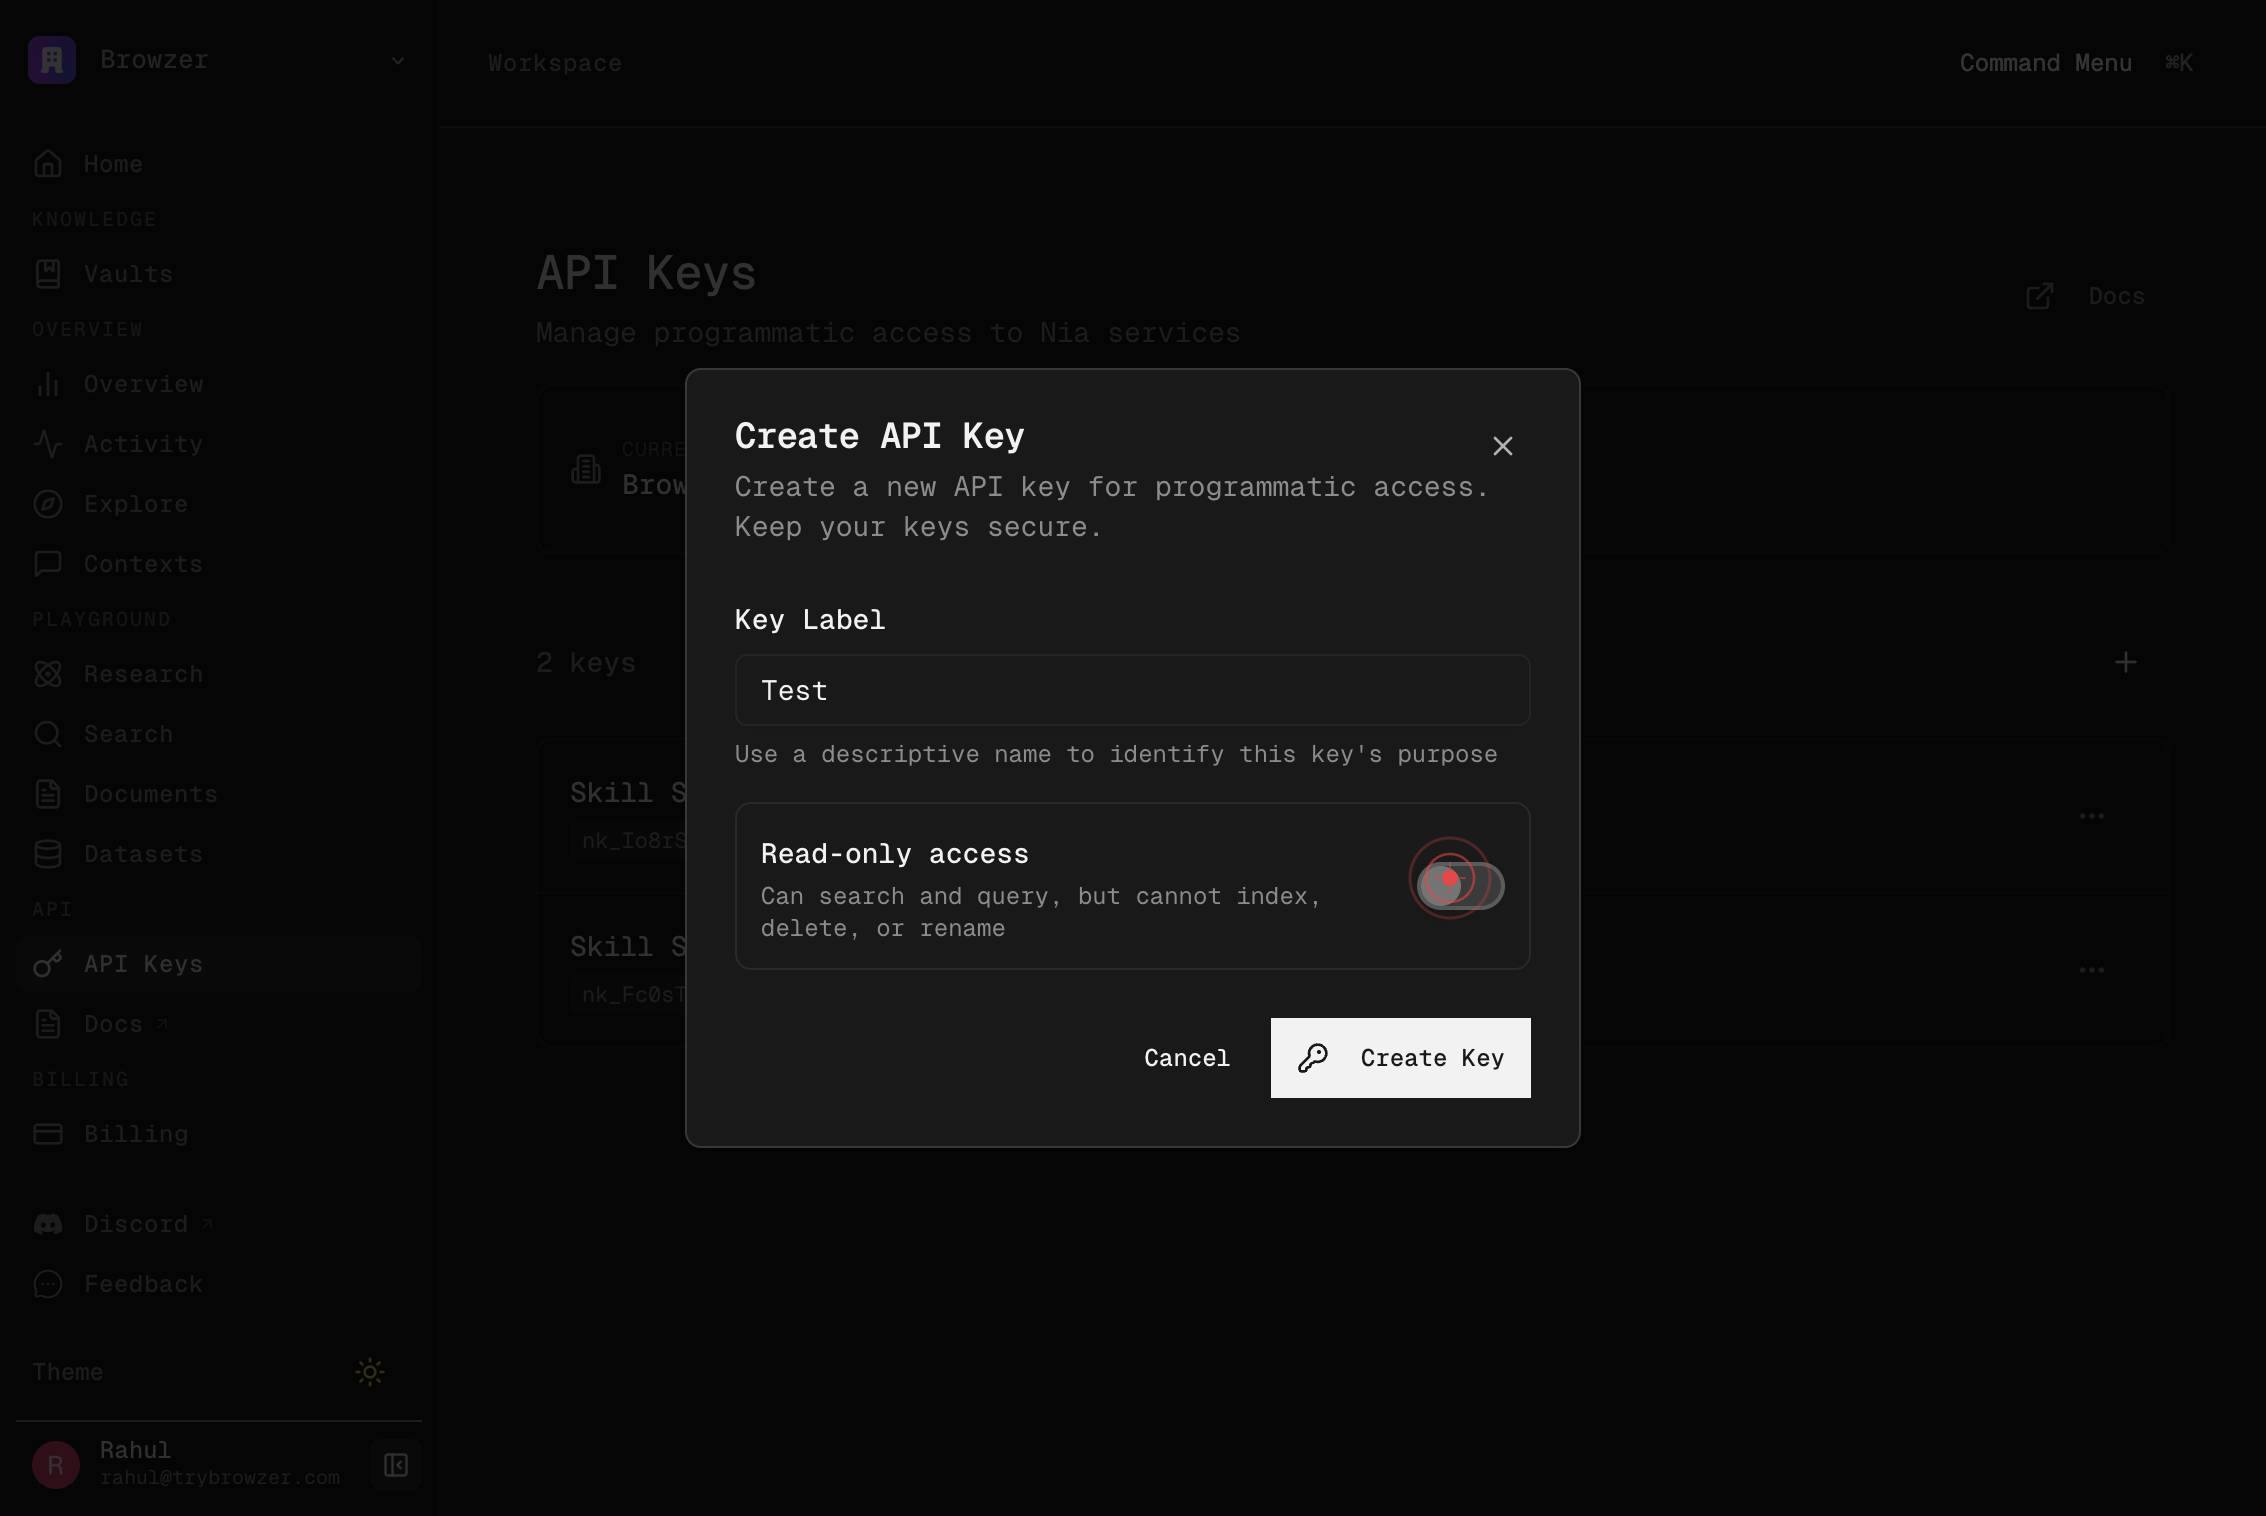
Create API keyClick the 'Create API key' button to open the new API key creation dialog. This initiates the workflow to generate a fresh key with your specified configuration.
Key LabelEnter a descriptive label for your API key in the 'Key Label' text field. This label helps you identify the purpose of the key later (e.g., 'Production Search Agent', 'Testing', 'Slack Integration'). Labels are visible only to you and do not affect the key's functionality.
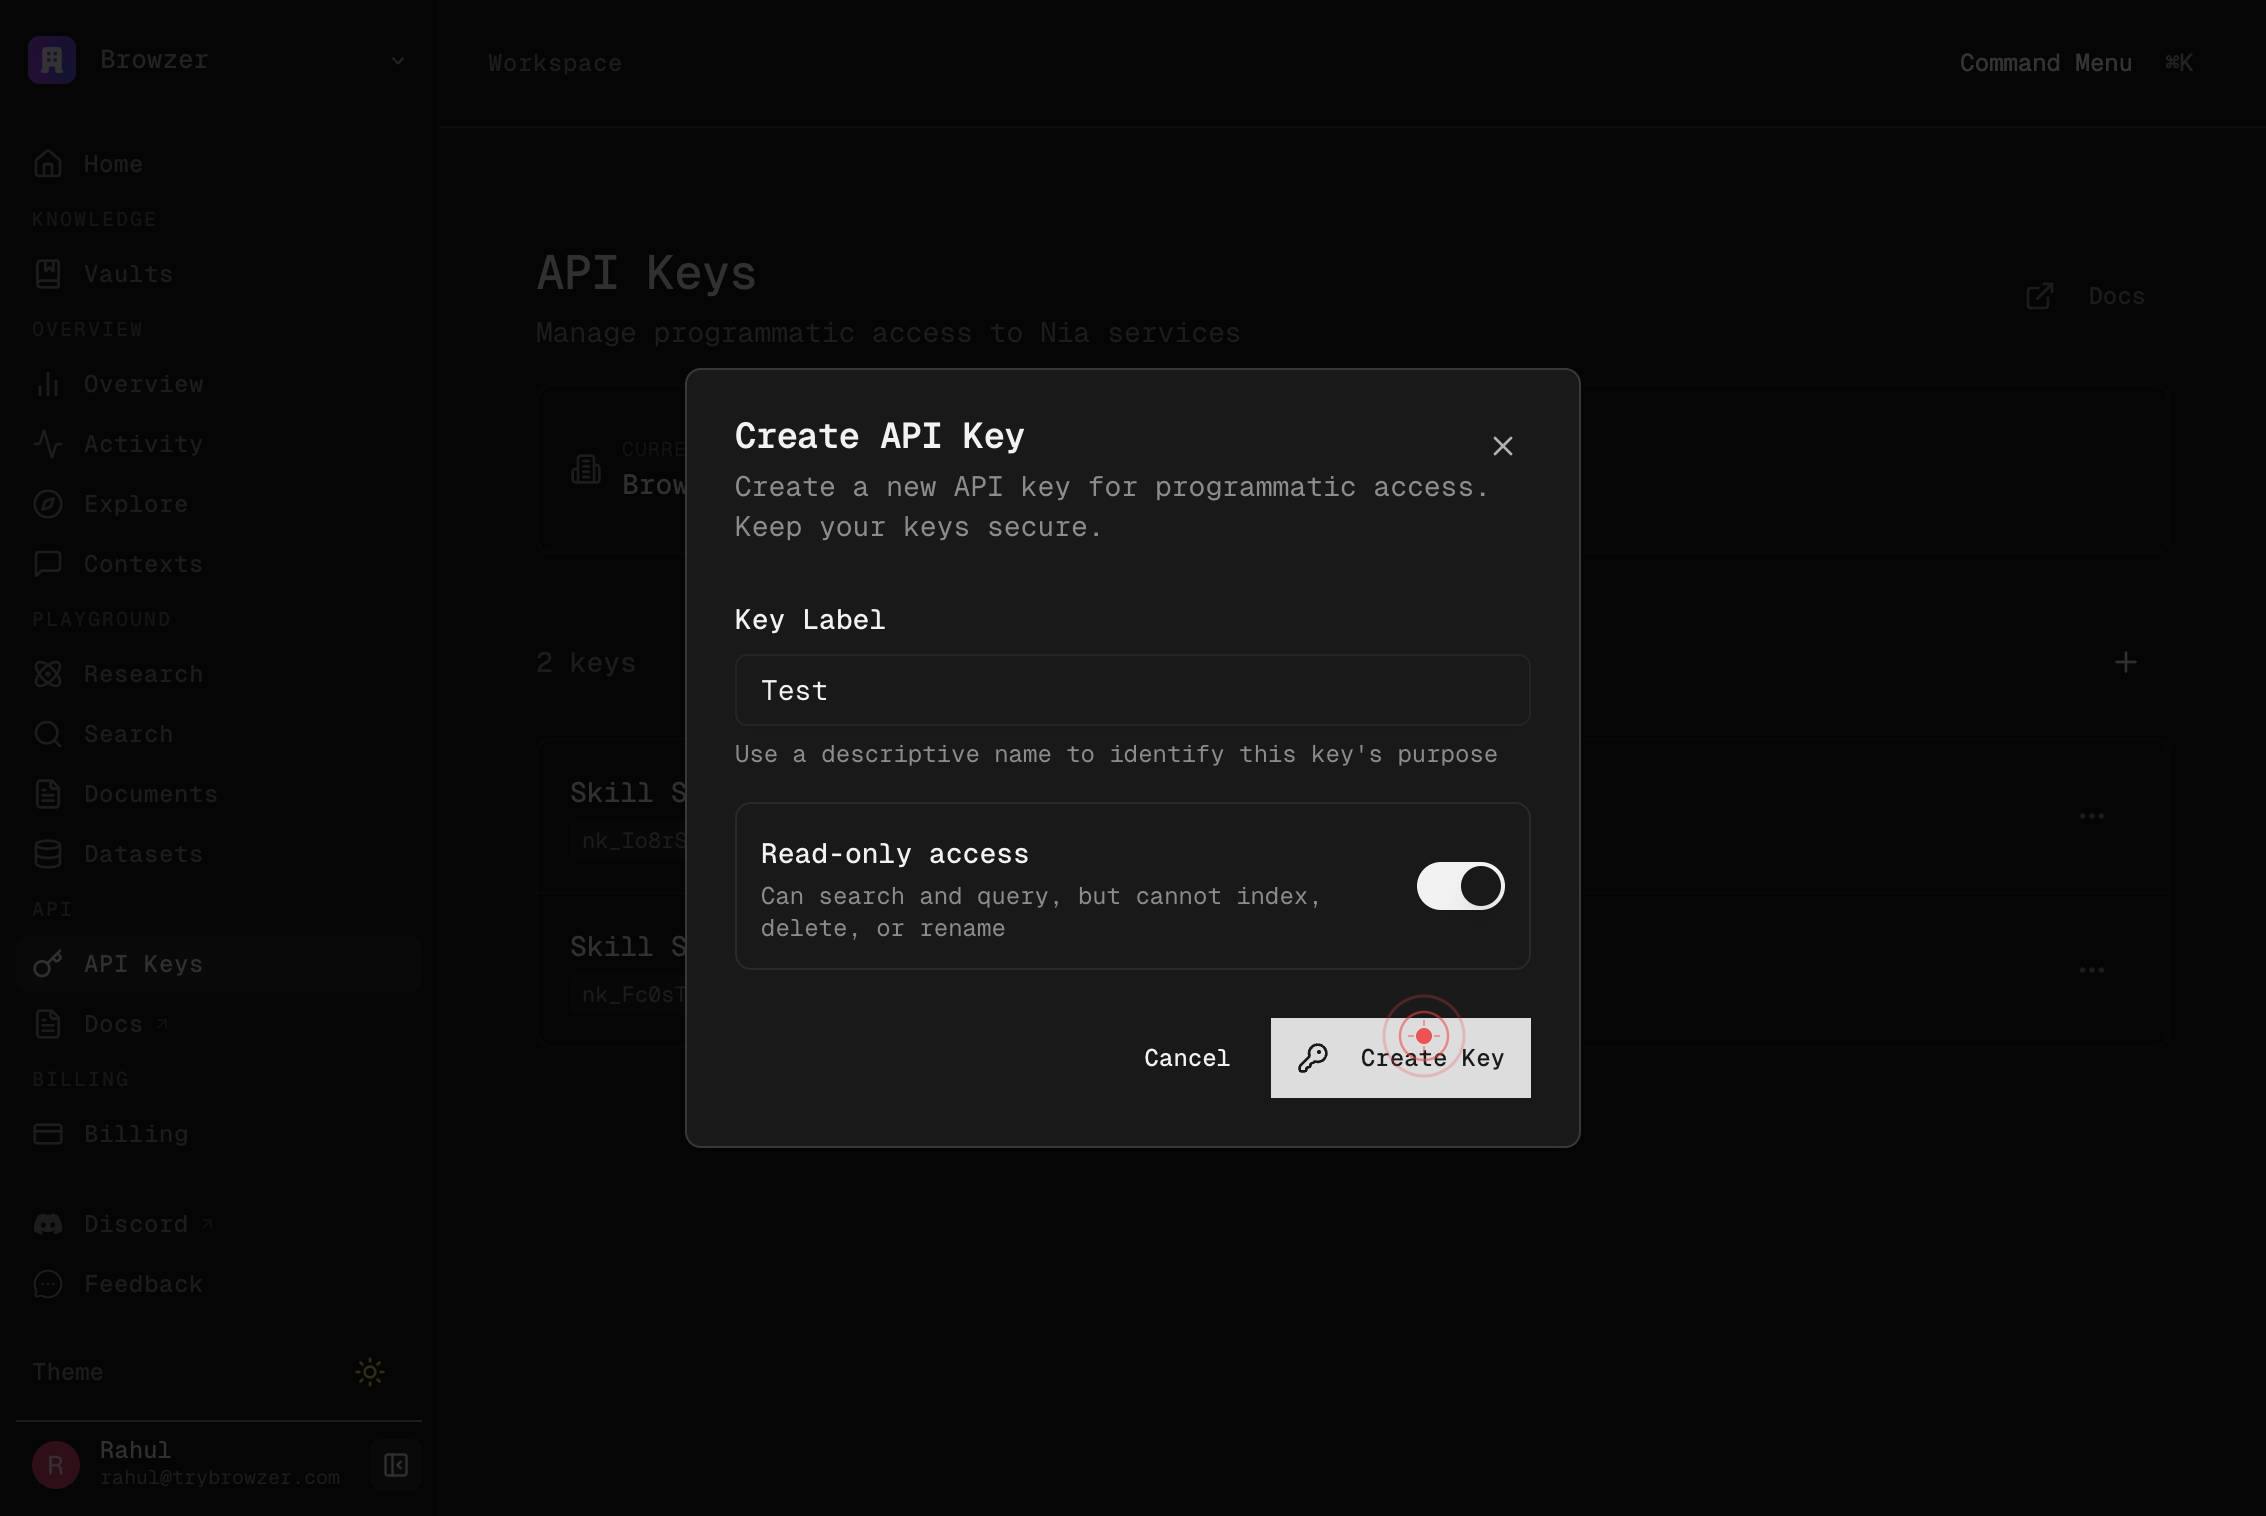
Read-only accessEnable read-only access by clicking the 'Read-only access' toggle switch. This restricts the key to read operations only (search, index retrieval) and prevents any write, delete, or account-modification actions. Leave this toggle enabled if you only need to query data.
Create KeyClick the 'Create Key' button to generate your new read-only API key. Nia will validate your settings and display the newly created key in a confirmation dialog.
Copy KeyClick the 'Copy Key' button in the confirmation dialog to copy your new API key to your system clipboard. You can then paste it directly into your application code, environment file, or secret management system.
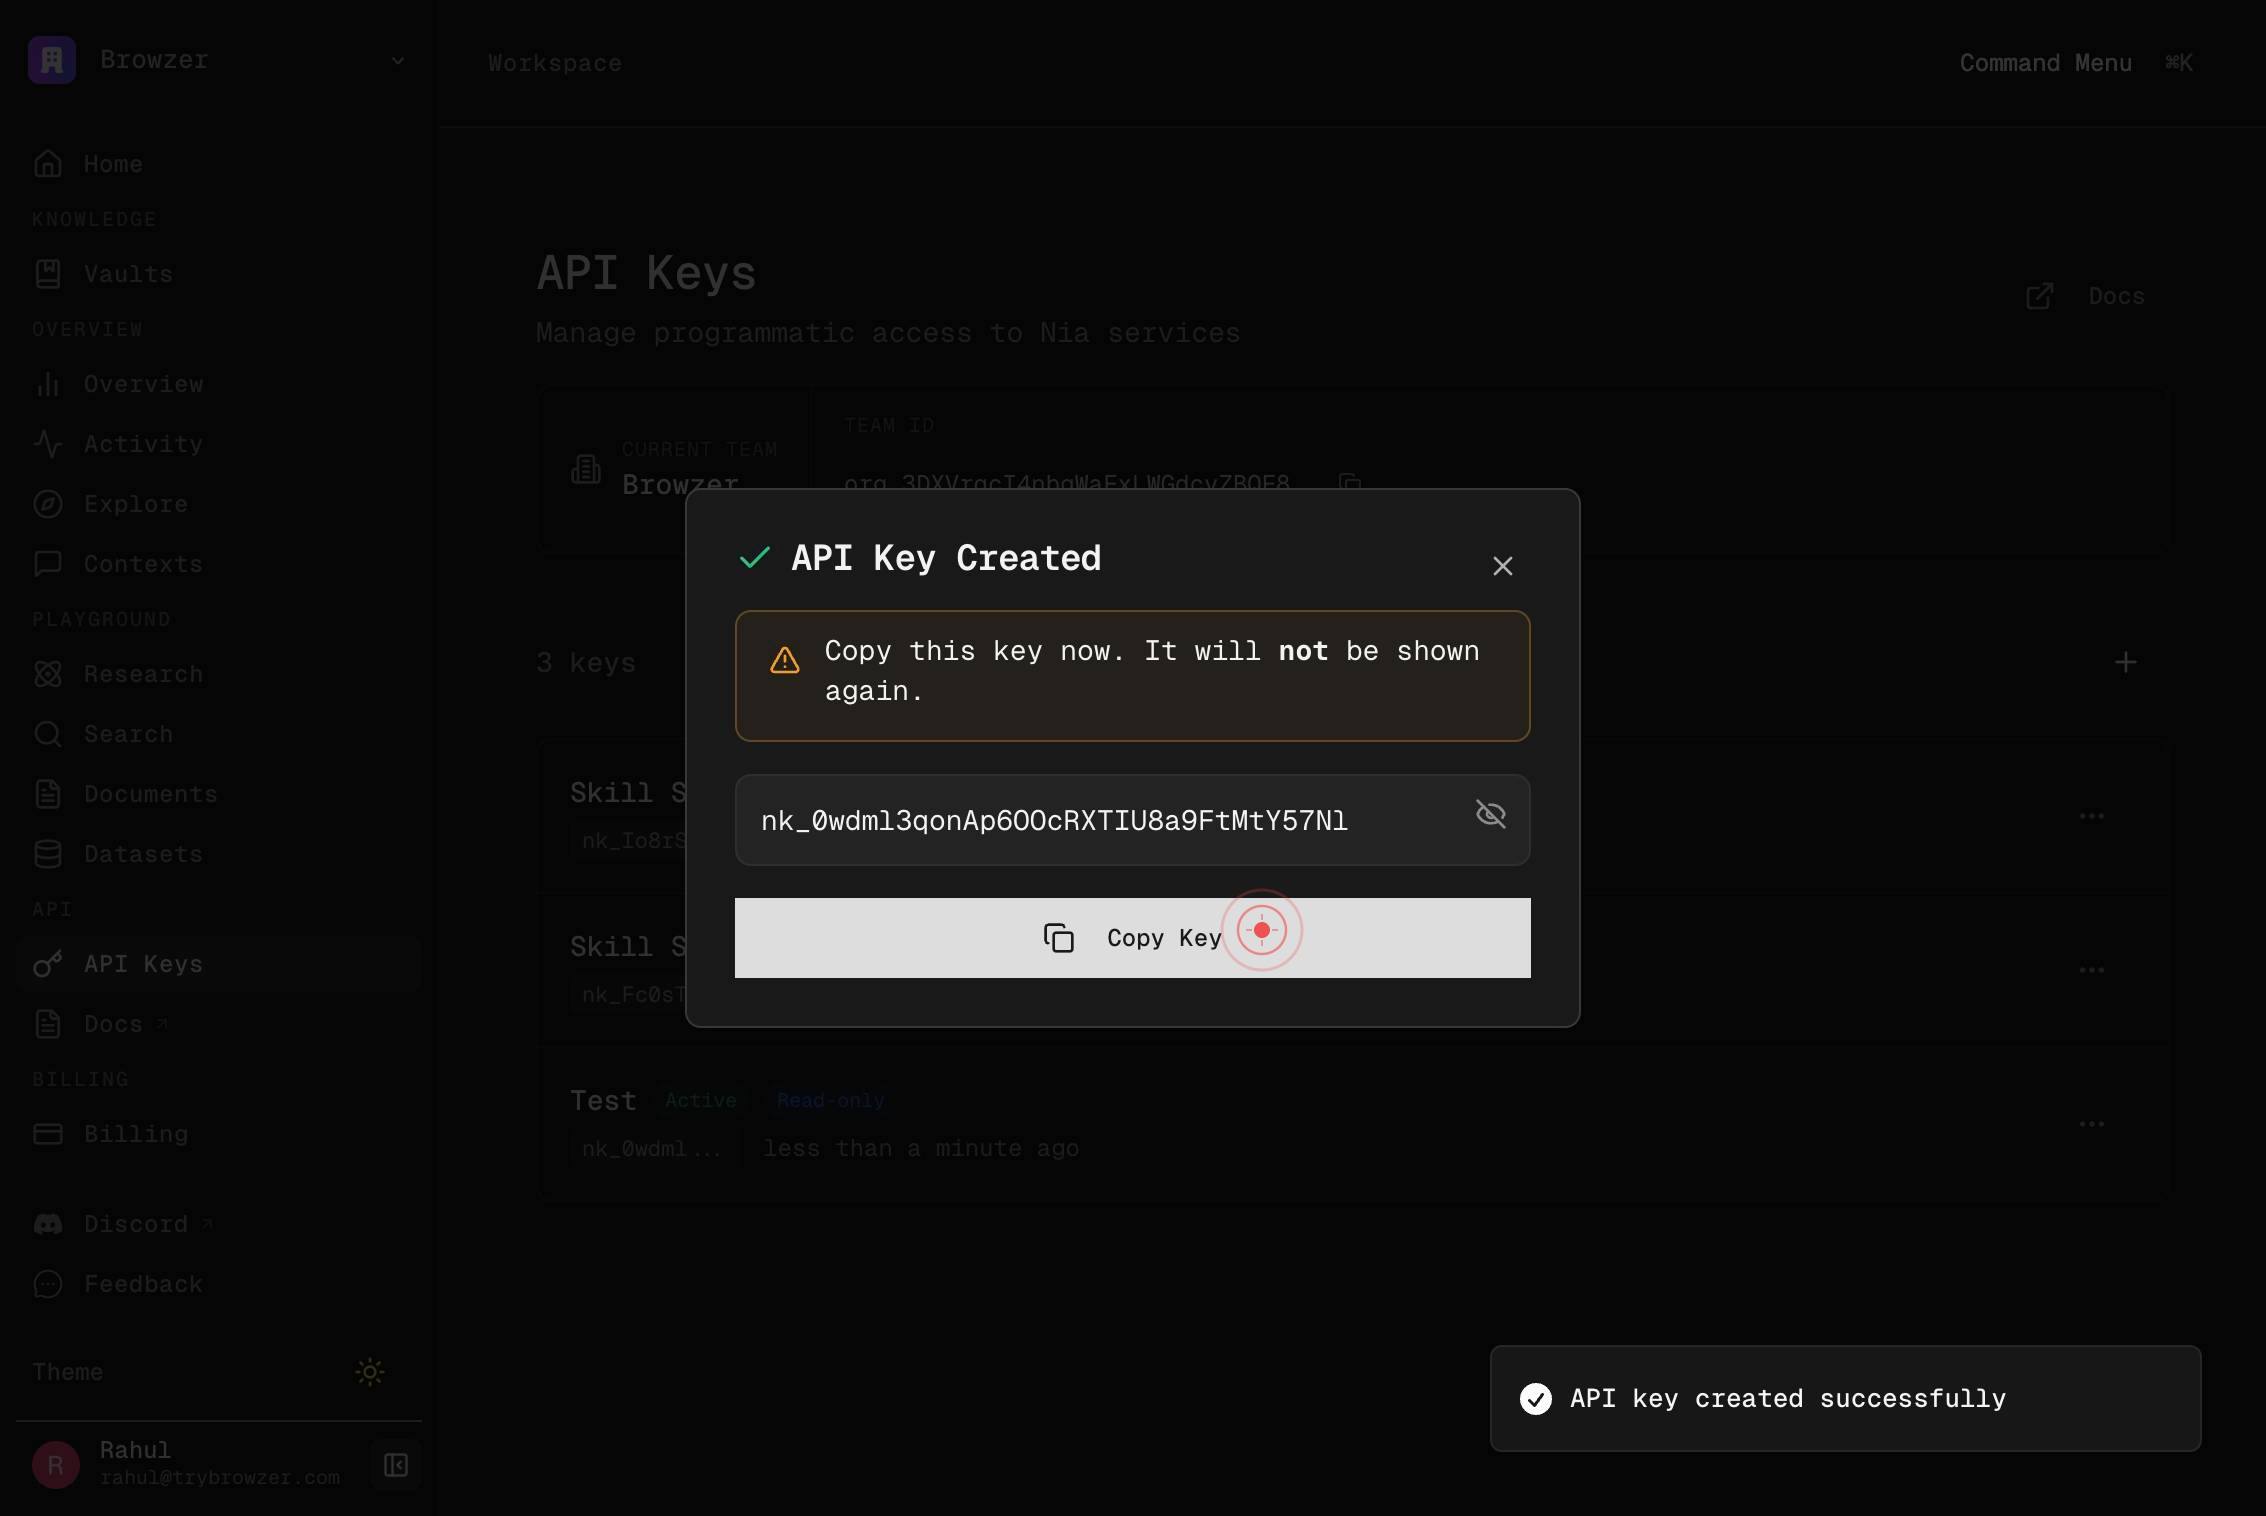
DoneClick the 'Done' button to close the confirmation dialog and return to the API Keys settings page. Your newly created read-only key will now appear in the list of API keys with its label and access level (read-only) displayed.
Confirm it worked
- 1A modal or confirmation screen displays your newly created read-only API key (typically a string starting with 'sk-proj-' or similar)
- 2The 'Copy Key' button is clickable and, when pressed, copies the full API key to your clipboard (you may see a confirmation toast or message)
- 3After clicking 'Done', you return to the API Keys settings page and your new key appears in the list with the label you provided and marked as 'Read-only'
- 4You can paste the copied key into a text editor or environment variable file to confirm it was captured correctly
Common issues
Keep reading
Signup - Nia AI Documentation
> Create a new account and receive a read-only API key. [...] A 6-digit verification code is sent to the provided email. Call POST /v2/auth/verify with the code (and this key in the Authorization header) to upgrade to full access. [...] : type: [...] title: [...] description: User [...] address [...] minLength: 8 [...] type: ' [...] required — all API keys are [...] anyOf [...] - type: string - type: [...] title: Idempot [...] description: Idempot [...] key for safe retries [...] object required: - email - organization_name [...] msg: [...] type: string [...] type: [...] : Error Type [...] provided in the Authorization header
docs.trynia.aiAuthentication - Nia AI Documentation
> Configure API keys and client authentication for the Nia SDKs [...] ## Getting Your API Key [...] ## Create an account [...] Go to app.trynia.ai and sign in or create a new account. [...] ## Navigate to API Keys [...] Open Settings → API Keys from the sidebar. [...] ## Generate a key [...] Click Create new API key, give it a name, and copy the key. You won't be able to see it again. [...] Keep your API key secure. Never commit it to version control or expose it in client-side code. [...] ## Environment Variables [...] Store your API key in an environment variable instead of hardcoding it: [...] ```bash export NIA_API_KEY="nia_your_api_key" [...] ## Authentication Methods [...] The API accepts your key via either header: [...] | Header | Format | | --- | --- | | `Authorization` | `Bearer nia_your_api_key` | | `X-API-Key` | `nia_your_api_key` | [...] Both SDKs use the `Authorization: Bearer` format by default. The Python low-level client allows customizing the header:
docs.trynia.ai