Guide
Add Memory by Typing
Overview
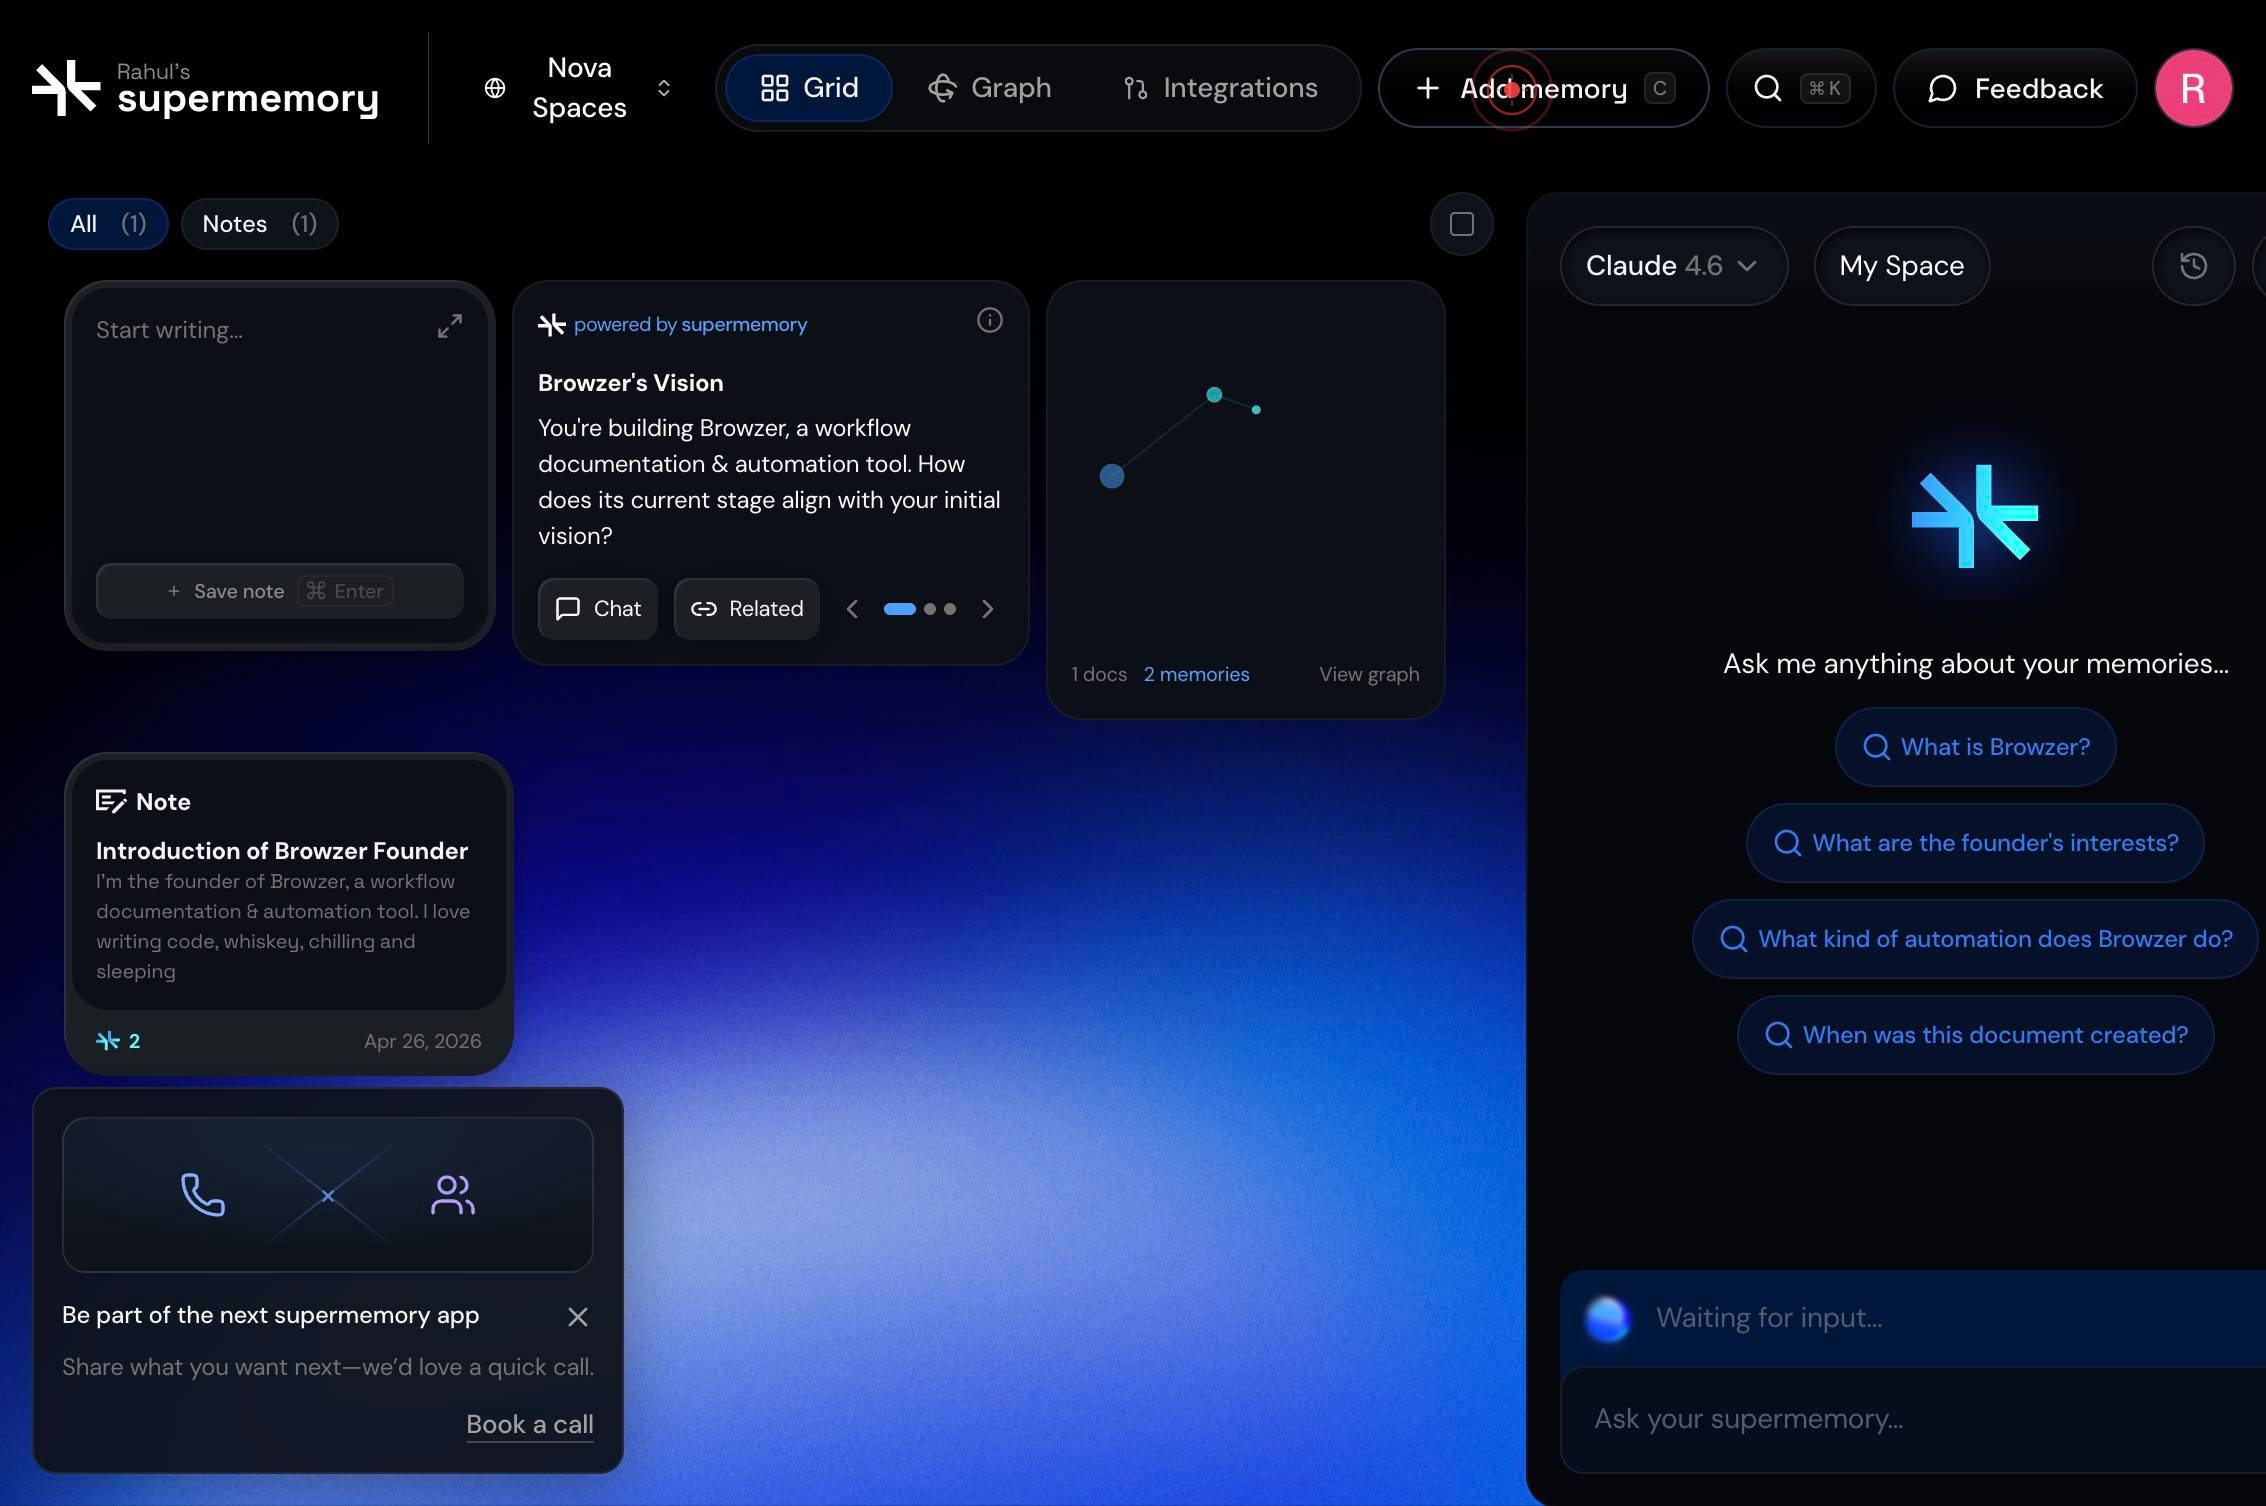
Supermemory is a universal memory API that enables AI applications to access persistent, searchable context about users and their data. Adding memories manually is the most direct way to store information that you want your AI tools to remember and reference in future interactions. This workflow captures your typed input and stores it as a memory, making it available for semantic search and retrieval whenever your connected AI applications need contextual information. This is useful for storing personal preferences, project notes, research findings, or any unstructured text you want preserved for AI-assisted workflows.
Before you begin
- You have an active account on app.supermemory.ai and are logged in.
- You have access to the Supermemory dashboard or memory interface.
- You have text or information ready to add as a memory.
Step by step
Add memoryCClick the 'Add Memory' button (labeled 'Add memoryC') in the main navigation or interface to open the memory input panel.
buttonClick on the text input field that appears to focus it and prepare it for text entry.
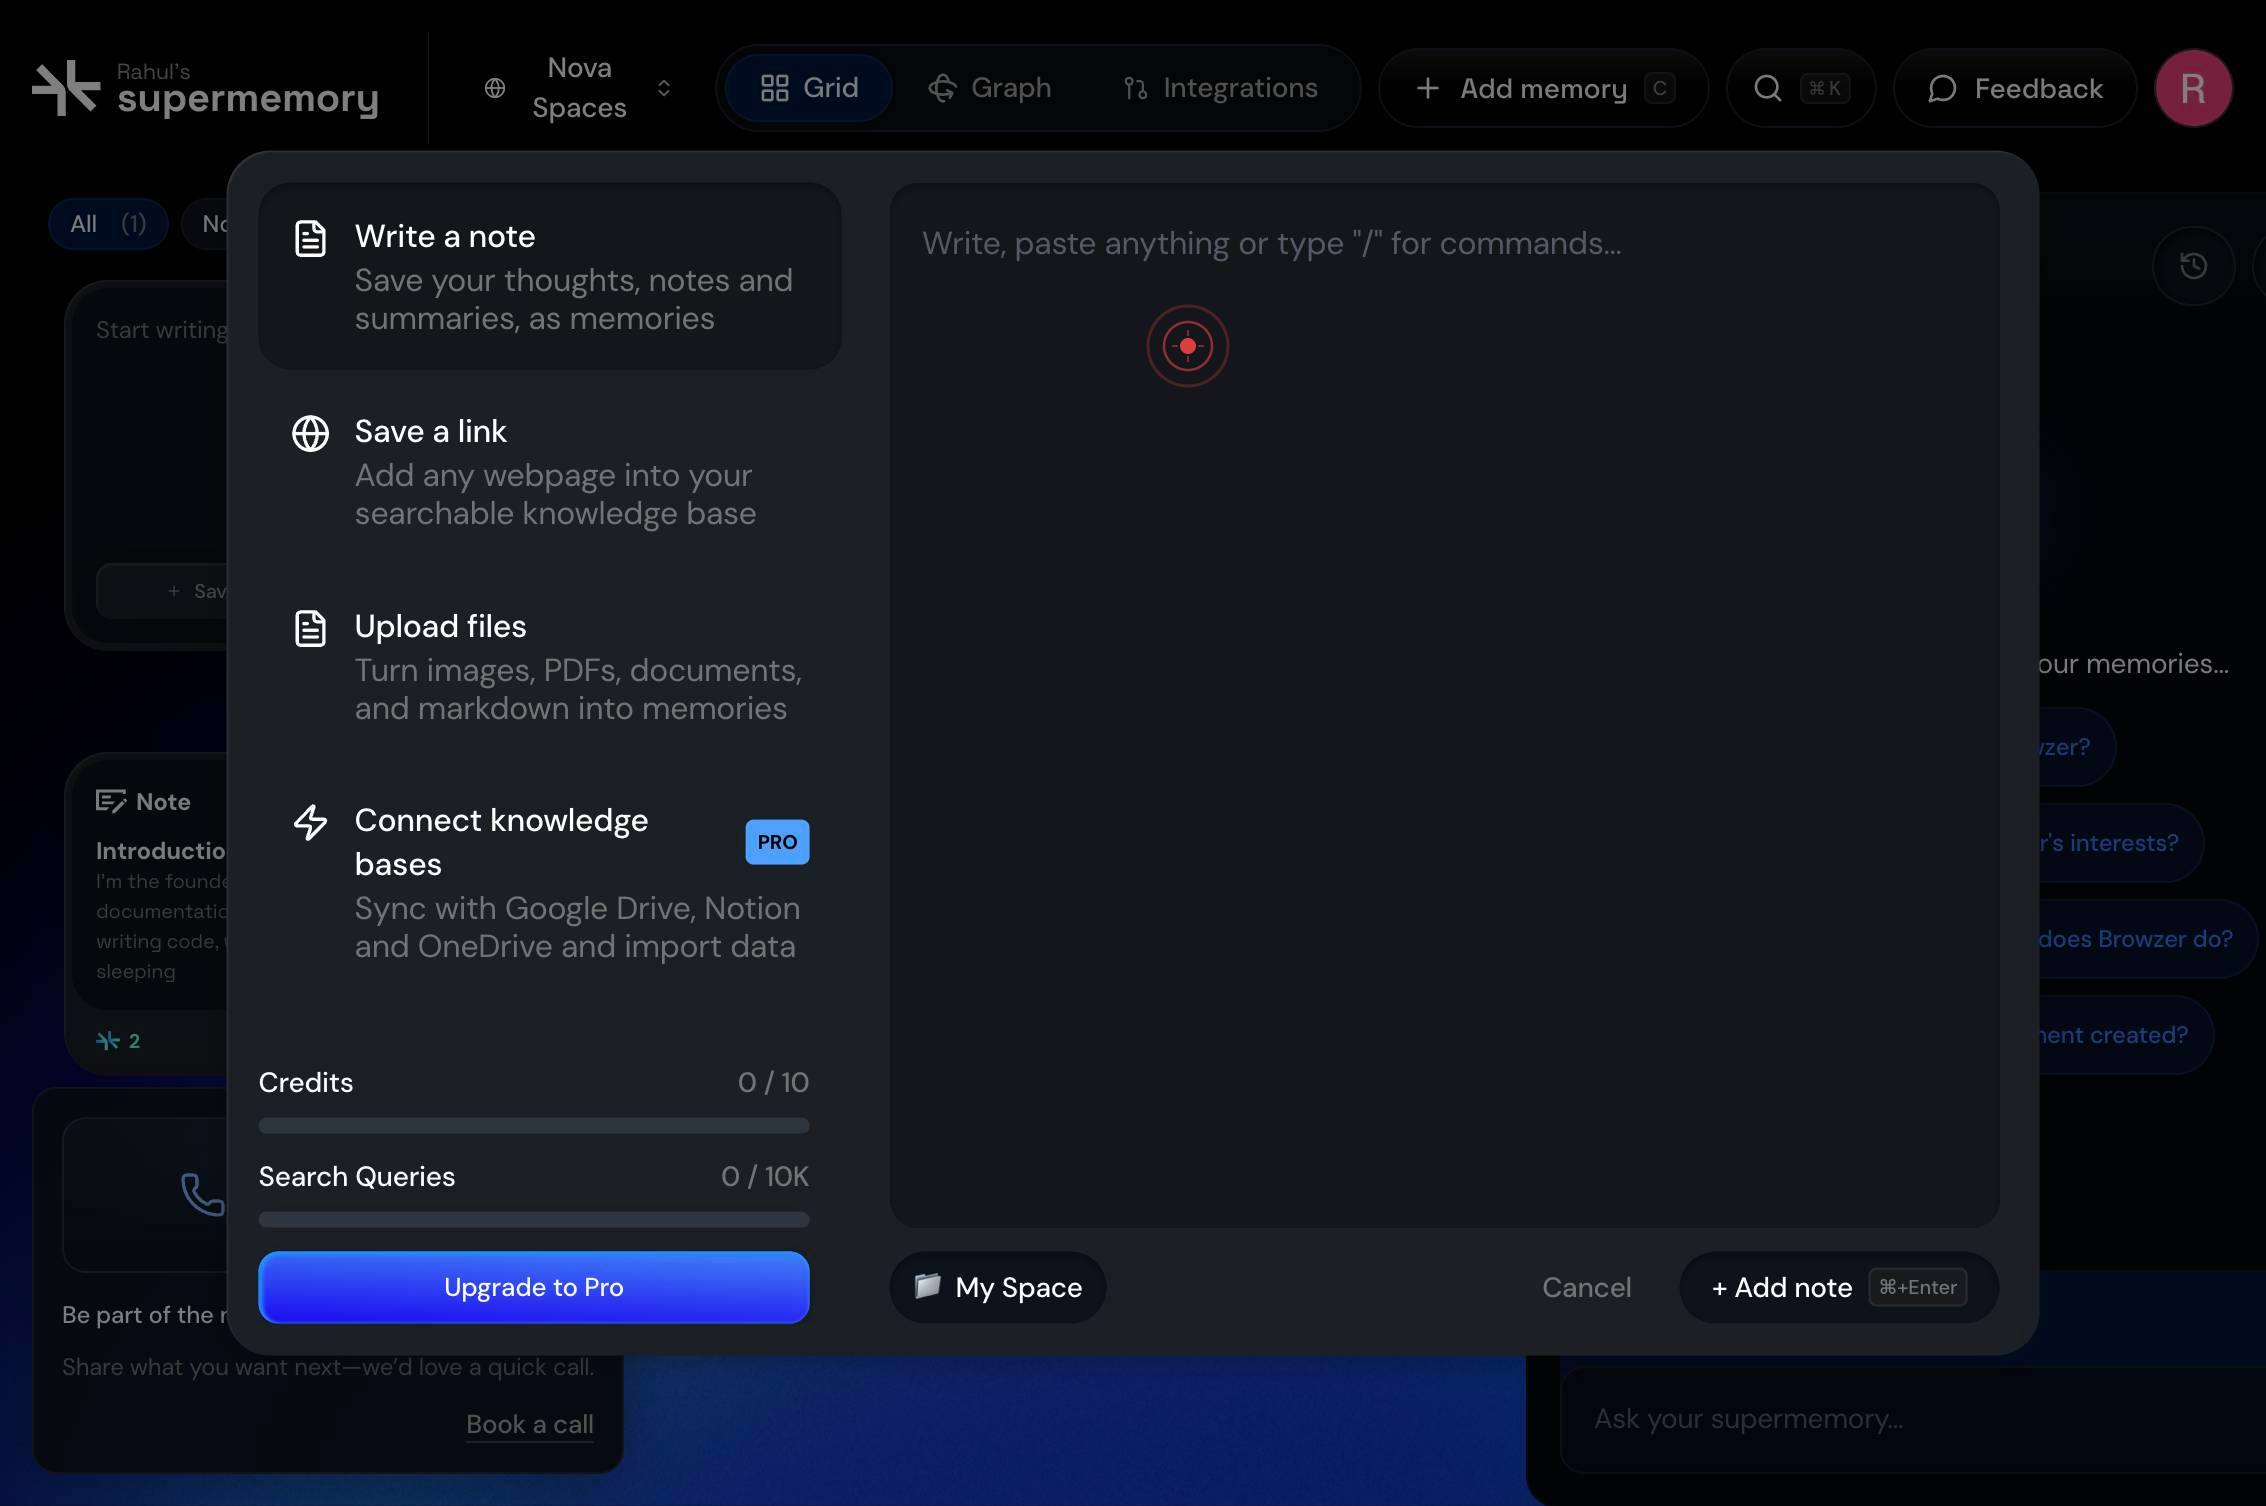
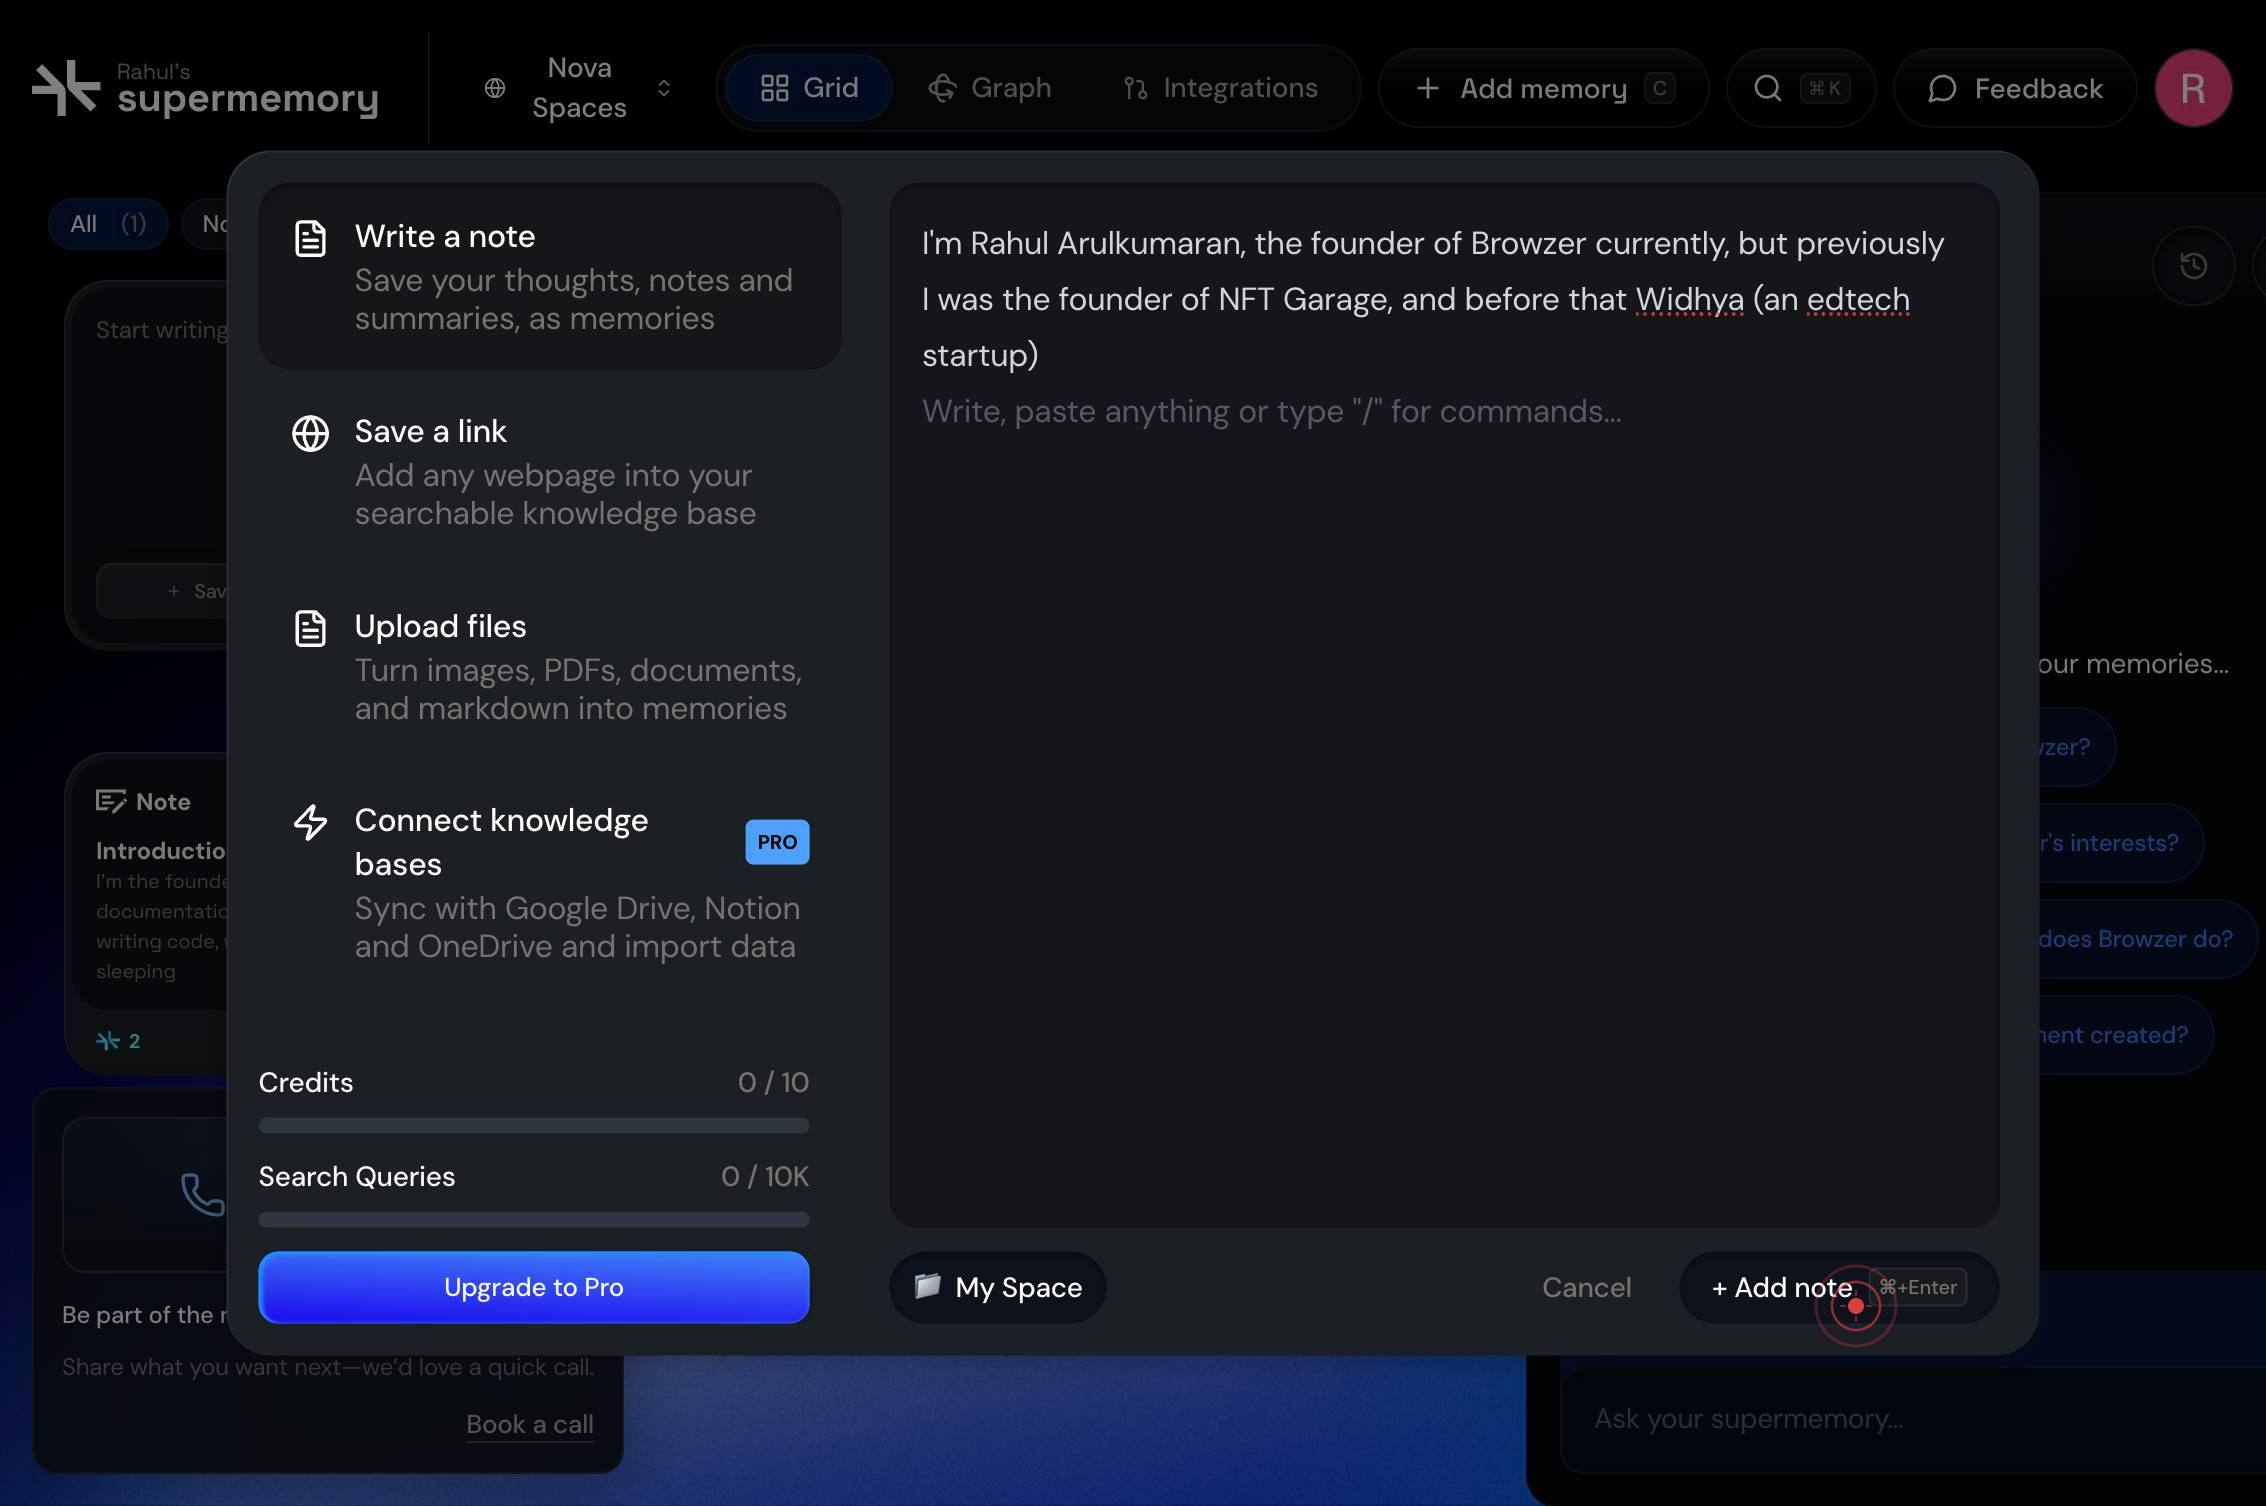
textboxType your memory content directly into the text input field. Enter any text, notes, or information you want to store in Supermemory.
Press the Enter key to submit your memory entry.

+ Add note ⌘+EnterClick the '+ Add note ⌘+Enter' button to confirm and save the memory if pressing Enter alone does not immediately process your input.
Confirm it worked
- 1The memory input field becomes visible after clicking the initial Add Memory button.
- 2Your typed text appears in the input field without errors.
- 3The memory is successfully stored (indicated by a confirmation message or the memory appearing in your memory list).
- 4You can navigate away from the input screen, confirming the memory has been saved to the system.
Common issues
Keep reading
How to load all memories into your chats in TypingMind
How to load all memories into your chats in TypingMind Having long-term memory for your AI chats can dramatically improve your experience, as you won't have to keep reminding your AI of the same thin
memoryplugin.comTypingMind - MemoryPlugin
> Fetch the complete documentation index at: https://help.memoryplugin.com/llms.txt > Use this file to discover all available pages before exploring further. > > ## Documentation Index # TypingMind
memoryplugin.comBuilding Your Own Memory for AI with TypingMind + Memory MCP
Building Your Own Memory for AI with TypingMind + Memory MCP GO TO APP Ever had an AI assistant forget everything you told it the moment you start a new chat? If you’ve felt like you’re constantly r
blog.typingmind.com