Guide
Create Scoped Supermemory API Key
Overview
Supermemory is a memory layer platform for AI agents that requires API authentication for programmatic access. While full-access API keys grant unrestricted permissions, scoped API keys allow you to create security-hardened credentials that operate only on specific tags and with limited actions. This workflow walks you through creating a scoped key—useful when integrating Supermemory with third-party services, sharing access with team members, or following the principle of least privilege in production environments.
Before you begin
- You must have a Supermemory account with access to console.supermemory.ai
- You must have permission to create and manage API keys (typically an Owner or Admin role)
- You must know which tag(s) you want to scope the key to, or be prepared to create a new tag during this workflow
Step by step
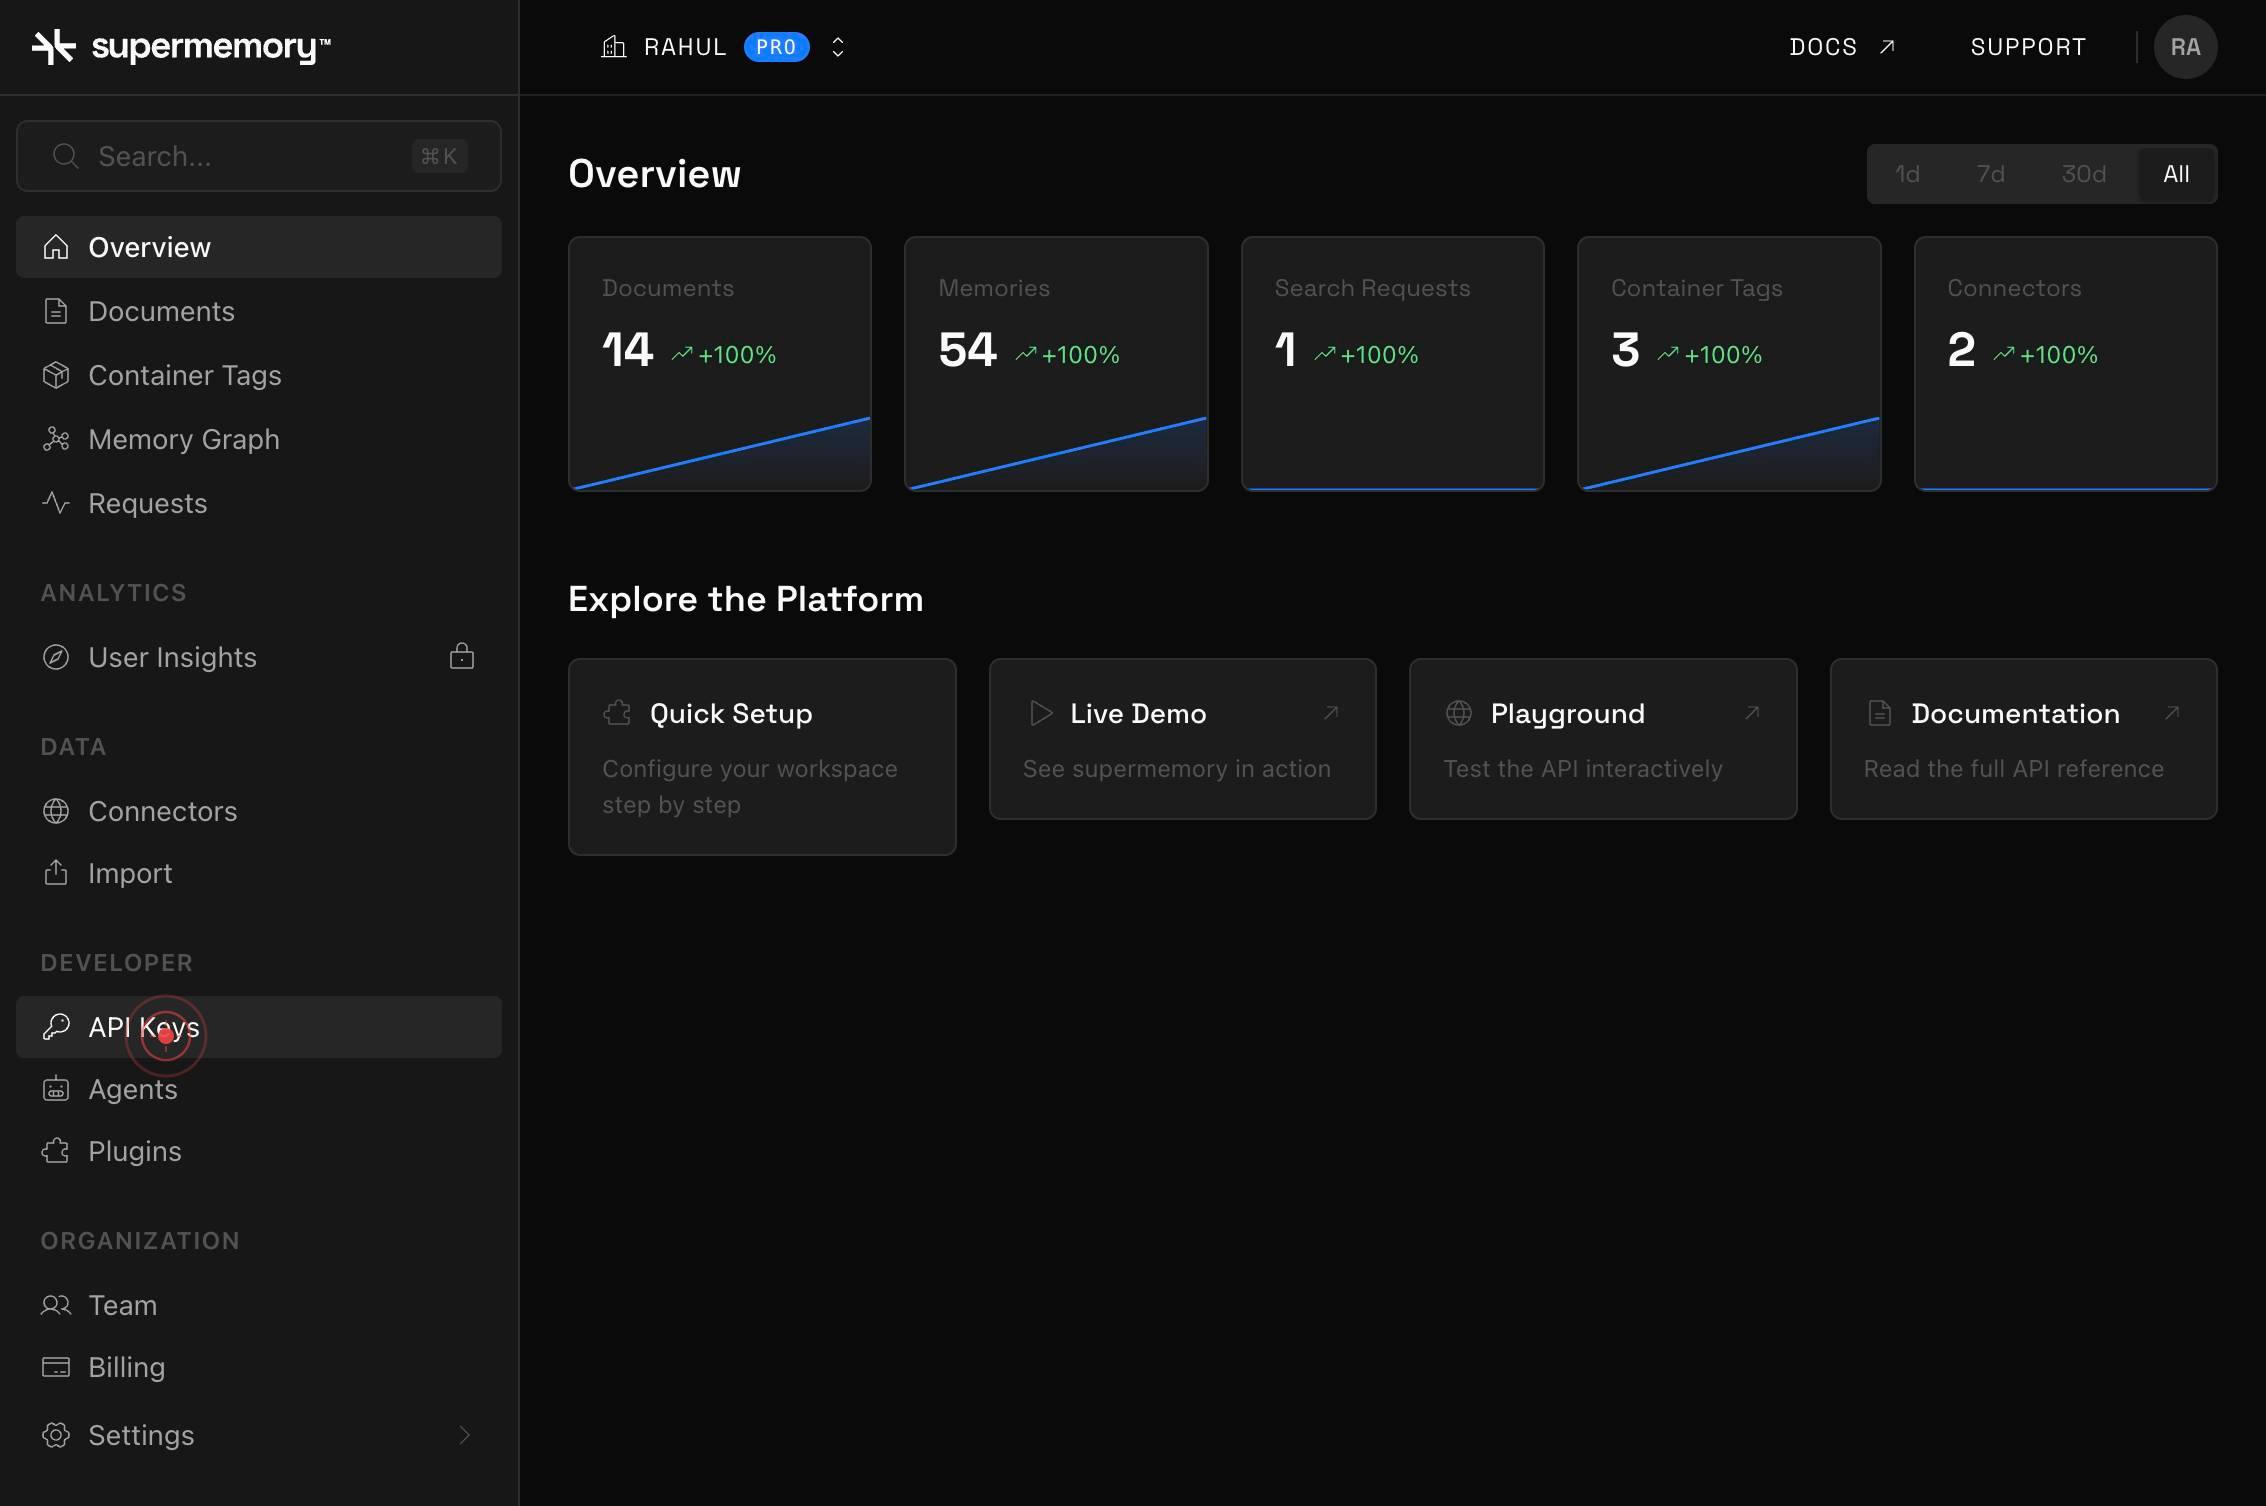
API KeysNavigate to the API Keys section in the Supermemory console by clicking the 'API Keys' link in the main navigation. This page displays all API keys associated with your account and provides options to create new ones.
CREATE KEYClick the 'CREATE KEY' button to begin the key creation workflow. This opens a dialog where you will configure the name, permissions, and scope of your new API key.

Key NameClick on the 'Key Name' text field to focus it, preparing it for input.
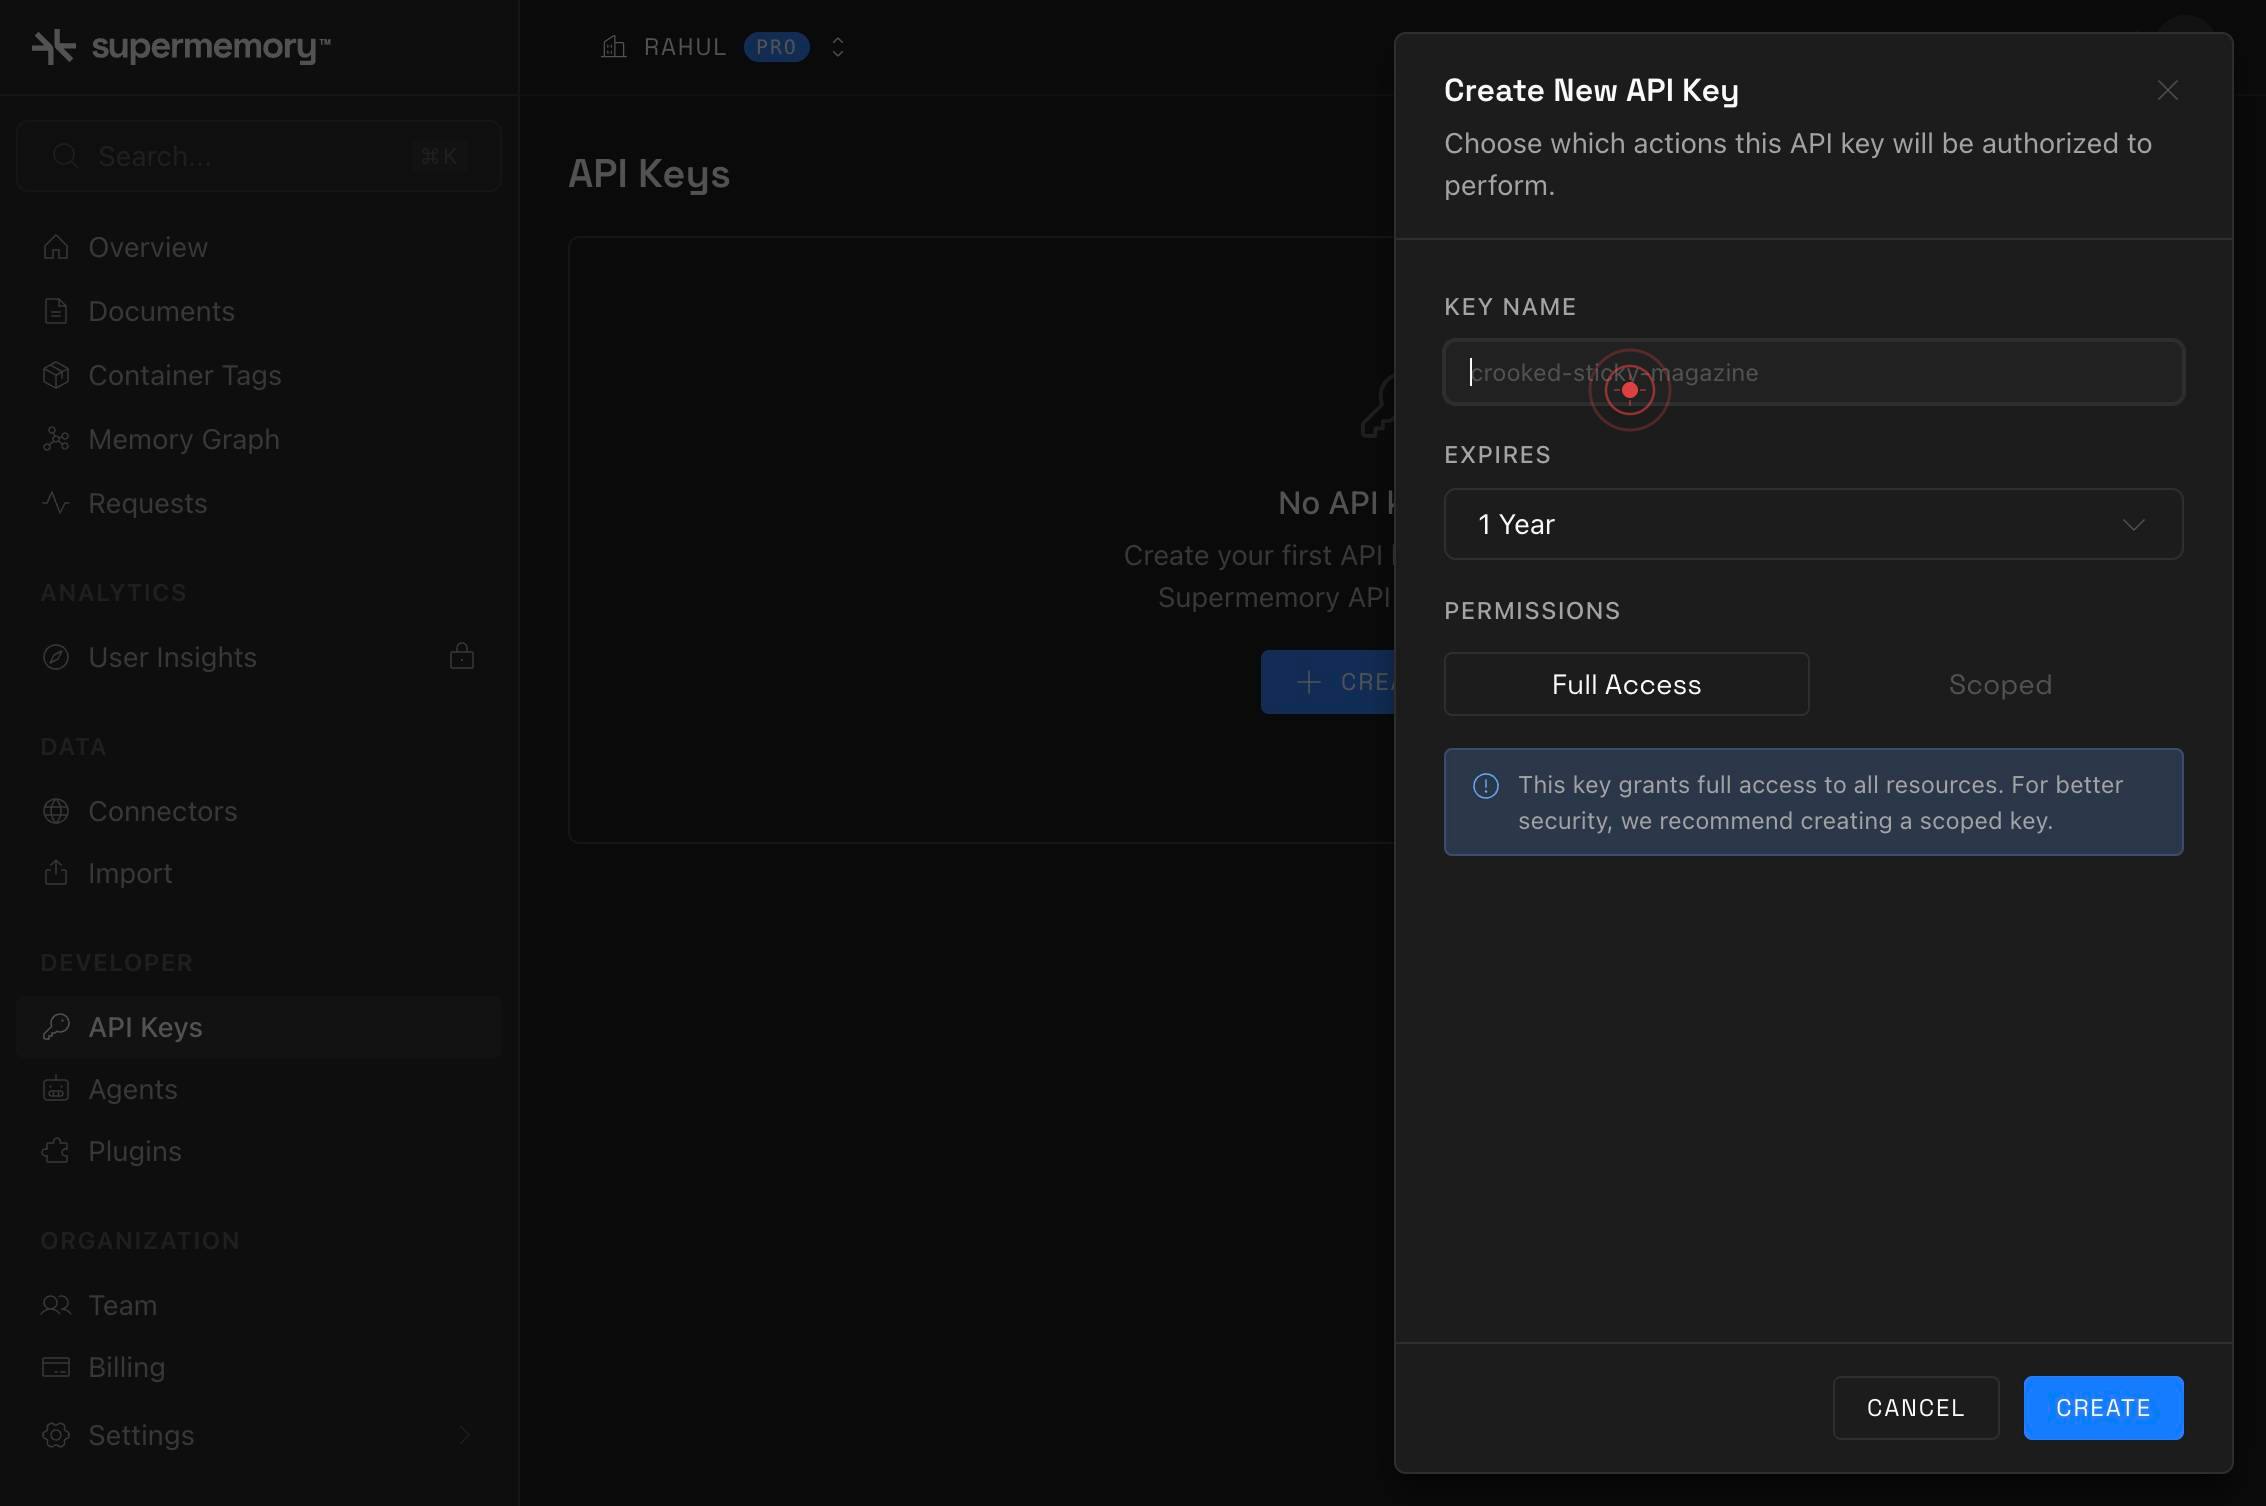
Key NameType a descriptive name for your API key (e.g., 'Production Integration Key' or 'Third-party Service Access'). This name helps you identify the key's purpose in your API Keys list.
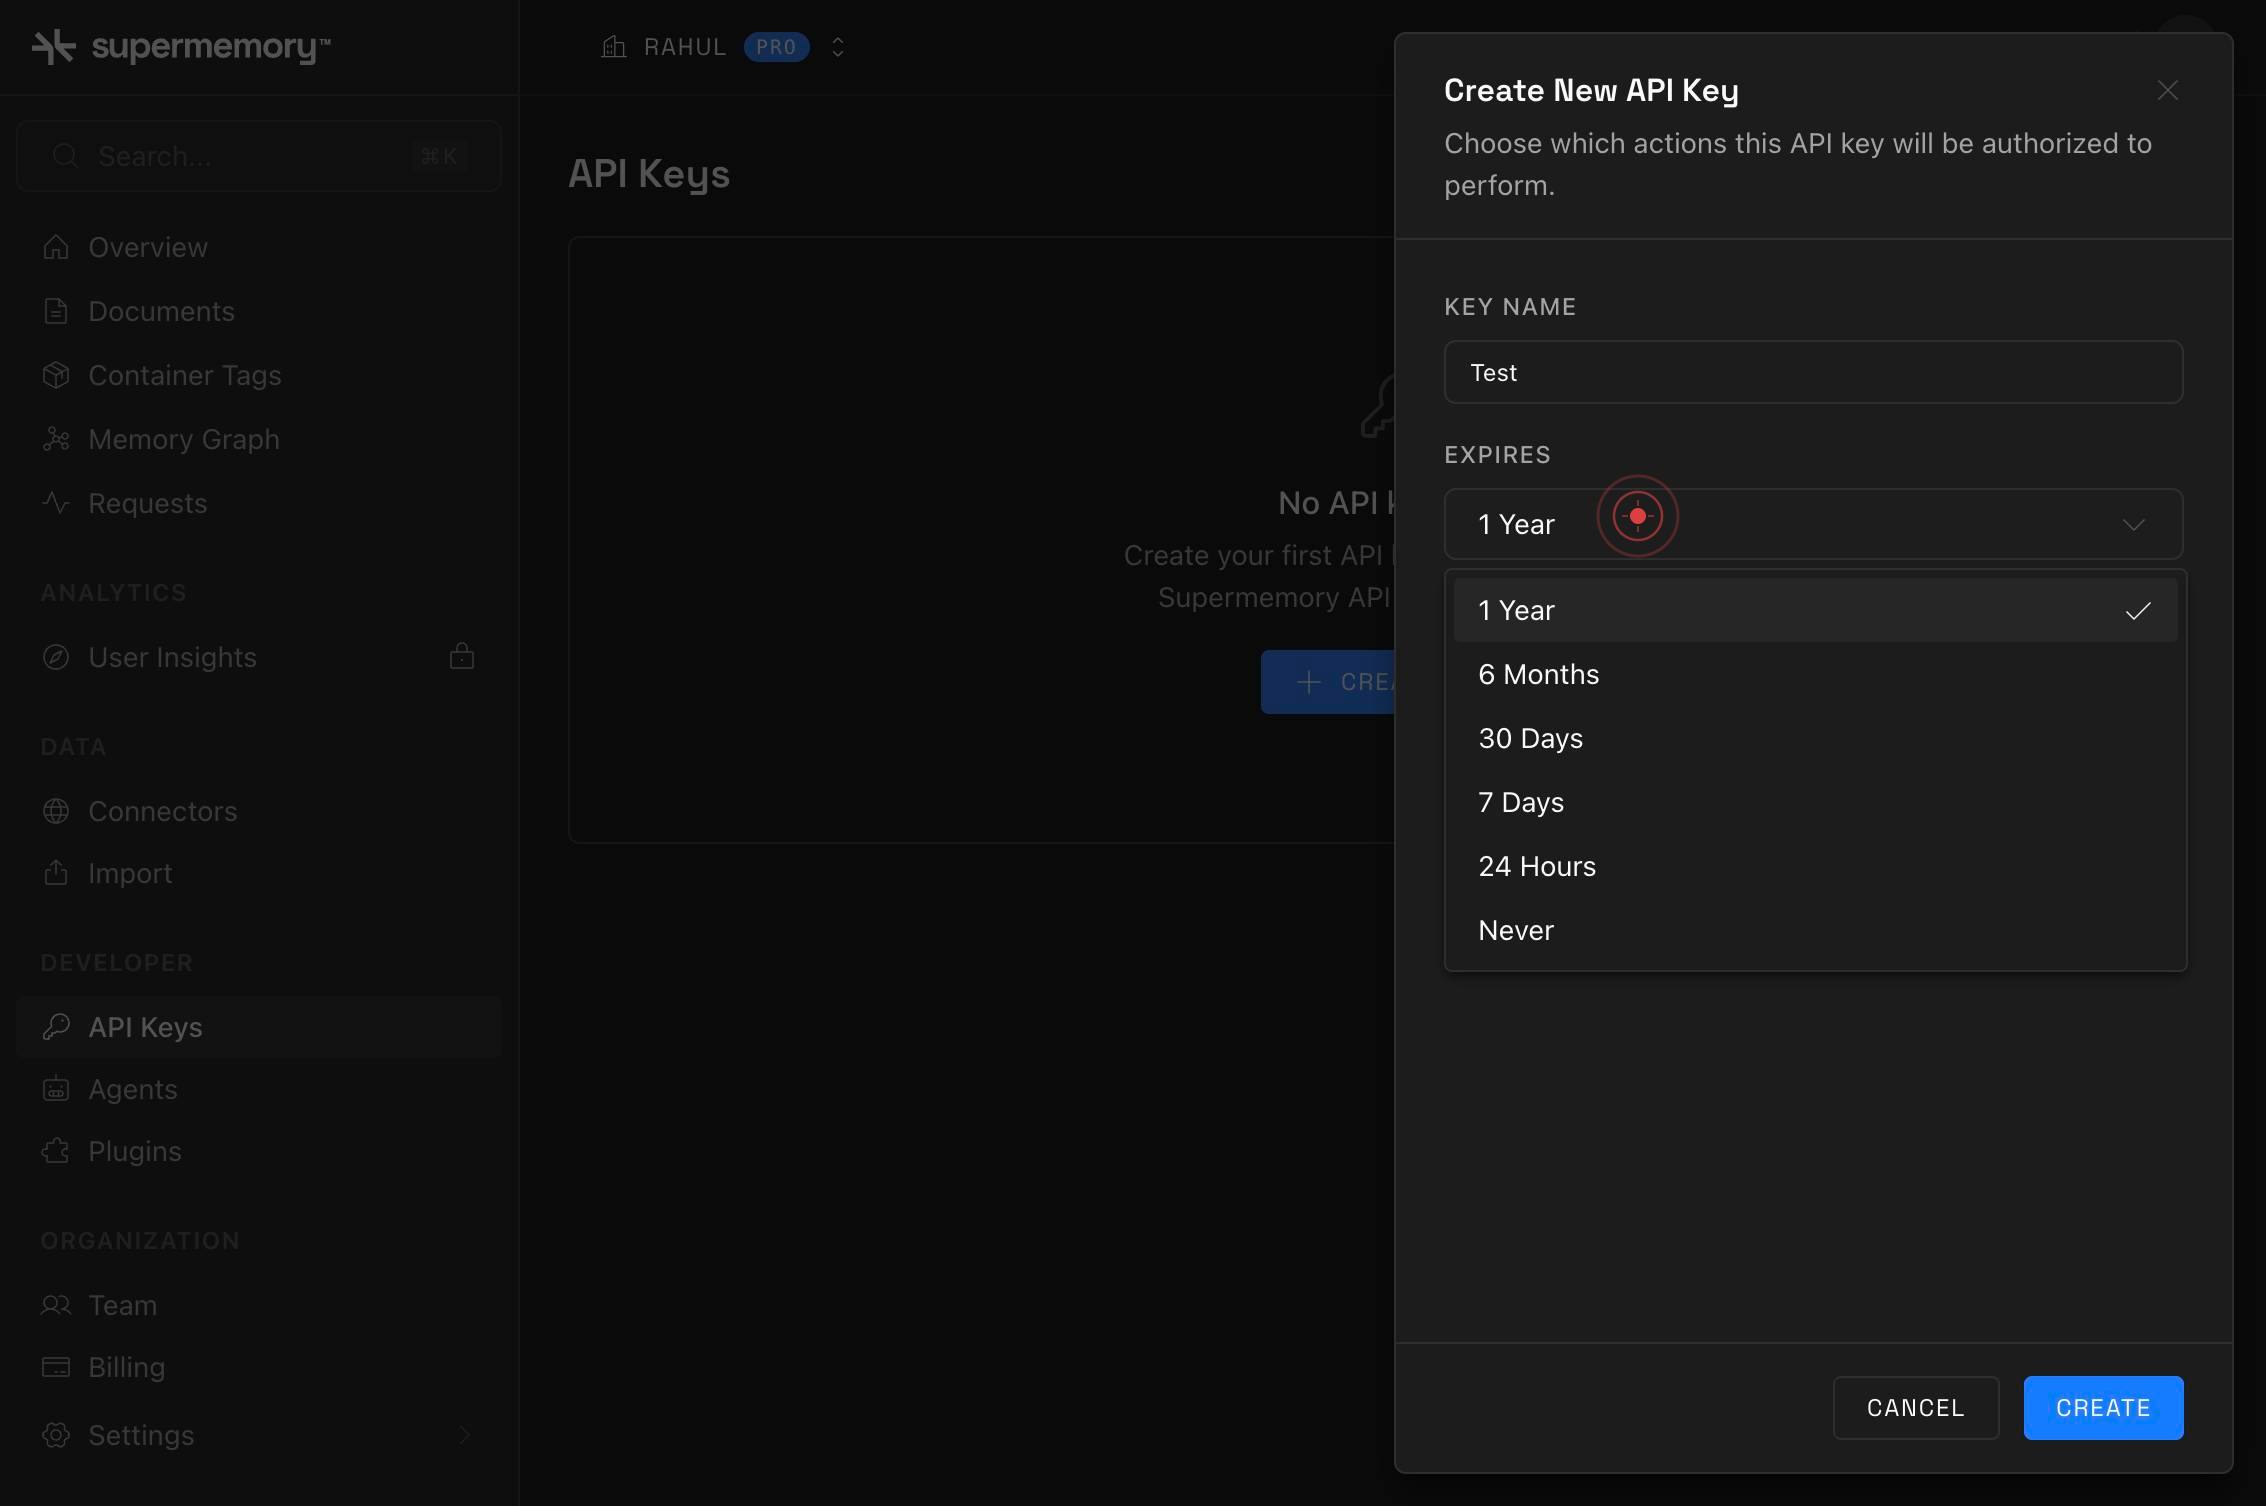
API Keys No API keys yet Create your first API key to start using the Supermemory API programmatically. CREATE KEY Create New API Key Choose which actions this API key will be authorized to perform. KEY NAME EXPIRES 1 Year PERMISSIONS Full Access ScoClick within the permissions selection area to reveal the available permission modes (Full Access and Scoped options).
ScopedClick on the 'Scoped' tab to switch from Full Access to Scoped permissions. This enables you to restrict the key to specific tags and limit the actions it can perform.

Select or create a tagClick on the 'Select or create a tag' dropdown field to view and select existing tags or prepare to create a new one.
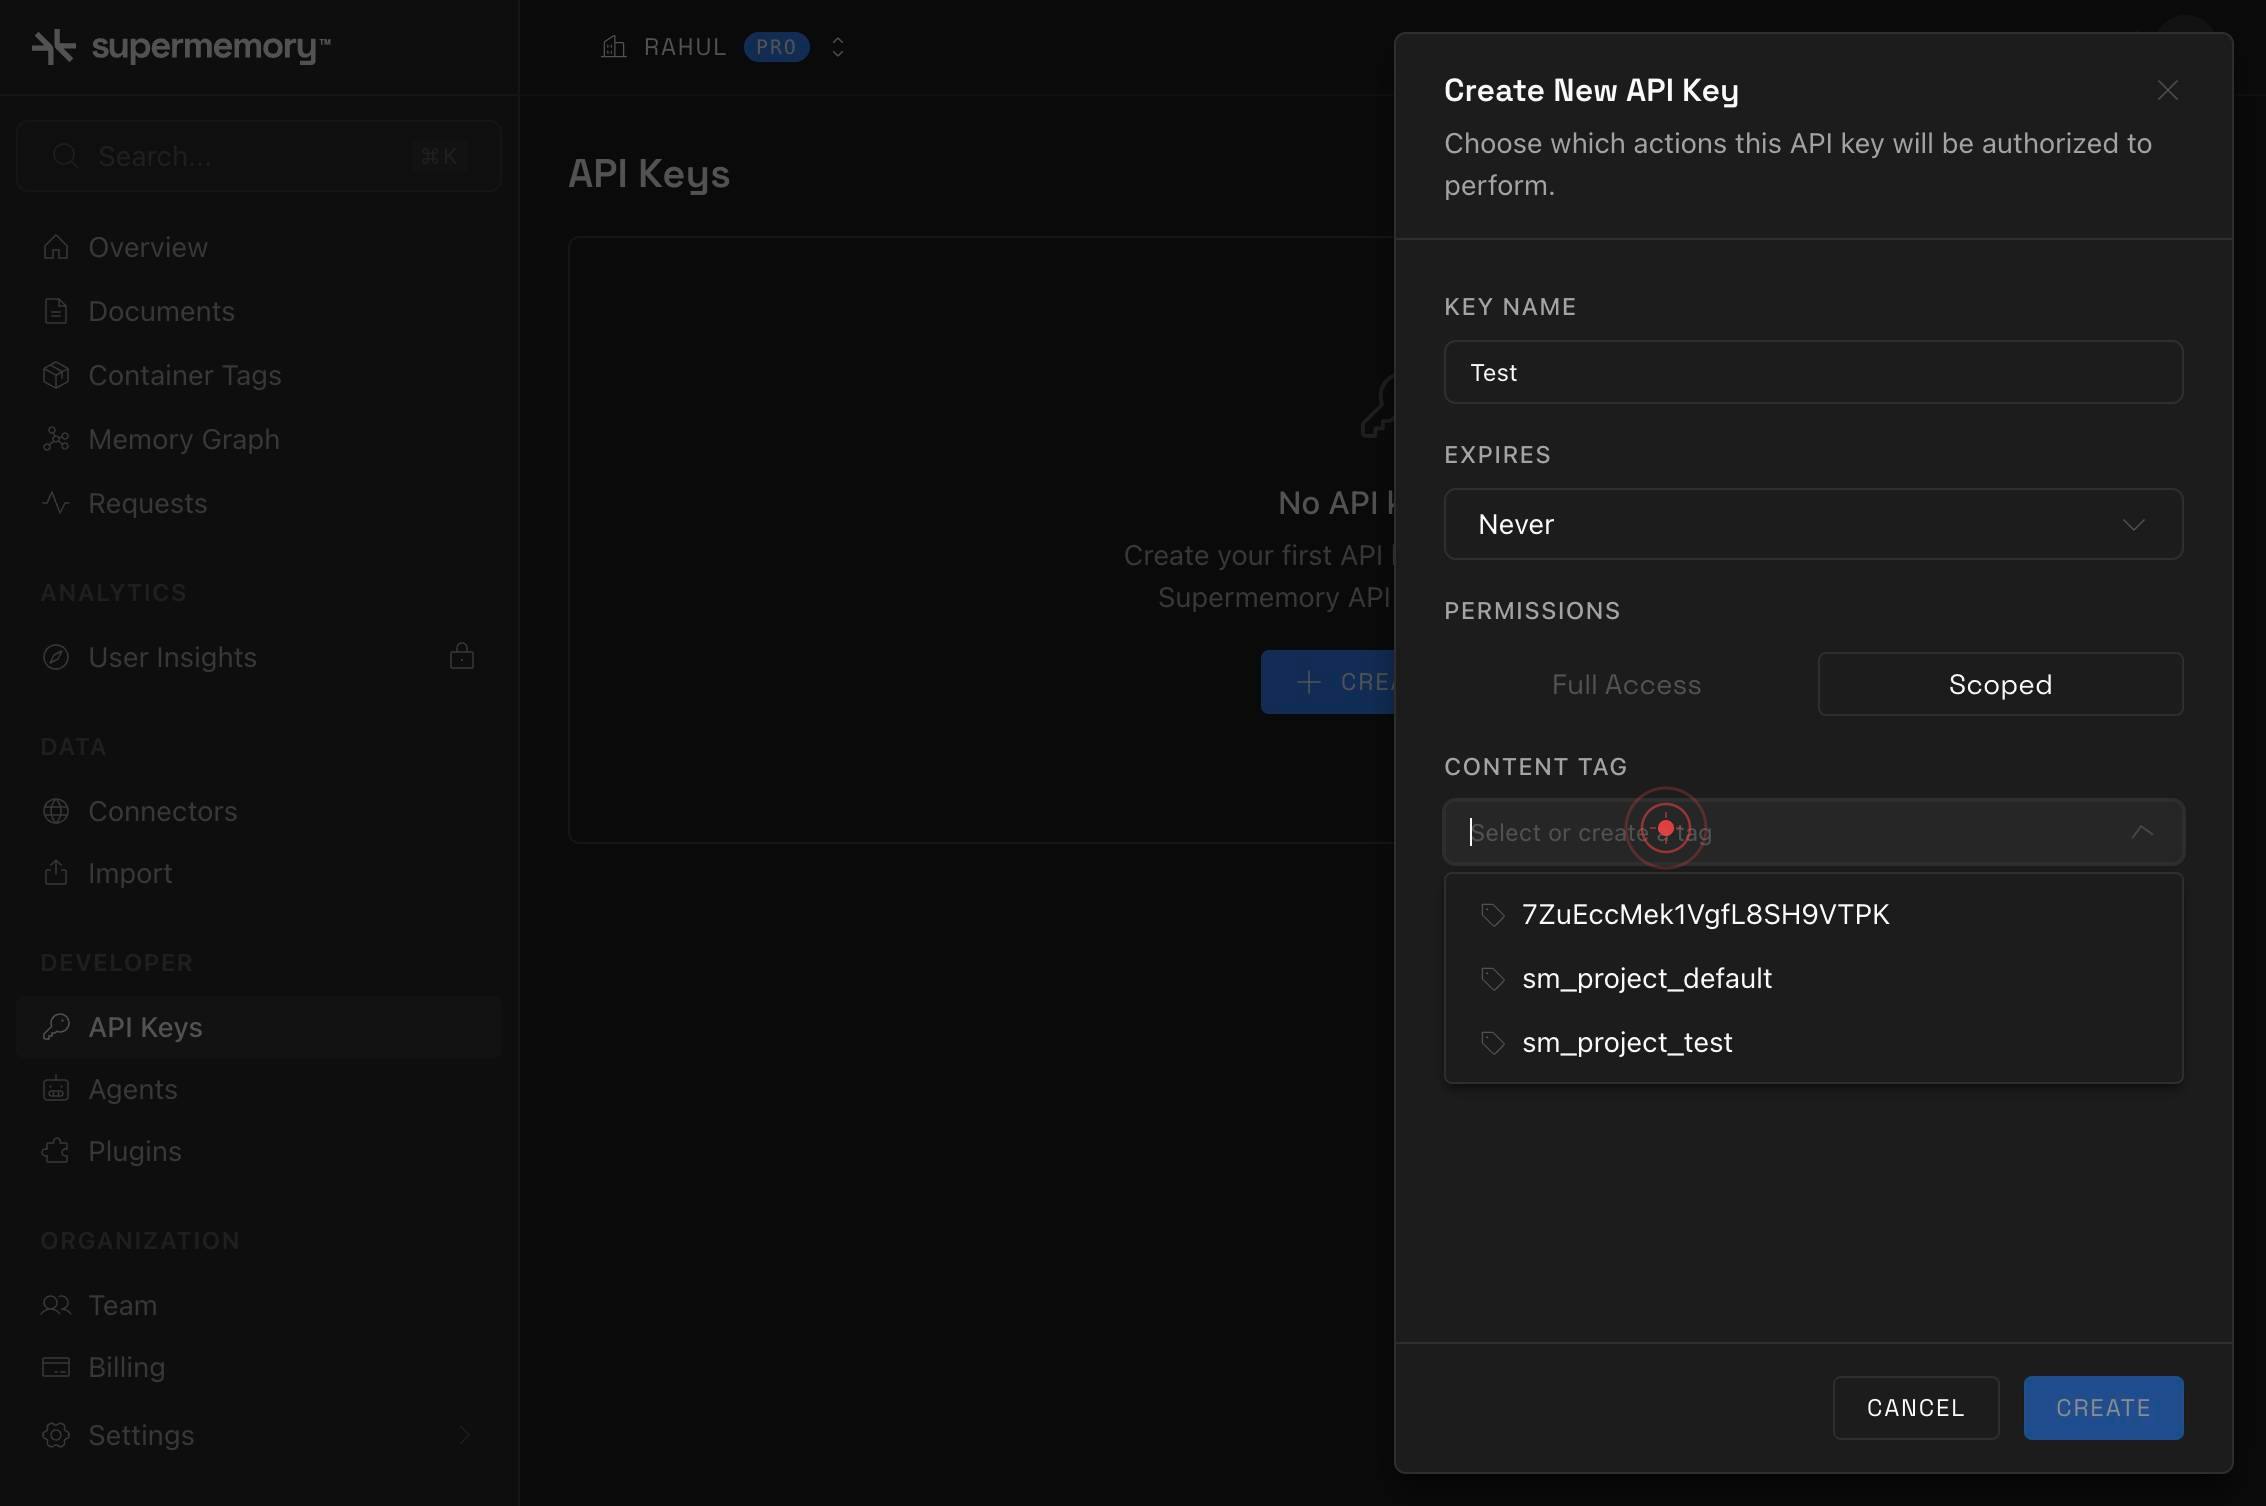
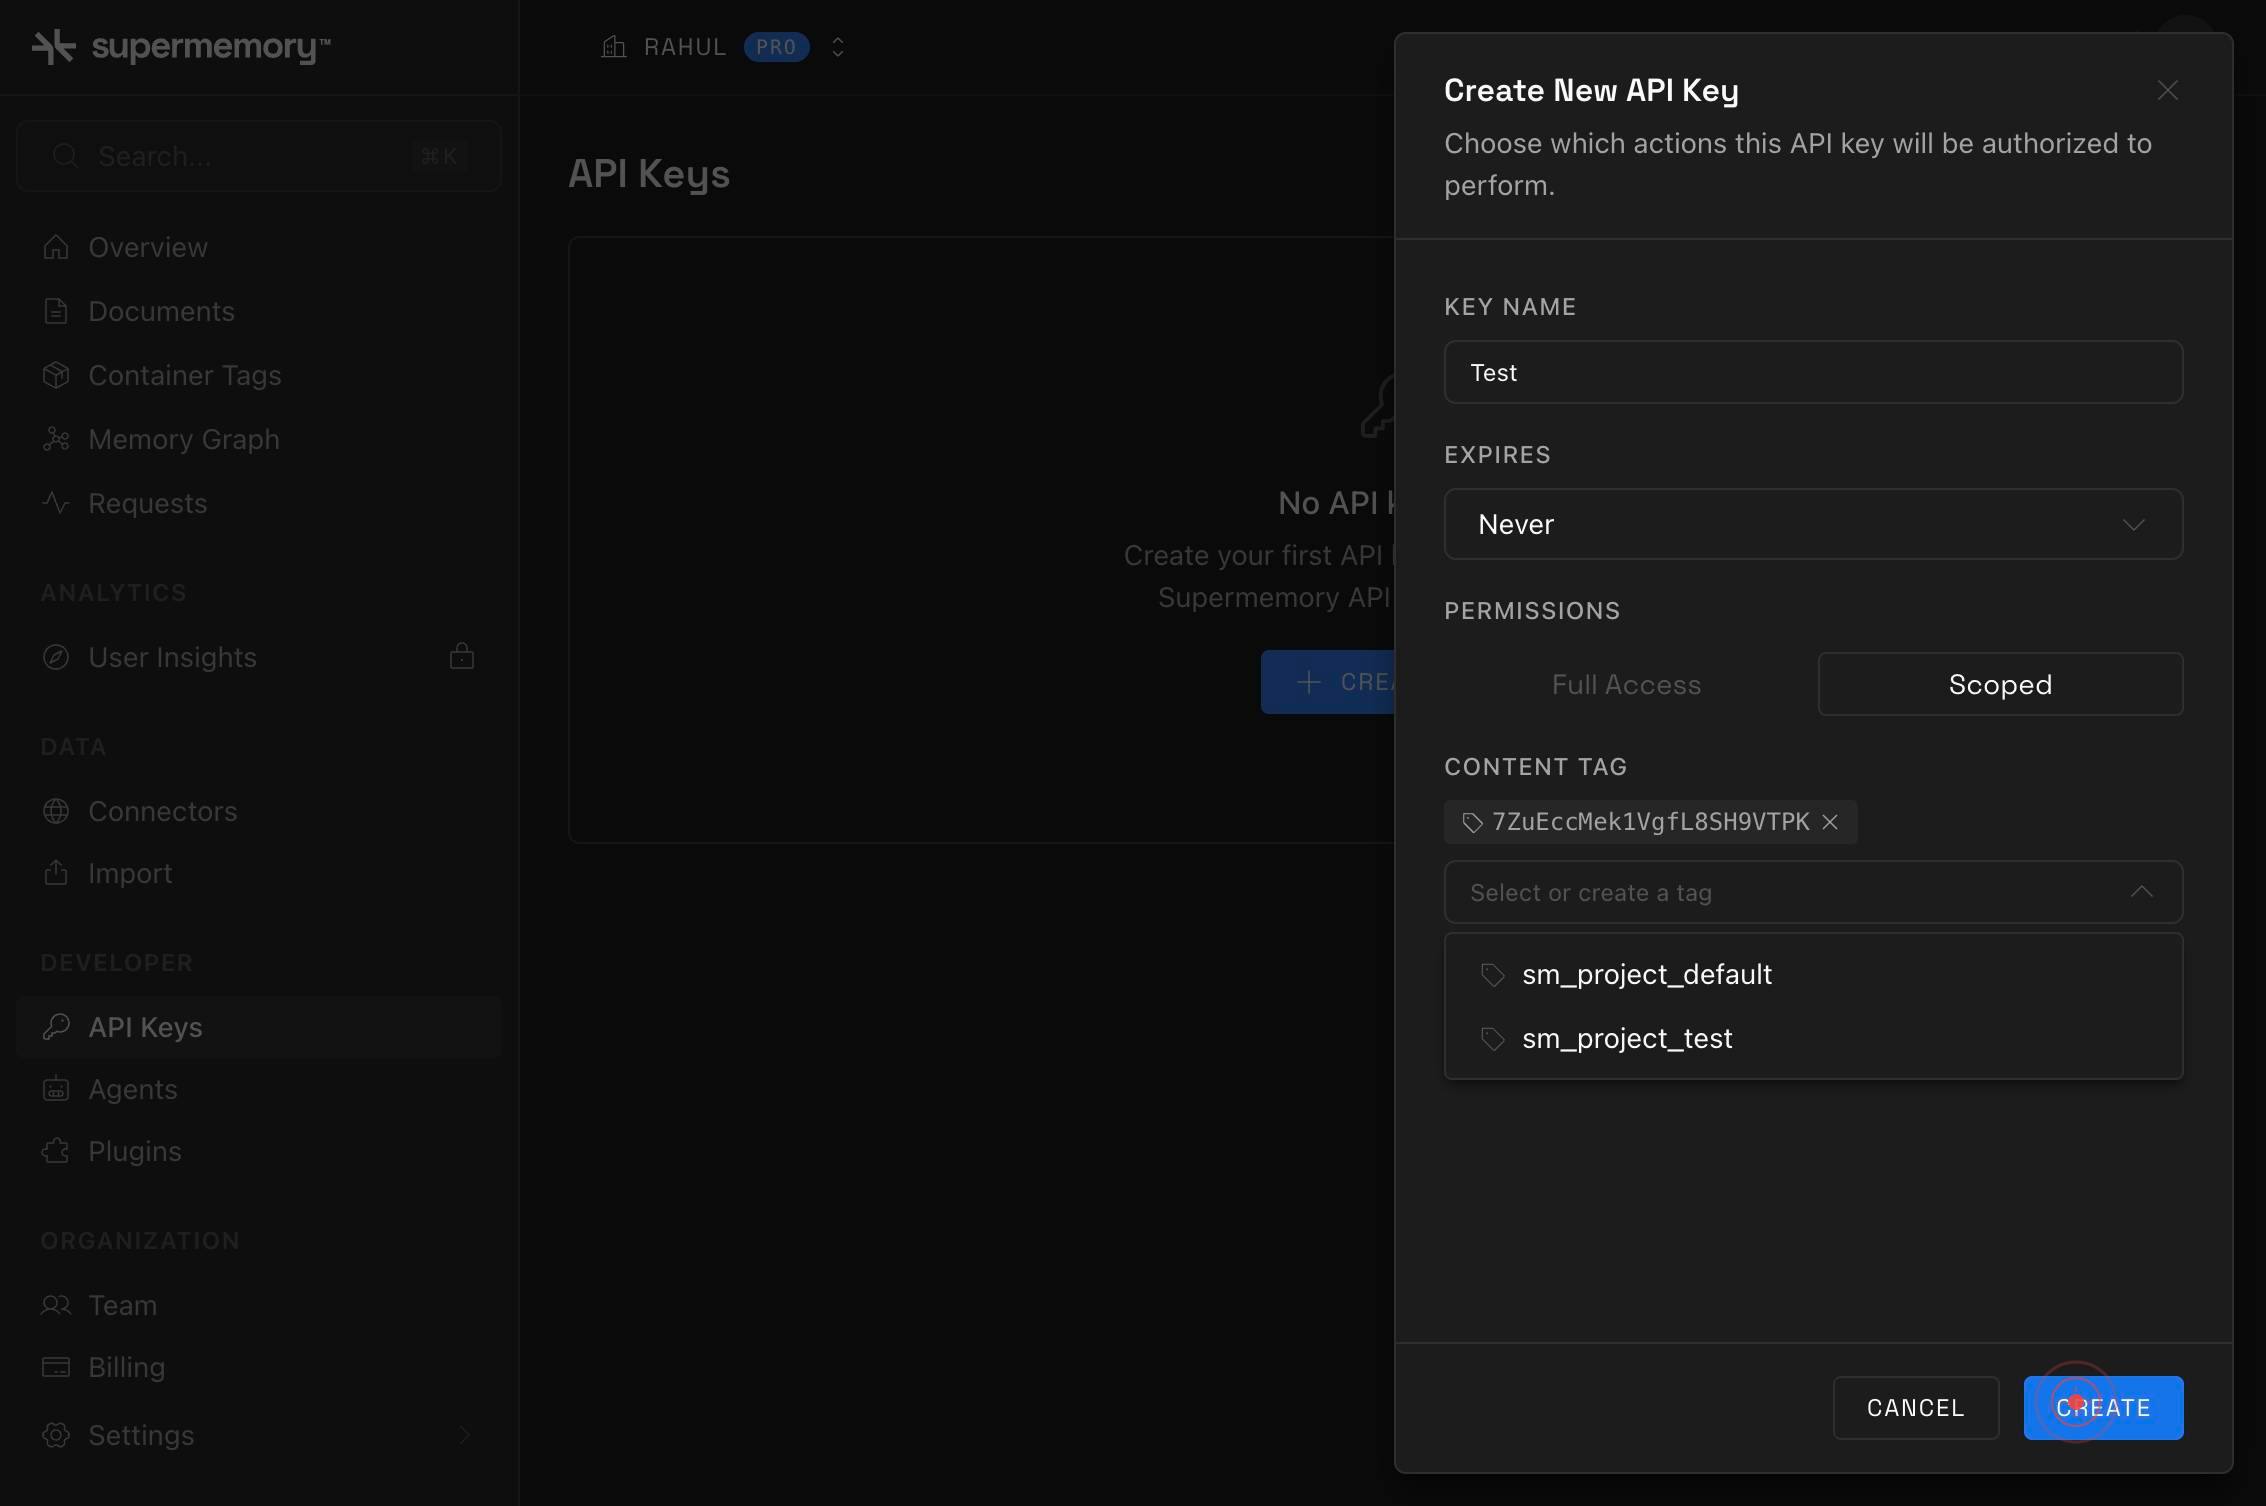
7ZuEccMek1VgfL8SH9VTPKClick on the tag option (identified as '7ZuEccMek1VgfL8SH9VTPK' in the system) to select it as the scope for this scoped API key. This restricts the key to access only data associated with that tag.
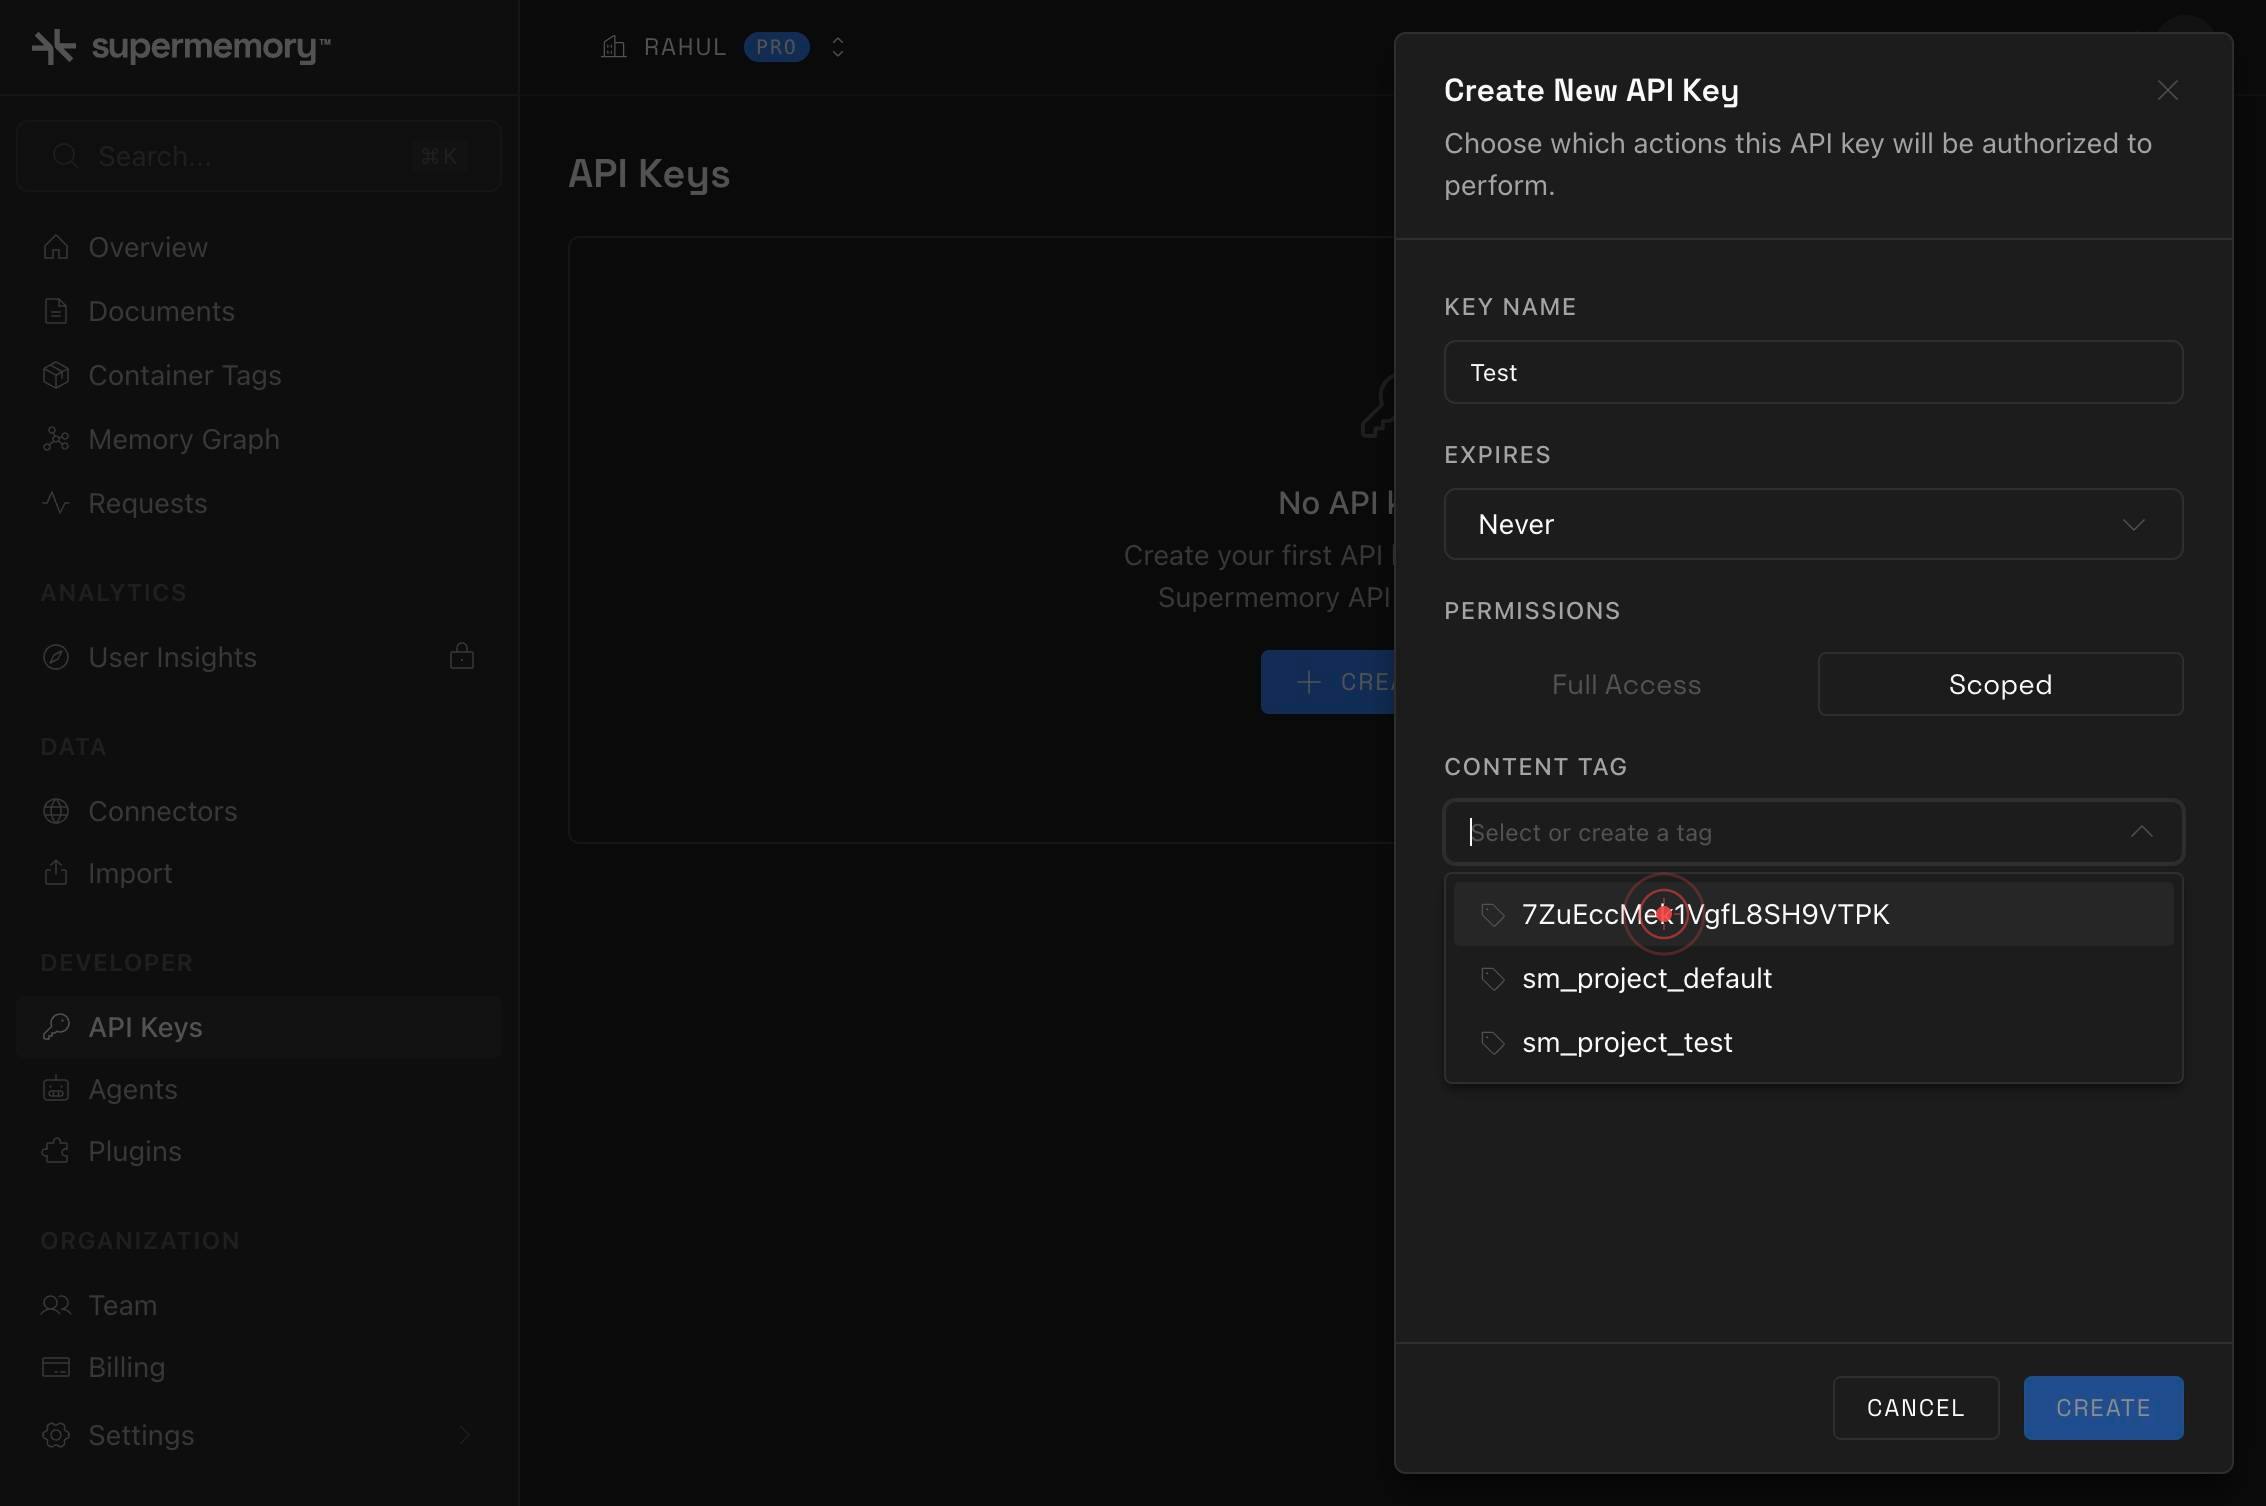
Select or create a tagType a name in the 'Select or create a tag' field to create a new tag if needed, or to confirm/refine your tag selection. This step ensures the tag is correctly associated with your scoped key.
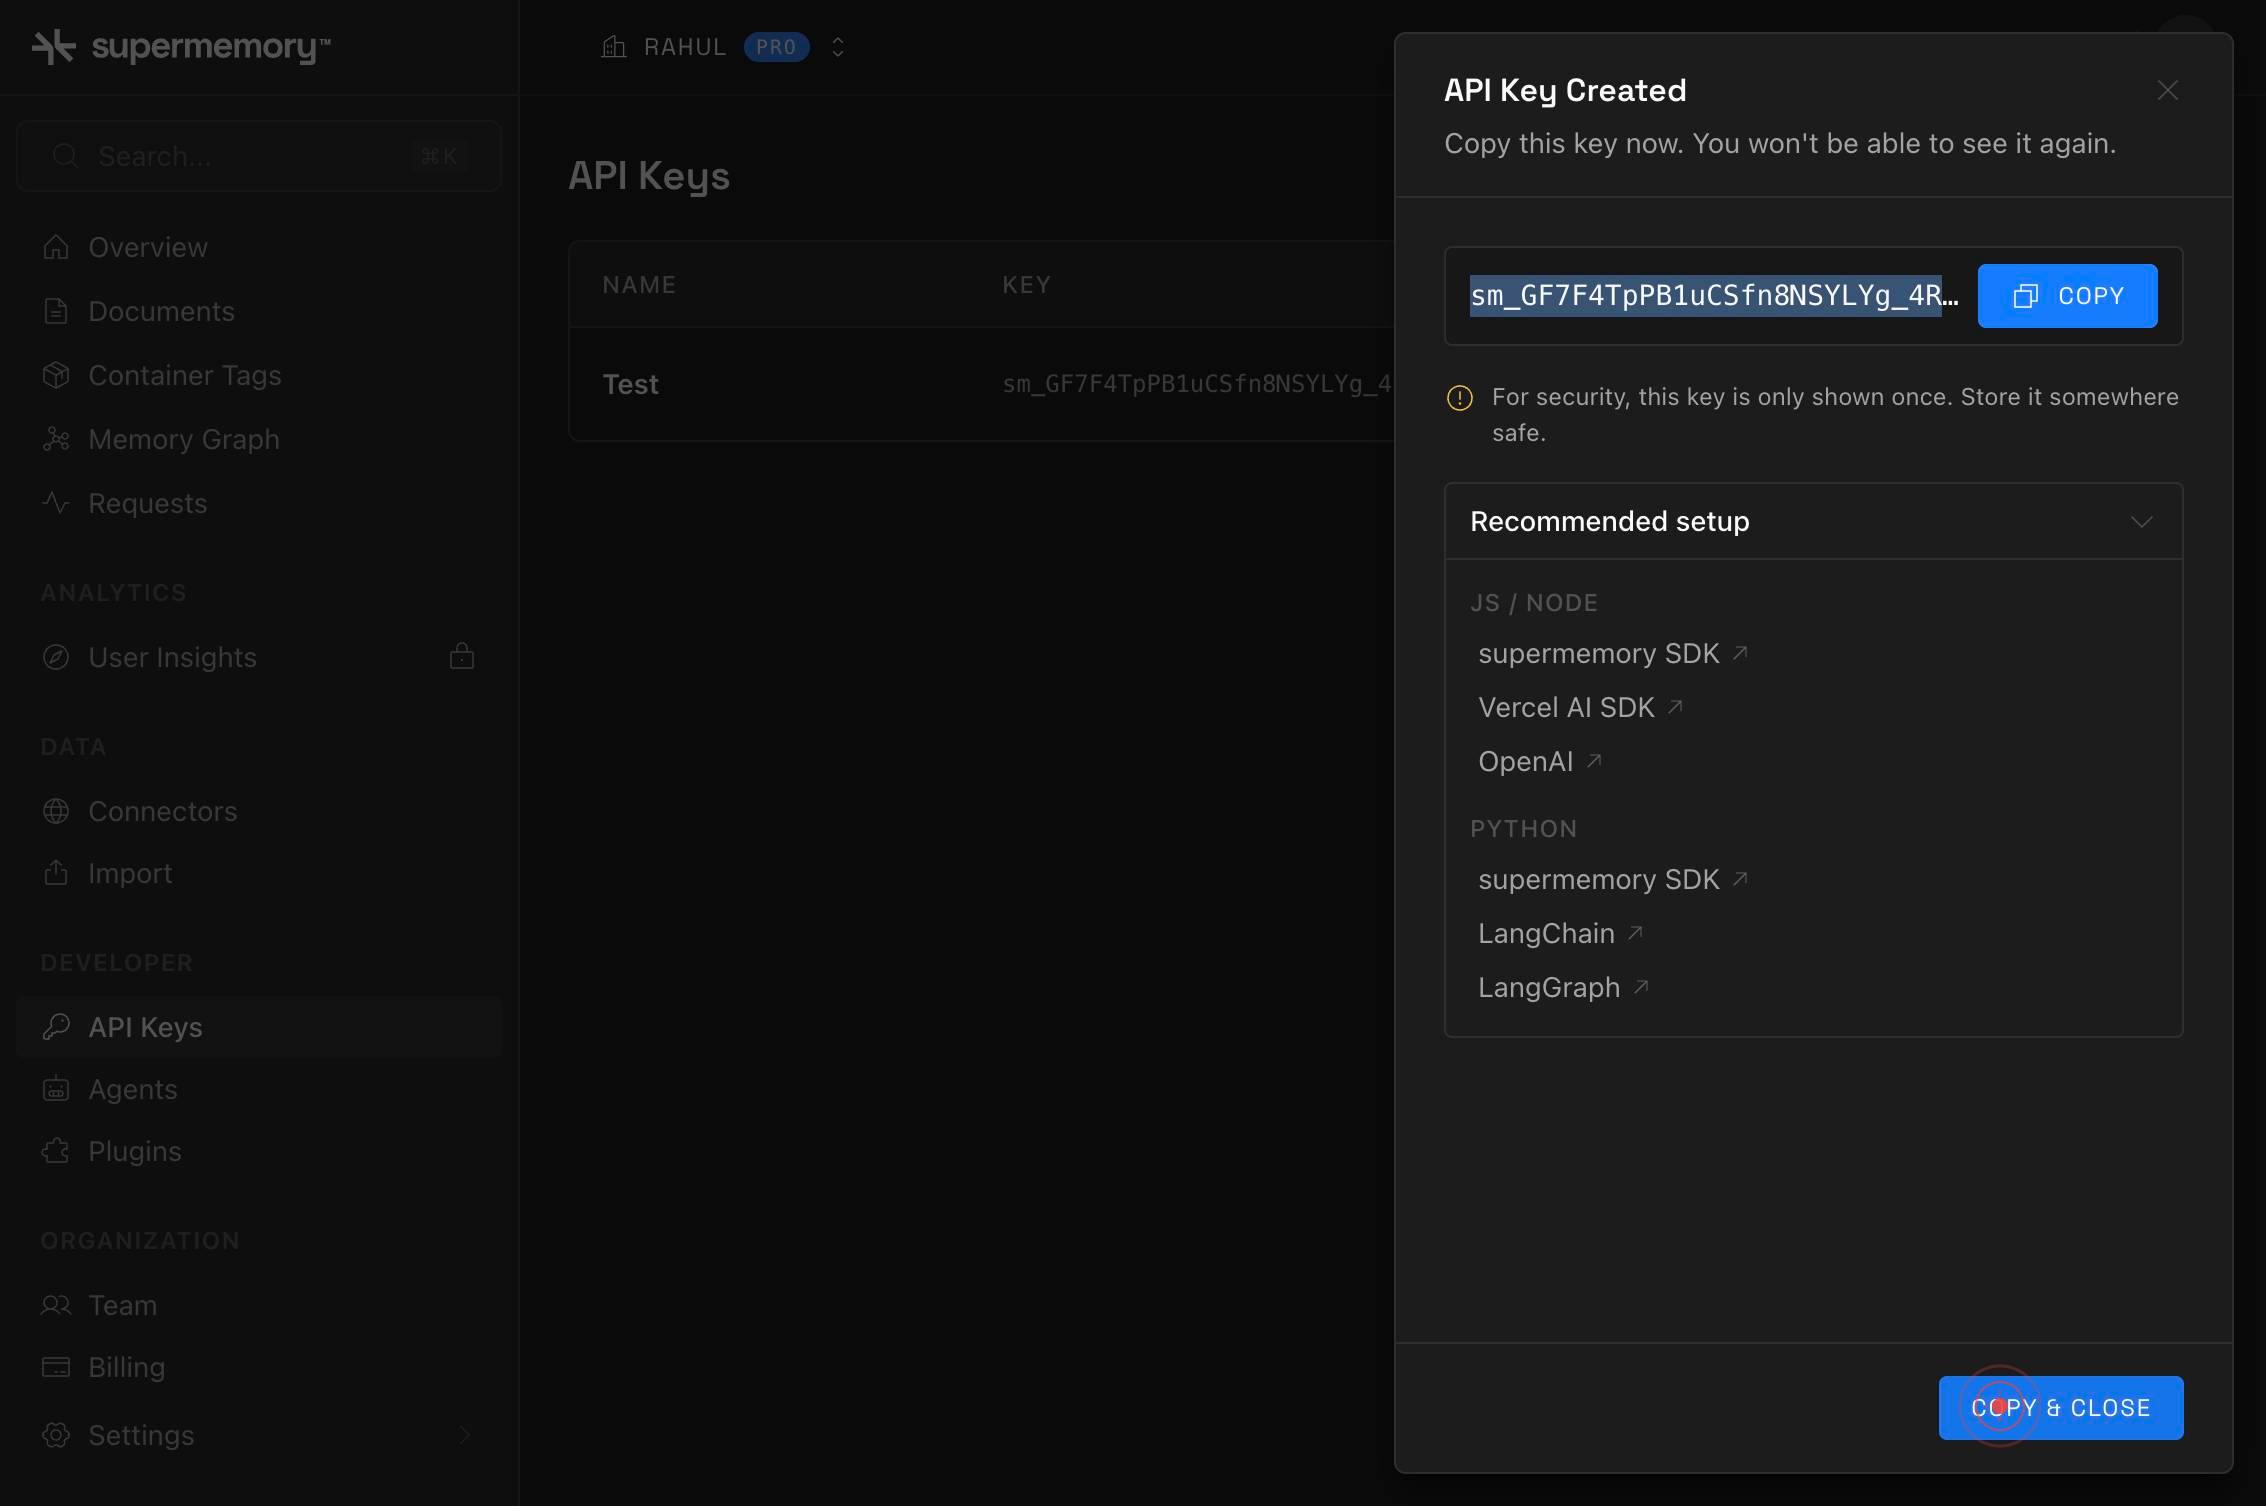
CREATEClick the 'CREATE' button to finalize and generate your scoped API key. The system will create the key with the name and tag restrictions you specified and display it for immediate use.
CopyClick the 'Copy' button to copy the generated API key to your clipboard. This allows you to paste it into your application, environment variables, or secure storage.

COPY & CLOSEClick 'COPY & CLOSE' to confirm that you have copied the key and close the key generation modal. This returns you to the API Keys list where your new scoped key is now registered.
Confirm it worked
- 1After clicking CREATE, you should see a modal or screen displaying your newly generated API key in a copy-friendly format
- 2The key name you entered should appear in the API Keys list on the console
- 3The key should be labeled with 'Scoped' permissions and display the tag(s) it is restricted to
- 4You should have successfully copied the key to your clipboard (confirmed by the COPY & CLOSE button interaction)
Common issues
Keep reading
Authentication - supermemory | Memory API for the AI era
> ## Documentation Index > > Fetch the complete documentation index at: https://supermemory.ai/docs/llms.txt > Use this file to discover all available pages before exploring further. # Authenticatio
supermemory.aiAuthentication & Scoped Keys | supermemoryai/supermemory | DeepWiki
Authentication & Scoped Keys | supermemoryai/supermemory | DeepWiki Loading... Authentication & Scoped Keys | supermemoryai/supermemory | DeepWiki Loading... Index your code with Devin [De
deepwiki.comapps/docs/authentication.mdx at main · supermemoryai/supermemory
# File: supermemoryai/supermemory/apps/docs/authentication.mdx - Repository: supermemoryai/supermemory | Memory engine and app that is extremely fast, scalable. The Memory API for the AI era. | 22K s
github.com