Guide
Connect Notion
Overview
Supermemory is a universal memory API that centralizes knowledge from multiple sources. By connecting your Notion workspace, you enable Supermemory to index and retrieve content from your Notion pages, making that information available to your AI applications and workflows. This is especially valuable if Notion is your primary workspace for documentation, research, or team knowledge—connecting it ensures your AI tools have access to your latest, most authoritative content without manual copying or duplication.
Before you begin
- Active Supermemory account with access to app.supermemory.ai
- Active Notion workspace account with access to www.notion.so
- Permission to manage integrations in your Supermemory account
- Owner or admin privileges in your Notion workspace to authorize third-party connections
- Knowledge of which Notion pages, databases, or teamspaces you want to import
Step by step
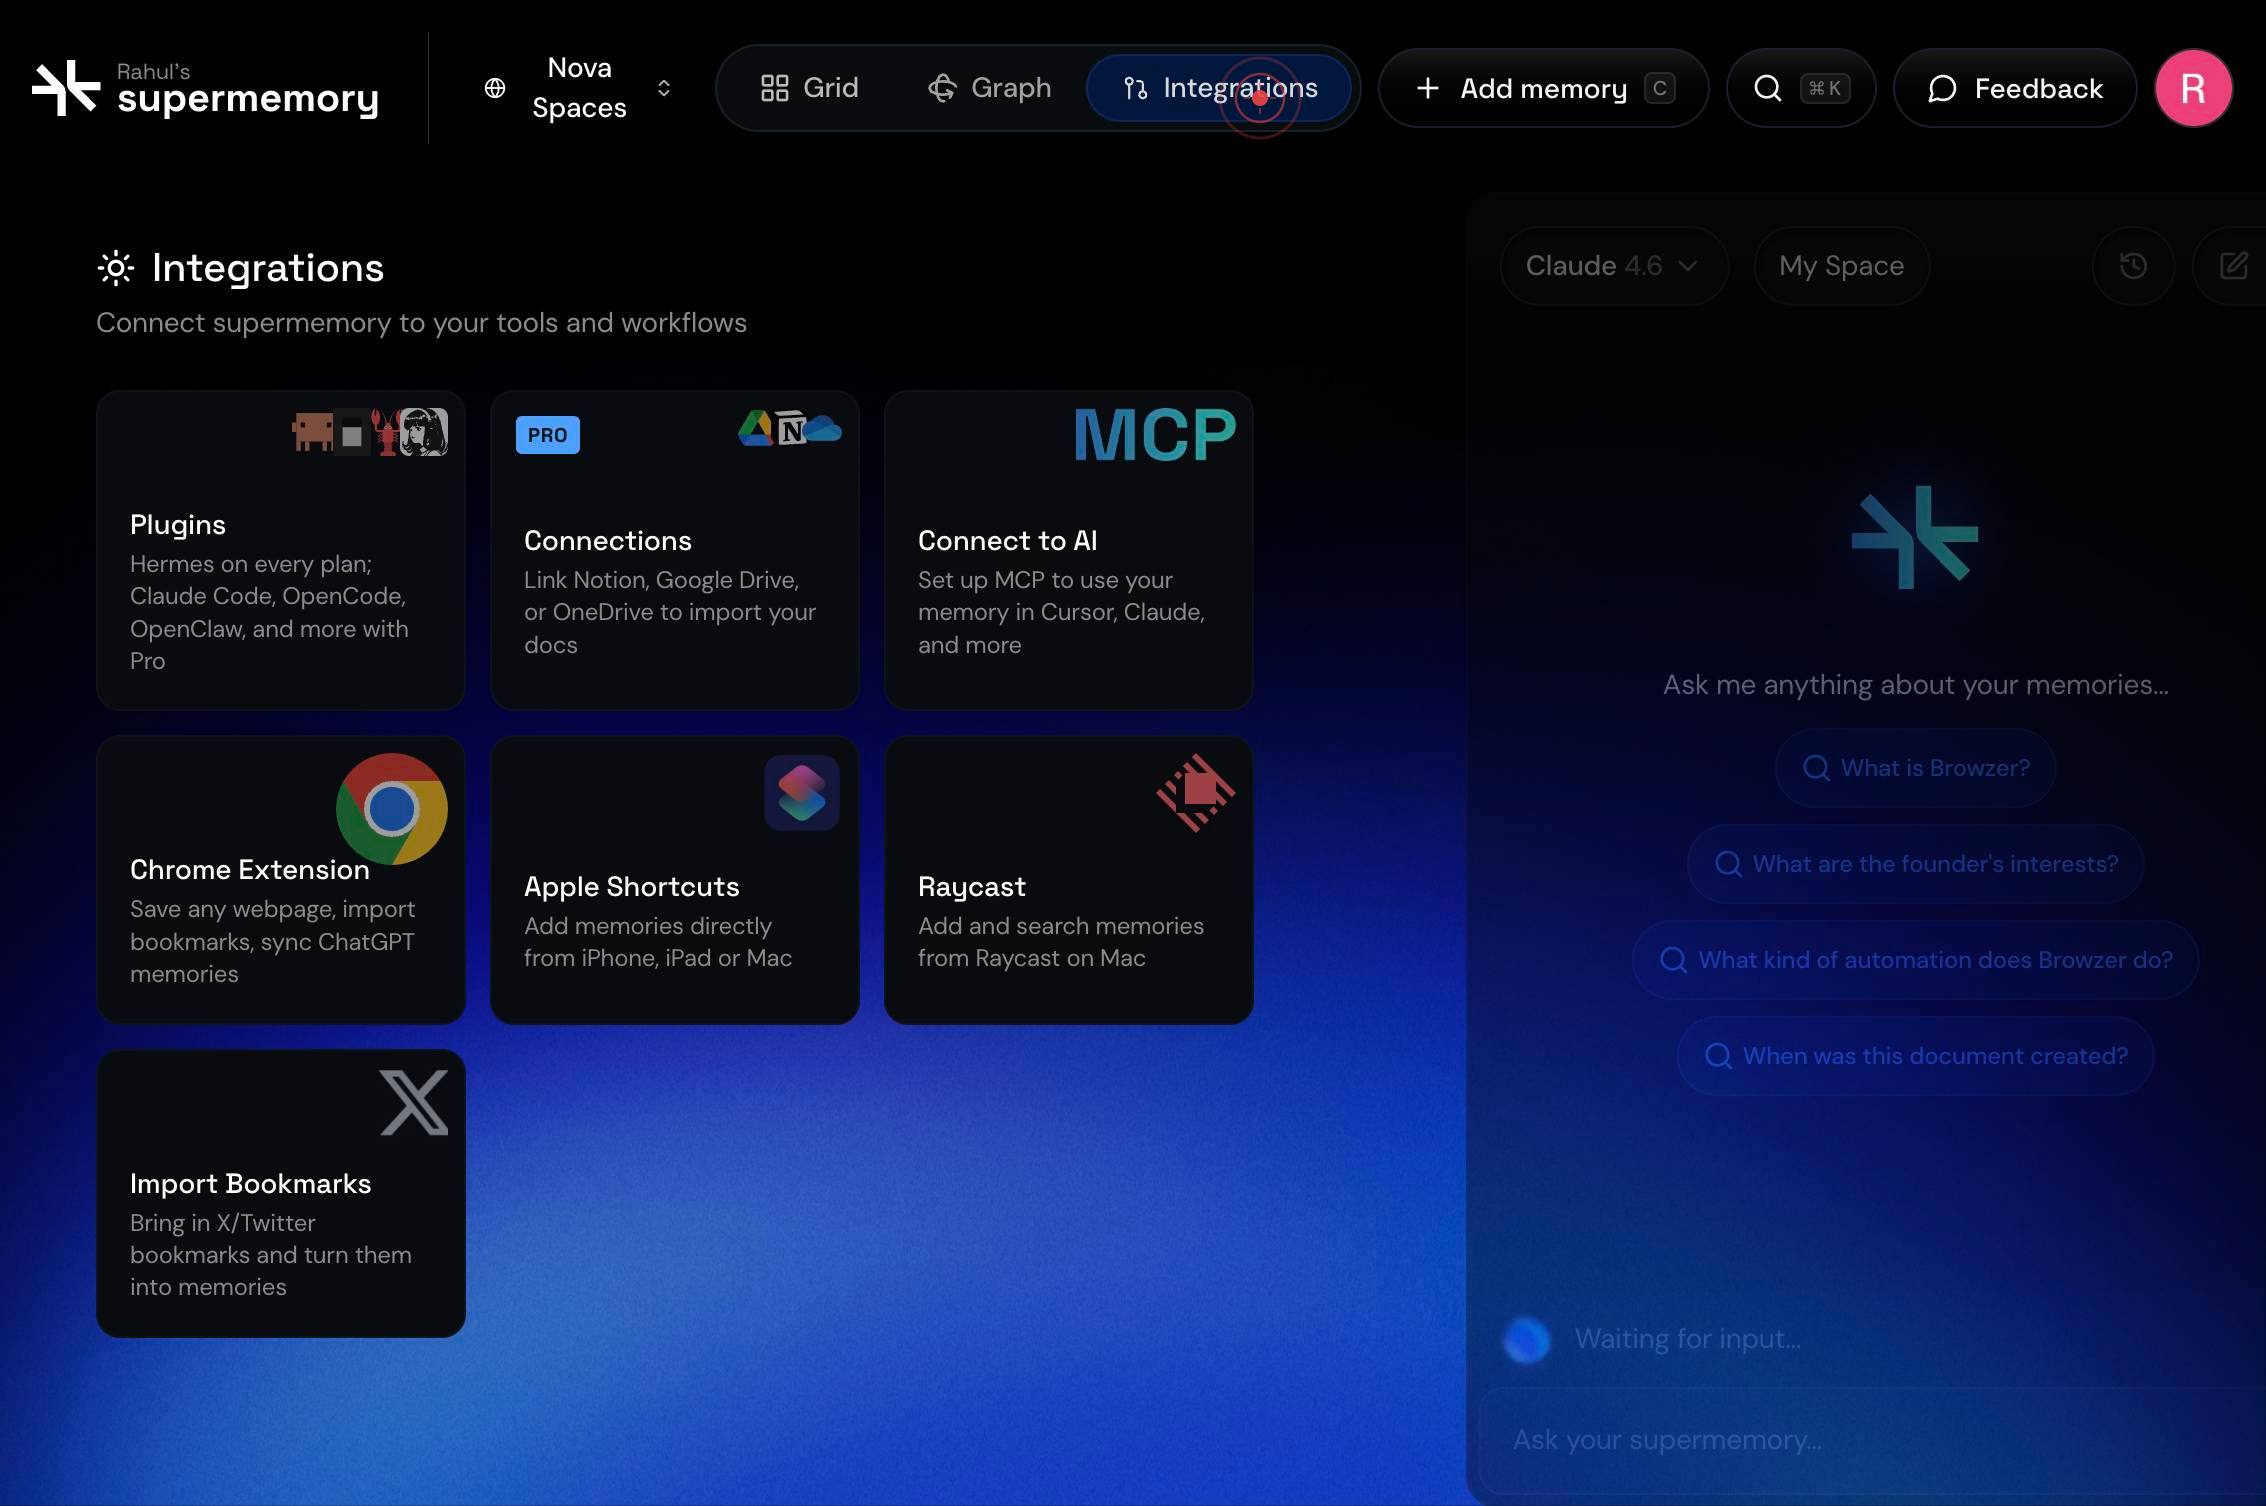
IntegrationsOpen the Integrations tab in Supermemory to access the connectors panel where you can manage connections to external services like Notion, Google Drive, and OneDrive.
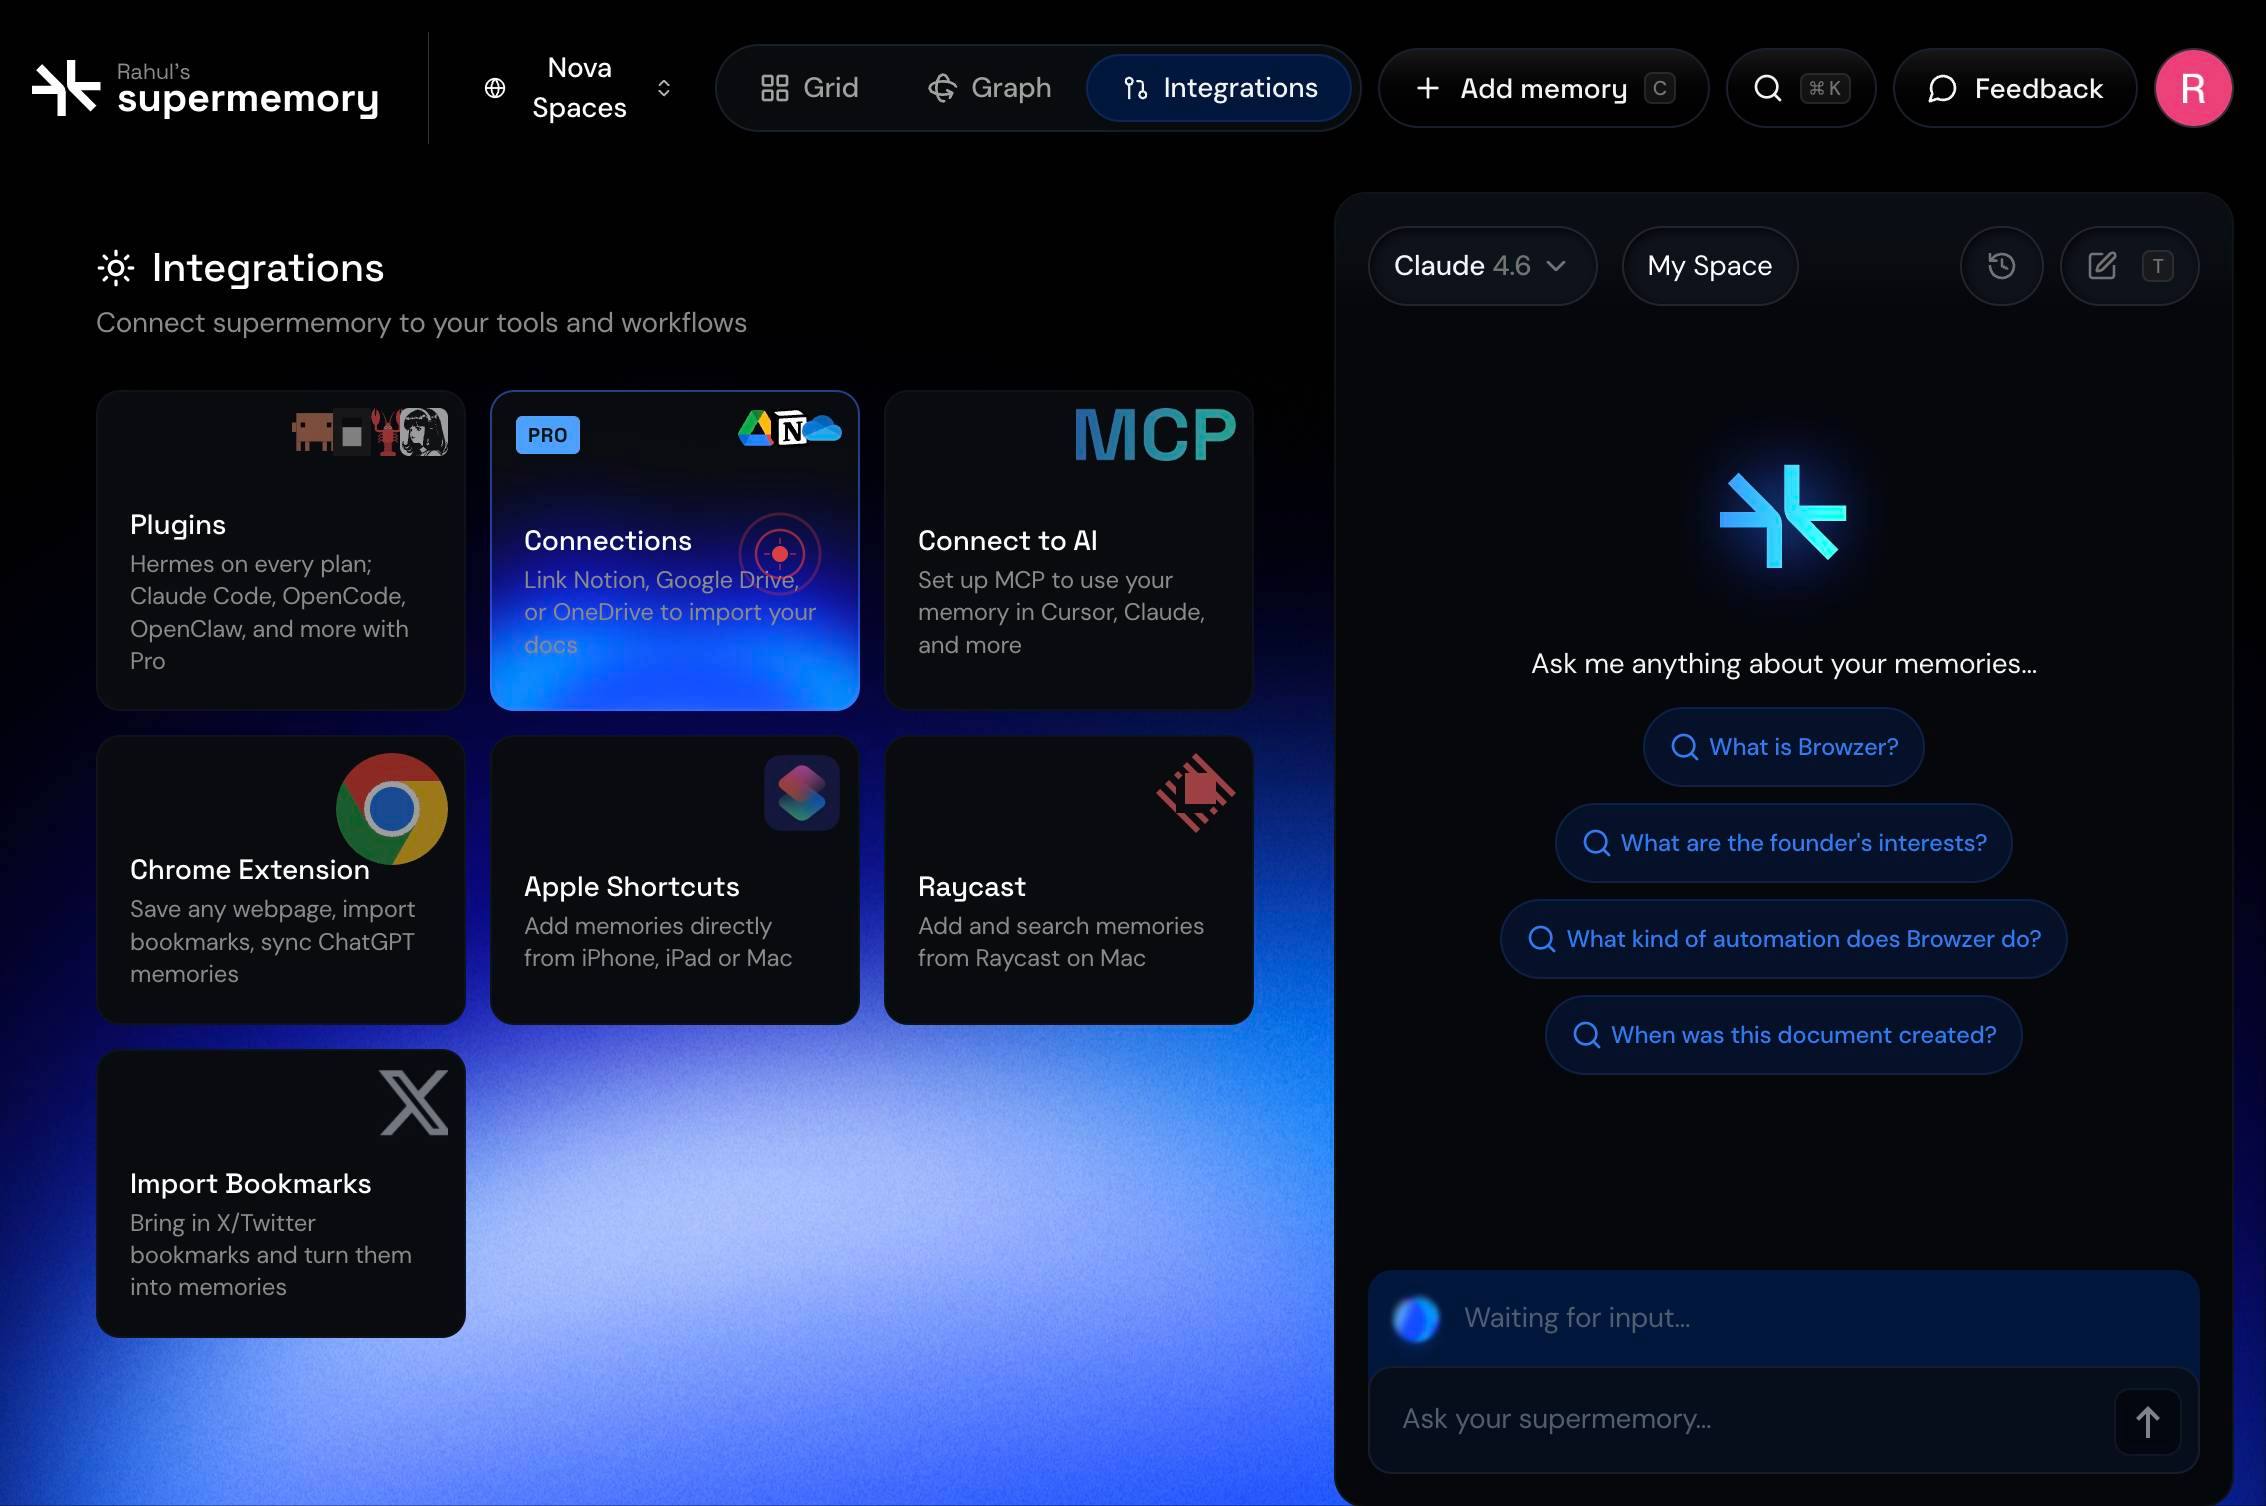
PROGoogle DriveNotionOneDriveConnections Link Notion, Google Drive, or OneDrive to import your docsClick the Notion connector button (labeled 'Link Notion, Google Drive, or OneDrive to import your docs') to begin the Notion integration workflow.
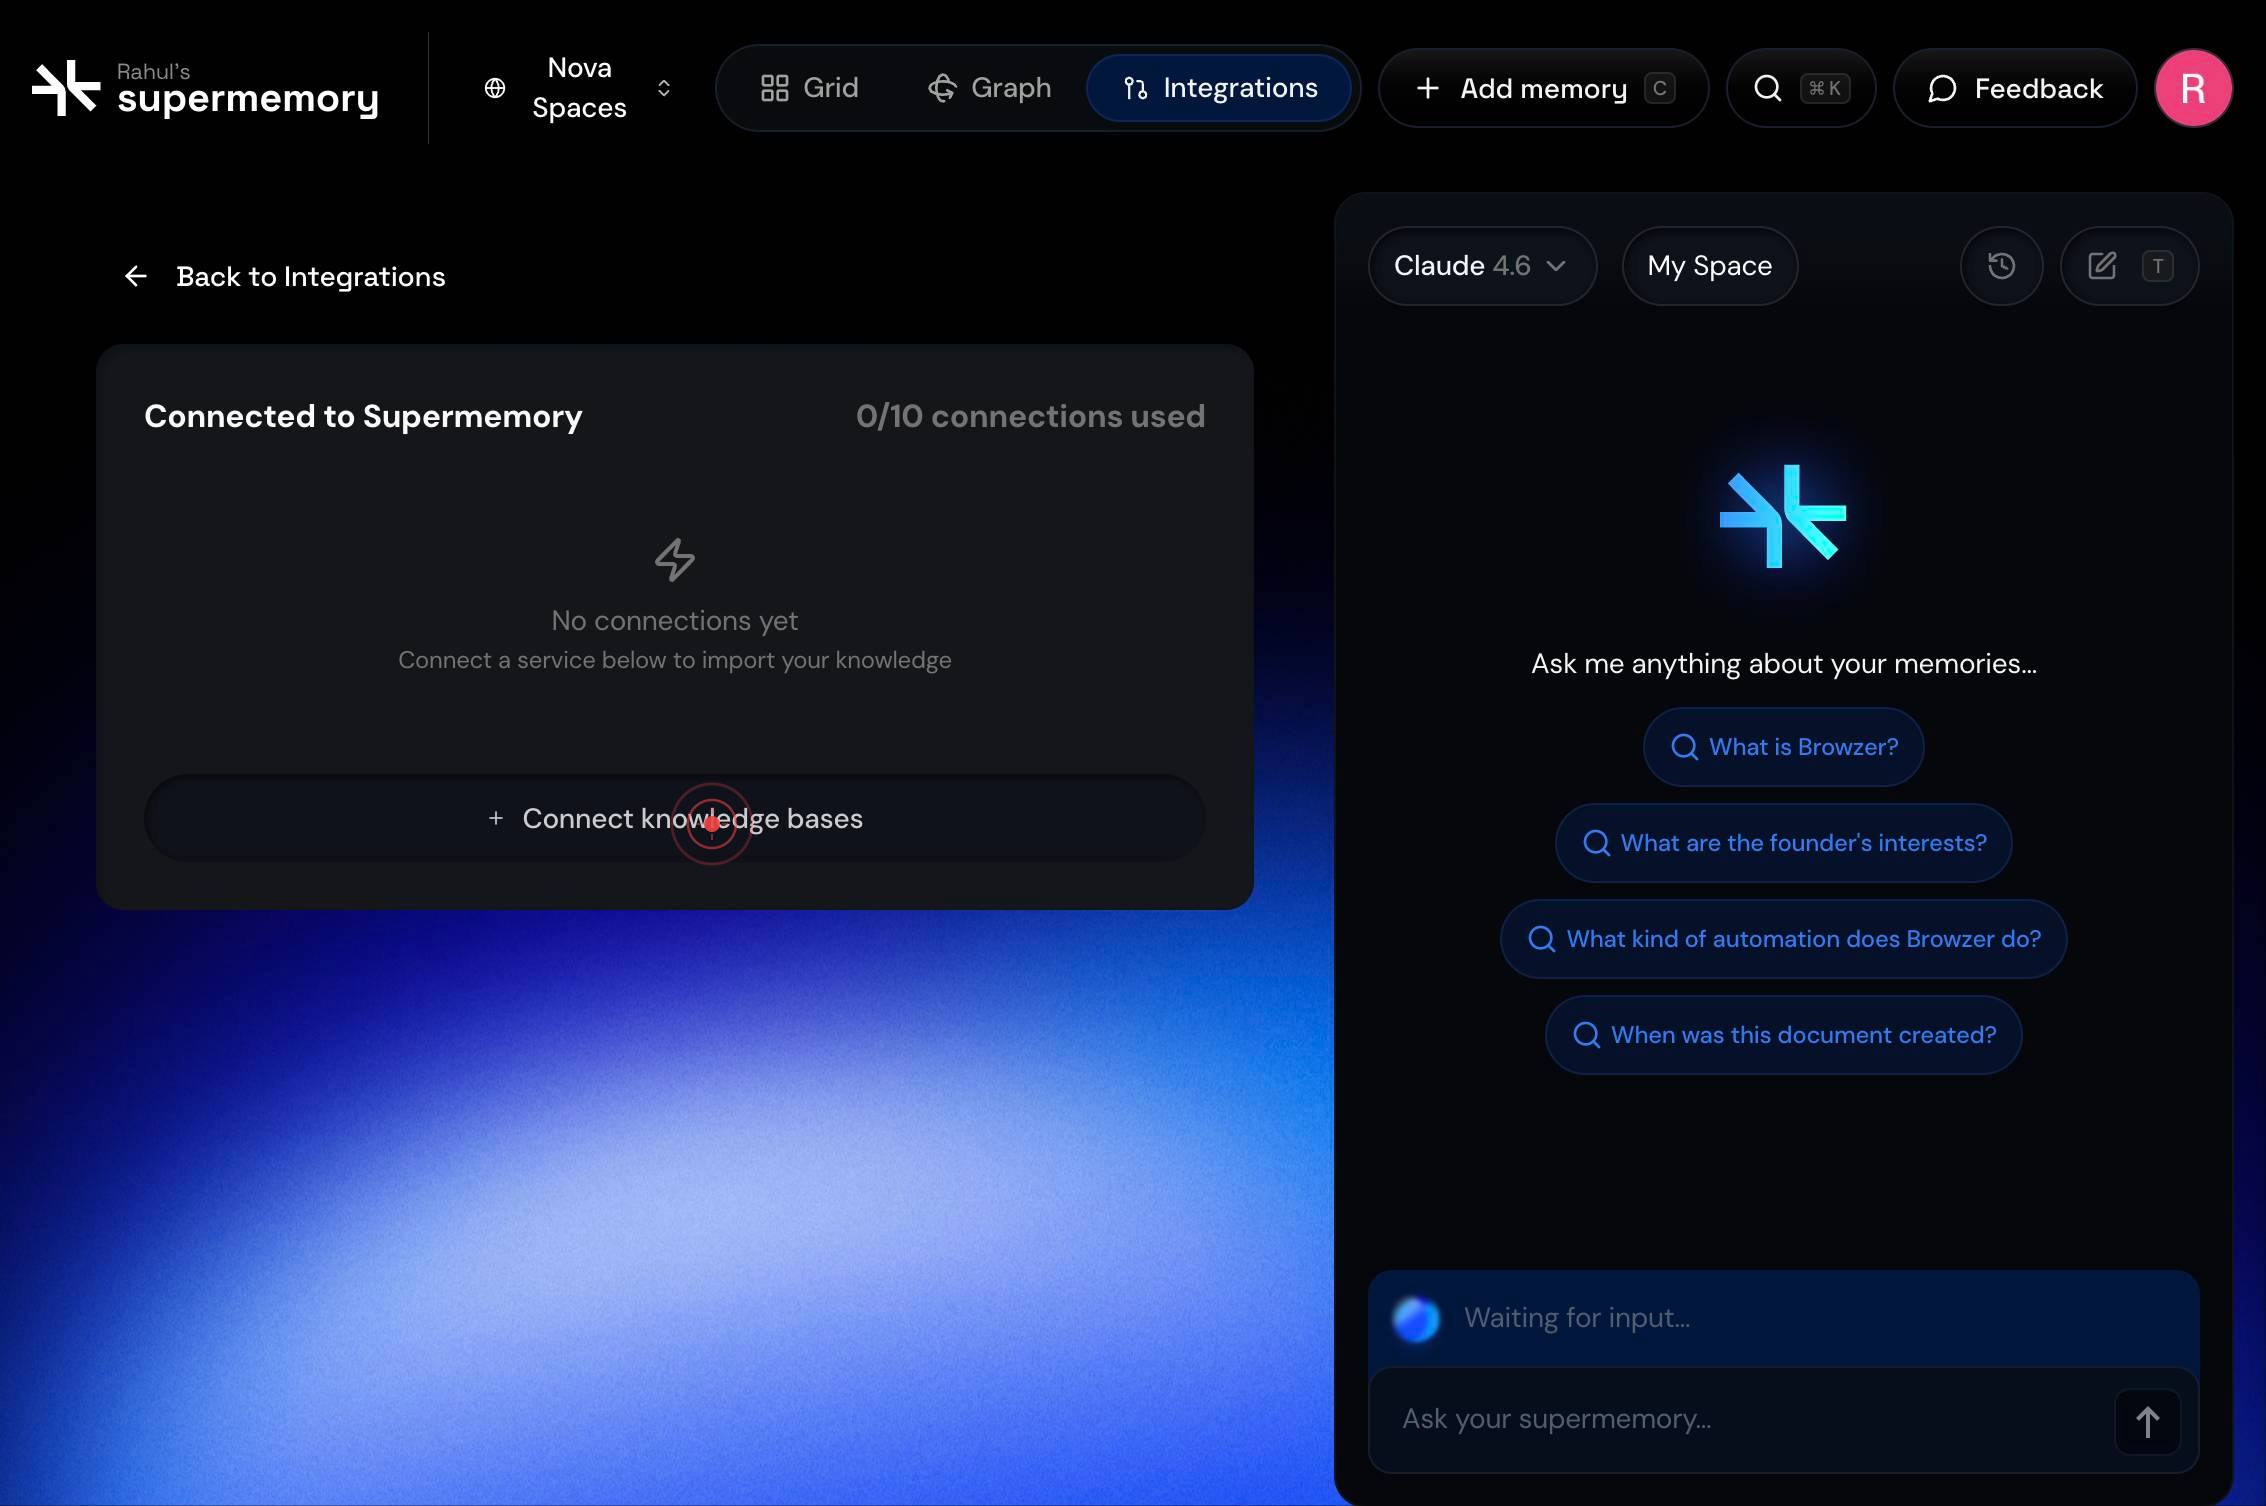
Connect knowledge basesClick the 'Connect knowledge bases' button to proceed with authorizing access to your Notion workspace.
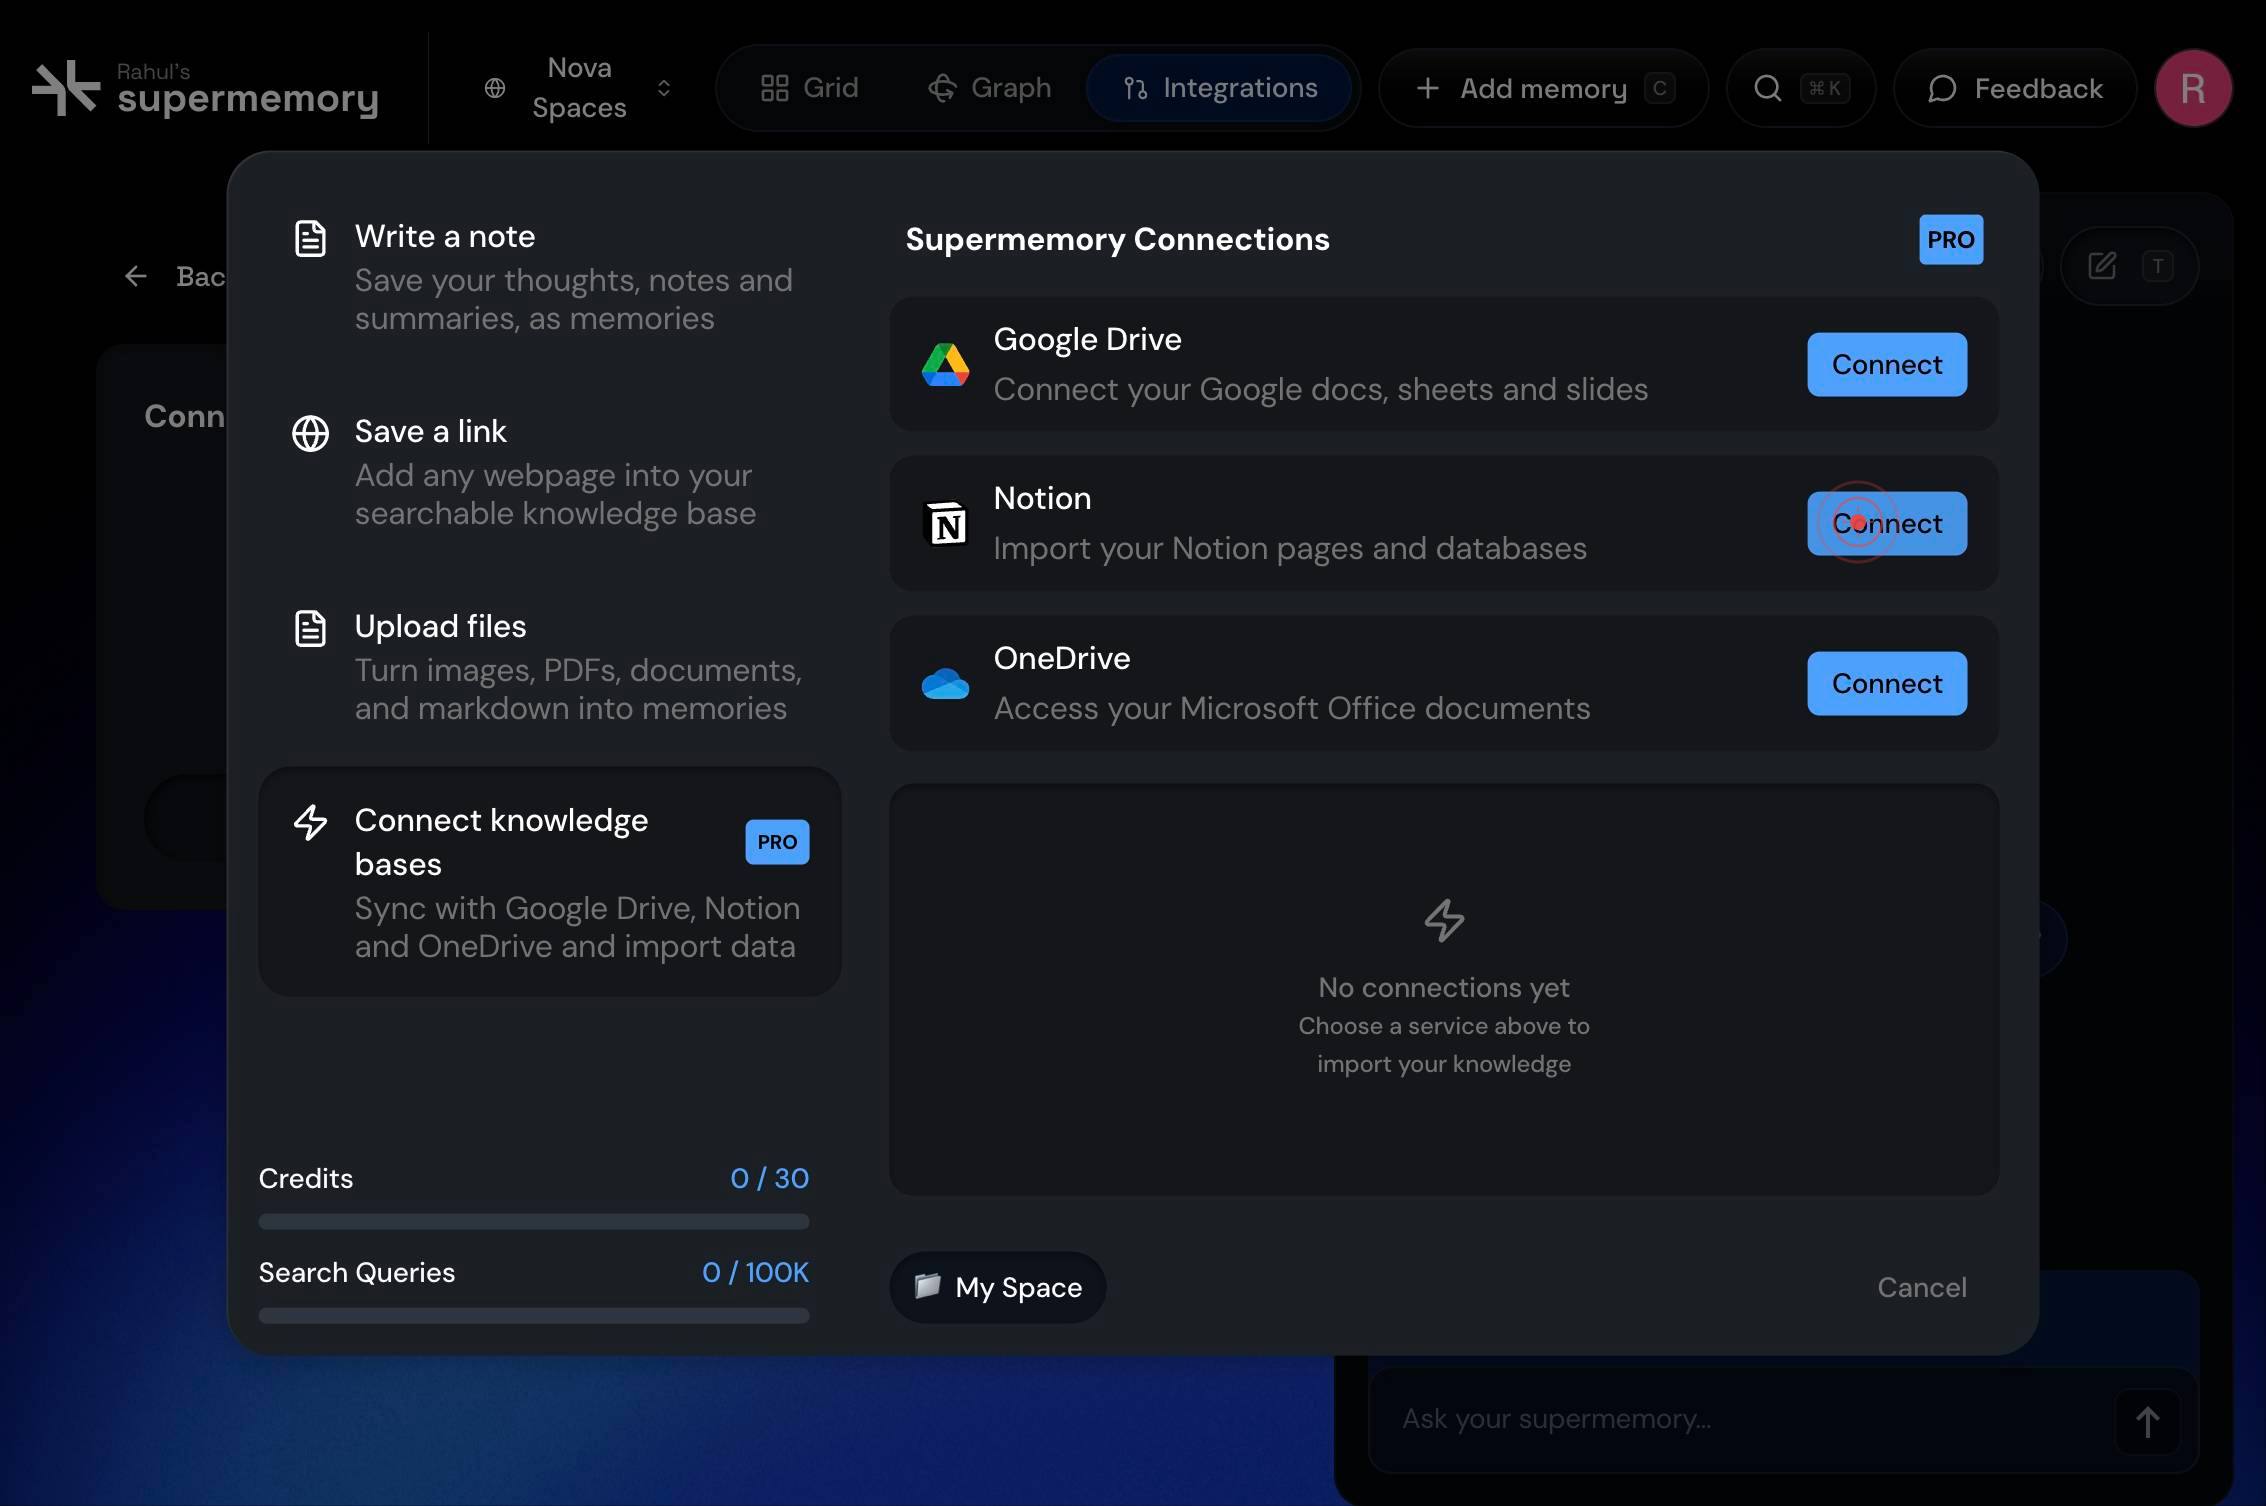
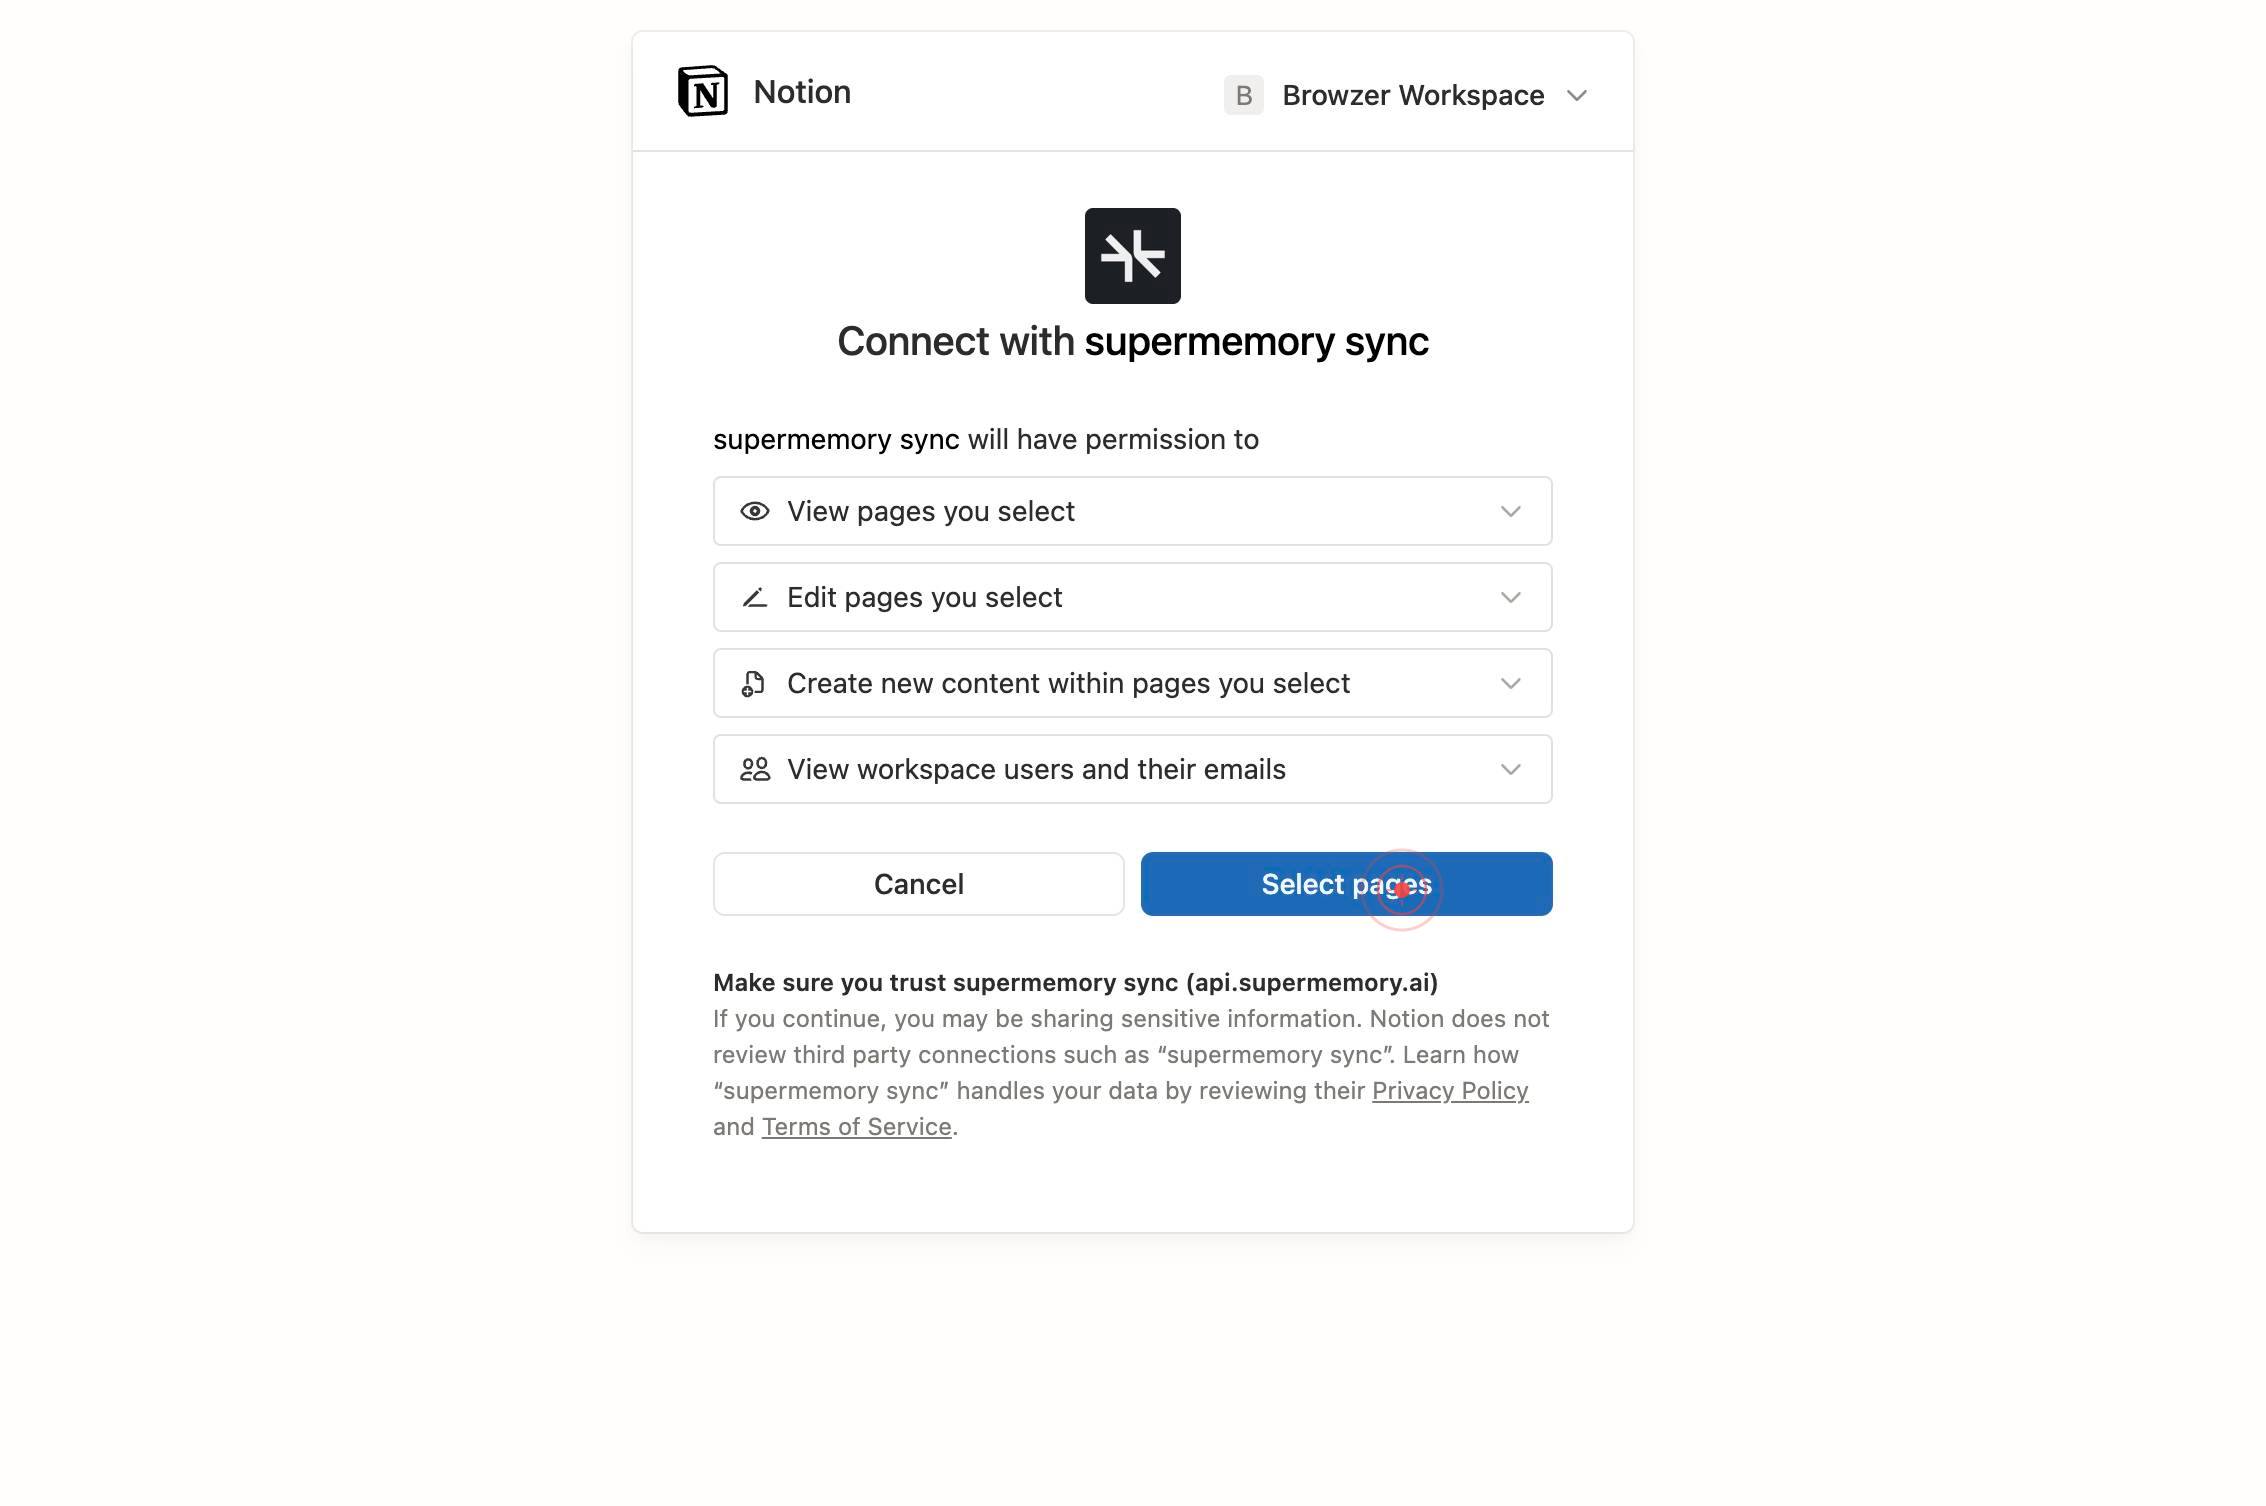
ConnectClick the 'Connect' button to initiate the OAuth authorization flow. Your browser will redirect to Notion to request permission.
You are now on the Notion authorization page (www.notion.so). This page prompts you to select which Notion pages and databases you want to grant Supermemory access to.
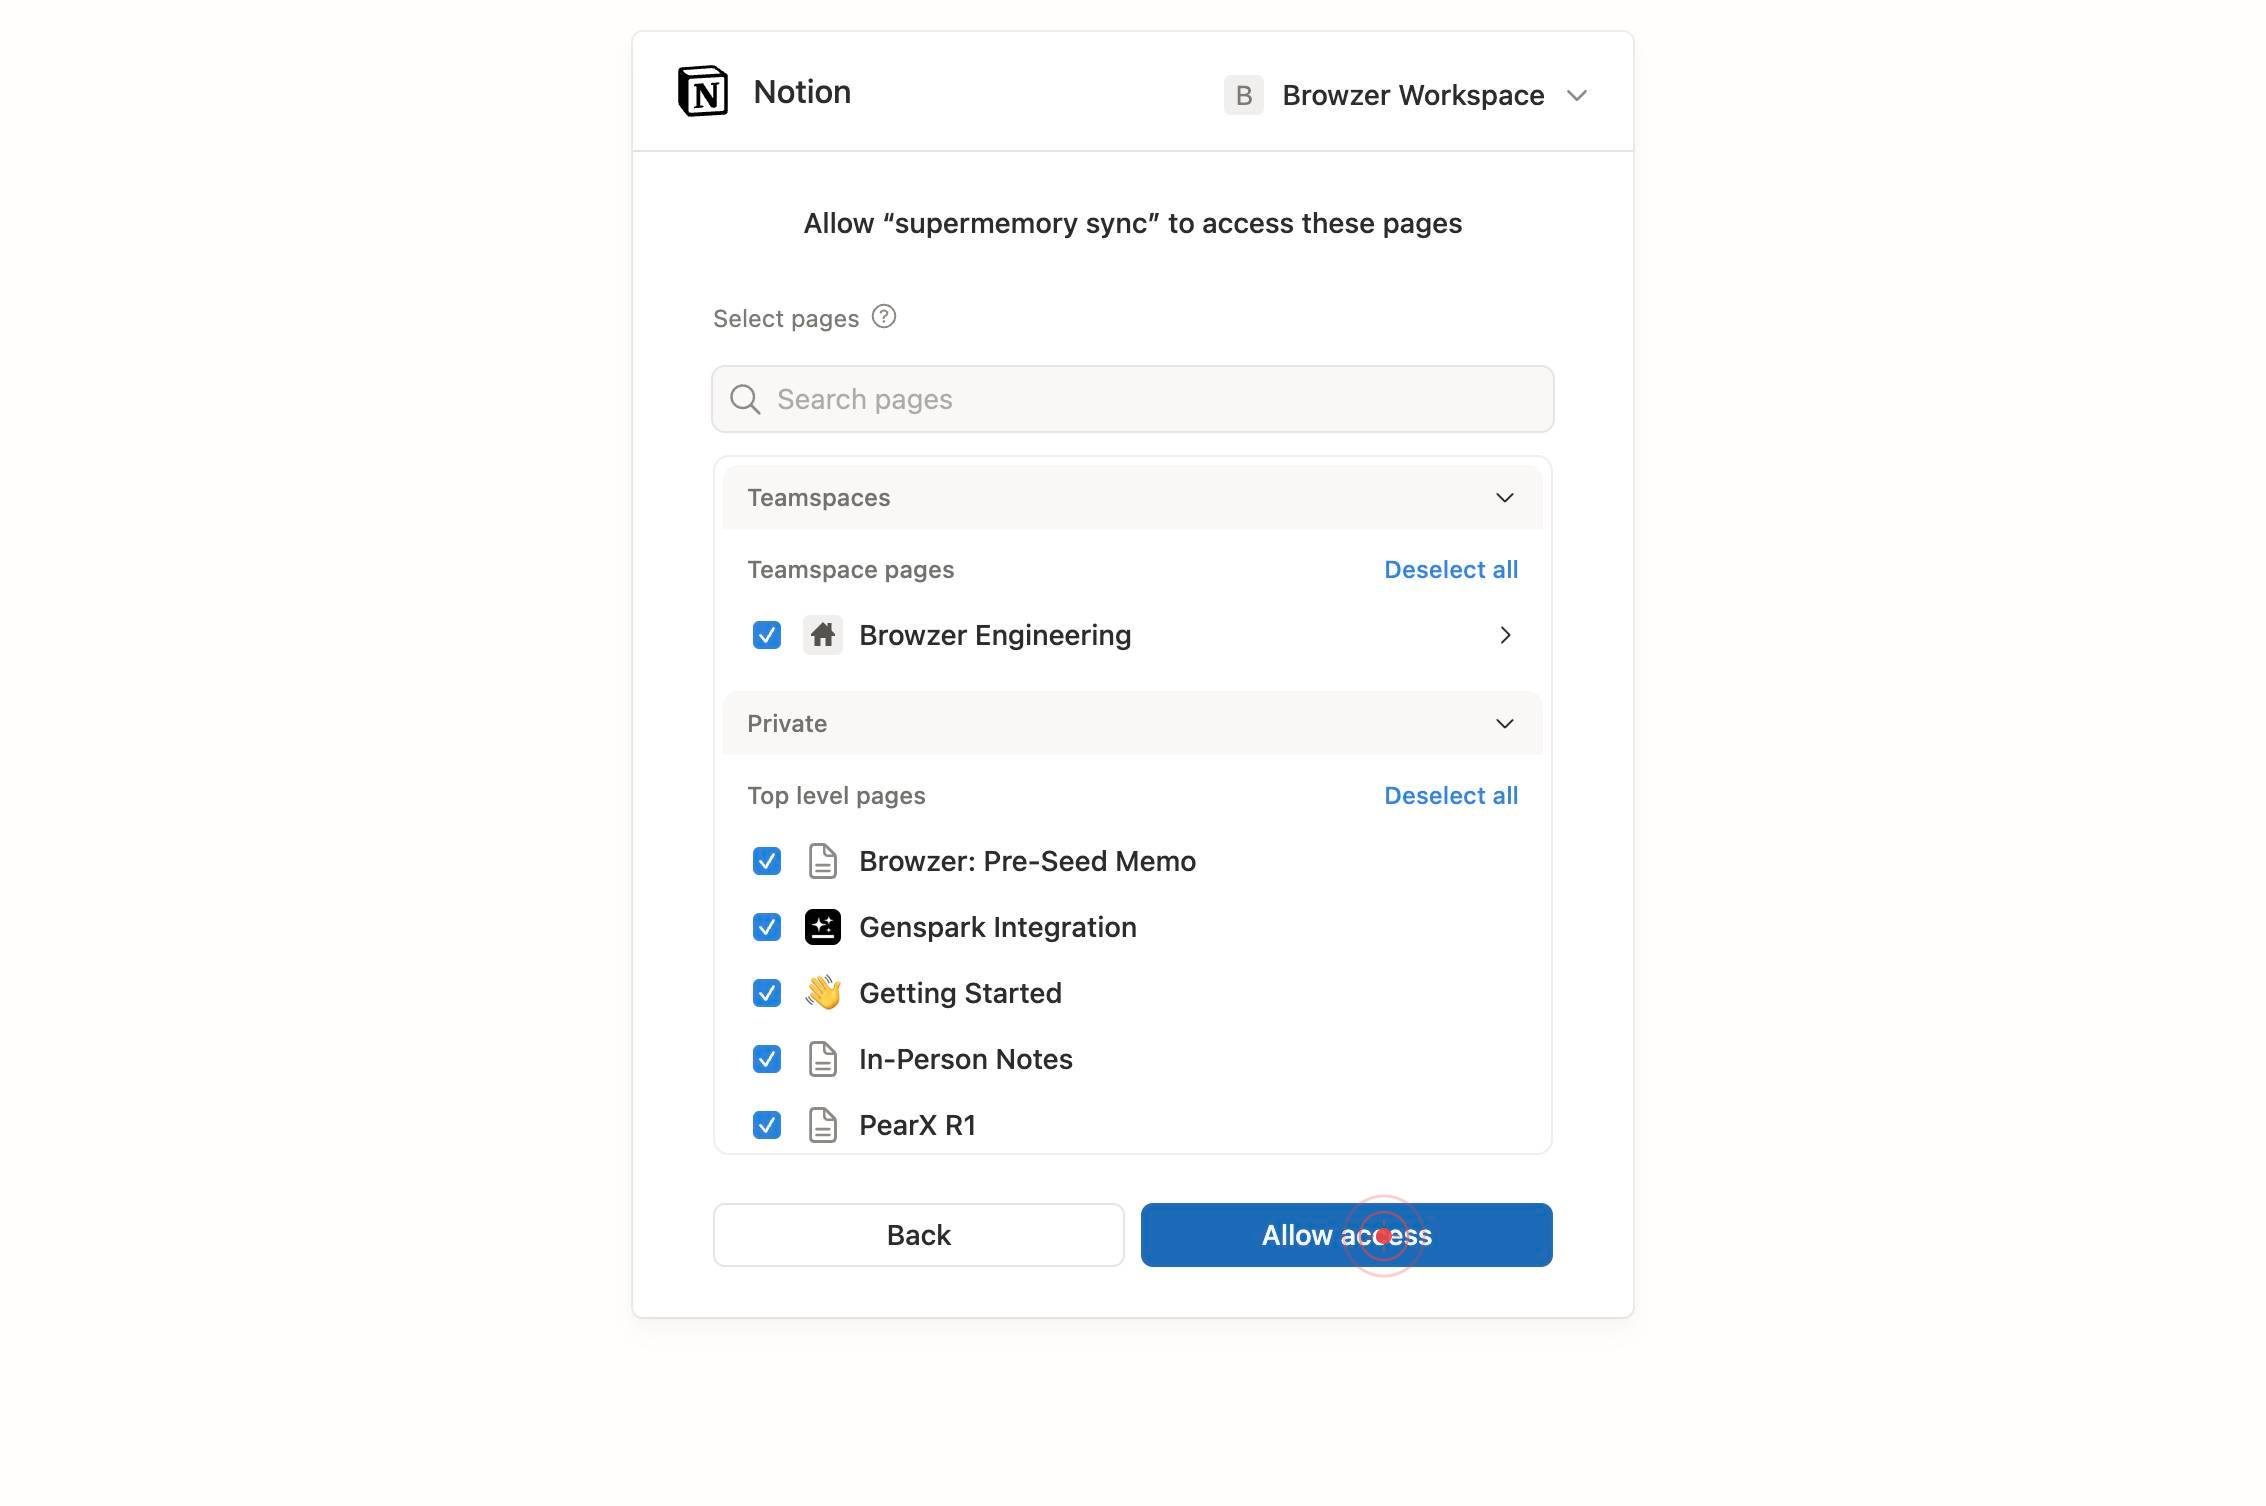
Select pagesClick the 'Select pages' button to open the page selection interface where you can browse and choose specific Notion pages to import.
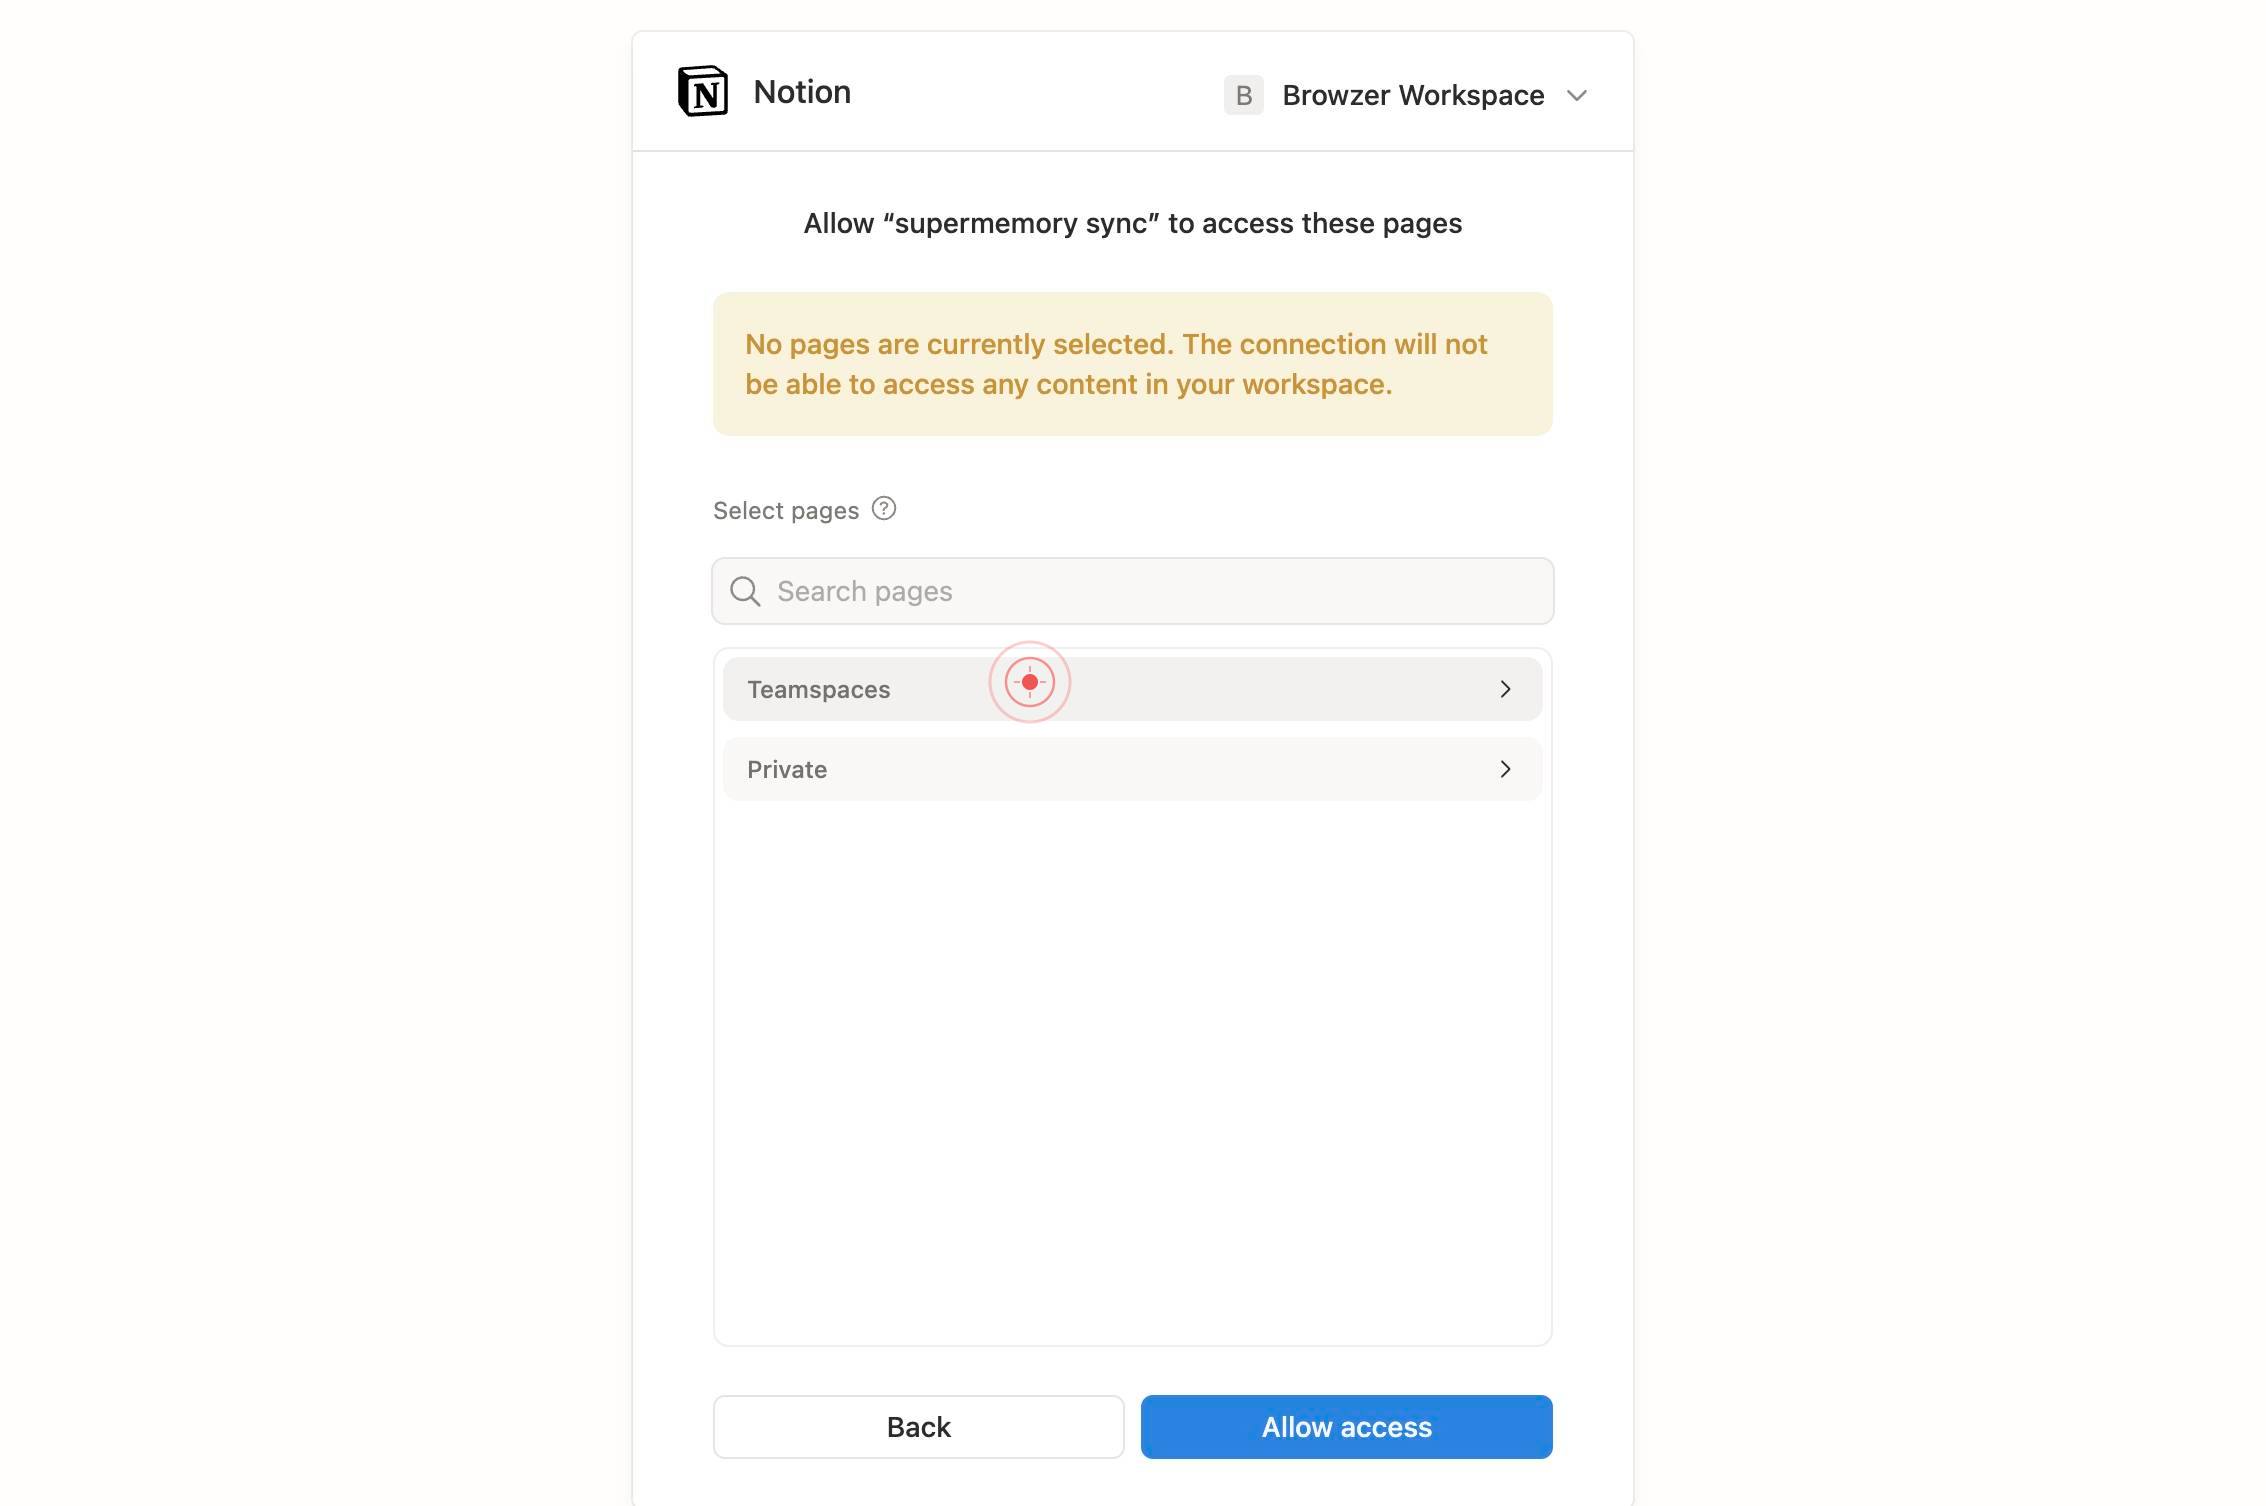
Search pagesUse the 'Search pages' text box to filter and locate specific Notion pages by name. Type a keyword or page name to narrow down the list.
TeamspacesClick the 'Teamspaces' button to filter and view pages organized within specific Notion teamspaces, if your workspace uses teamspaces for organization.
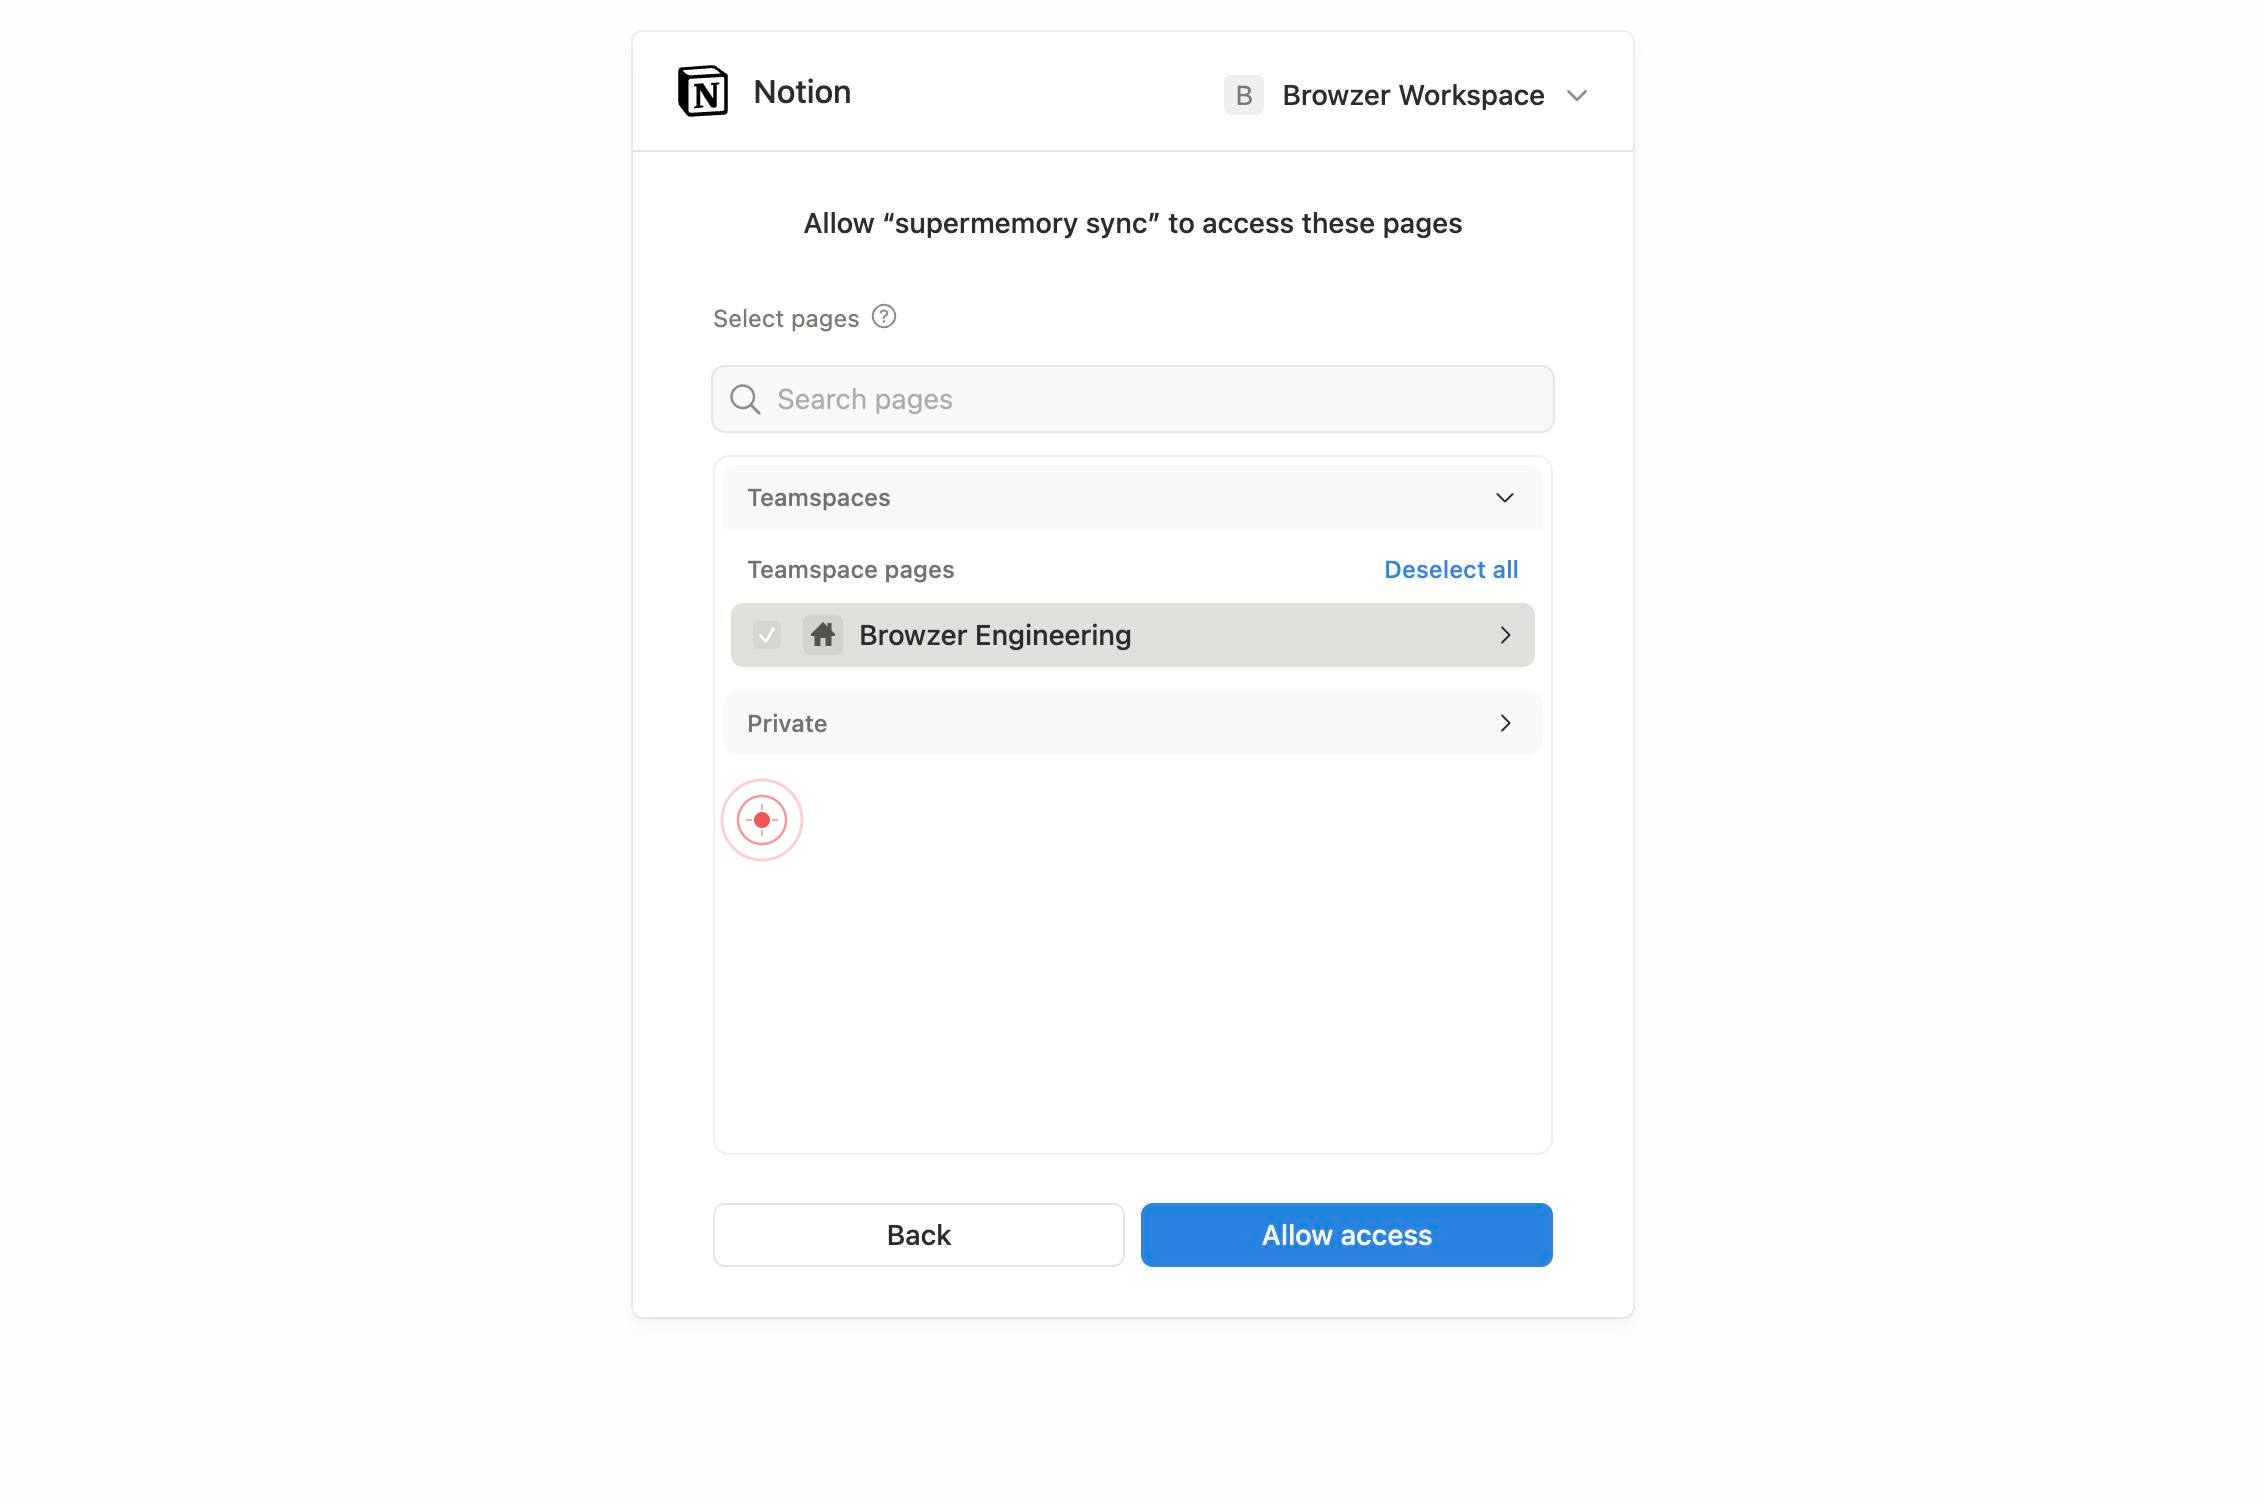
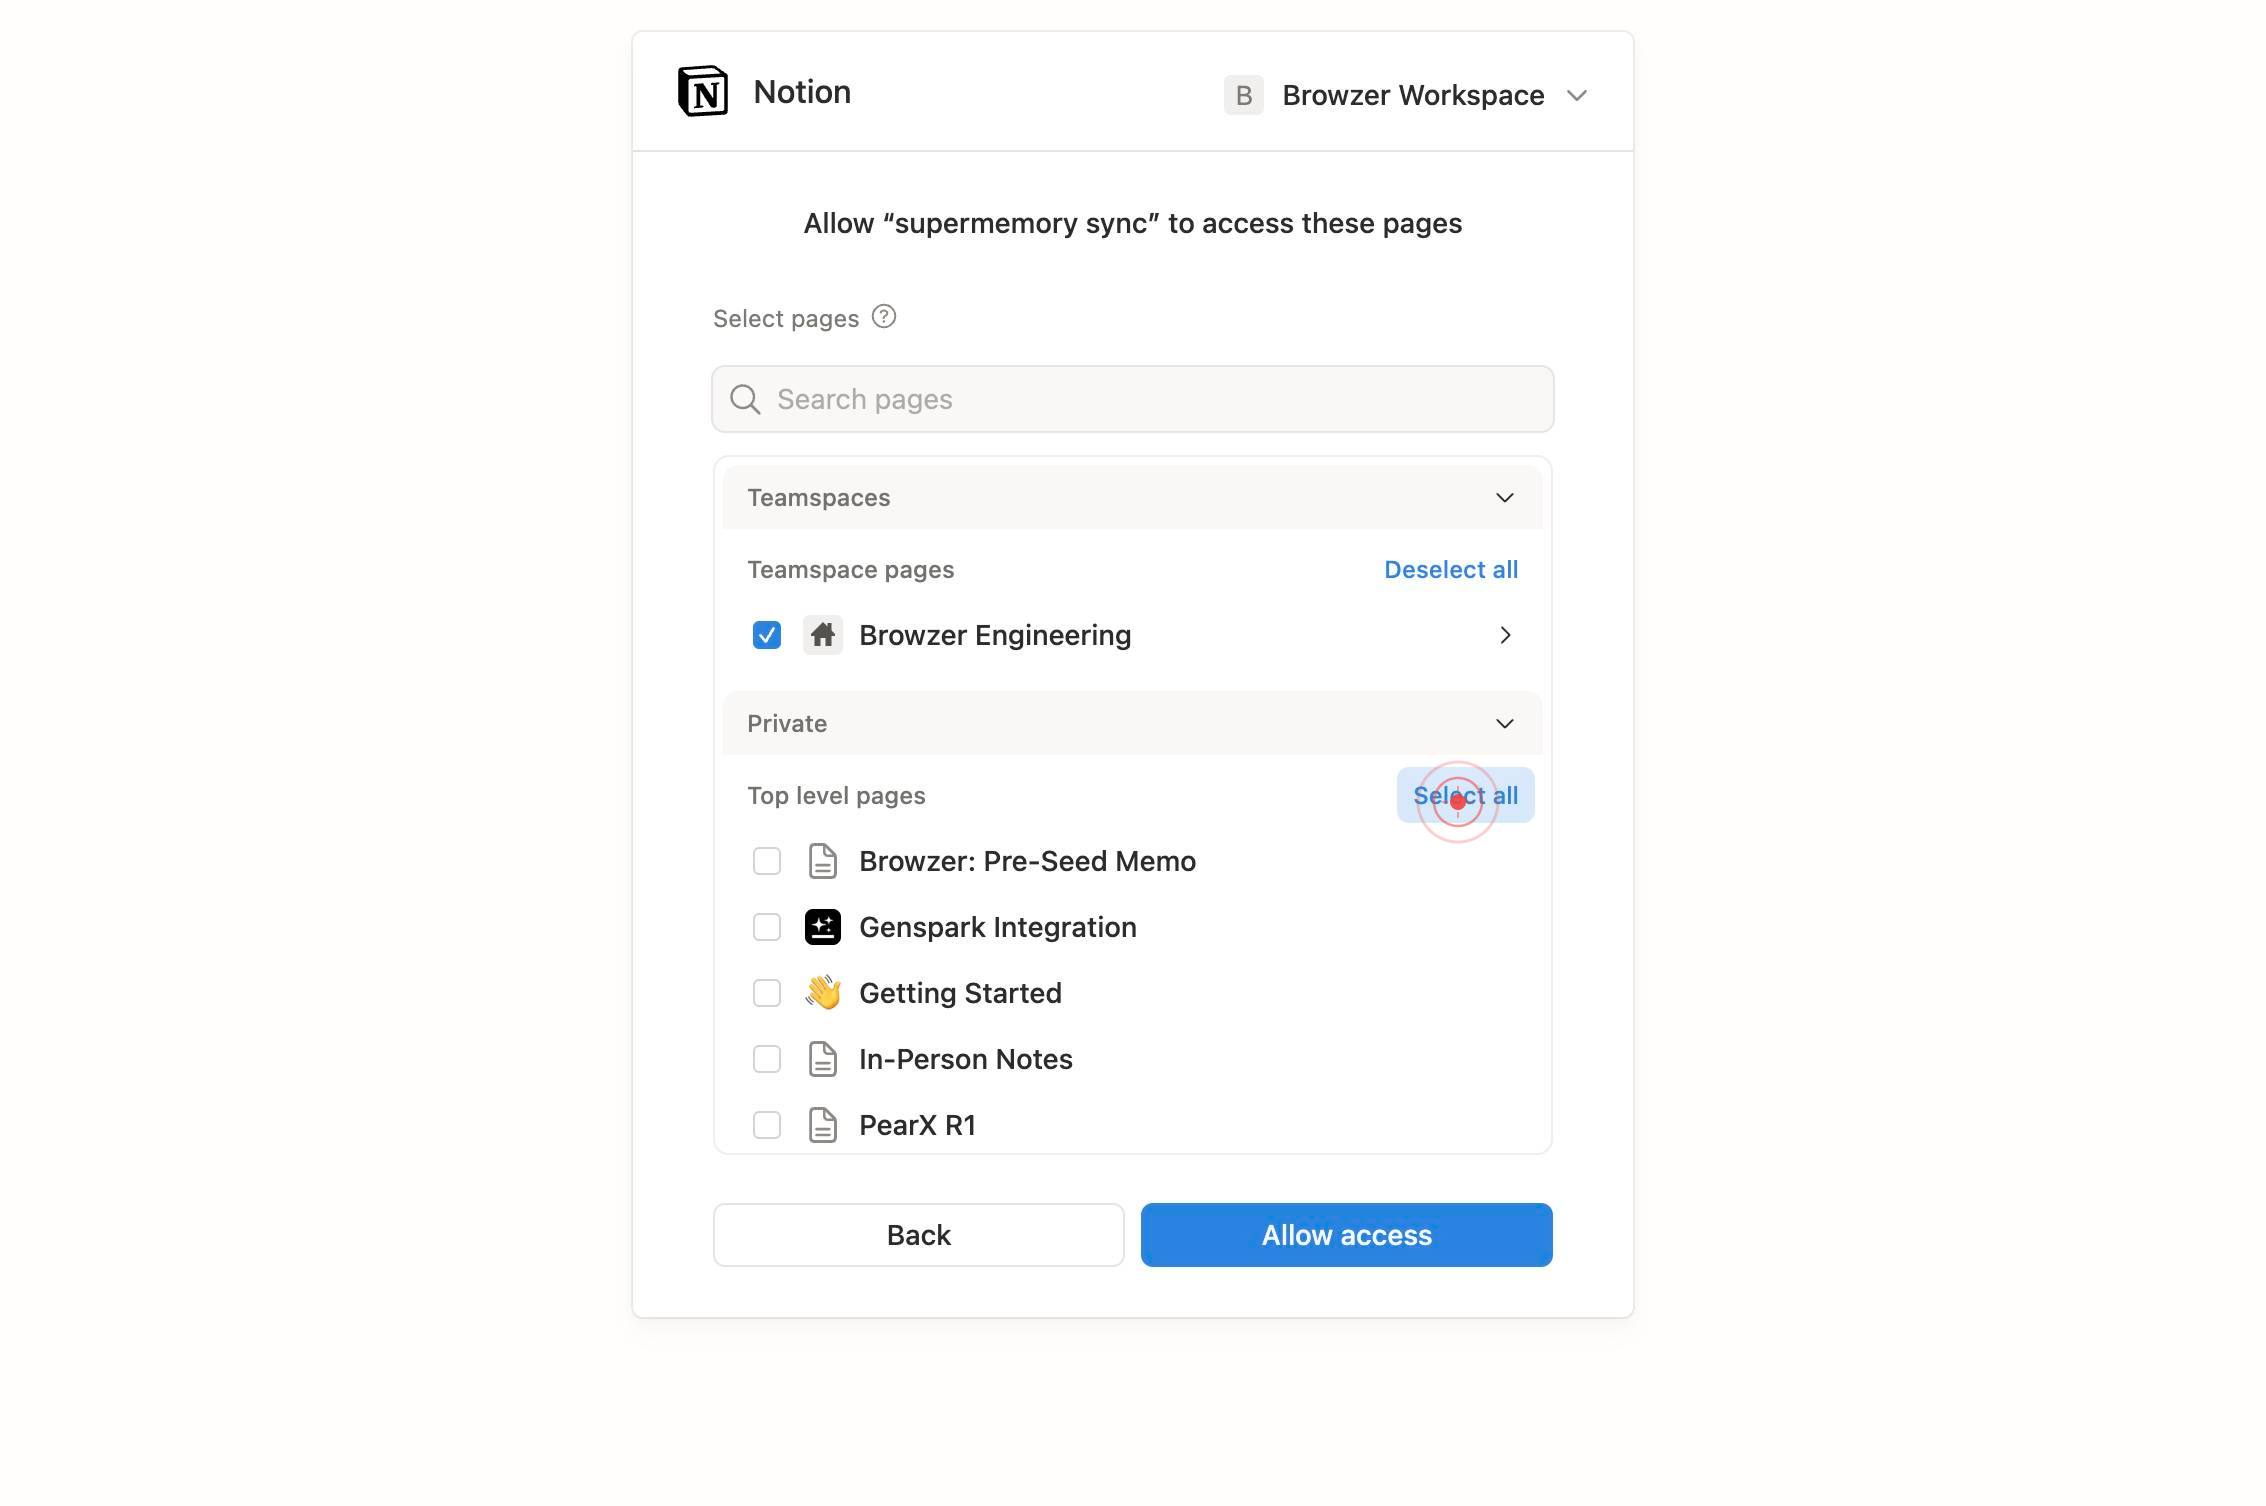
checkboxClick the checkboxes next to the pages you want to import into Supermemory. Each checkbox represents a single page or database.
PrivateClick the 'Private' button to access the section of your Notion workspace containing your private pages (those not shared with the team).

Select allClick the 'Select all' button to quickly check all pages in the current view, if you want to import your entire Notion workspace or section at once.
Allow accessClick the 'Allow access' button to authorize Supermemory to access the selected Notion pages. This completes the OAuth handshake and grants Supermemory permission to read and index your chosen content.
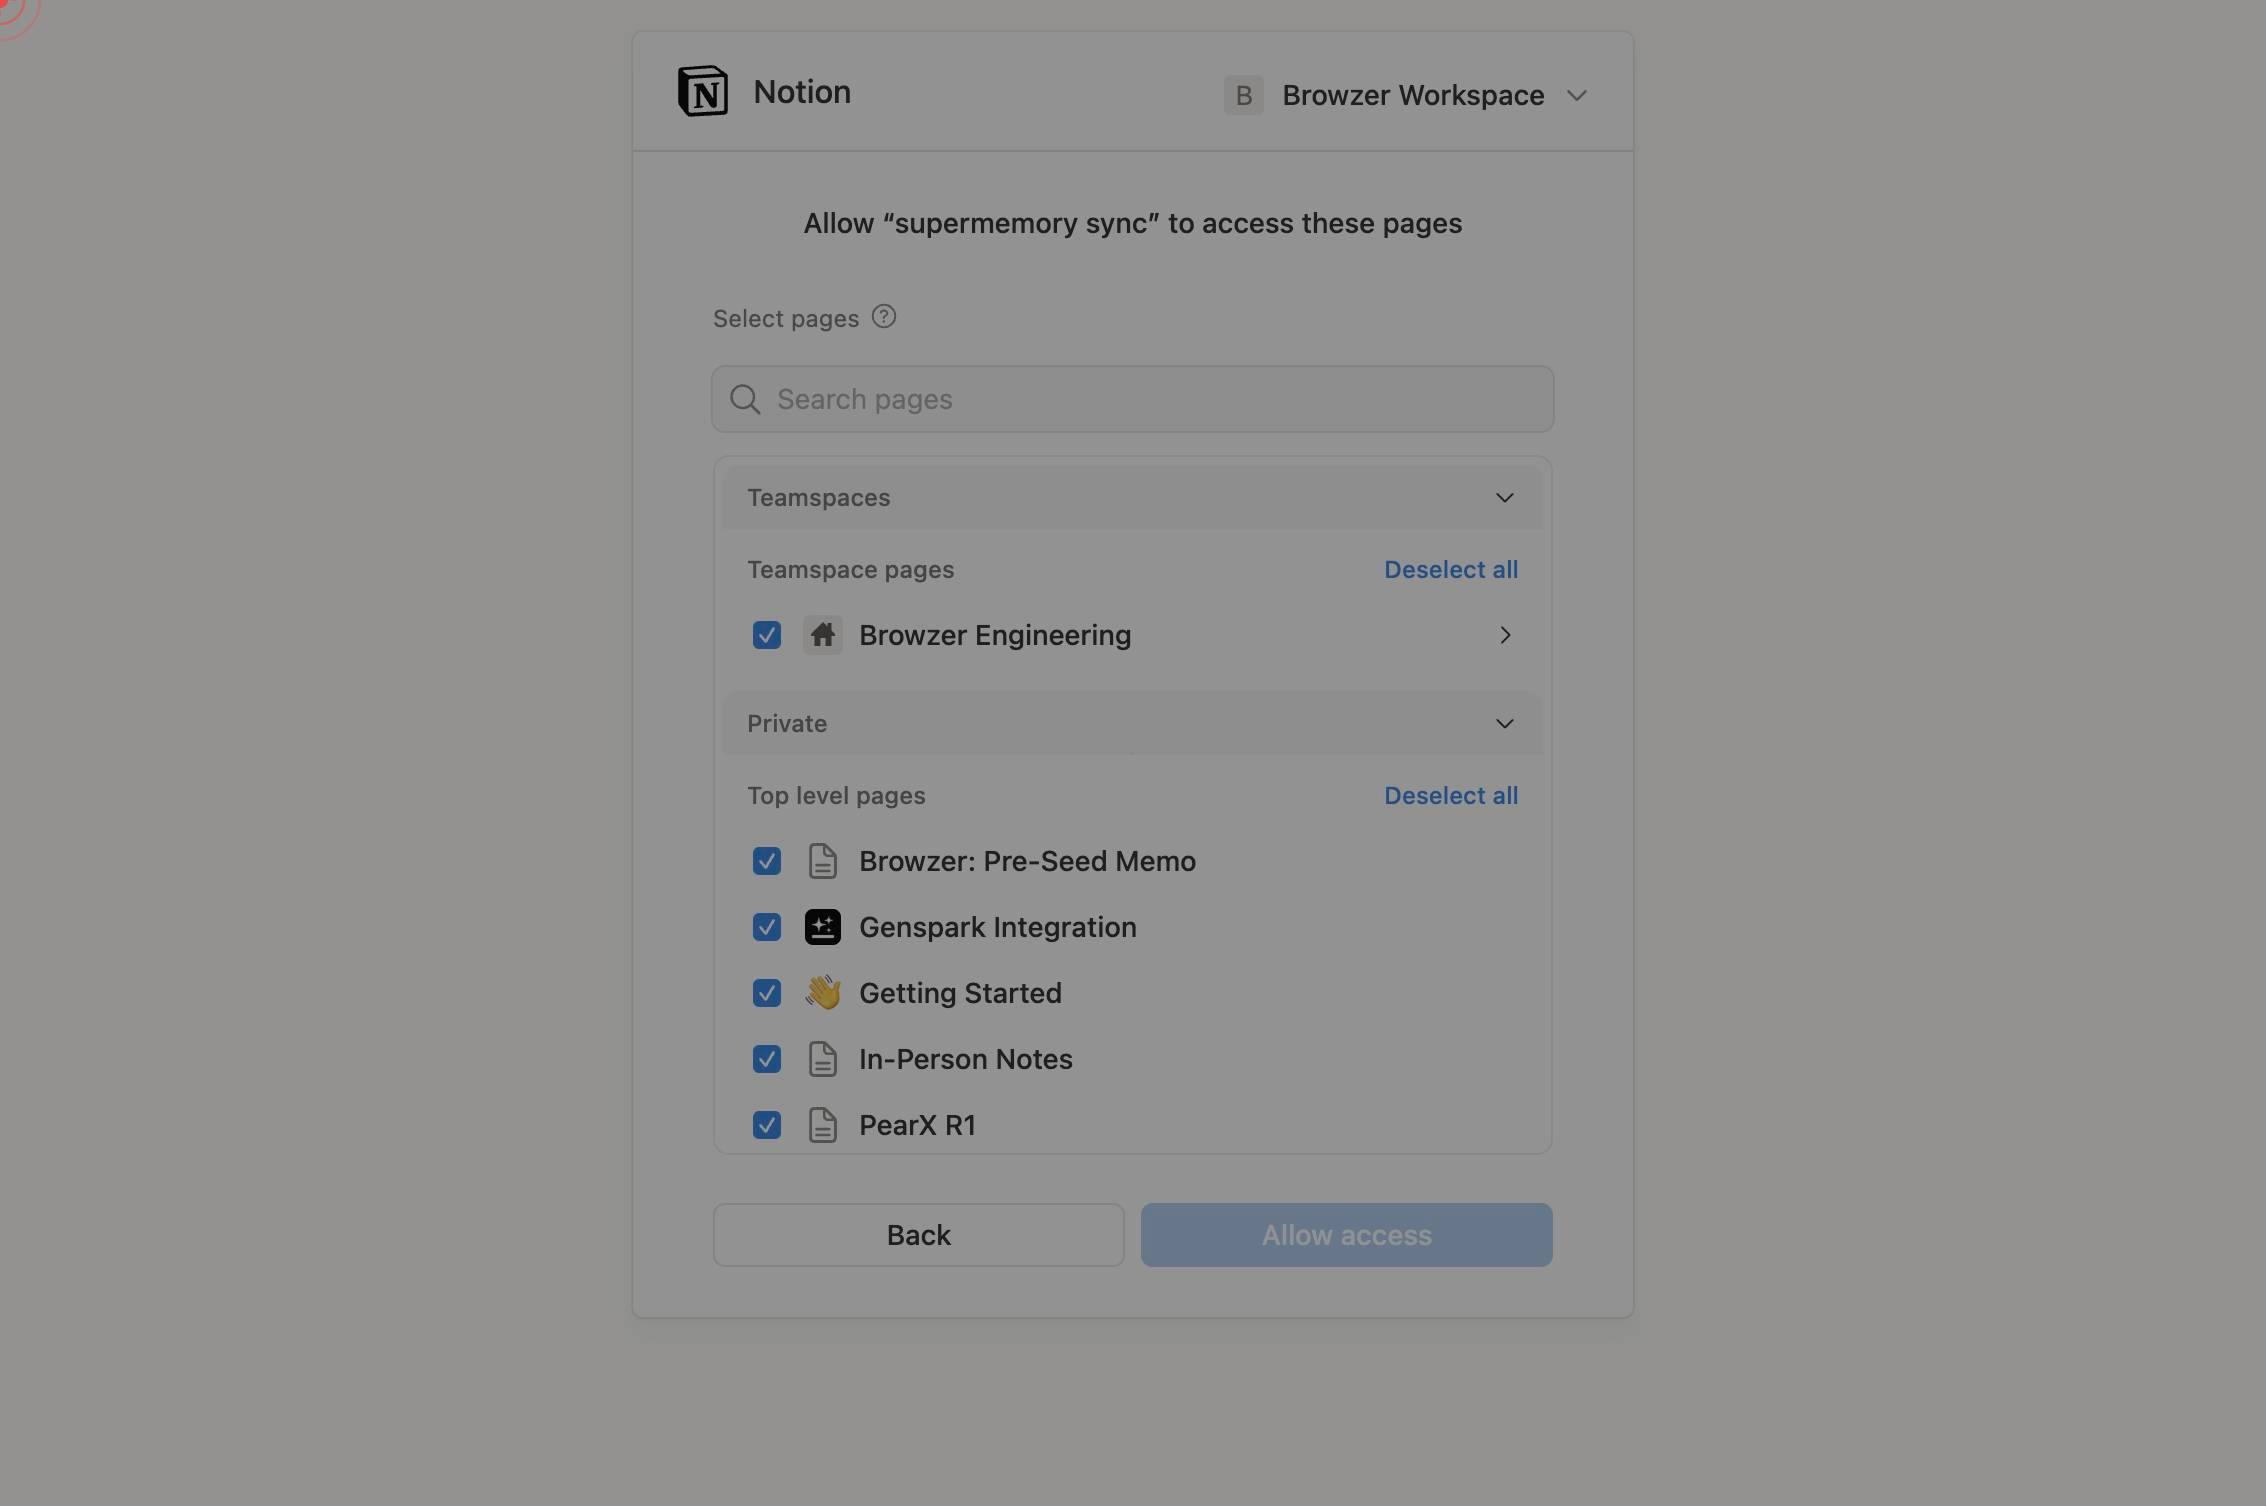
linkClick the return link or button to exit the Notion authorization page and return to Supermemory.
You are automatically redirected back to app.supermemory.ai. Verify that the Notion connector now shows as 'Connected' in the Integrations tab and that your selected pages are being imported.
Confirm it worked
- 1After completing the workflow, you are redirected back to app.supermemory.ai and the Notion connection appears as 'Connected' in the Integrations tab
- 2The selected Notion pages are listed in your Supermemory knowledge base and available for retrieval
- 3You can run a test query or search in Supermemory to confirm Notion content is indexed and accessible
Common issues
Keep reading
Automate Task Creation in Notion | Database Tutorial
Automate Task Creation in Notion | Database Tutorial No result found # How to Automate Task Creation in Notion: Database Automations Tutorial Learn how to set up Notion database automations that au
connex.digitalConnect to Notion | Note API Connector Help Center
Connect to Notion | Note API Connector Help Center On this page Before you start using Note API Connector, you'll need to link it to your Notion workspace. You can start using Note API Connector
help.noteapiconnector.comUse AI connectors to access more of your team’s knowledge
Use AI connectors to access more of your team’s knowledge Play --- In an ideal world, your team's knowledge would be neatly organized in one place, regularly updated, and consistently shared across
notion.so