Guide
Add Auth Config - Notion
Overview
Composio manages authentication configurations that allow your AI agents to interact with external services like Notion. By creating an auth config, you establish a reusable, secure connection that can be applied across multiple sessions and agents without repeating authentication steps. Notion's public OAuth integration makes this setup straightforward. Auth configs are created once in your Composio dashboard and then referenced whenever you need authenticated Notion access—whether you're building a chat app, an agent workflow, or a custom integration. This is particularly valuable in production environments where you want centralized, auditable authentication management separate from individual user sessions.
Before you begin
- Active Composio account with access to dashboard.composio.dev
- Notion workspace admin or user account (you will be prompted to authorize during setup)
- Understanding of what scopes (permissions) your Notion integration requires—common examples include read access to databases, pages, or write permissions for creating content
Step by step
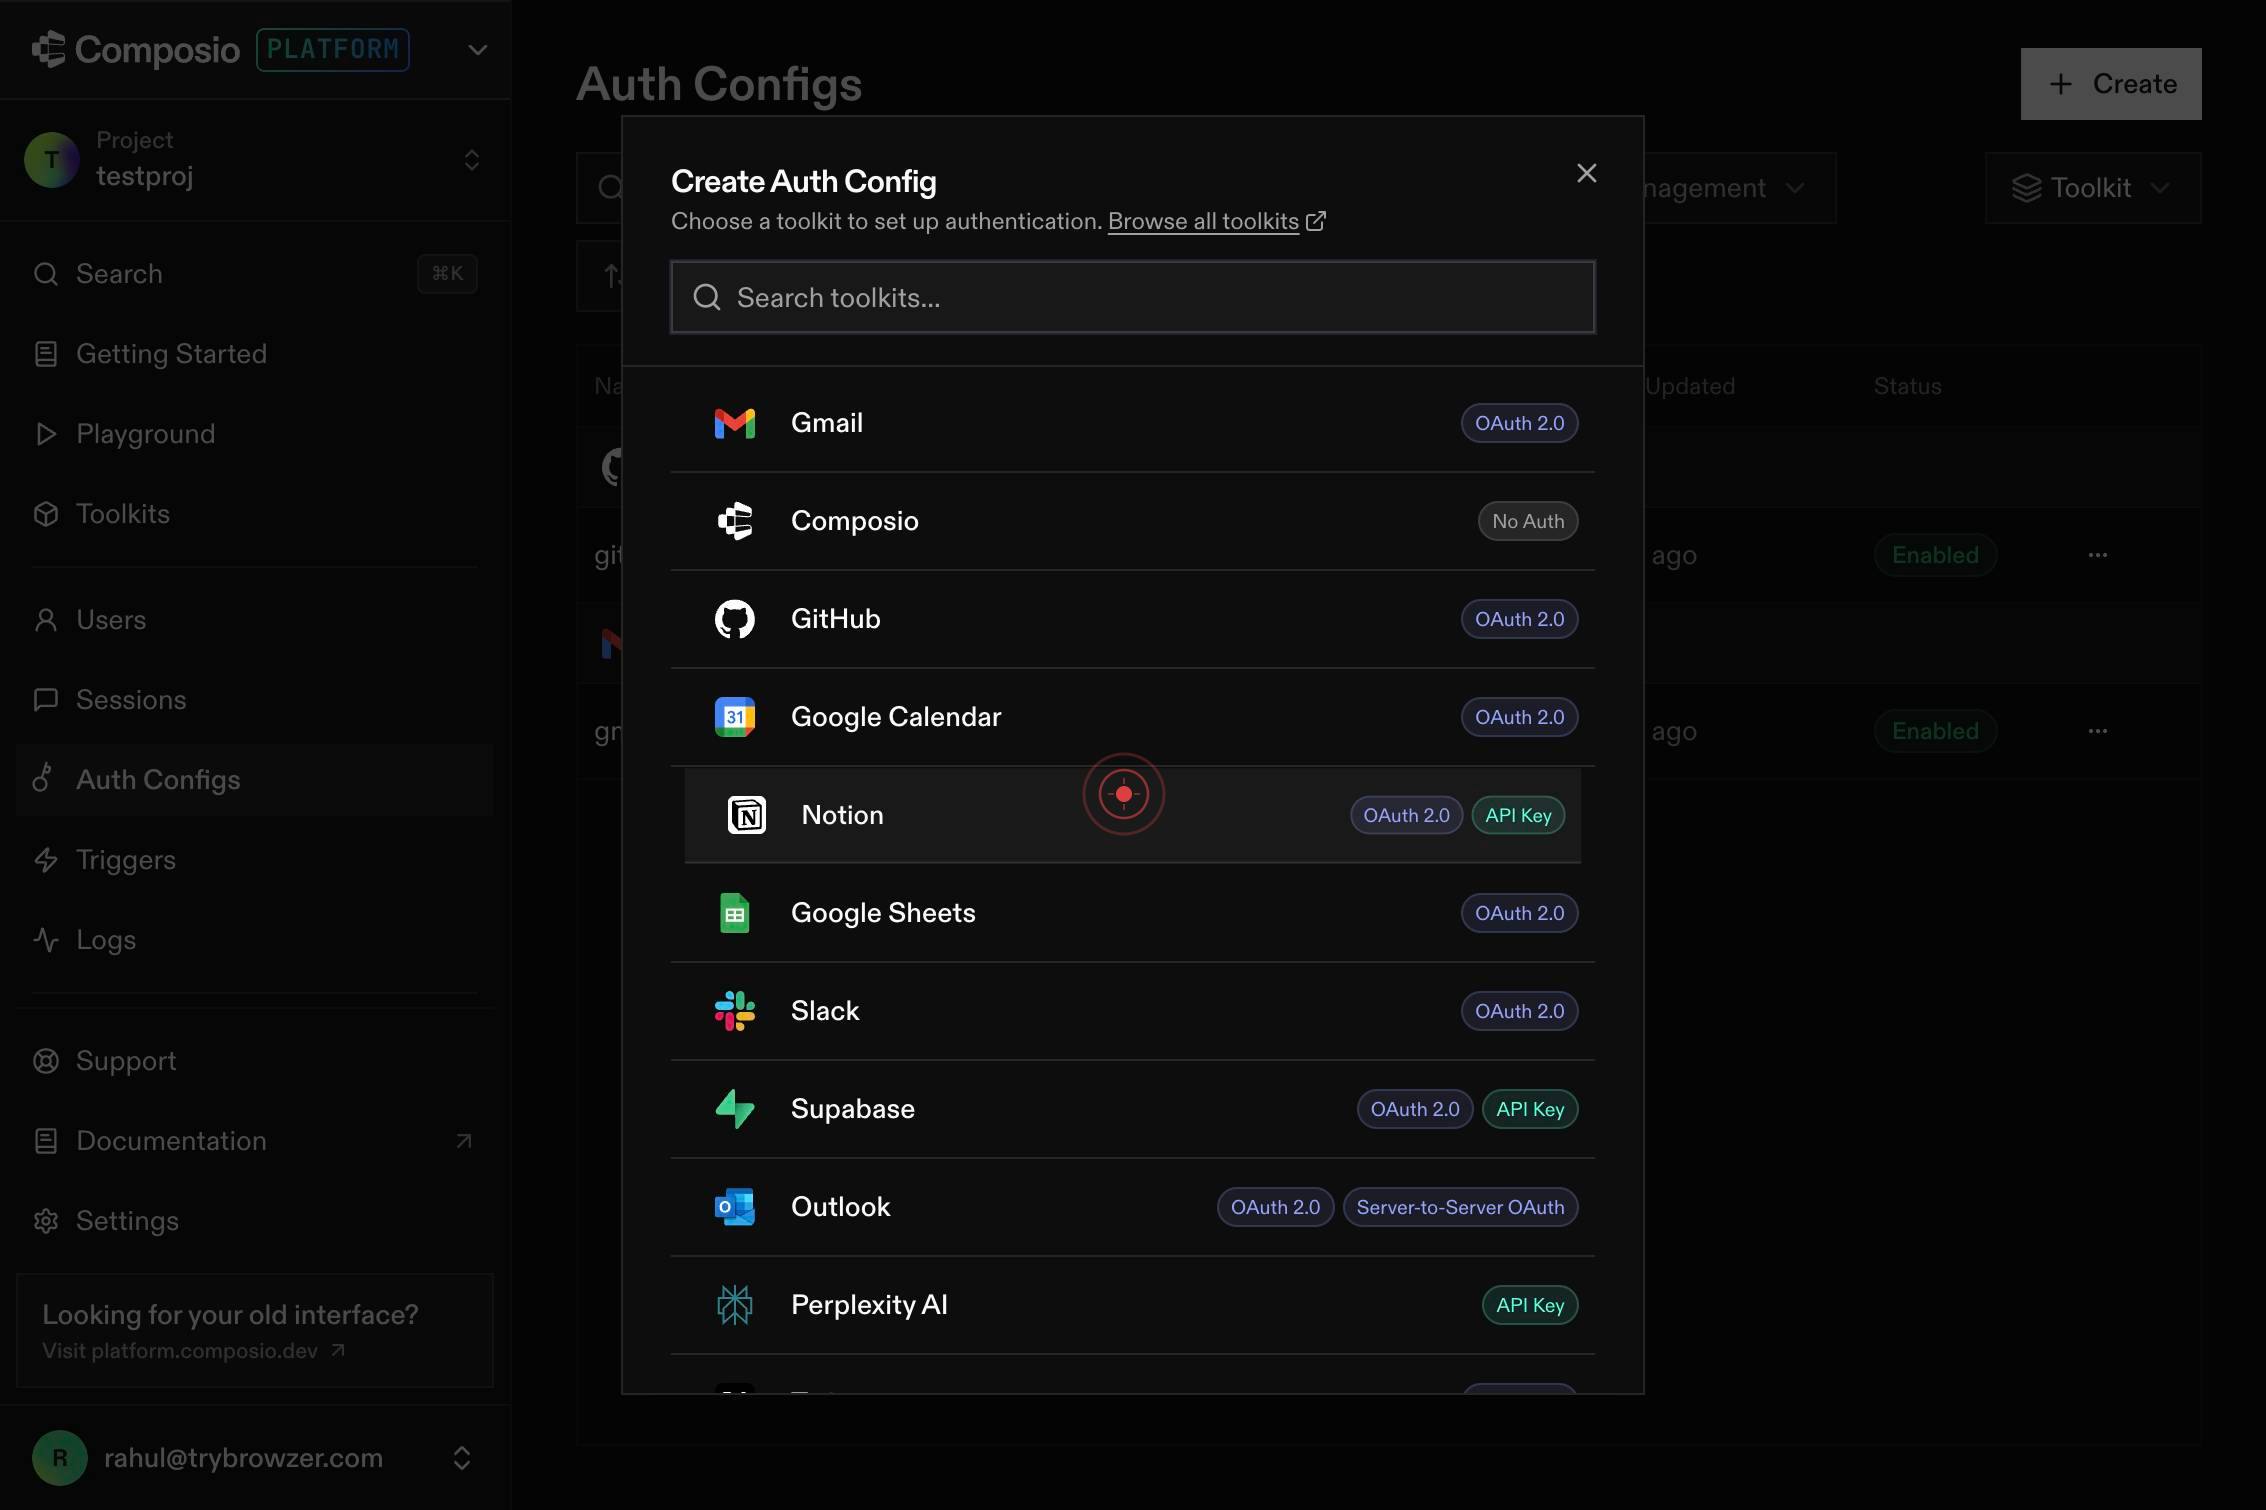
CreateStart the authentication configuration workflow by clicking the Create button on the Composio dashboard. This opens the toolkit selection interface where you'll choose which service to authenticate.
Search toolkits...Search for the Notion toolkit by typing in the 'Search toolkits...' field. This filters the available toolkits so you can quickly locate Notion without scrolling through the entire list.
NNotionOAuth 2.0 API KeySelect the Notion OAuth 2.0 API Key toolkit from the filtered results by clicking on it. This confirms you want to create an authentication configuration for Notion.
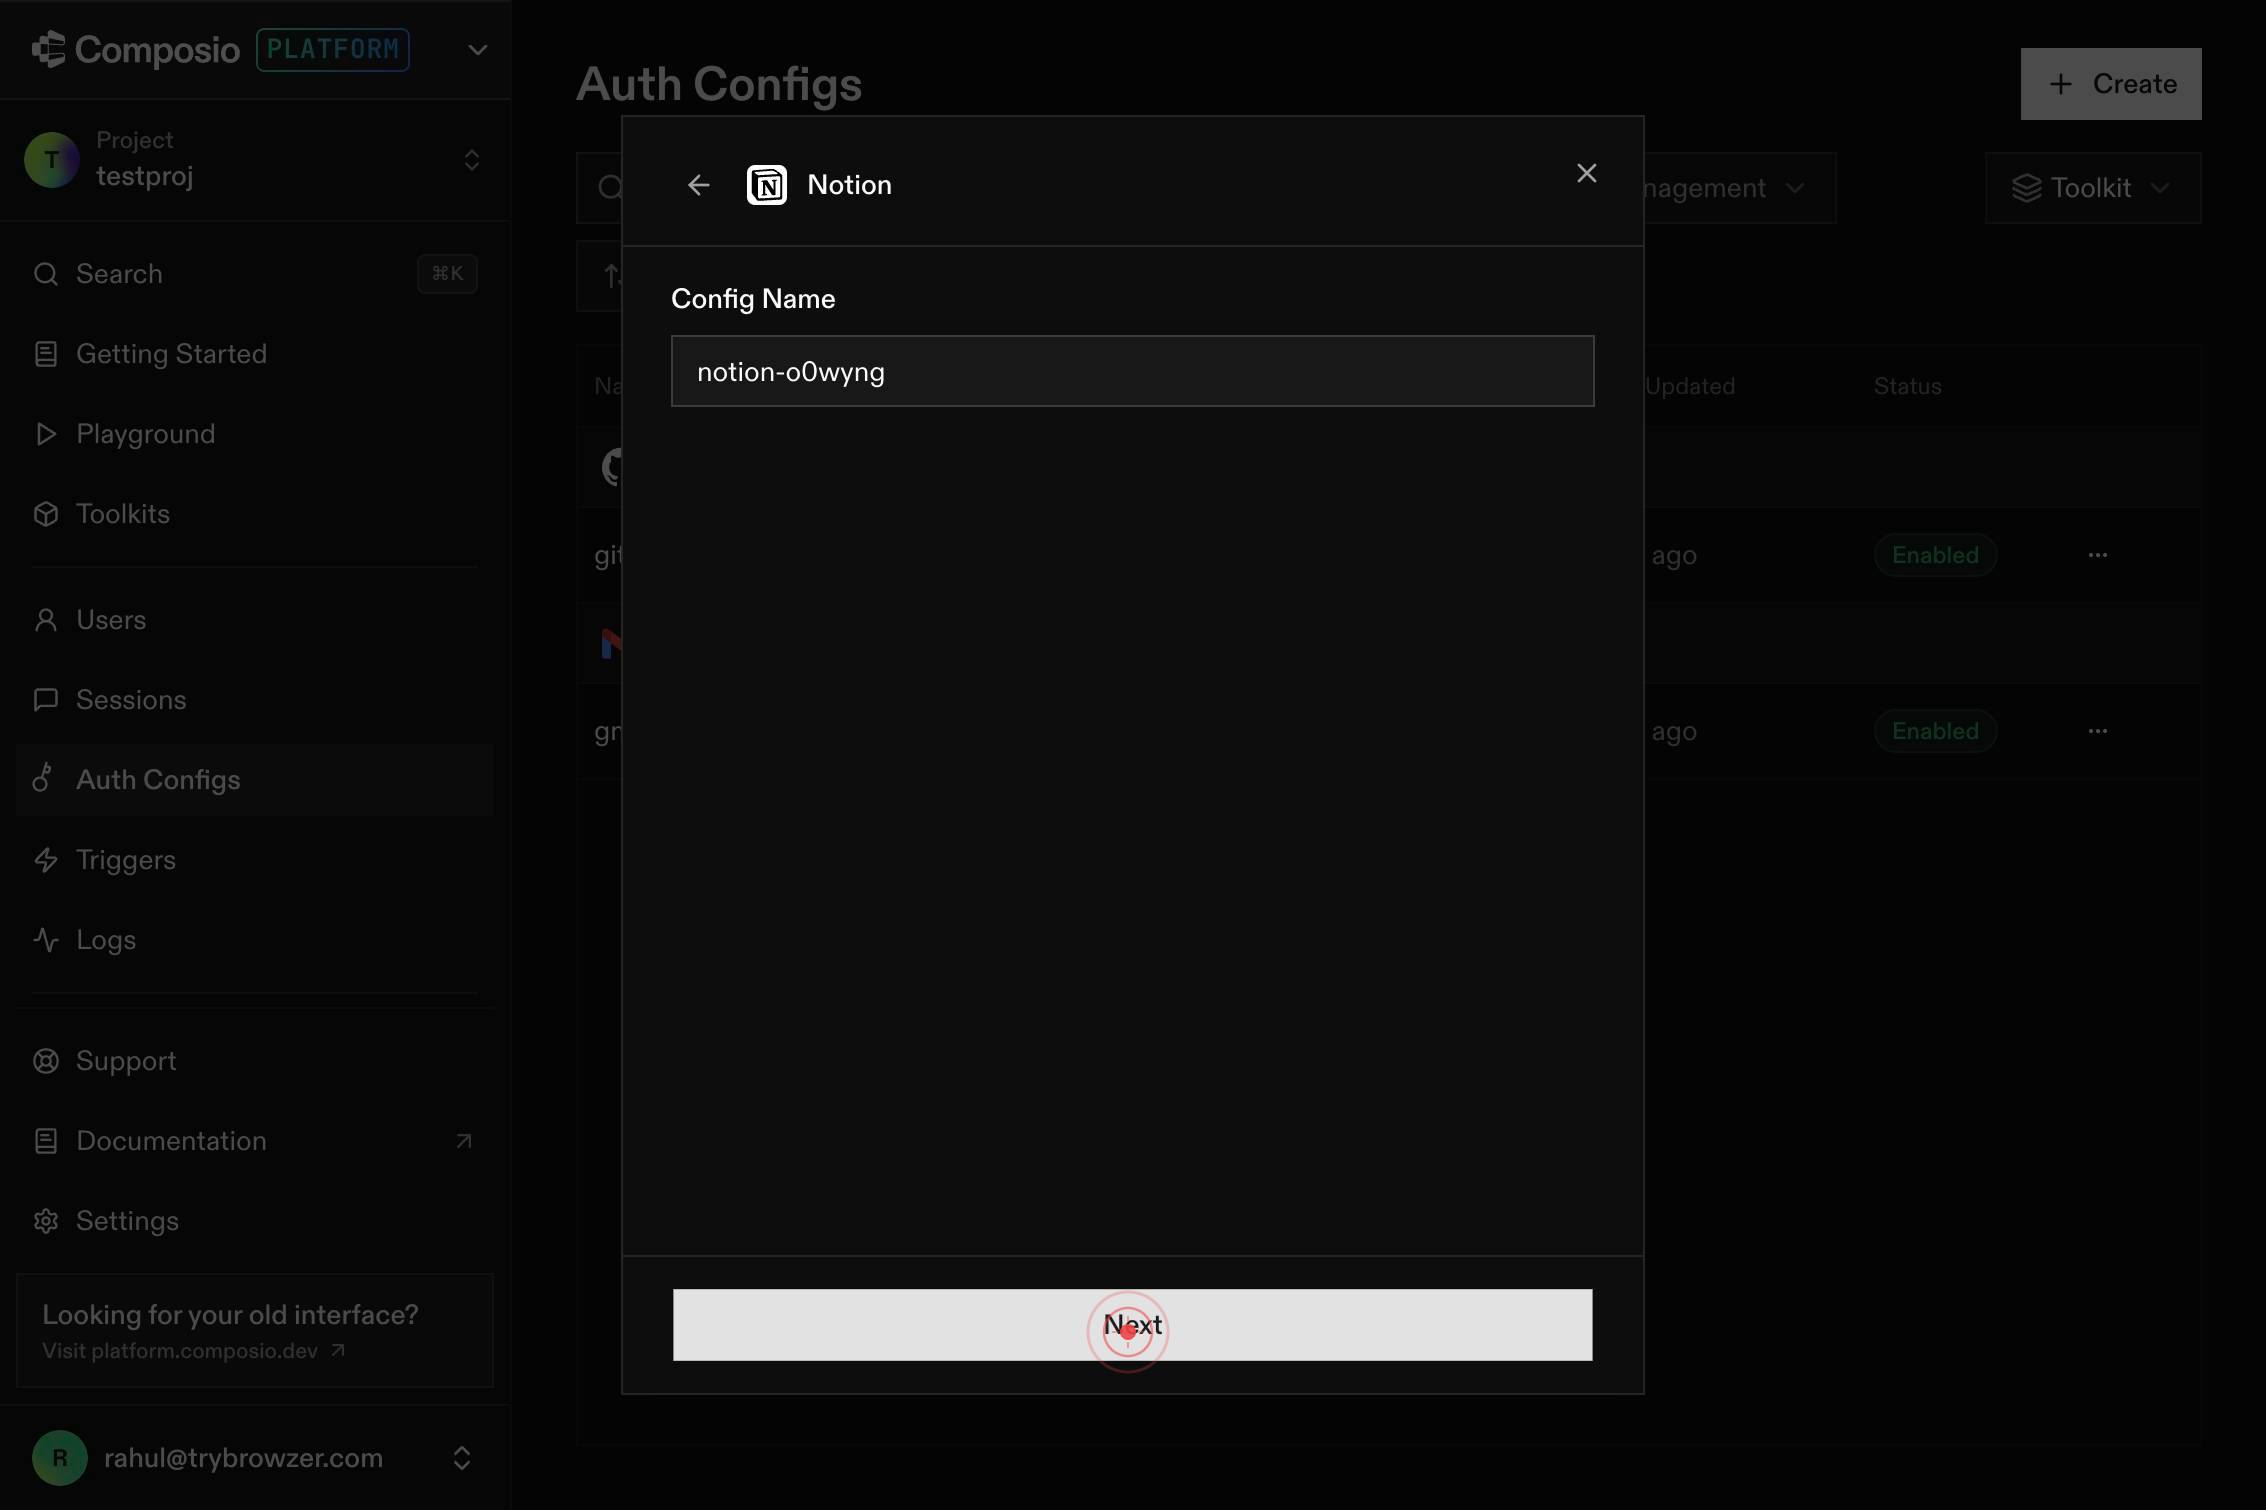
NextClick the Next button to proceed to the scope configuration step. This advances the workflow to where you'll define what permissions the Notion connection will have.
Search scopes or type to add...Begin selecting scopes by clicking in the 'Search scopes or type to add...' field. Type the scope names you need (for example, 'read:database' or 'read:pages') to add the appropriate permissions for your use case.
ScopesPermissions that connected accounts will have.Open the Scopes permissions combobox by clicking on it. This displays available scopes you can select and add to your auth configuration.
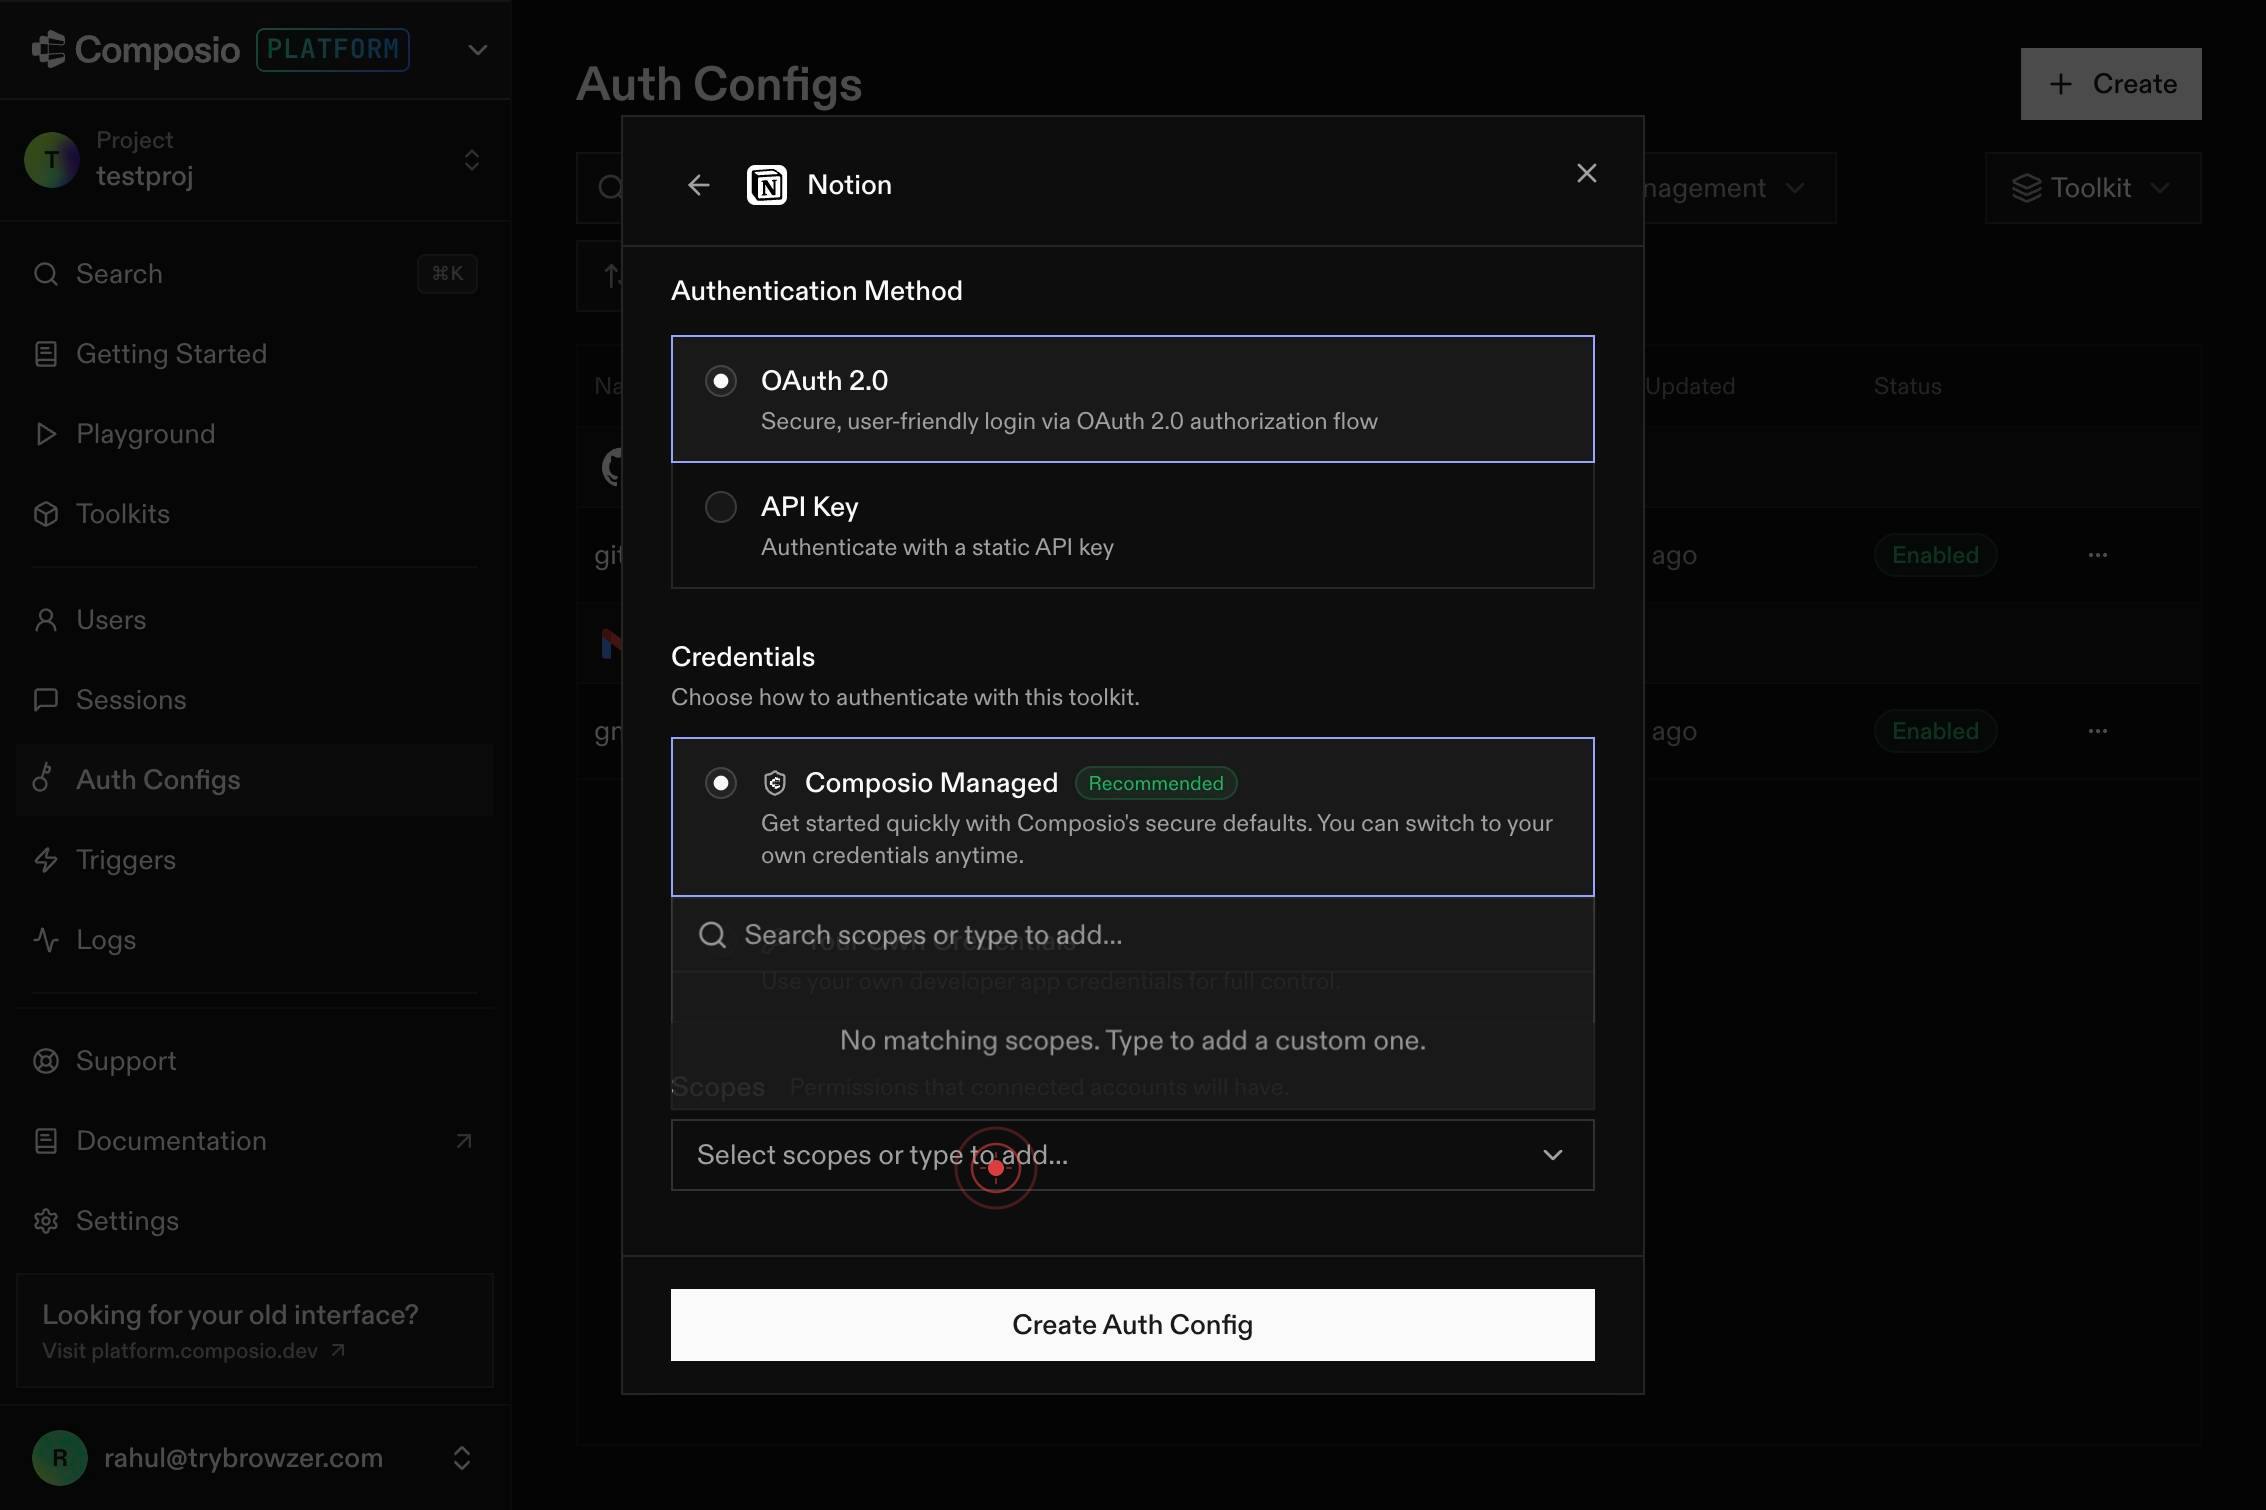
ScopesPermissions that connected accounts will have.Click the Scopes combobox a second time to see the full list of available permissions, or to confirm your scope selections. This step ensures all required scopes are properly added to your configuration.
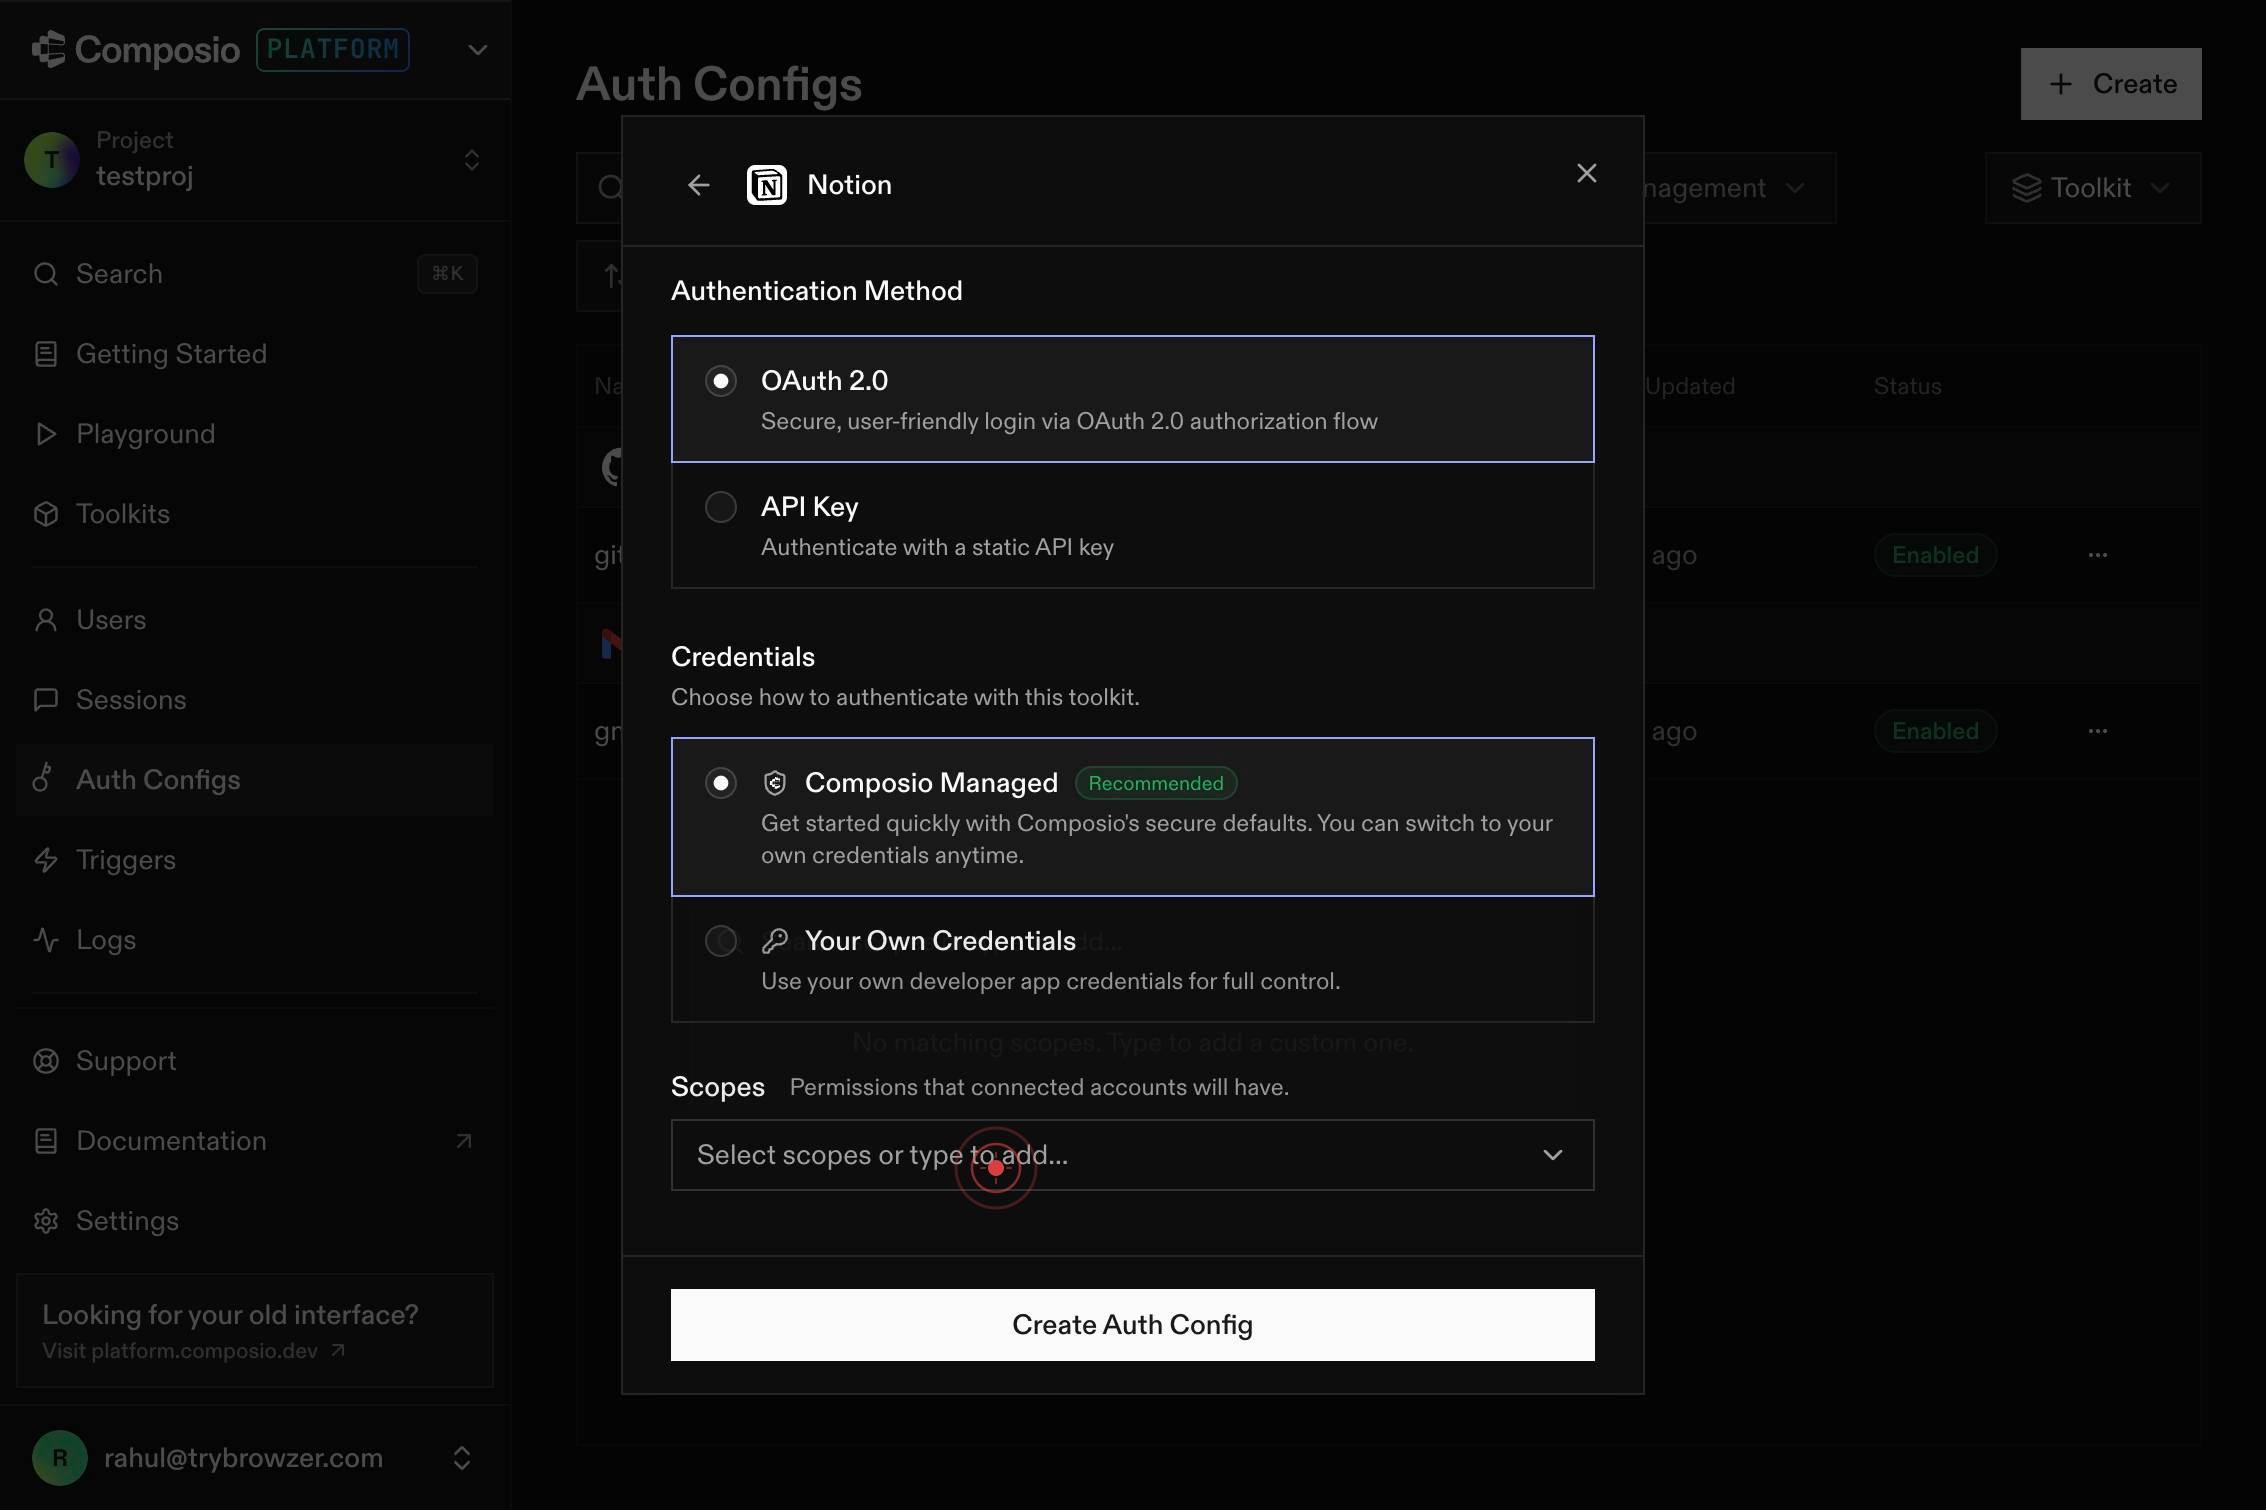
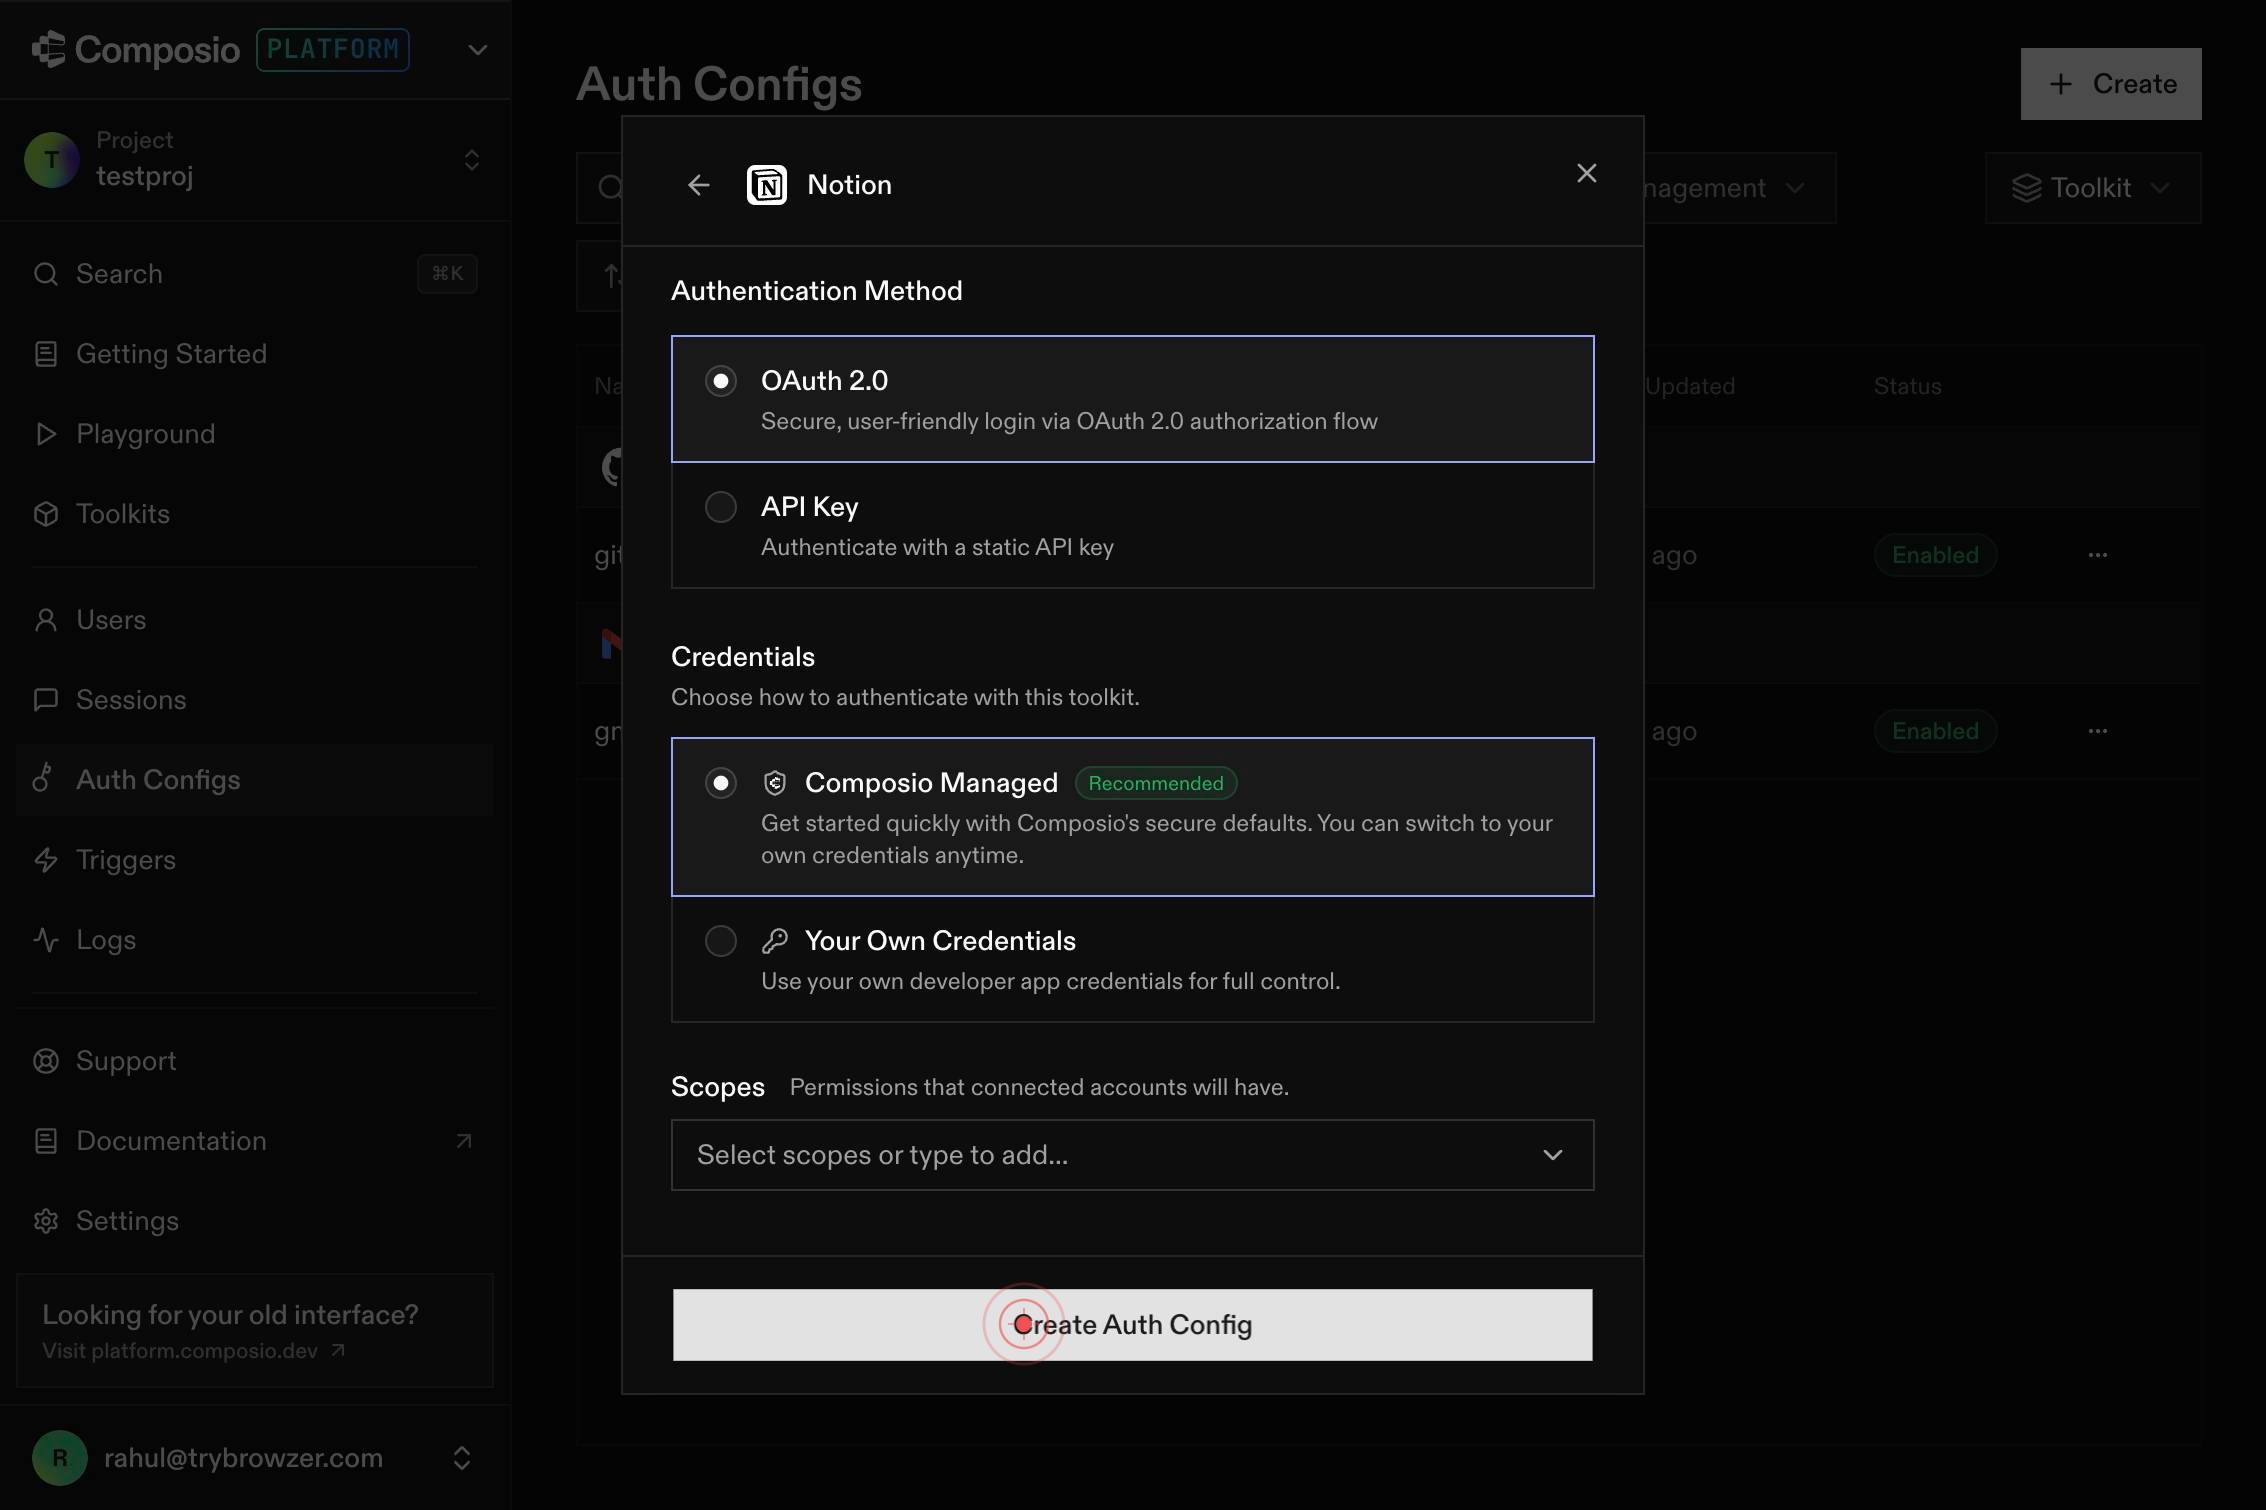
Create Auth ConfigClick the Create Auth Config button to finalize and save your Notion authentication configuration. This triggers the OAuth authorization flow and stores the config in your Composio dashboard.
Search toolkits...The workflow may return to the toolkit search interface. You can now search for additional toolkits if you need to create more auth configs, or navigate away from this screen if you are finished.
Confirm it worked
- 1The auth configuration is successfully created and appears in your Composio dashboard's authentication configurations list
- 2The Notion OAuth 2.0 config is displayed with status showing it is active and ready to use
- 3You can select and reference this auth config when creating new sessions or agents that need Notion access
Common issues
Keep reading
Authorization - Notion Docs
> ## Documentation Index > > Fetch the complete documentation index at: https://developers.notion.com/llms.txt > Use this file to discover all available pages before exploring further. # Authorizati
developers.notion.comConfiguring authentication values for Notion - Writer Help Center
Configuring authentication values for Notion - Writer Help Center # Configuring authentication values for Notion Learn how to set up a Notion integration with the WRITER web app to enable a data sy
support.writer.comHow to build a Notion API integration
How to build a Notion API integration Reserve your seat for our next Fireside with the SVP of Product at Constellation1. Learn more → Login Get a Demo Get account Get a Demo API Docs Integrations
content.rollout.com