Guide
Create Auth Config - Gmail
Overview
Composio provides pre-configured OAuth 2.0 authentication for Gmail, allowing your AI agents to integrate with Gmail's email, search, and productivity features across 62 available tools. By using Composio's managed credentials, you leverage Google's standard OAuth flow with pre-approved scopes, eliminating the complexity of registering your own OAuth app with Google. This is the fastest path to production-ready Gmail integration. You can switch to custom OAuth credentials later if your use case requires additional scopes or custom branding.
Before you begin
- Active Composio account with dashboard access (dashboard.composio.dev)
- User role with permission to create auth configurations in your workspace
- No prior Gmail OAuth setup required — Composio's managed app is ready to use
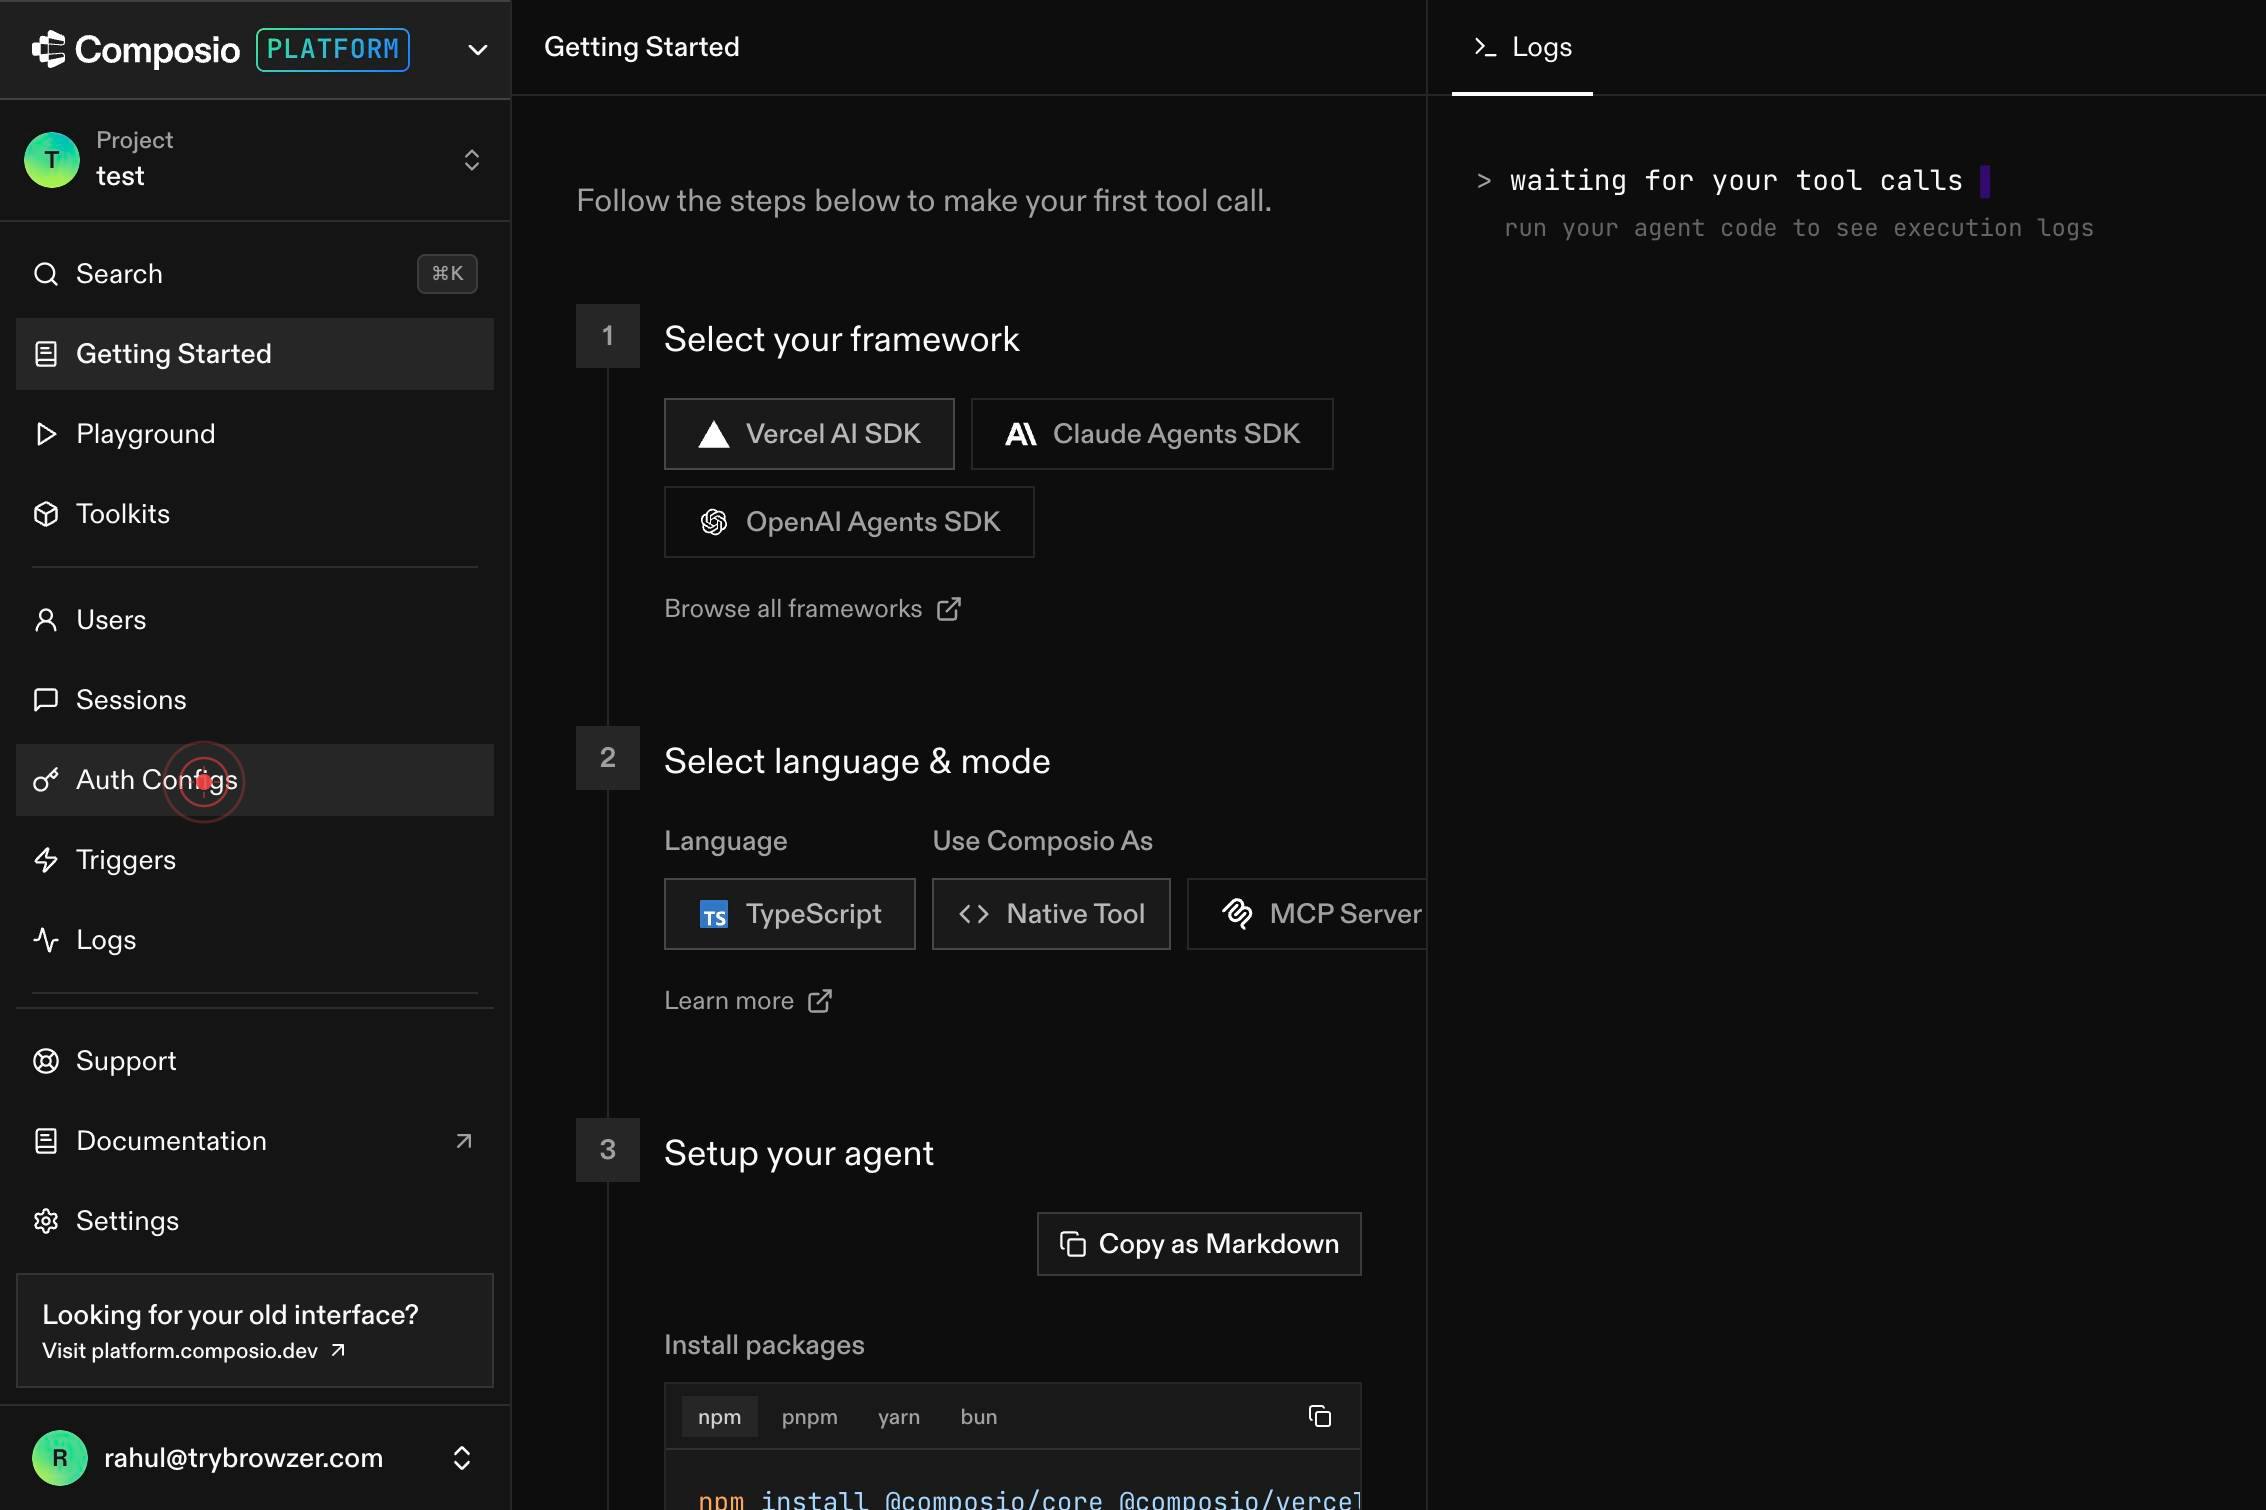
Step by step
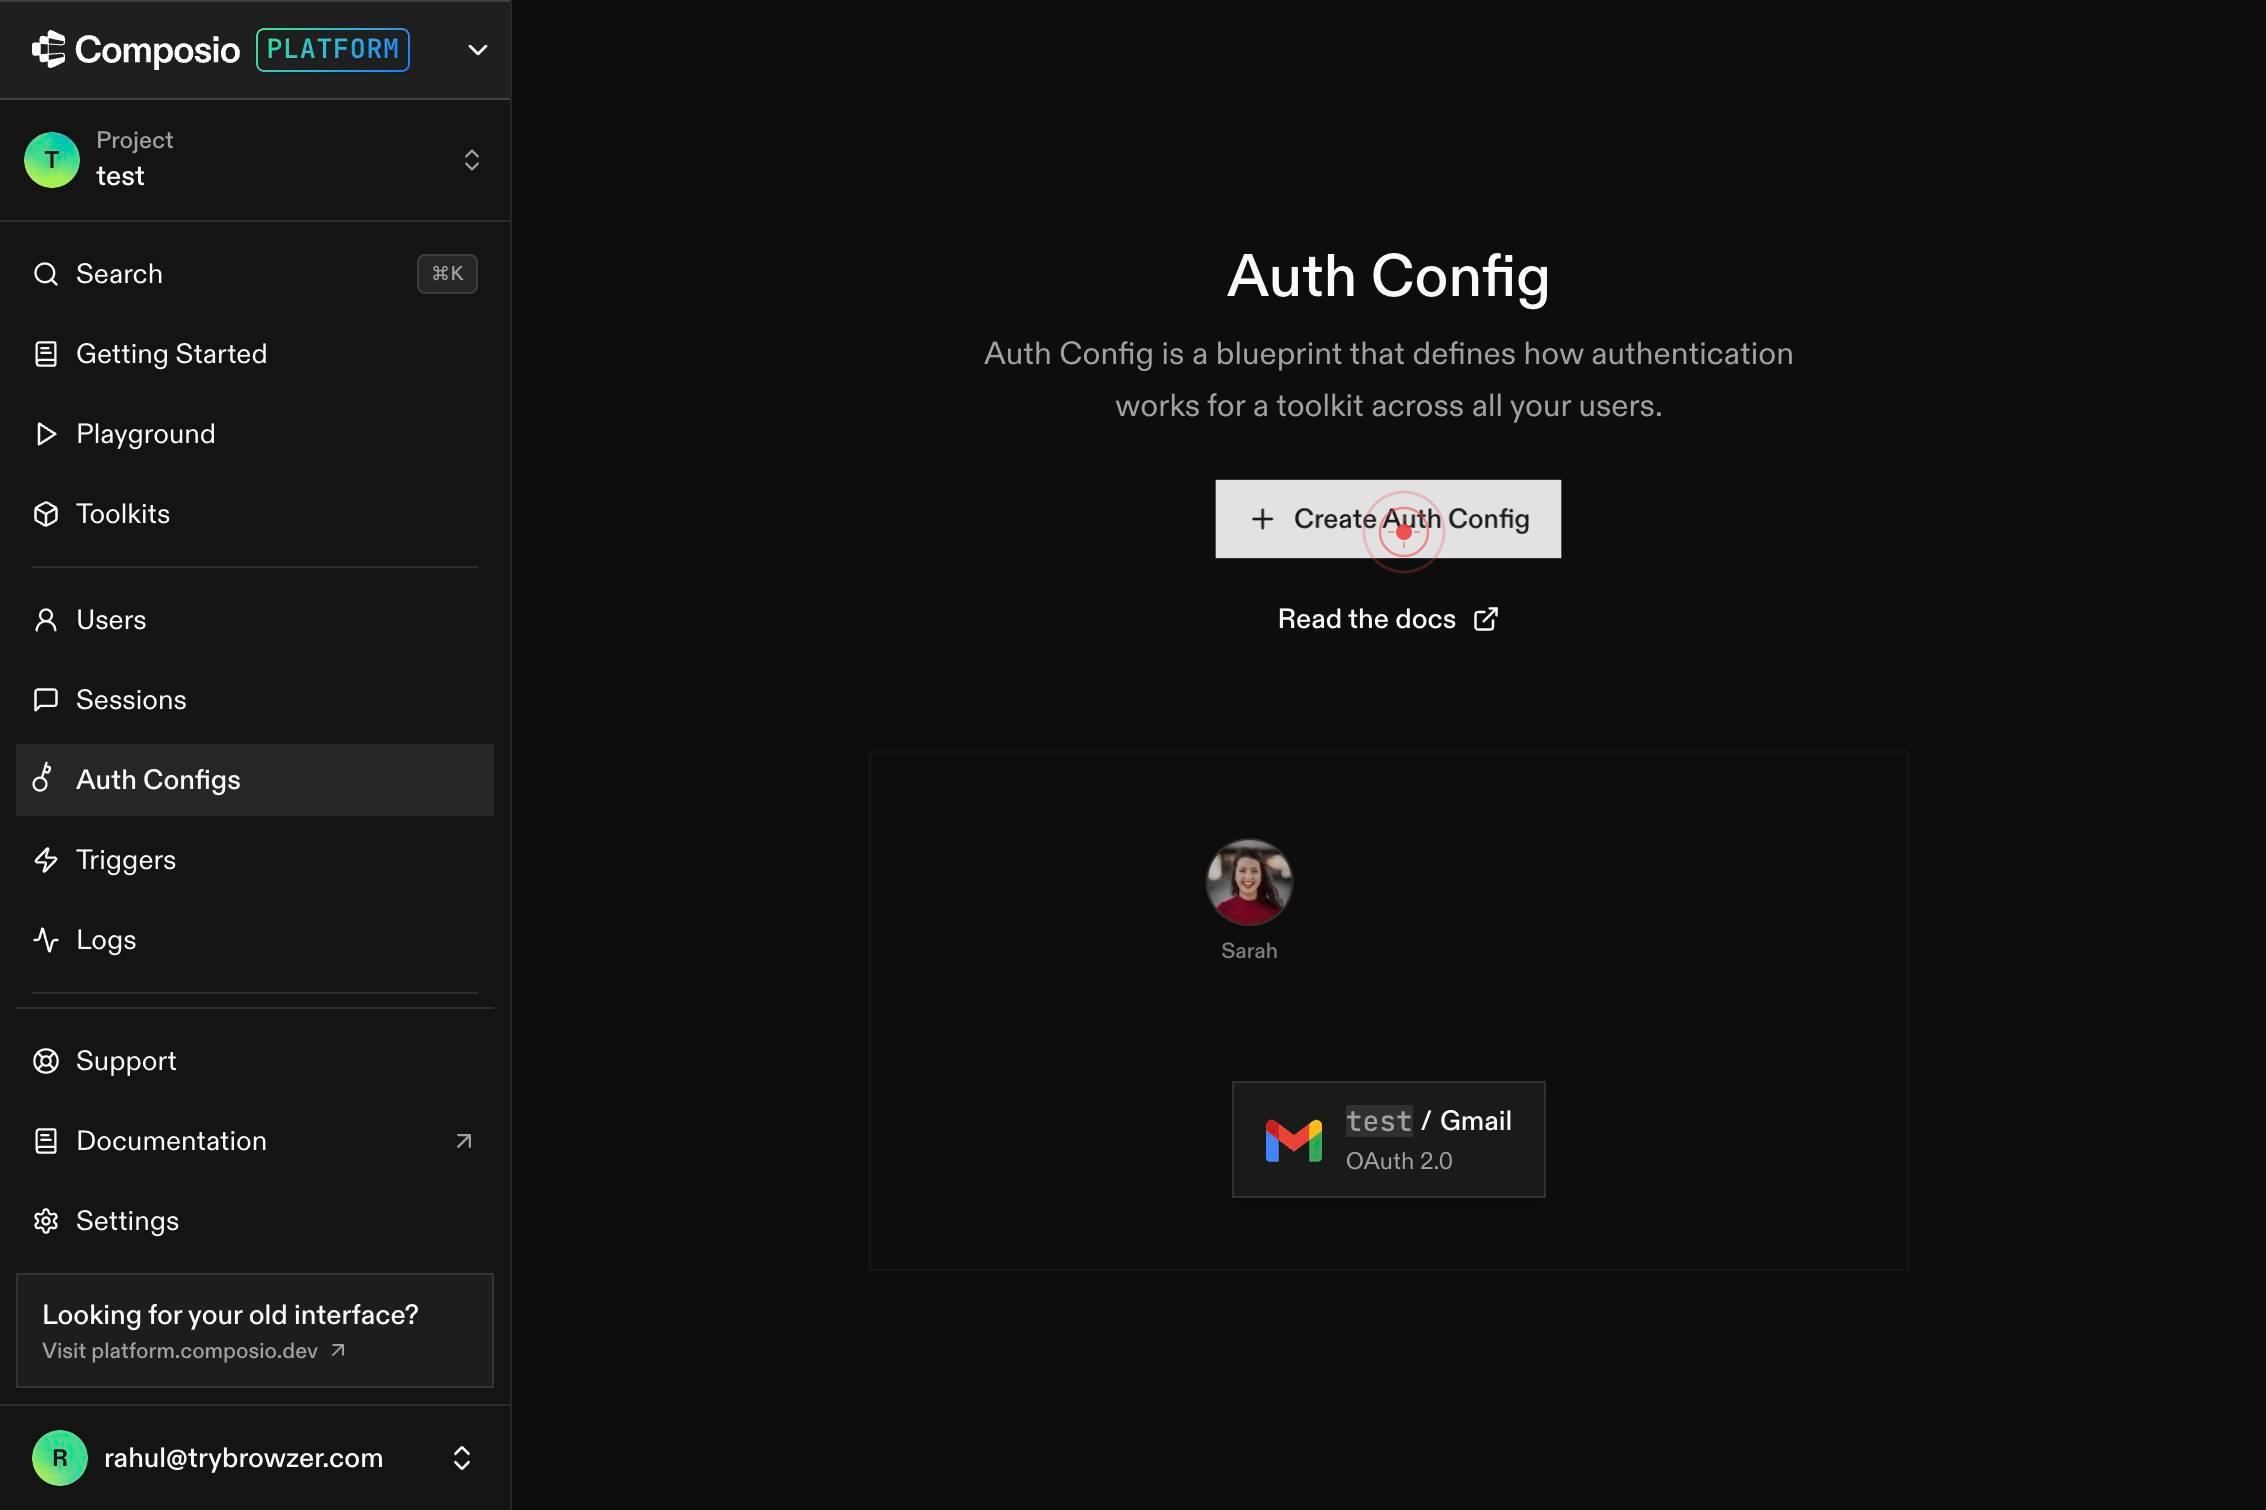
Auth ConfigsNavigate to the Auth Configs section of the Composio dashboard by clicking the 'Auth Configs' link in the sidebar. This page displays all currently configured authentication methods for your workspace.
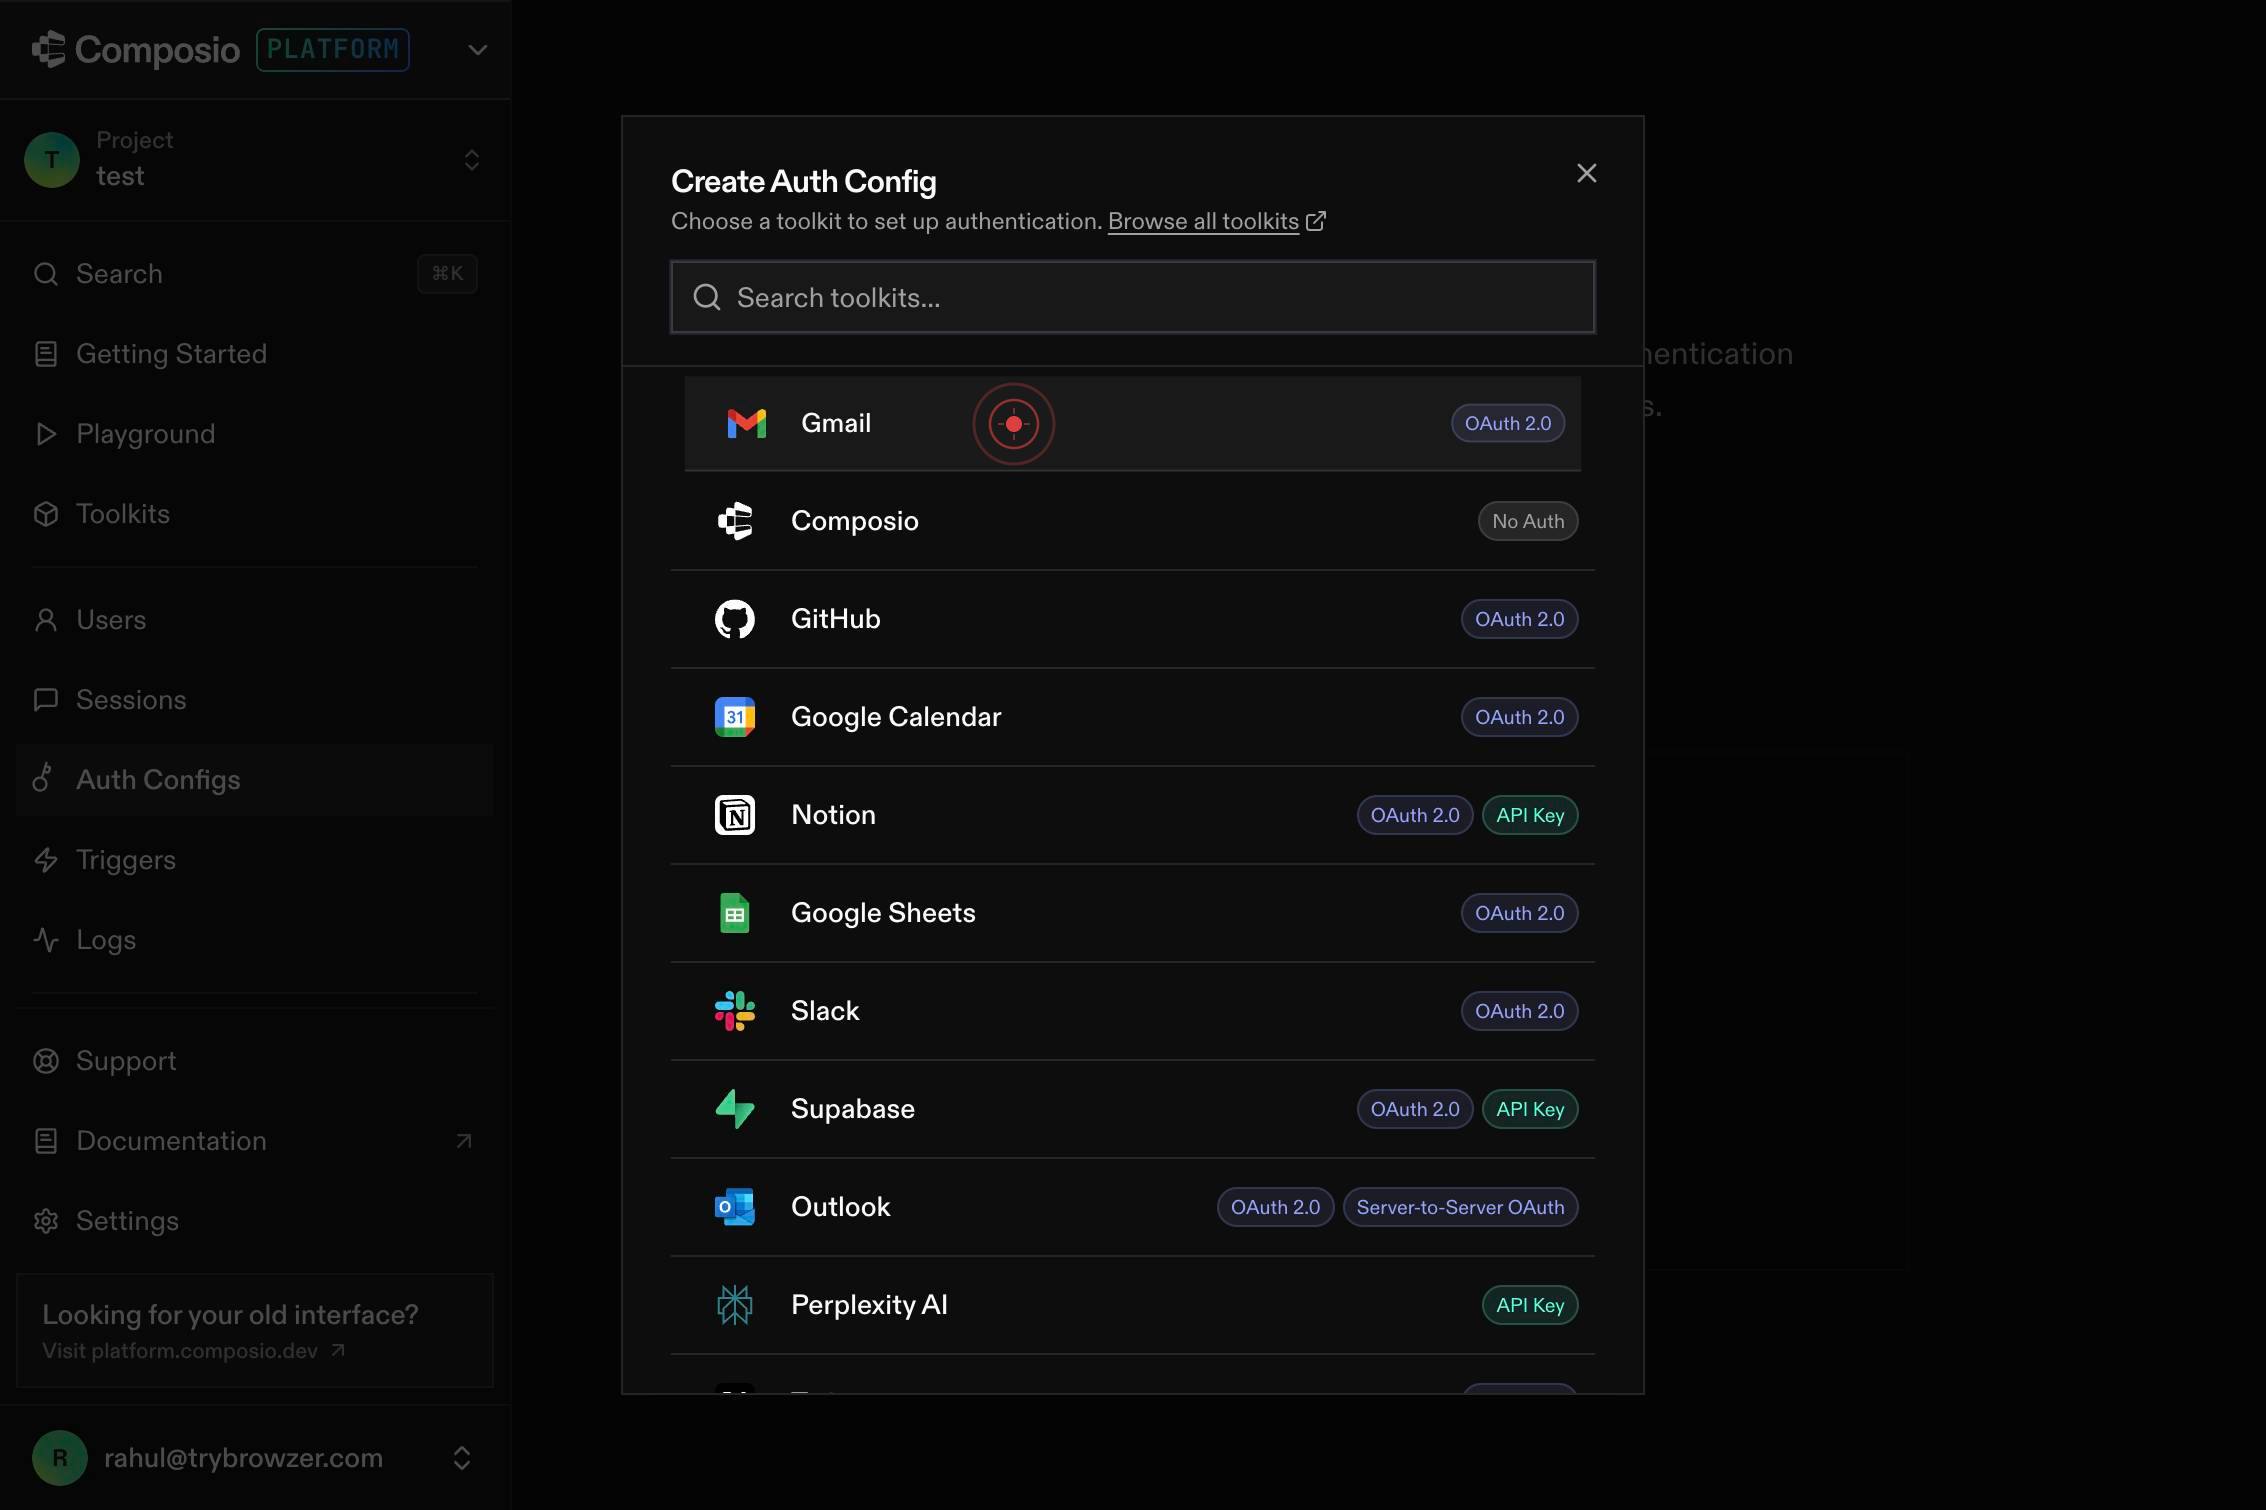
Create Auth ConfigClick the 'Create Auth Config' button to initiate a new authentication configuration. This opens a wizard to select and configure a toolkit.
Search toolkits...Type 'Gmail' in the search box labeled 'Search toolkits...' to filter the list of available toolkits. This narrows the options to email-related integrations.
GGmailOAuth 2.0Click on 'GGmailOAuth 2.0' from the search results to select Gmail as your authentication toolkit. This selection indicates you want to configure OAuth 2.0 access to Gmail.
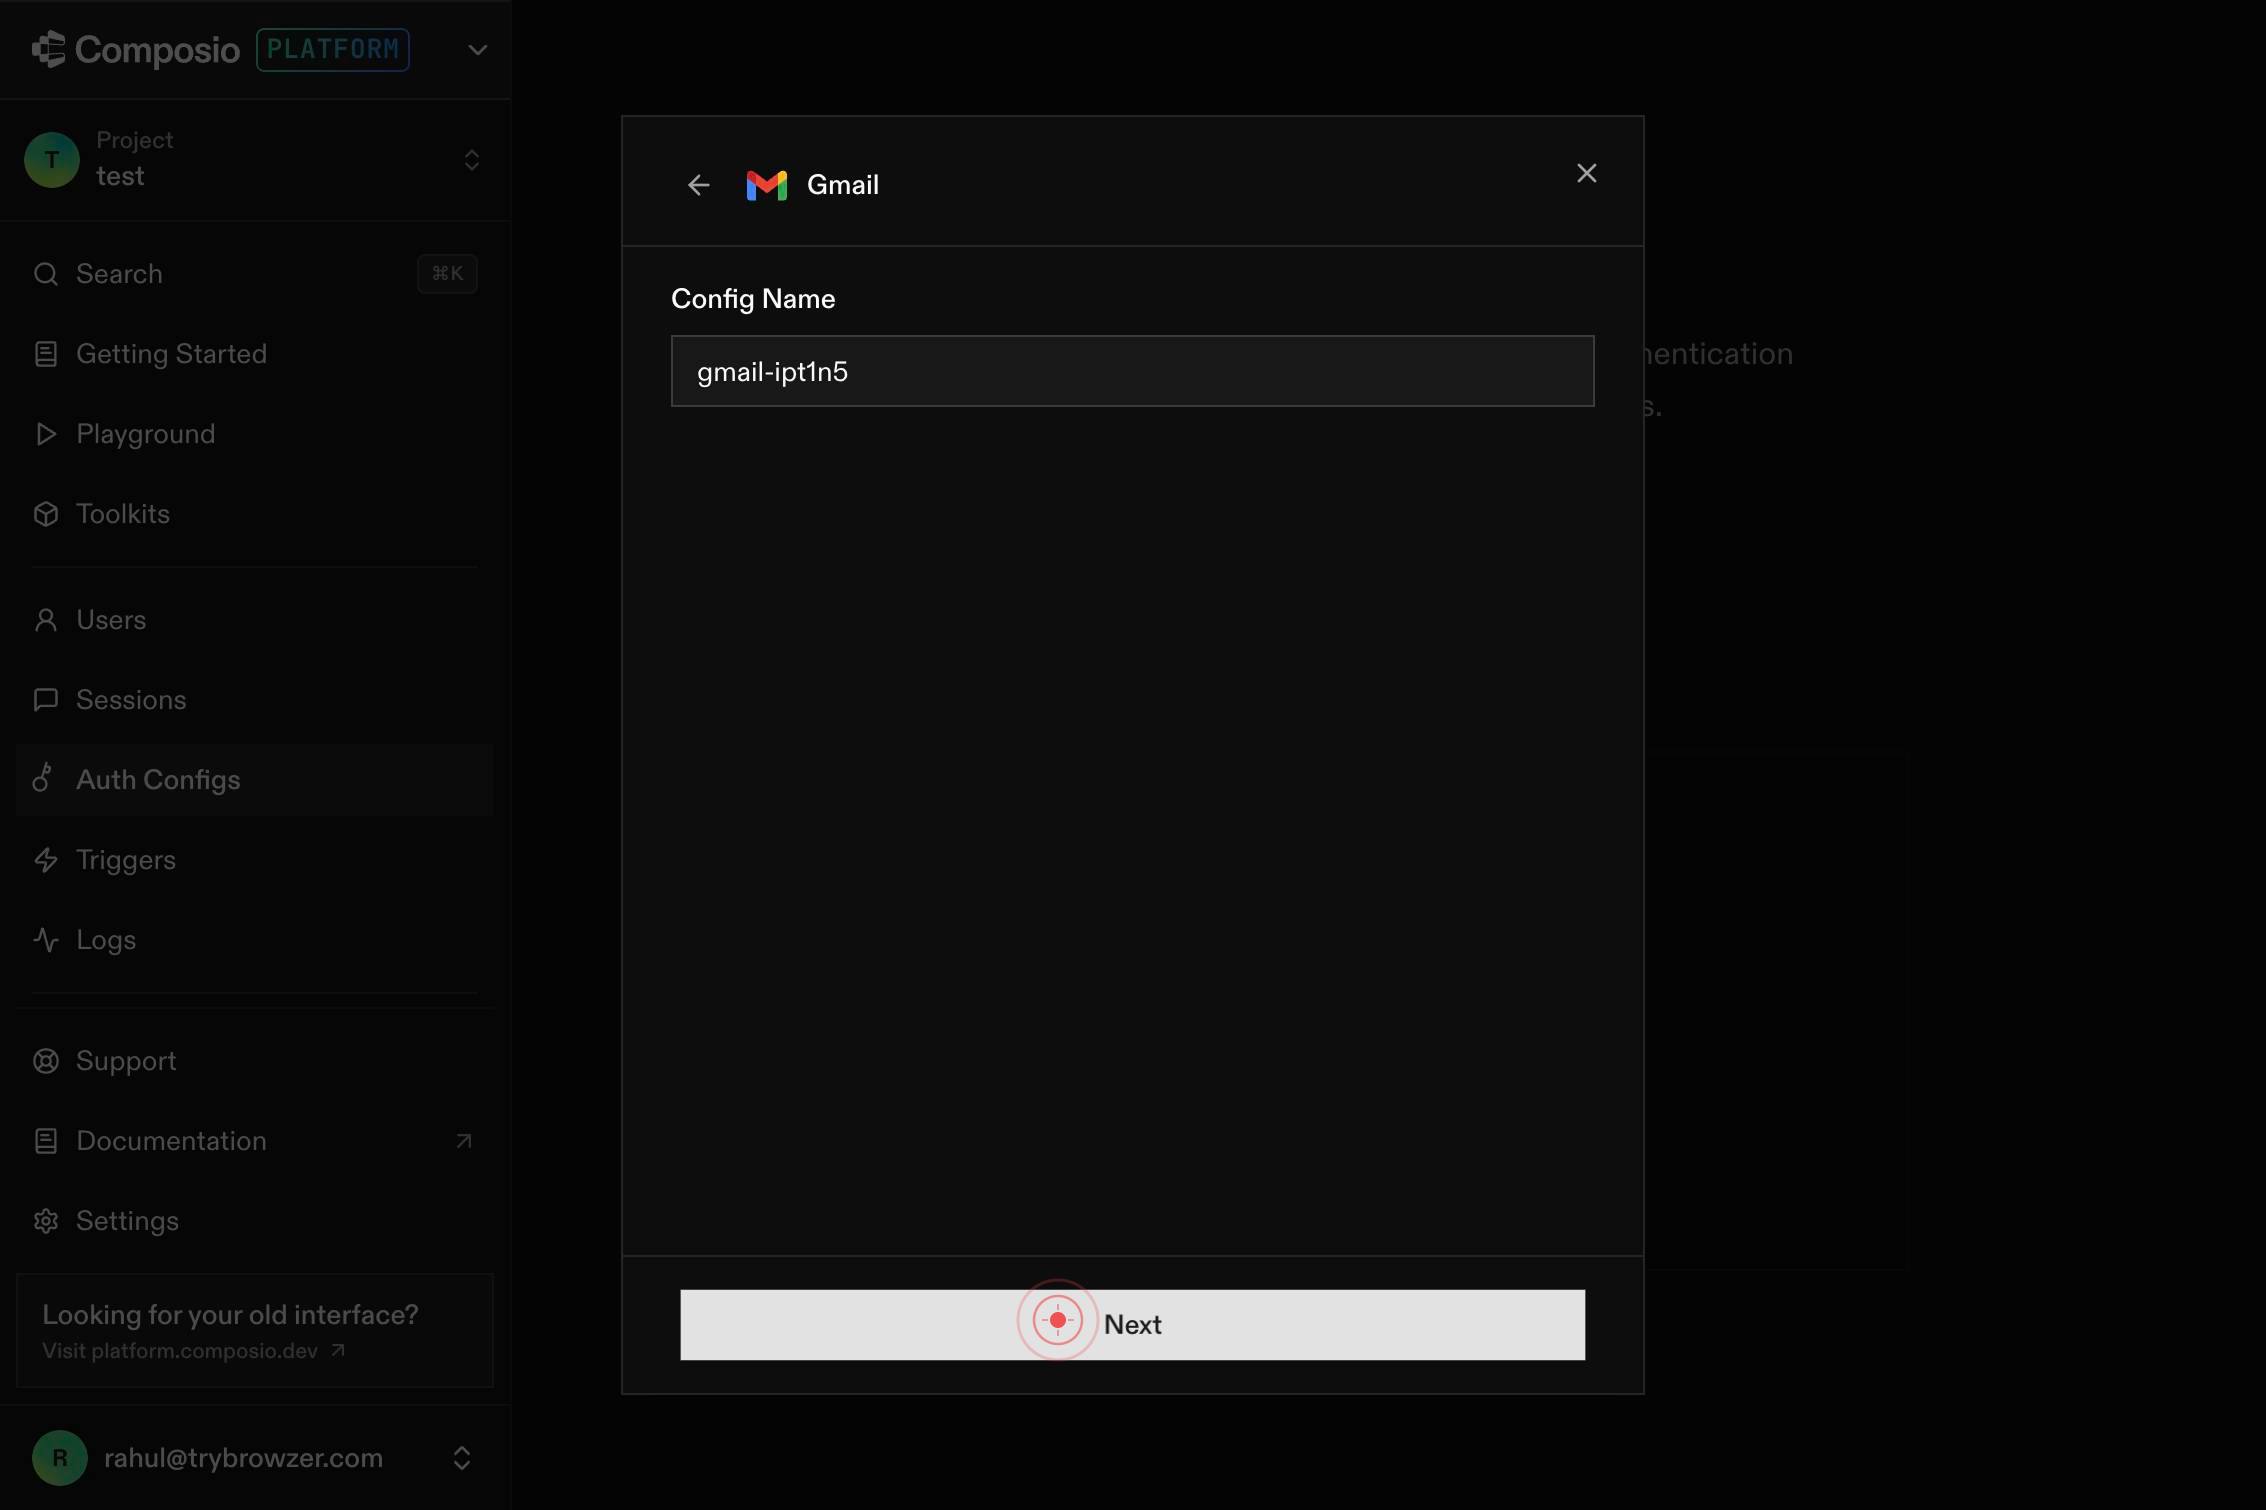
NextClick the 'Next' button to proceed to the credentials configuration screen. This advances the wizard to the step where you choose between managed and custom OAuth credentials.
Get started quickly with Composio's secure defaults. You can switch to your own credentials anytime.Review the option to use Composio's secure defaults, which displays messaging about getting started quickly with managed credentials. You can switch to custom credentials later if needed. This informs you of the benefits of Composio's pre-approved OAuth app.
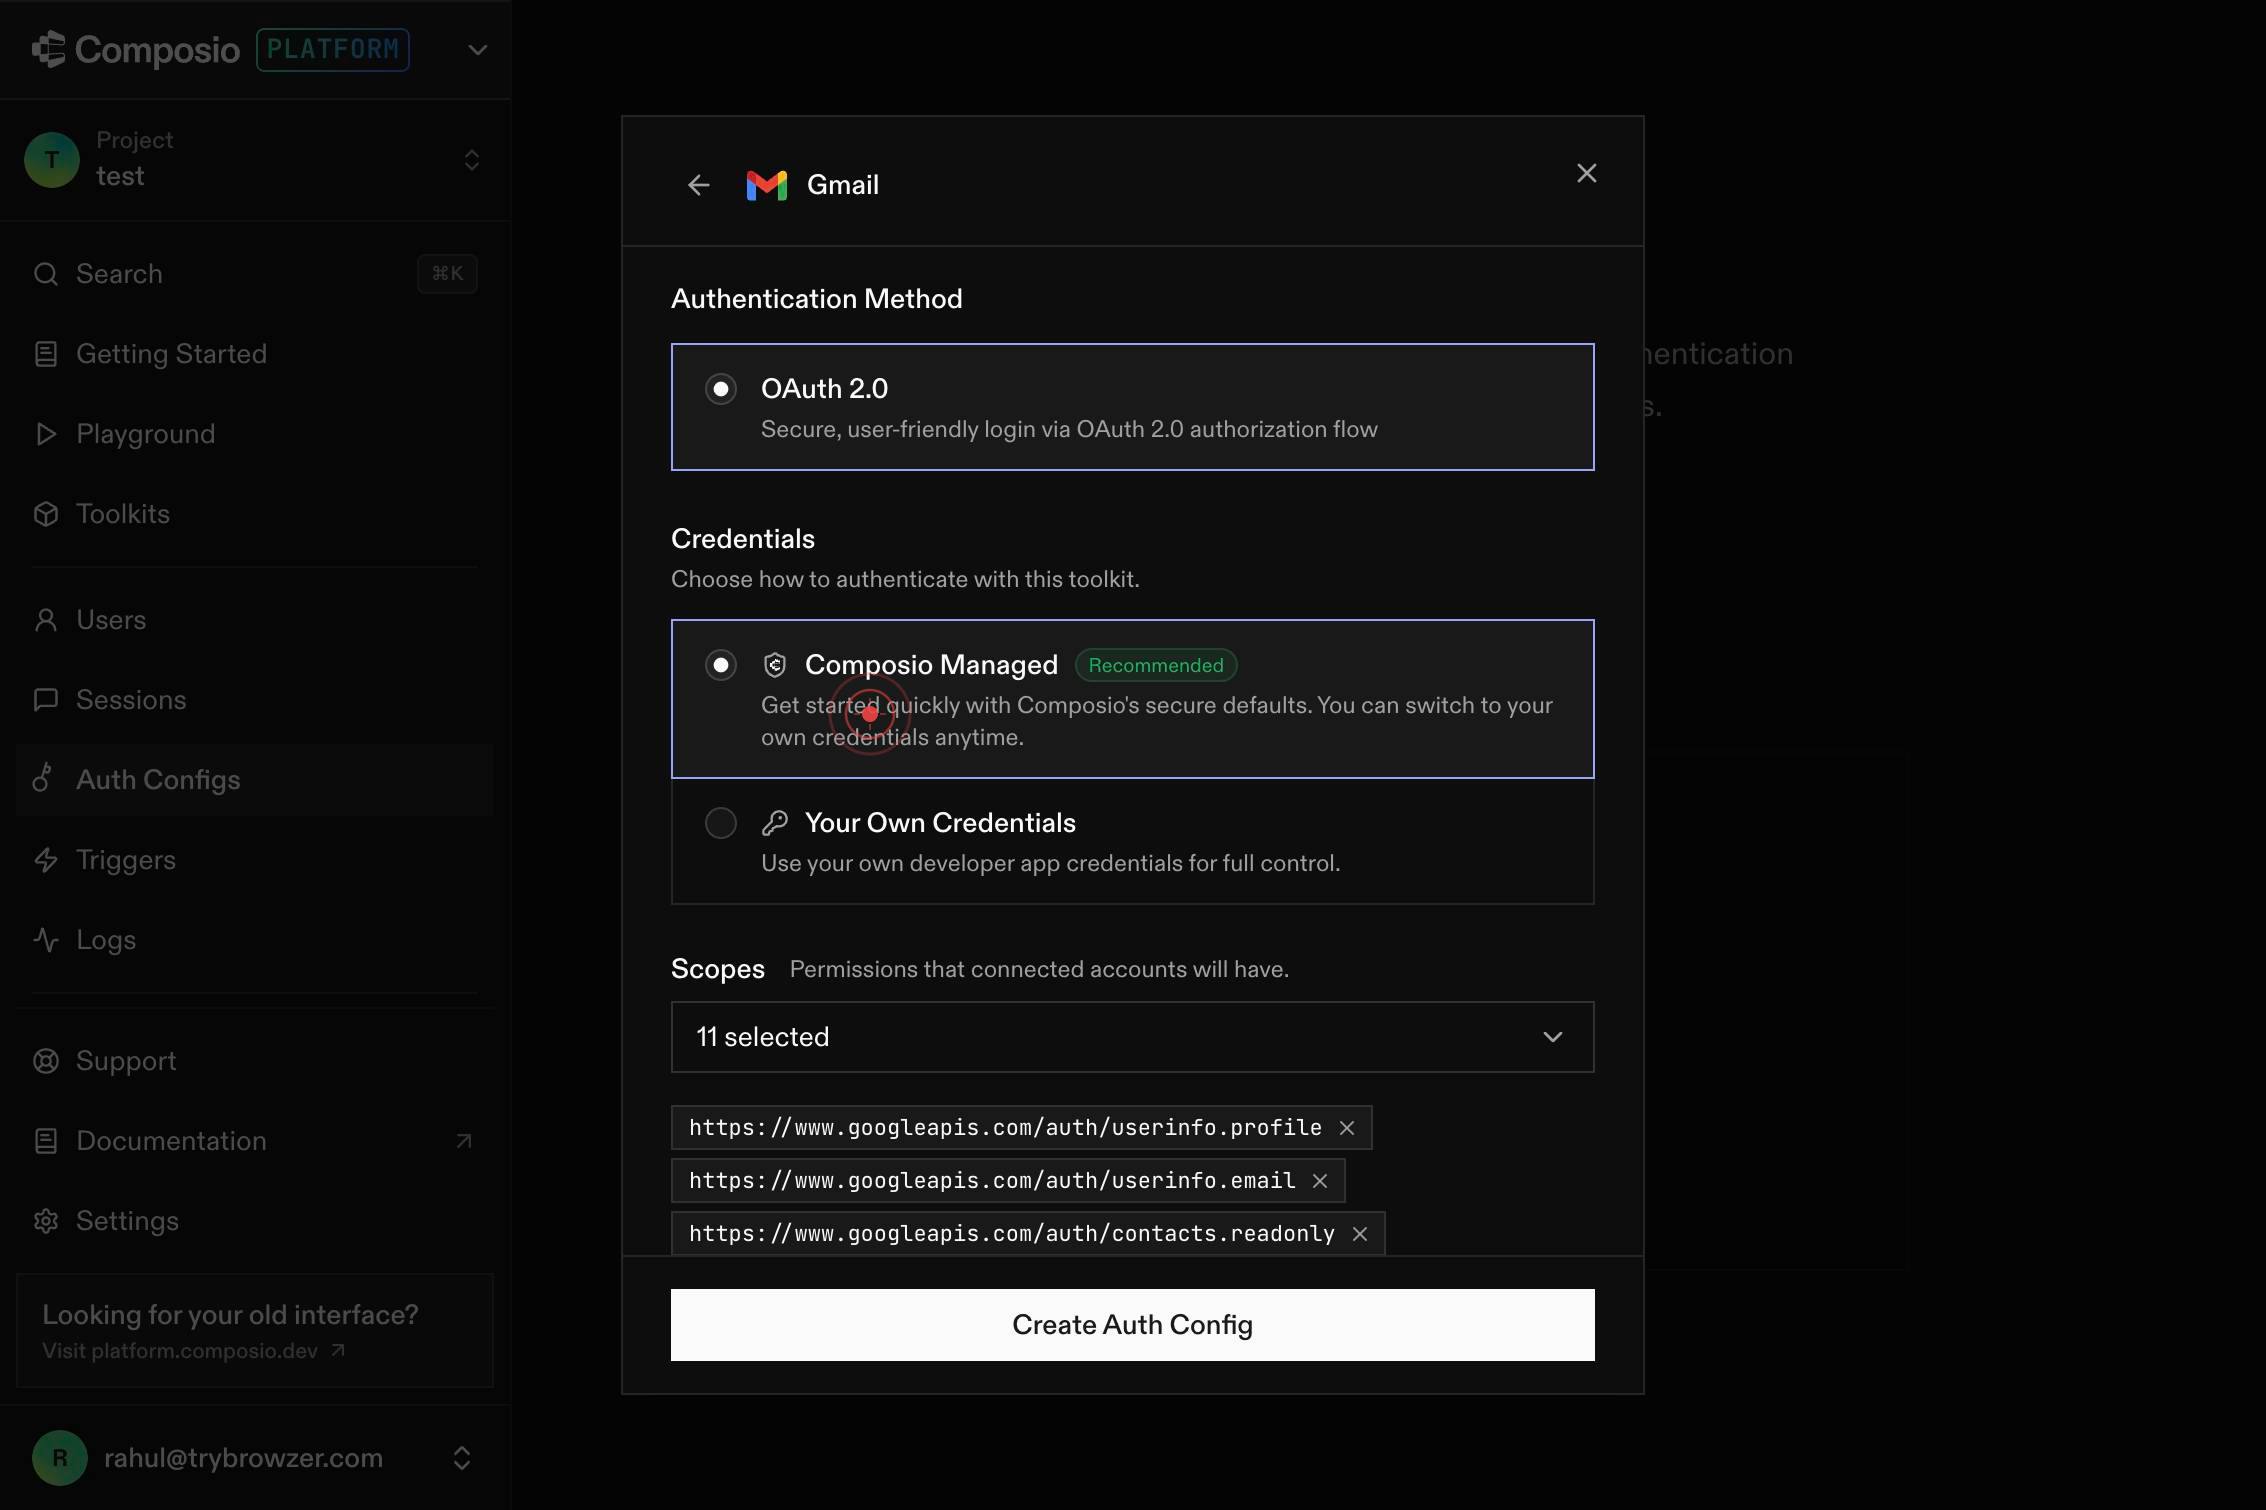
Composio ManagedRecommendedGet started quickly with Composio's secure defaults. You can switch to your own credentials anytime.Click the 'Composio Managed' radio button to confirm you want to use Composio's pre-configured OAuth credentials. This selection means your agents will use Composio's registered OAuth app with Google, not a custom app you manage.

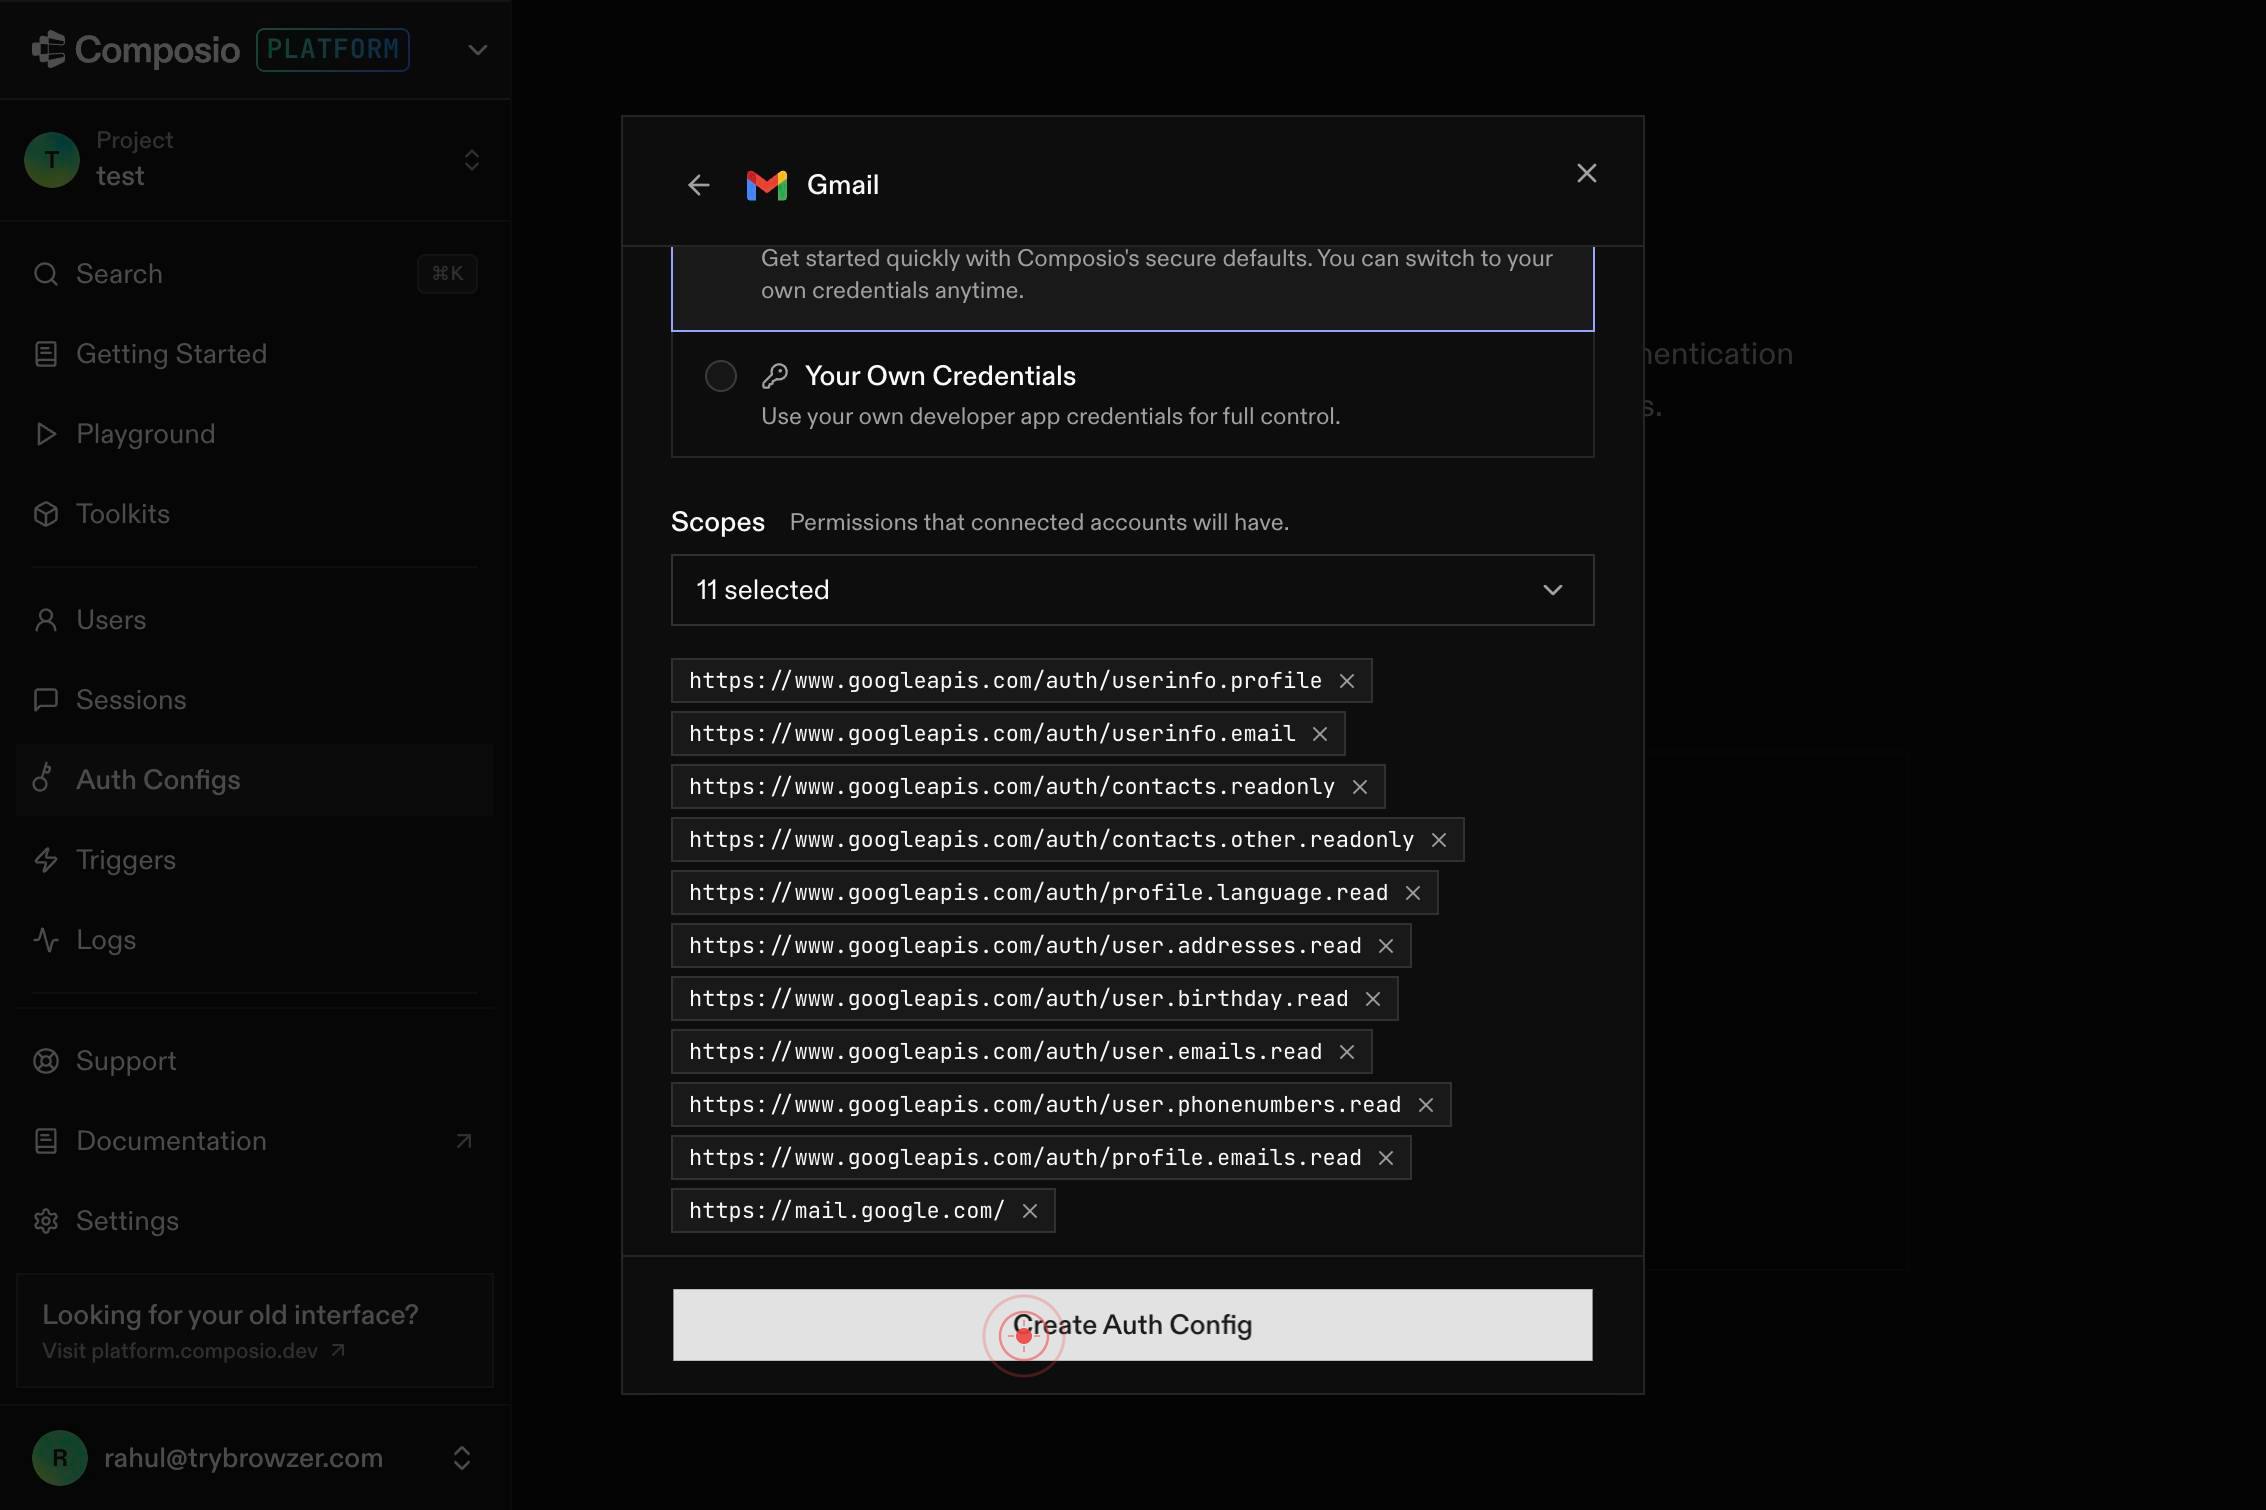
Create Auth ConfigClick the 'Create Auth Config' button to finalize the Gmail OAuth 2.0 configuration. This completes the setup and adds the configuration to your workspace's available auth methods.
Search toolkits...The wizard may return to a search or config selection screen. If you need to configure additional toolkits, type in the search box again; otherwise, navigate back to the Auth Configs page to confirm your Gmail configuration is listed and active.
Confirm it worked
- 1You see the Auth Configs page listing all active authentication configurations
- 2A new Gmail OAuth 2.0 configuration appears in the Auth Configs list with 'Active' or 'Ready' status
- 3The configuration shows 'Composio Managed' label, confirming you're using Composio's pre-approved OAuth app
Common issues
Keep reading
Implementing Gmail Login in Next.js 14: A Quick Guide | by Alamdar Hussain | Medium
Implementing Gmail Login in Next.js 14: A Quick Guide | by Alamdar Hussain | Medium Sitemap Open in app Sign up Sign in Medium Logo Get app Write Search Sign up Sign in # Implementing Gmail
medium.comConfigure Gmail Authentication With Nodemailer | by Shilleh | Dev Genius
Configure Gmail Authentication With Nodemailer | by Shilleh | Dev Genius Sitemap Open in app Sign up Sign in Medium Logo Get app Write Search Sign up Sign in ## Dev Genius Follow publicati
blog.devgenius.ioHow I Set Up Nodemailer with Gmail OAuth2 in My Node.js Project - DEV Community
How I Set Up Nodemailer with Gmail OAuth2 in My Node.js Project - DEV Community For a long time, I thought sending emails from a Node.js project would be simple. Install Nodemailer, write a few lines
dev.to