Guide
Update Project Name
Overview
The Composio dashboard provides a centralized interface for managing your AI agent projects and tool integrations. Renaming a project helps keep your workspace organized and makes it easier to identify projects by their current purpose or status. This workflow guides you through the process of editing a project's name directly from the dashboard interface.
Before you begin
- You have a Composio account and are logged in to dashboard.composio.dev
- You have at least one existing project visible on the dashboard
- You have permissions to edit the project (typically the project creator or admin)
Step by step
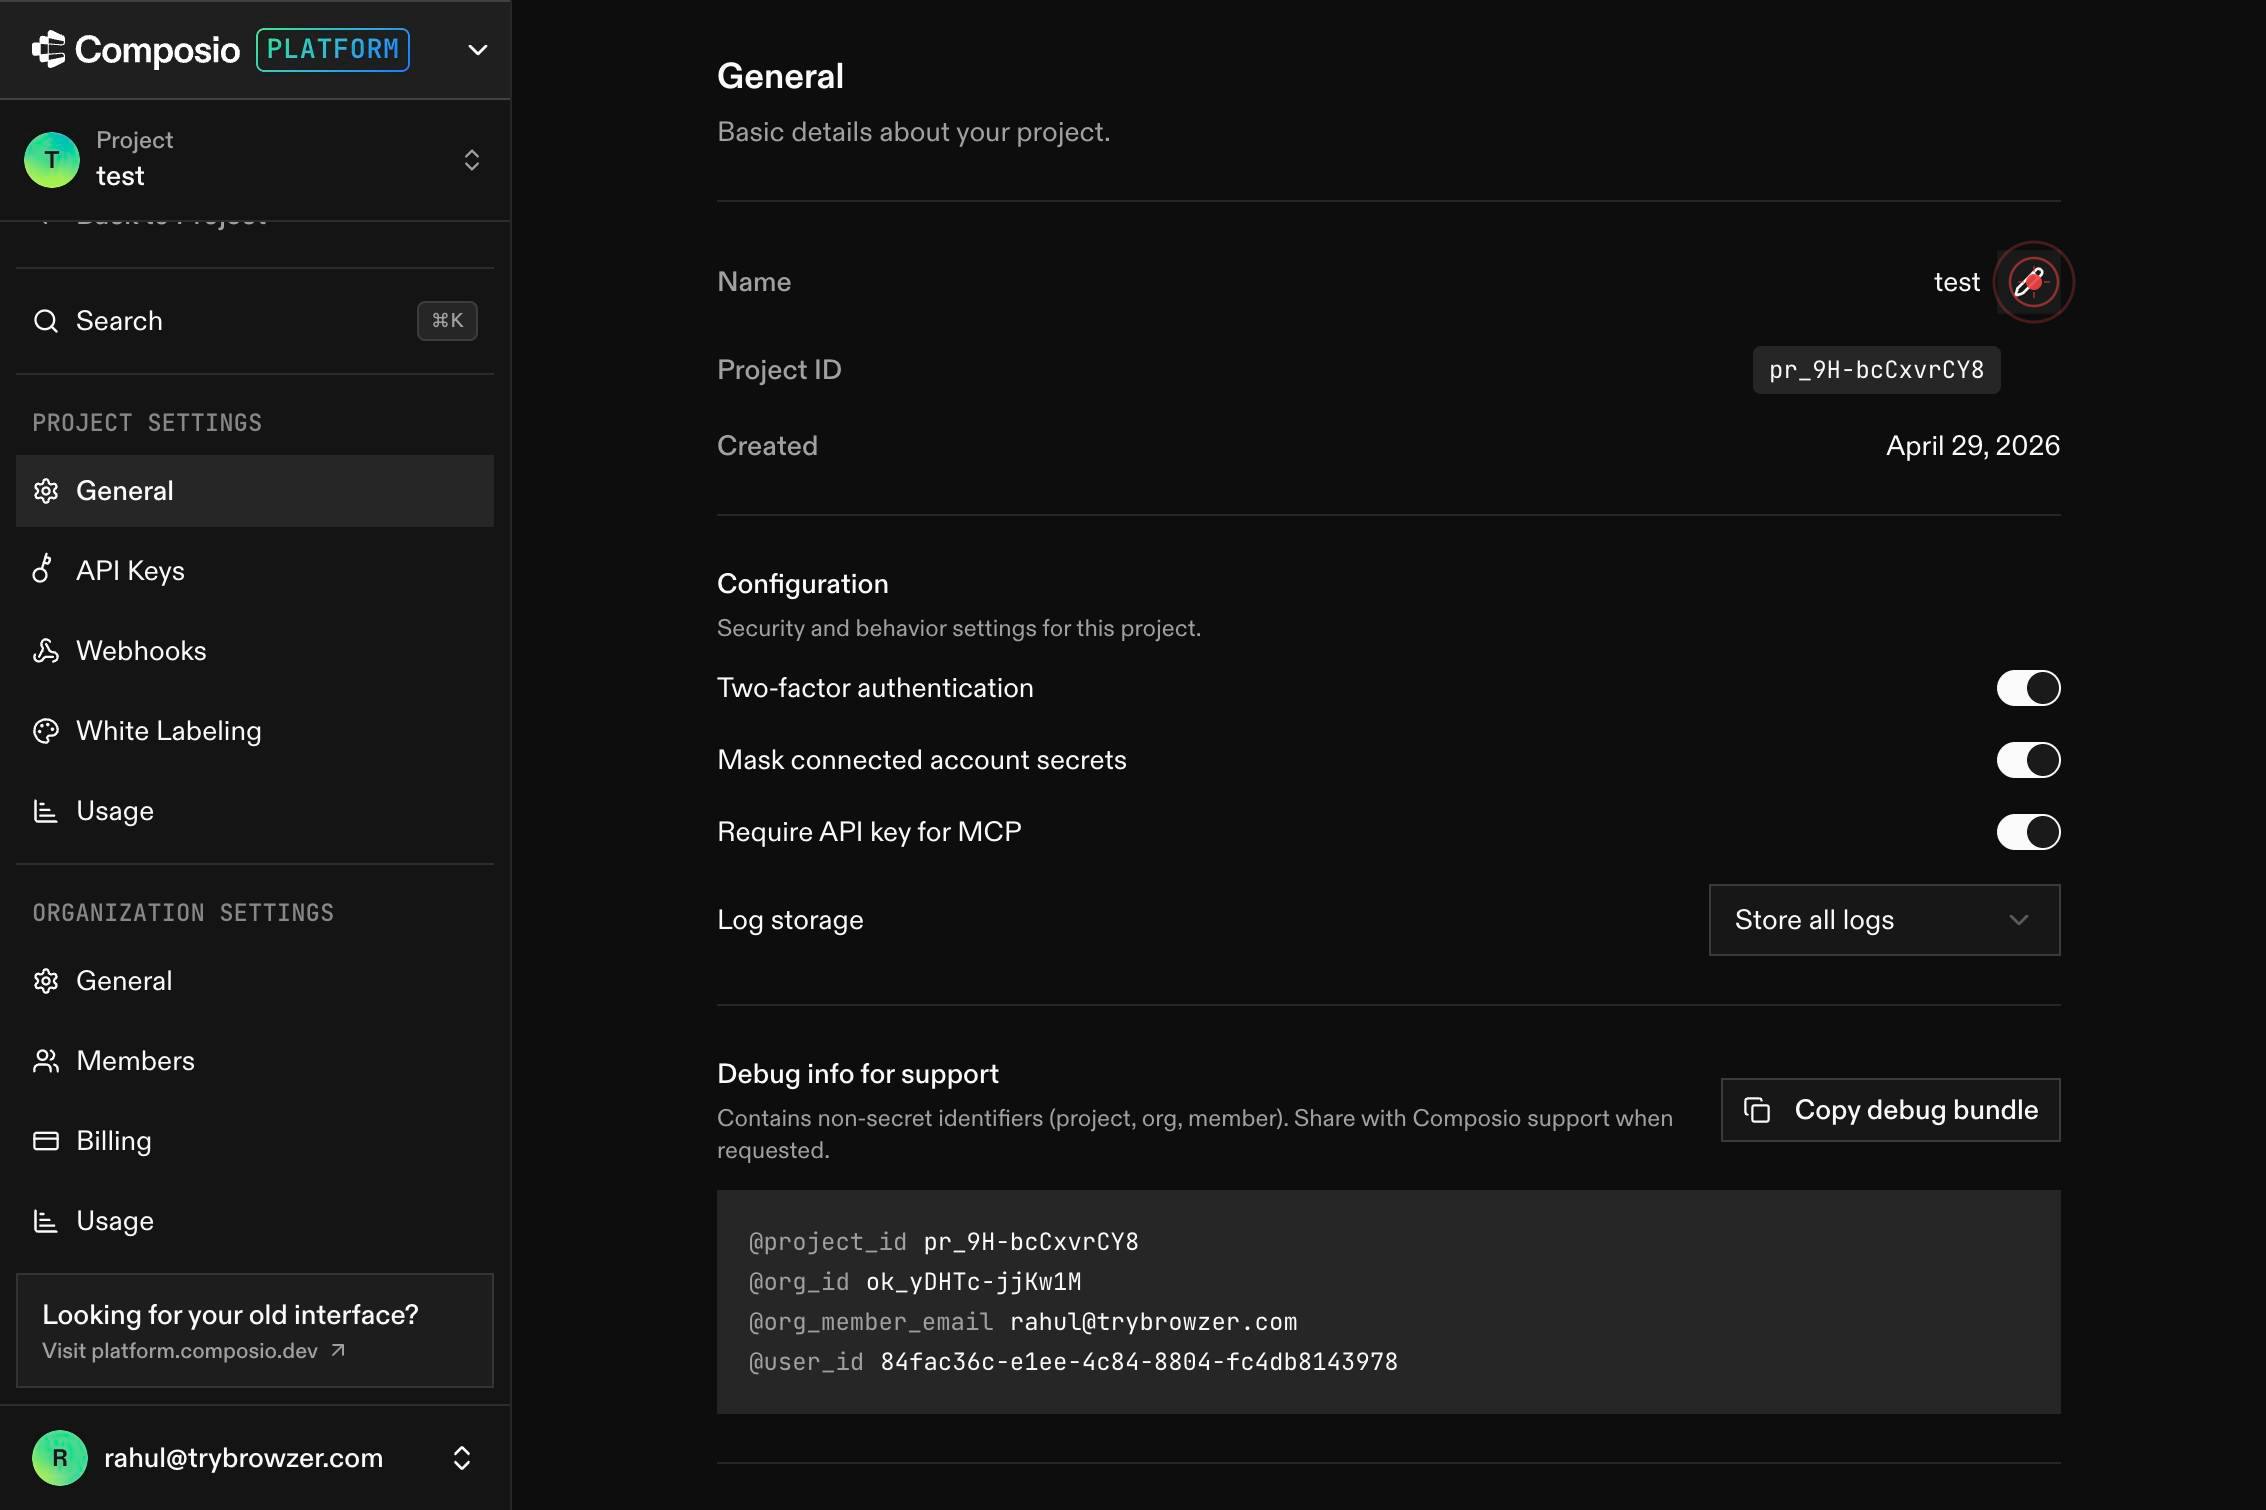
buttonClick the edit or rename button for the project you want to update. This button typically appears next to the project name in the dashboard project list and opens the rename interface.
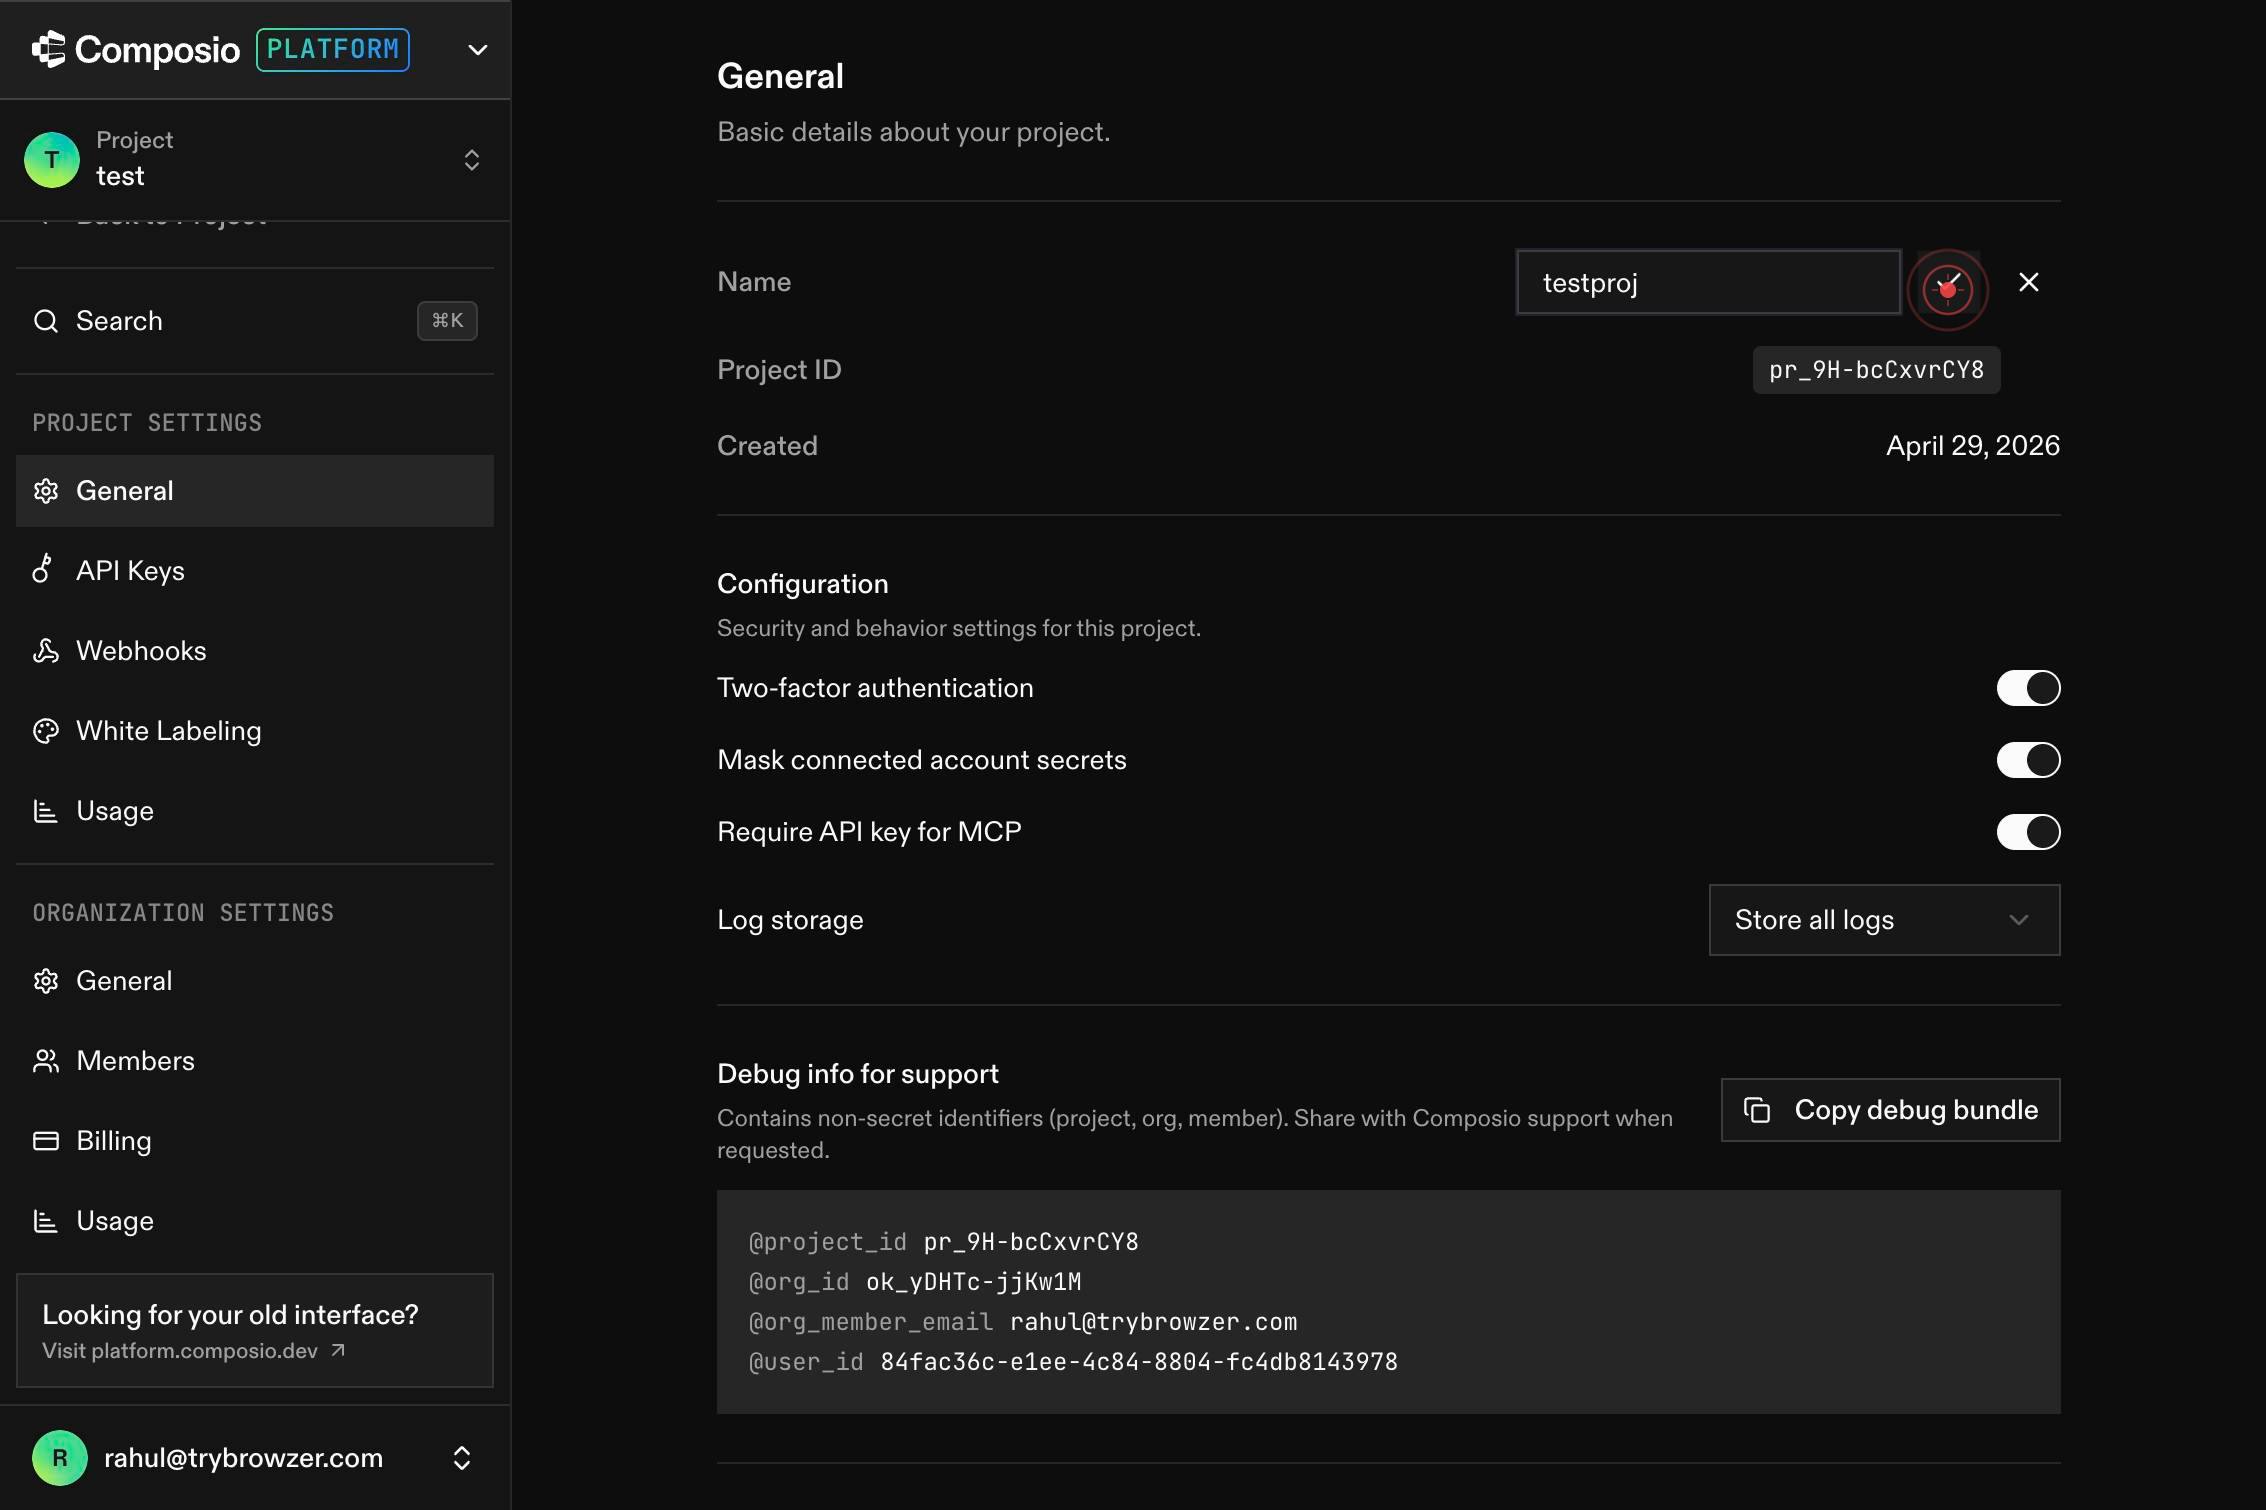
nameEnter the new project name in the text input field that appears. Clear the existing name and type the desired new name for your project.
buttonClick the confirm or save button to apply the change and update your project name in the dashboard.
Confirm it worked
- 1The project list on the dashboard displays the updated project name
- 2When you navigate to the project details, the new name is reflected in the page header
- 3No error message appears after confirming the change
Common issues
Keep reading
Safely Renaming Your Xcode Project
Safely Renaming Your Xcode Project It always begins like this (or at least for me): a new idea, a quick prototype, or simply experimenting with a new framework. You quickly type a random project nam
createwithswift.comRename a project in Project desktop
Rename a project in Project desktop - Microsoft Support [Skip to main content](javascript:void(0)) [Mi
support.microsoft.comHow to Rename a Project: The Ultimate Guide (2026)
How to Rename a Project: The Ultimate Guide (2026) Renaming a project is a straightforward task in most software, typically done in the project’s settings by clicking the current name and entering a
eathealthy365.com