Guide
Manage Auth Config
Overview
The Composio dashboard provides centralized management of authentication configurations for connected accounts. Auth configs control how users authenticate with different toolkits and define which permissions (scopes) those accounts will have access to. By carefully managing scopes, you ensure that connected accounts have only the necessary permissions for your use case—improving both security and user trust. This is especially important when building production applications where users need a clear view of what permissions they're granting. If you're using Composio's default OAuth app, note that only pre-configured scopes should be used; custom scopes may not be approved. For advanced use cases requiring custom credentials, Composio recommends using sessions instead of custom auth configs.
Before you begin
- Access to the Composio dashboard (dashboard.composio.dev) with appropriate permissions to manage auth configurations
- An existing connected account or integration that you want to configure authentication scopes for
- Knowledge of which scopes or permissions your application requires (consult your toolkit documentation if unsure)
Step by step
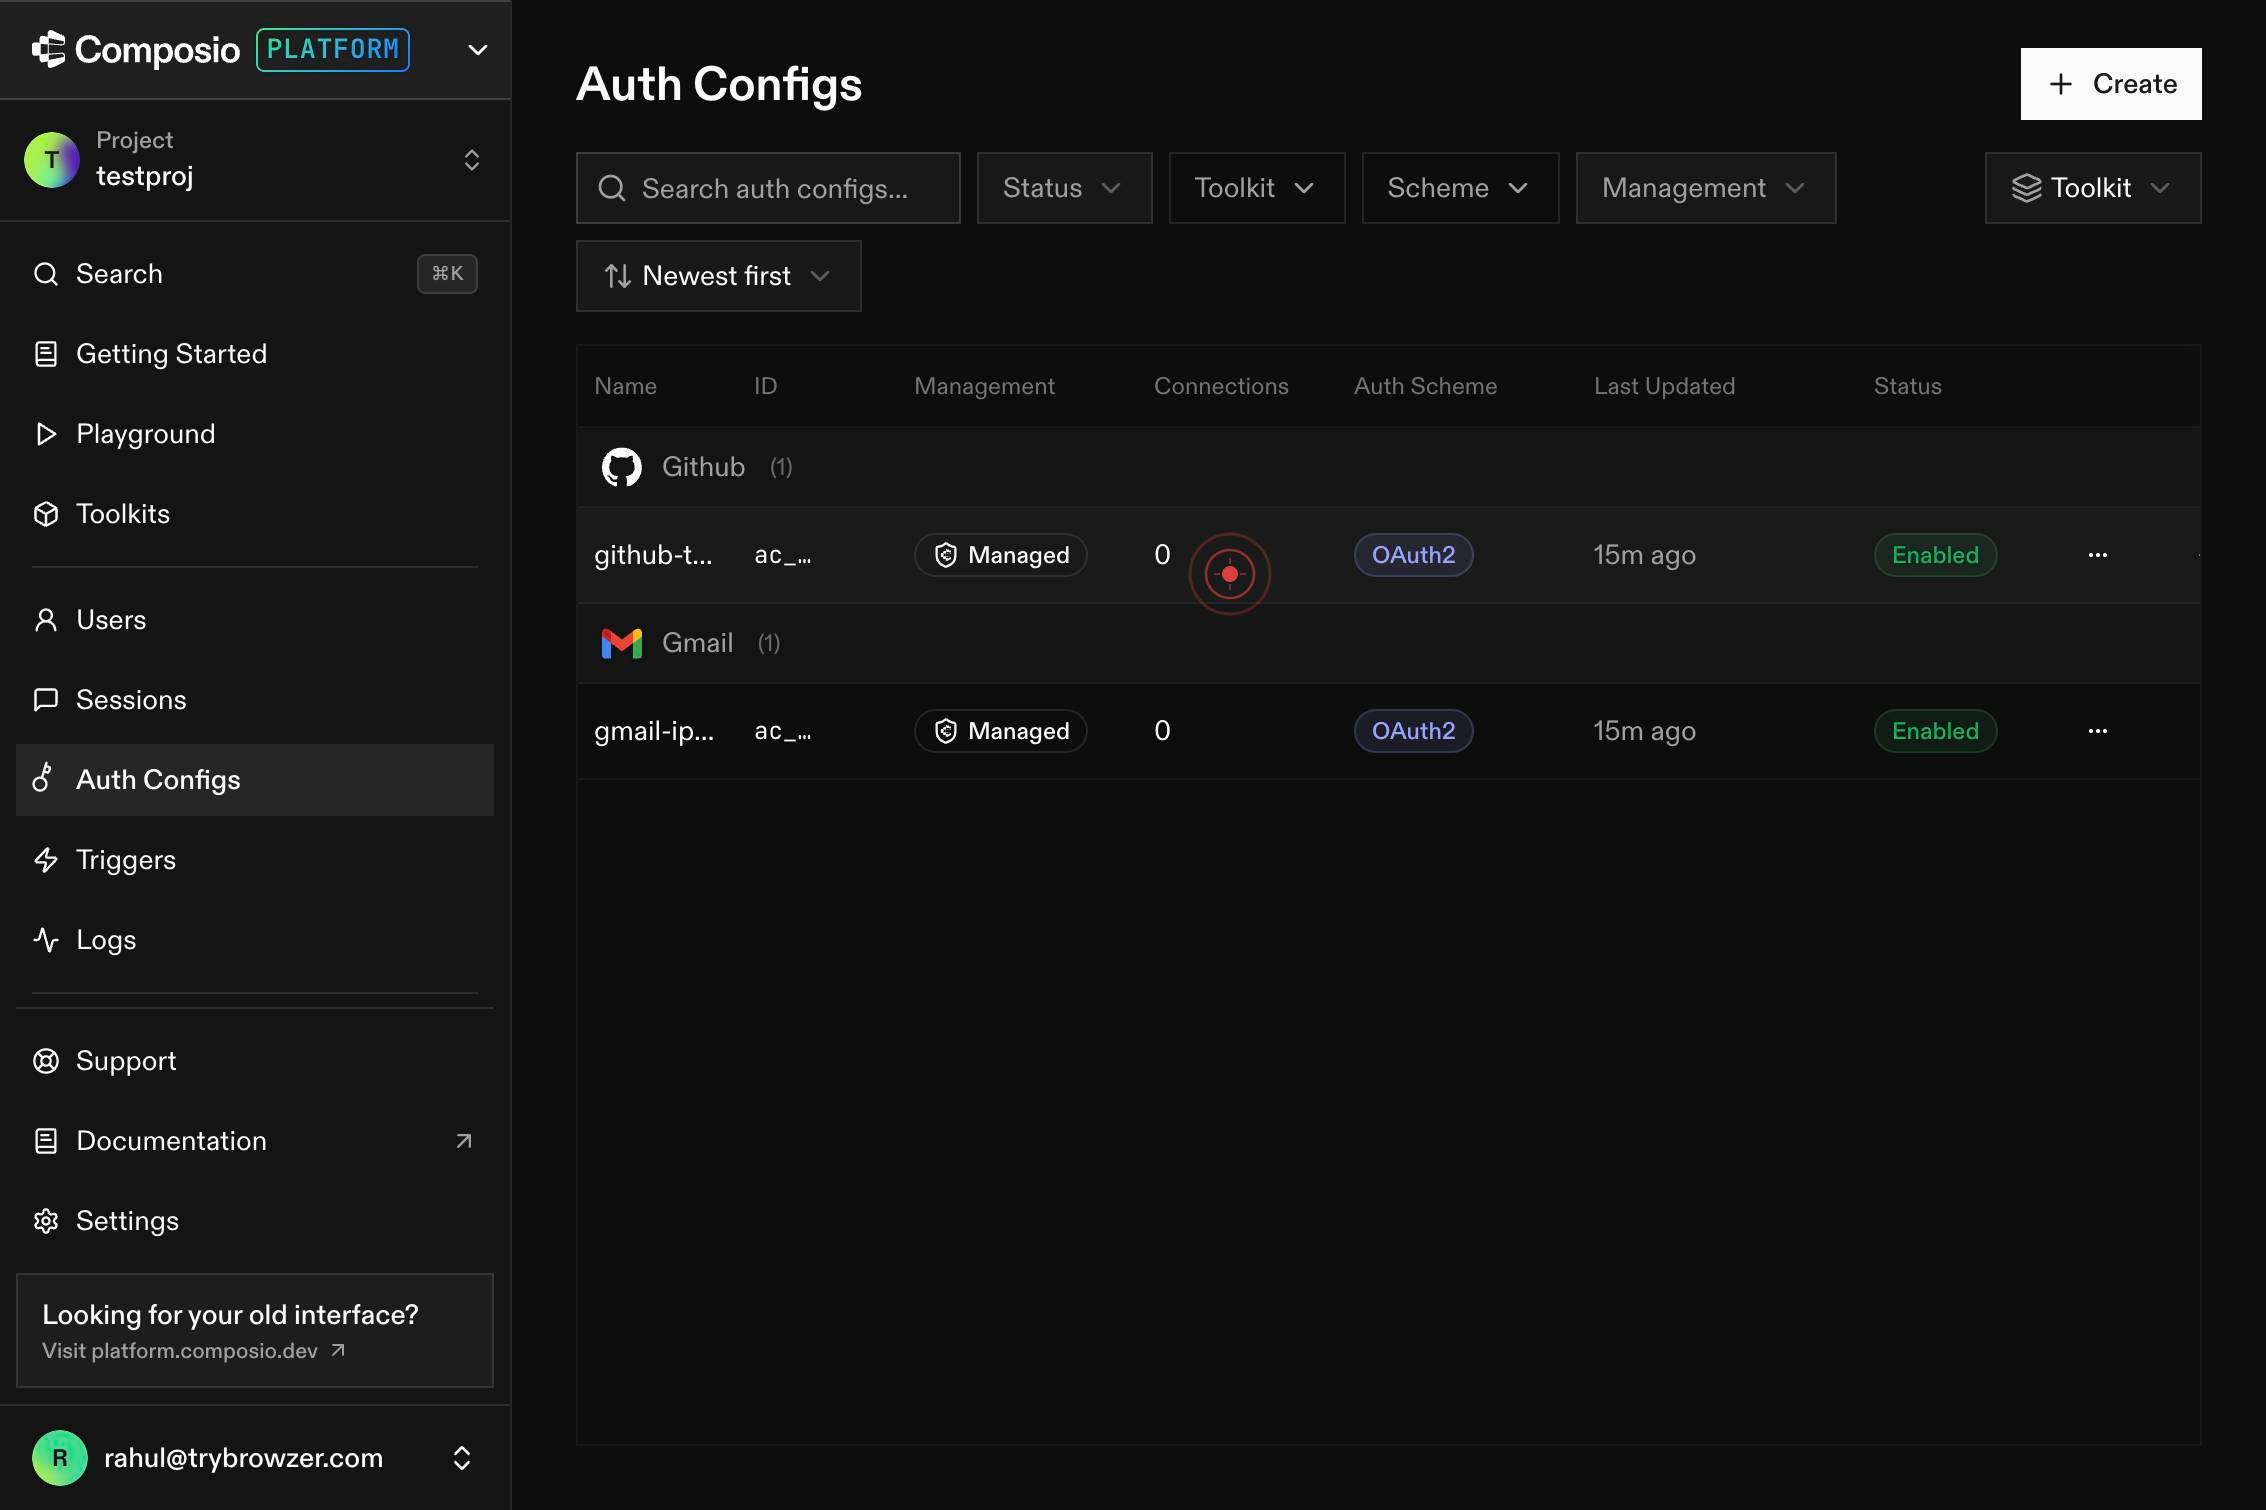
0Click on the connected account entry in the dashboard to open its configuration details. This selects the specific account whose authentication scopes you want to manage.
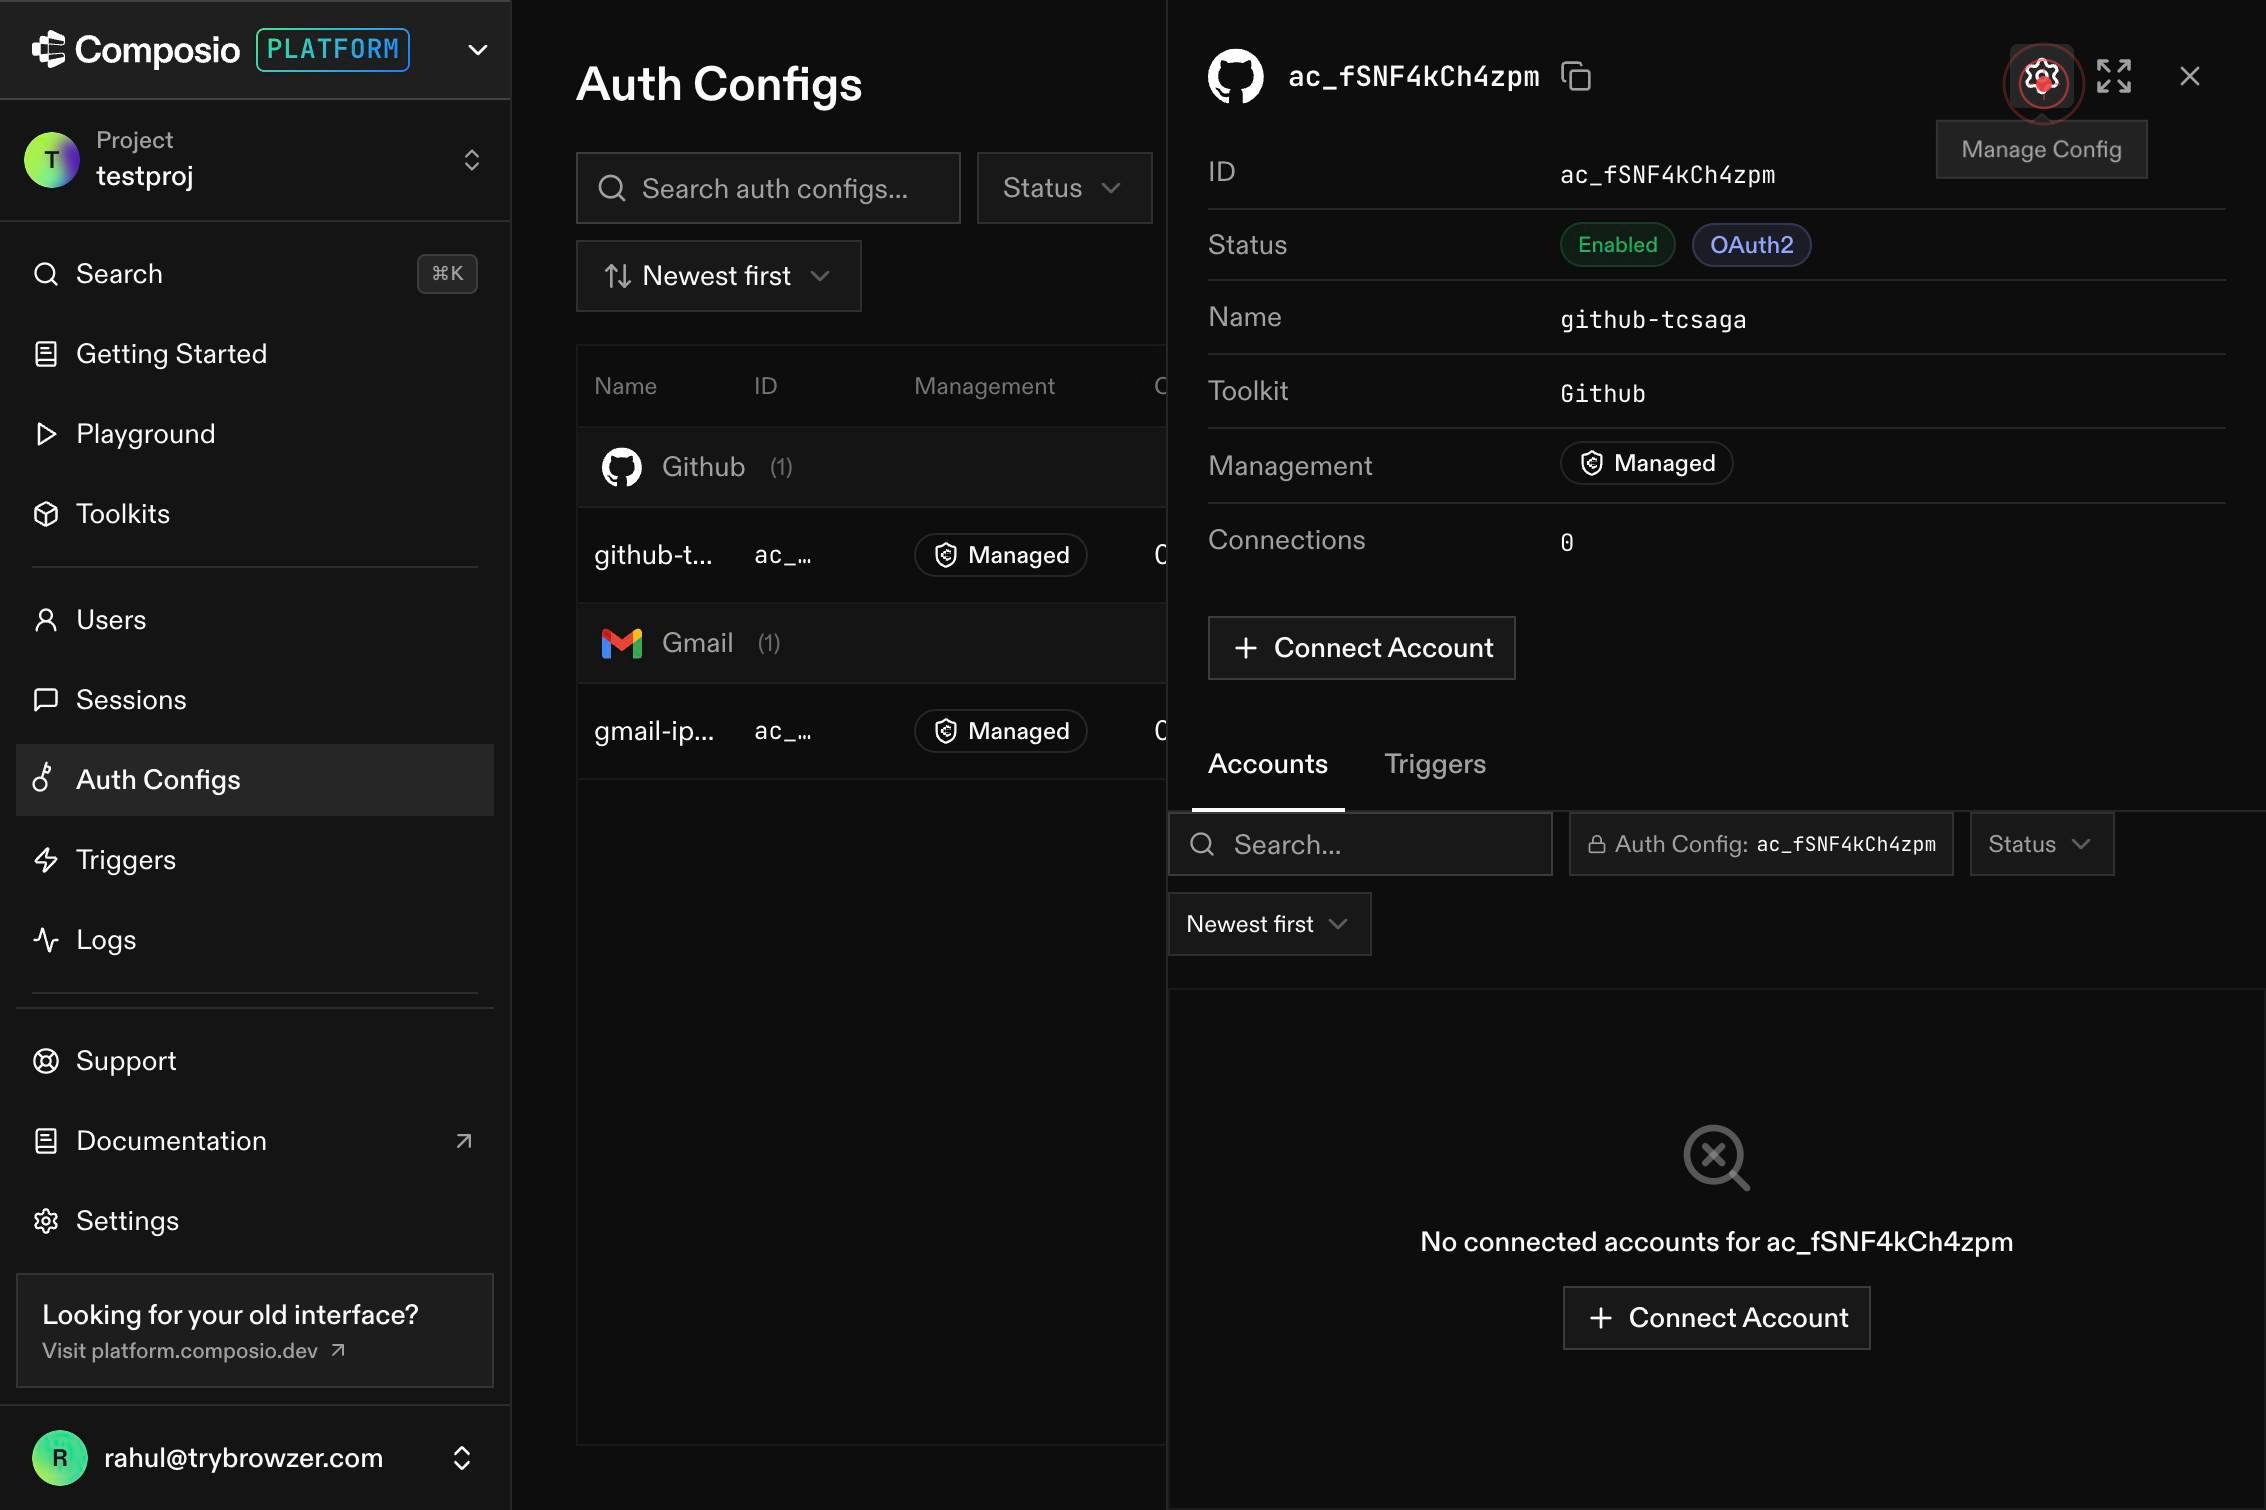
linkClick the configuration or settings link to navigate to the authentication settings page for the selected account. This opens the interface where you can manage scopes and permissions.
Search scopes or type to add...Click into the search field and type the name of the scope or permission you want to add. This allows you to quickly find and filter available scopes rather than scrolling through a long list.
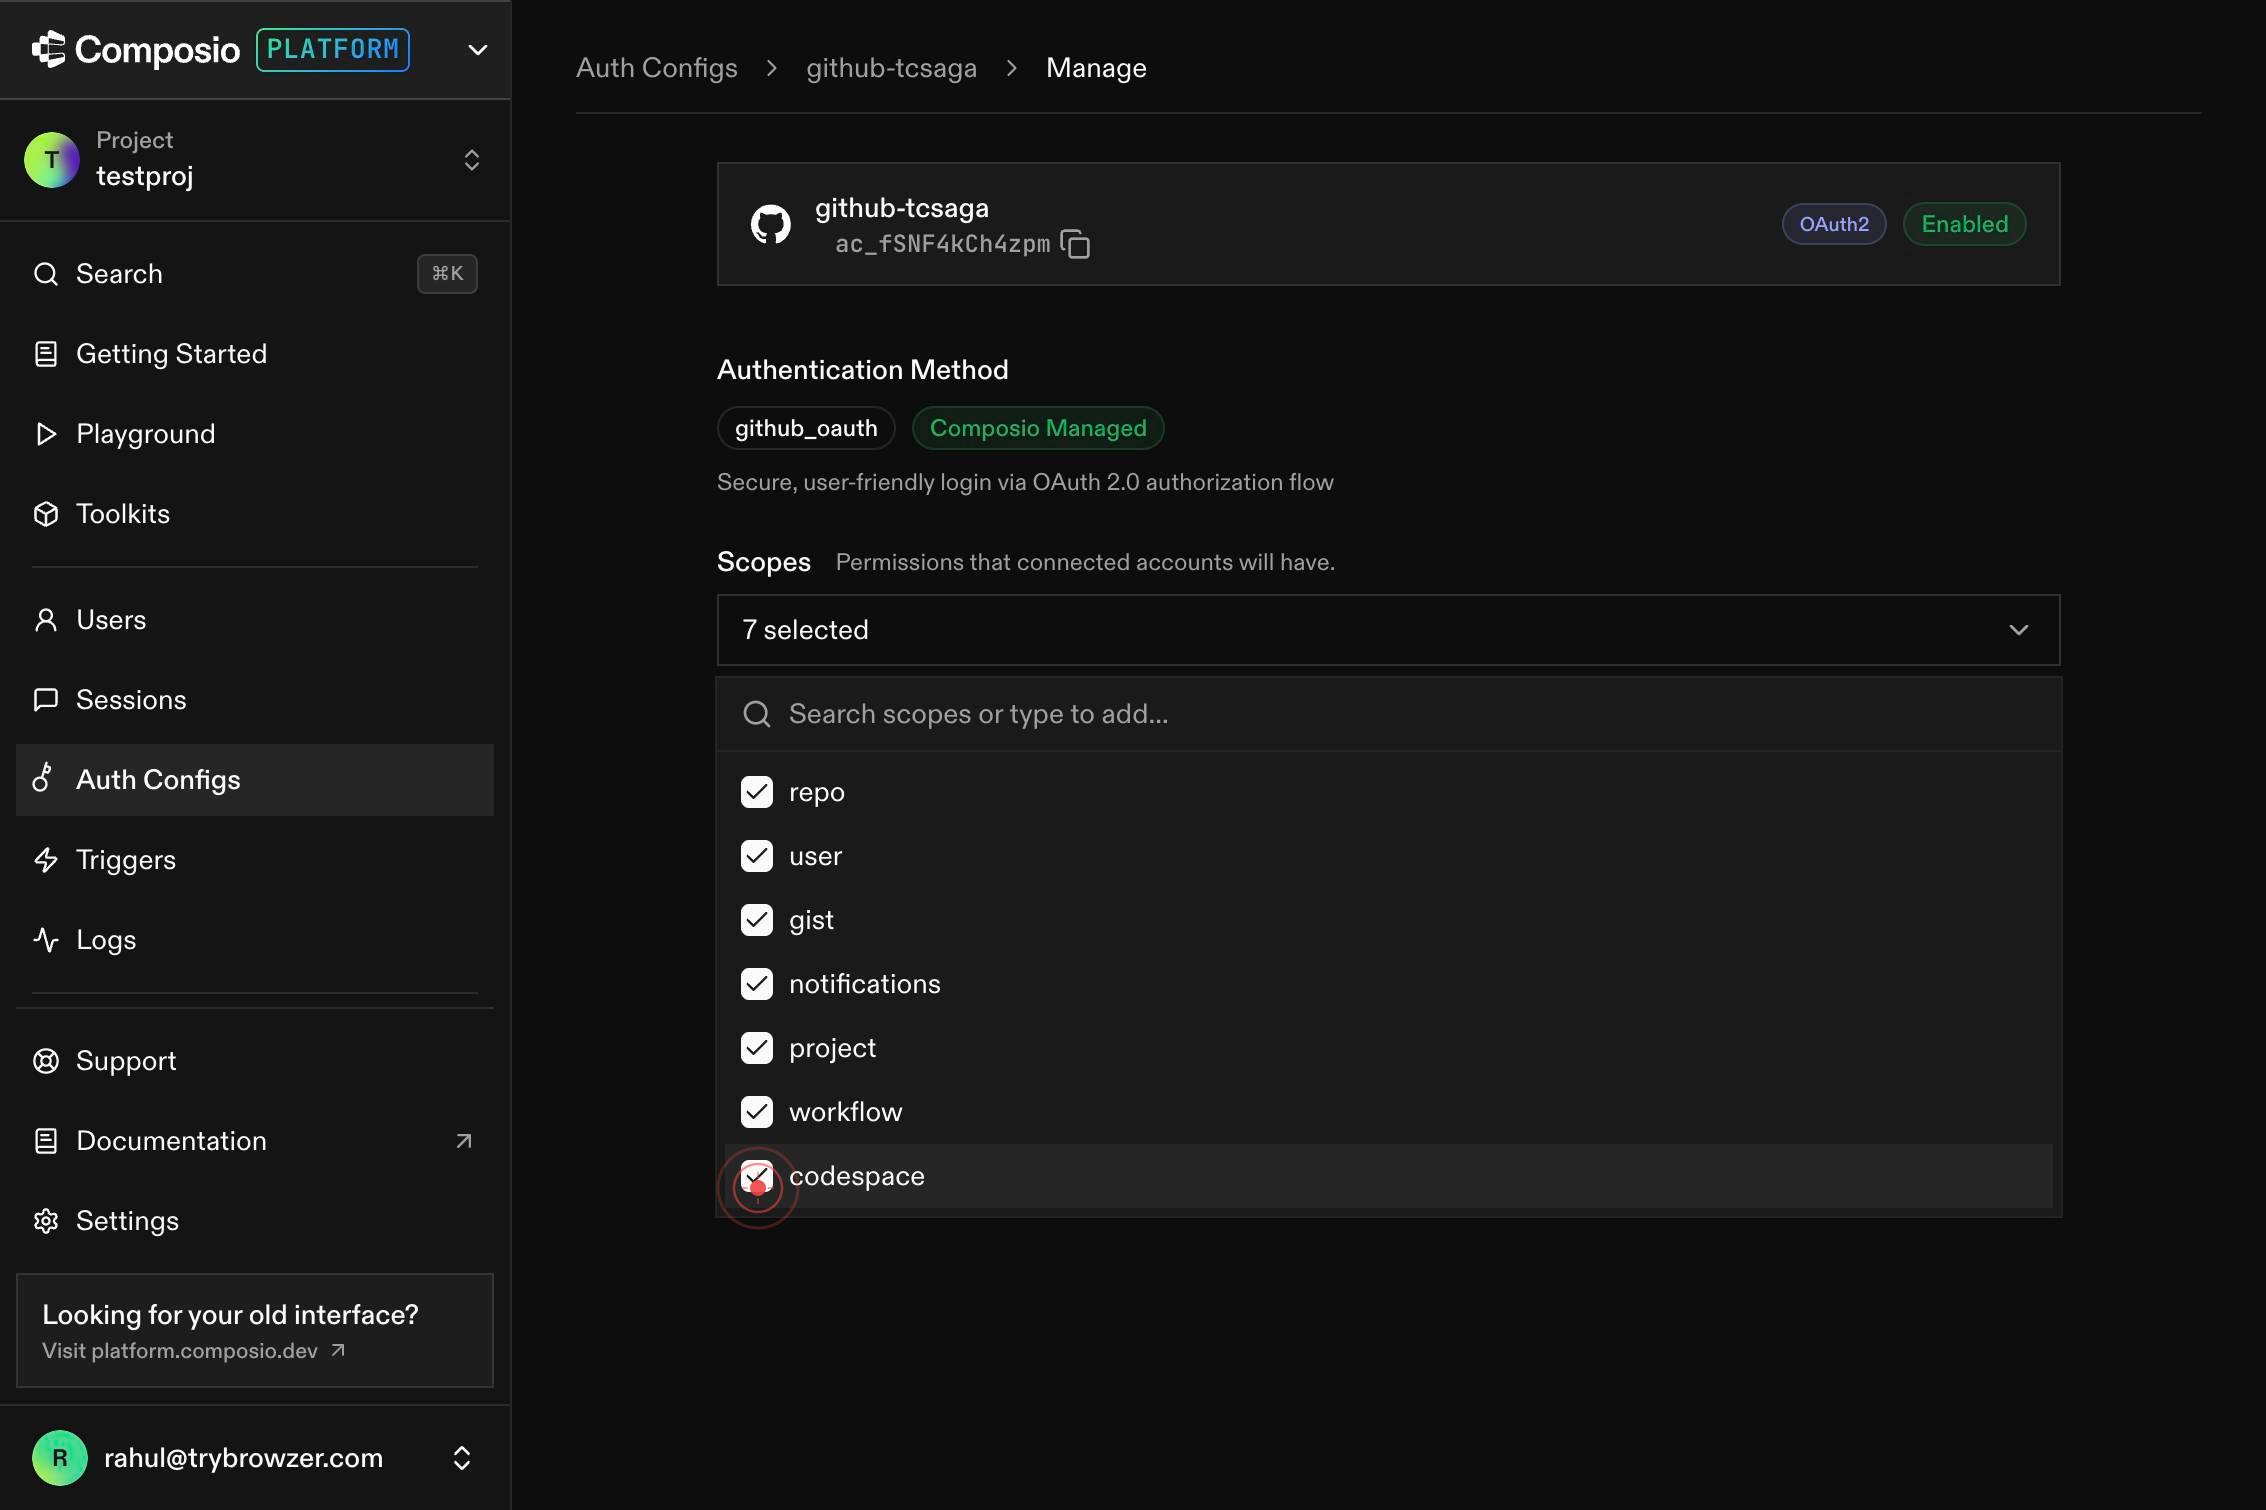
ScopesPermissions that connected accounts will have.Click on the 'Scopes' or 'Permissions' combobox dropdown to view all available permissions that connected accounts can have. This shows the complete list of scopes supported by your integration.

codespaceSelect the specific scope (in this case, 'codespace') from the dropdown options to add it to the account's permissions. The account will now have access to that scope when making API calls.
Confirm it worked
- 1You are on the auth configuration page for your connected account, showing a list of available scopes
- 2The scope selection interface displays options to search and filter available permissions
- 3After selecting a scope, it appears in the list of permissions that will be applied to the connected account
- 4The configuration is saved and the dashboard shows the updated scope permissions for the account
Common issues
Keep reading
Auth.js | Configuring Github
Auth.js | Configuring GithubSkip to content The Auth.js project is now part of Better Auth. Guides Configuring GitHub for OAuth # OAuth with GitHub In this tutorial, we’ll be setting up Auth.js in
authjs.devAuth.js v5 Next.js Setup Guide | Next.js Launchpad
Auth.js v5 Next.js Setup Guide | Next.js Launchpad ## Introduction: Why Authentication in Next.js Changed So Much If you've tried adding authentication to a Next.js app over the past few years, you
nextjslaunchpad.comNextAuth.js in Next.js 14: Complete Authentication Guide – Djamware
NextAuth.js in Next.js 14: Complete Authentication Guide – Djamware # NextAuth.js in Next.js 14: Complete Authentication Guide by Didin J. on Dec 12, 2025 ## Learn how to build secure authentica
djamware.com