Guide
Create Project
Overview
Composio projects are the foundation of multi-tenant organization in Composio. Each project provides an isolated environment where you can manage API keys, connected user accounts, and authentication configurations independently. Creating a new project is the first step when you need a separate workspace—for example, to isolate development from production, or to manage distinct client integrations. This workflow walks you through the dashboard interface to set up your new project with a descriptive name.
Before you begin
- Active Composio account with access to dashboard.composio.dev
- Organization membership (projects exist within an organization)
- Project name chosen (must be meaningful for your use case, e.g., 'Production API', 'Client Portal Dev')
Step by step
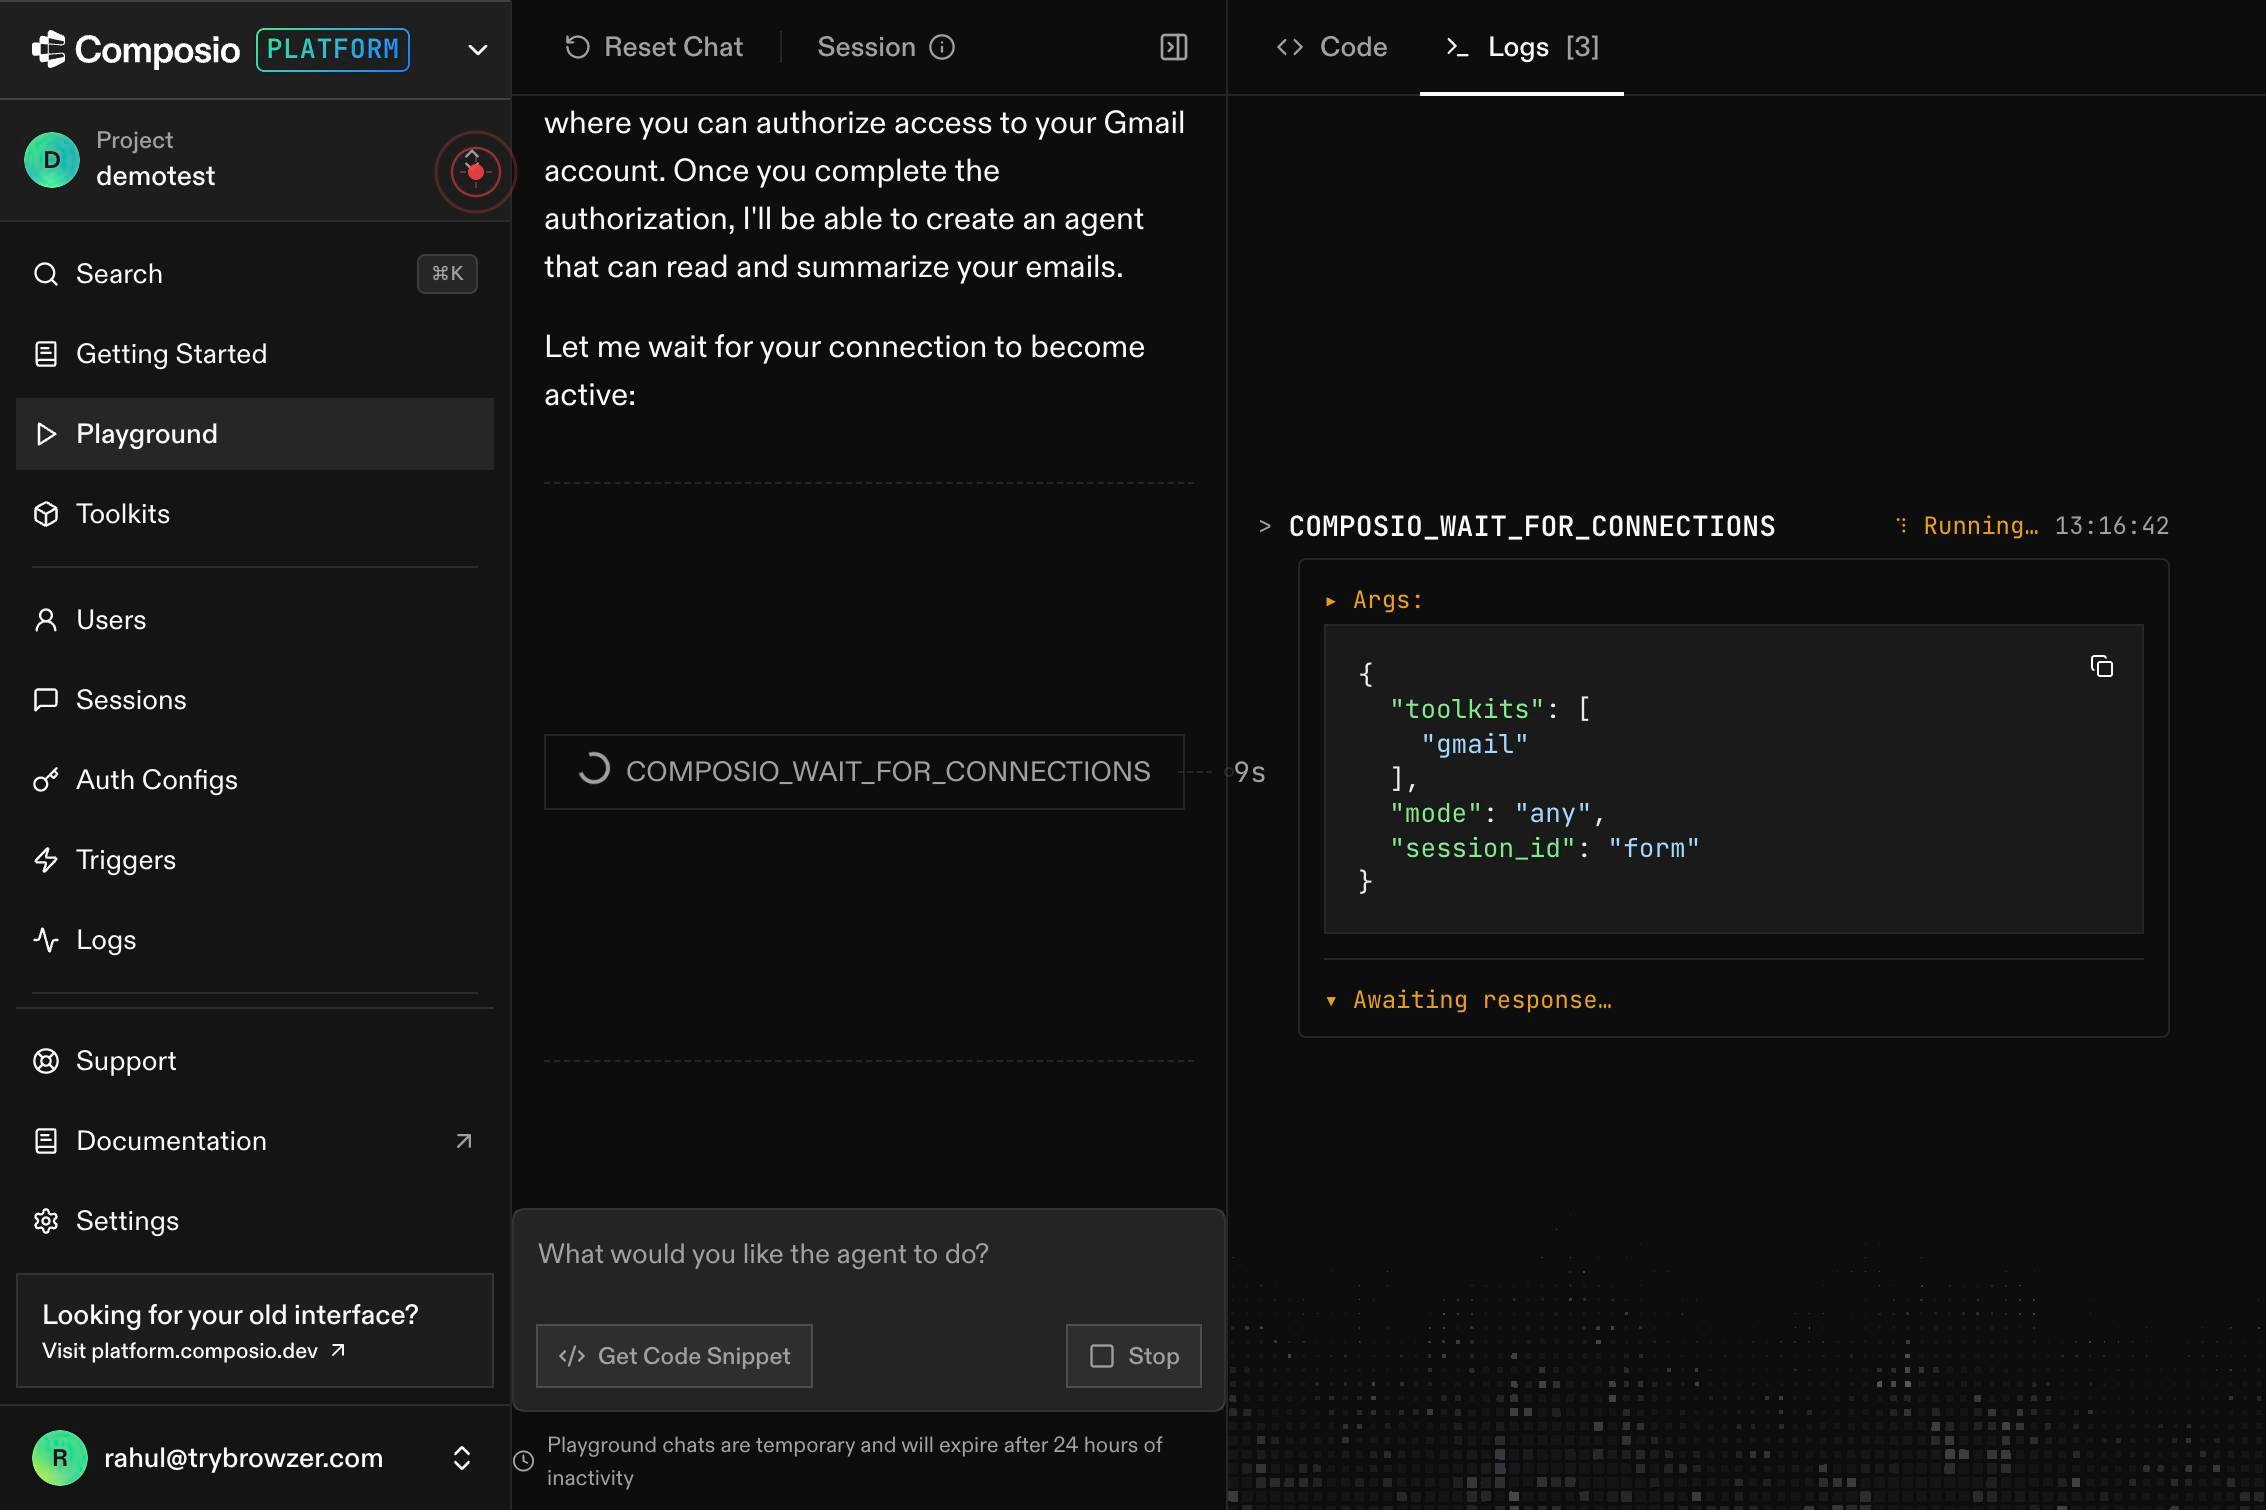
DProject demotestClick on the current project selector (labeled 'DProject demotest' or similar) in the dashboard to open the project menu. This displays your existing projects and provides access to project management options.
Find Project...Type in the search field labeled 'Find Project...' to filter existing projects or locate the project creation option. This helps you quickly navigate the project list.
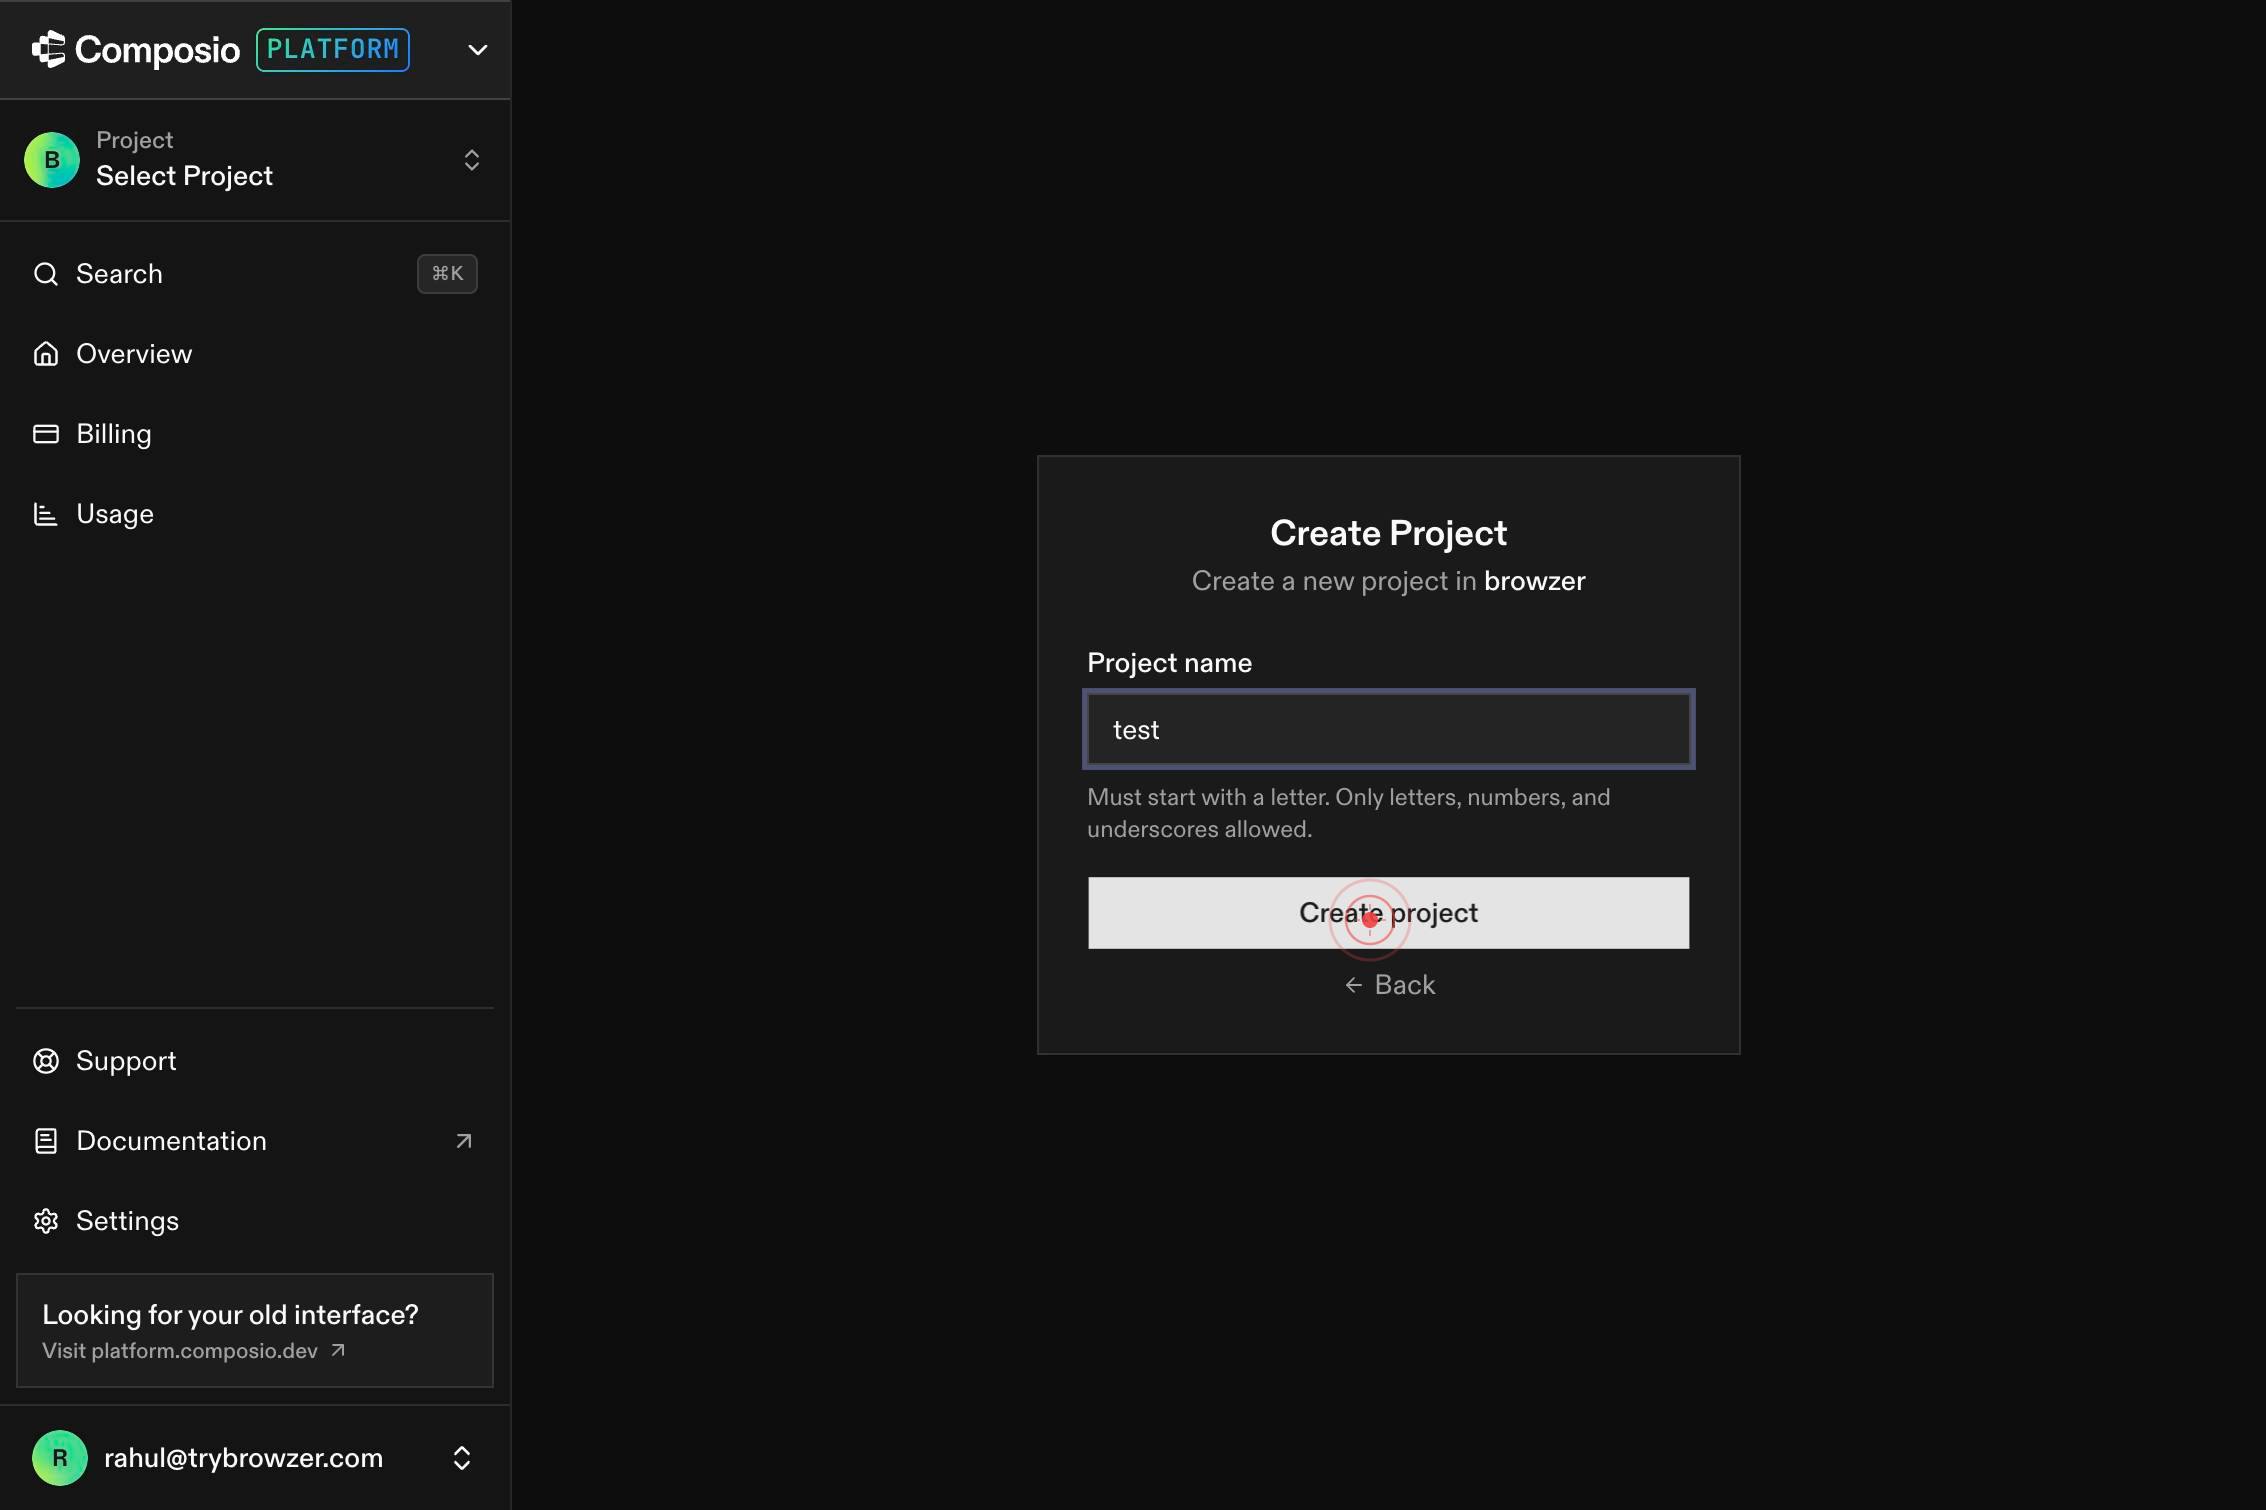
Create ProjectClick the 'Create Project' button to open the project creation dialog. This button becomes available in the project menu and initiates the workflow for setting up a new isolated project environment.

Project nameType your project name in the 'Project name' text field. Use a descriptive name that reflects the project's purpose (e.g., 'Production API', 'Staging Environment', or 'Client Integration').
Create projectClick the 'Create project' button to finalize and create your new project. This commits the project to your organization and initializes the isolated environment.
Confirm it worked
- 1New project appears in your project list on the dashboard with the name you specified
- 2Dashboard displays the new project as the active/selected project
- 3You are able to view project-specific settings, API keys, and configuration options for the newly created project
Common issues
Keep reading
Create a new project | IntelliJ IDEA Documentation
Create a new project | IntelliJ IDEA Documentation You are viewing the documentation for an earlier version of IntelliJ IDEA. # Create a new project Last modified: 11 September 2025 ### note Thi
jetbrains.comCreate a new project - Microsoft Support
Create a new project - Microsoft Support Sign in with Microsoft Sign in or create an account. Hello, Select a different account. You have multiple accounts Choose the account you want to sign in
support.microsoft.comCreating a new project - JetBrains Guide
Creating a new project - JetBrains Guide ## Creating a new project ### Using the New Project Wizard to create a new project. Edit this page In this walk-through, you will create, run and package a
jetbrains.com