Guide
Add Trigger - Python
Overview
Composio is an integration platform that manages authentication, toolkits, and event-driven workflows across 1000+ applications. Triggers are a core feature that allow you to watch for specific events (like `GITHUB_COMMIT_EVENT`) on a user's connected account and automatically send those events (payloads) to your application. This workflow walks you through the process of creating a new Python-based trigger on the Composio dashboard so your agents and applications can react to real-time events from integrated services.
Before you begin
- You have a Composio account and are logged into dashboard.composio.dev
- You have already connected at least one app/service account (e.g., GitHub, Slack) that supports triggers
- The connected account has the necessary OAuth scopes and permissions required by the trigger you plan to create
- You know which event type you want to trigger on (e.g., `GITHUB_COMMIT_EVENT`)
Step by step
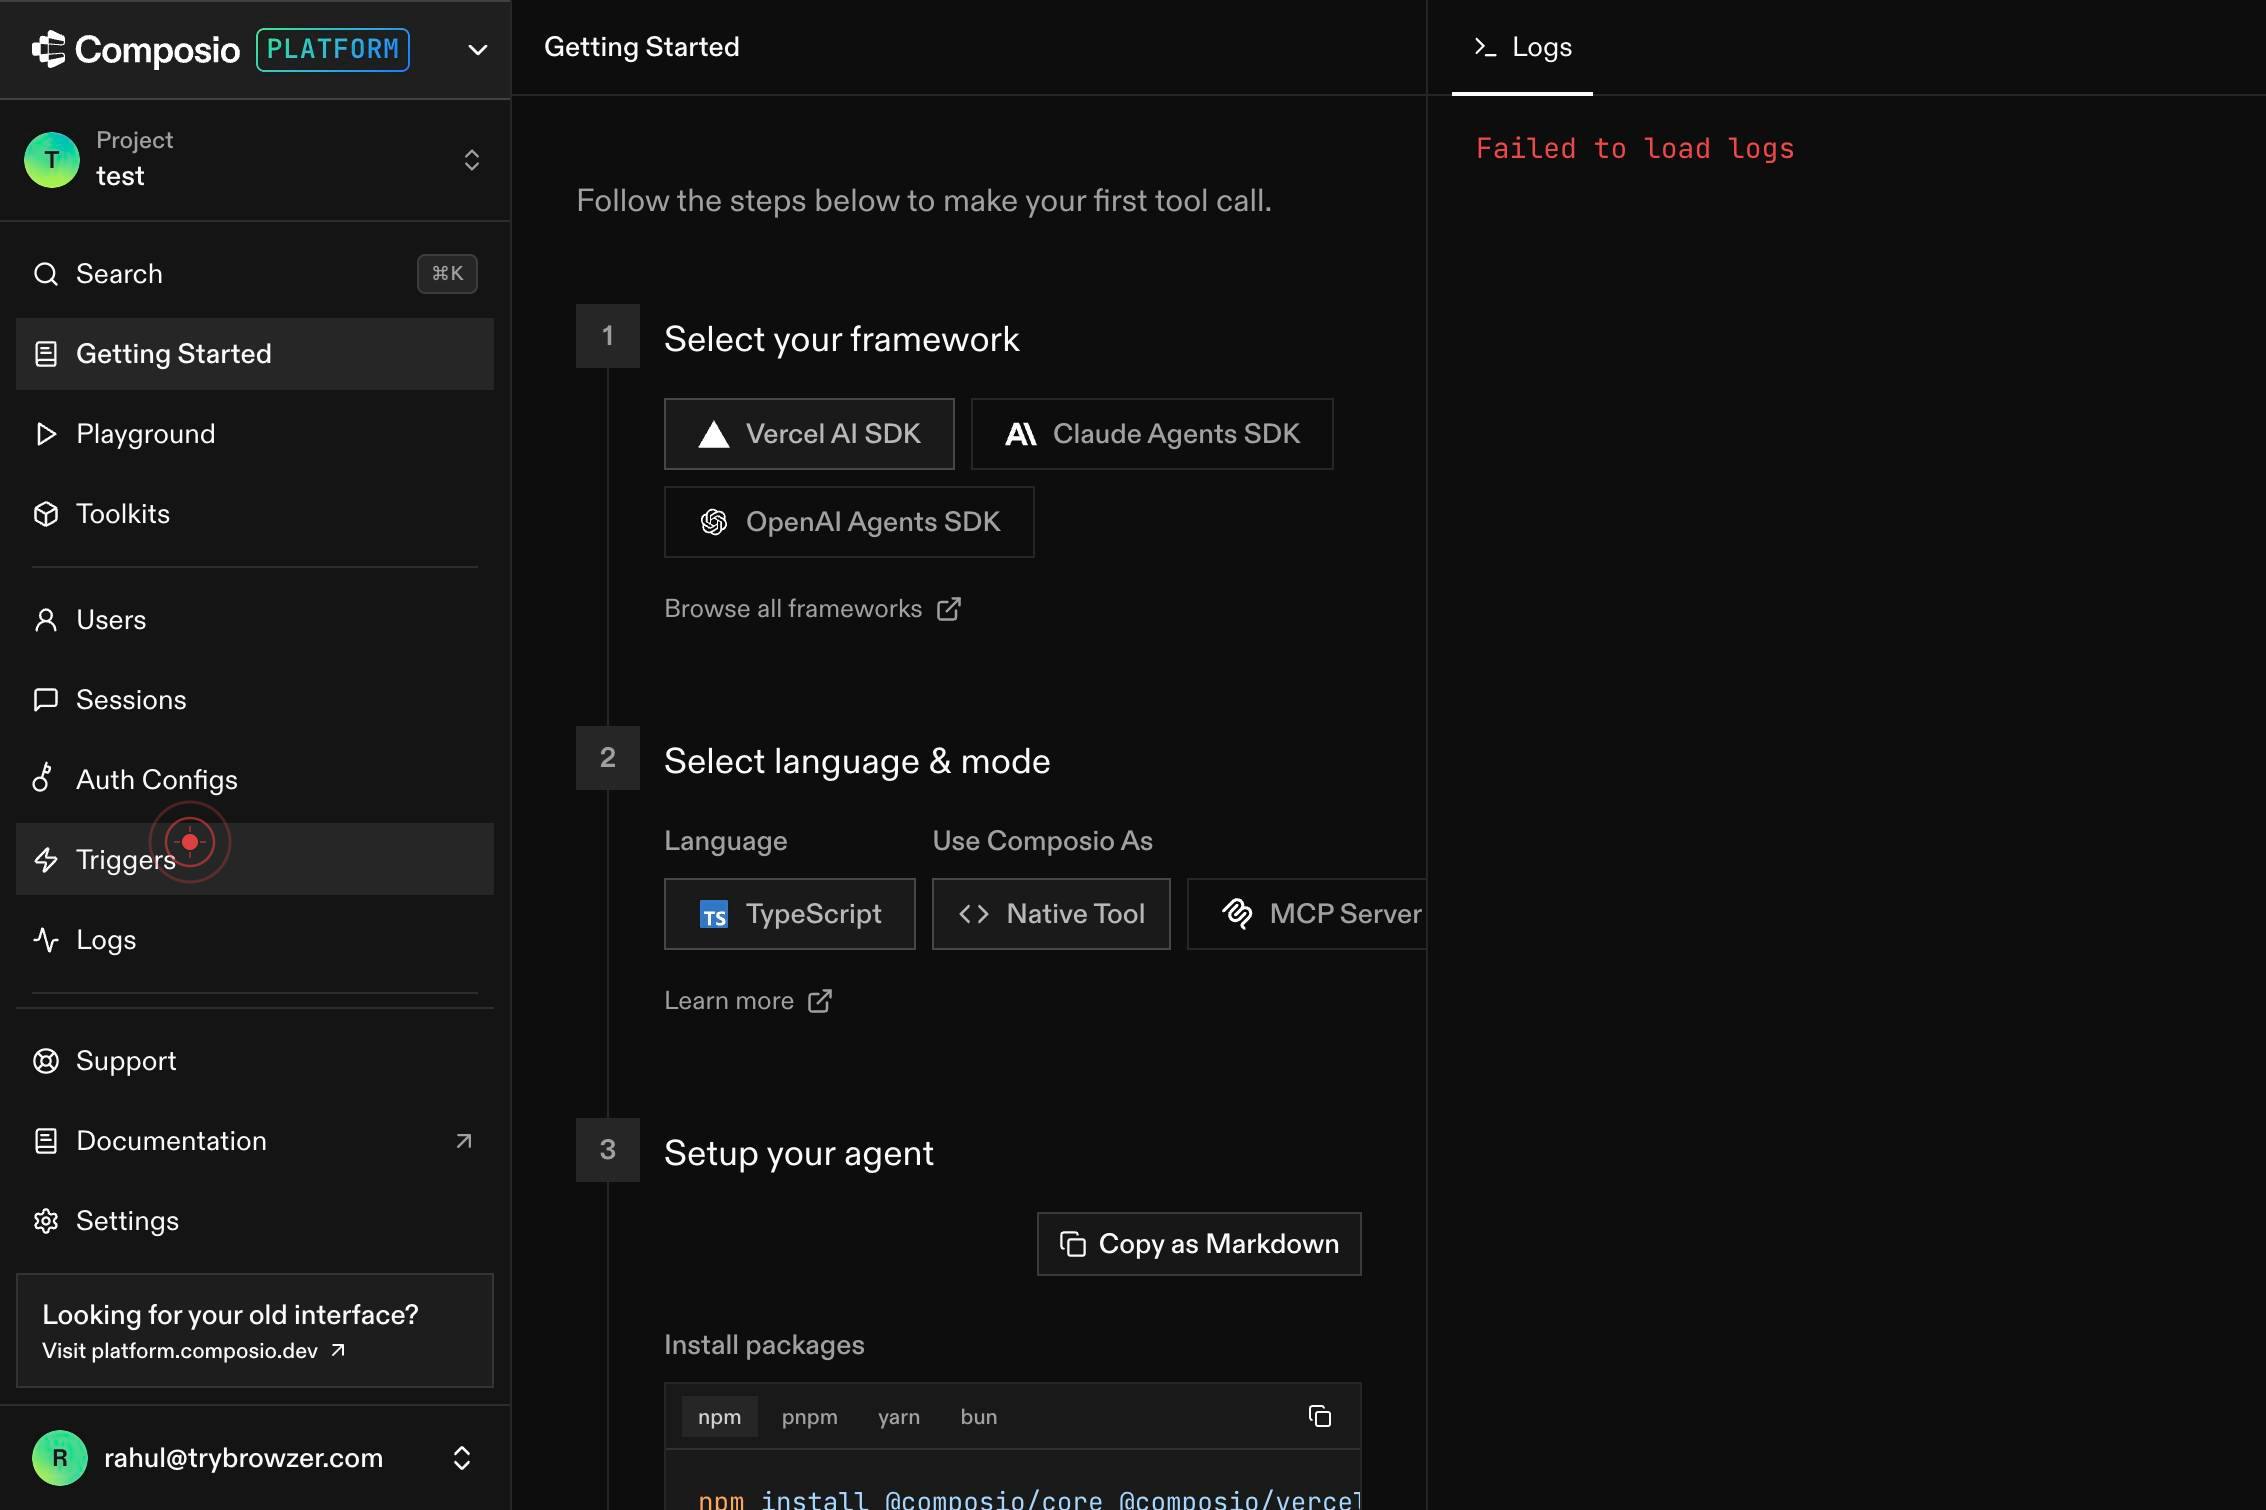
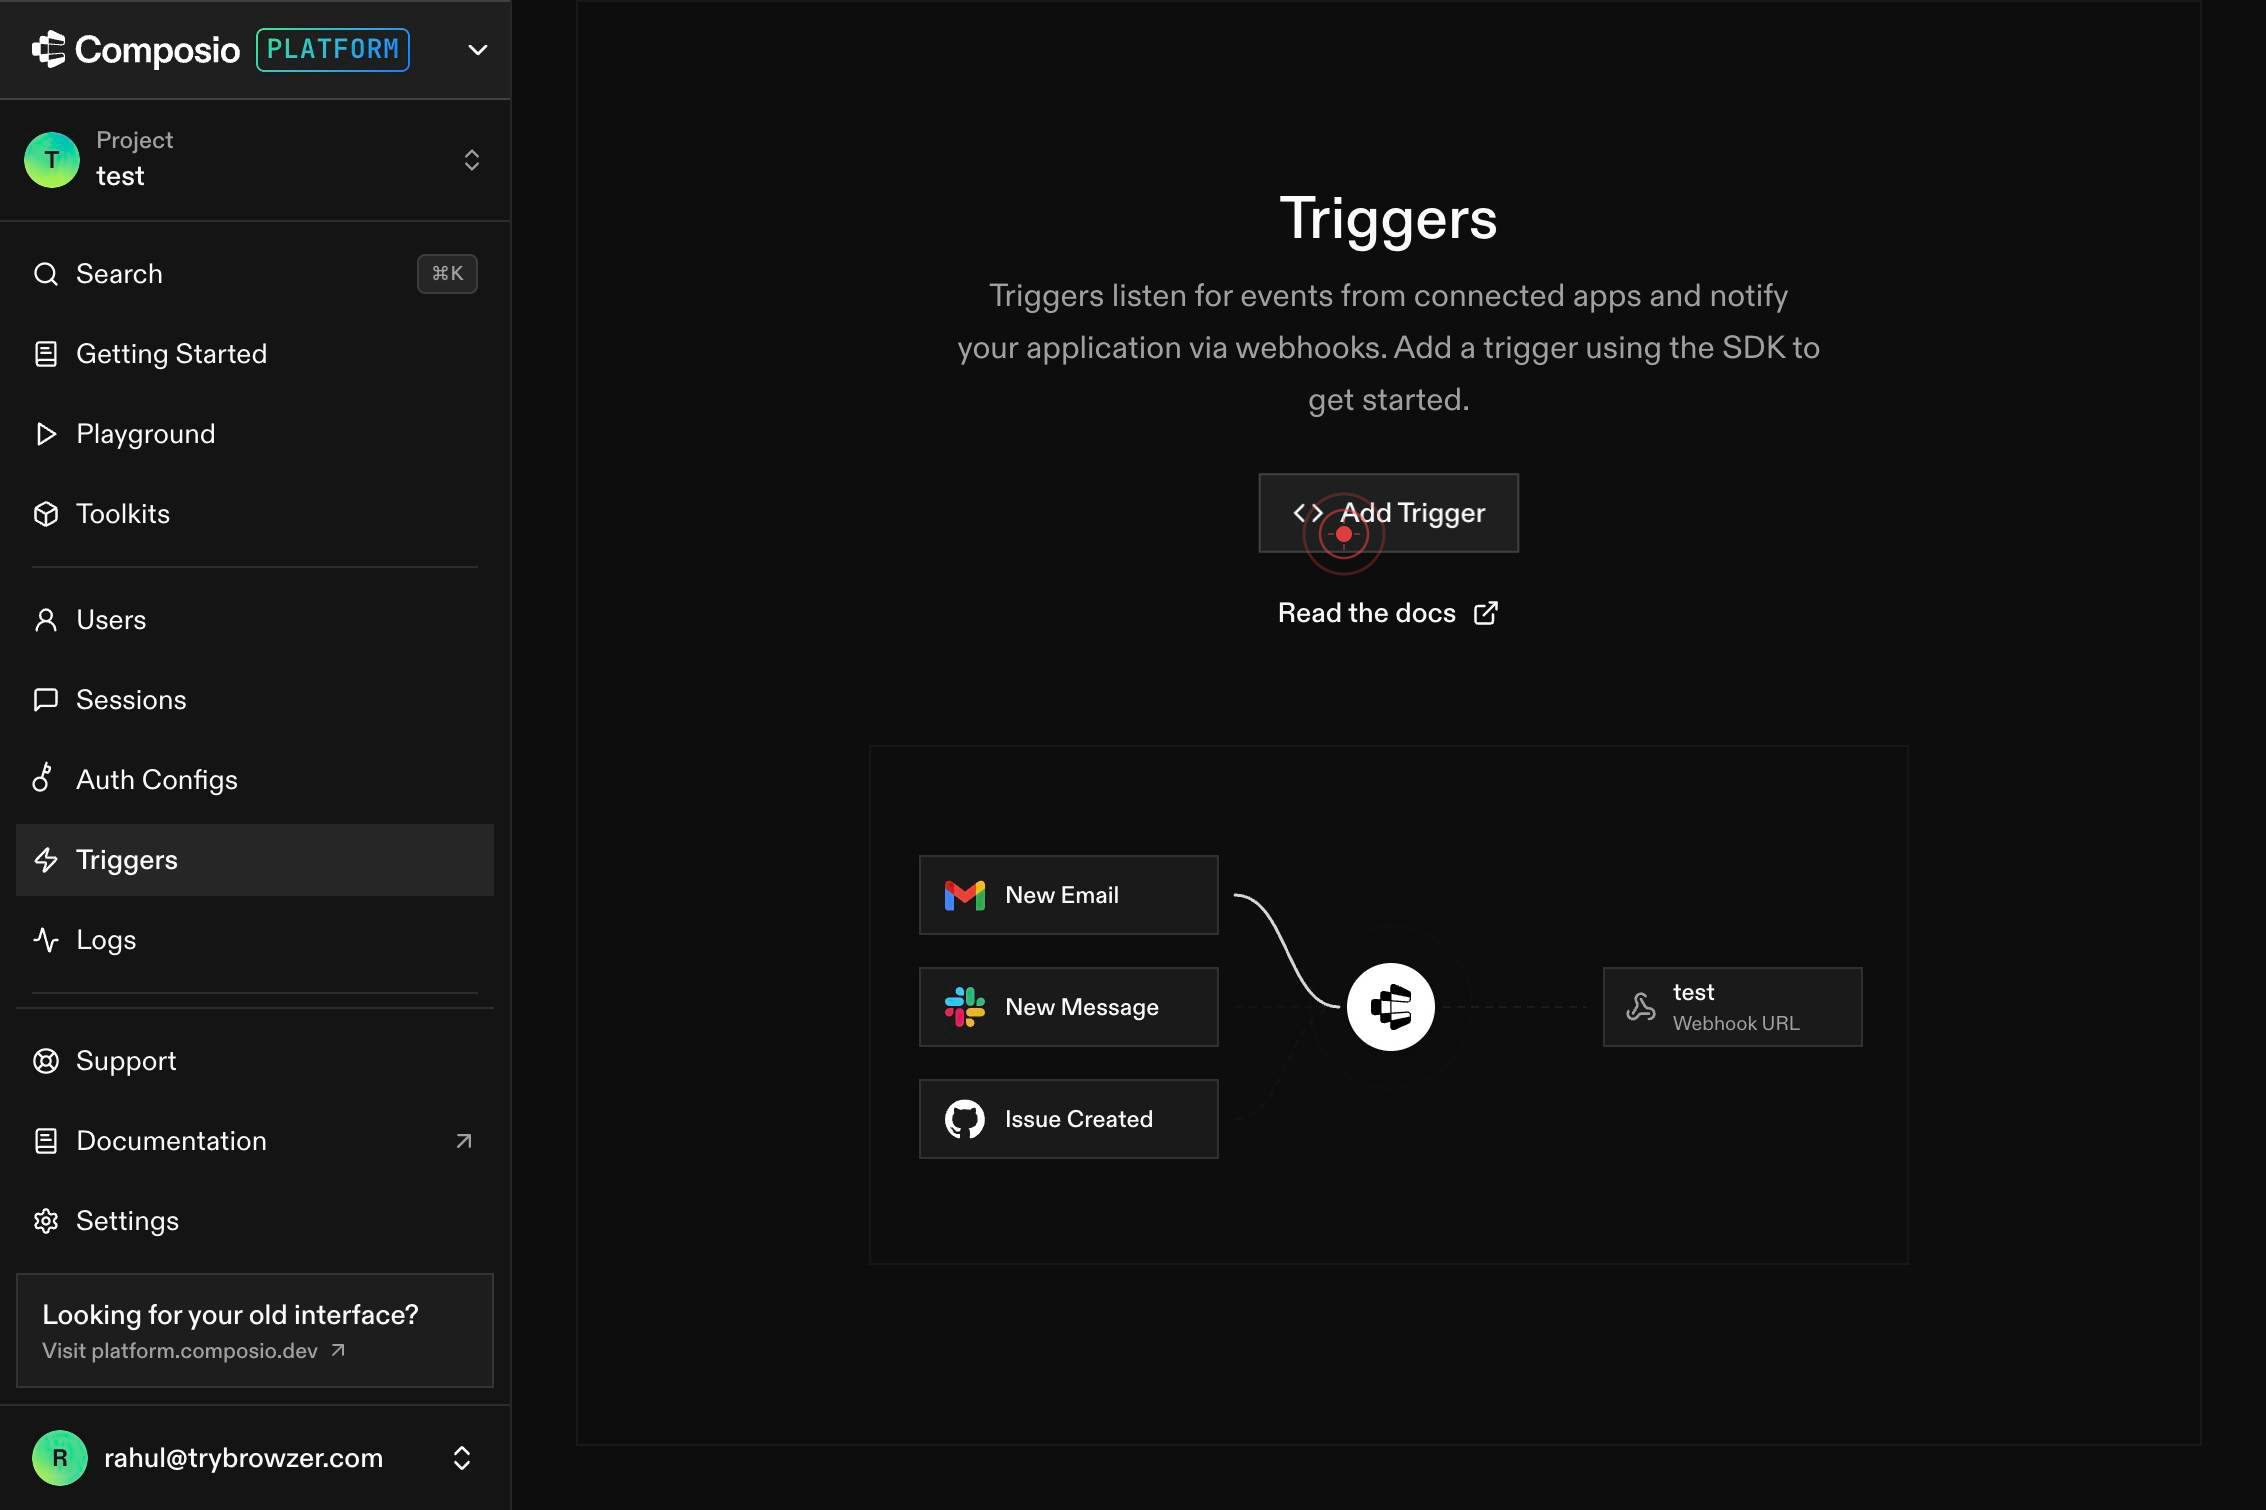
TriggersNavigate to the Triggers section of the Composio dashboard by clicking the Triggers link in the navigation menu. This section displays all your active triggers and provides access to trigger management tools.
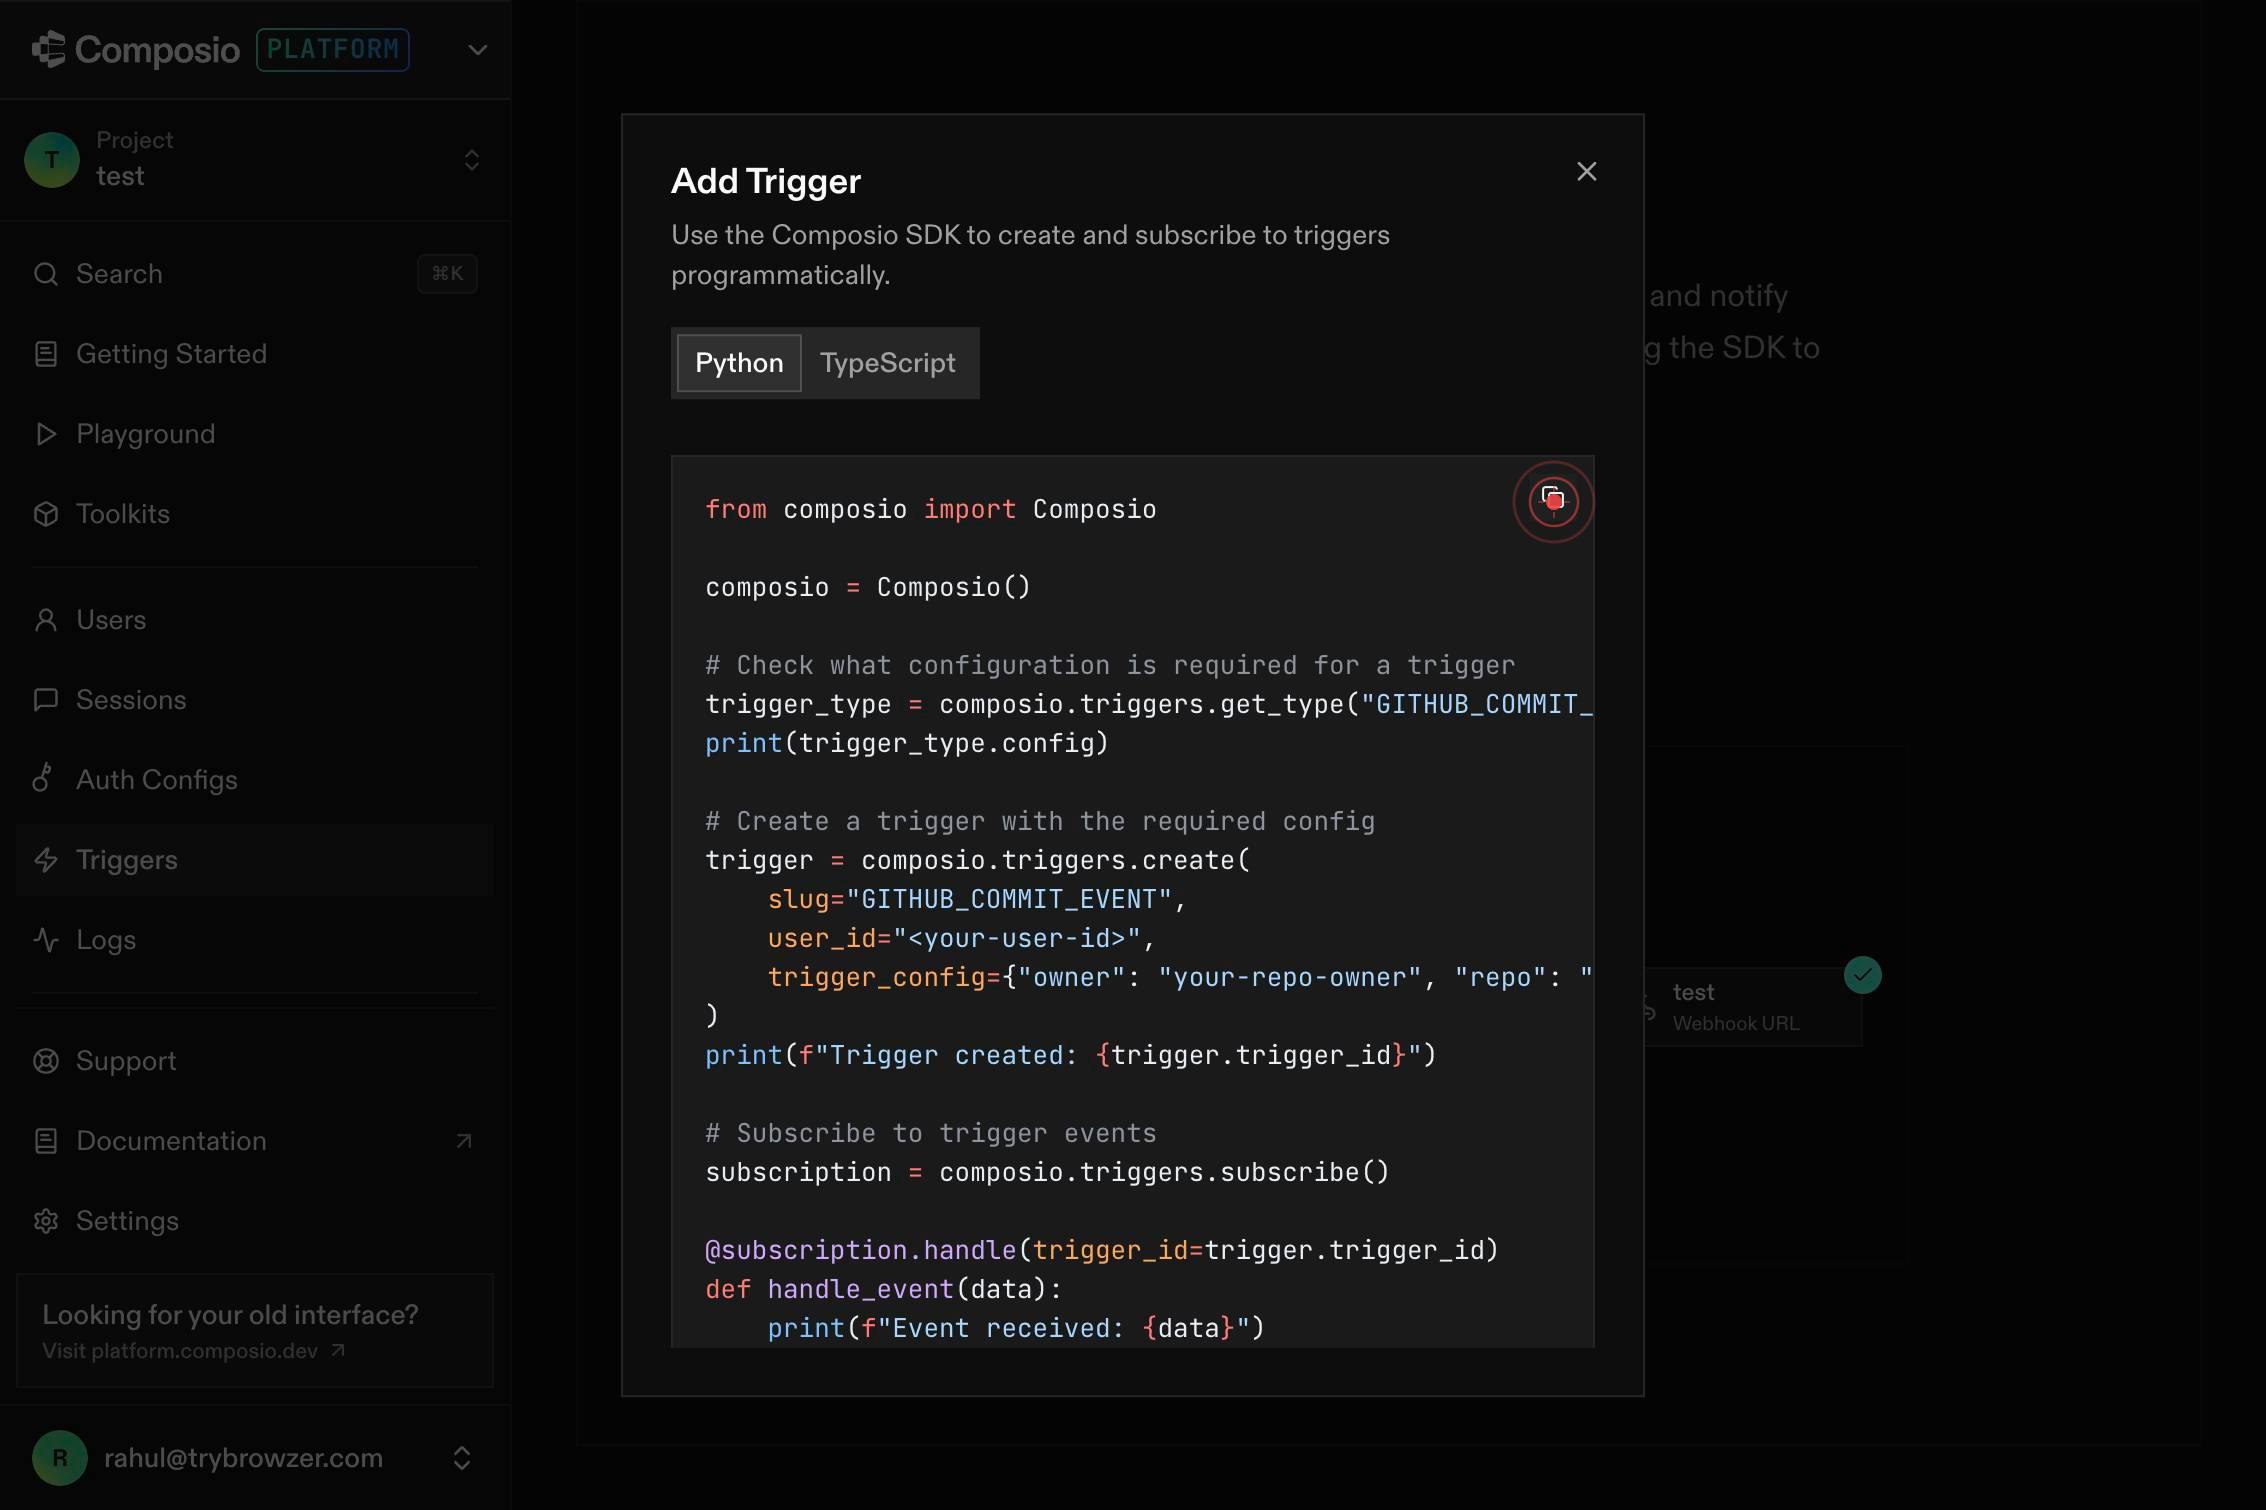
Add TriggerInitiate the trigger creation process by clicking the Add Trigger button. This opens the form or wizard where you can configure a new trigger for Python.
buttonComplete the trigger configuration by clicking the final button (often labeled 'Create', 'Save', or 'Confirm') to finalize the Python trigger. This submits your trigger settings and activates the trigger on your connected account.
Confirm it worked
- 1The trigger creation form or confirmation screen appears after clicking the final button, showing the trigger has been added to your dashboard
- 2The new trigger is listed in the active triggers section under the Triggers menu
- 3The trigger status shows as 'Active' and is associated with the correct connected account
Common issues
Keep reading
PostgreSQL: Documentation: 15: 46.5. Trigger Functions
PostgreSQL: Documentation: 15: 46.5. Trigger Functions September 4, 2025:[PostgreSQL 18 RC 1 Released!](https://postgresql.org/about/news/postgresql-18-rc-1-released-3130/) [Documentation](https://pos
postgresql.orgPython image processing example - Trigger.dev
> ## Documentation Index > > Fetch the complete documentation index at: https://trigger.dev/docs/llms.txt > Use this file to discover all available pages before exploring further. # Python image pro
trigger.devSQLite with Python: Introduction and triggers
SQLite with Python: Introduction and triggers SQLite with Python: Introduction and triggers | Take no one’s word for it Python is pretty great, and SQLite is pretty great too. Can they be pretty grea
sherif.io