Guide
Add Trigger - Typescript
Overview
Composio triggers allow your AI agents to respond to events occurring in connected third-party applications in real time. By creating a TypeScript trigger, you define how your agent should listen for and handle specific events—such as a GitHub commit, a new email, or a calendar update—from your integrated app accounts. This workflow walks you through accessing the Composio dashboard and configuring a new TypeScript trigger, enabling event-driven automation for your AI workflows.
Before you begin
- Active Composio account with valid API key
- Access to dashboard.composio.dev (ensure you are logged in)
- At least one connected application account (required to associate with the trigger)
Step by step
TriggersNavigate to the Triggers management section by clicking the 'Triggers' link in the dashboard navigation. This page displays all existing triggers and provides access to trigger creation tools.

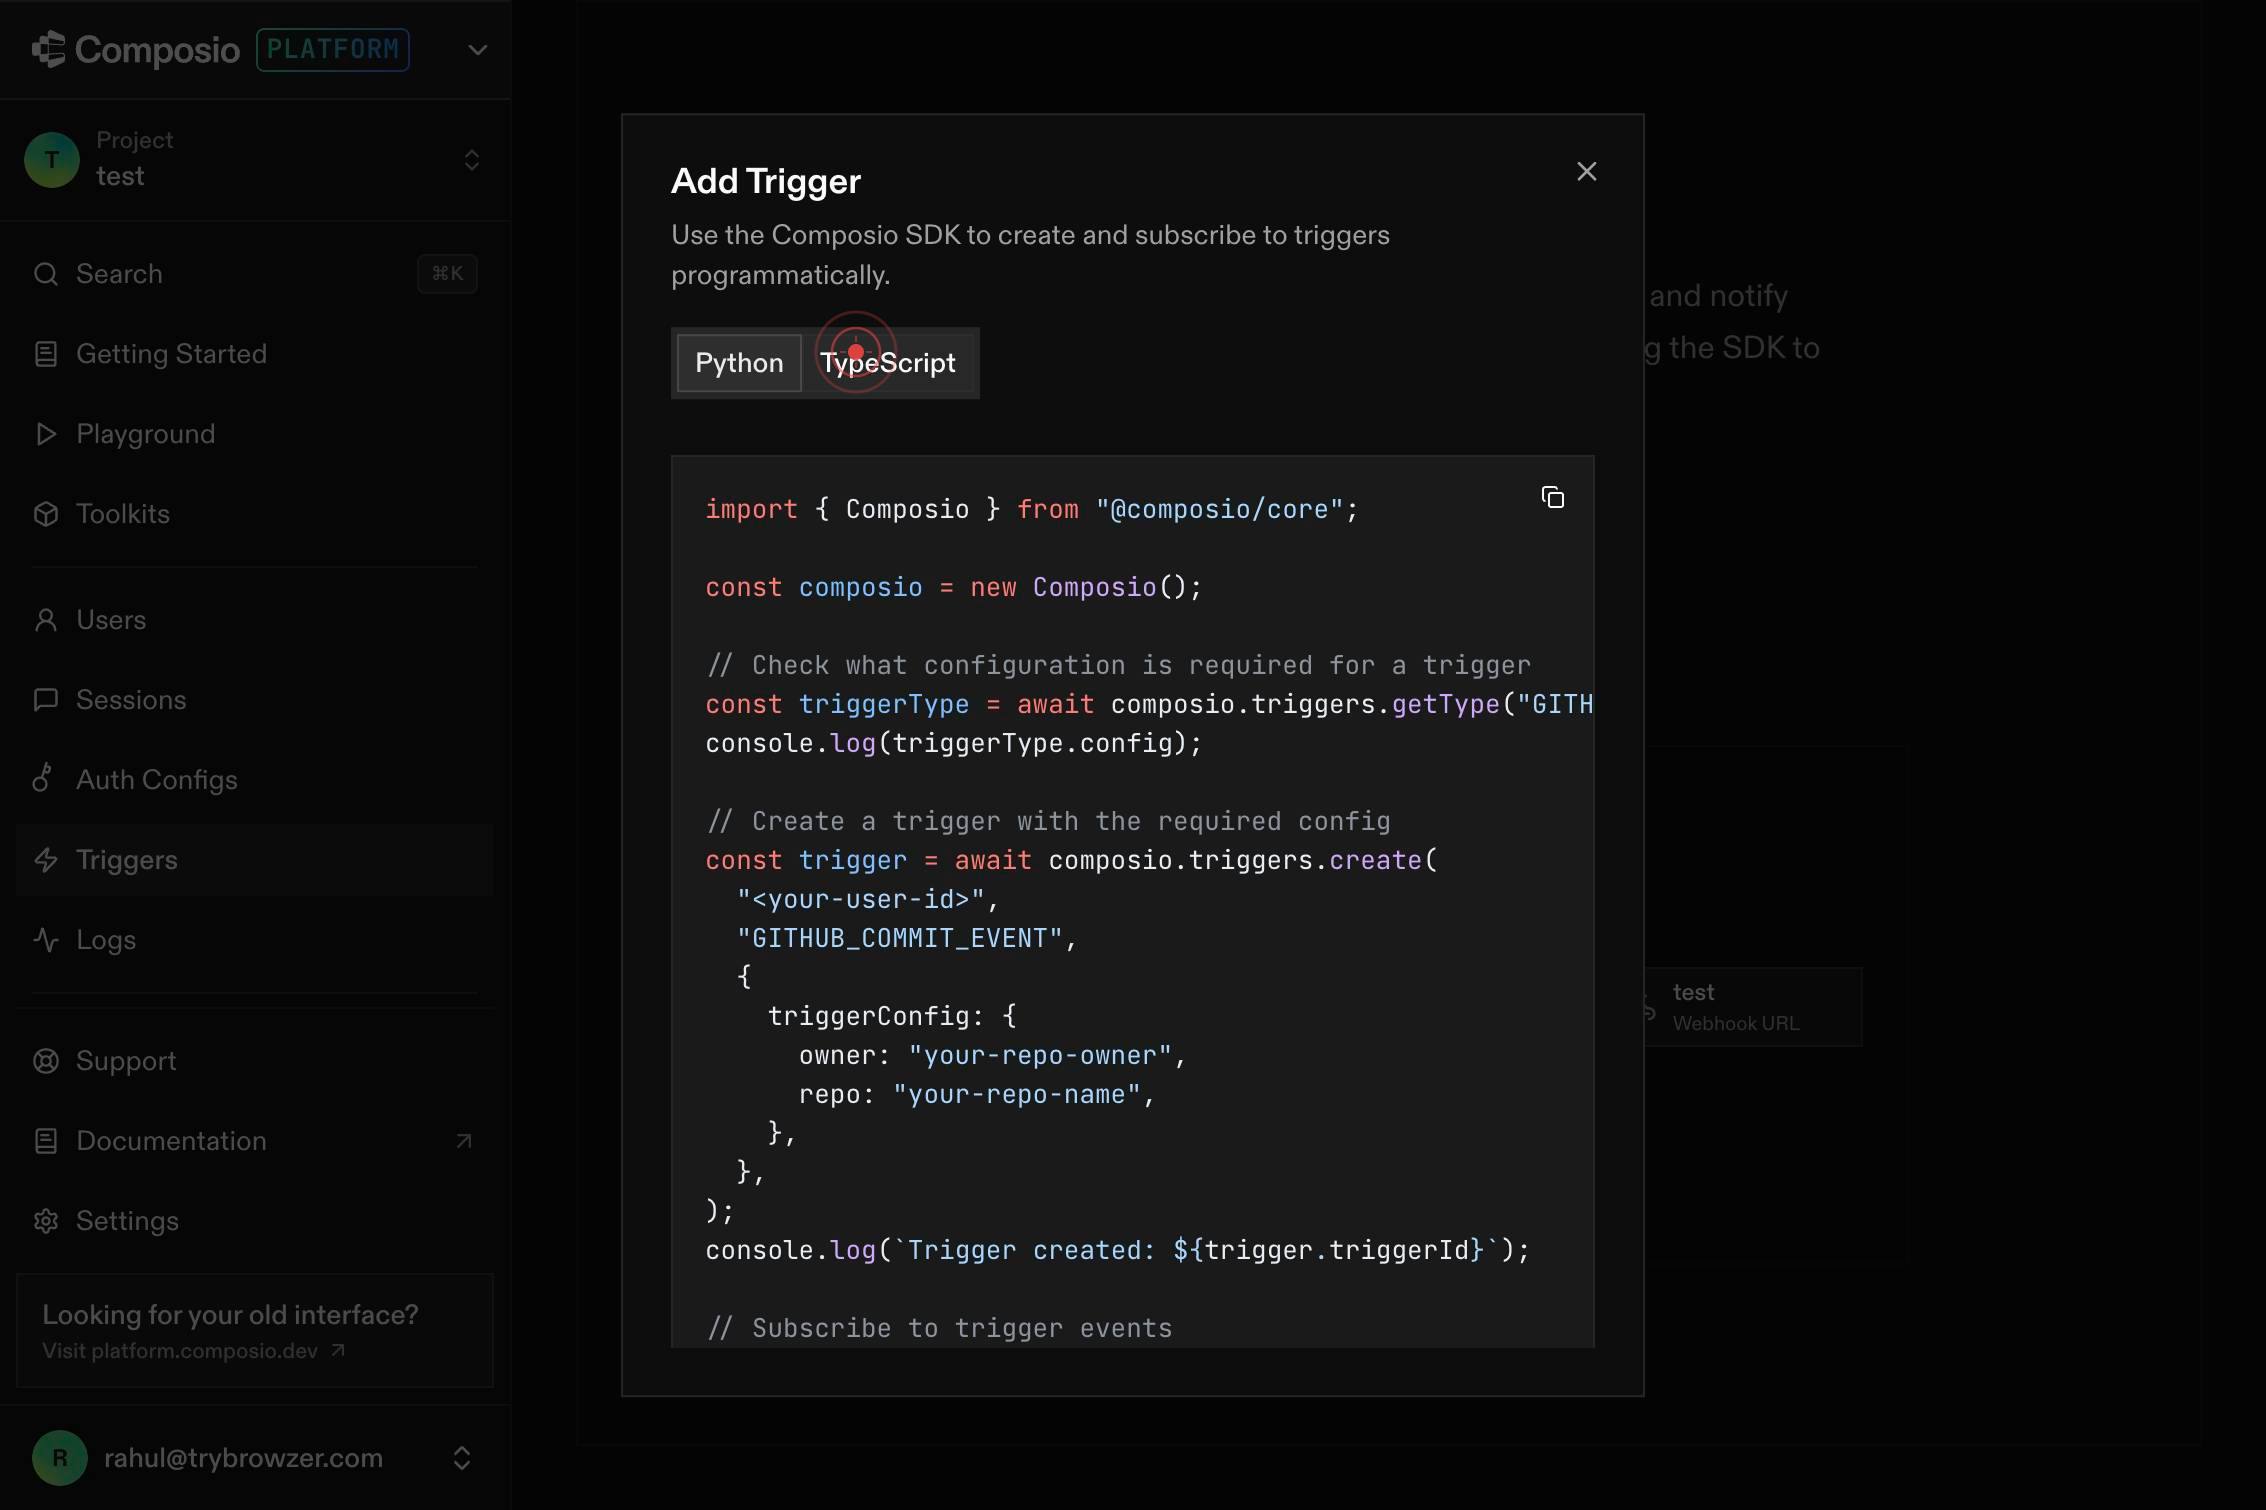
Add TriggerClick the 'Add Trigger' button to open the trigger creation dialog. This action initializes the workflow to configure a new trigger for your agent.

TypeScriptSelect the 'TypeScript' tab in the trigger creation dialog to specify that you want to create a trigger using TypeScript. This allows you to write custom logic in TypeScript to handle the event.
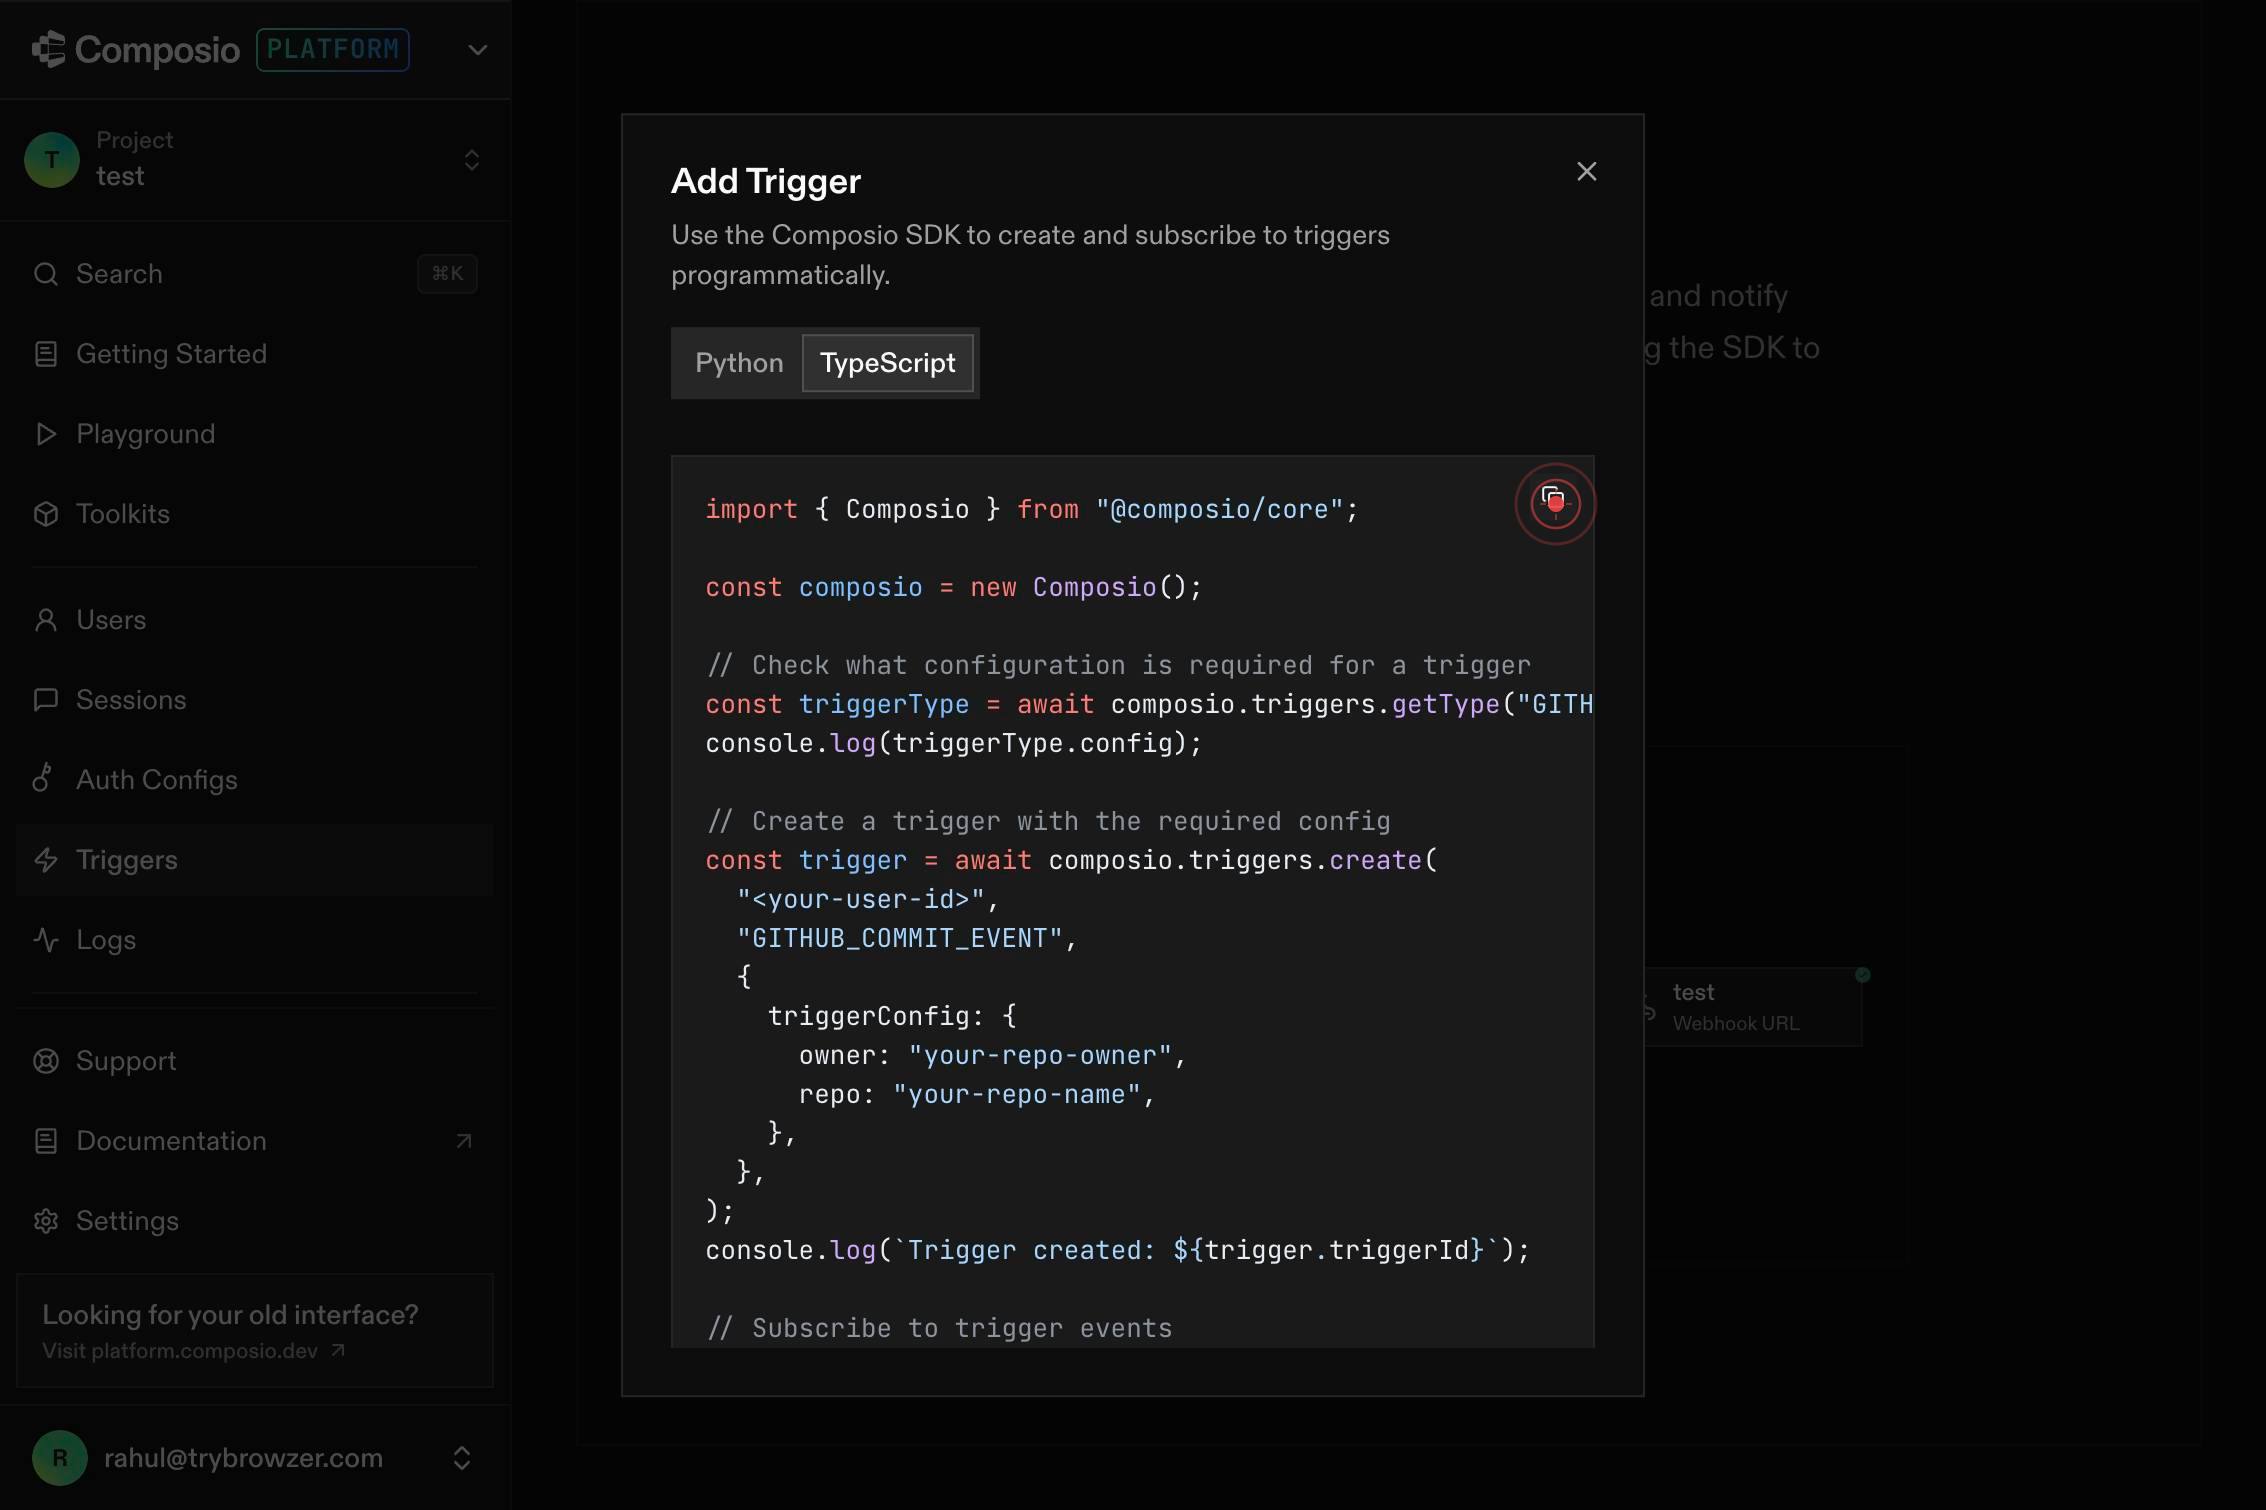
buttonClick the final action button (typically labeled 'Create', 'Confirm', or 'Save') to complete the trigger creation process. Your new TypeScript trigger is now registered and ready to be configured with event listeners and handler logic.
Confirm it worked
- 1The Triggers page loads and displays the trigger management interface
- 2The TypeScript tab is selected in the trigger creation modal
- 3A new trigger configuration form or code editor appears, ready for input
Common issues
Keep reading
Prisma - Trigger.dev
> ## Documentation Index > > Fetch the complete documentation index at: https://trigger.dev/docs/llms.txt > Use this file to discover all available pages before exploring further. IMPORTANT: these i
docs.trigger.devTypeORM Triggers: A Guide to Logging User Activity | by Shibin K A | Medium
TypeORM Triggers: A Guide to Logging User Activity | by Shibin K A | Medium Sitemap Open in app Sign up Sign in Medium Logo Get app Write Search Sign up Sign in # TypeORM Triggers: A Guide
medium.comTRIGGER v0.21
Triggers | Trigger Documentation [# TRIGGERv0.21 ](https://www.trigger.datahook.ca/) # Working with triggers Triggers are an idiomatic way to perform
trigger.datahook.ca