Guide
Create agents in Playground
Overview
The Composio Playground provides a sandboxed workbench where you can quickly prototype and test AI agents without writing code. Creating an agent in the Playground allows you to interact with your agent through a chat interface, enabling it to discover tools, authenticate with external applications, and execute actions across integrated services. This is useful for exploring agent capabilities, testing tool integrations, and building proof-of-concept solutions before deploying to production.
Before you begin
- Access to dashboard.composio.dev with an active Composio account
- The Playground interface loaded and visible on your screen
- A clear understanding of what task or capability you want your agent to perform (optional but recommended)
Step by step
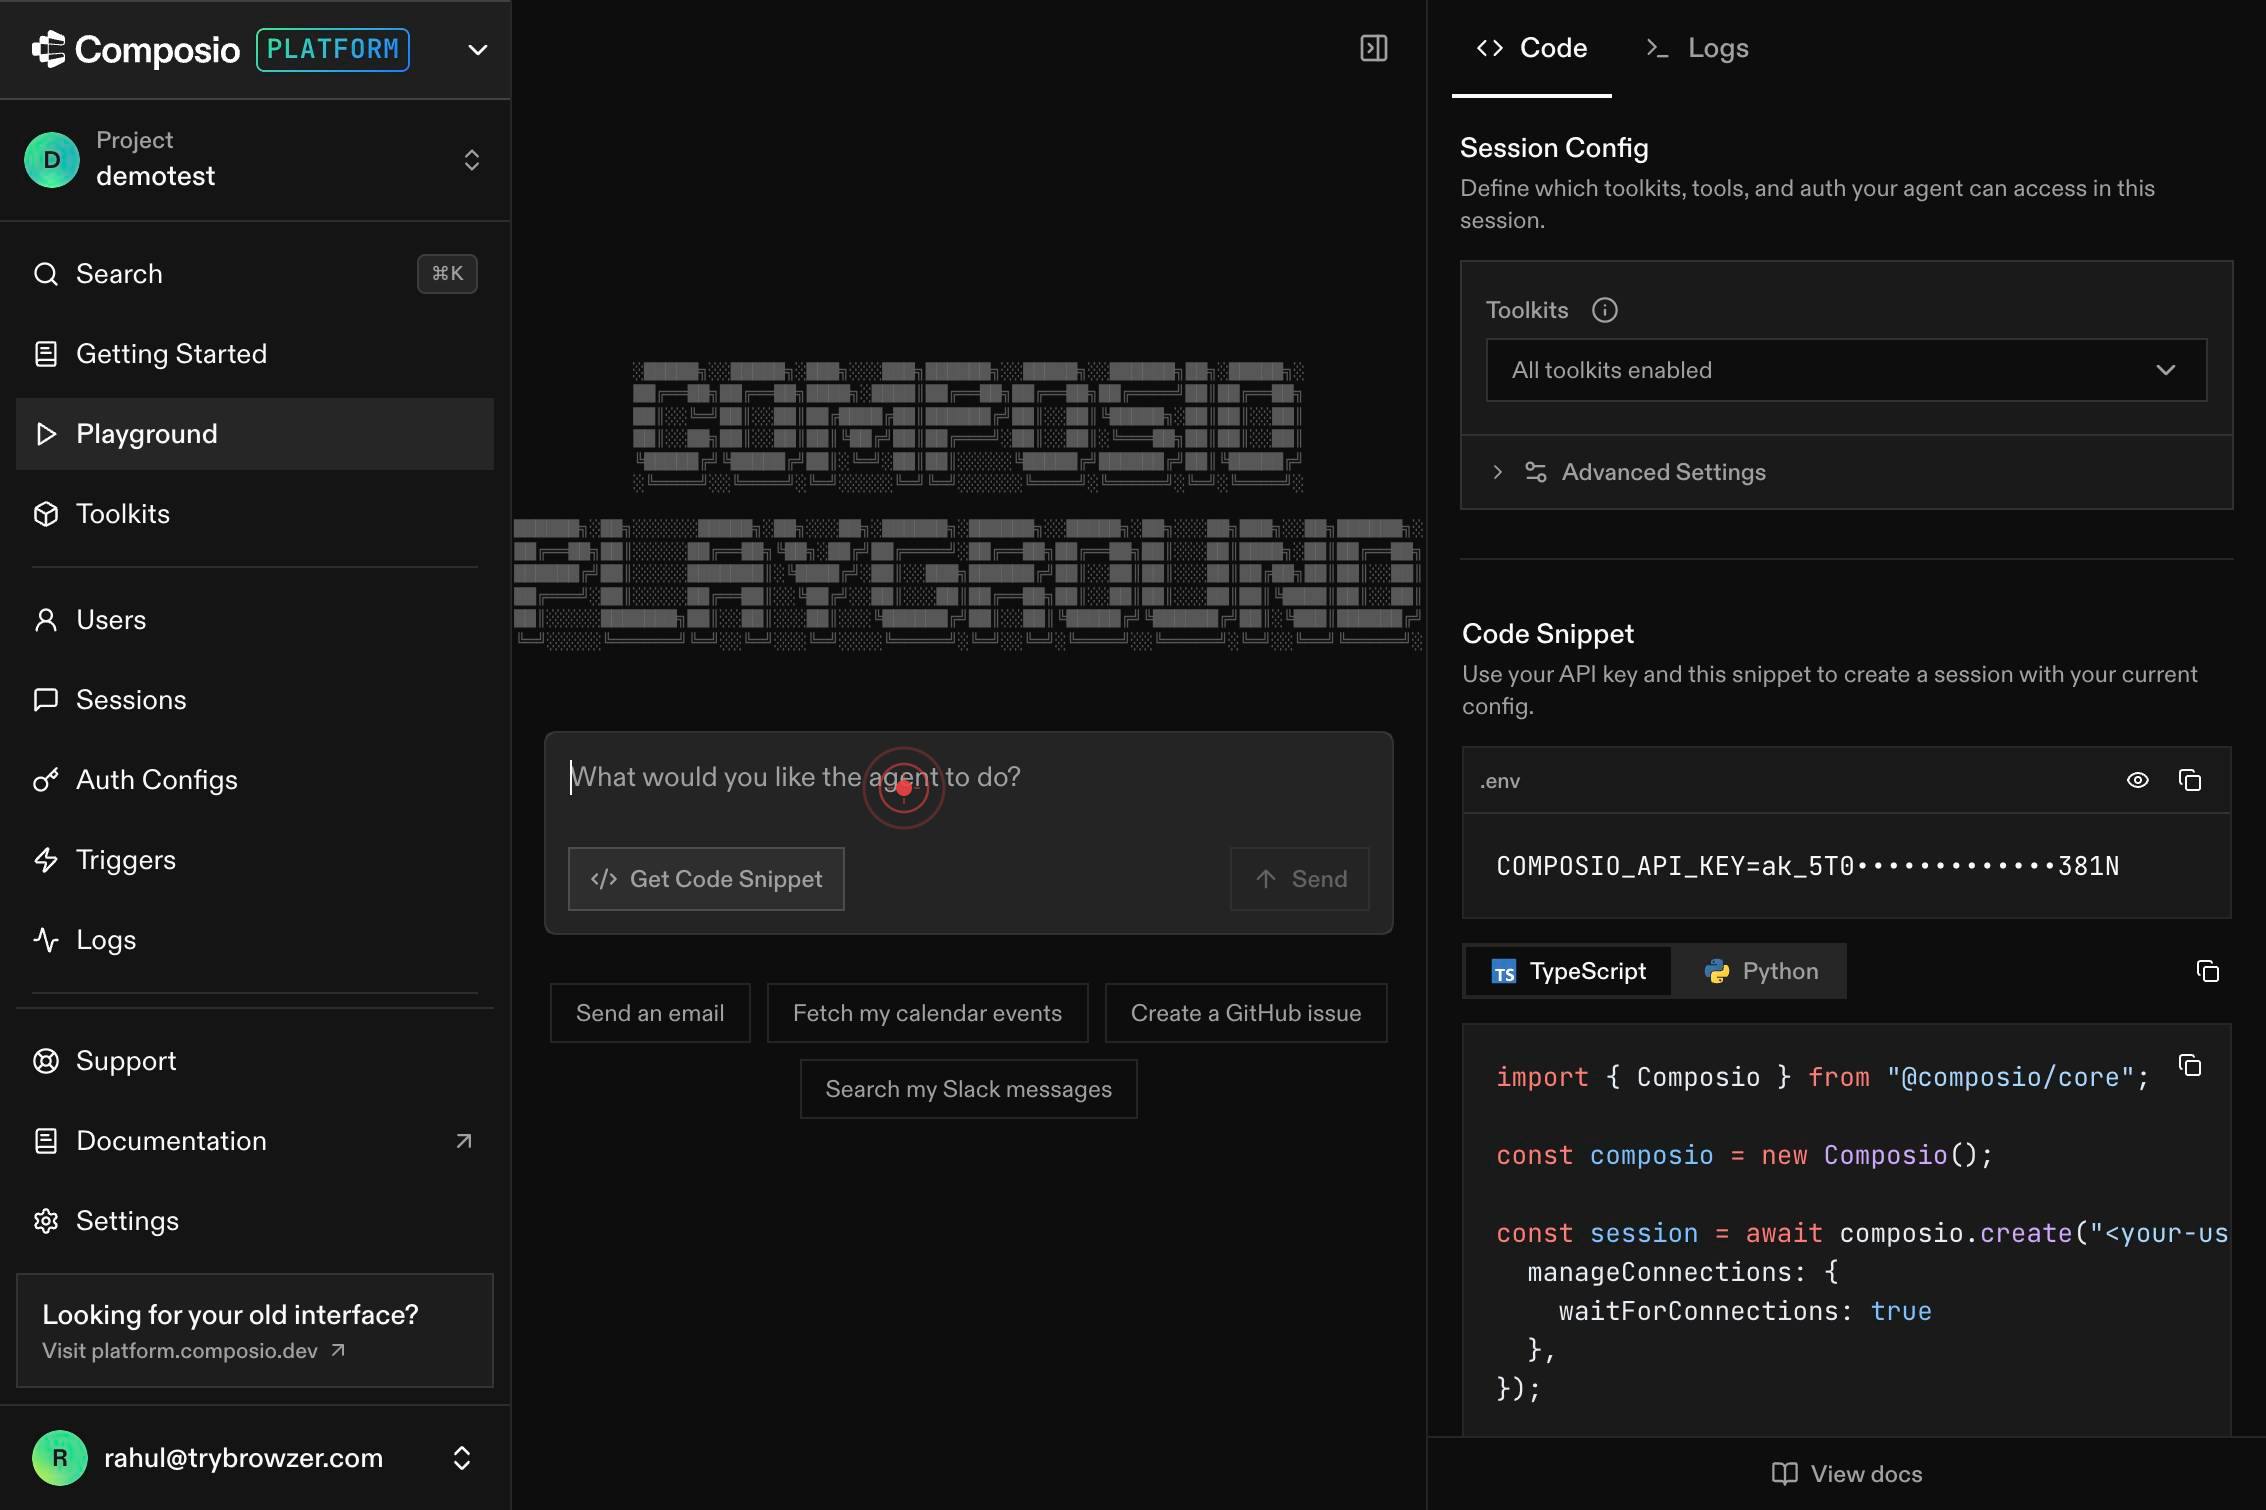
Chat message inputClick on the chat message input field to activate it and prepare to type your agent creation prompt. This field is where you will enter the initial message that defines your agent's behavior and capabilities.
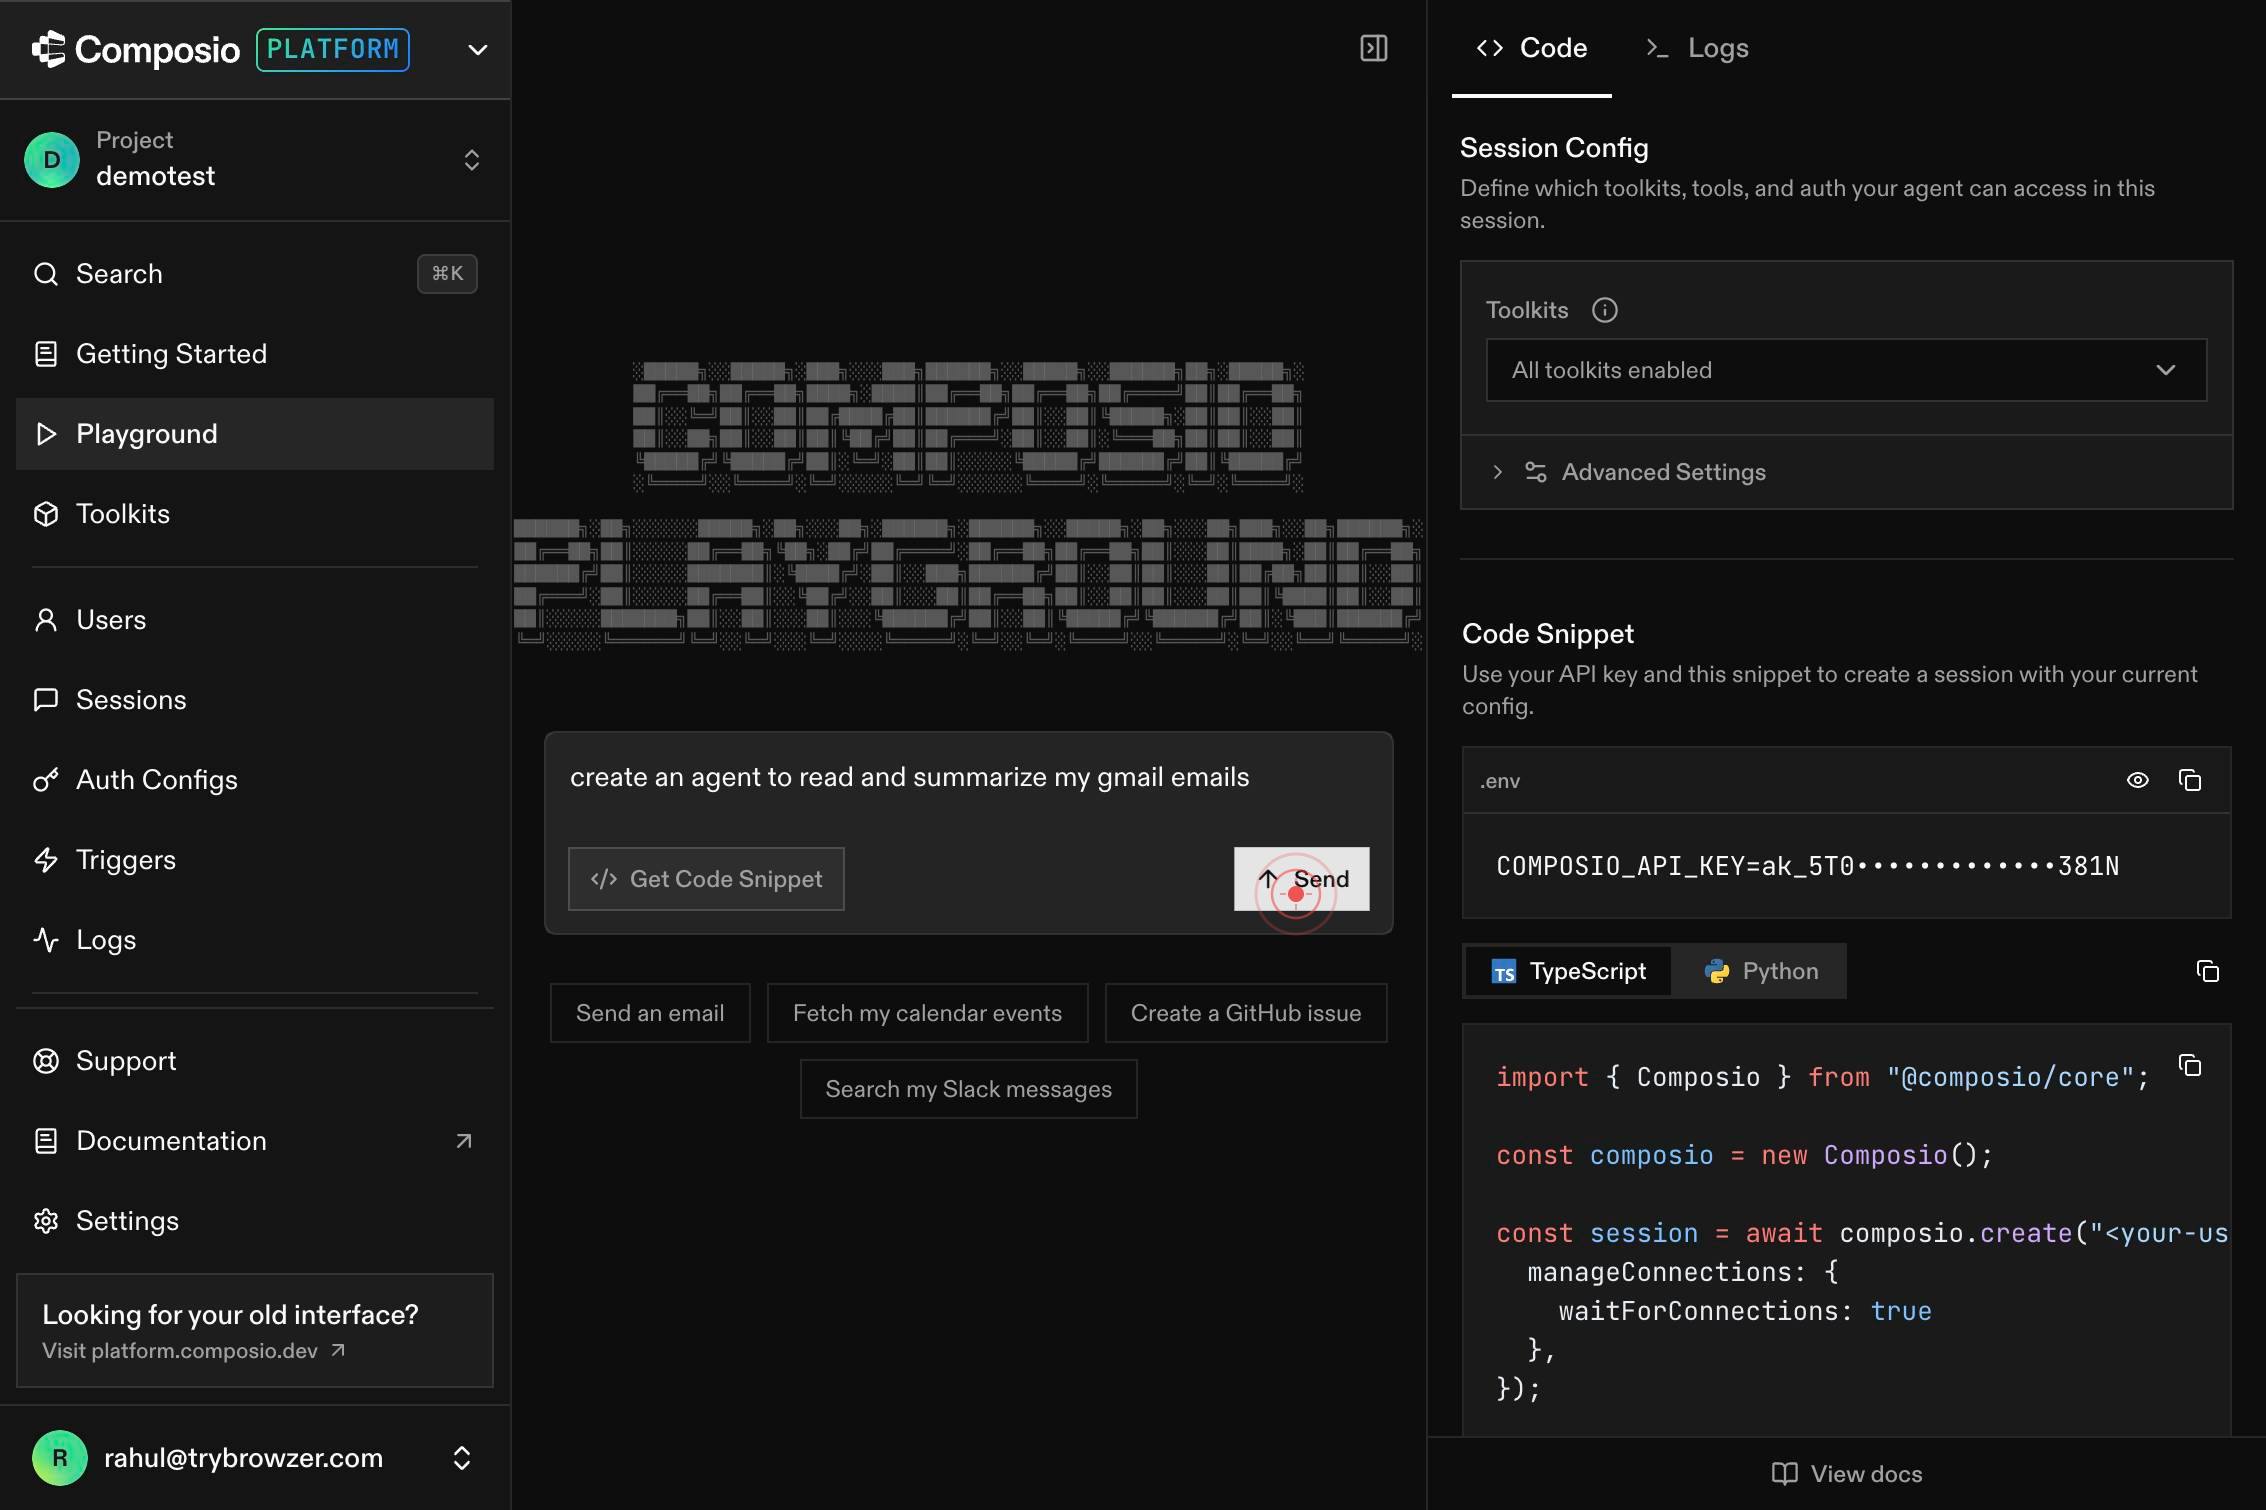
Chat message inputType a descriptive message that specifies what you want your agent to do. This could include task instructions, tool preferences, or the specific workflows you want the agent to handle. The message will be used to initialize and configure your new agent instance.
Send messageClick the Send button to submit your message and create the agent. This action initializes the agent with your specified instructions and opens the chat interface for interaction.
Confirm it worked
- 1The chat input field accepts your typed message without errors
- 2The message appears in the chat history after sending
- 3A new agent instance is created and visible in the Playground dashboard or chat interface
- 4You can continue sending messages to the agent, and it responds with relevant actions or queries
Common issues
Keep reading
Build an agent using playbooks | Dialogflow CX | Google Cloud Documentation
Build an agent using playbooks | Dialogflow CX | Google Cloud Documentation # Build an agent using playbooks This guide shows you how to build and test a simple shirt ordering agent using playbooks.
docs.cloud.google.comQuickstart - Create a new Foundry Agent Service project (classic) - Microsoft Foundry (classic) portal | Microsoft Learn
Quickstart - Create a new Foundry Agent Service project (classic) - Microsoft Foundry (classic) portal | Microsoft Learn Ask Learn Ask Learn # Quickstart: Create a new agent (classic) Choose a usag
learn.microsoft.comCreate Your First Agent - PlayAI Docs
> ## Documentation Index > > Fetch the complete documentation index at: https://docs.play.ai/llms.txt > Use this file to discover all available pages before exploring further. # Create Your First Ag
docs.play.ai