Guide
Add Row to Table
Overview
Supabase is a PostgreSQL-based backend platform that provides a web-based Table Editor for visual database management. Adding rows manually through the UI is useful for quick data entry, testing, or small-scale updates without writing SQL queries. The Table Editor streamlines this process by providing a form-like interface where you can insert and edit row data directly. This guide walks you through accessing the editor, creating a new row, entering field values, and saving your changes to the database.
Before you begin
- A Supabase account (free tier available at supabase.com)
- An active Supabase project with at least one table created
- Access to the Table Editor in your Supabase dashboard (typically available to project owners and editors)
- The name and structure of the table you wish to add data to
Step by step
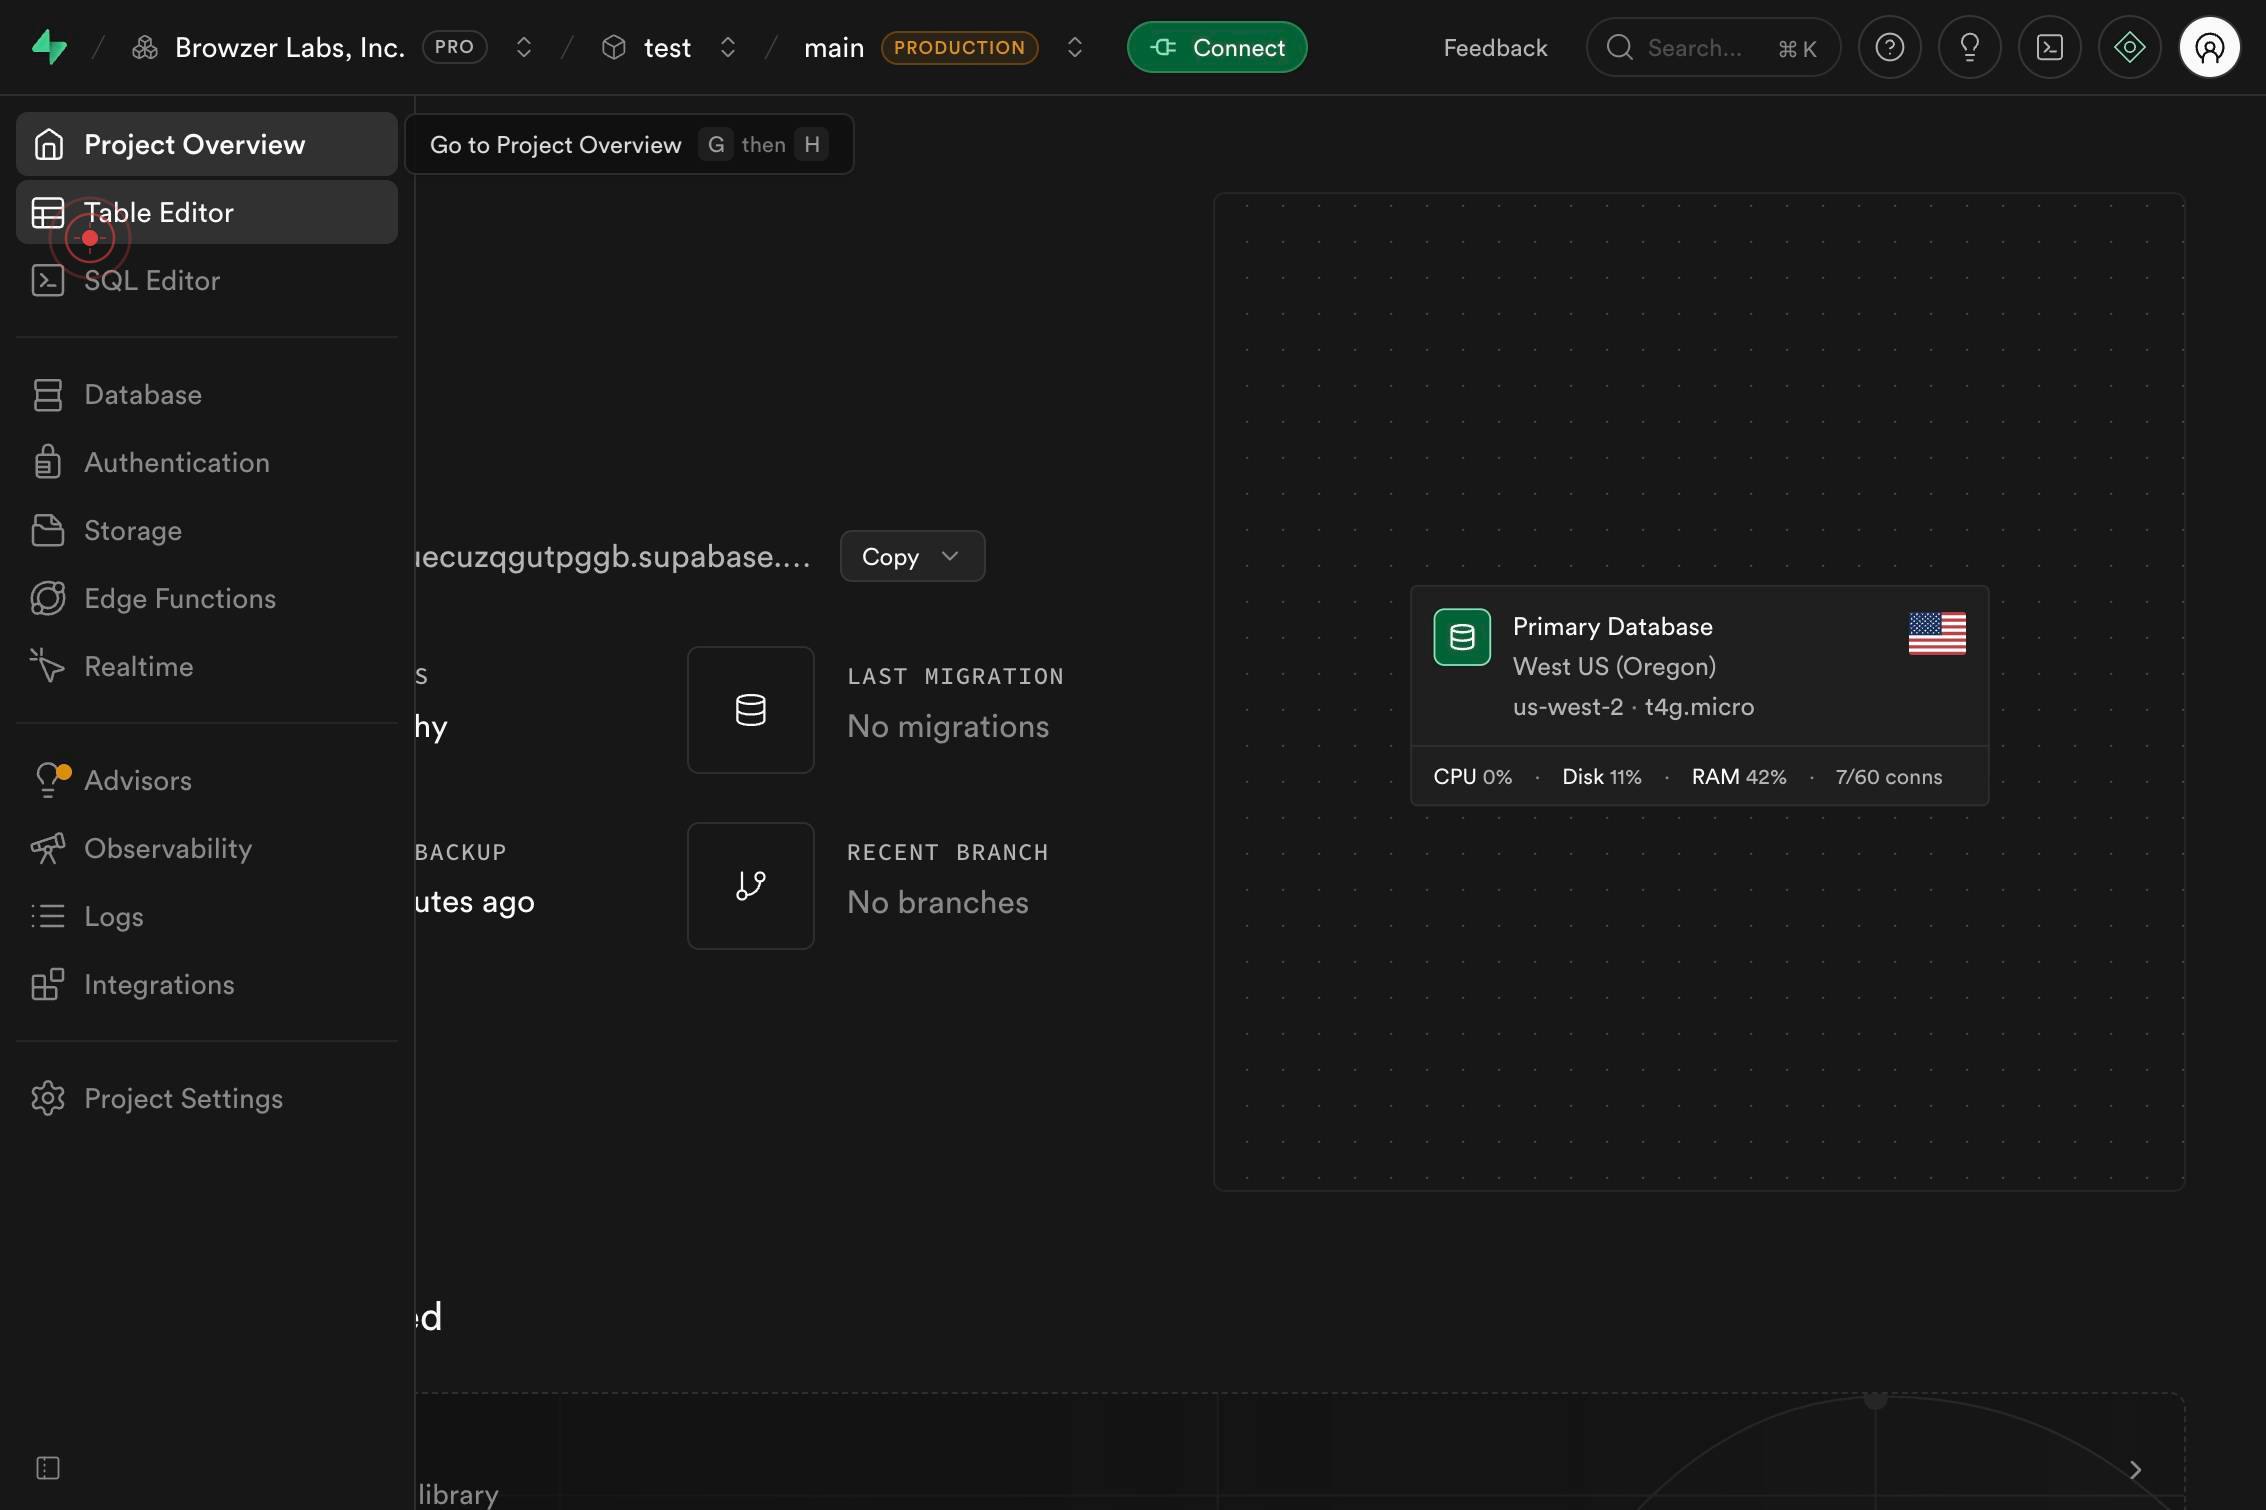
Table EditorNavigate to the Table Editor by clicking the Table Editor link in the Supabase navigation. This opens the visual interface where you can view and edit your table data without writing SQL.
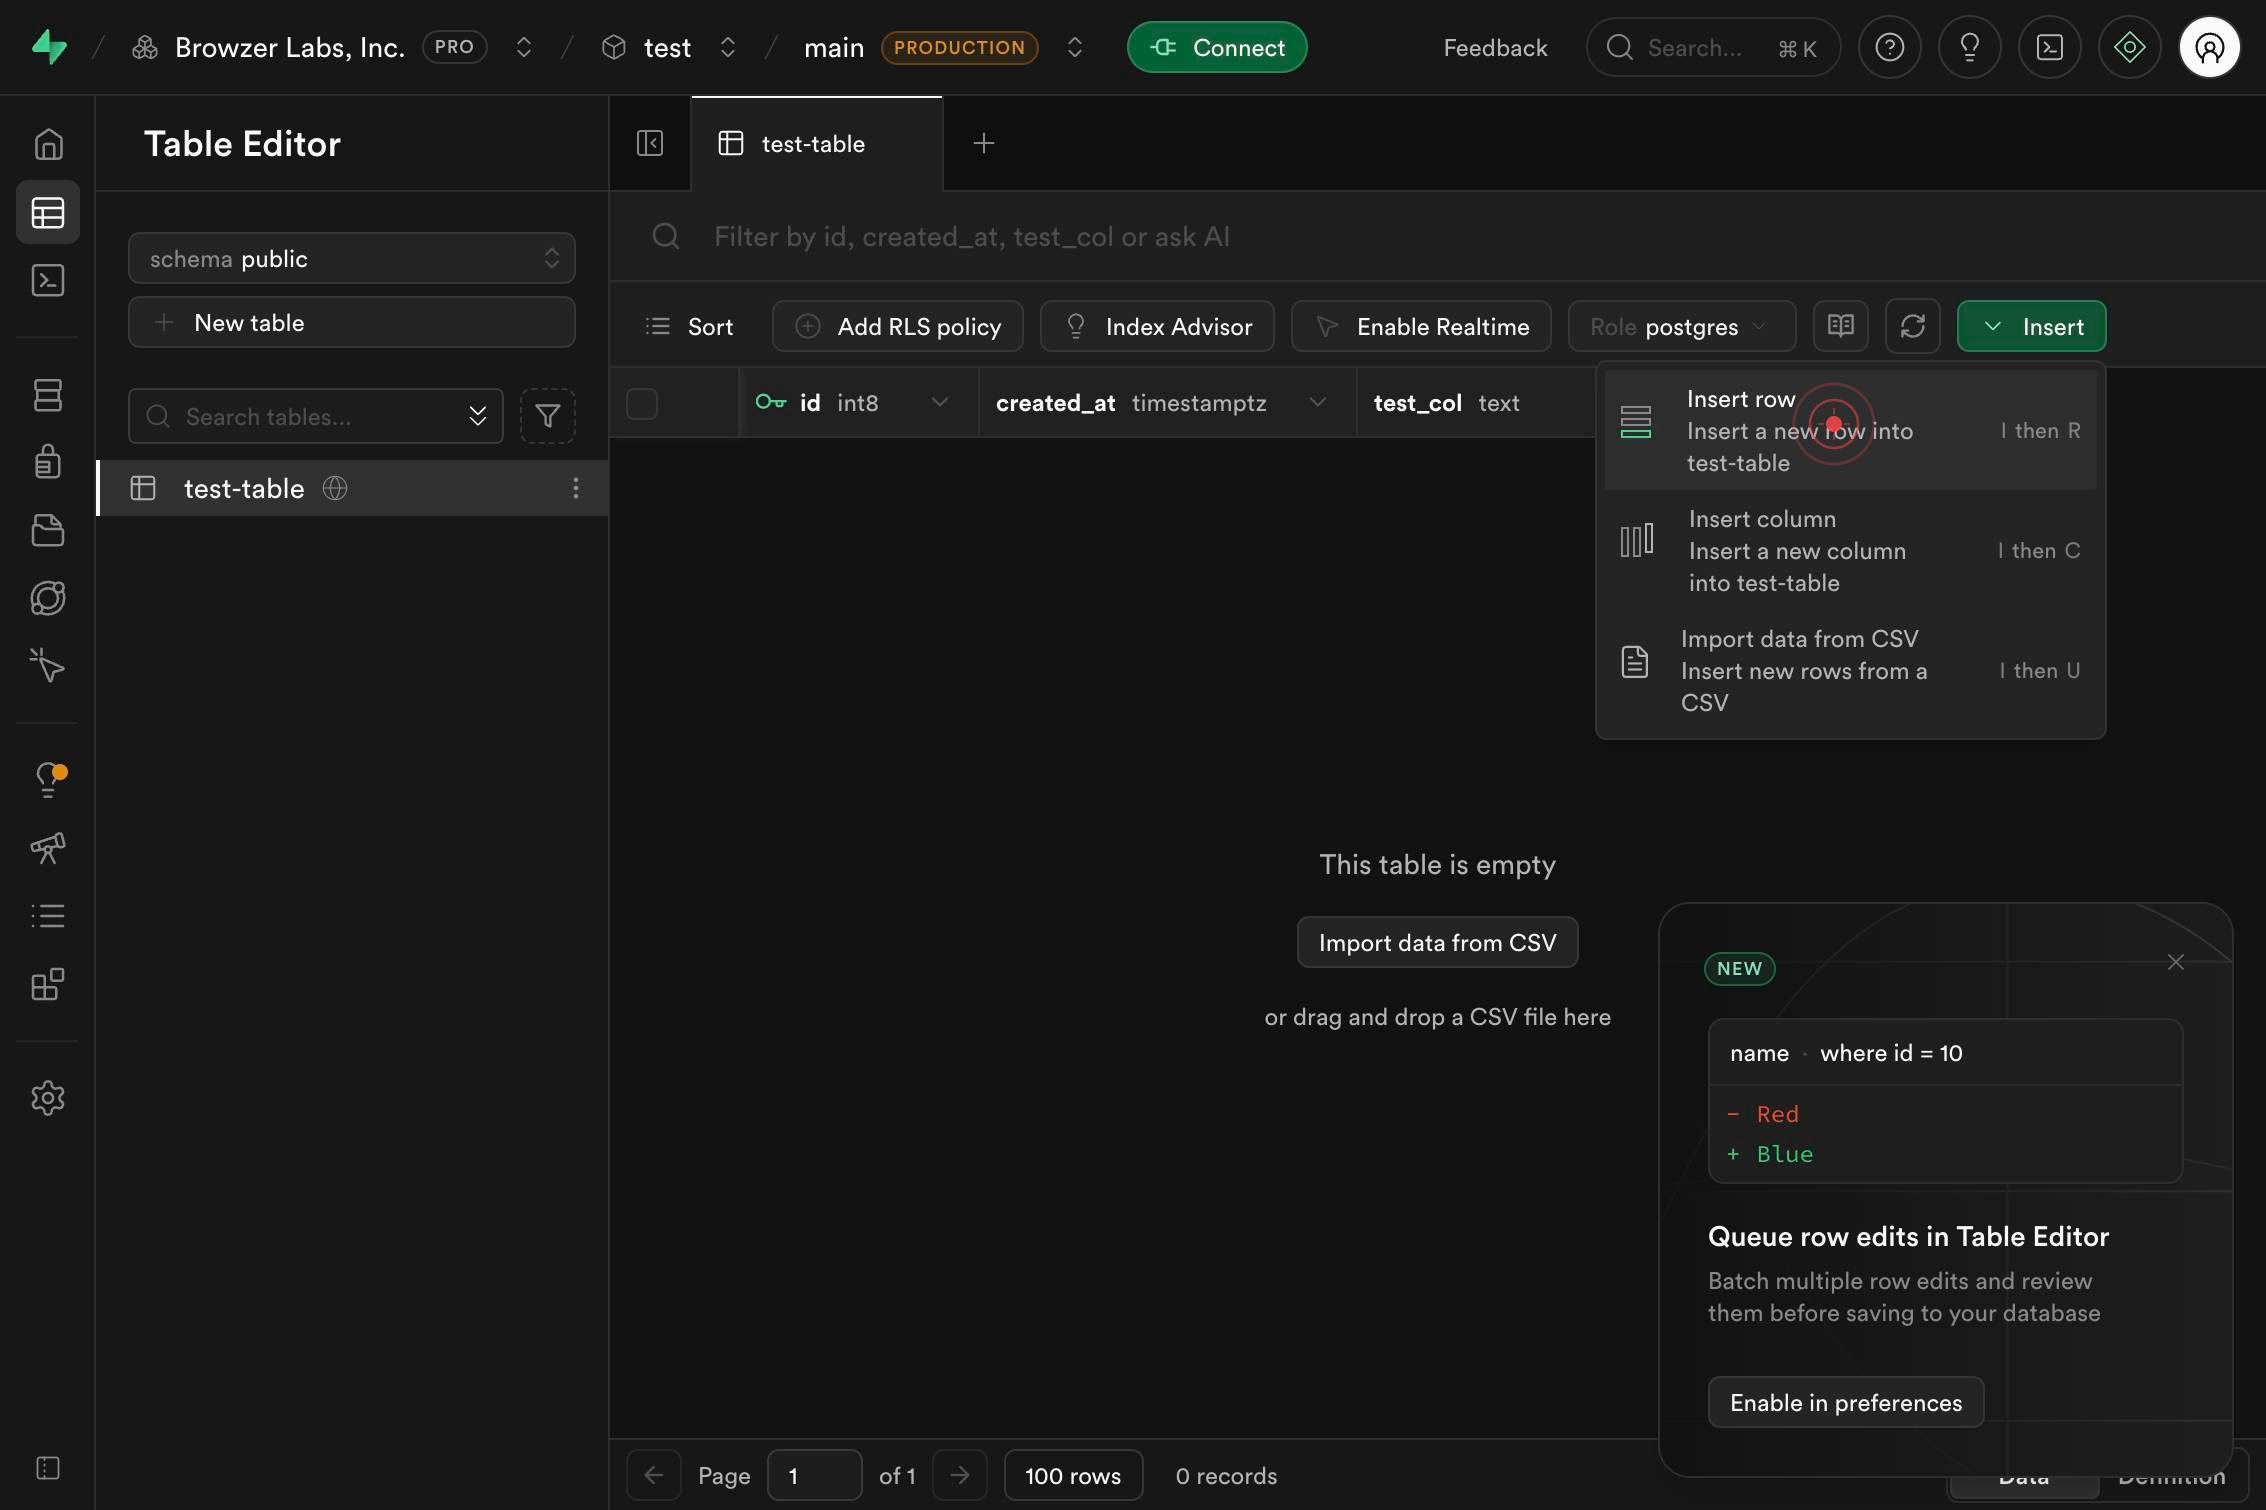
InsertClick the Insert button in the toolbar to reveal options for adding new data to your table.
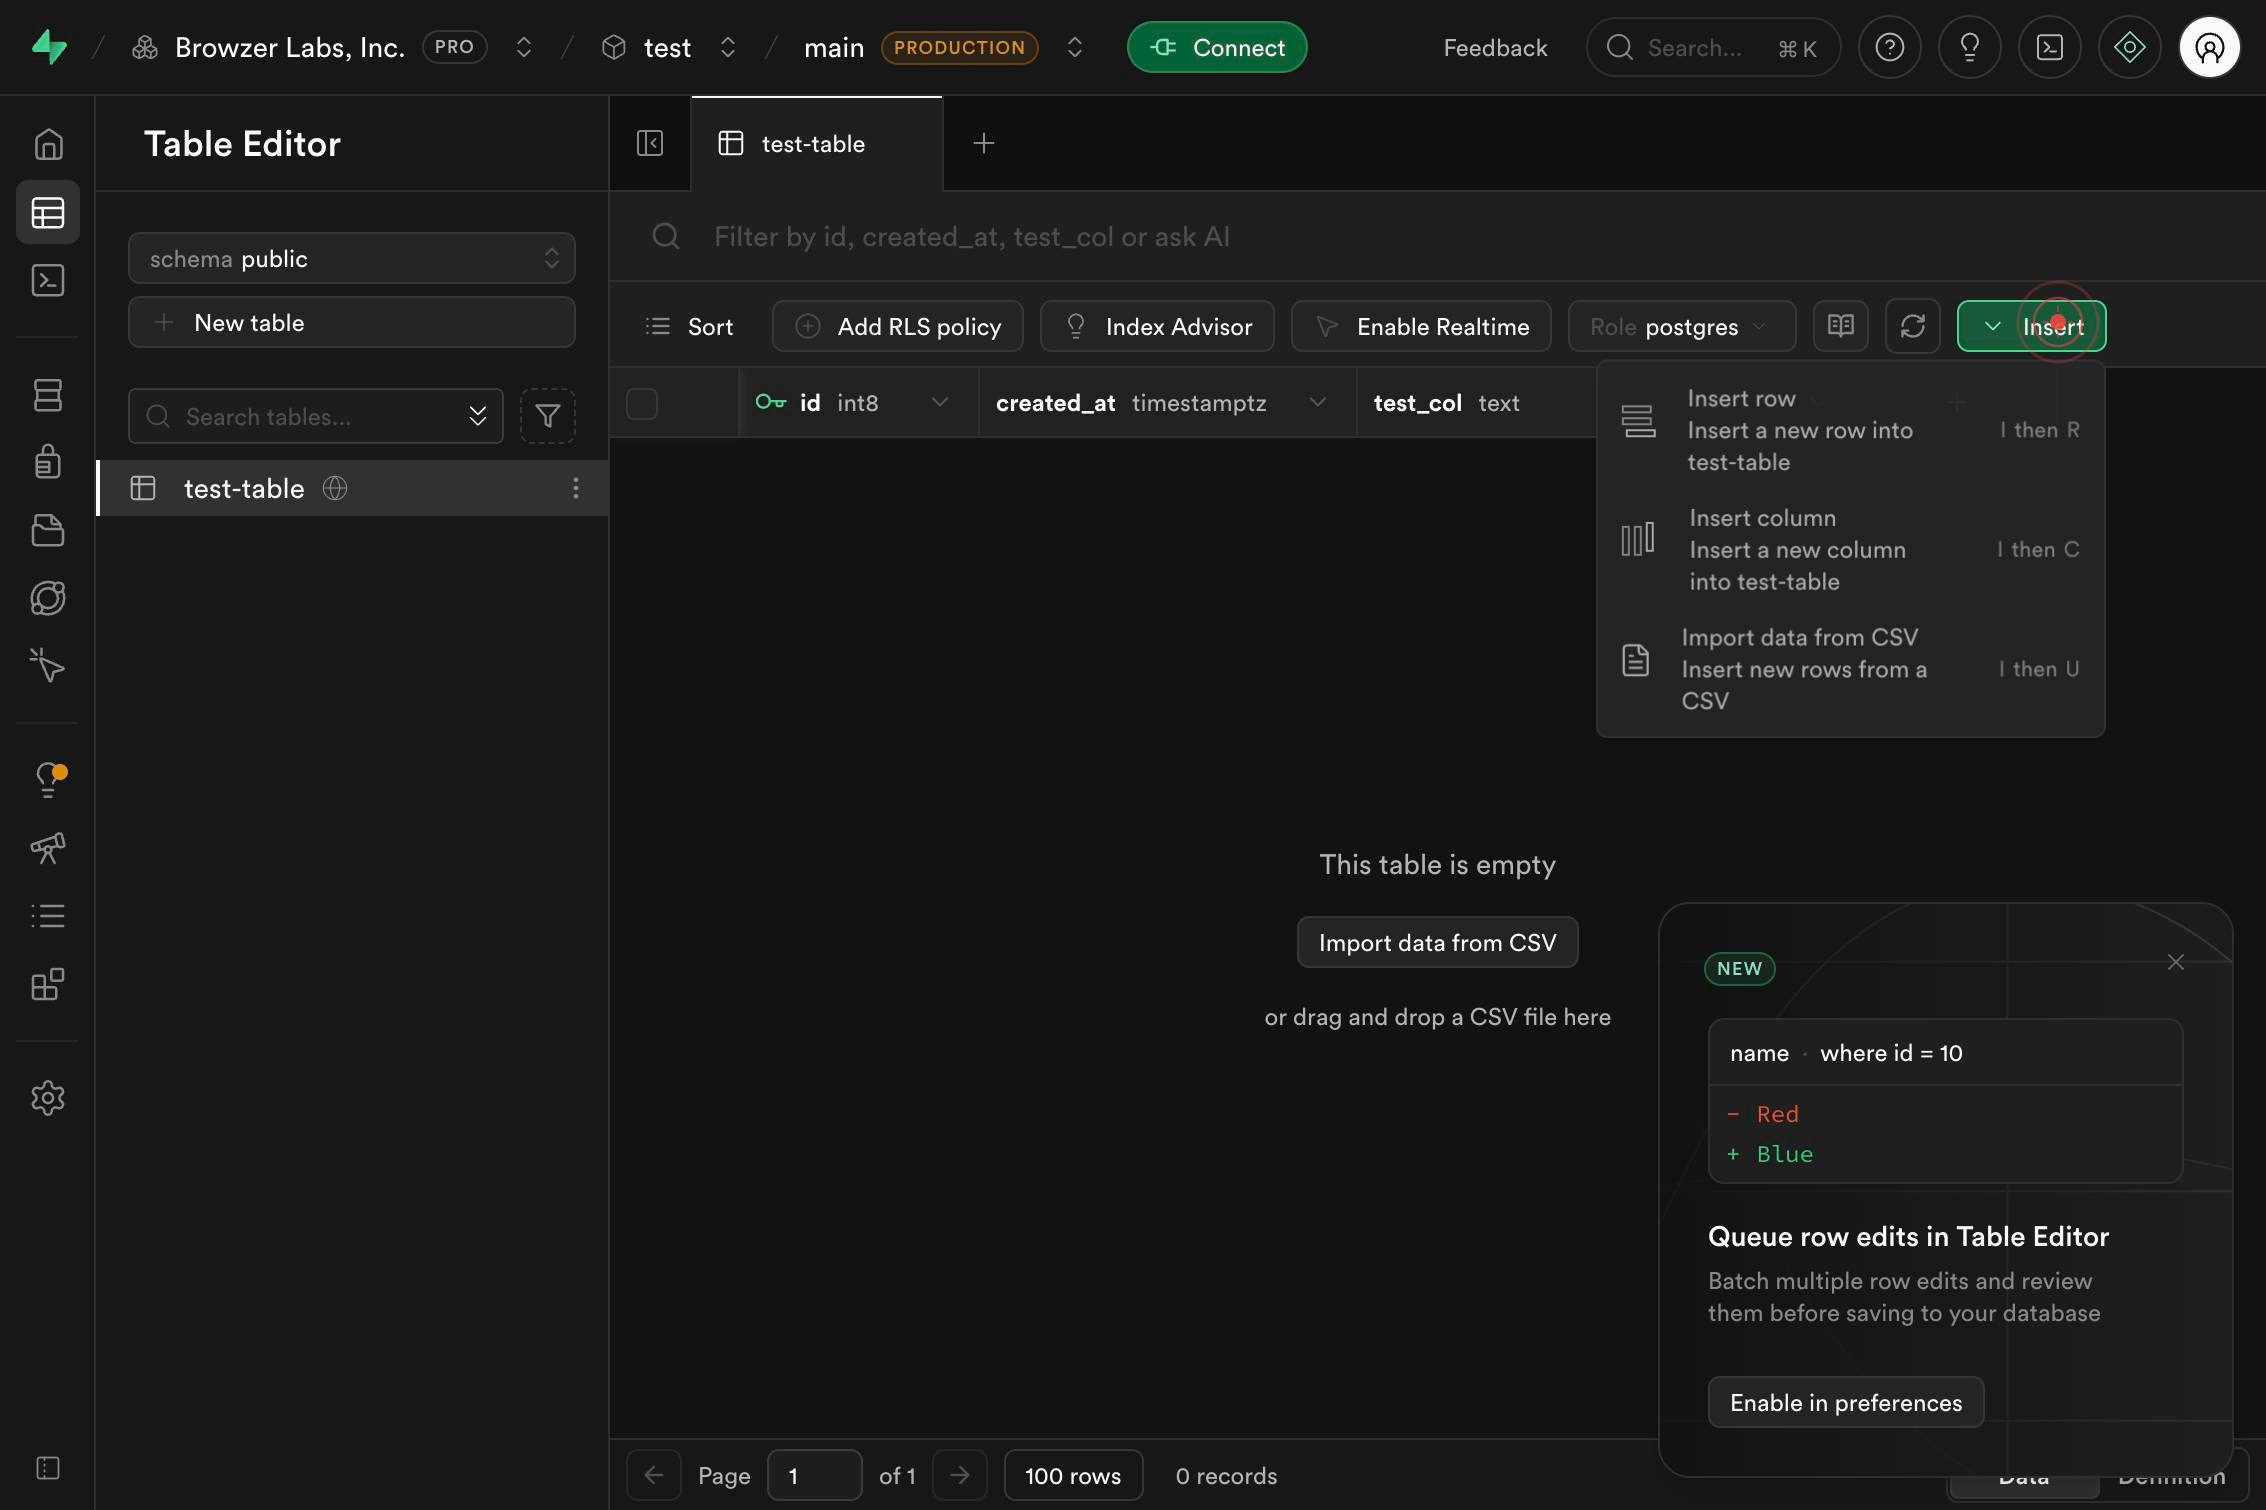
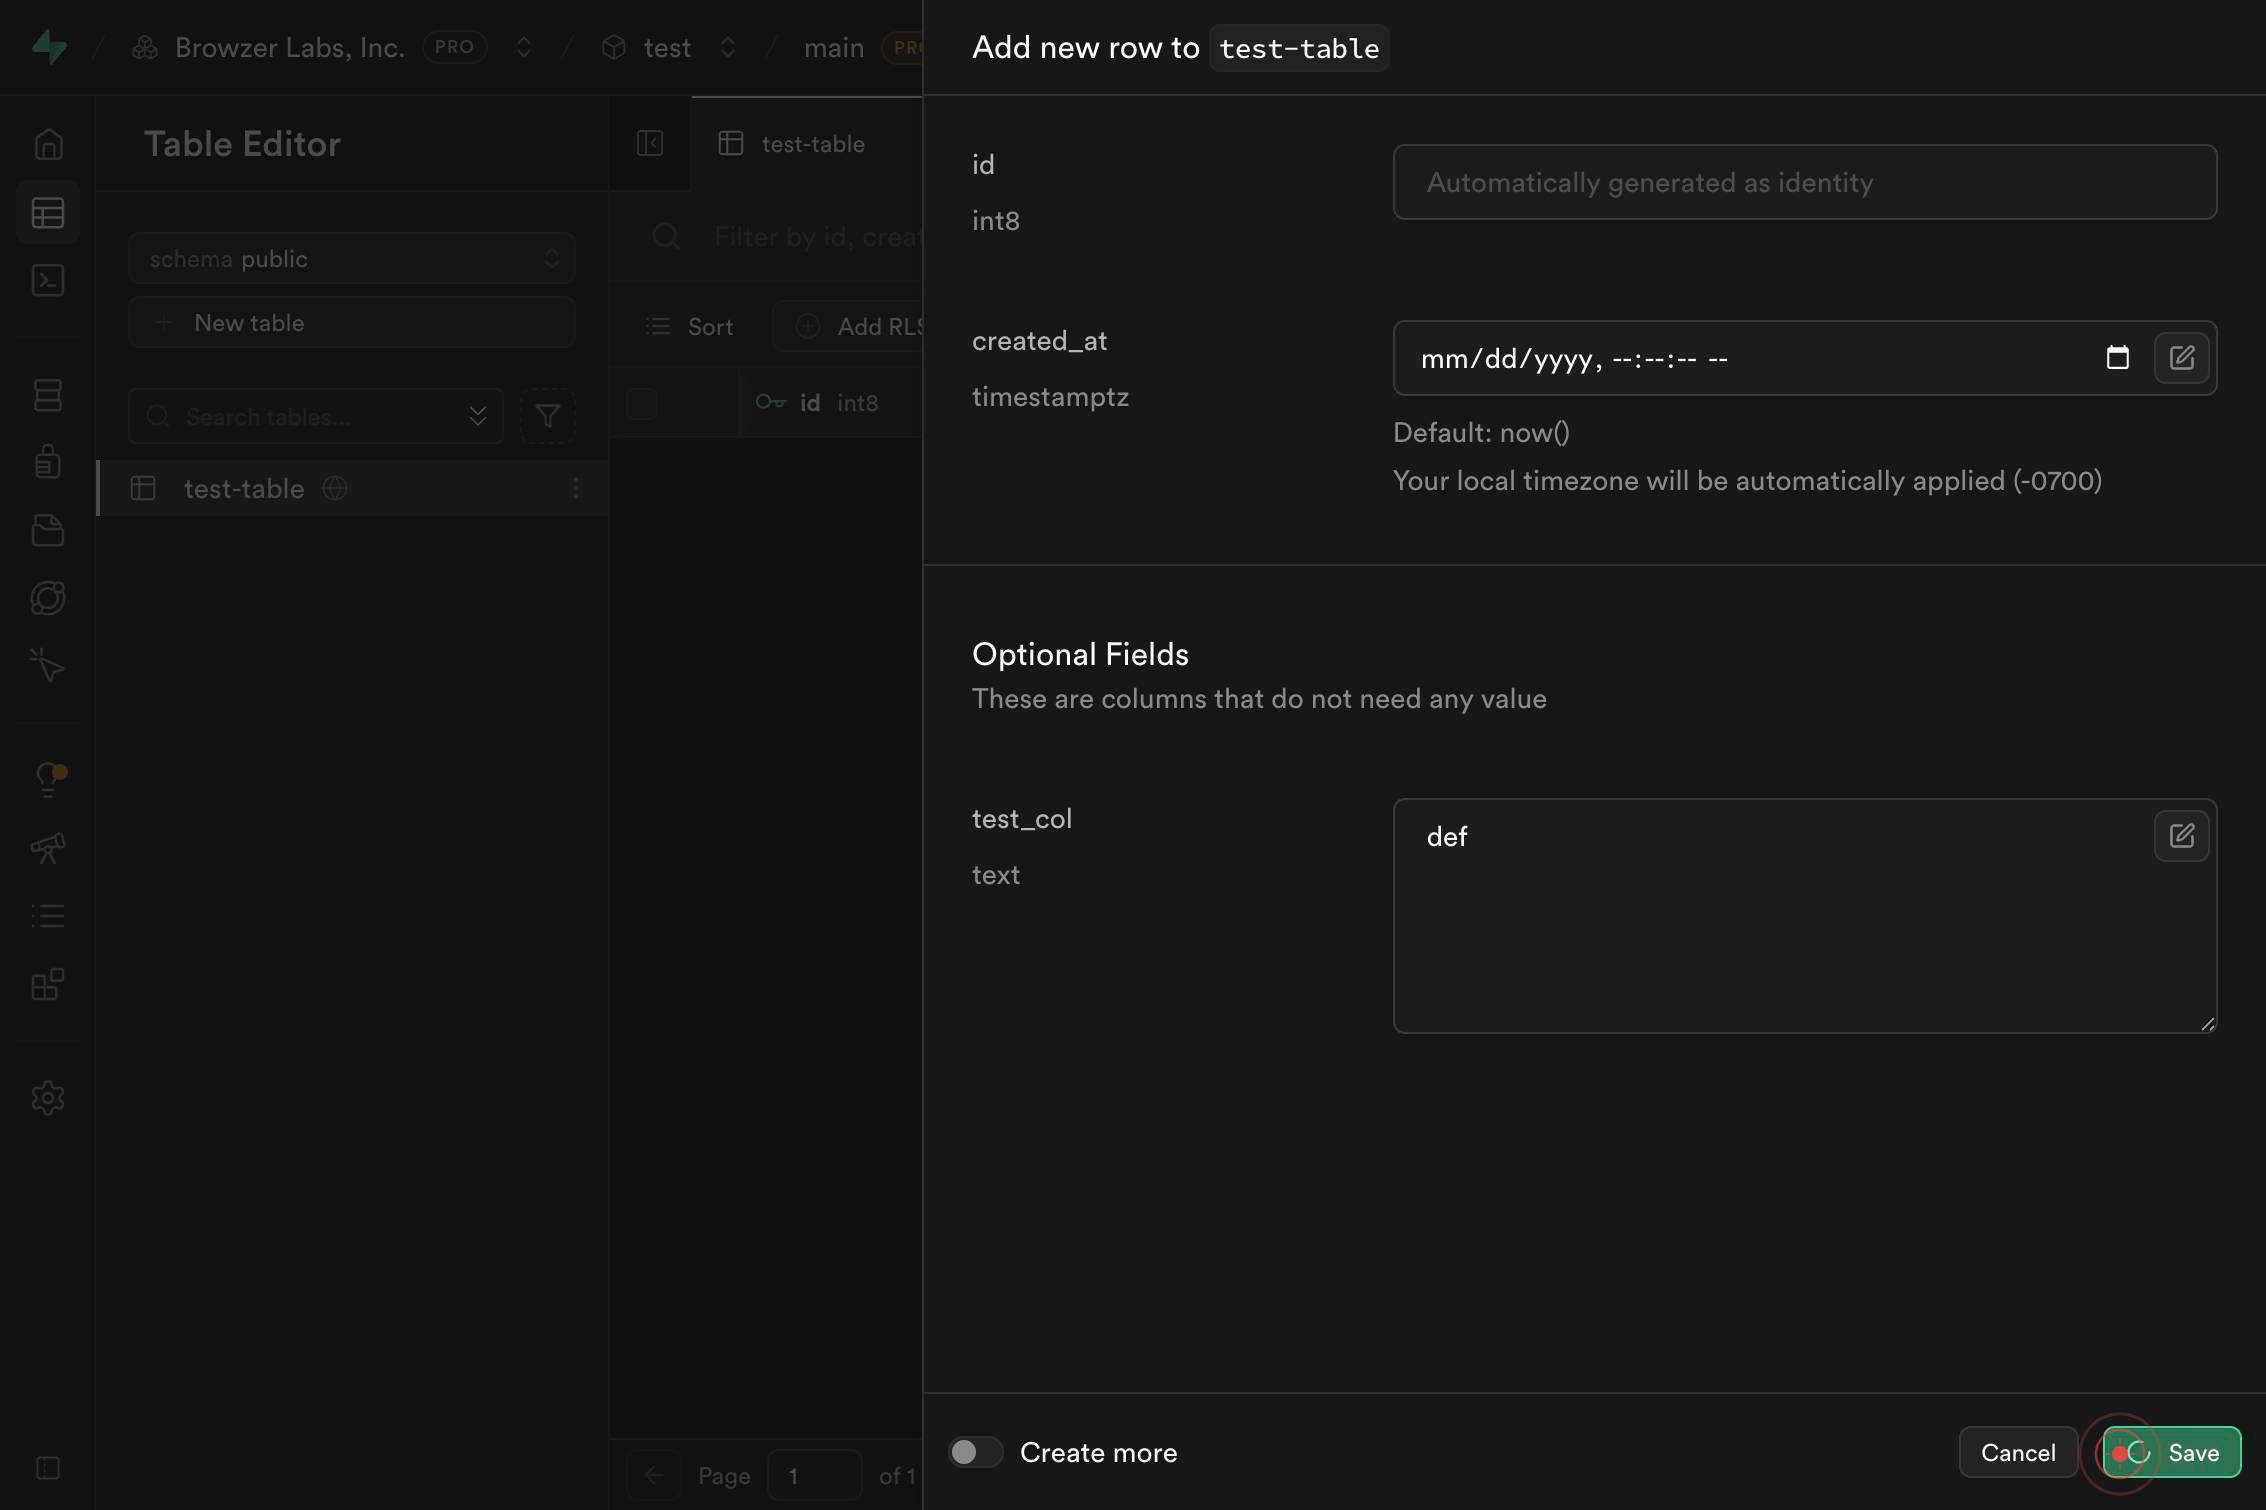
Insert row Insert a new row into test-table I then RSelect 'Insert row' from the dropdown menu that appears. This option creates a new blank row ready for data entry. The menu will confirm which table you're inserting into (e.g., 'test-table').
Default: 'abc'::textClick on the text field that displays the default value (e.g., 'Default: 'abc'::text') to activate the field for editing. This field is ready to accept your input.
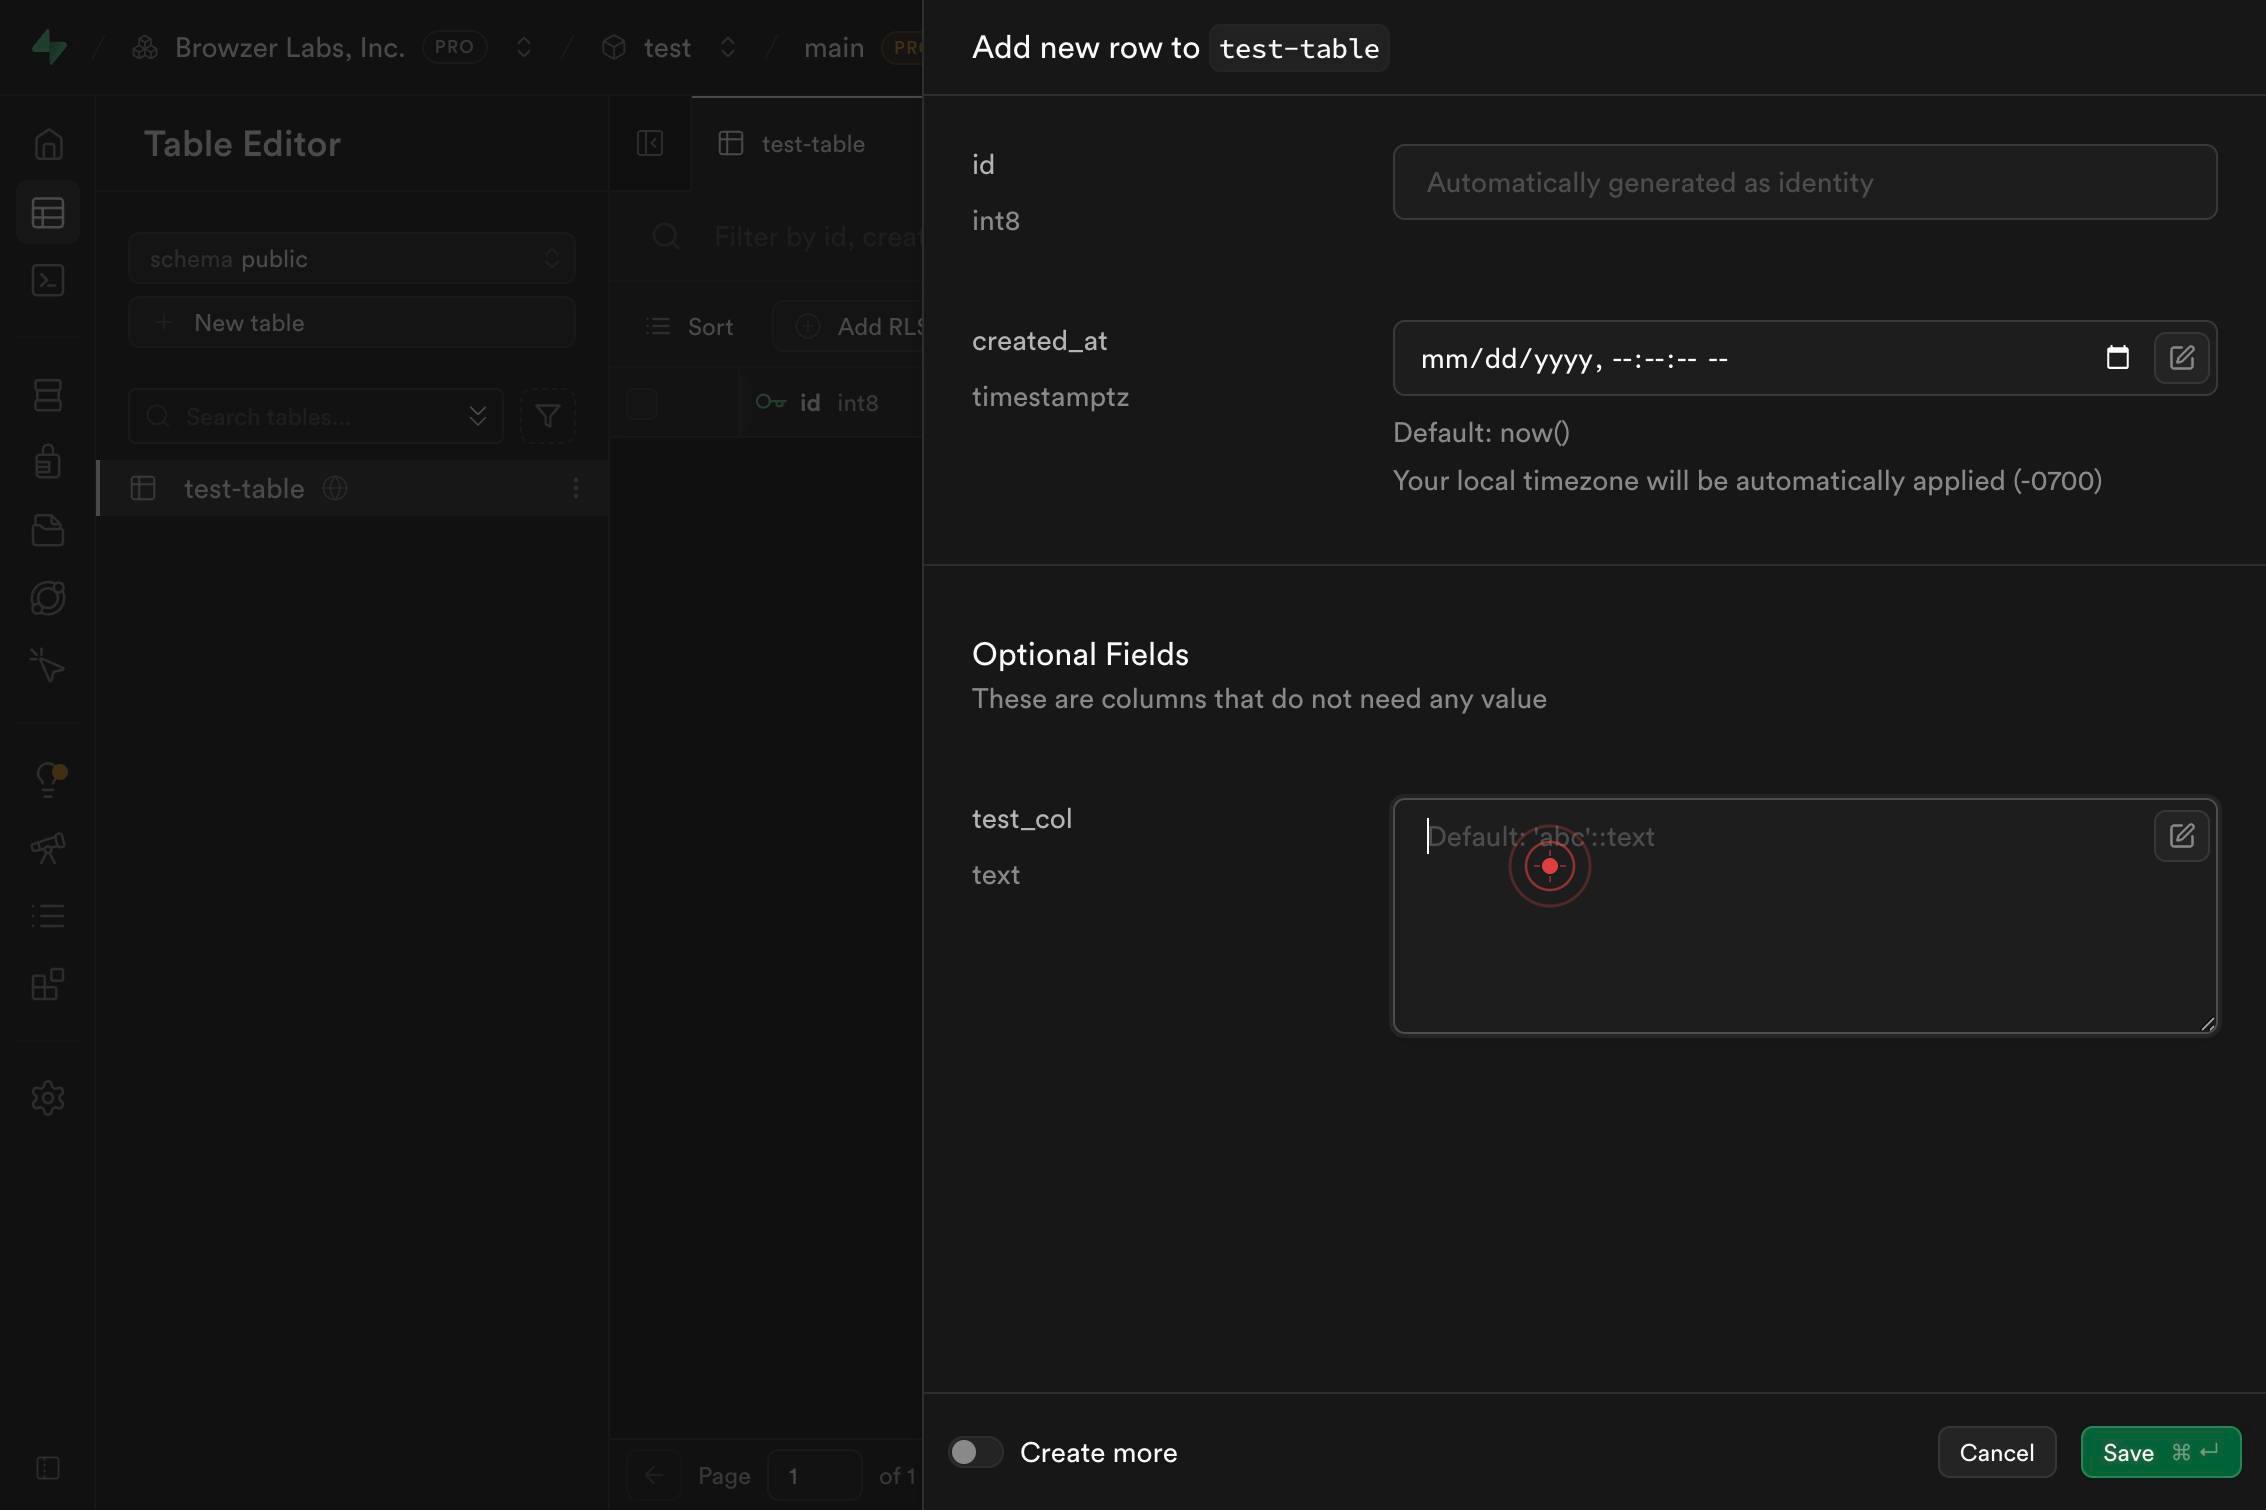
Default: 'abc'::textType your desired value into the text field. Replace the default placeholder text with the actual data you want to store in this column.
Save ⌘ ↵Click the Save button (indicated by the keyboard shortcut ⌘ ↵) to commit your new row to the database. The row will be permanently stored in your table.
Confirm it worked
- 1After clicking Save, the new row appears in the table grid with your entered data visible in the corresponding fields
- 2The row counter or row count indicator increases by one, reflecting the newly added row
- 3No error messages appear on screen; the save action completes without warnings
- 4Refreshing the page shows the new row still persists in the table, confirming the data was committed to the database
Common issues
Keep reading
How to add rows to a table using JavaScript DOM?
How to add rows to a table using JavaScript DOM? # How to add rows to a table using JavaScript DOM? HTML Javascript Programming Scripts --- --- We will learn how to add a row to a table using Jav
tutorialspoint.comHow to Add a Row to a Table in JavaScript
How to Add a Row to a Table in JavaScript Adding a row to a table in JavaScript Tables are a powerful way to display data in a structured and organized way. In JavaScript, you can easily add a new r
hatchjs.comHow to Dynamically Add Rows in HTML table using JavaScript?
How to Dynamically Add Rows in HTML table using JavaScript? Are you having trouble adding rows to an HTML table dynamically using JavaScript? Worry no more because, in this article, we will walk you
itsourcecode.com