Guide
Export Table Data
Overview
Supabase is a Postgres-based backend platform that provides a built-in data management interface. Exporting table data as CSV is a common task when you need to extract records for reporting, data migration, or external analysis. CSV format is universally compatible with spreadsheet applications (Excel, Google Sheets) and data processing tools, making it ideal for sharing or archiving table snapshots. This workflow guides you through accessing Supabase's export functionality from the table view.
Before you begin
- Active Supabase account (free or paid) at supabase.com
- At least one project created in Supabase with an initialized database
- A table with data that you want to export (the table must already exist in your project)
- Access permissions to the table (typically owner or editor role on the project)
Step by step
buttonOpen the export menu by clicking the menu button (typically three dots or a dropdown icon) in the top toolbar of your table view. This button reveals options for downloading and sharing your table data.
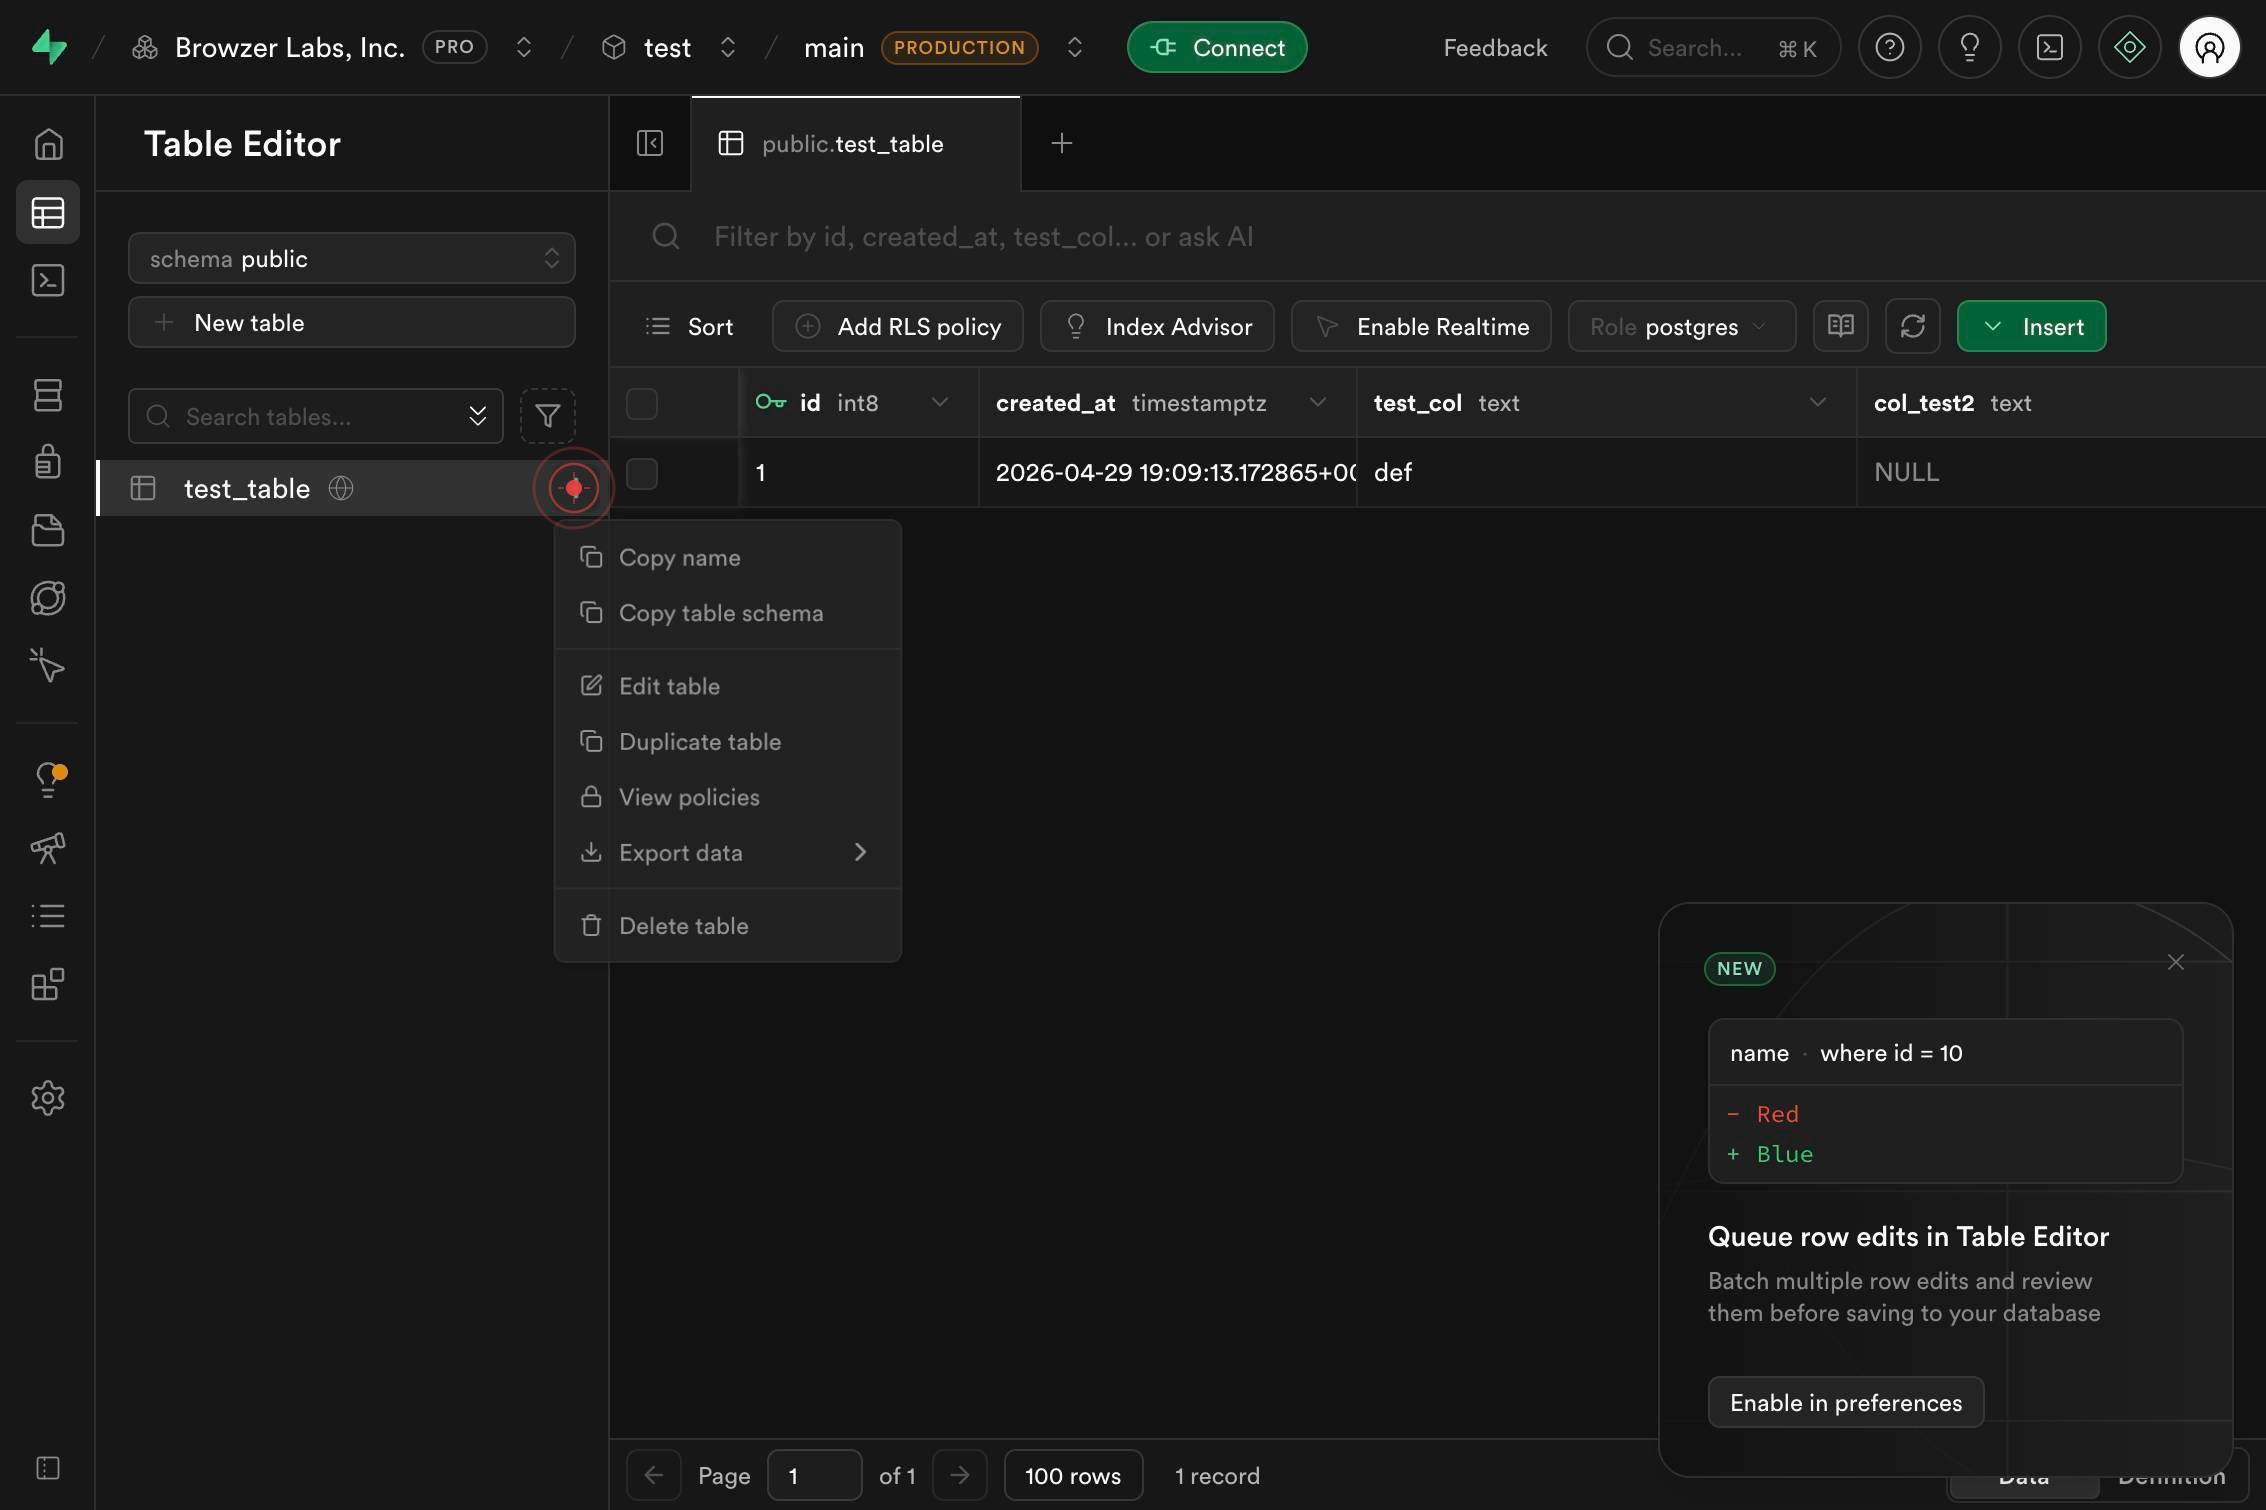
Export dataSelect 'Export data' from the dropdown menu to access export format options. This action opens a submenu with different export formats available for your table.
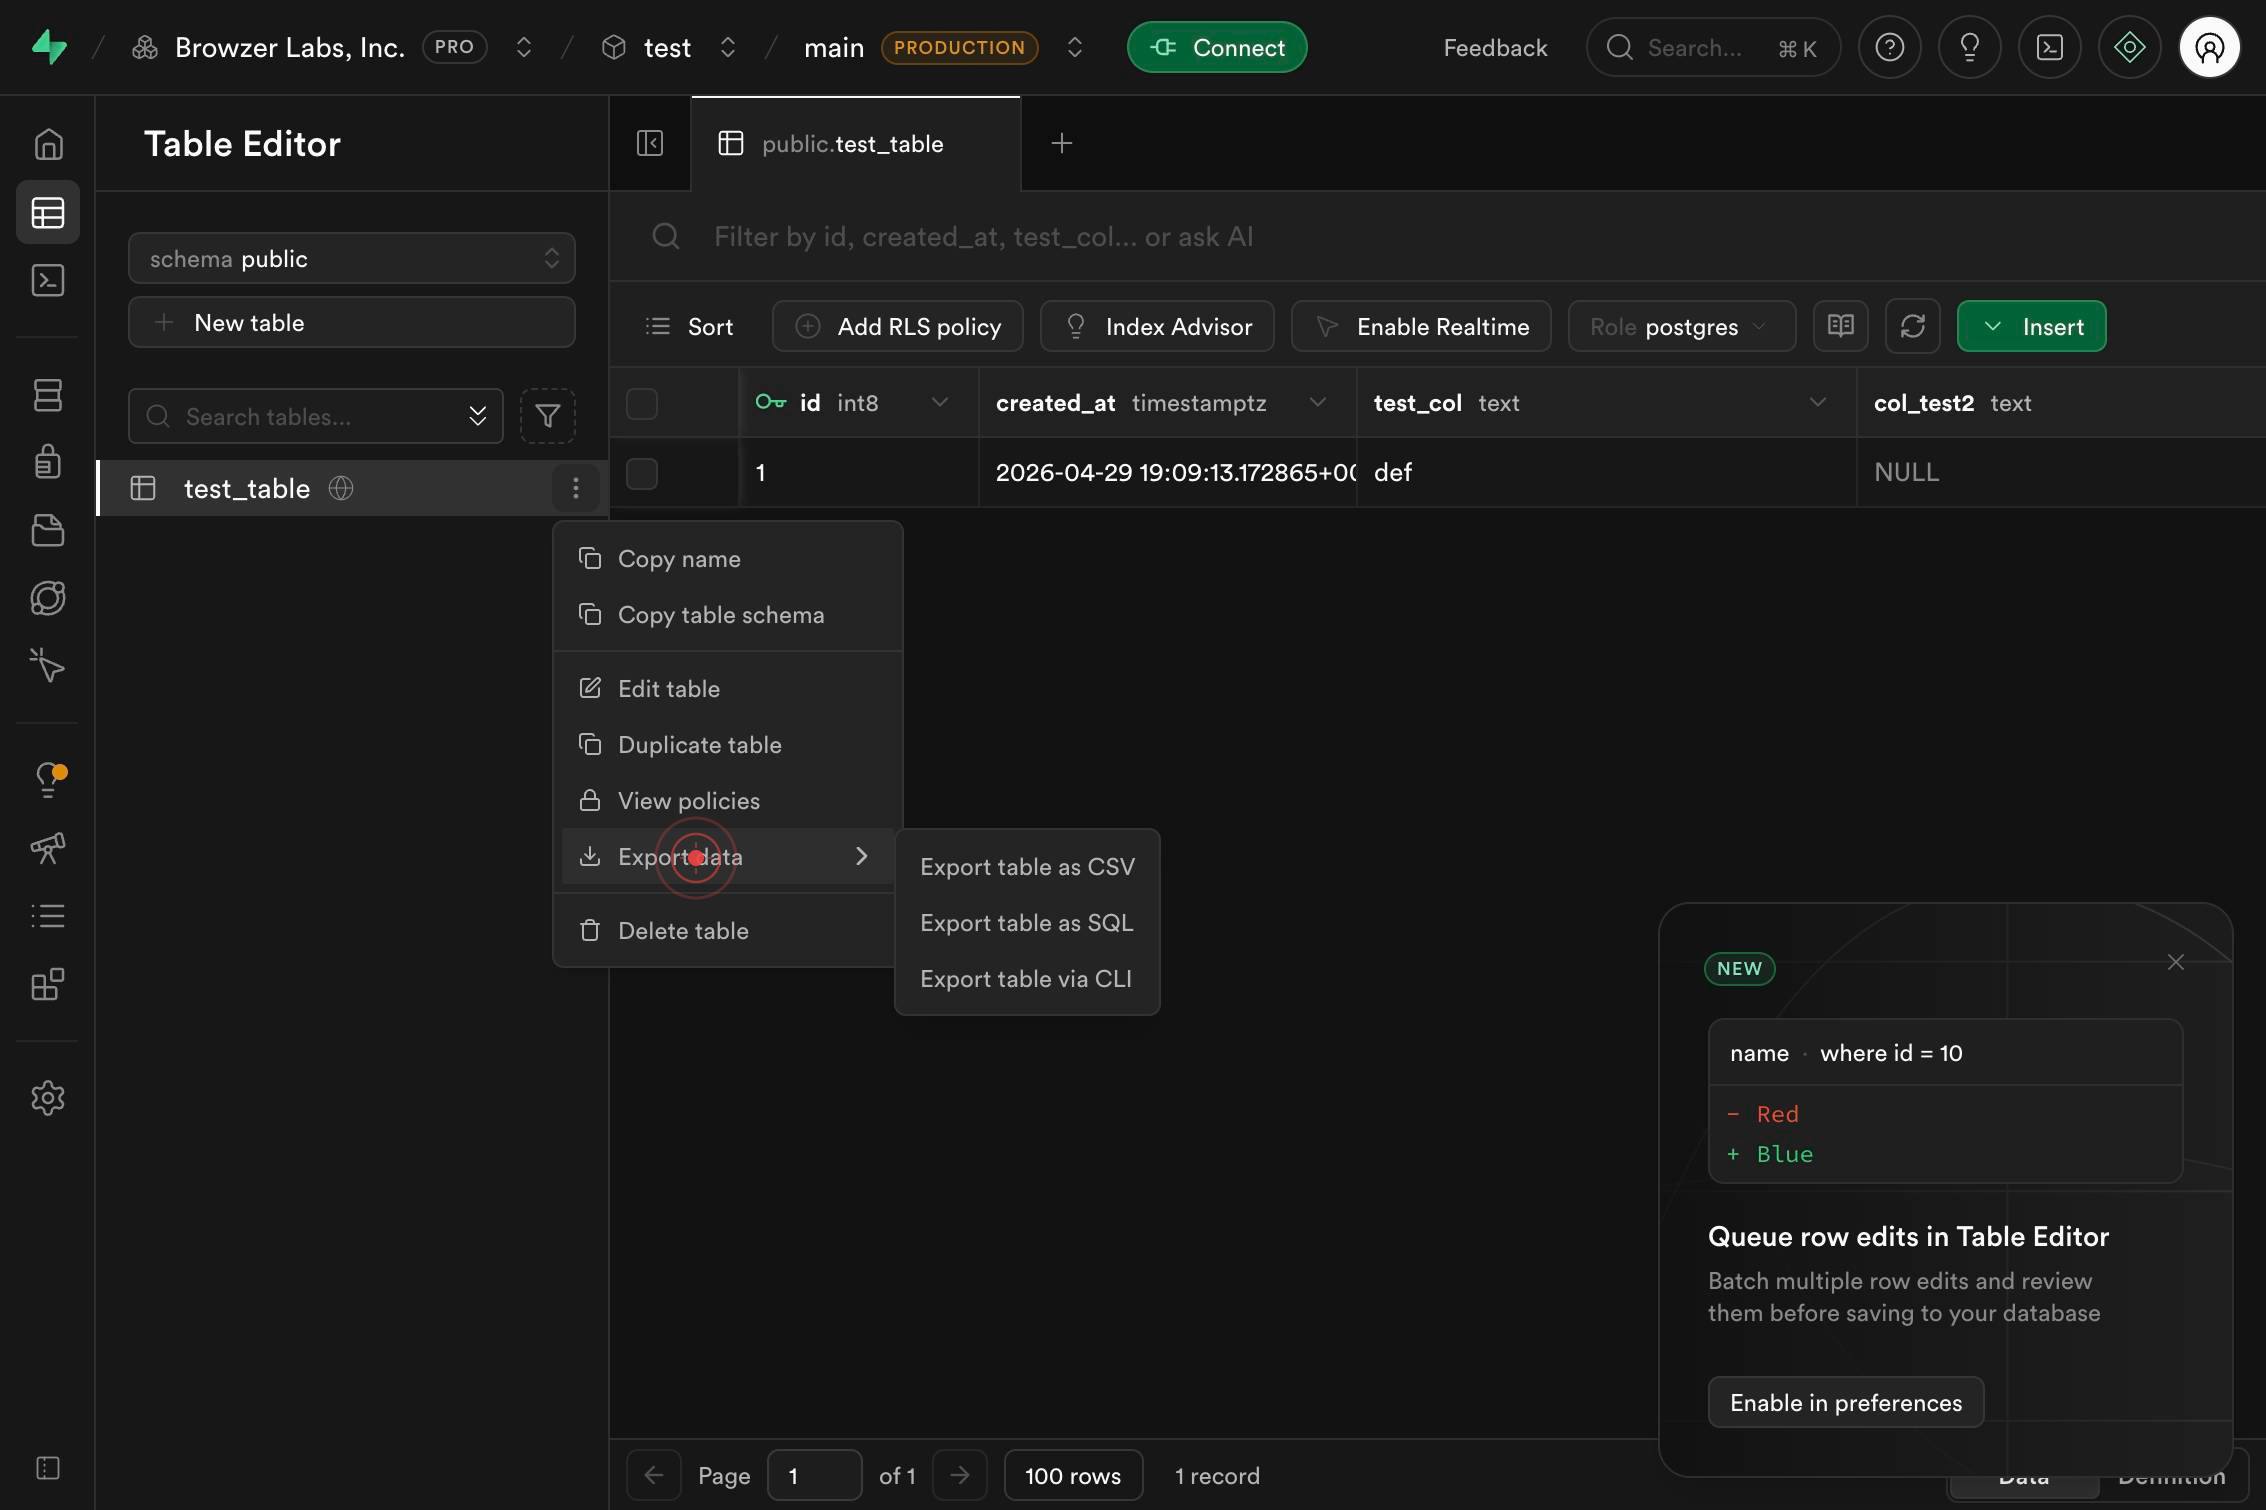
Export table as CSVClick 'Export table as CSV' to initiate the download. Supabase will immediately generate and download a CSV file containing all rows and columns from the current table.
Confirm it worked
- 1A CSV file downloads to your default Downloads folder with the table name as the filename
- 2The downloaded file contains all rows and columns from the selected table with proper CSV formatting (comma-separated values, headers in first row)
- 3Opening the CSV file in a spreadsheet application (Excel, Google Sheets) displays the data correctly with no corruption or encoding issues
Common issues
Keep reading
Export Data from Tableau Desktop - Tableau
Export Data from Tableau Desktop - Tableau Tableau Help in English (US)."> # Tableau Desktop and Web Authoring Help ## Export Data from Tableau Desktop Applies to: Tableau Desktop You can export
help.tableau.comExcel Tutorial: How To Export Table From Excel – DashboardsEXCEL.com
Excel Tutorial: How To Export Table From Excel – DashboardsEXCEL.com # Excel Tutorial: How To Export Table From Excel ## Introduction "Exporting a table from Excel" means extracting a worksheet ran
dashboardsexcel.comPerforming a Table-Mode Export
Performing a Table-Mode Export Go to main content DPS-81160 fix -- 107/1019 # Performing a Table-Mode Export Example 2-1 shows a table-mode export, specified using the`TABLES` parameter. Issue the
docs.oracle.com