Guide
Create Column in Table
Overview
Supabase is a PostgreSQL-based backend-as-a-service platform that lets you manage databases directly through a web interface. The Table Editor provides a visual way to modify your database schema without writing SQL. Adding columns is a common operation when your application requirements evolve—for example, when you need to store additional user attributes or product details. This workflow walks you through the process of creating a new text column, which stores variable-length character strings suitable for names, descriptions, emails, and other text data.
Before you begin
- A Supabase account (free tier available at supabase.com)
- An existing Supabase project with at least one database table created
- Access to the Table Editor in your Supabase project dashboard
- Appropriate permissions to modify table schemas (typically the project owner or a role with schema modification rights)
Step by step
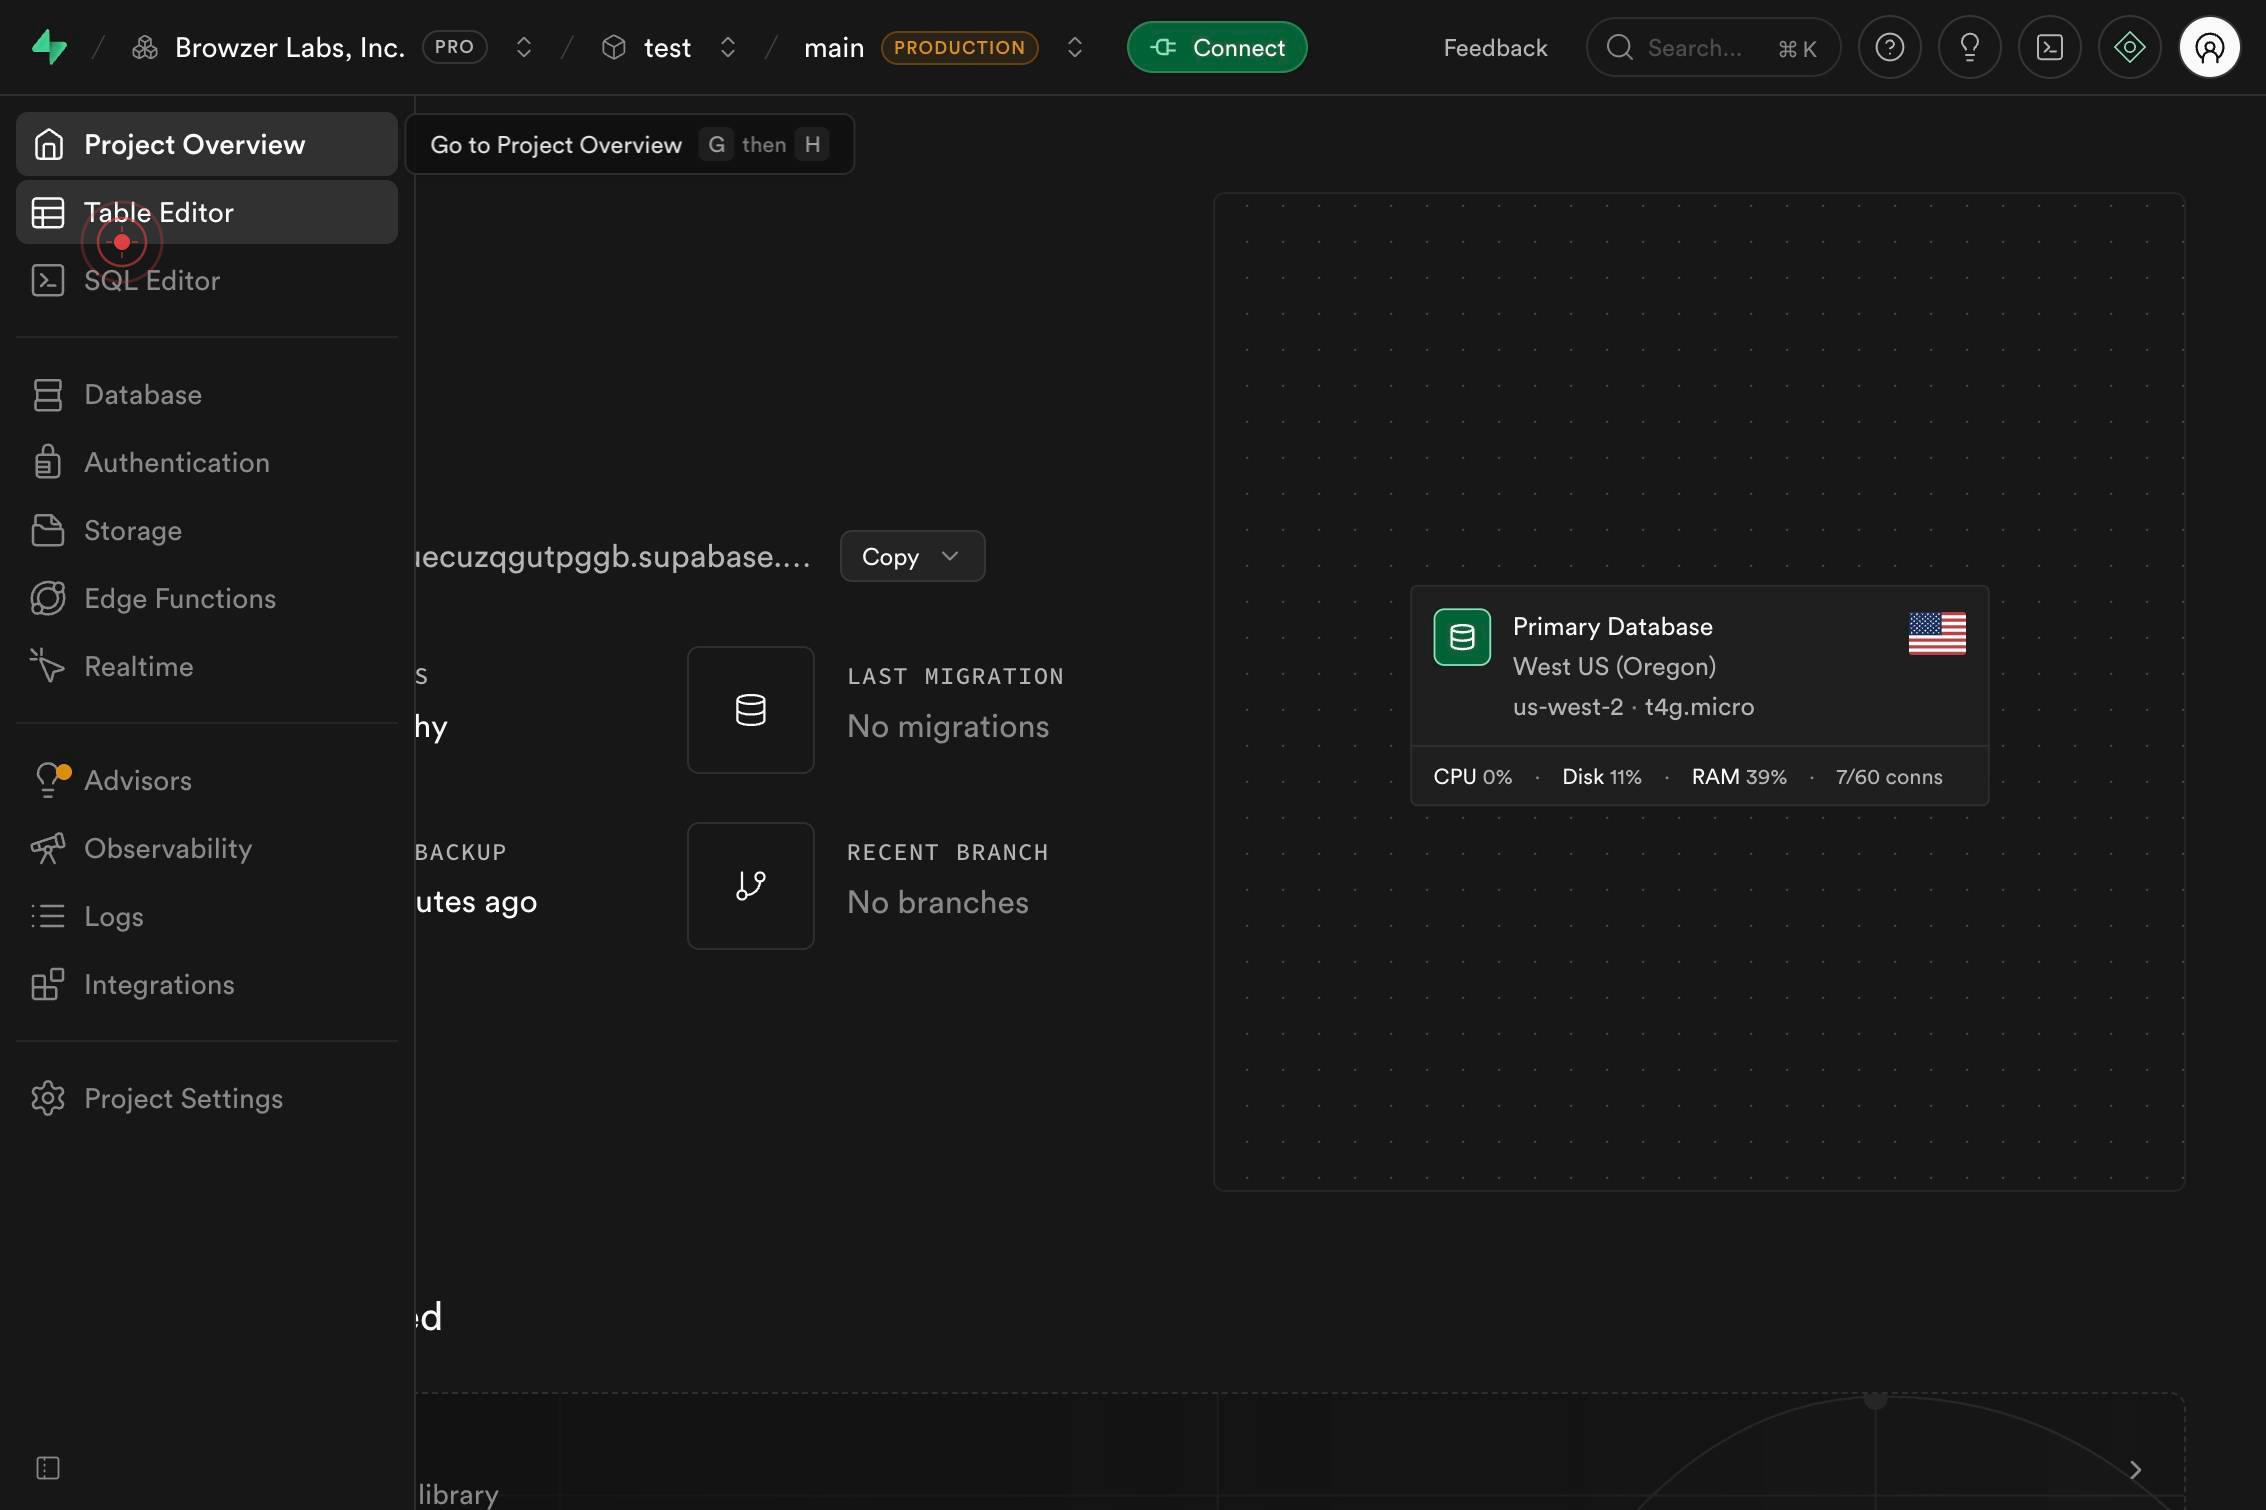
Table EditorOpen the Table Editor by clicking the Table Editor link in the Supabase navigation. This is the primary interface for managing your database tables visually.
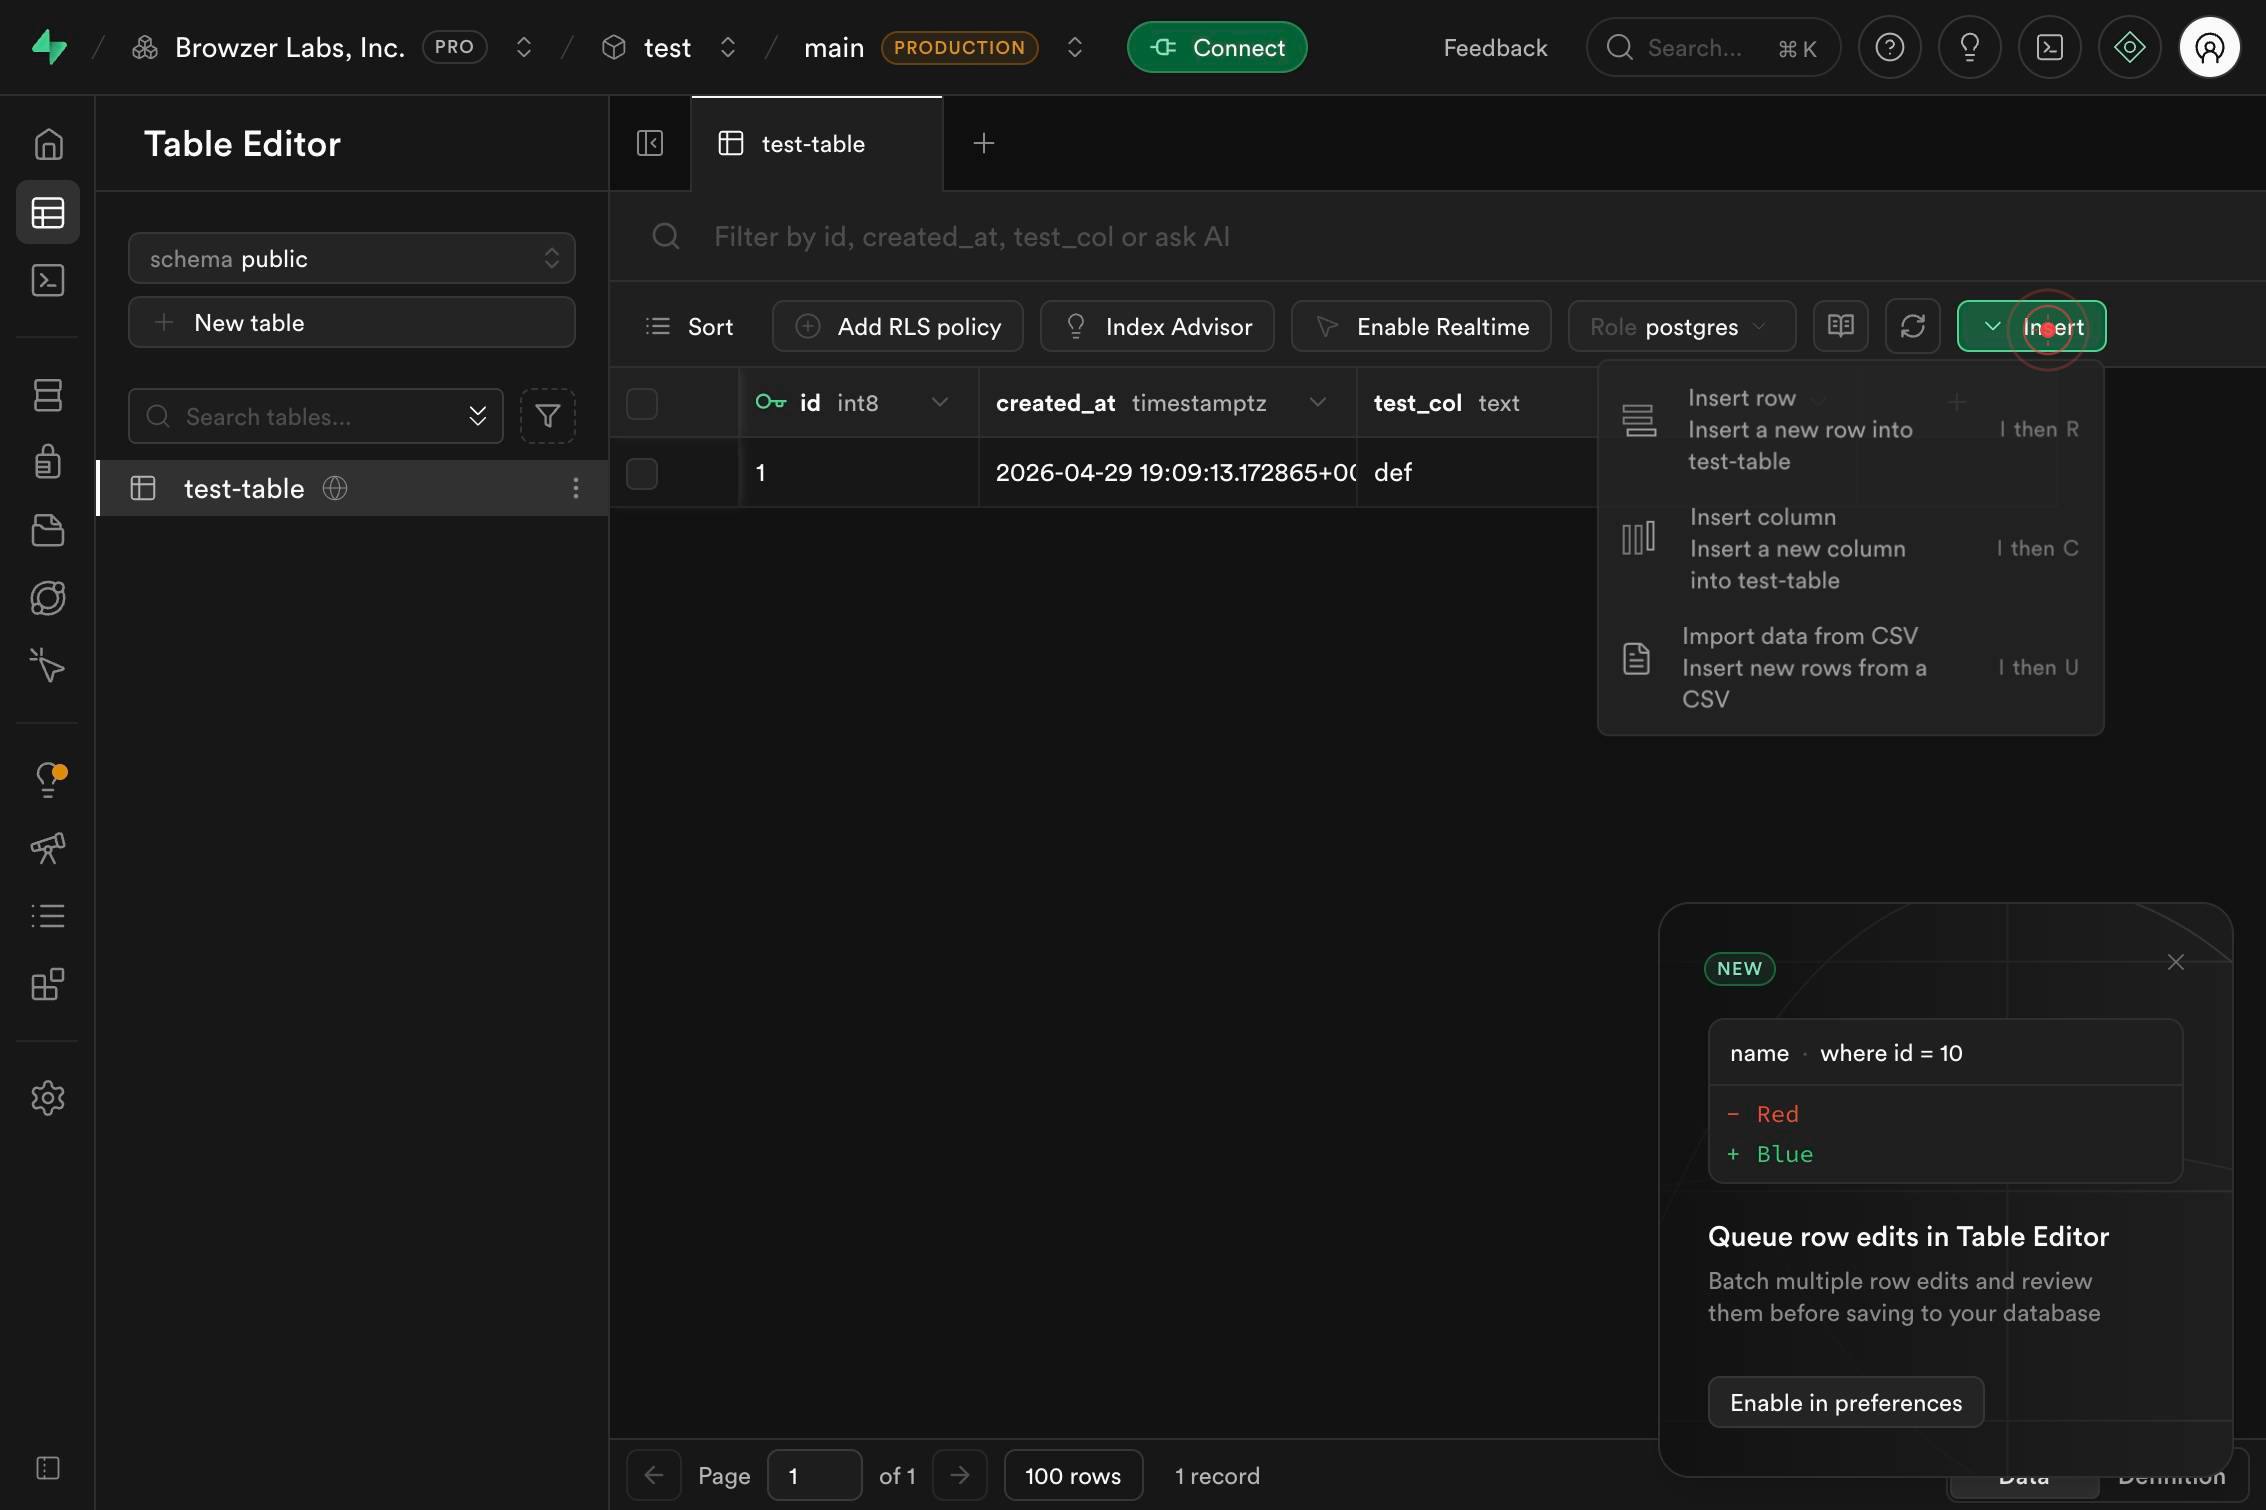
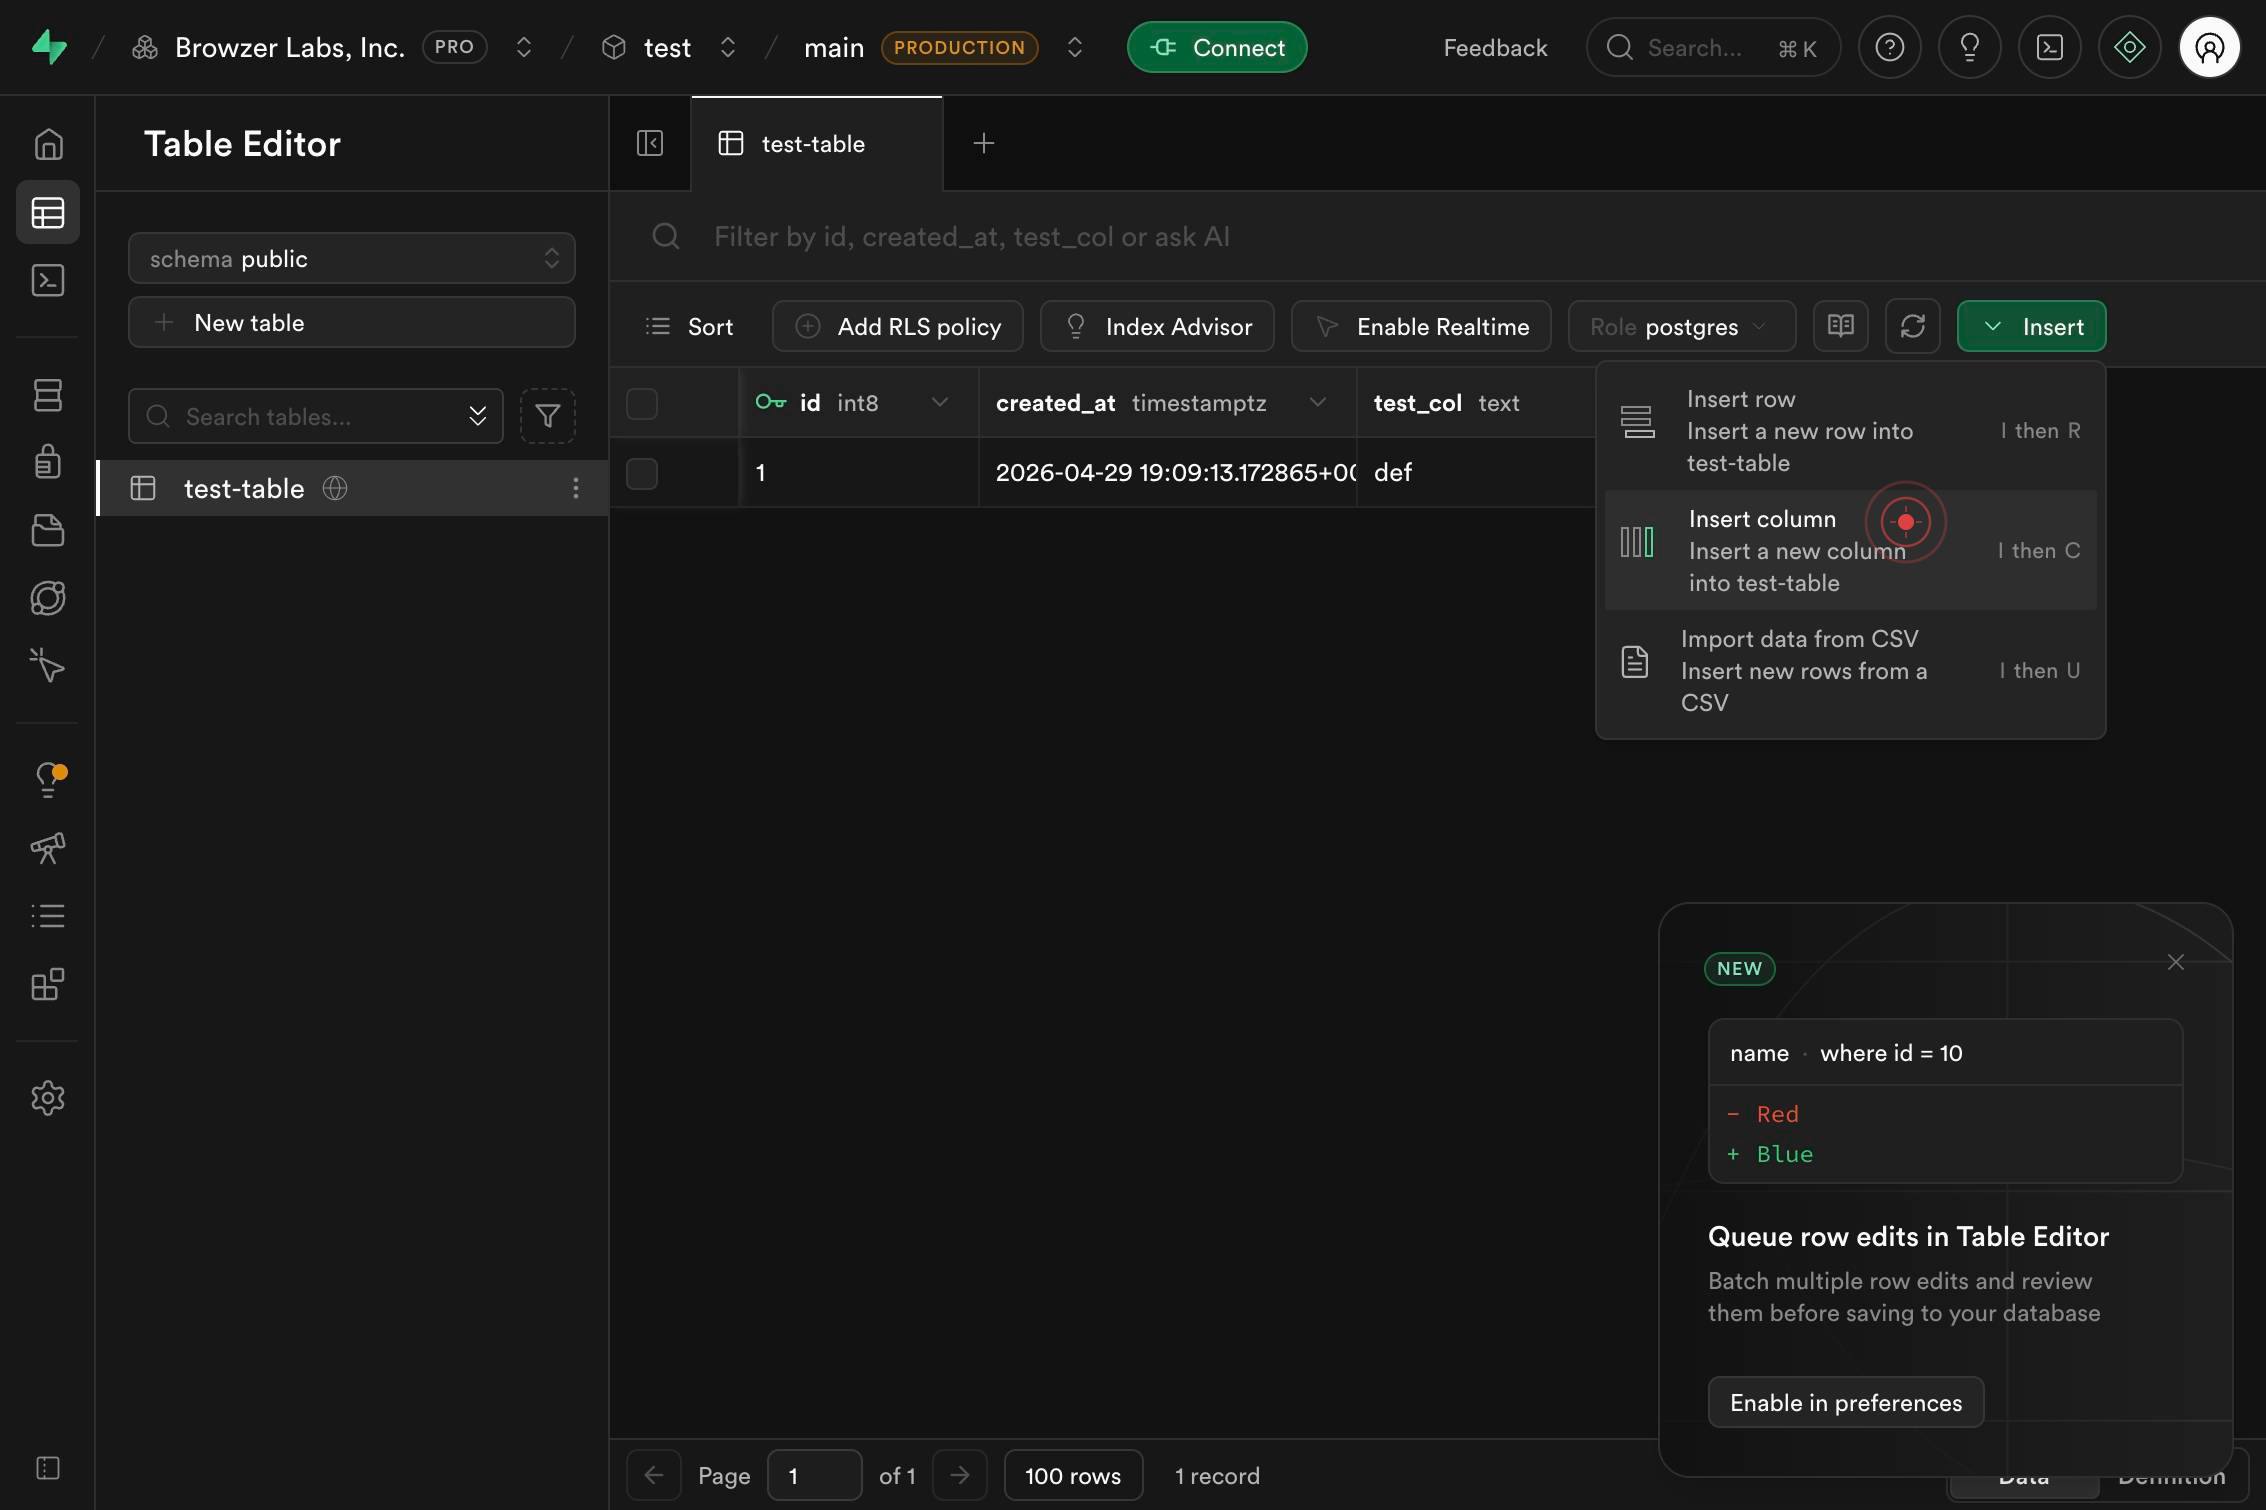
InsertClick the Insert button (usually located in the top toolbar) to open the menu for adding new elements to the table.
NameType the name of your new column into the Name field that appears. Choose a descriptive, lowercase name using underscores for multi-word names (e.g., 'user_email' or 'phone_number').
Insert column Insert a new column into test-table I then CSelect 'Insert column' from the menu to confirm you want to add a new column (as opposed to other insert operations like adding rows).
NameRe-enter or confirm the column name in the Name field (this may appear in a second dialog or form). Use the same naming conventions as before.
TypeClick the Type dropdown (combobox) to open the list of available PostgreSQL data types for your column.
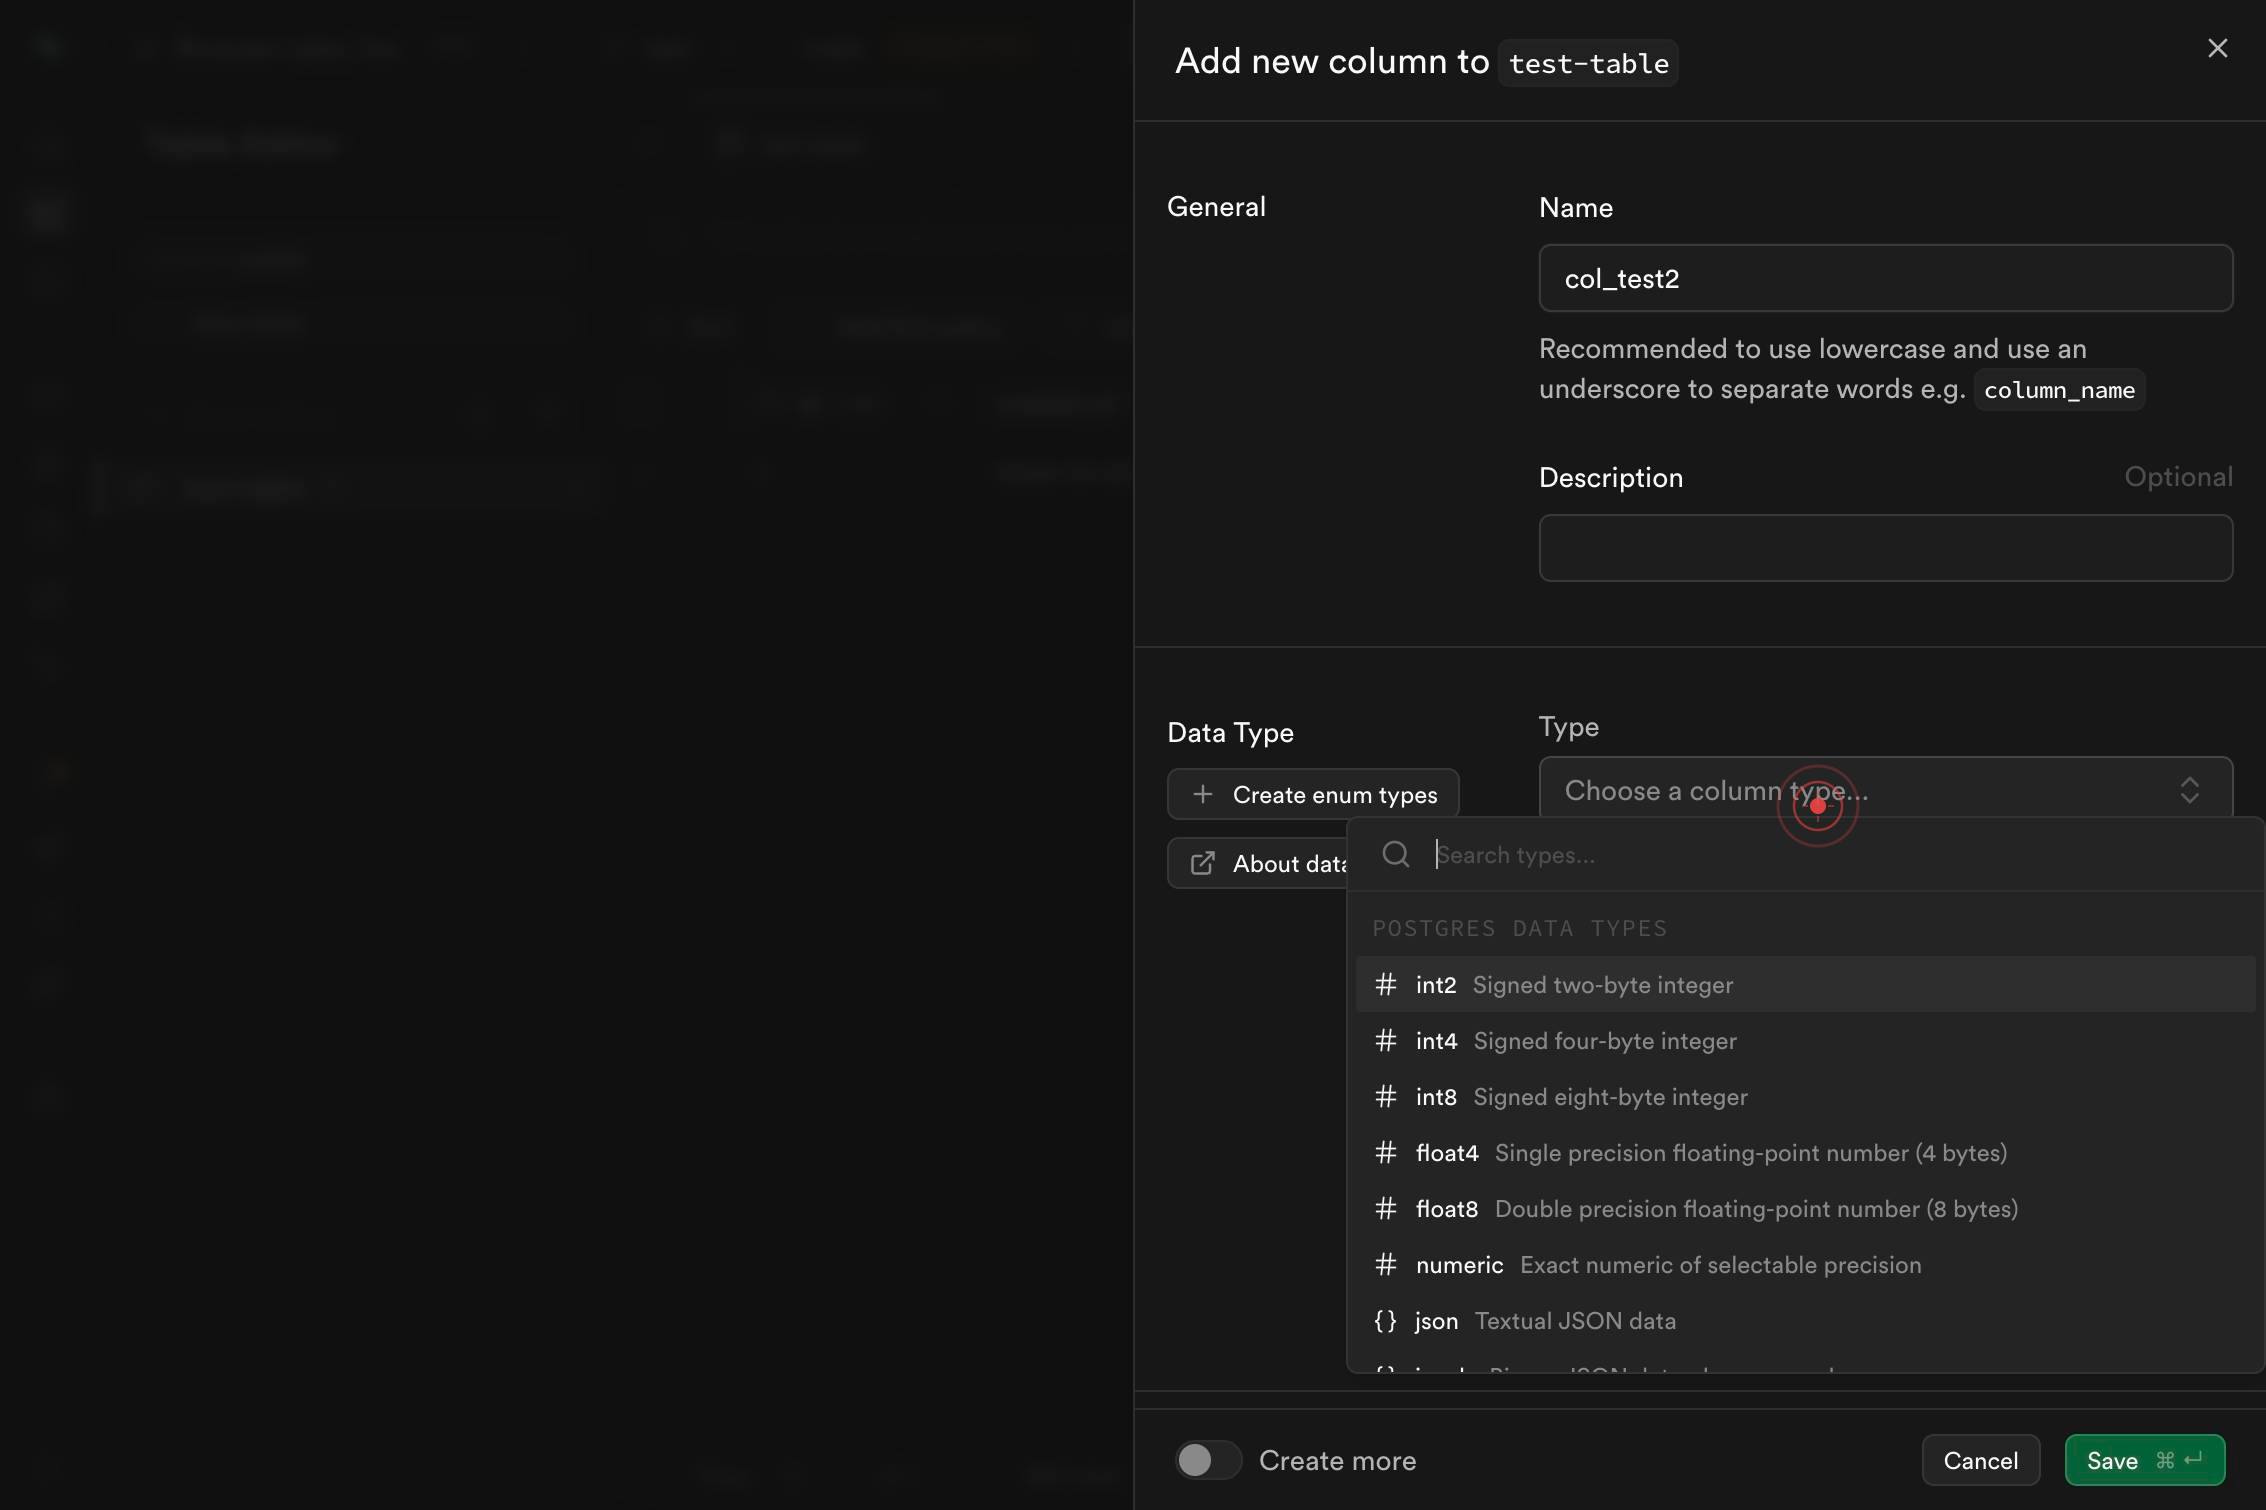
comboboxType 'text' into the Type field to filter the data type options and find the variable-length character string type you need.
text Variable-length character stringClick on the 'Variable-length character string' option in the dropdown to select the text data type for your column.
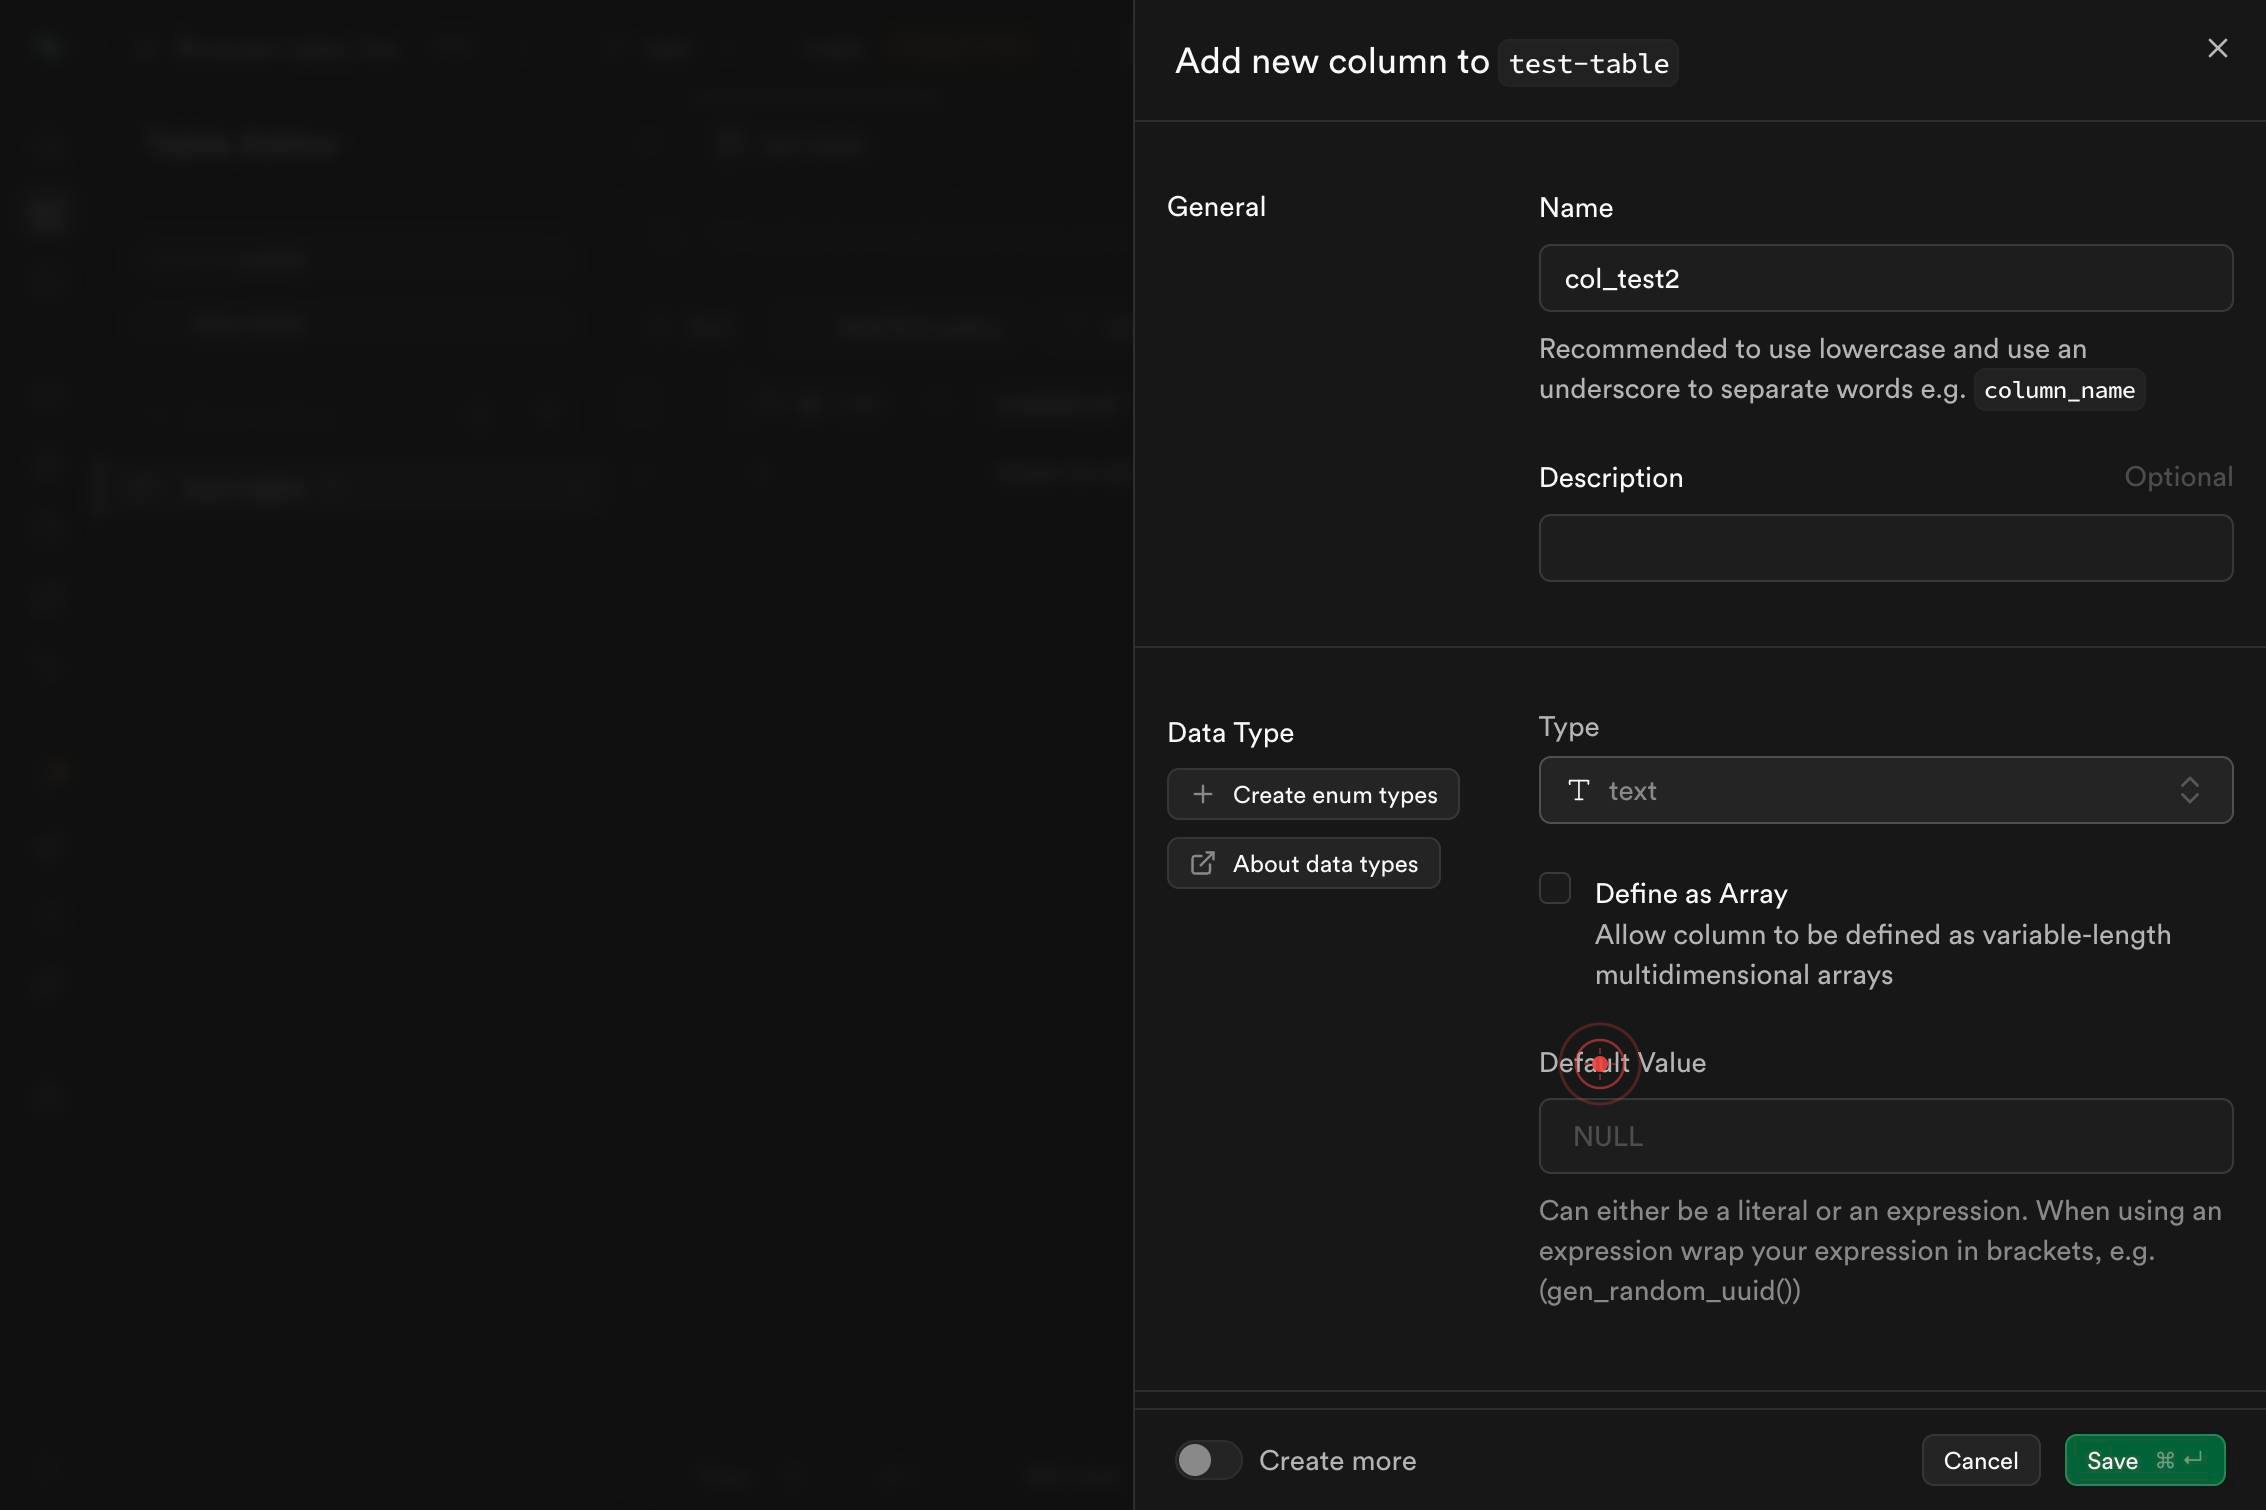
Save ⌘ ↵Click the Save button (labeled 'Save ⌘ ↵') to apply the new column to your table. The column will be added to your table schema in Supabase.
Confirm it worked
- 1The new column appears in the table's column list in the Table Editor interface
- 2The column is labeled with the name you specified and shows 'text' as its data type
- 3You can see the column in the table preview, displayed as a new header alongside existing columns
- 4No error messages appear after clicking Save, and the interface returns to the normal table view
Common issues
Keep reading
Add Columns to a Table (Database Engine) - SQL Server | Microsoft Learn
Add Columns to a Table (Database Engine) - SQL Server | Microsoft Learn =aps-pdw-2016 || =azuresqldb-current || =azure-sqldw-latest || >=sql-server-2016 || >=sql-server-linux-2017 || =azuresqldb-mi-cu
learn.microsoft.comPostgreSQL: Documentation: 15: 2.3. Creating a New Table
PostgreSQL: Documentation: 15: 2.3. Creating a New Table February 26, 2026: PostgreSQL 18.3, 17.9, 16.13, 15.17, and 14.22 Released! Documentation→ PostgreSQL 15 Supported Versions: Current(18)
postgresql.orgCreate tables (Database Engine) - SQL Server | Microsoft Learn
Create tables (Database Engine) - SQL Server | Microsoft Learn =aps-pdw-2016 || =azuresqldb-current || =azure-sqldw-latest || =sql-server-2016 || =sql-server-linux-2017 || =azuresqldb-mi-current || =f
learn.microsoft.com