Guide
Create table
Overview
Supabase is a PostgreSQL-based backend platform that allows you to build scalable applications by managing databases through an intuitive visual interface. Creating tables is a foundational task—tables are where your application stores all structured data, organized into columns (fields) and rows (records), similar to a spreadsheet. This workflow guides you through the table creation process using Supabase's visual Table Editor, allowing you to define the schema without writing SQL. By setting up columns with specific data types and default values at creation time, you ensure data consistency and reduce the need for application-level validation logic.
Before you begin
- Active Supabase account (free tier at supabase.com is sufficient)
- An existing Supabase project created and accessible in the dashboard
- Appropriate project permissions to create tables (typically granted by default to project owners)
Step by step
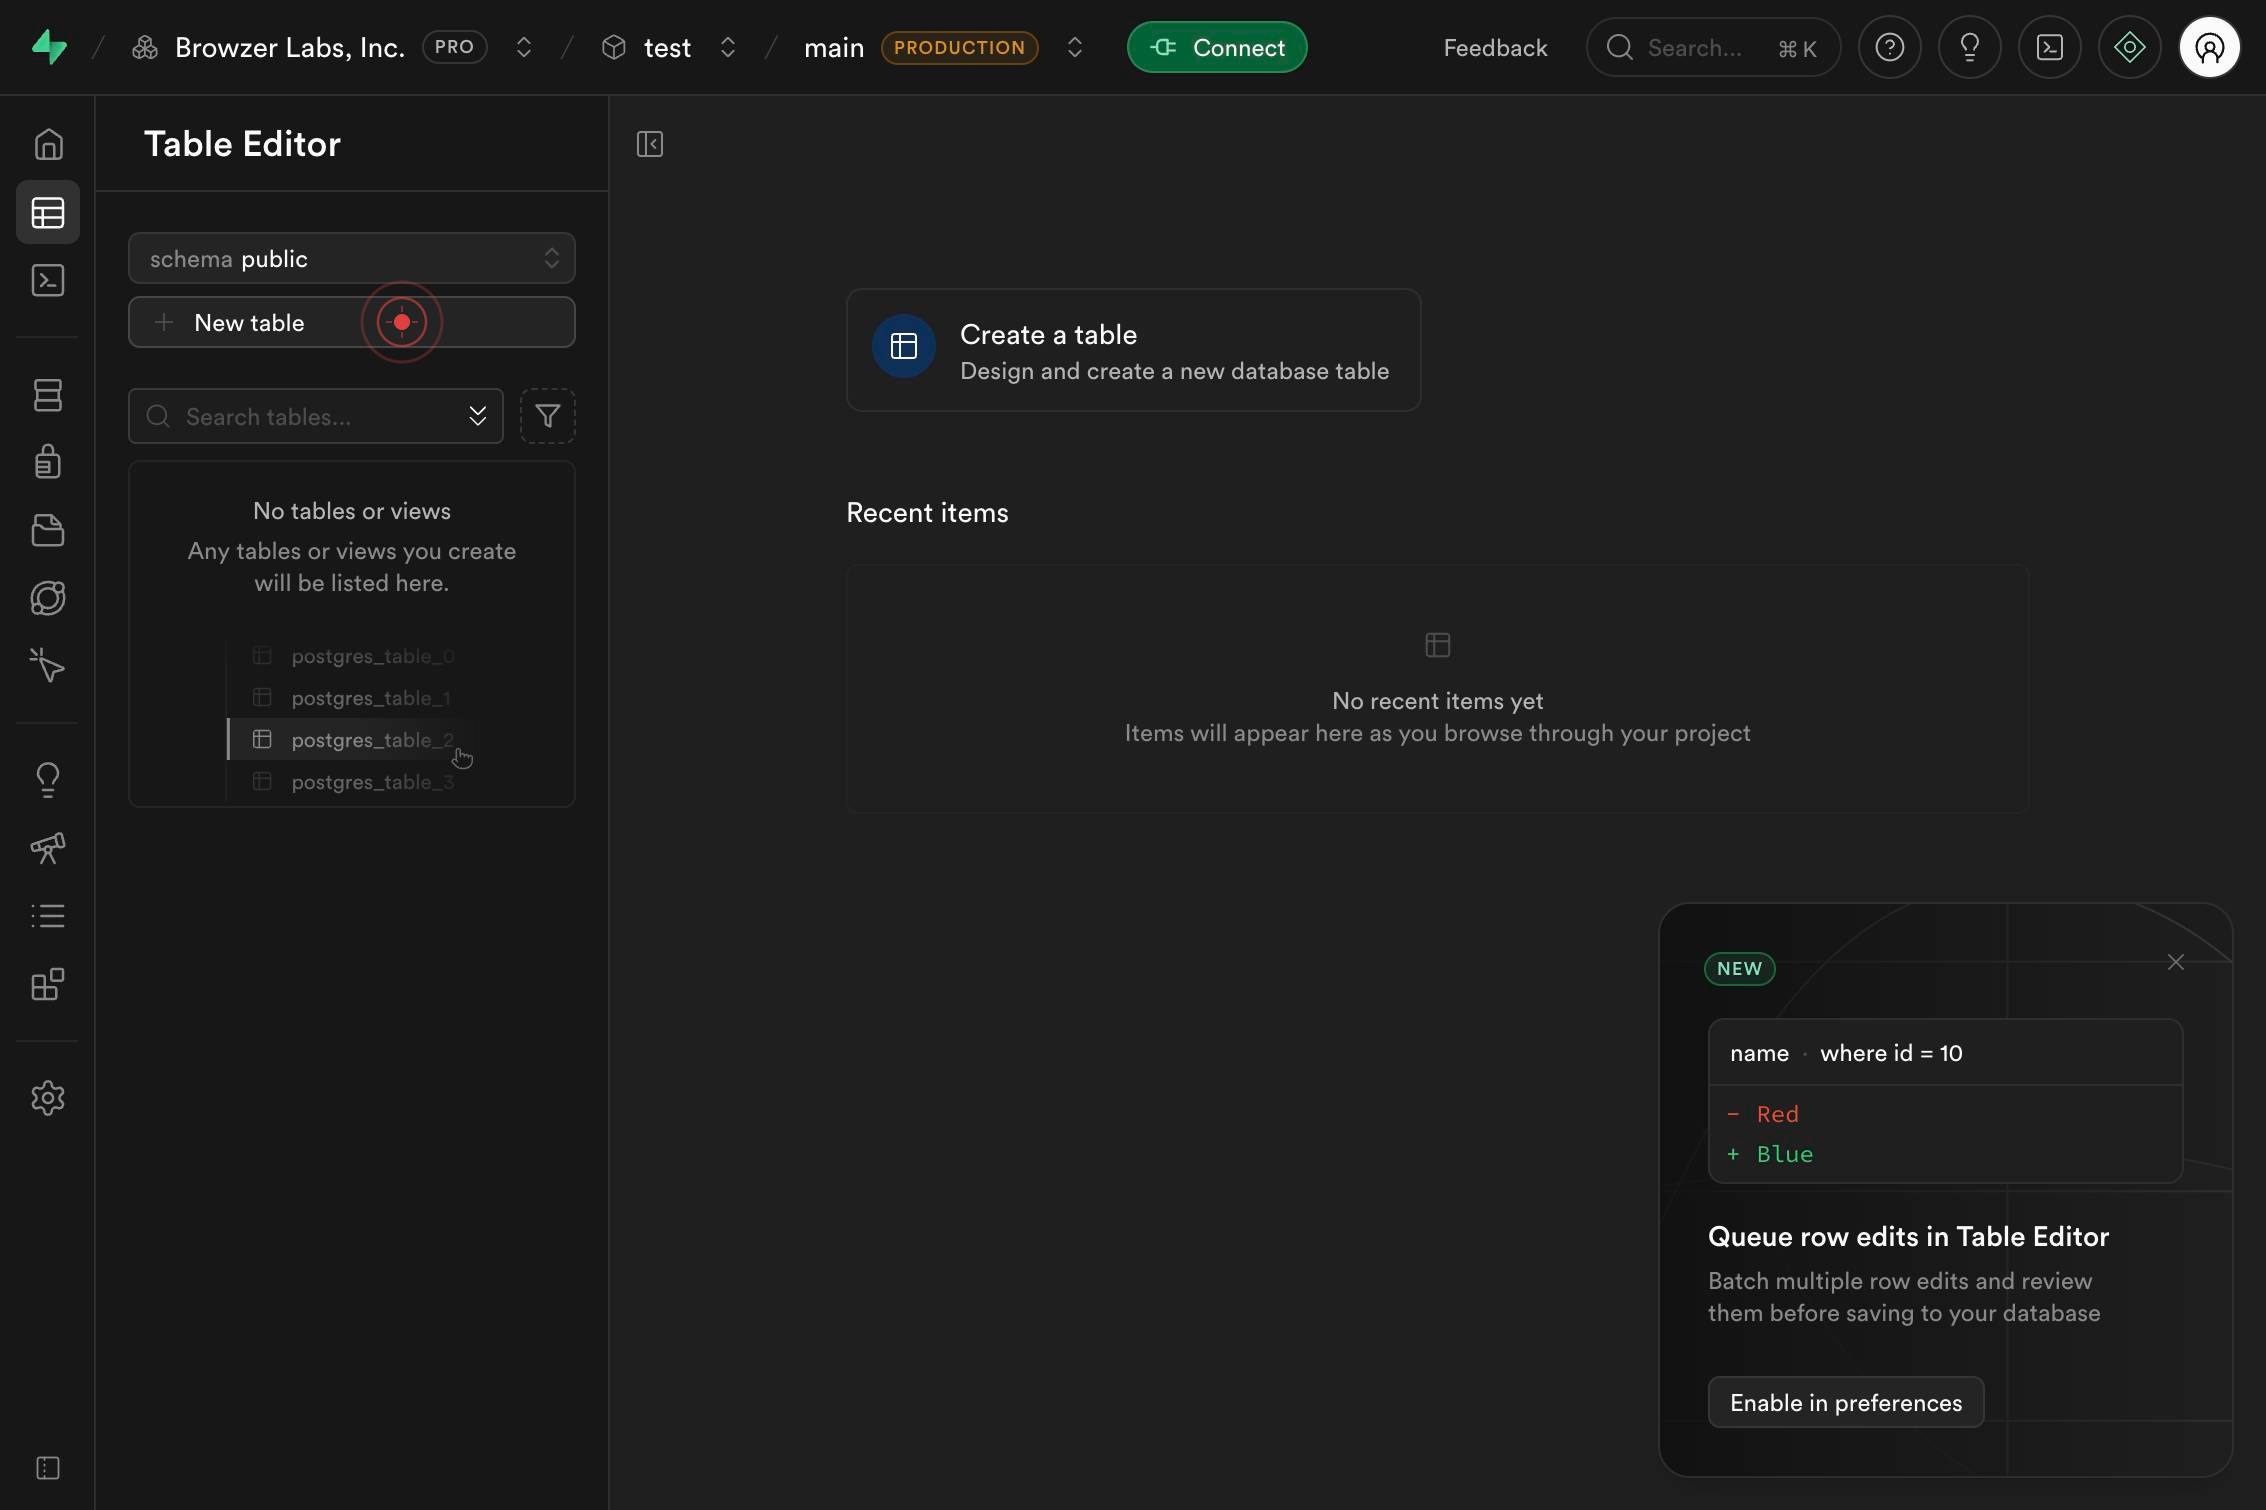
New tableBegin creating a new table by clicking the 'New table' button in the Supabase dashboard. This action opens the table creation dialog where you will define the table's name and initial structure.
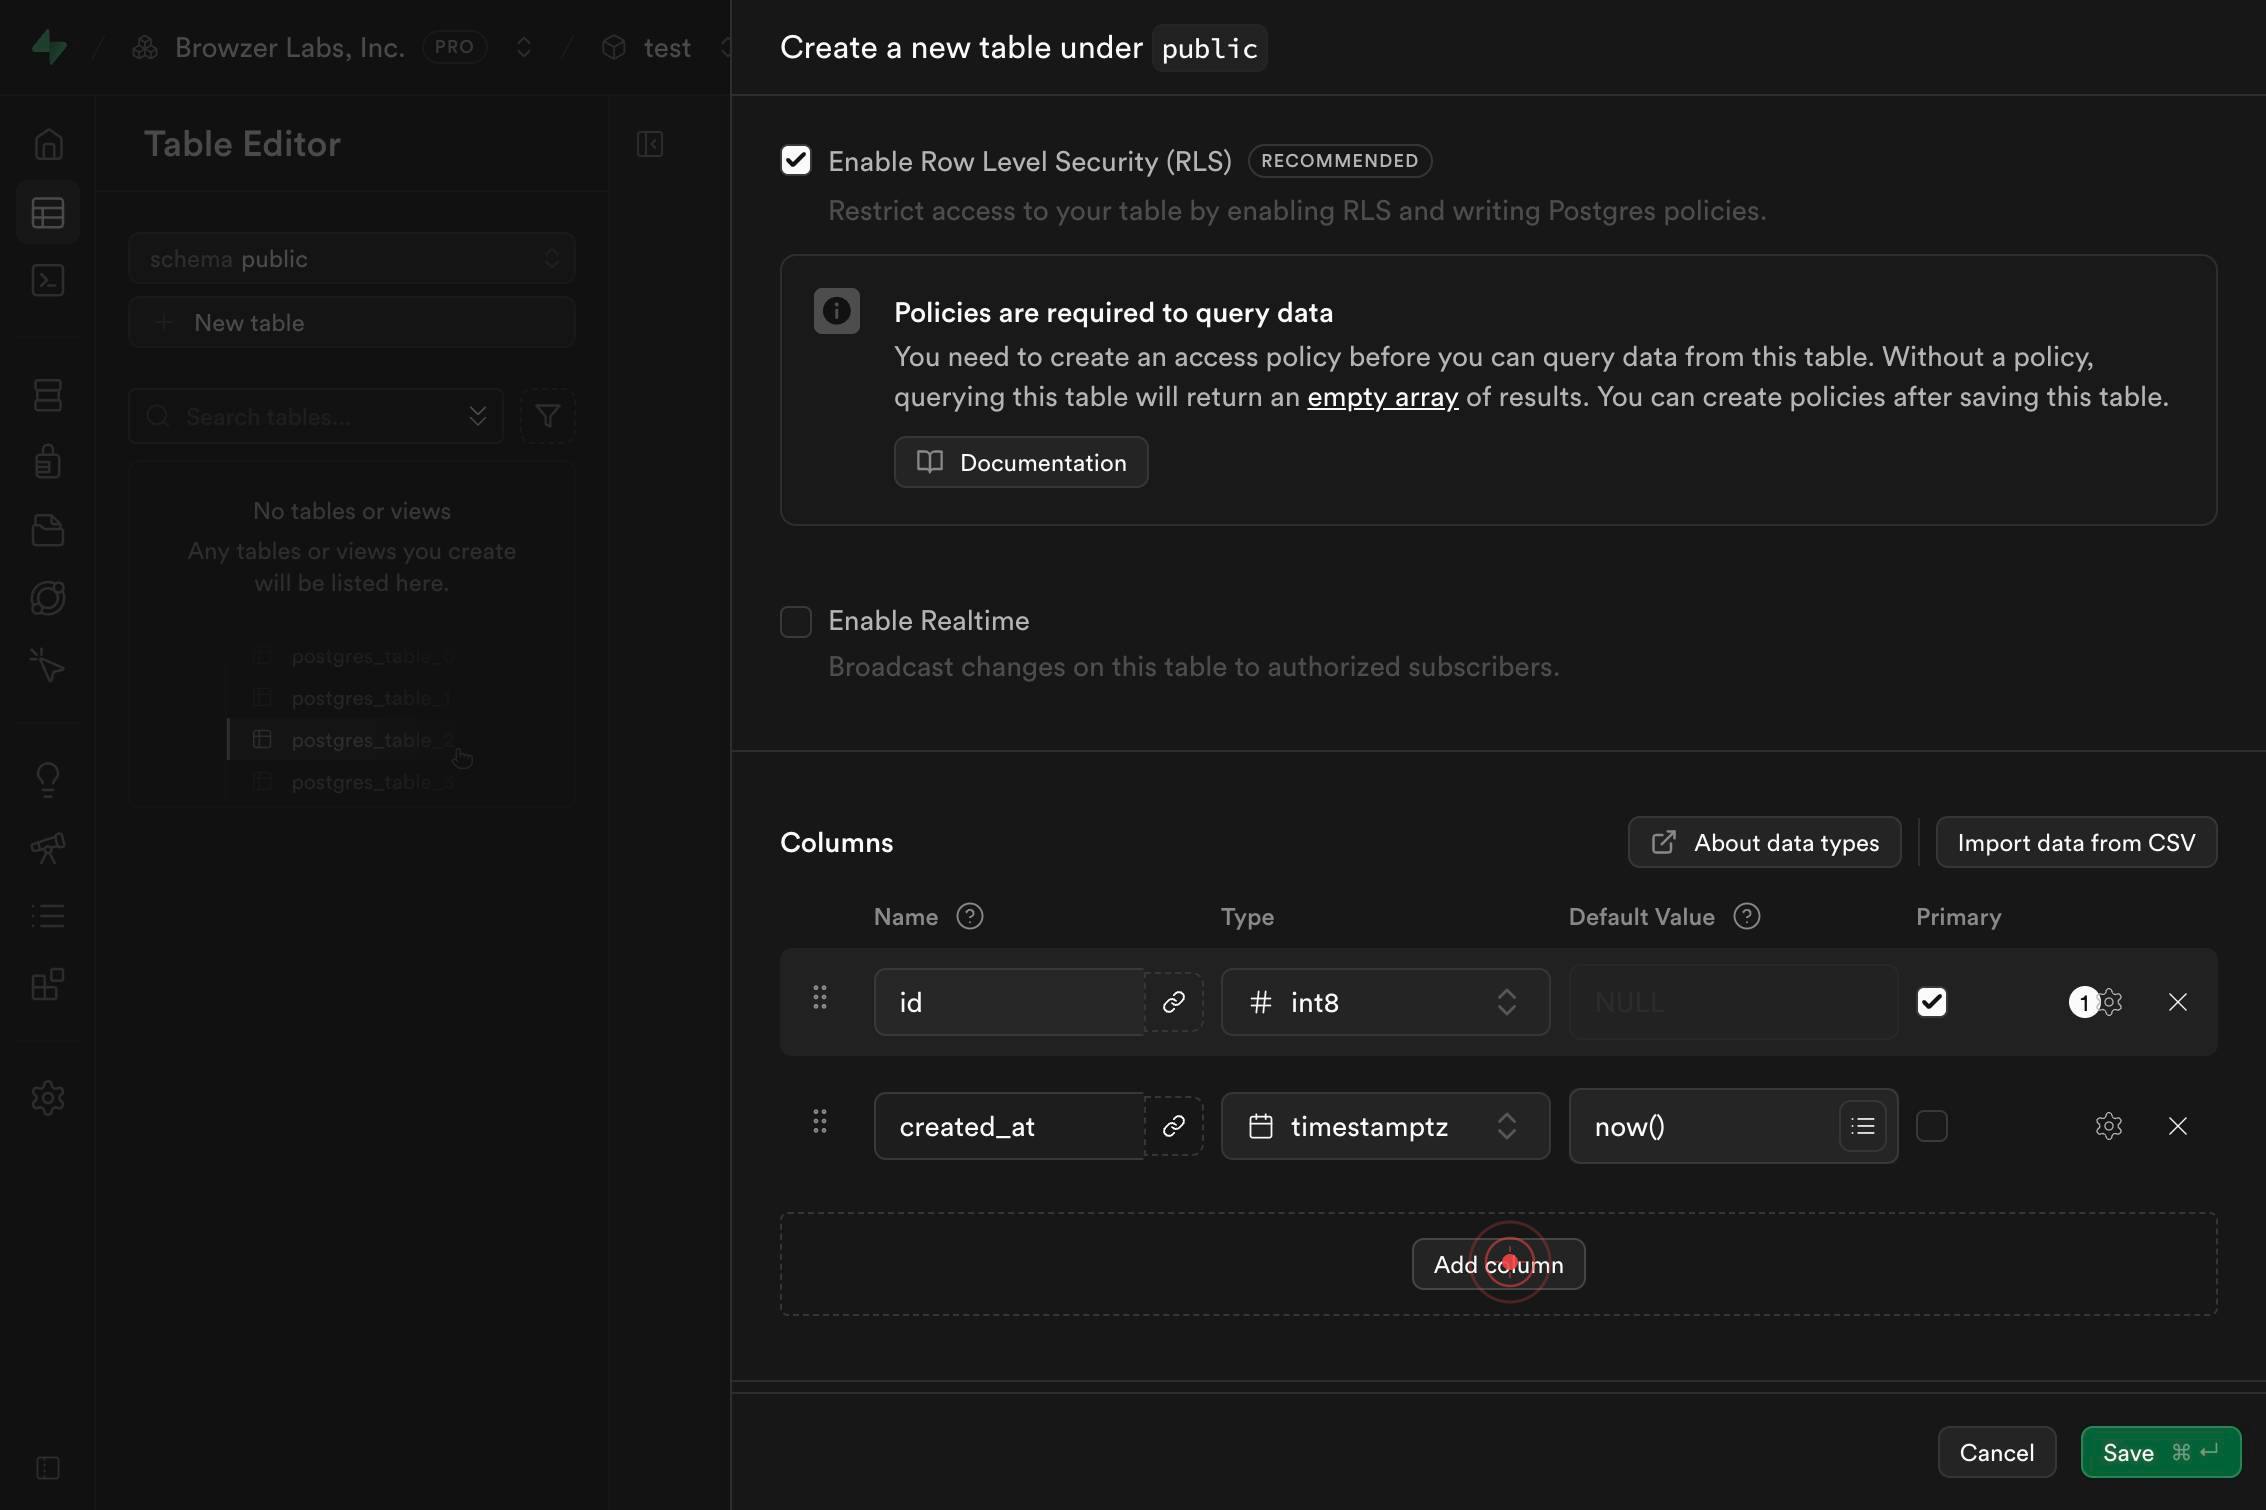
NameEnter the desired name for your table in the 'Name' field. Choose a descriptive, lowercase name (following PostgreSQL conventions) that clearly represents the data the table will store, such as 'users', 'products', or 'orders'.
Add columnClick the 'Add column' button to begin defining columns for your table. This creates a new column entry in the table schema where you can specify the column name, data type, and optional default value.
Column nameClick on the 'Column name' input field to activate it for editing. This field is where you will type the name of your first custom column.
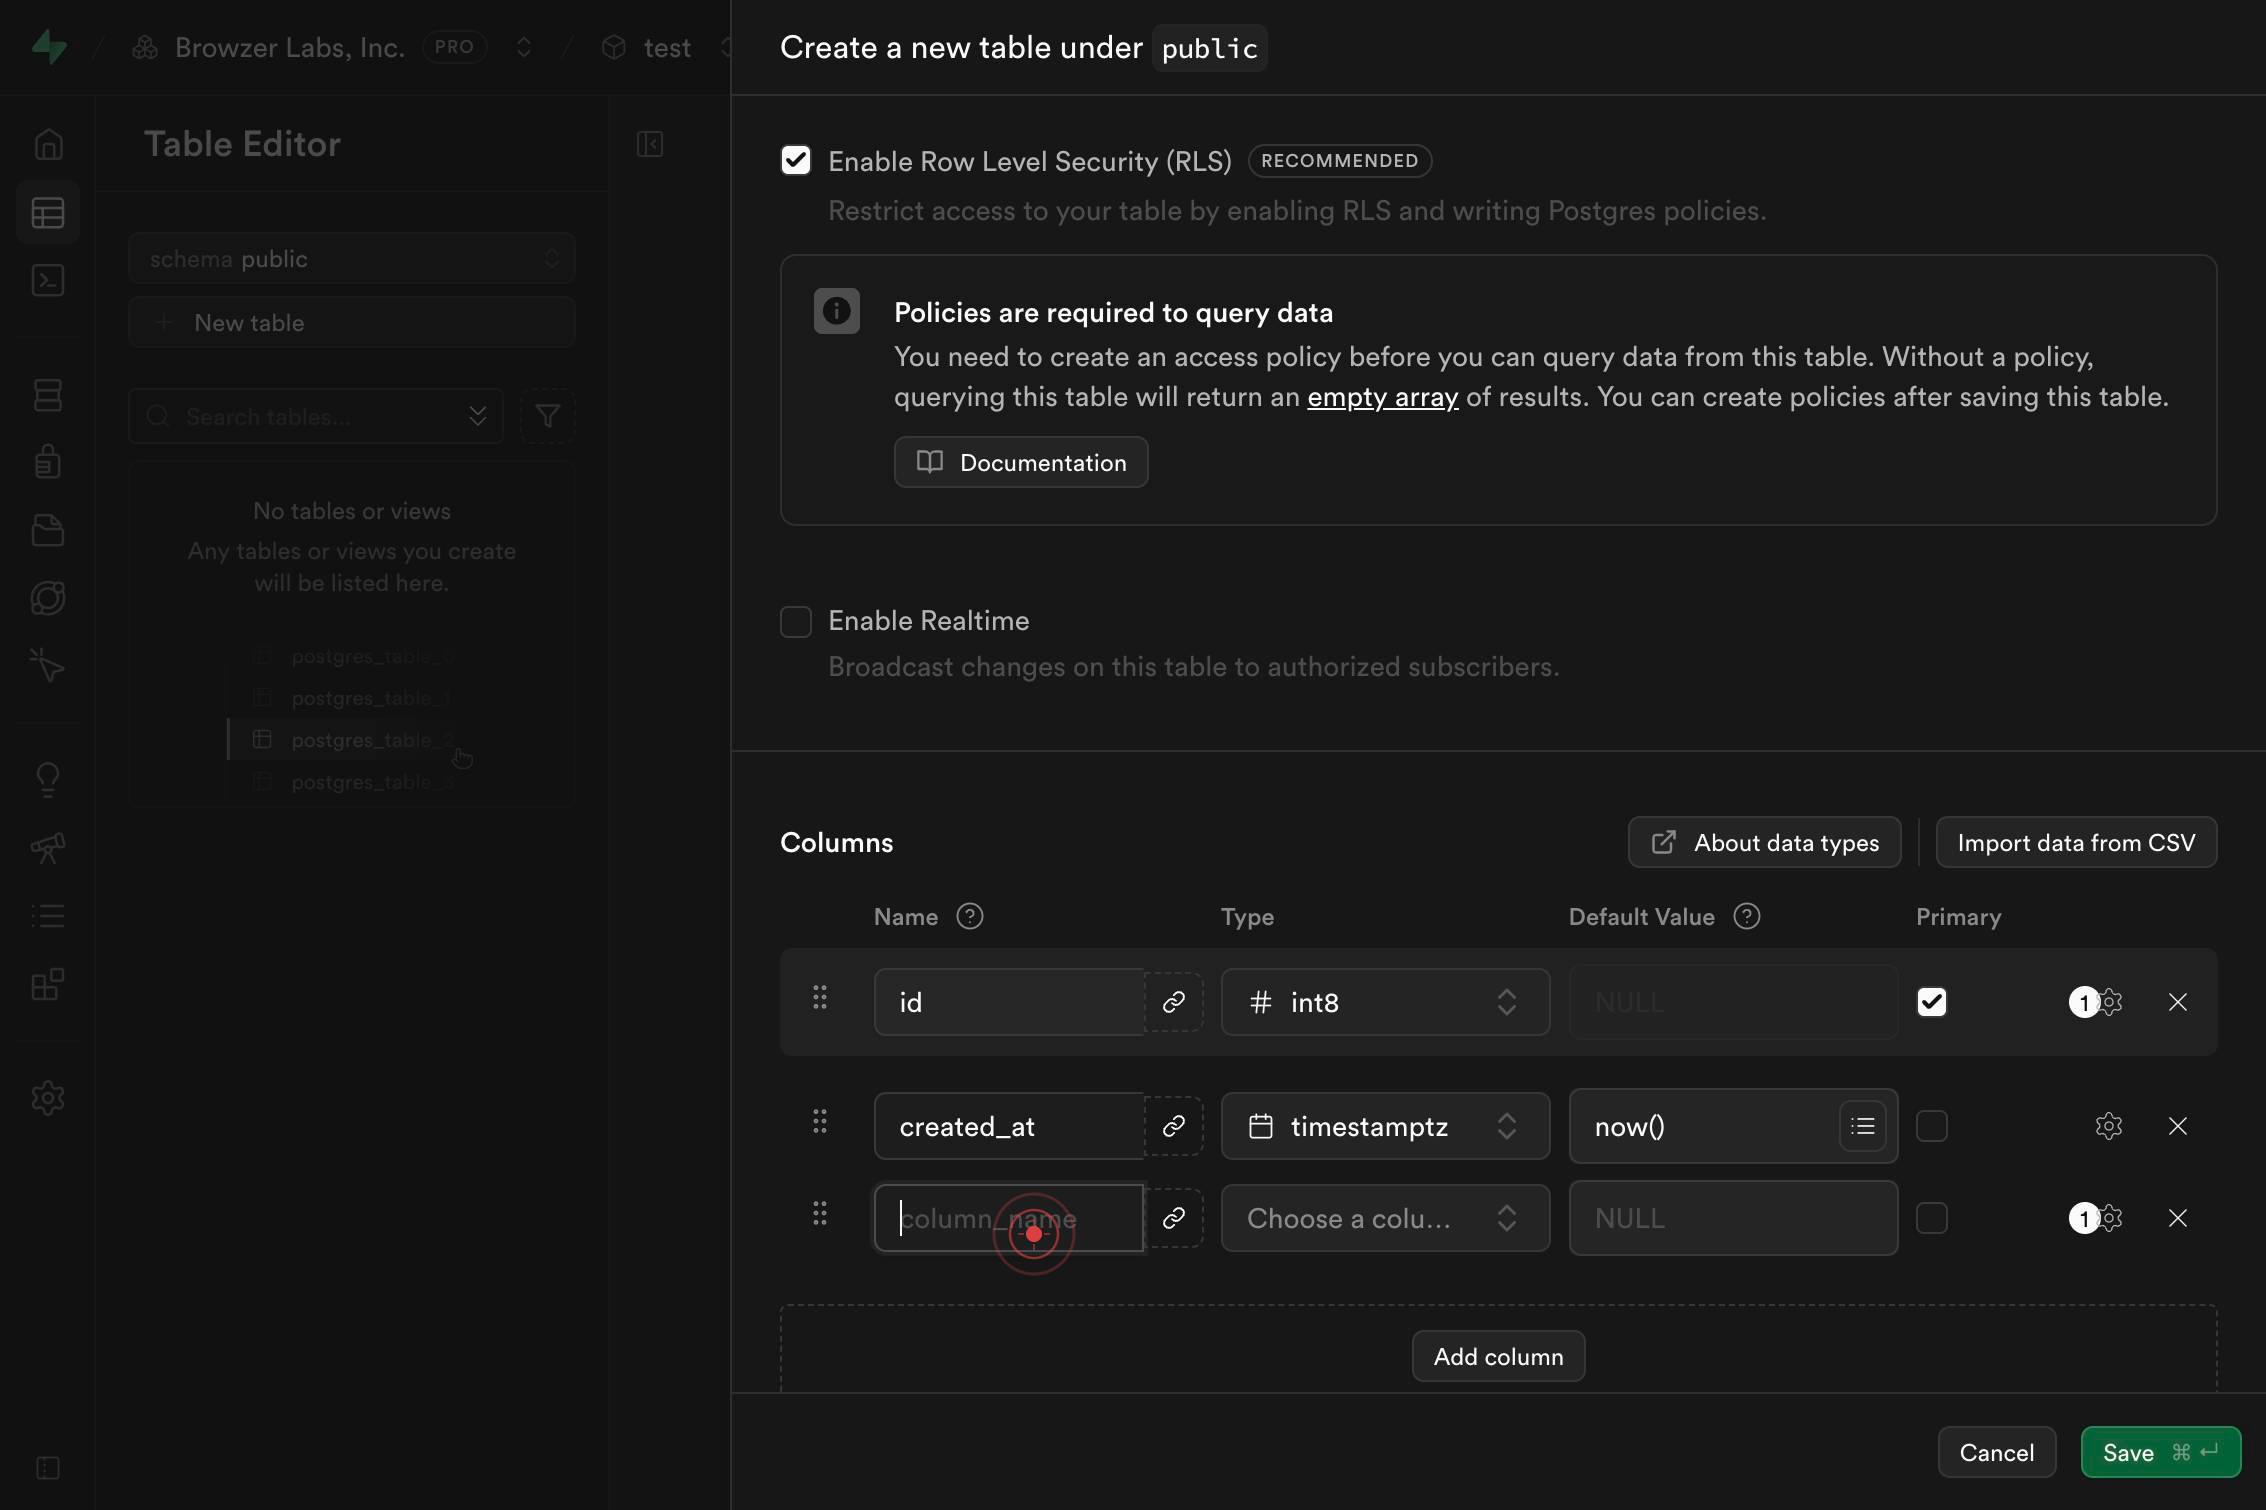
Column nameType the name of your column in the 'Column name' field. Use a descriptive, lowercase name that indicates the data it will hold, such as 'email', 'title', or 'description'.
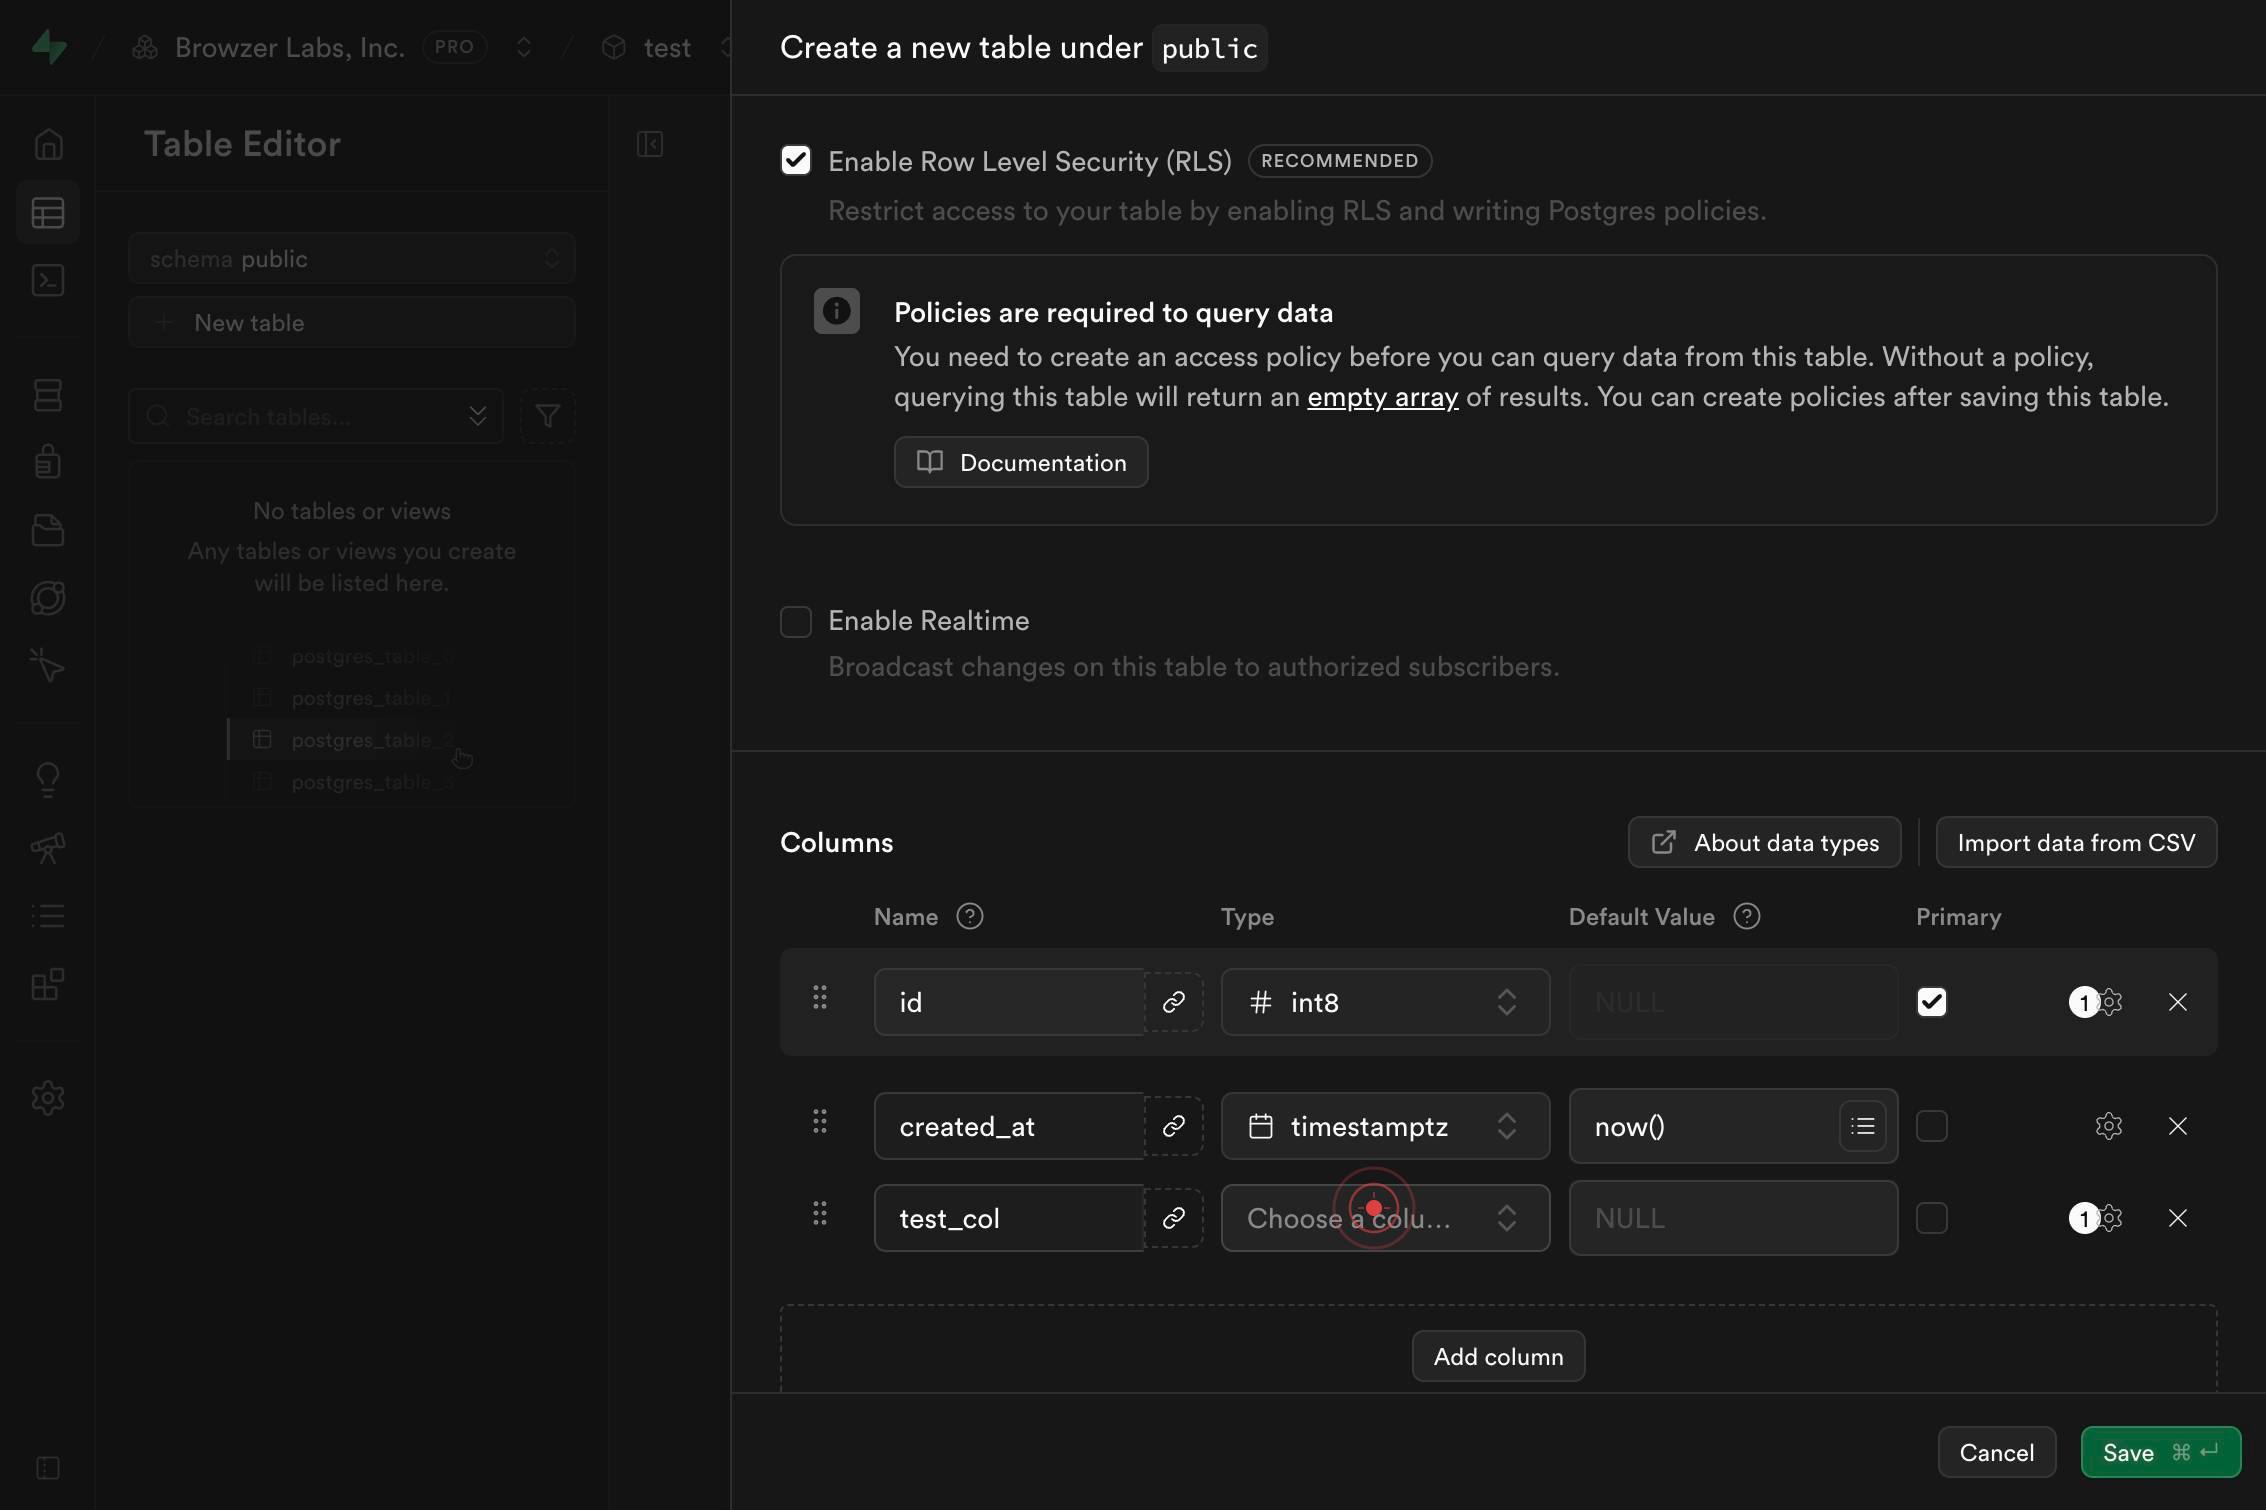
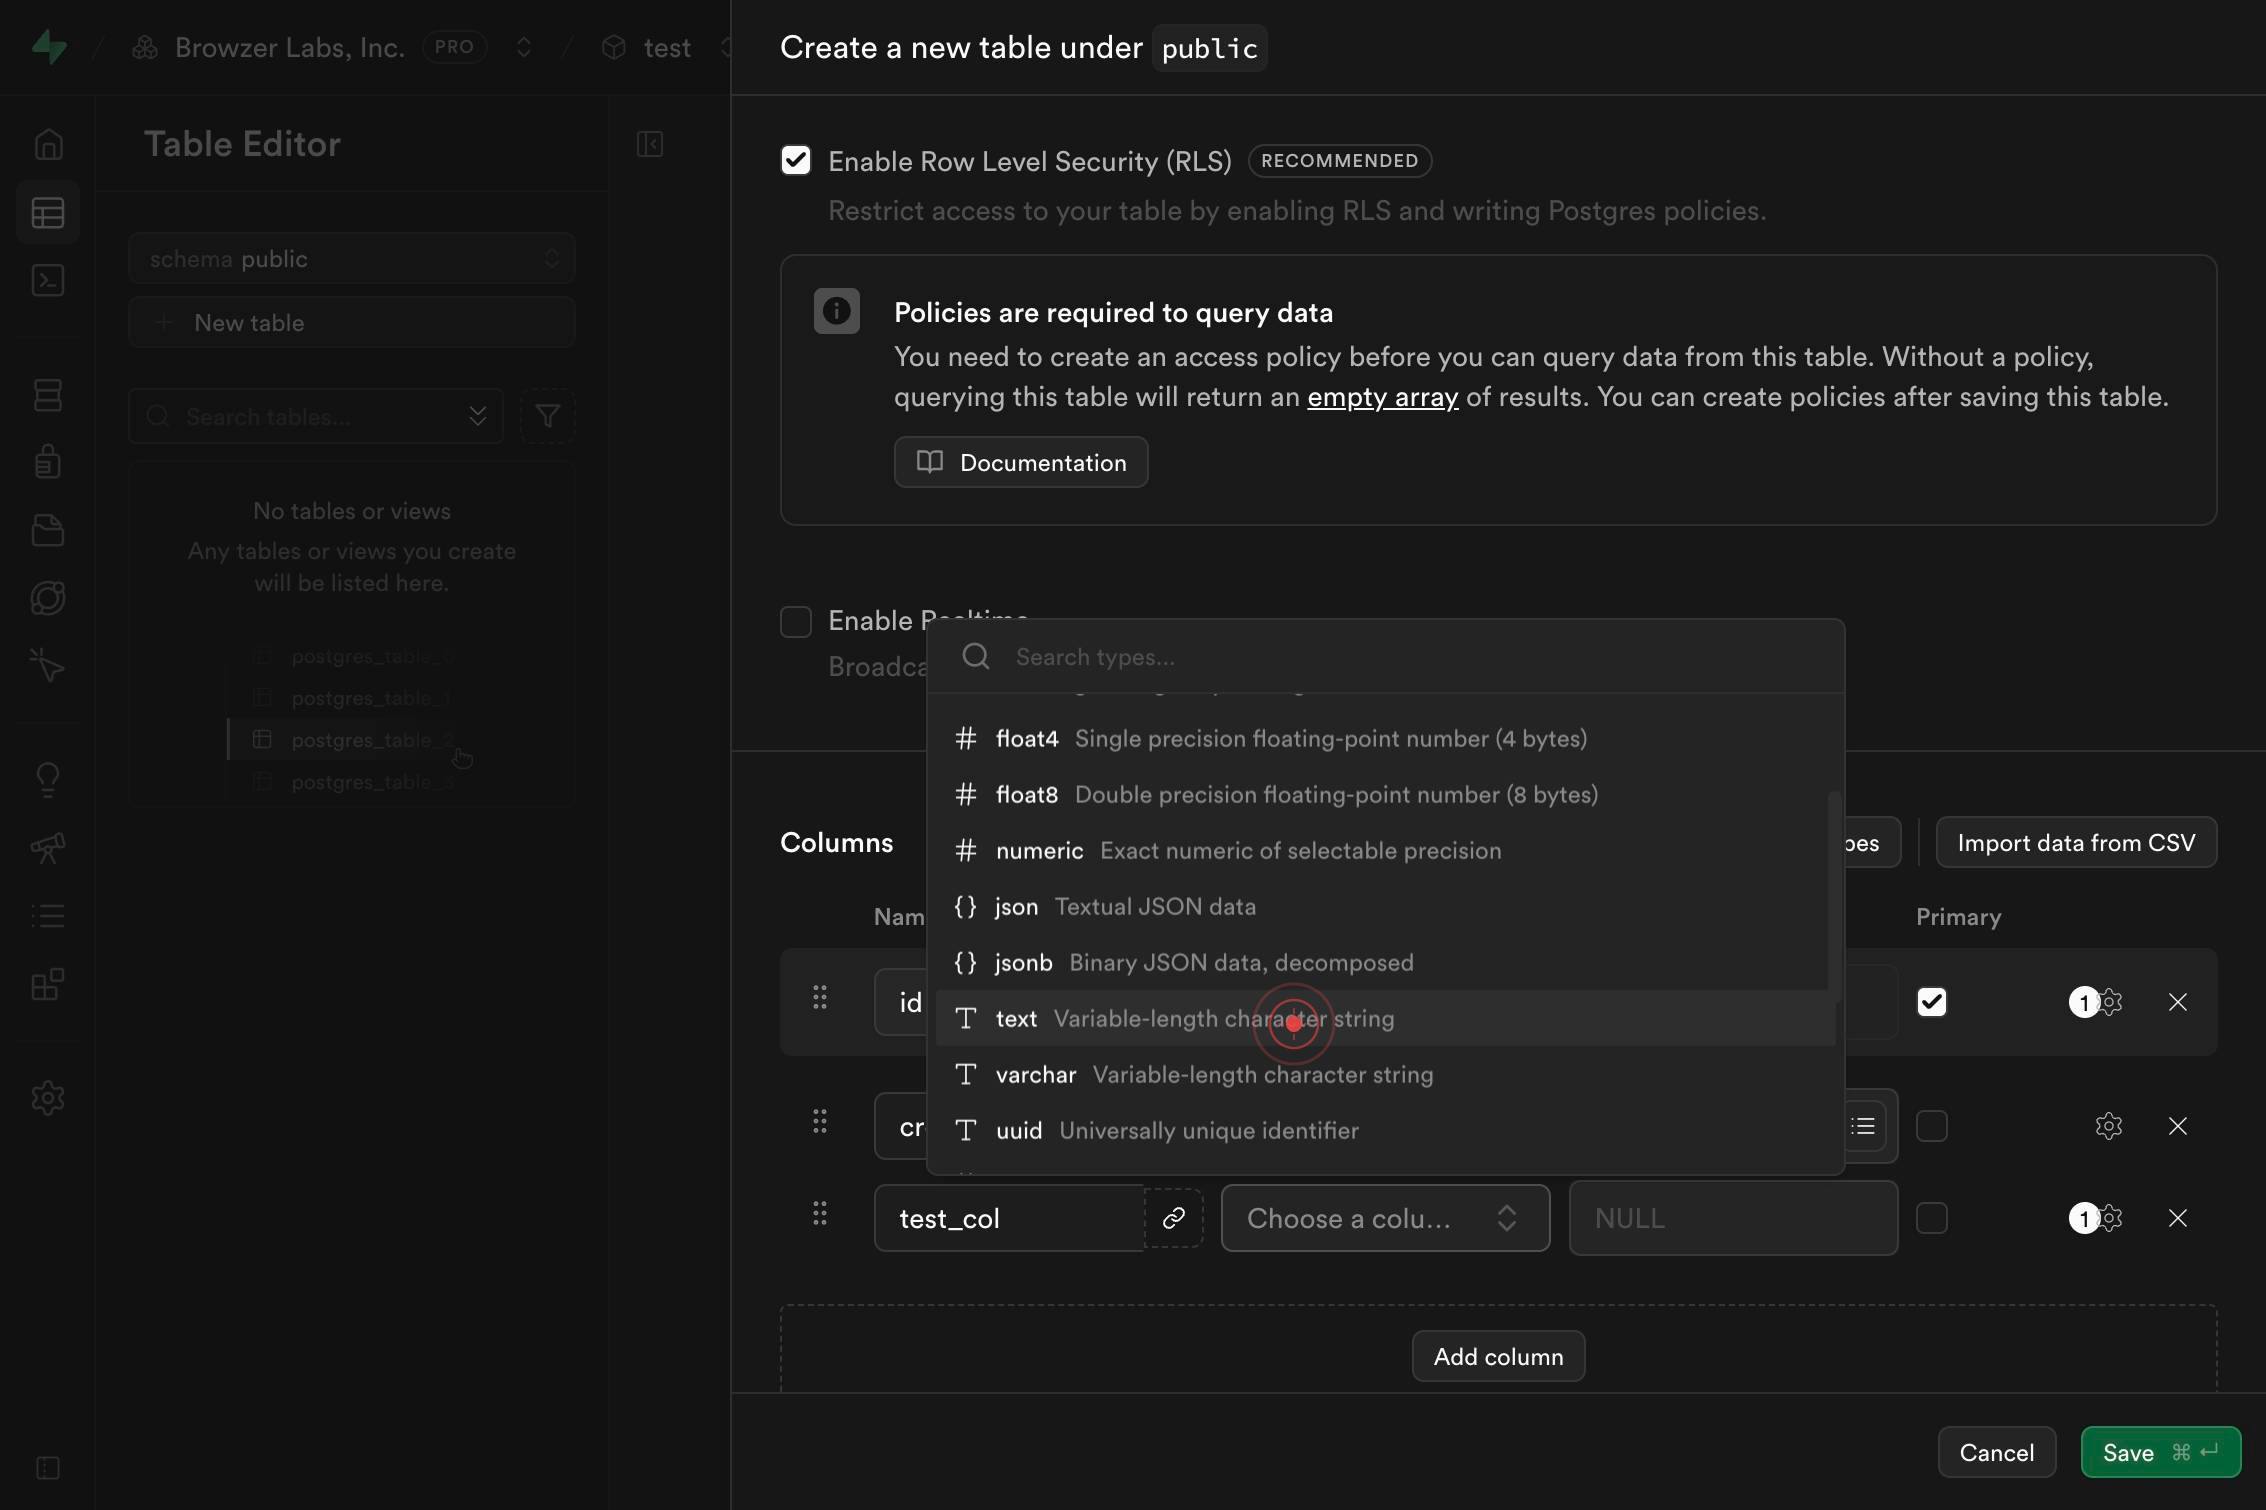
Choose a column type...Click on the 'Choose a column type...' dropdown to open the data type selector. This allows you to select the appropriate PostgreSQL data type for your column.
comboboxType 'text' in the column type dropdown to filter the available data types and quickly locate the text option. Supabase will narrow the list as you type.
text Variable-length character stringClick on the 'text Variable-length character string' option from the dropdown to select the text data type for your column. This data type is suitable for storing strings of any length, such as names, emails, or descriptions.
Column default valueClick on the 'Column default value' input field to activate it. This field allows you to specify a value that will automatically be assigned to this column if no value is provided when a new row is inserted.
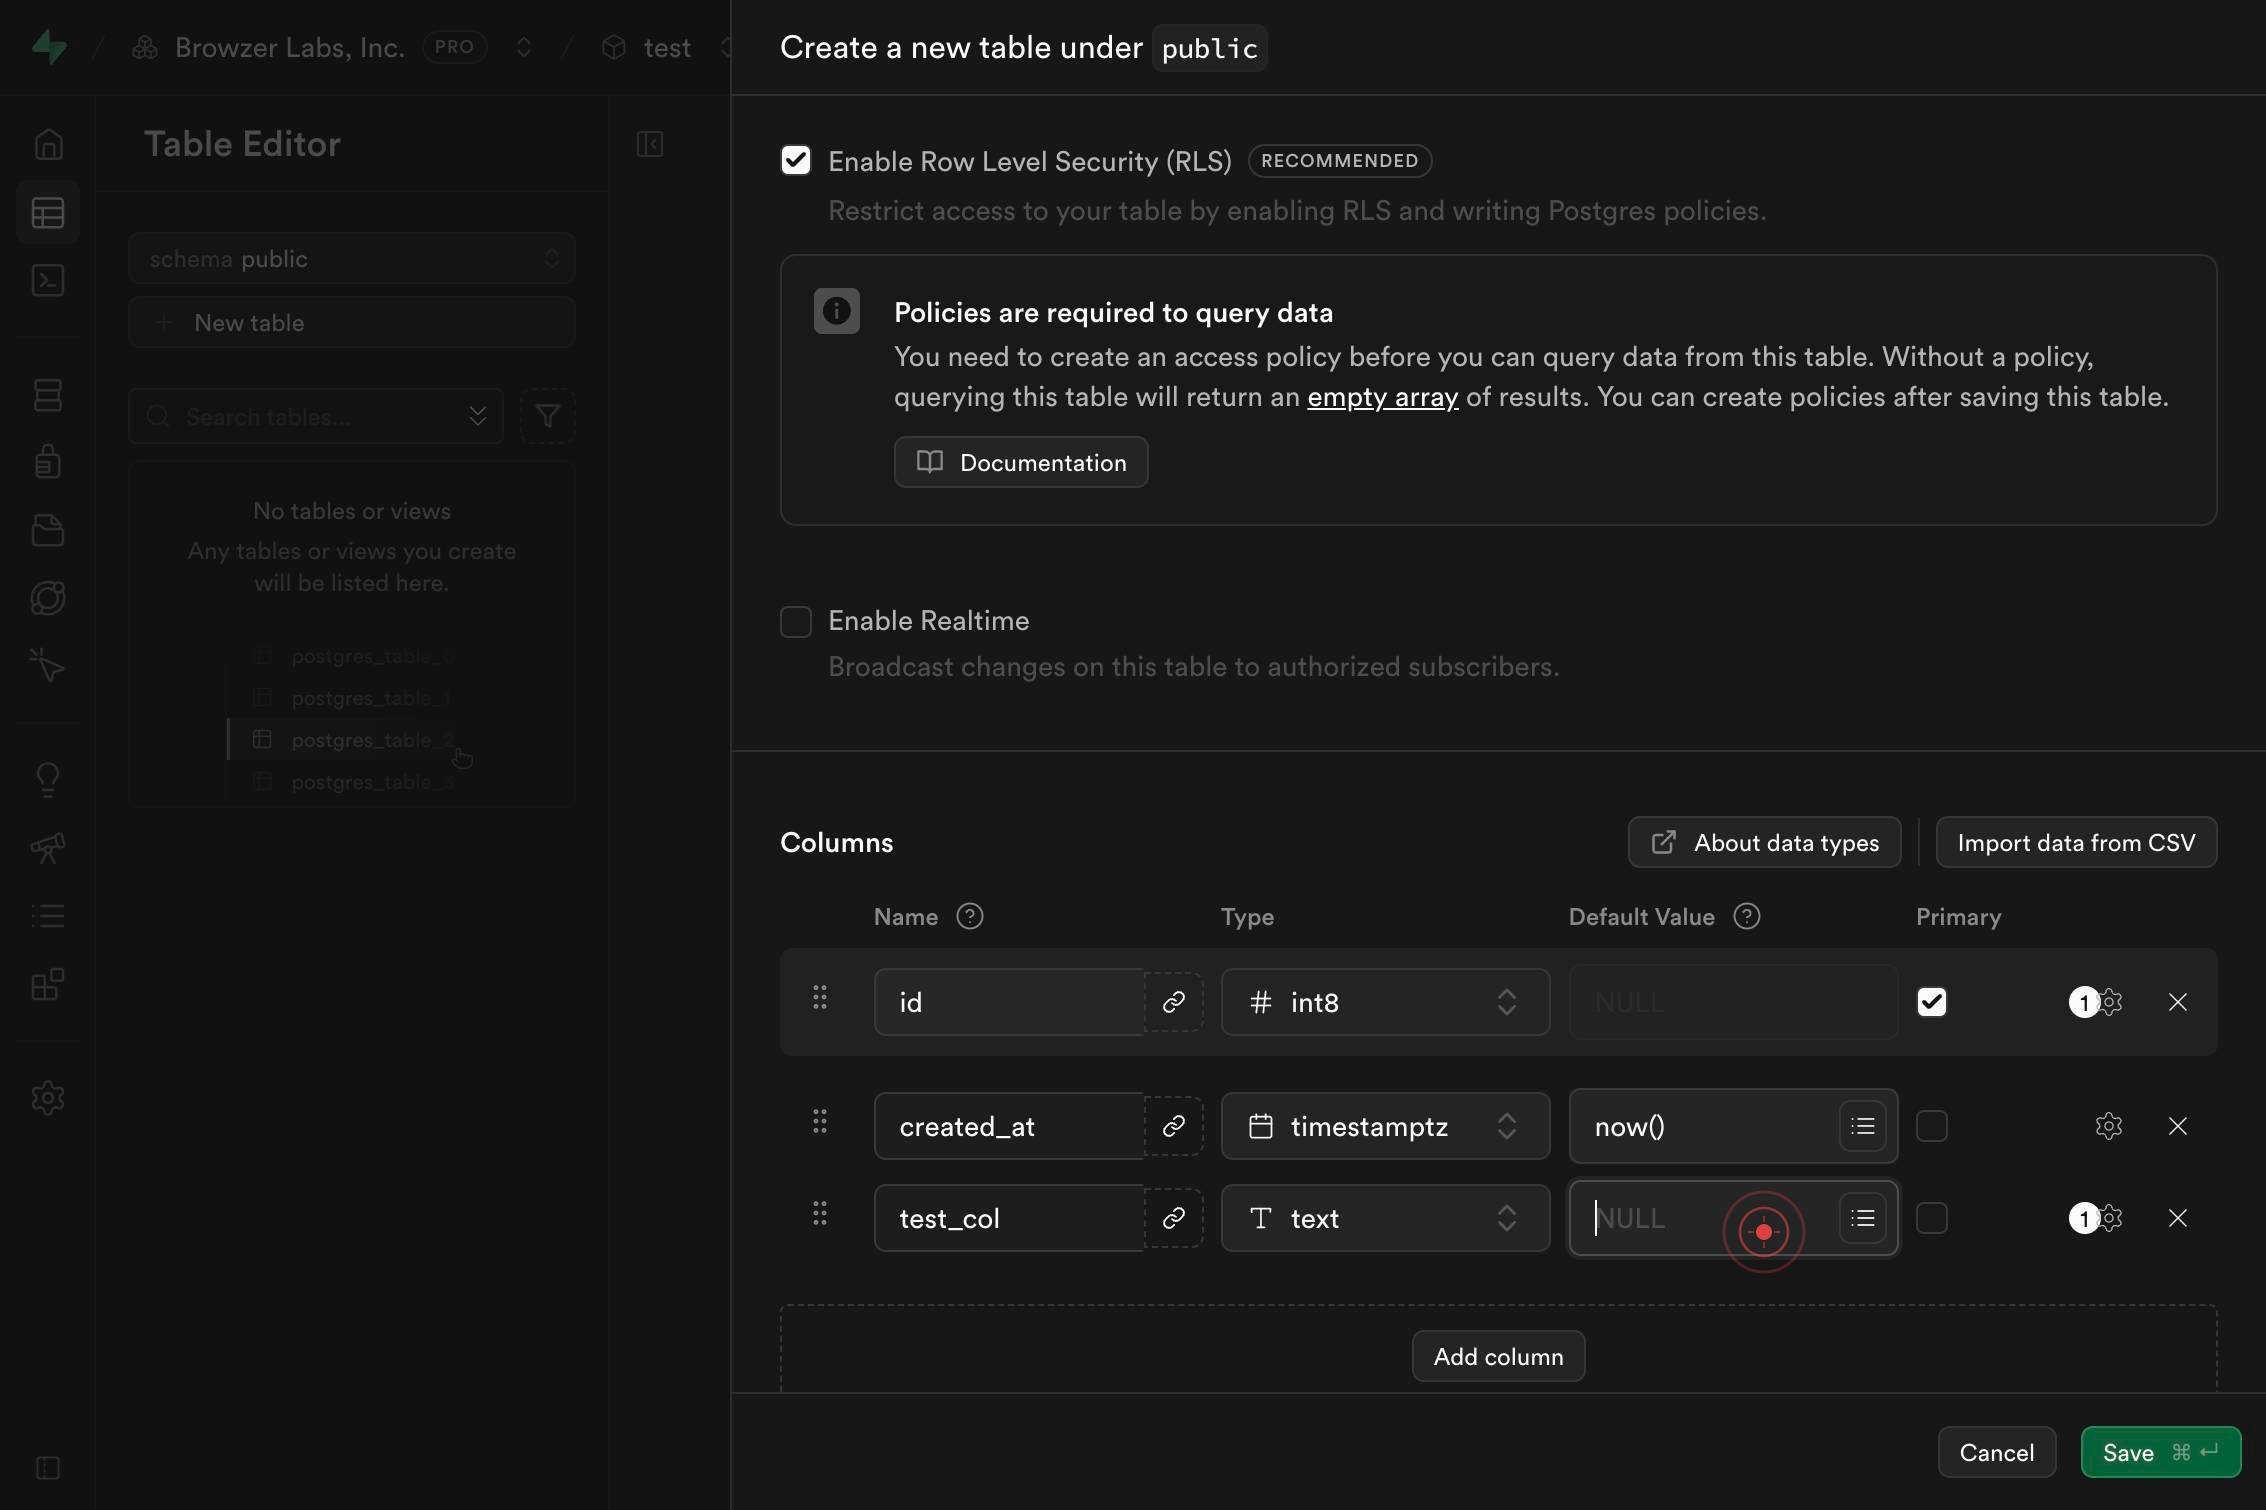
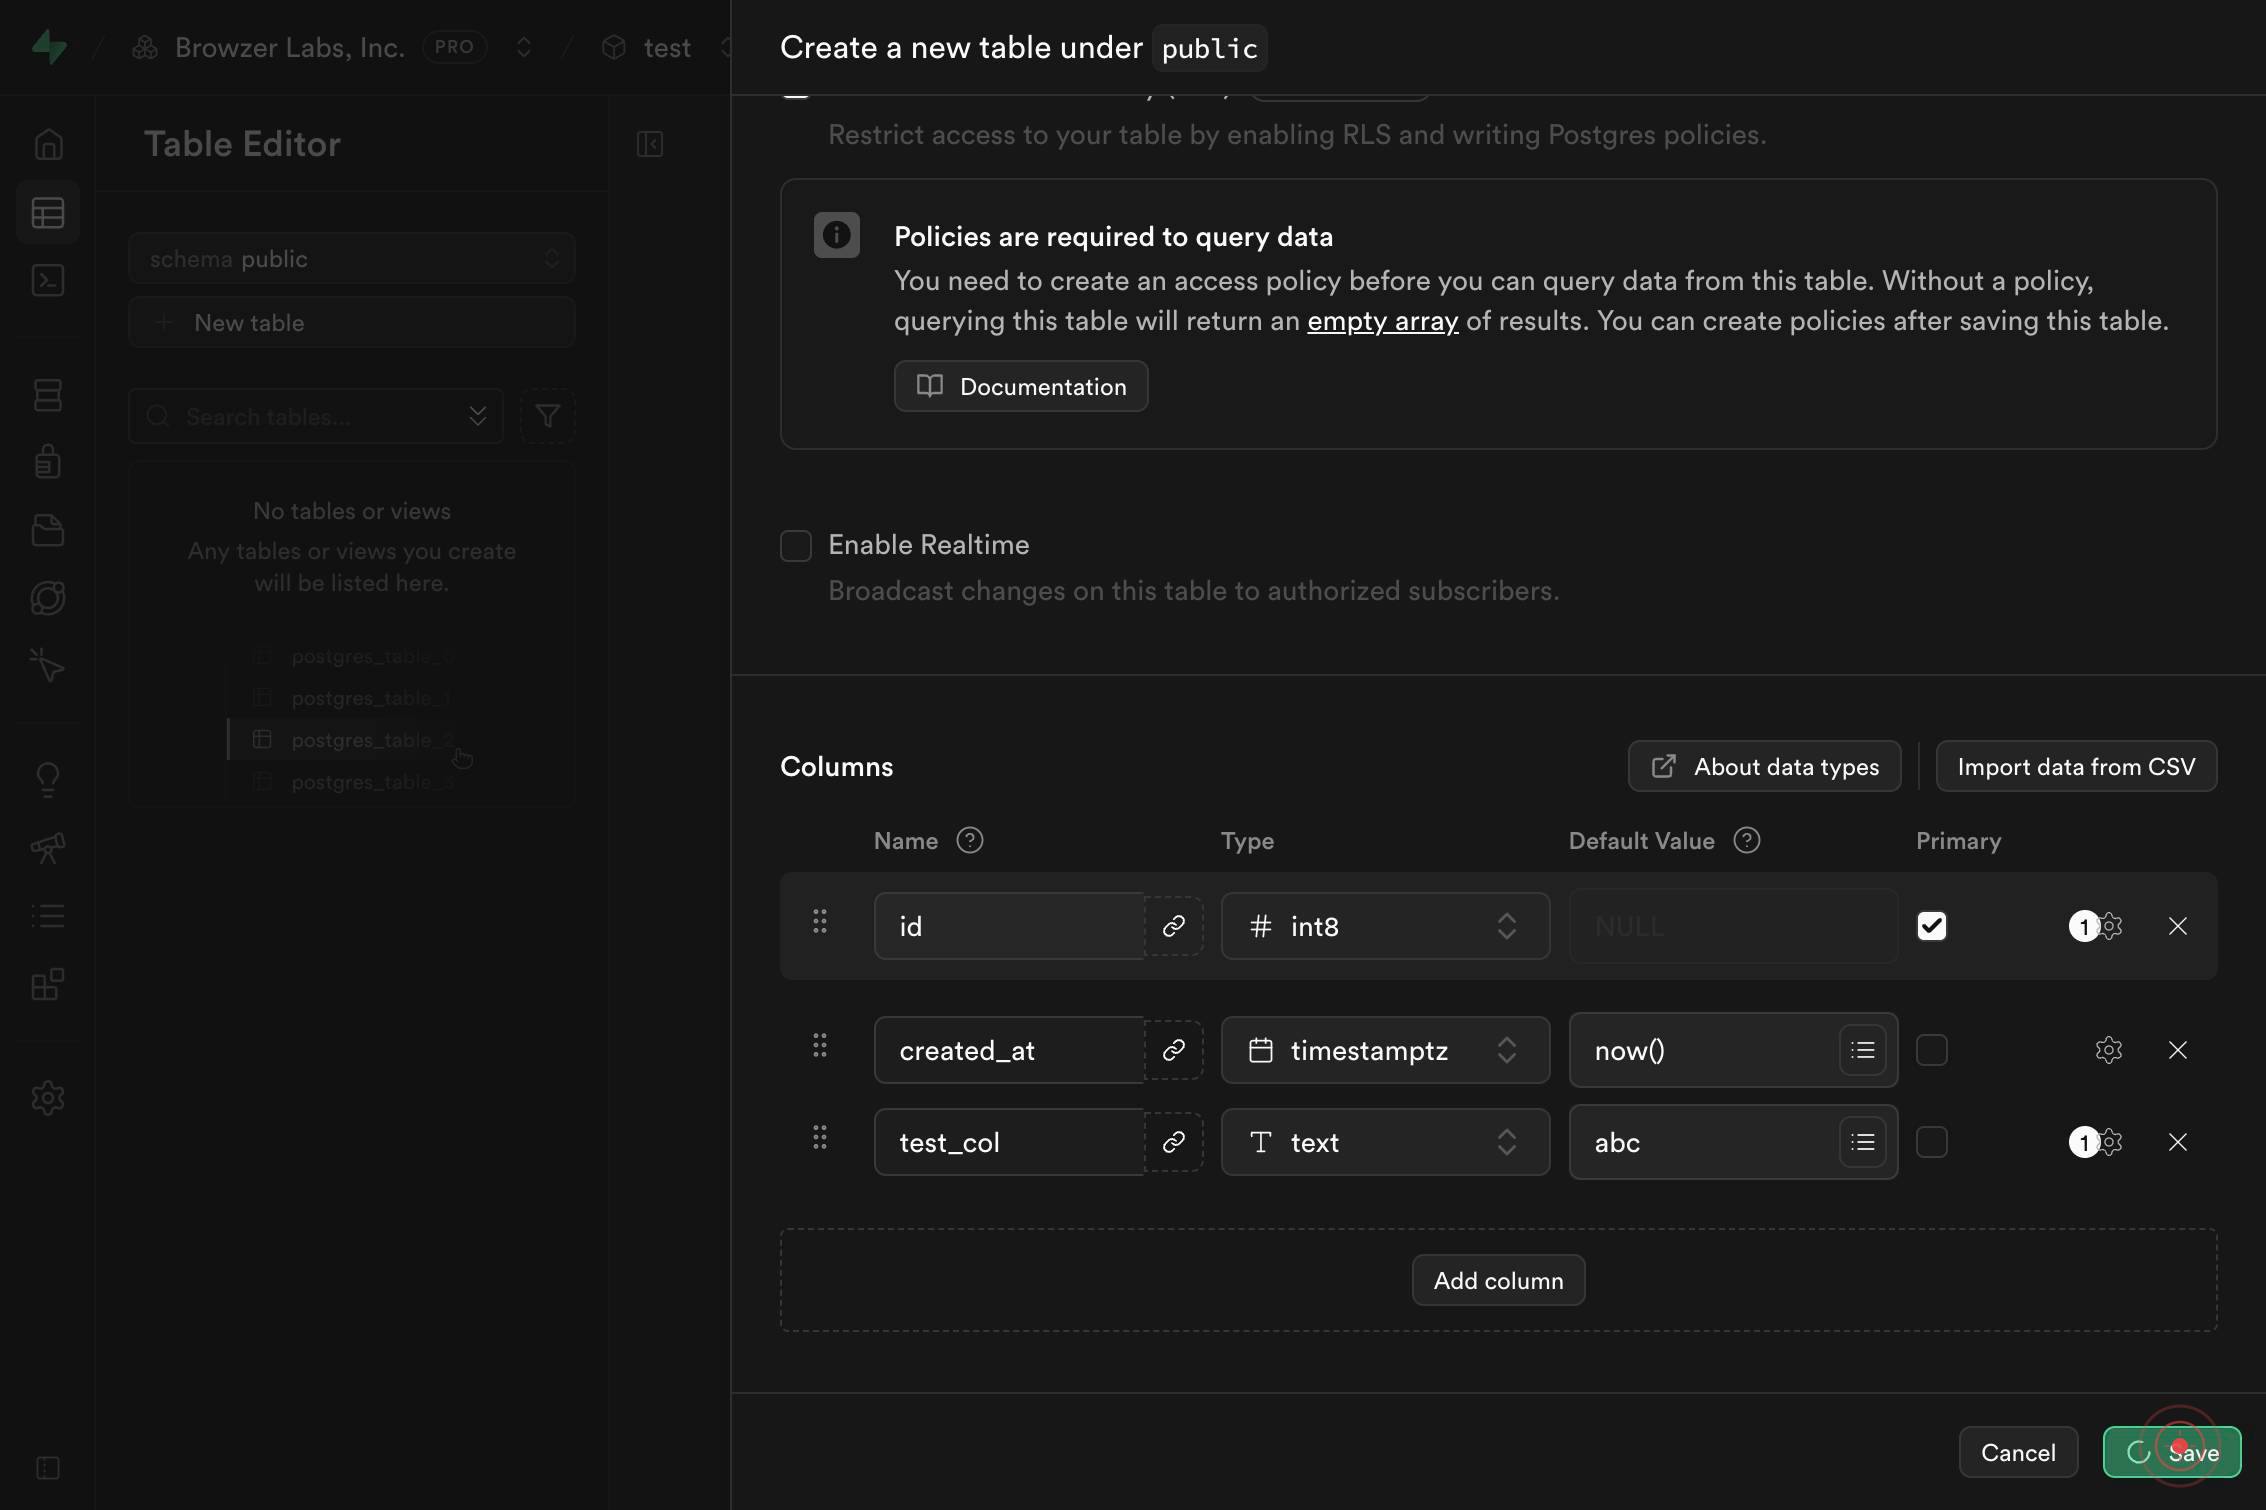
Column default valueType the desired default value for your column in the 'Column default value' field. For text columns, enter a string value (such as 'Pending' or 'Unknown') that makes sense as a fallback when no value is explicitly provided during data insertion.
Save ⌘ ↵Click the 'Save ⌘ ↵' button to create the table with the specified name, column, data type, and default value. This action commits the table schema to your Supabase database.
Confirm it worked
- 1The new table appears in the Tables list in the left sidebar of the Supabase dashboard
- 2The table detail view displays your created column with the correct name, data type (text), and default value
- 3No error message appears after clicking Save; the page remains stable and shows the table schema
Common issues
Keep reading
PostgreSQL: Documentation: 15: 2.3. Creating a New Table
PostgreSQL: Documentation: 15: 2.3. Creating a New Table February 26, 2026: PostgreSQL 18.3, 17.9, 16.13, 15.17, and 14.22 Released! Documentation→ PostgreSQL 15 Supported Versions: Current(18)
postgresql.orgPostgreSQL: Documentation: 13: 2.3. Creating a New Table
PostgreSQL: Documentation: 13: 2.3. Creating a New Table September 4, 2025:[PostgreSQL 18 RC 1 Released!](https://postgresql.org/about/news/postgresql-18-rc-1-released-3130/) [Documentation](https://p
postgresql.orgMySQL :: MySQL 8.4 Reference Manual :: 5.3.2 Creating a Table
MySQL :: MySQL 8.4 Reference Manual :: 5.3.2 Creating a Table Skip to Main Content Documentation Home --- MySQL 8.4 Reference Manual Related Documentation MySQL 8.4 Release Notes Download this M
dev.mysql.com