Guide
Change Compute Size
Overview
Supabase allows you to scale your database infrastructure by upgrading your project's compute size. Changing compute size adjusts your database's memory allocation, CPU cores, and hourly cost—critical decisions for managing performance and expenses. This workflow guides you through accessing compute settings, selecting a new size tier, reviewing the impact, and either confirming or canceling the change. Understanding this process ensures you can confidently upgrade your project when traffic increases or performance optimization becomes necessary, while also providing a safety net to cancel changes before they take effect.
Before you begin
- Active Supabase account with at least one existing project (free account acceptable)
- Owner or admin-level permissions on the target project
- Access to supabase.com and ability to log in to your account
Step by step
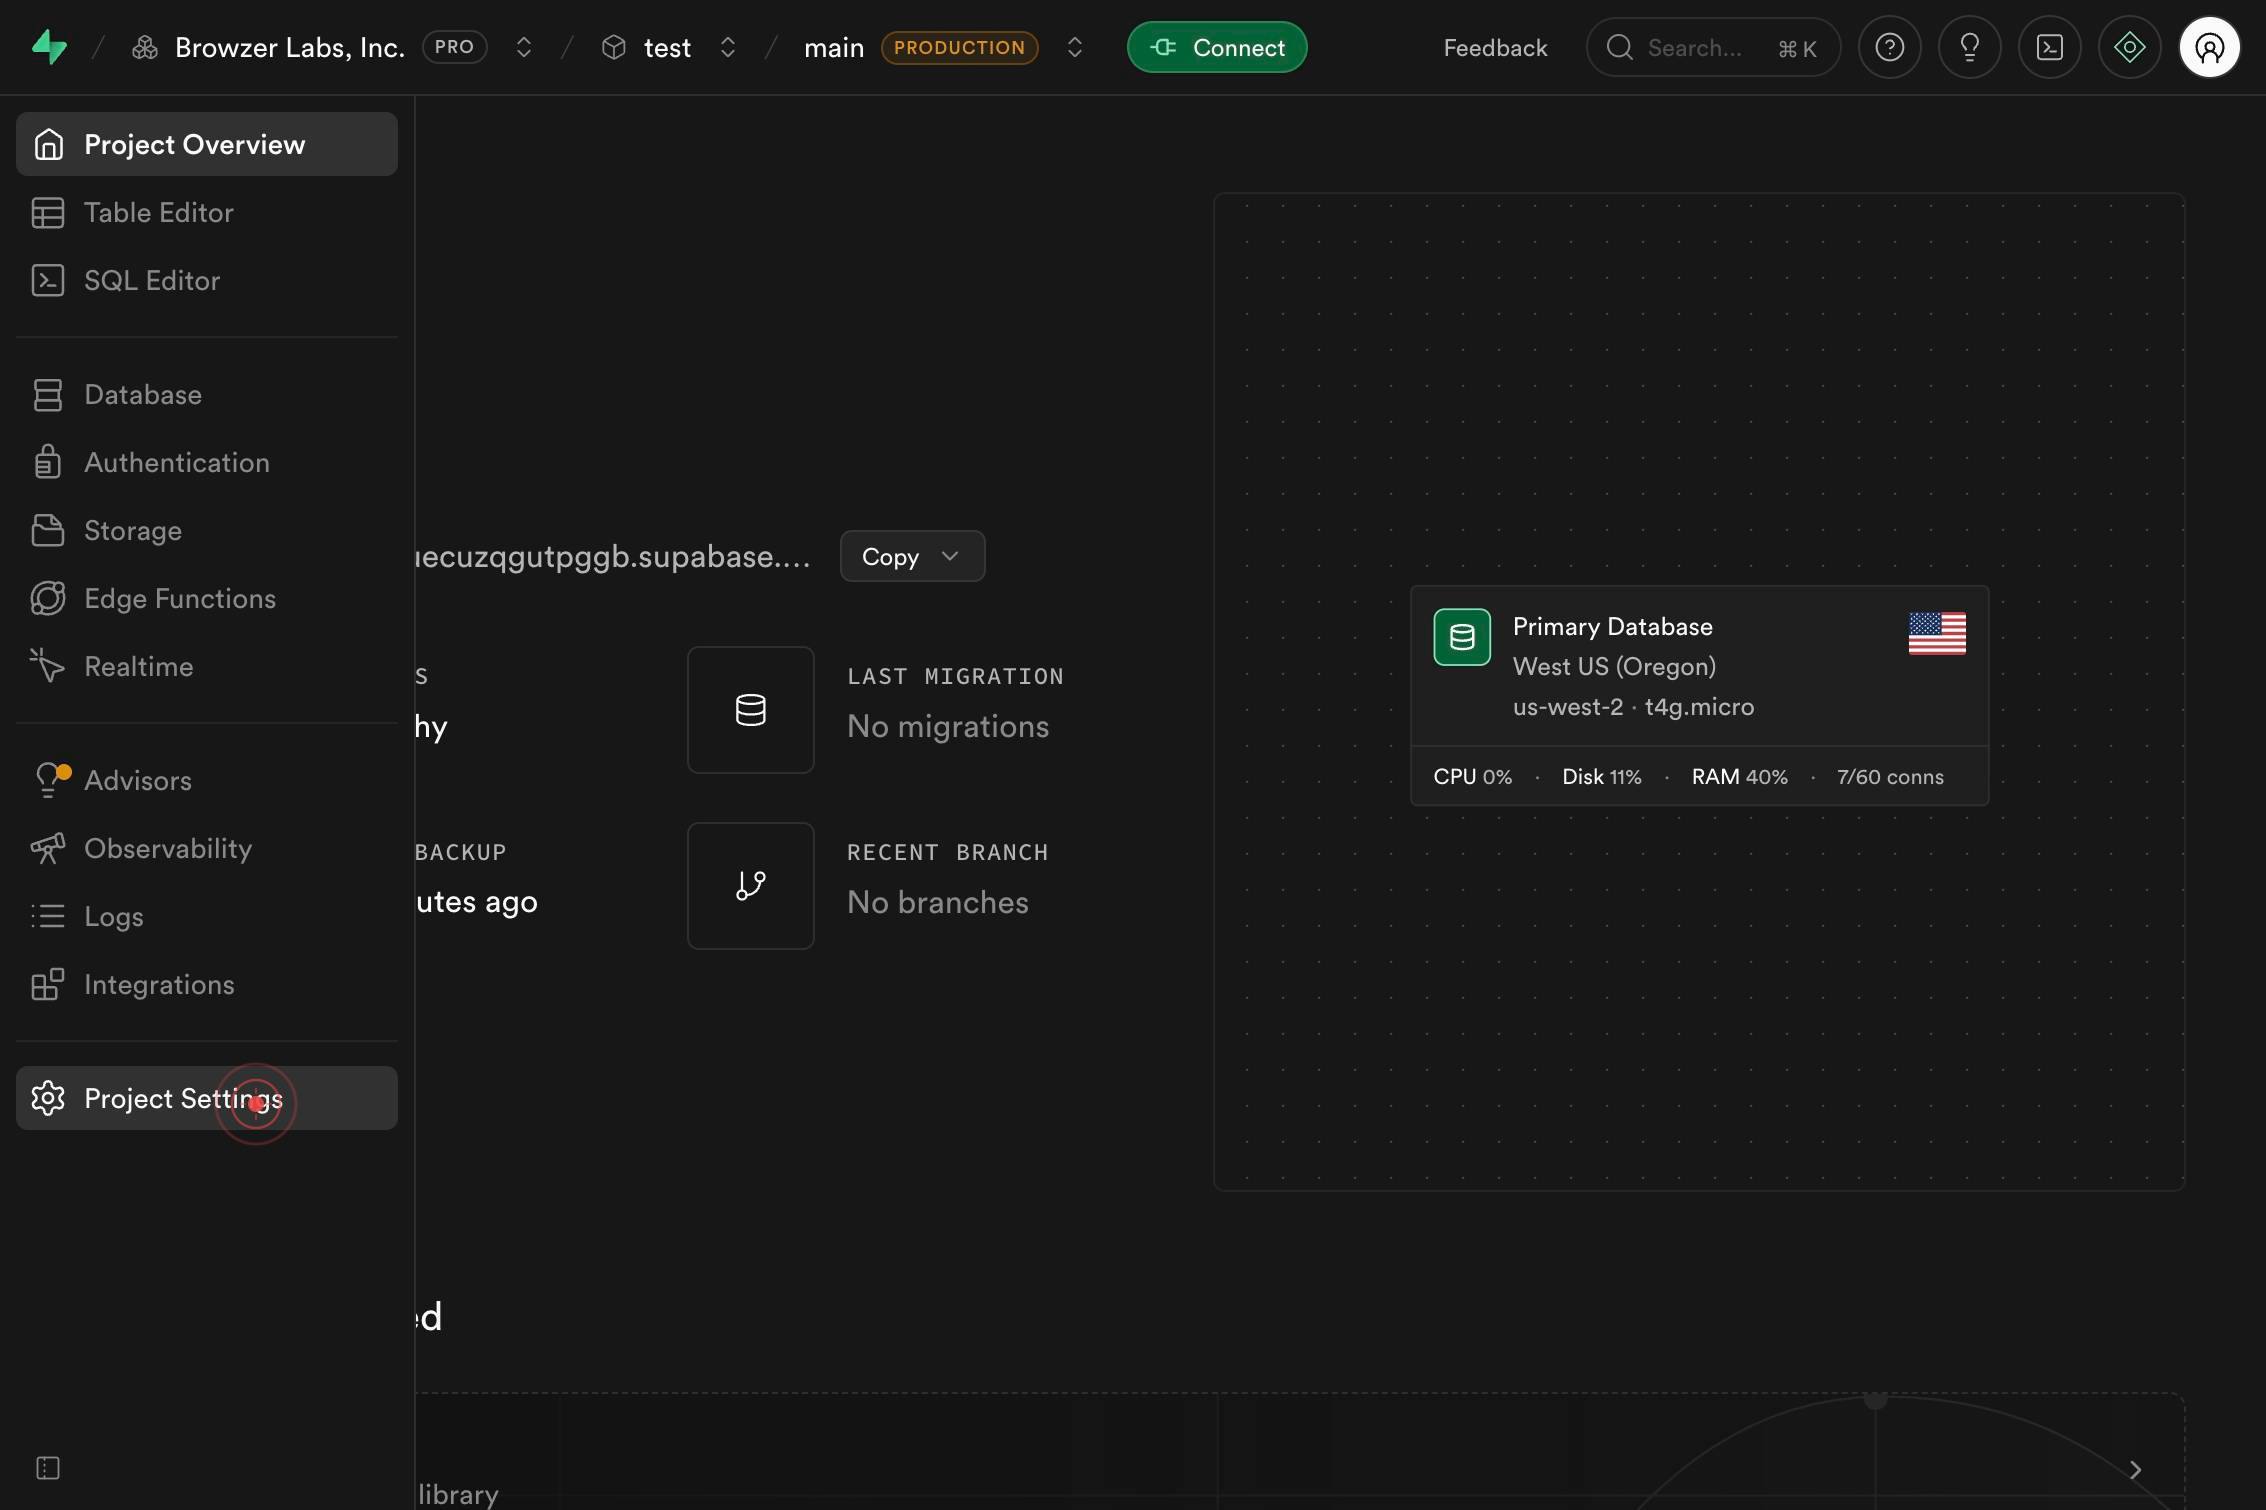
Project SettingsNavigate to your project's settings by clicking the 'Project Settings' link in the left sidebar. This opens the main settings dashboard where all project configuration options are available.
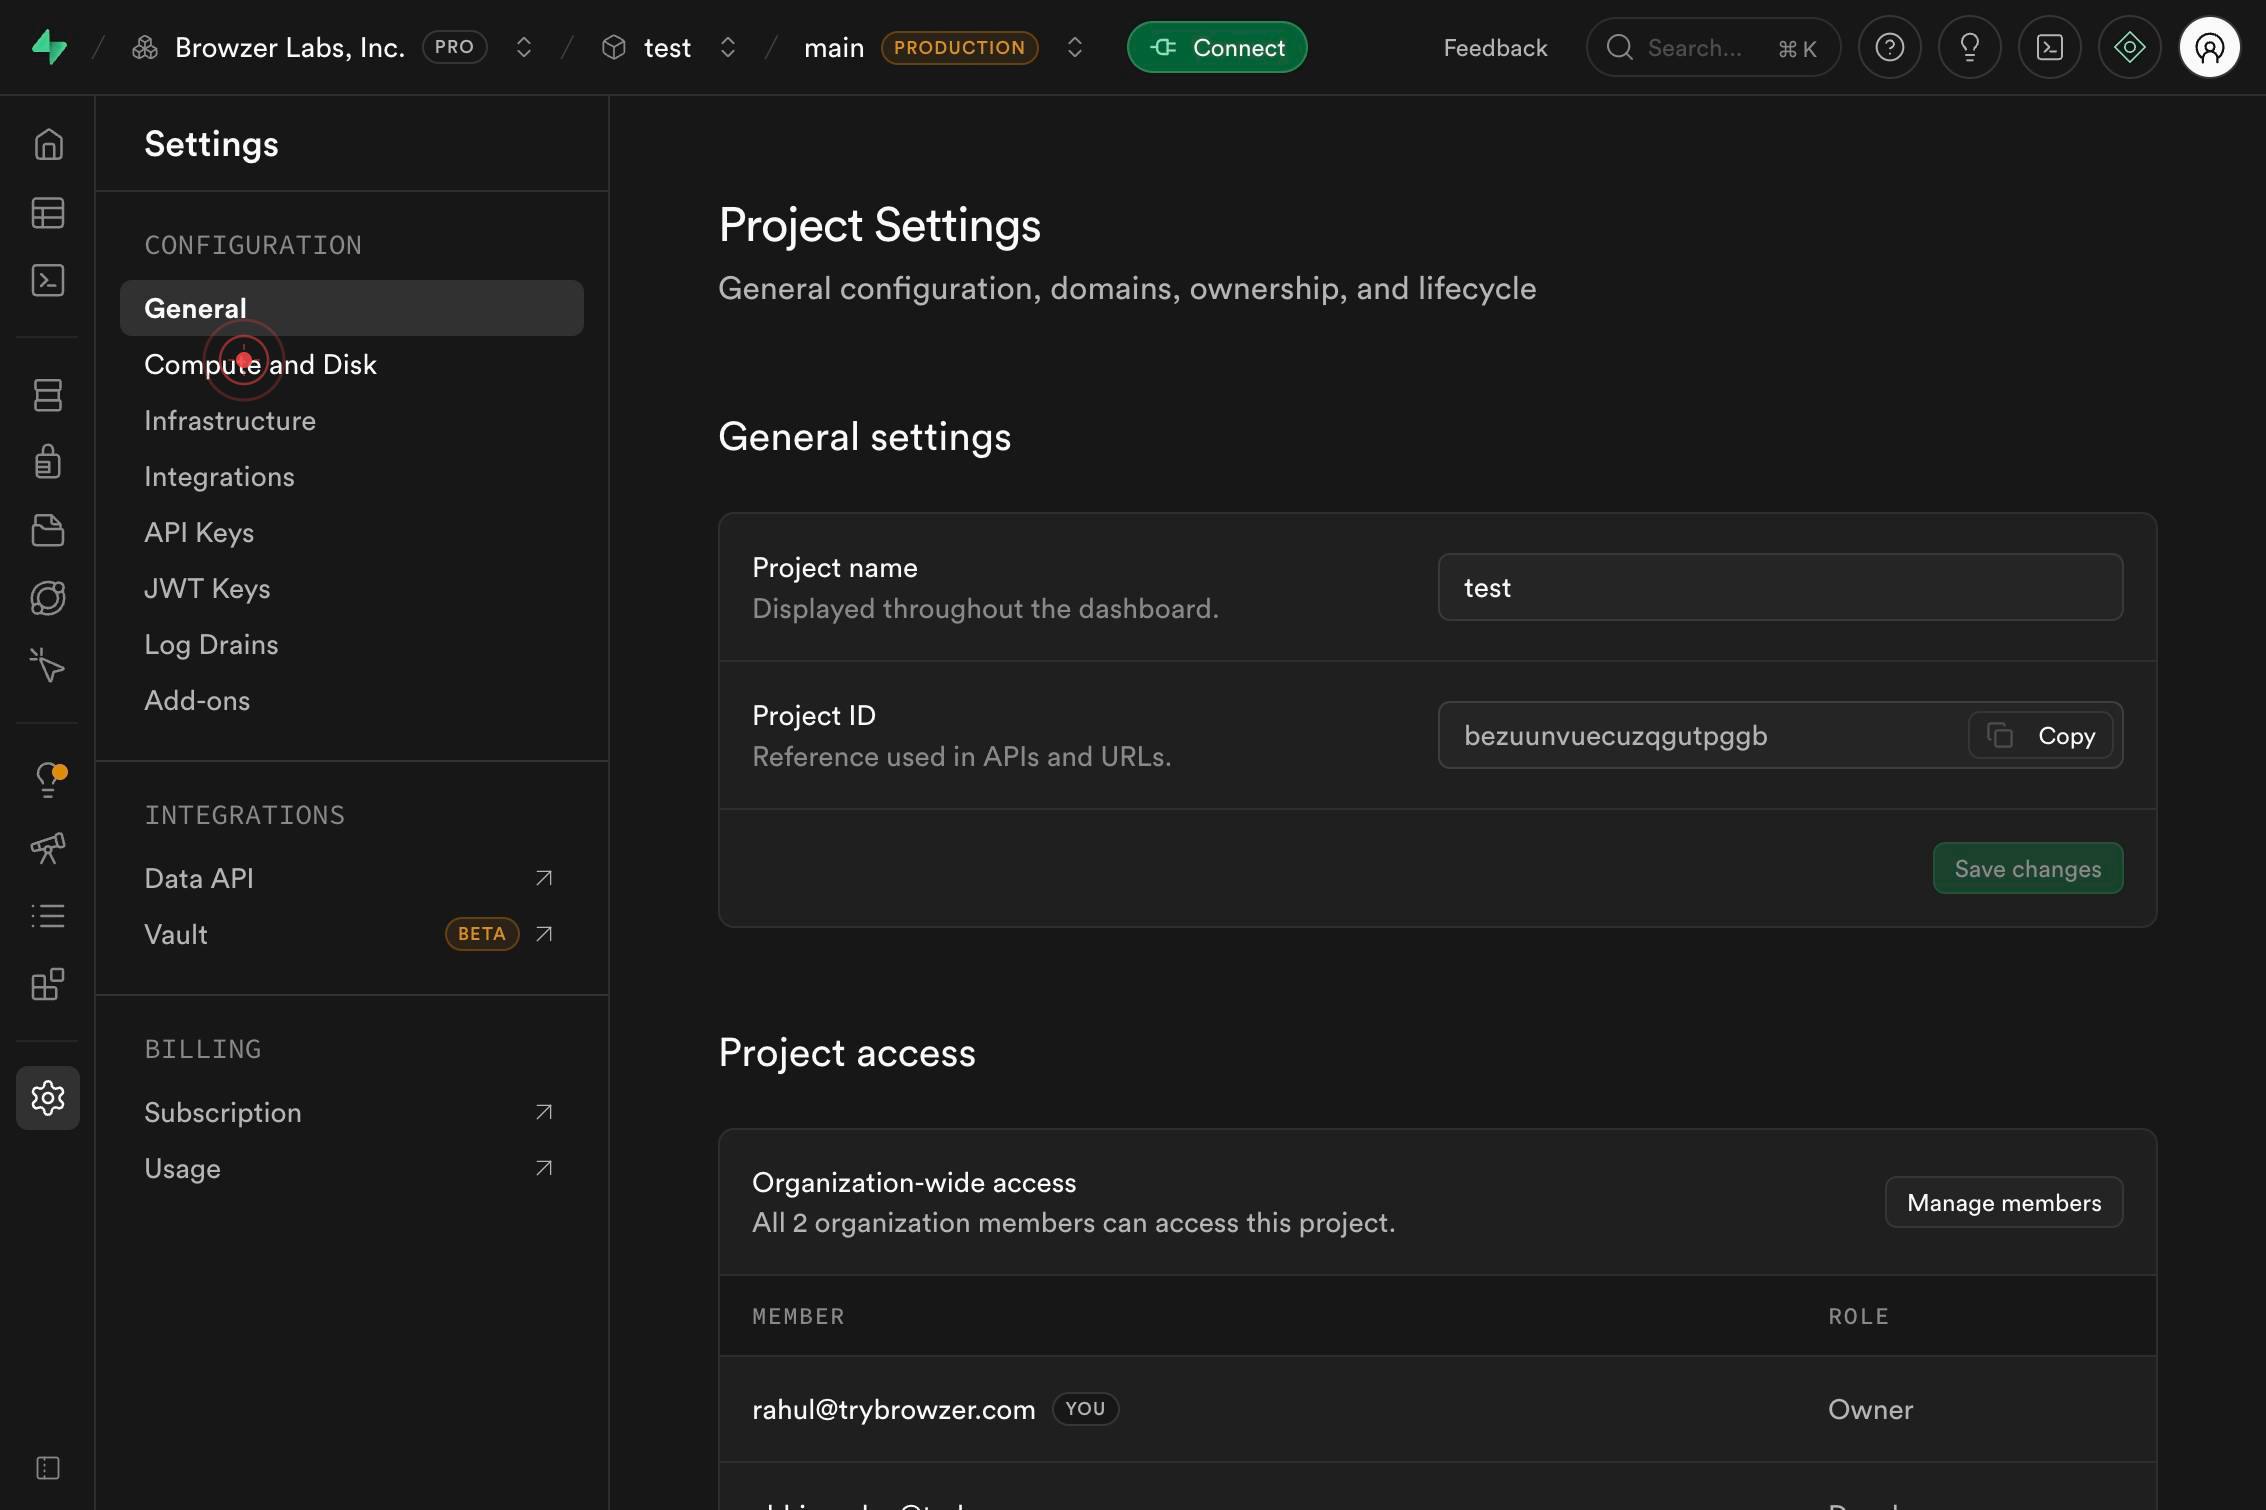
Compute and DiskAccess the compute configuration panel by clicking 'Compute and Disk' in the settings menu. This section controls your database's resource allocation and associated costs.
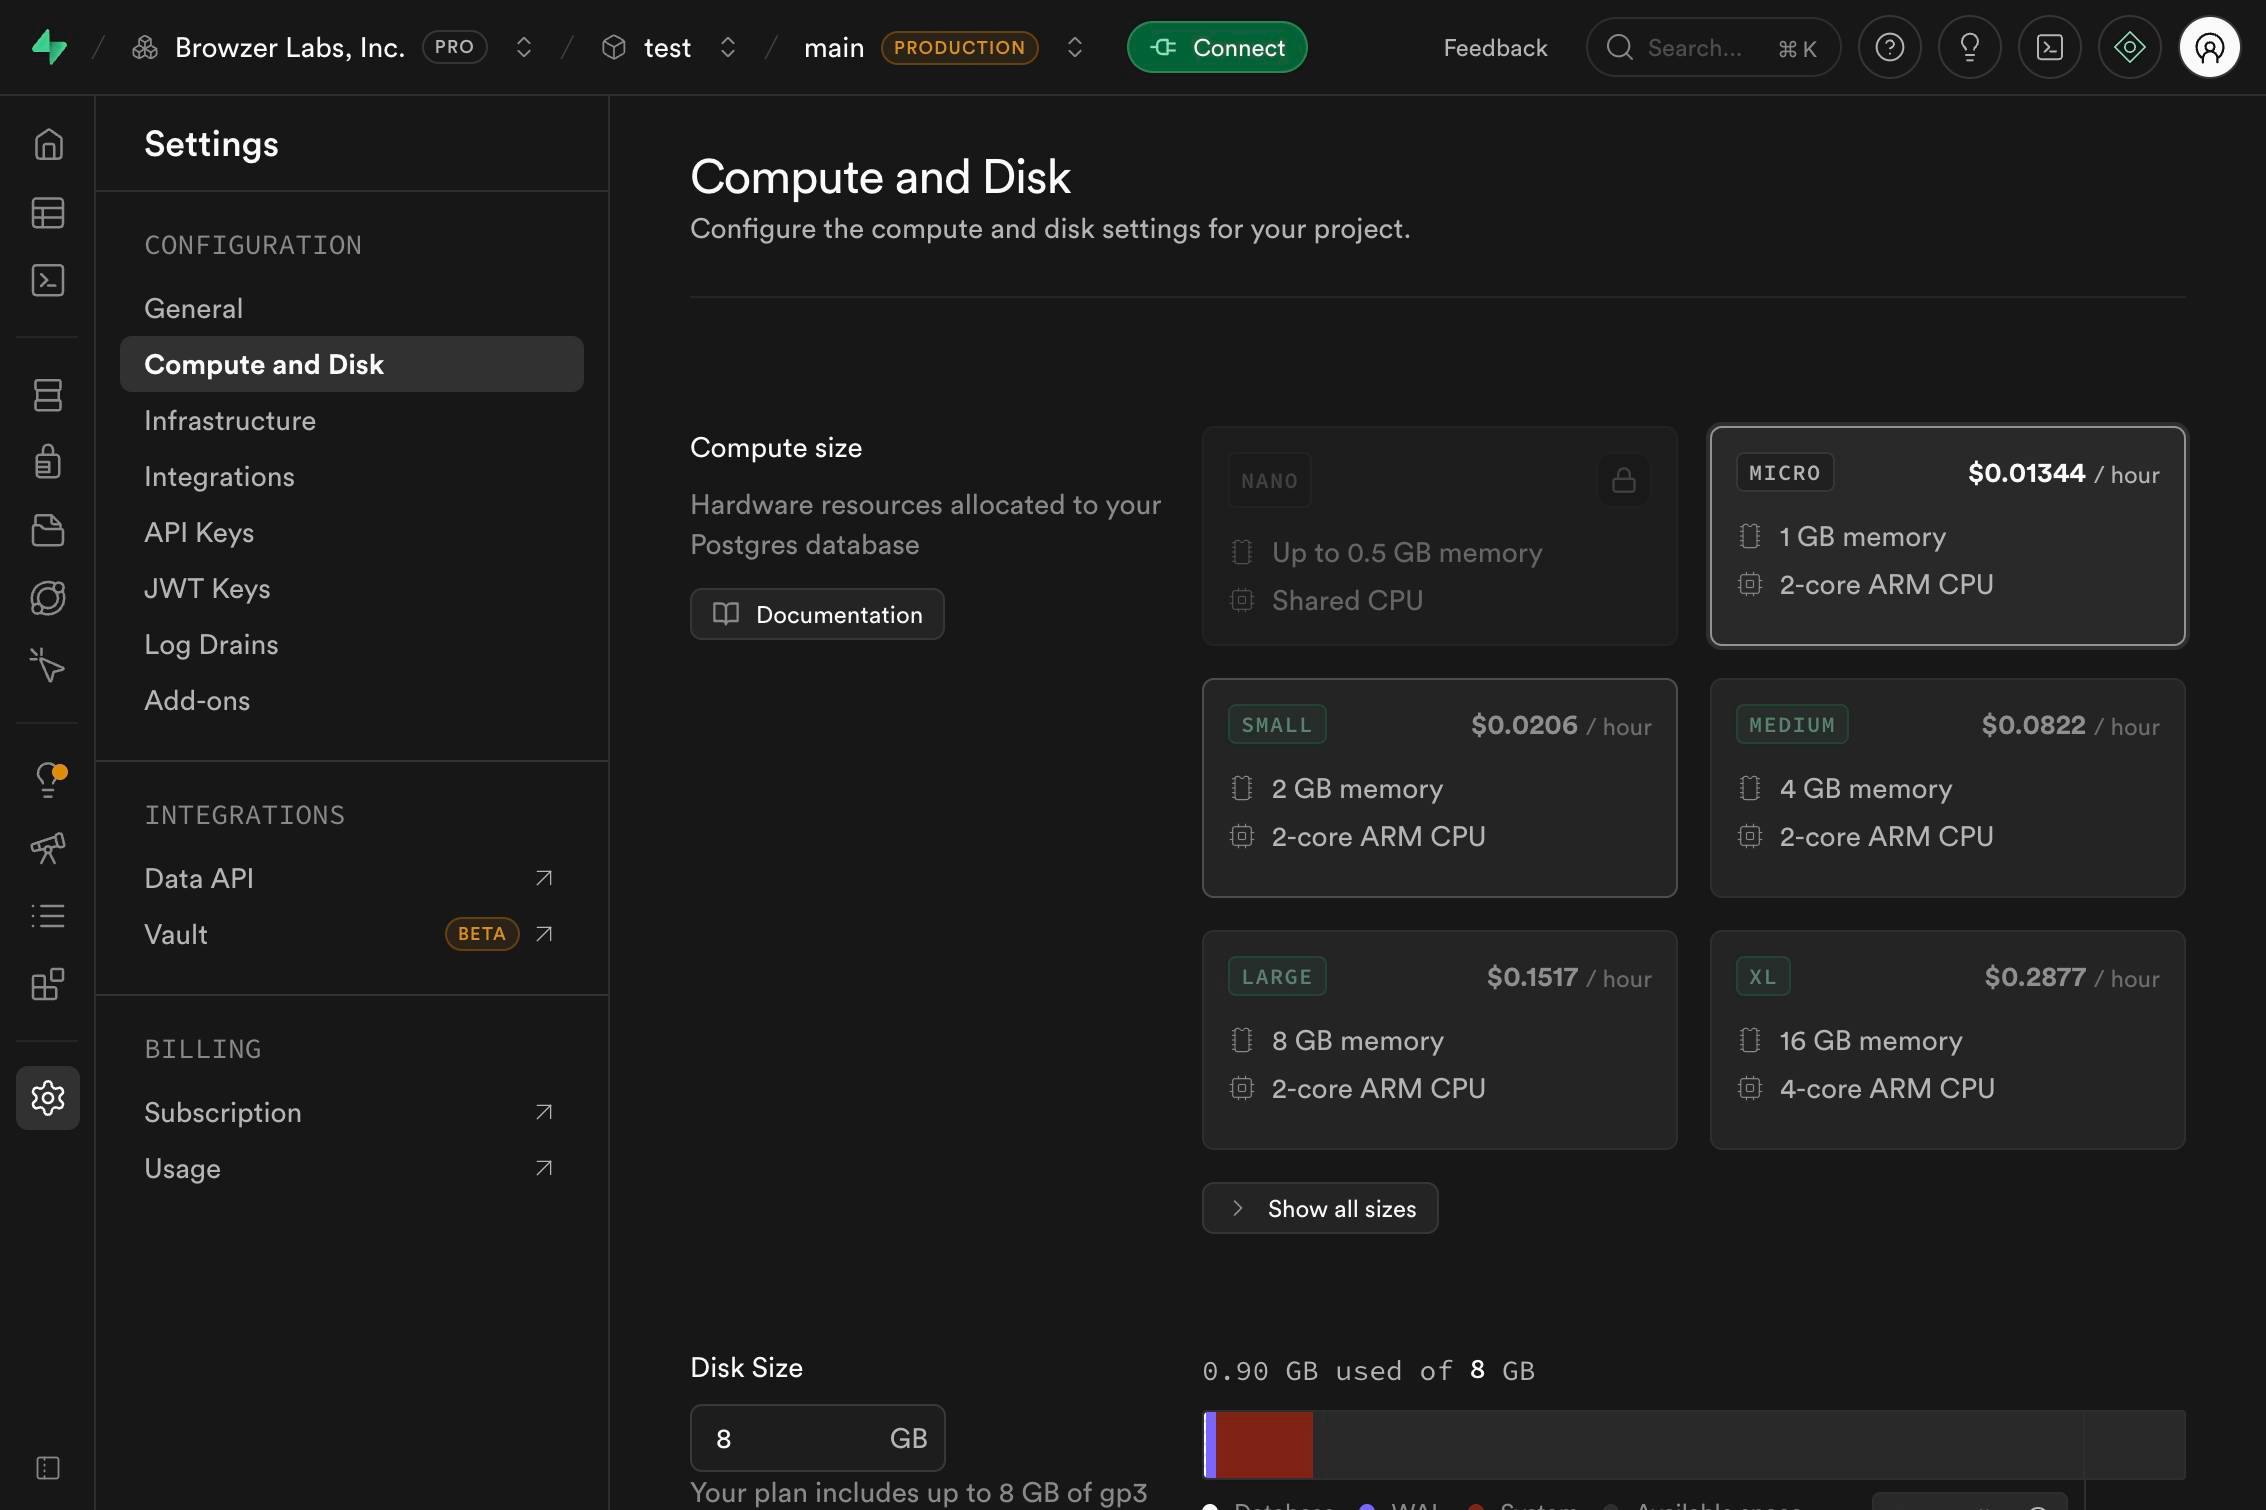
NanoUp to 0.5 GB memoryShared CPUConfirm your current compute size is Nano by clicking its radio button. This establishes the baseline for comparison when you select a larger size.
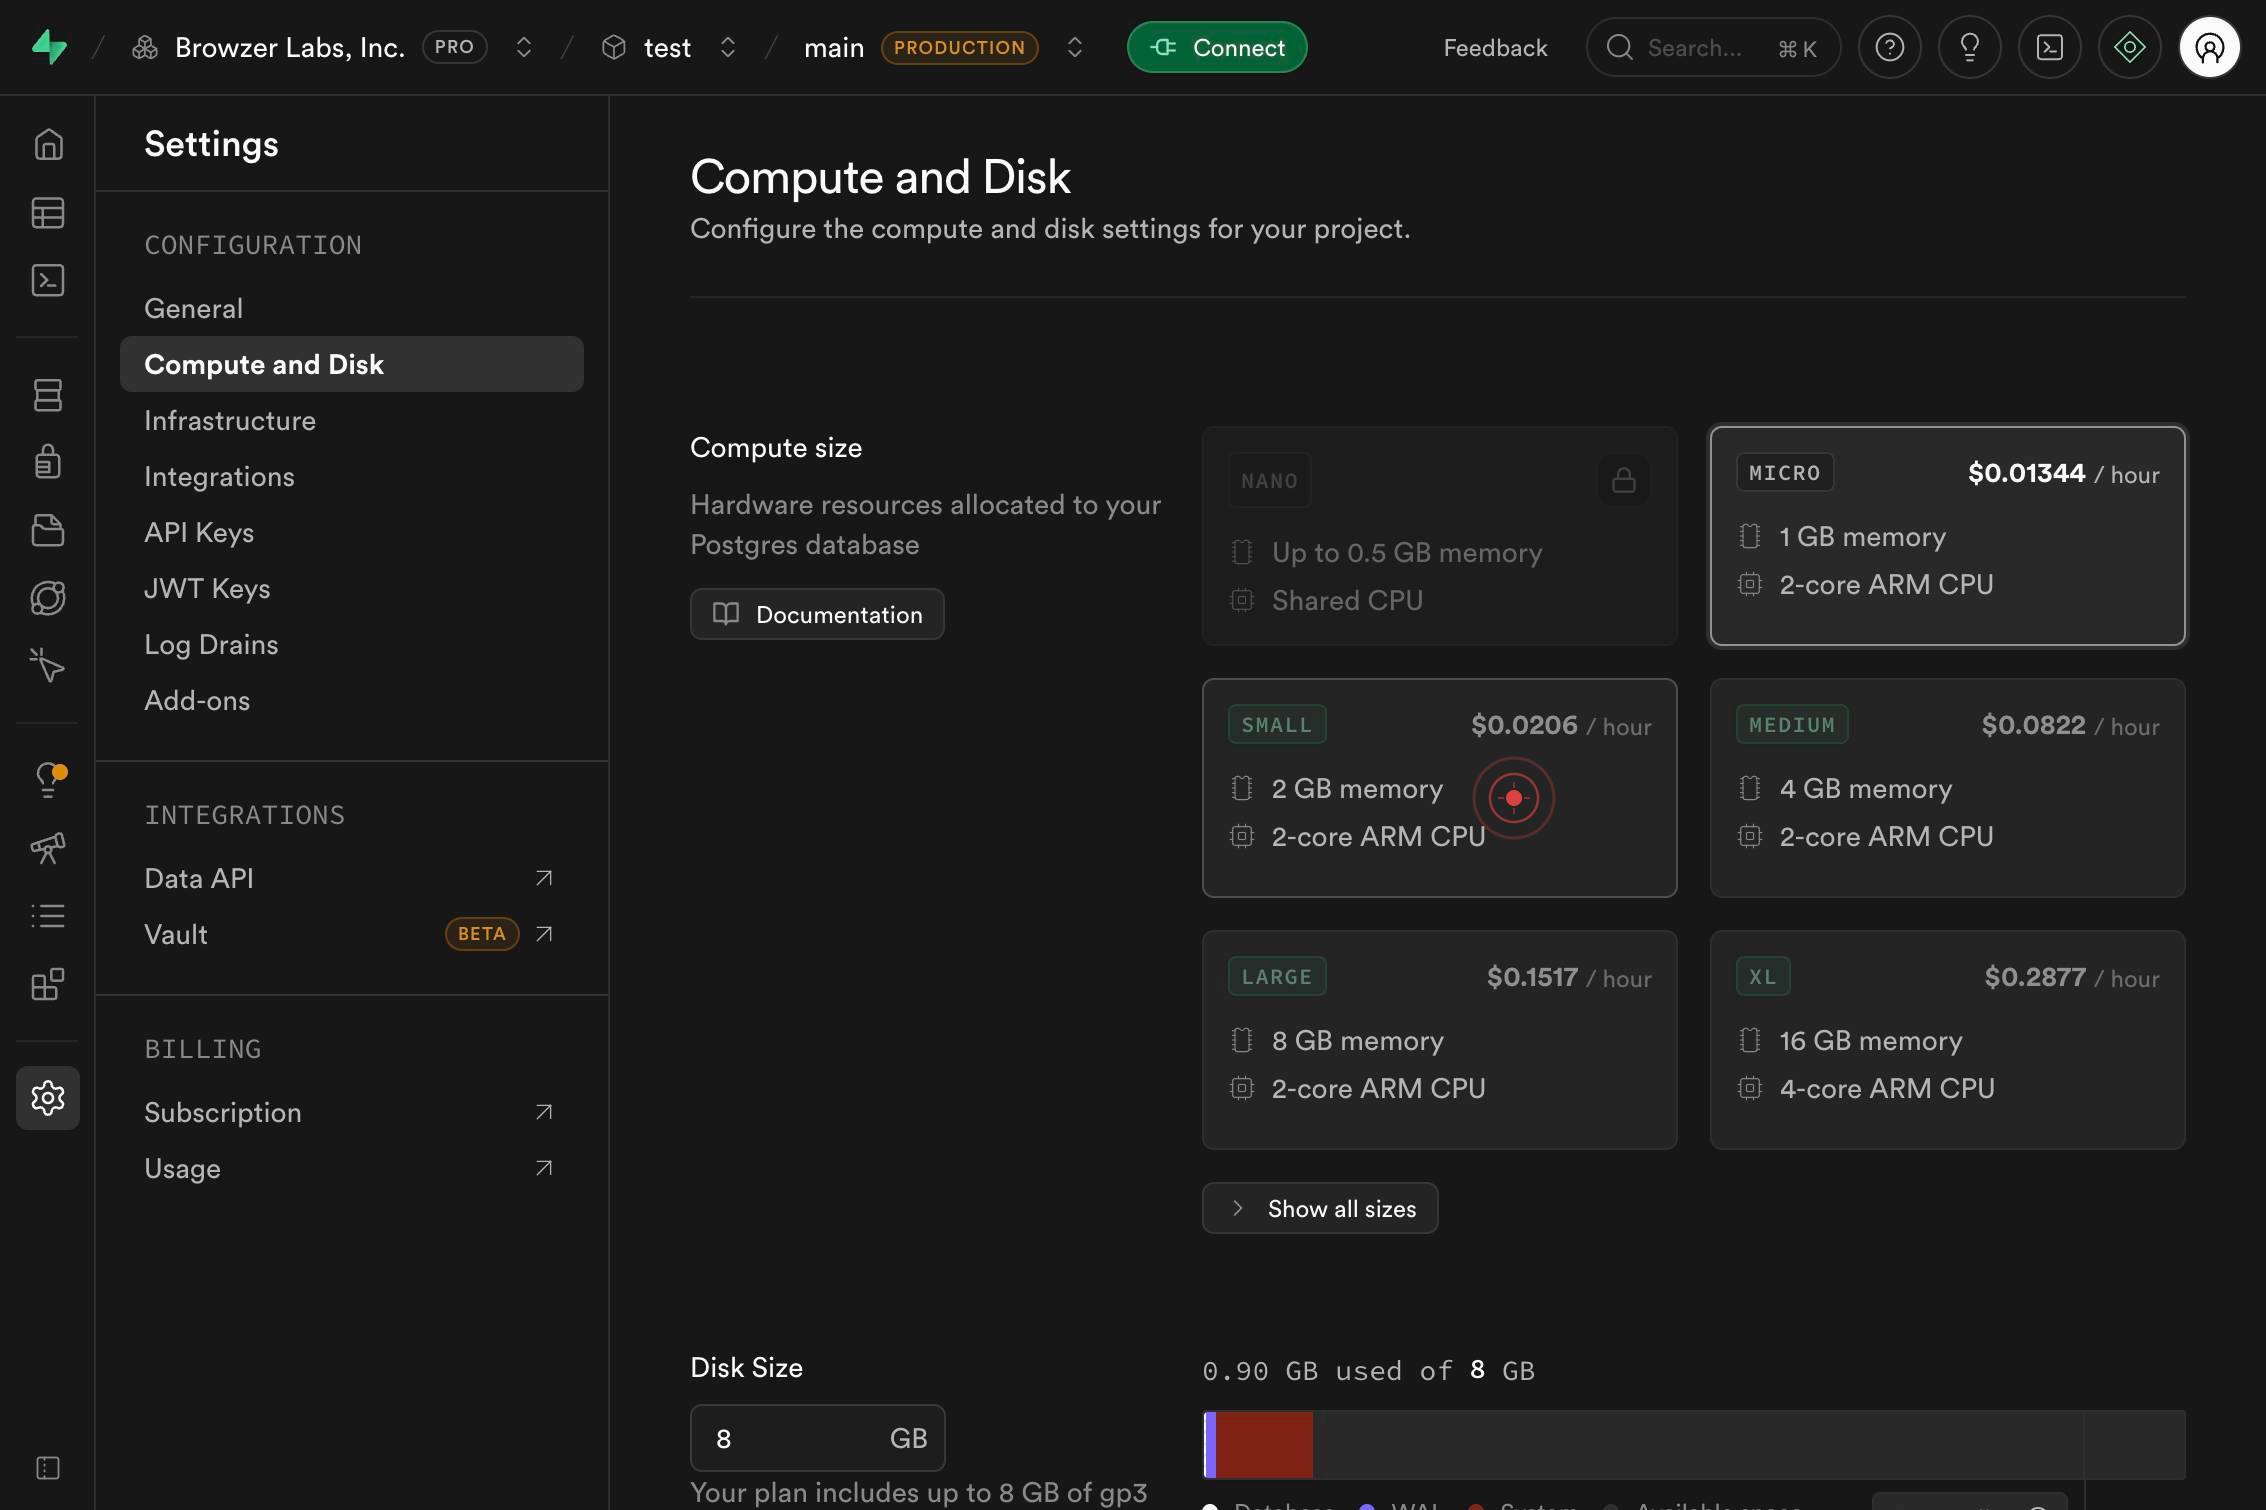
SMALL $0.0206 / hour 2 GB memory 2-core ARM CPUUpgrade to the Small compute size by clicking its radio button. The Small tier provides 2 GB memory, a 2-core ARM CPU, and costs $0.0206 per hour, offering significantly more capacity than Nano.
NanoUp to 0.5 GB memoryShared CPURevert your selection back to Nano by clicking its radio button again. This demonstrates the ability to change your mind before finalizing, simulating a typical workflow where users explore options before committing.

Review changesReview the pending changes by clicking the 'Review changes' button. This opens a summary showing what will change (in this case, no actual change since you reverted to Nano), allowing you to verify details before committing.

CancelCancel the pending changes by clicking the 'Cancel' button. This discards any modifications and returns you to the compute settings page with your original configuration (Nano) intact.

Confirm it worked
- 1You see the Project Settings page load successfully with the sidebar menu visible
- 2The 'Compute and Disk' option appears in the settings navigation menu
- 3Radio button options for compute sizes (Nano, Small, etc.) are displayed with their specifications (memory, CPU type, hourly rate)
- 4After clicking 'Cancel', the compute size remains unchanged at Nano and you return to the settings view without any pending changes
Common issues
Keep reading
Resize a virtual machine - Azure Virtual Machines | Microsoft Learn
# Resize a virtual machine - Azure Virtual Machines | Microsoft Learn Applies to: ✔️ Linux VMs ✔️ Windows VMs ✔️ Flexible scale sets This article shows you how to change an existing virtual machine'
learn.microsoft.comHow to Resize an EC2 Instance (Change Instance Type)
How to Resize an EC2 Instance (Change Instance Type) # How to Resize an EC2 Instance (Change Instance Type) Step-by-step guide to changing the instance type of an EC2 instance, including compatibili
oneuptime.comChange the size of a Persistent Disk | Compute Engine | Google Cloud Documentation
Change the size of a Persistent Disk | Compute Engine | Google Cloud Documentation # Change the size of a Persistent Disk If your virtual machine (VM) instance requires additional storage space or i
cloud.google.com