Guide
Create New Supabase Project
Overview
Supabase is a Postgres development platform that provides a managed database, authentication, and APIs out of the box. Creating a new project provisions a dedicated PostgreSQL instance with its own API layer, allowing you to start building applications immediately without managing database infrastructure. Each project is isolated and includes full access to Postgres features, real-time subscriptions, and edge functions. This workflow is the first step for any new Supabase application.
Before you begin
- A Supabase account (free tier available at supabase.com)
- Access to the Supabase dashboard with an active organization
- A strong password prepared for your database (minimum 8 characters recommended, including uppercase, lowercase, numbers, and special characters)
Step by step
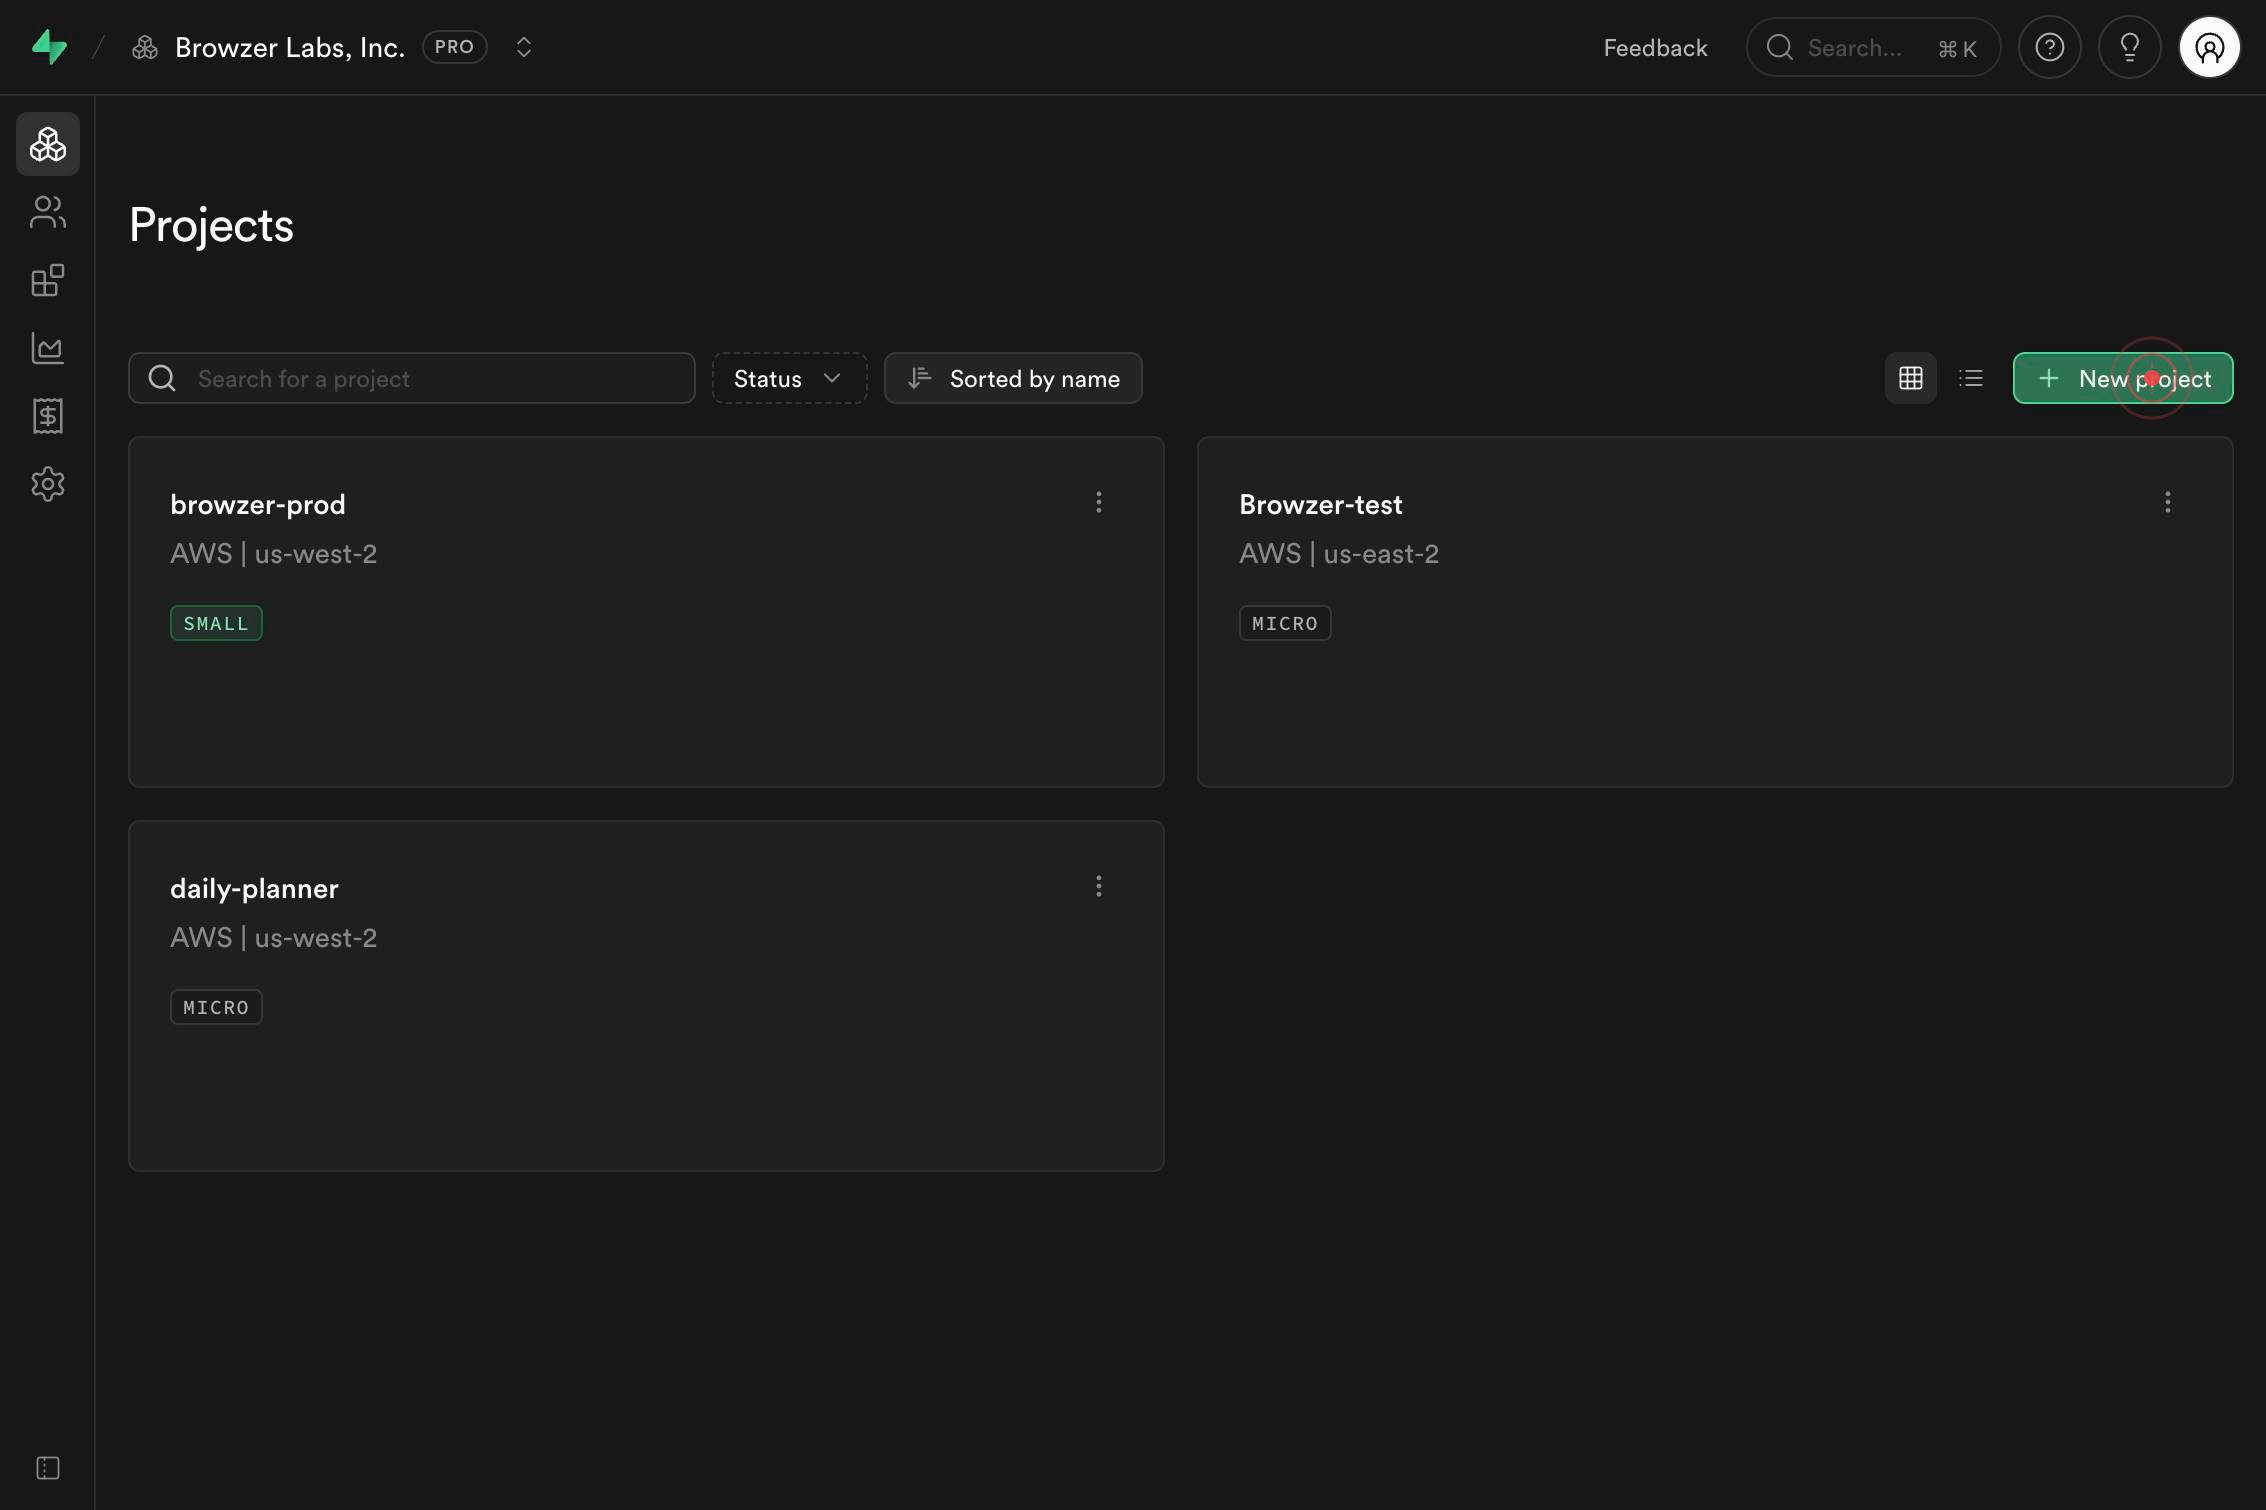
New projectNavigate to the Supabase dashboard and click the 'New project' link in the top navigation or sidebar to begin the project creation flow.
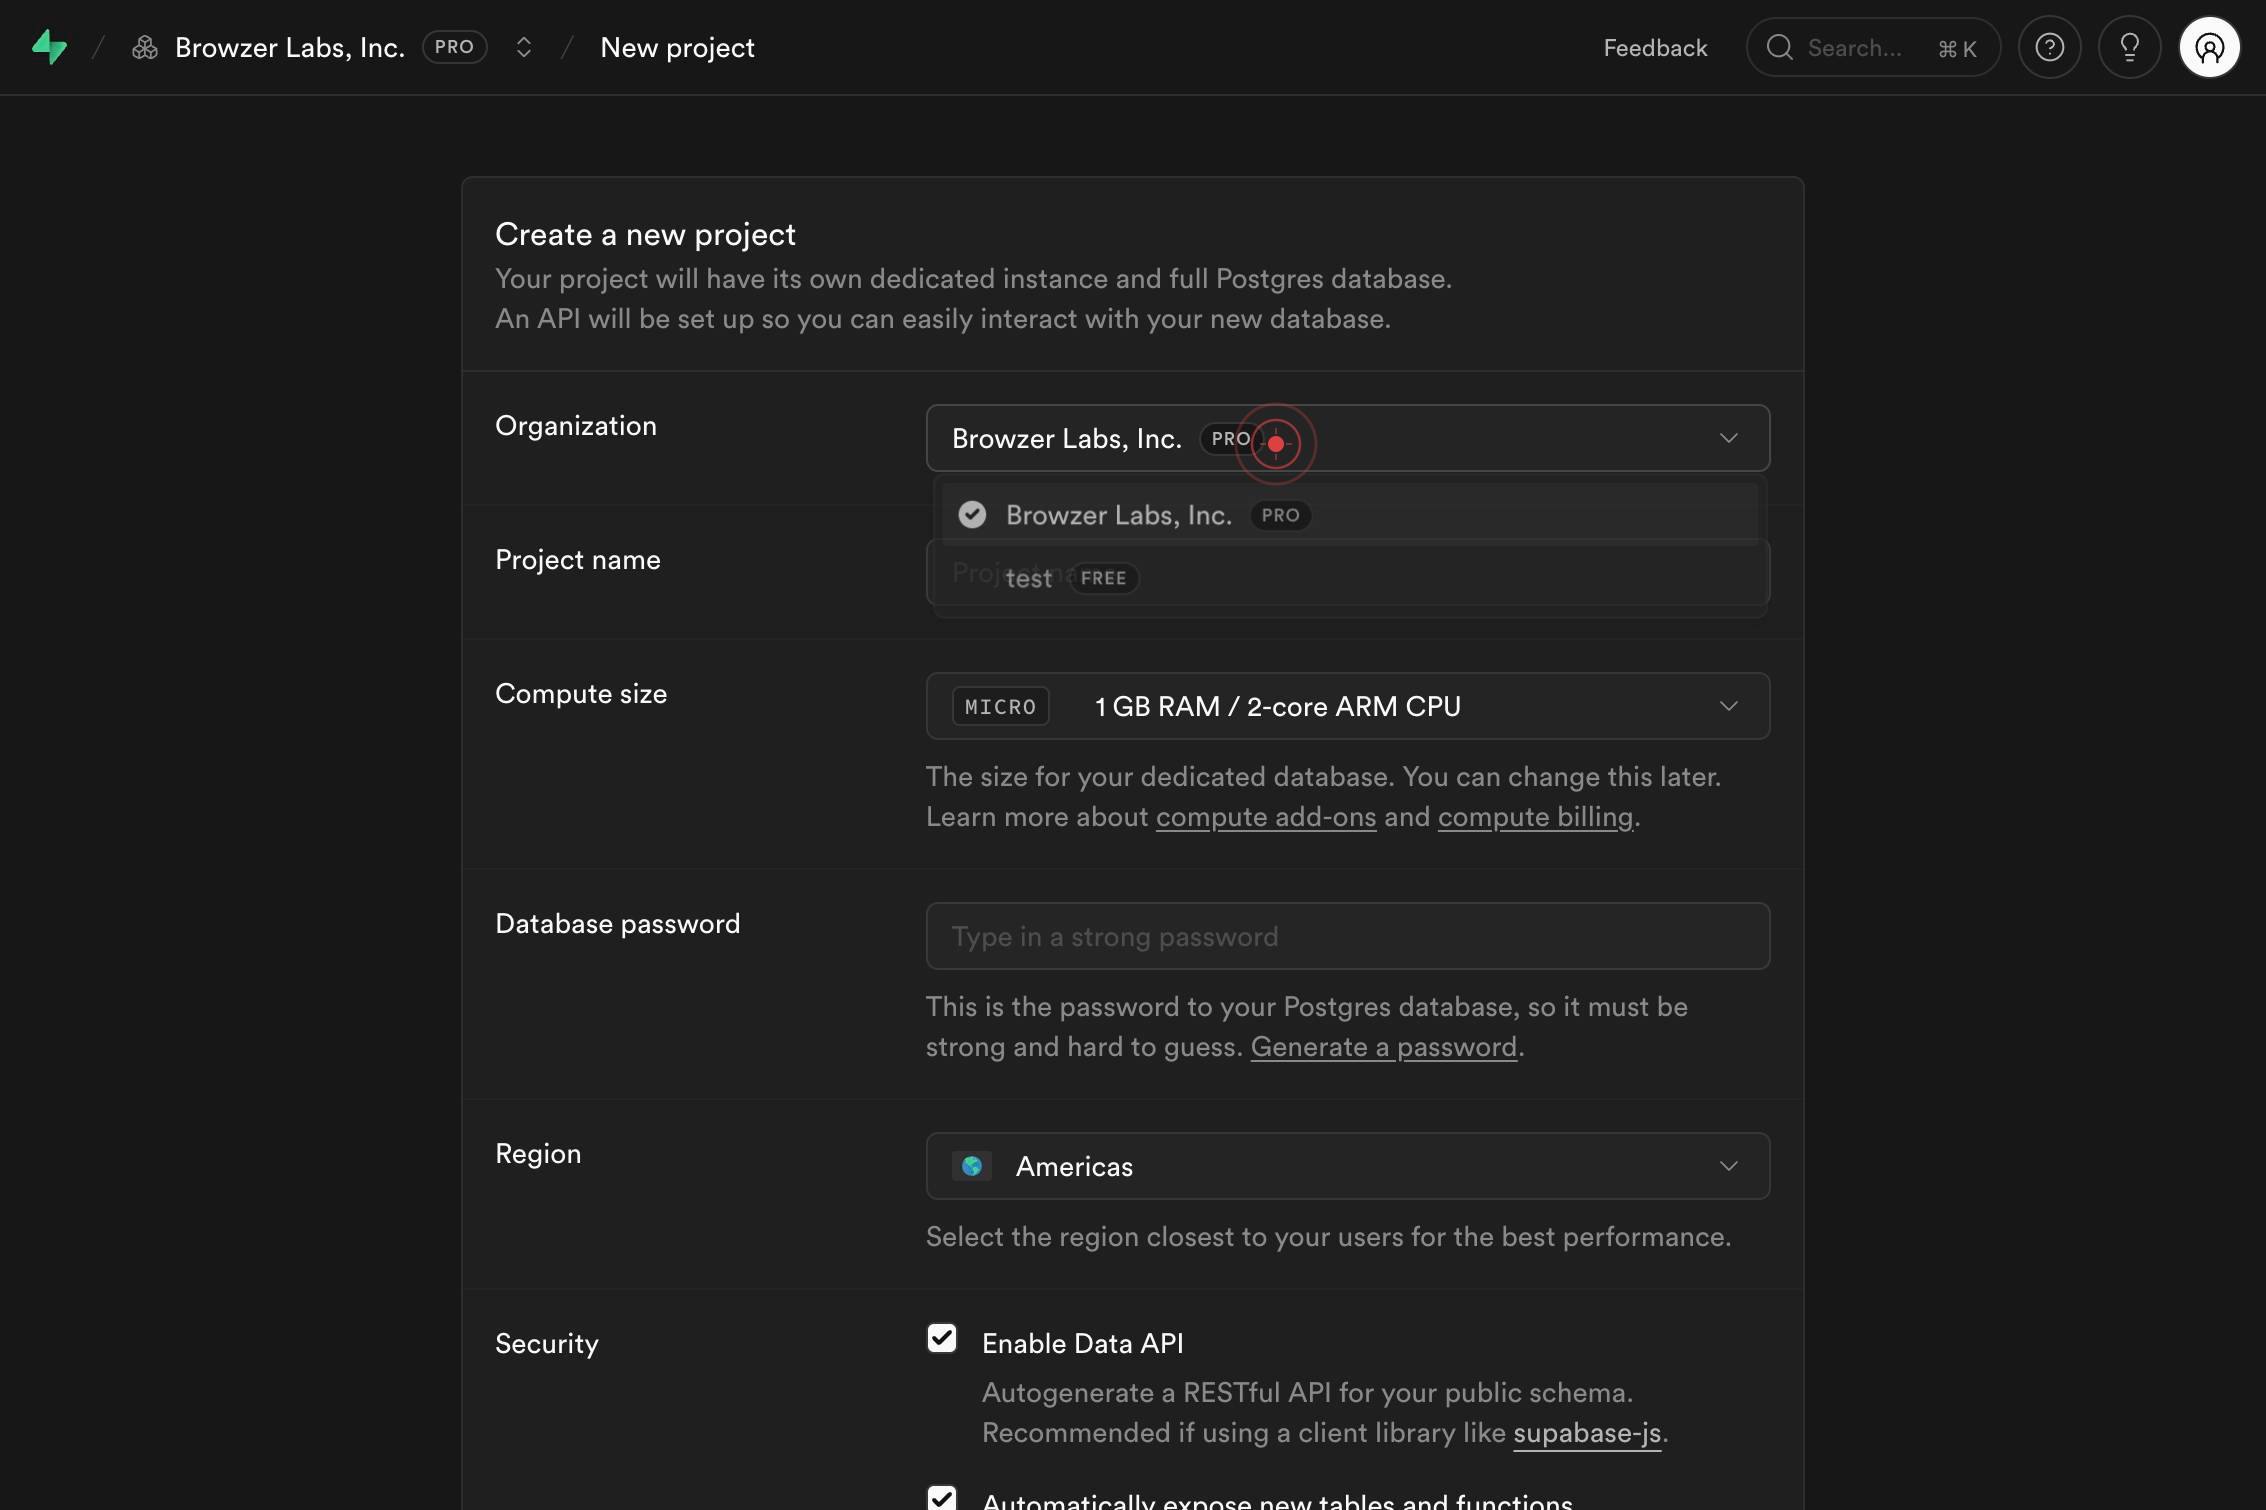
Browzer Labs, Inc. PRO New project Feedback Search... ⌘ K Create a new project Your project will have its own dedicated instance and full Postgres database. An API will be set up so you can easily interact with your new database. Organization BrowzerReview the project creation dialog that appears, confirming your organization is correct and understanding that your project will include a dedicated PostgreSQL database instance and auto-generated API.
Project nameClick the 'Project name' text field to focus it and prepare for entering your project name.
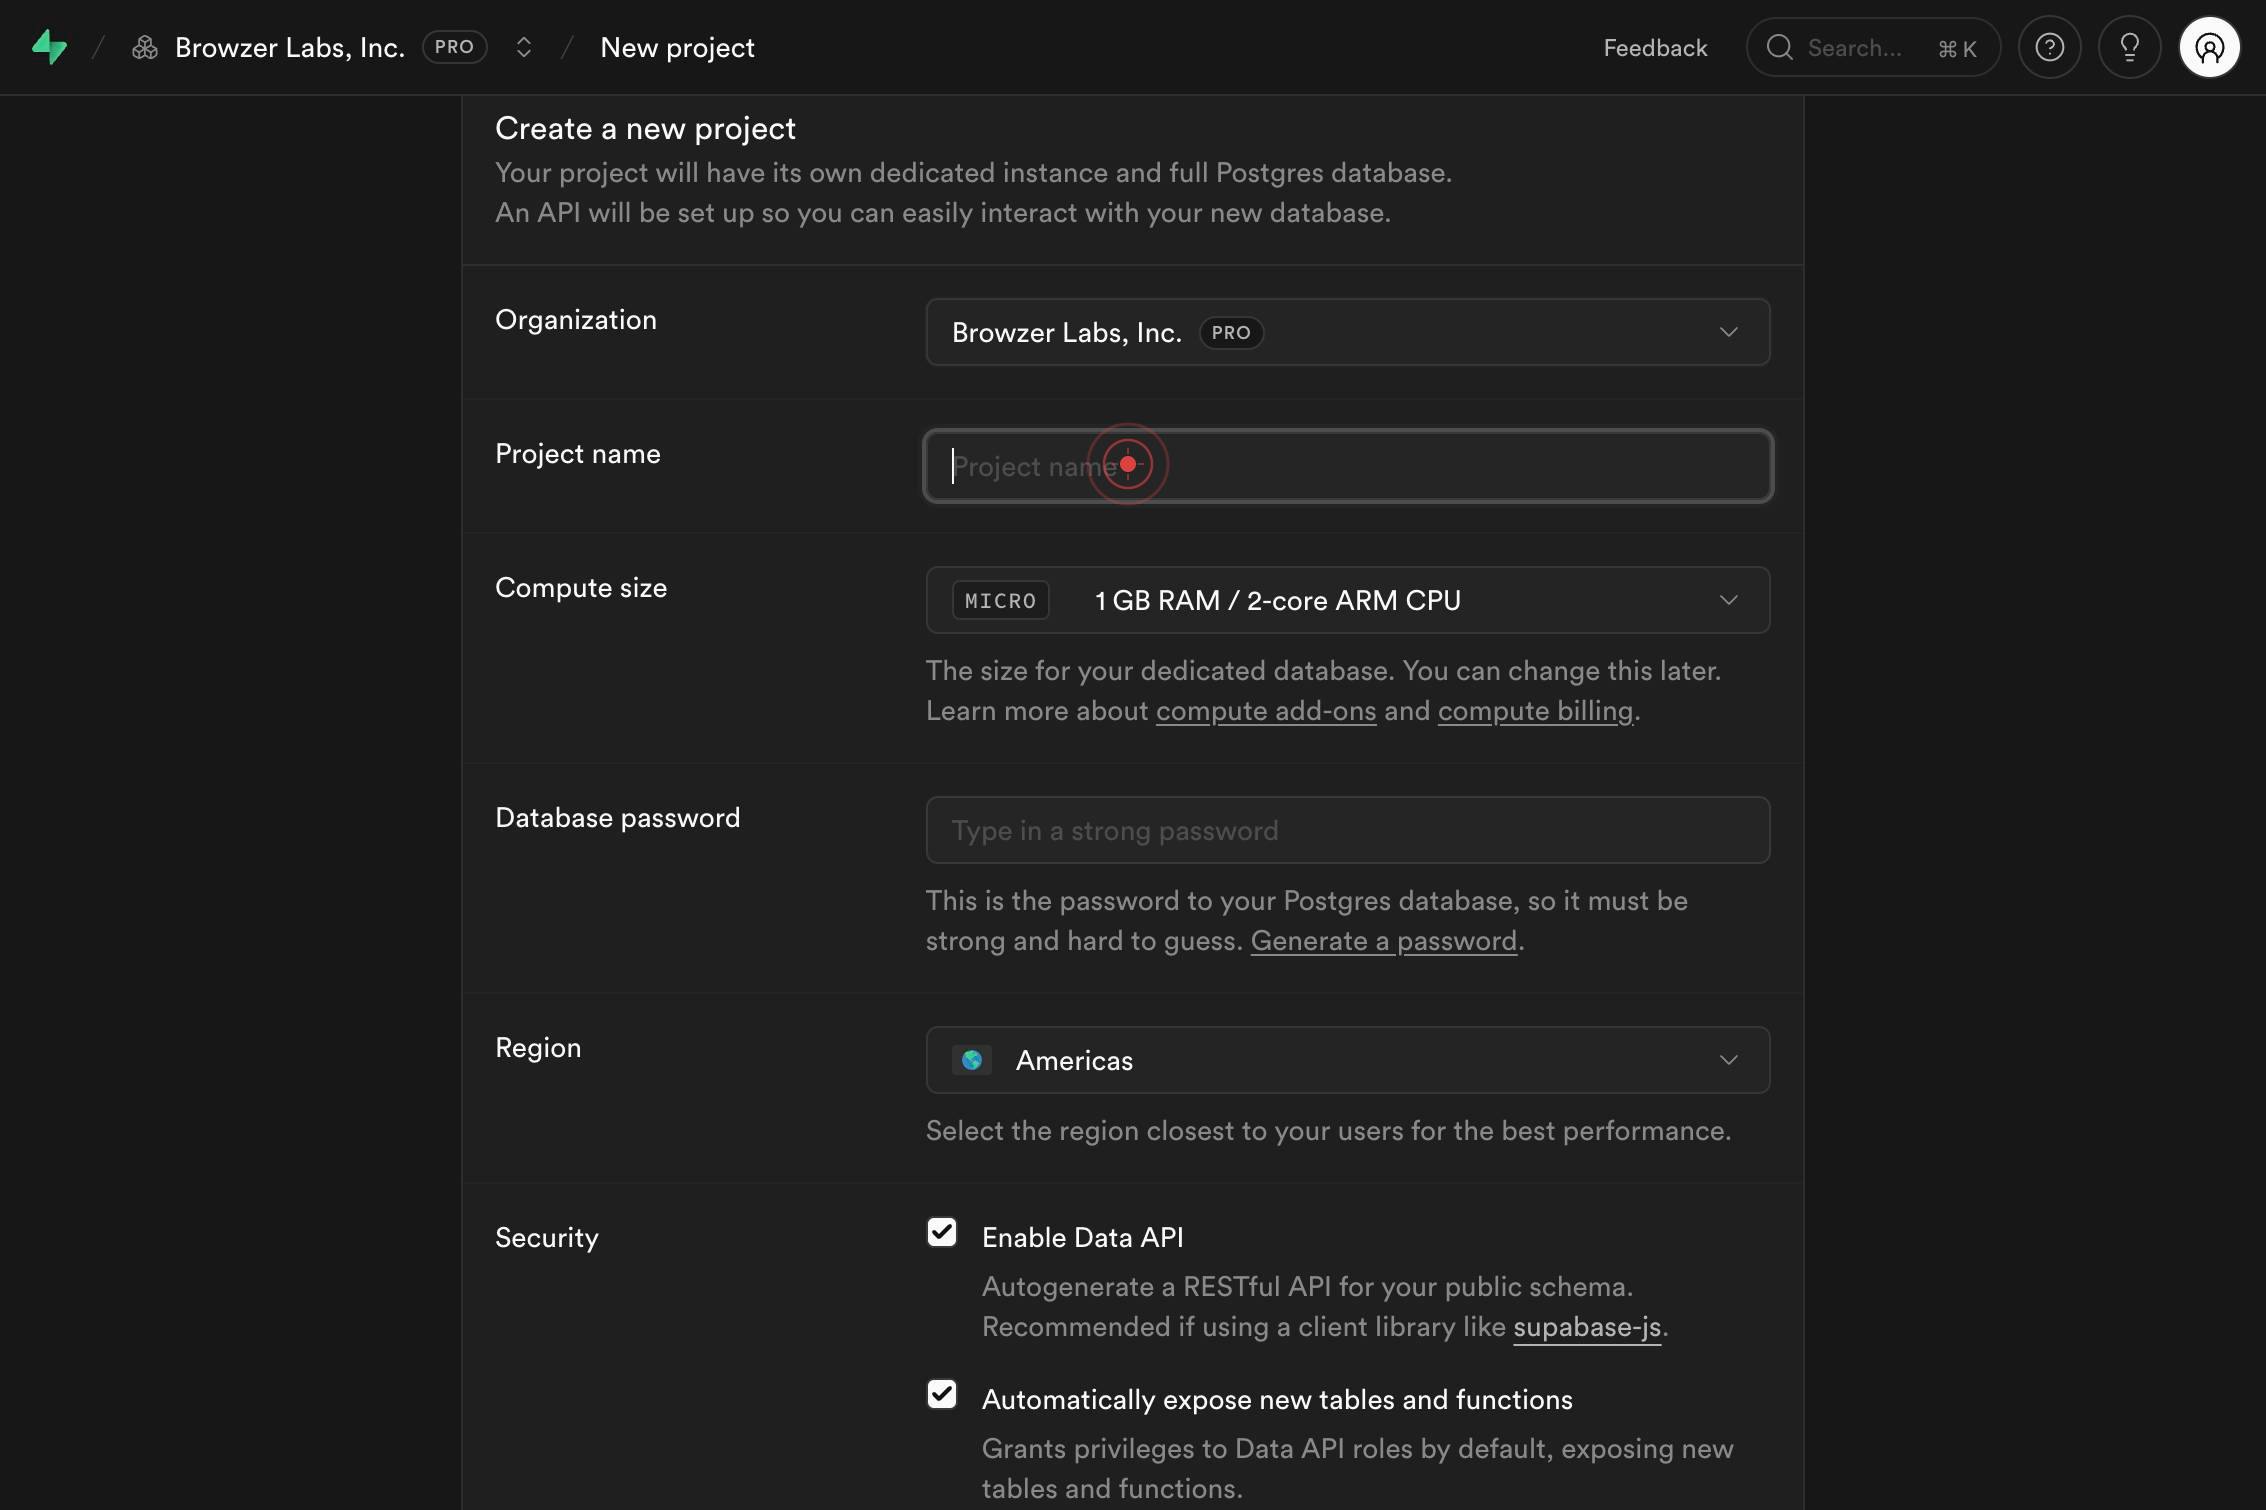
Project nameType a descriptive name for your project (e.g., 'my-app-backend' or 'customer-portal'). This name will appear in your dashboard and help you identify the project later.
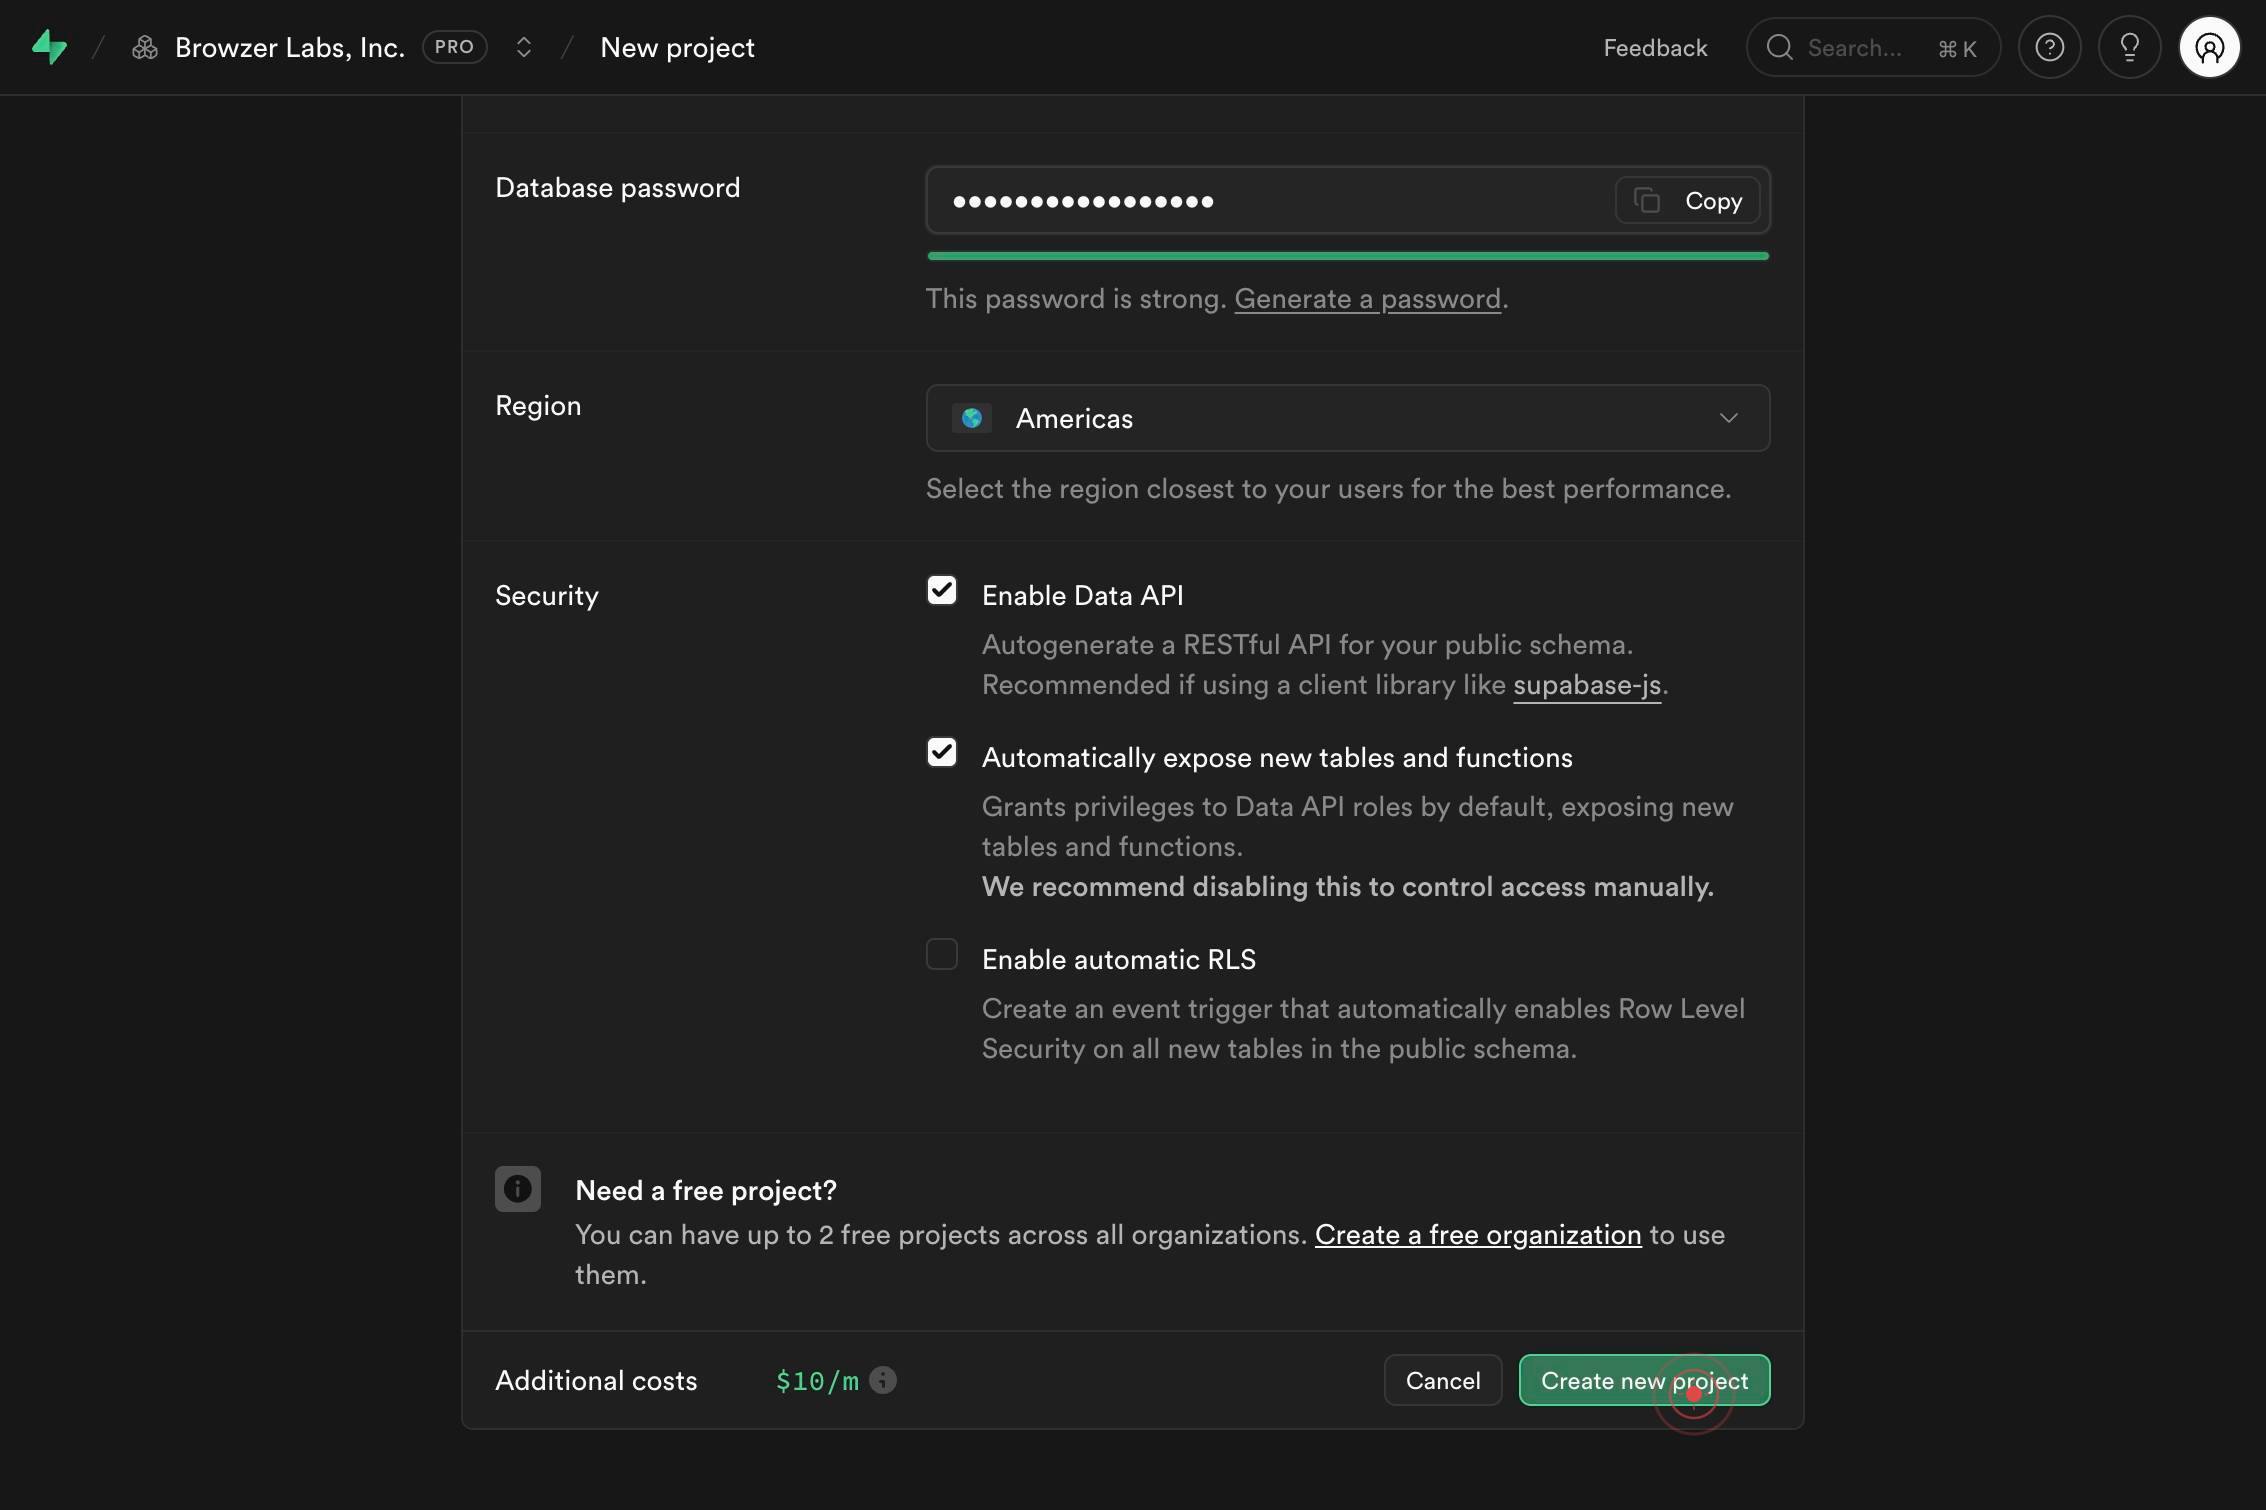
Type in a strong passwordClick the 'Type in a strong password' field to focus it and prepare for entering your database password.
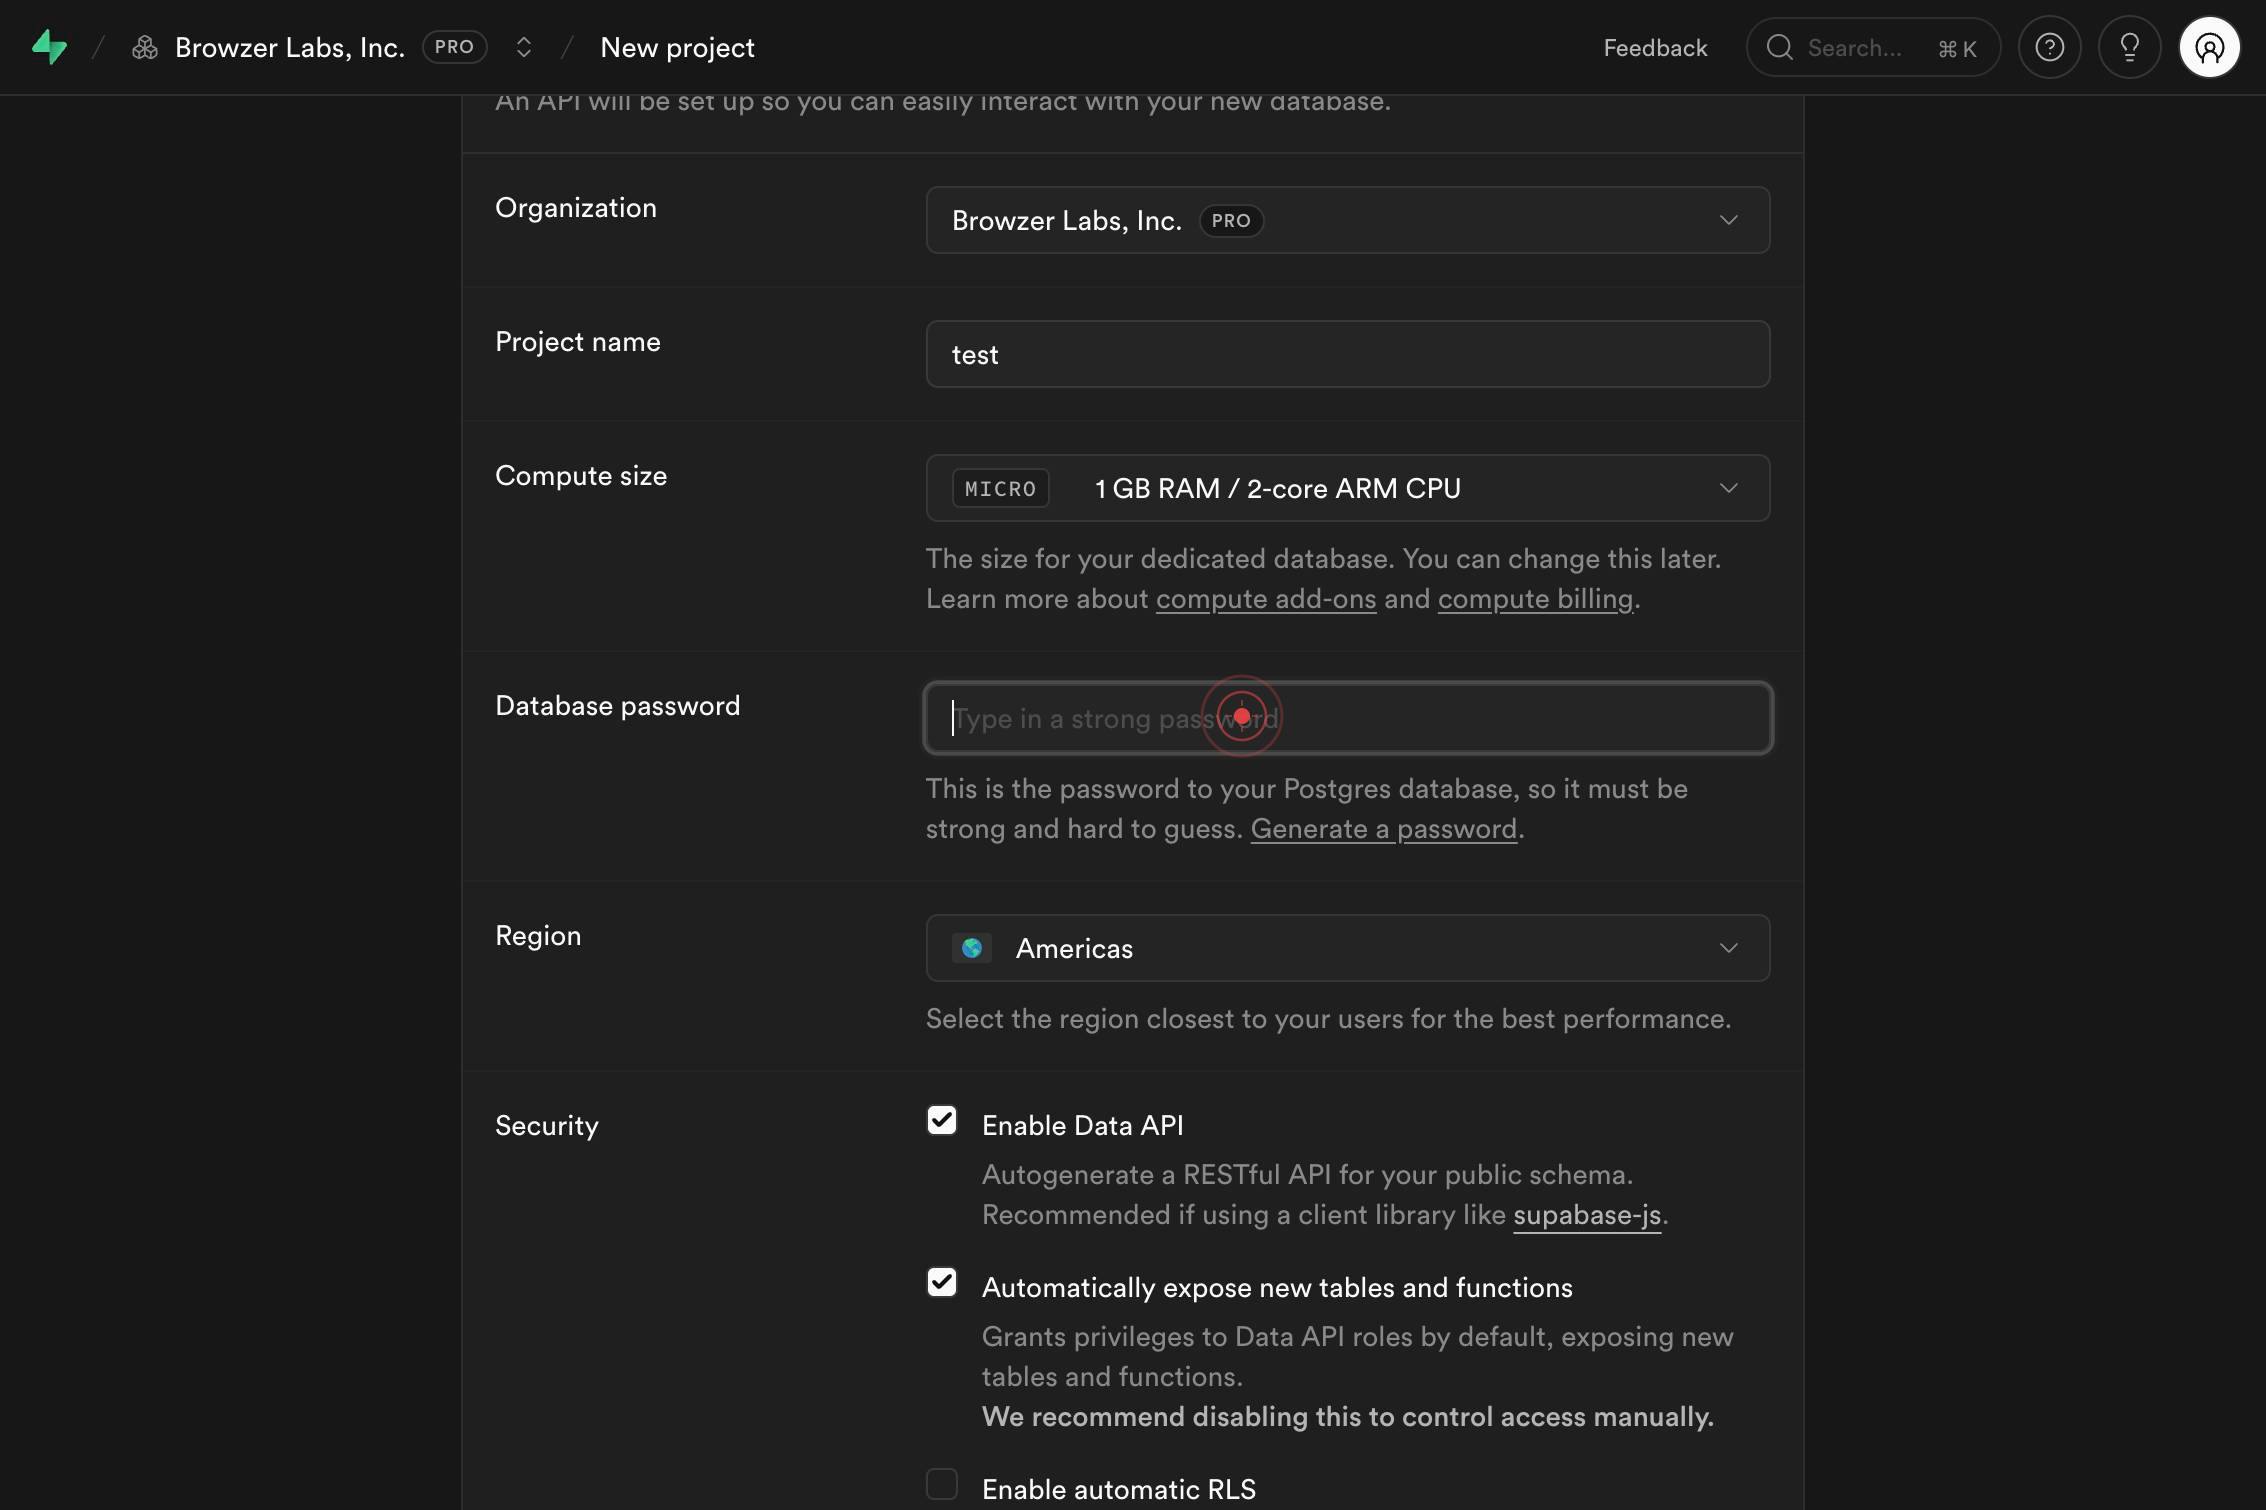
Type in a strong passwordType a strong, unique password for your Supabase PostgreSQL database. This password secures direct database access and is required for connections.
Create new projectClick the 'Create new project' button to submit the project creation request and initiate provisioning of your dedicated database instance.
I understandClick the 'I understand' button to acknowledge the confirmation dialog and finalize project creation.

Confirm it worked
- 1You are redirected to the new project's dashboard after creation completes
- 2The project name appears in your organization's project list on the left sidebar
- 3A confirmation message or success indicator appears confirming the project was created
- 4The database connection details are accessible in your project's settings (you should see host, user, password fields populated)
Common issues
Keep reading
How to Create a Supabase Project for Beginners (2026 Step-by-Step Guide) - Steve Ronald
How to Create a Supabase Project for Beginners (2026 Step-by-Step Guide) - Steve Ronald # How to Create a Supabase Project for Beginners (2026 Step-by-Step Guide) Supabase is one of the best backend
steveronald.meSupabase Fundamentals
Supabase Fundamentals No history yet # Introduction to Supabase ## What is Supabase? Supabase is a platform that gives developers all the backend services they need to build an application. Inste
oboe.comSupabase | The Postgres Development Platform.
Supabase | The Postgres Development Platform. # Build in a weekendScale to millions Supabase is the Postgres development platform. Start your project with a Postgres database, Authentication, instan
supabase.link