Guide
Edit Table
Overview
Supabase is a Postgres development platform that provides a managed database backend for web, mobile, and AI applications. The Table Editor is a visual interface within Supabase that allows you to manage your database schema without writing SQL. Renaming tables is a common administrative task—you might need to do this to align with naming conventions, refactor your schema, or correct a previous naming mistake. This workflow guides you through accessing the table editor, updating the table name, and persisting those changes to your database.
Before you begin
- A Supabase account (free or paid) at supabase.com
- An active Supabase project with at least one existing table
- Access to the project dashboard in the Supabase console
- Appropriate permissions to modify table schemas (typically project owner or admin role)
Step by step
buttonClick the button associated with the table you want to edit (such as a context menu or options button next to the table name in the sidebar or table list) to open the table's actions menu.
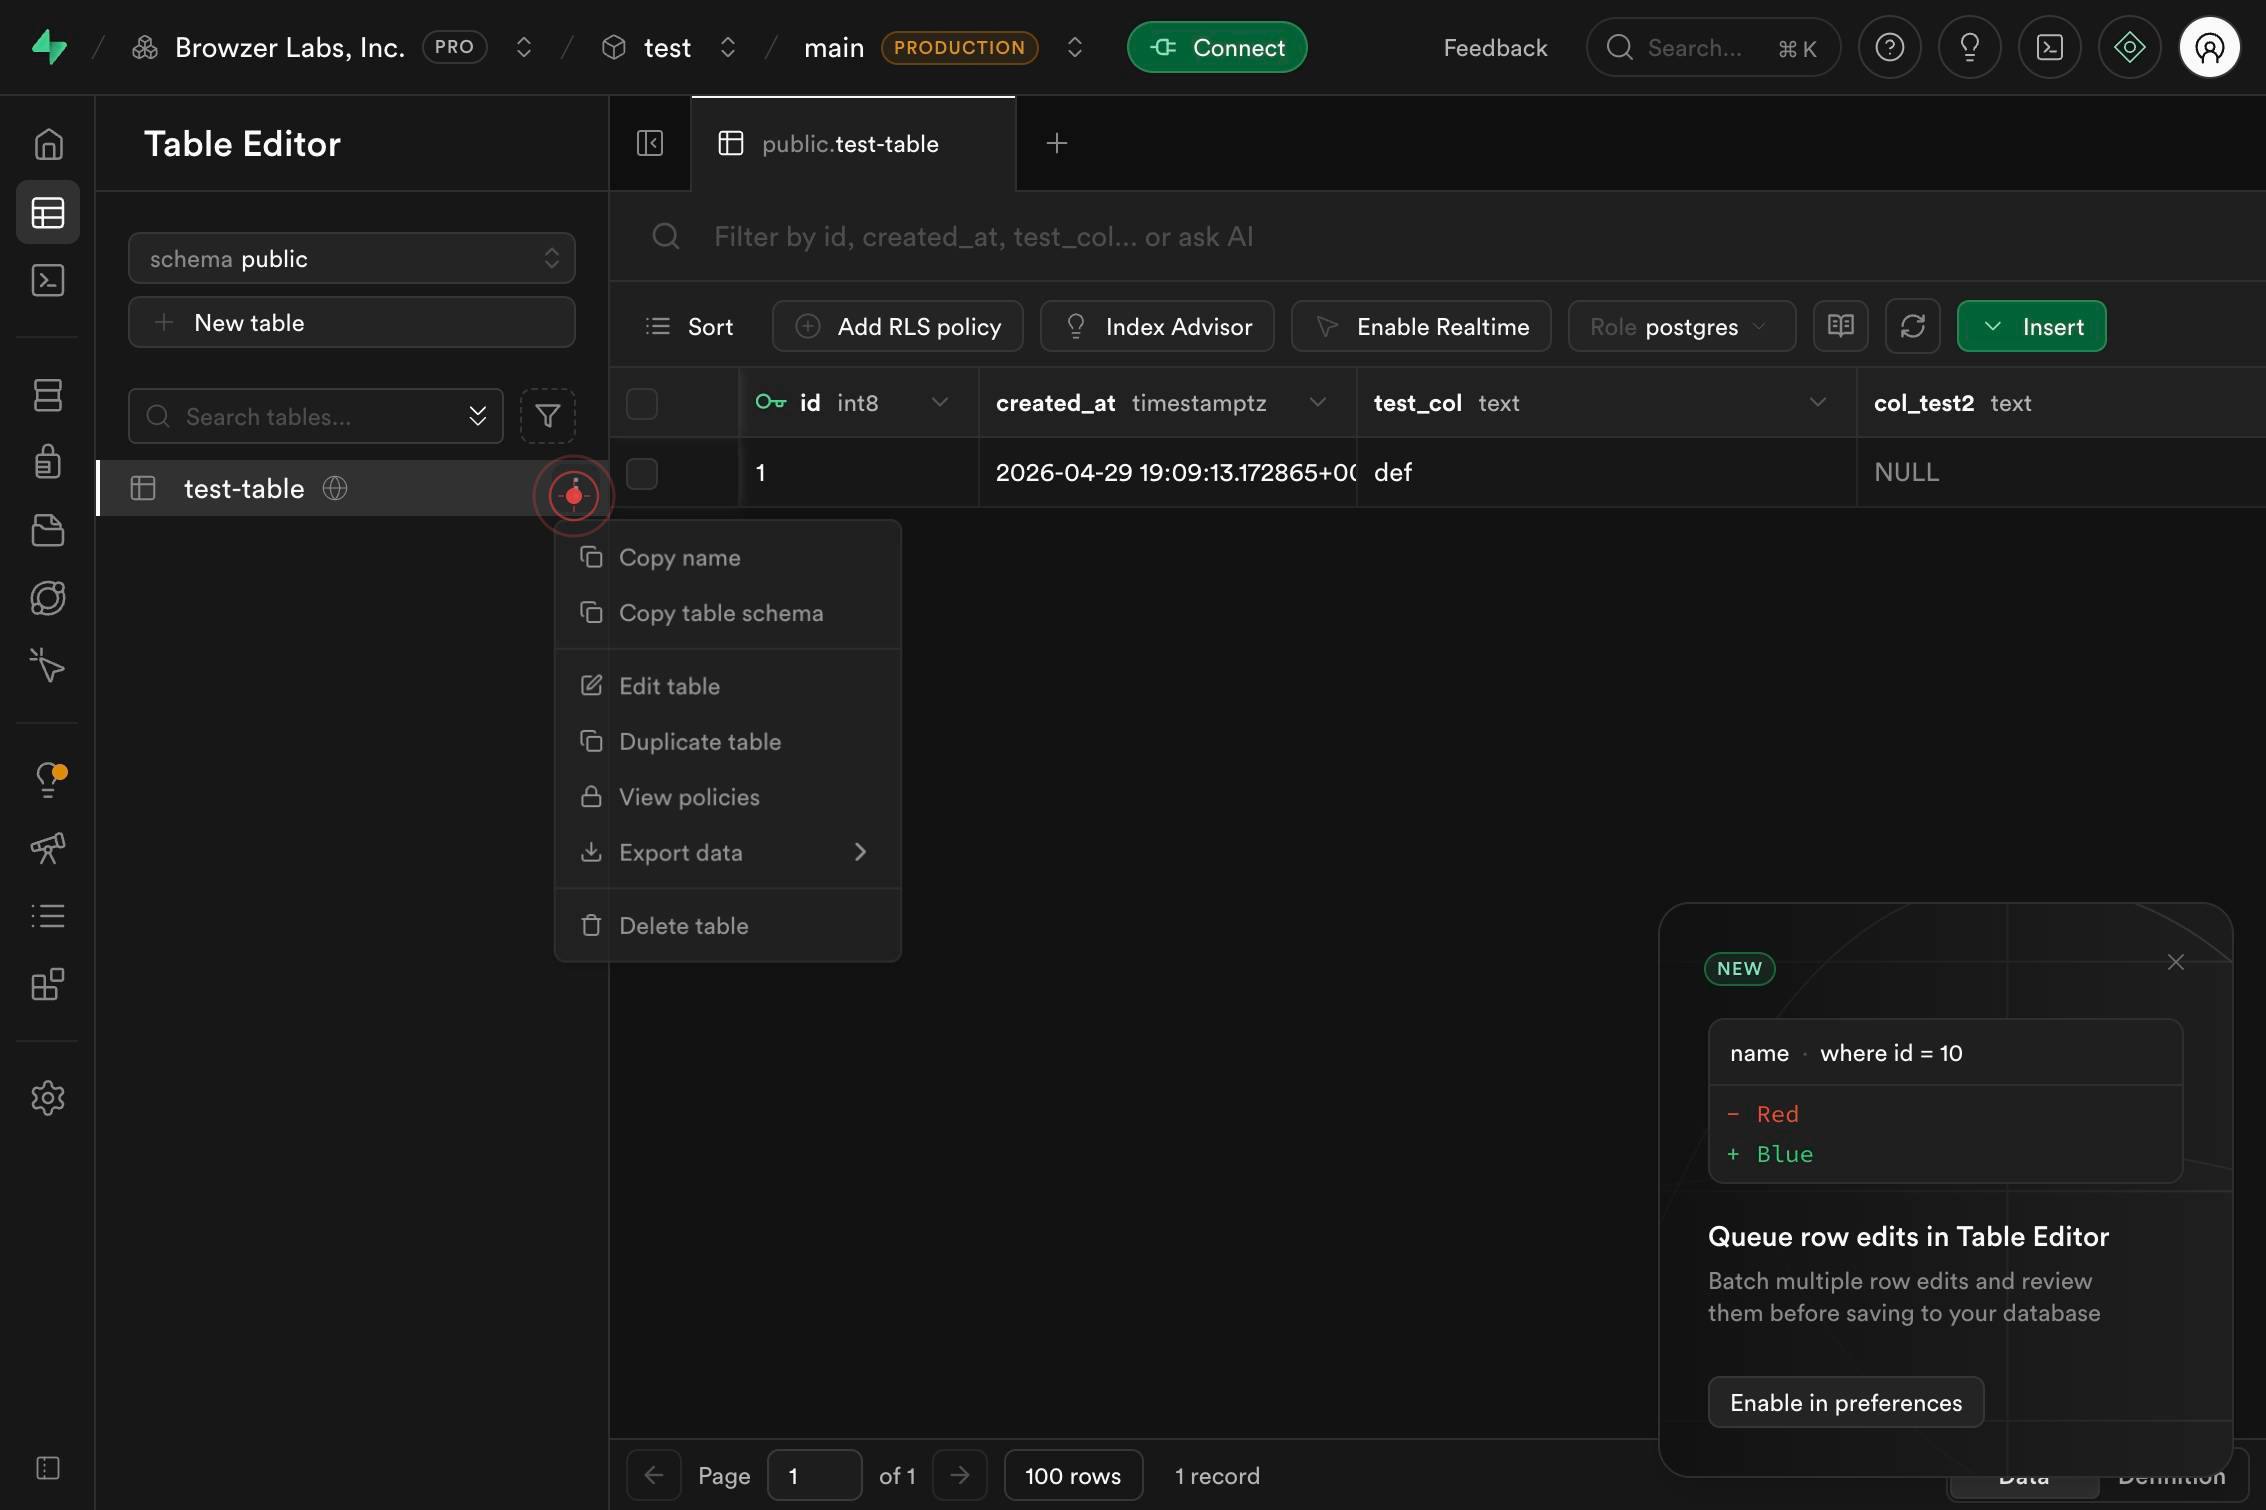
NameType or identify the name field in preparation for editing. This step establishes focus on the Name textbox element that will receive your new table name.
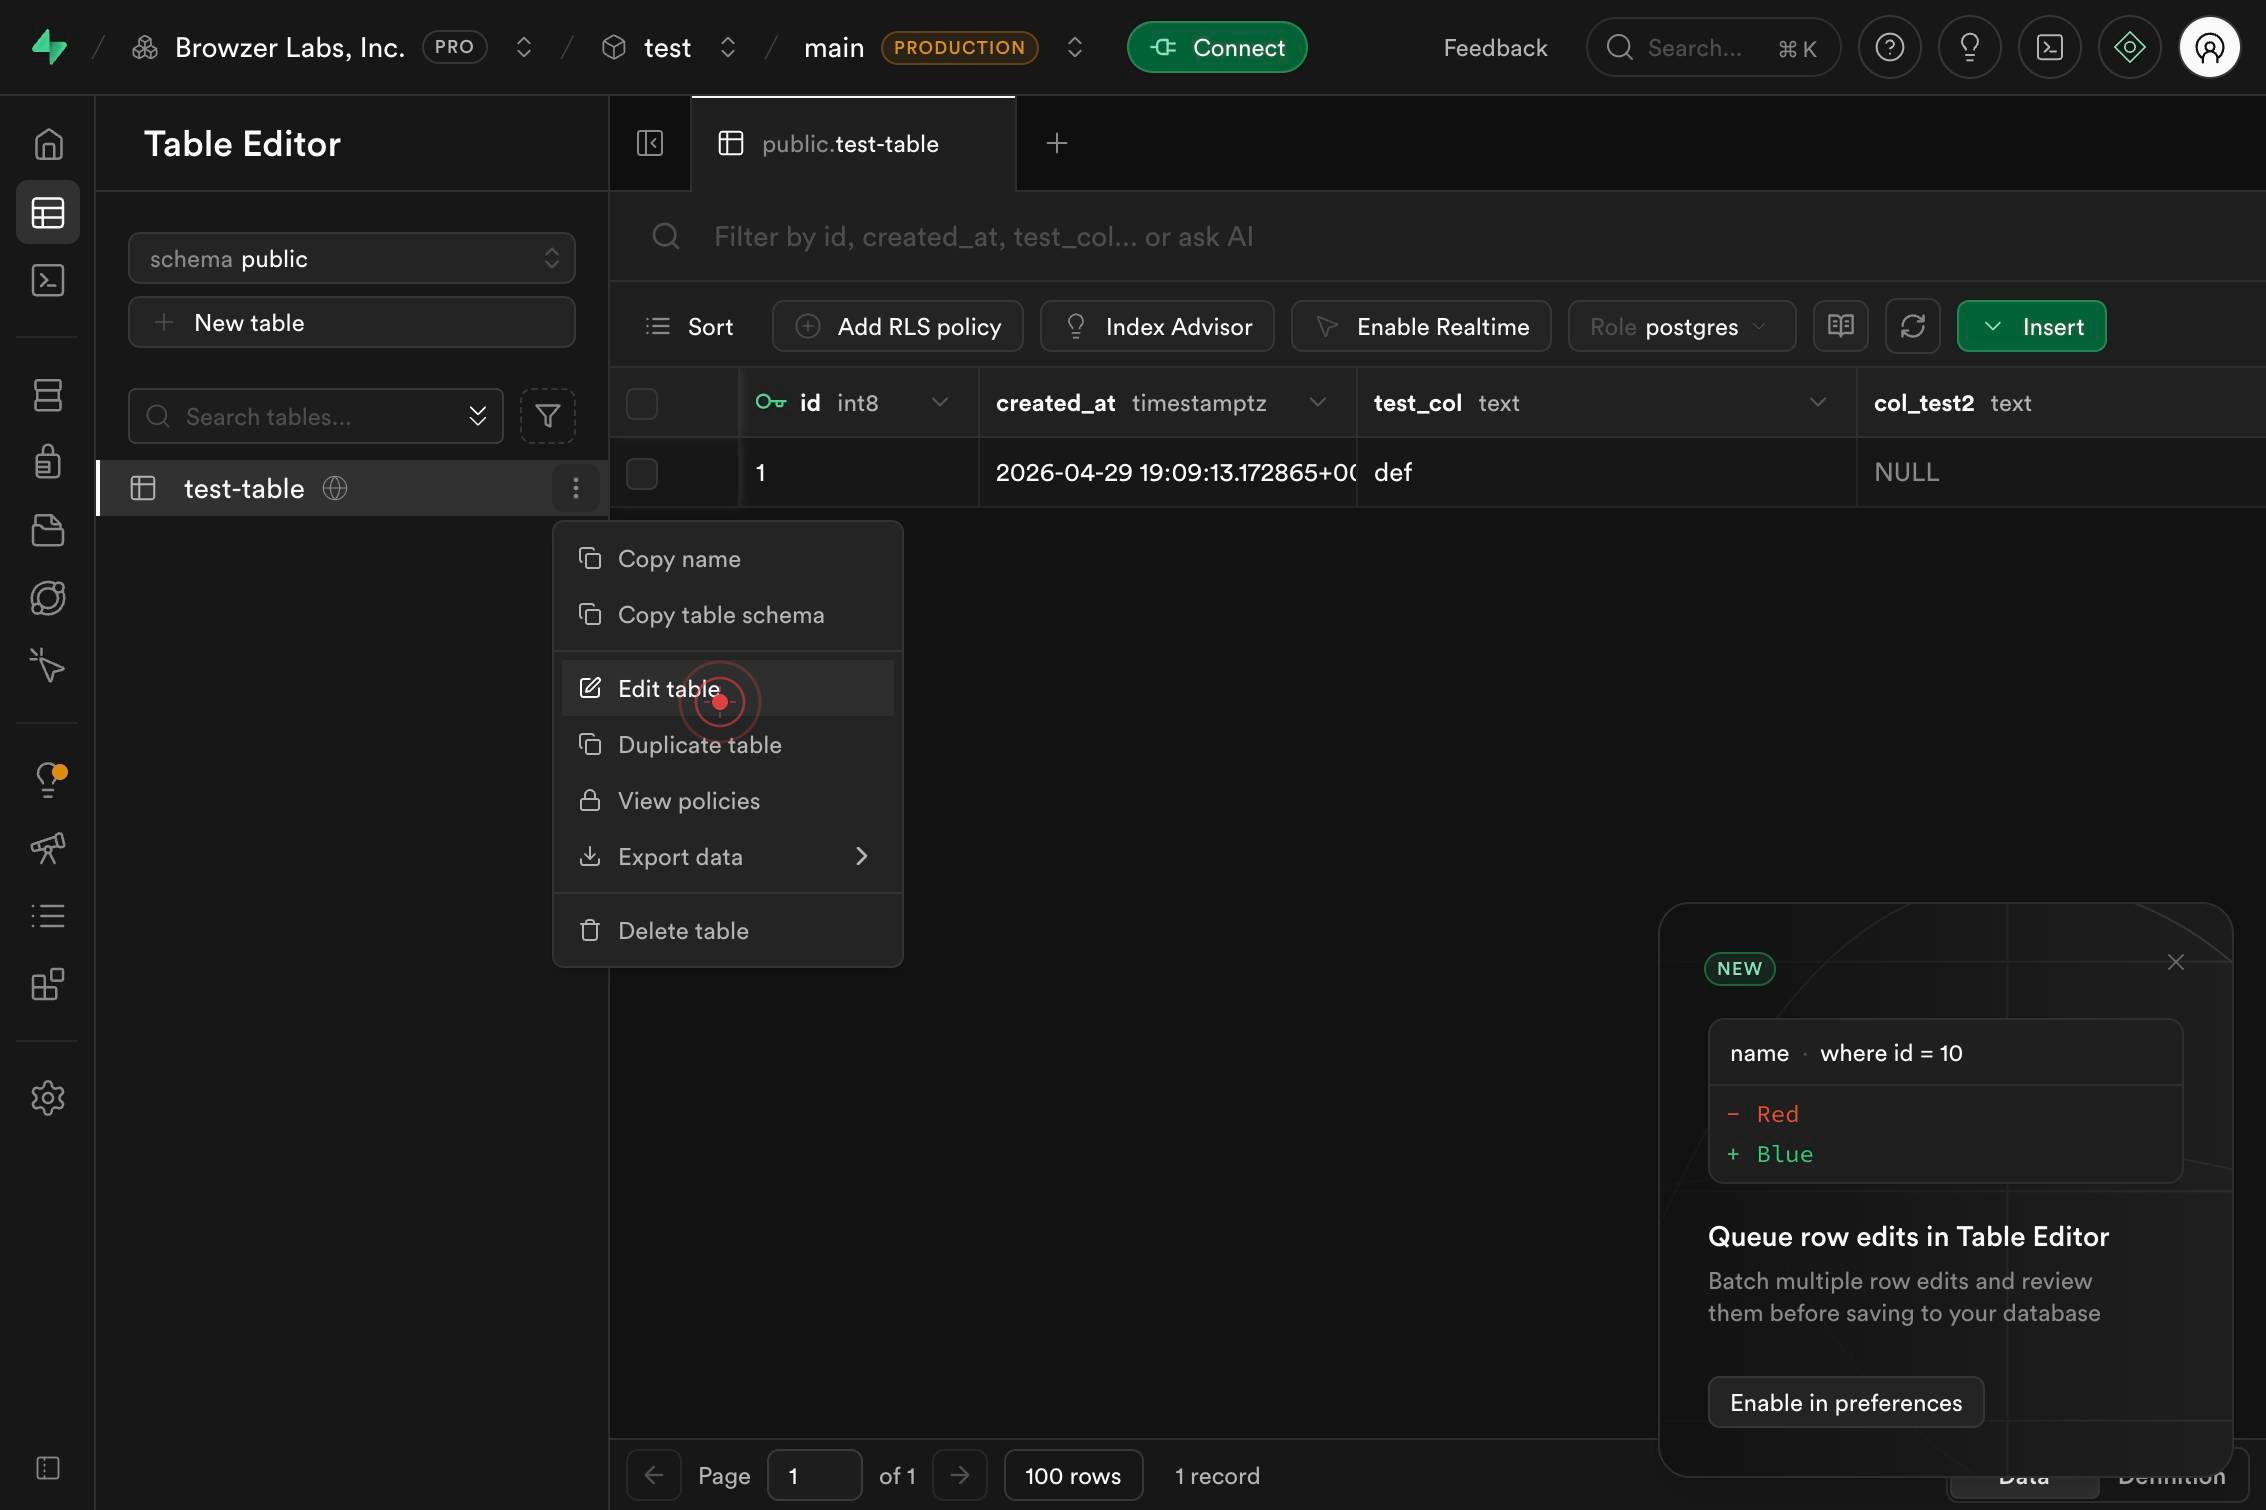
Edit tableClick the "Edit table" menu item from the context menu or dropdown that appeared in step 1. This opens the table editor modal or sidebar where you can modify table properties.
NameClick on the Name textbox field within the table editor to select it and position your cursor there, allowing you to enter the new table name.
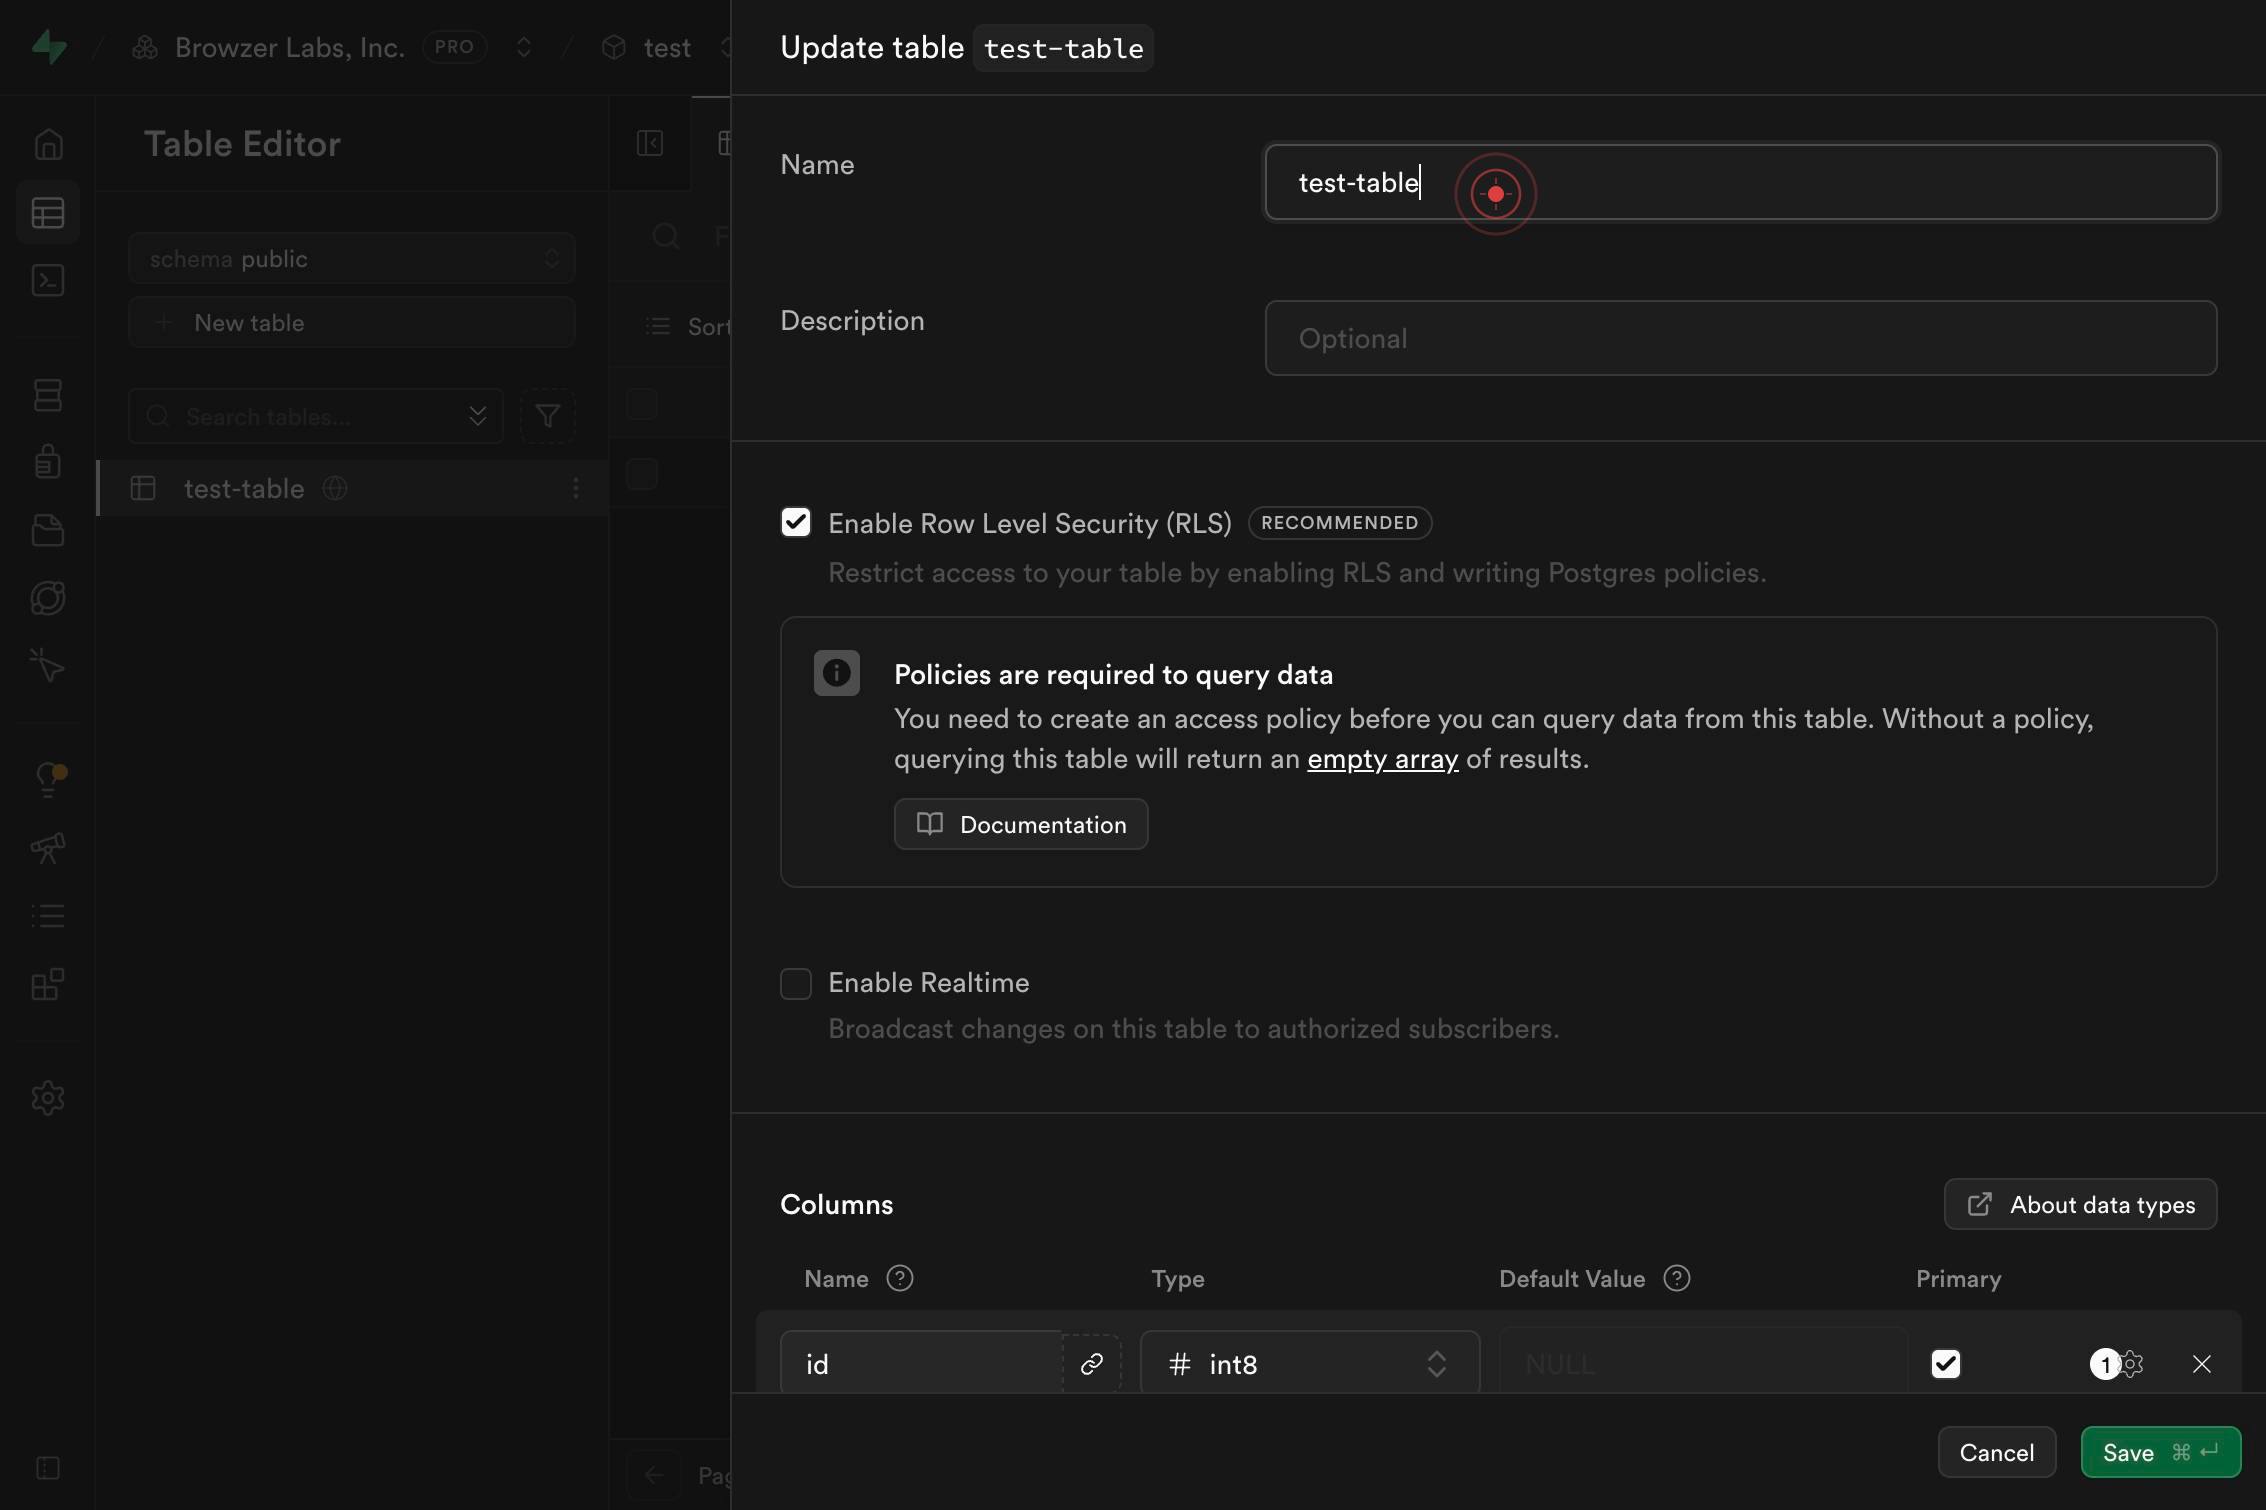
NameType the new table name into the Name field. Replace the old name with the new name, following PostgreSQL naming conventions (use lowercase letters, numbers, and underscores; avoid starting with a number or reserved keywords).
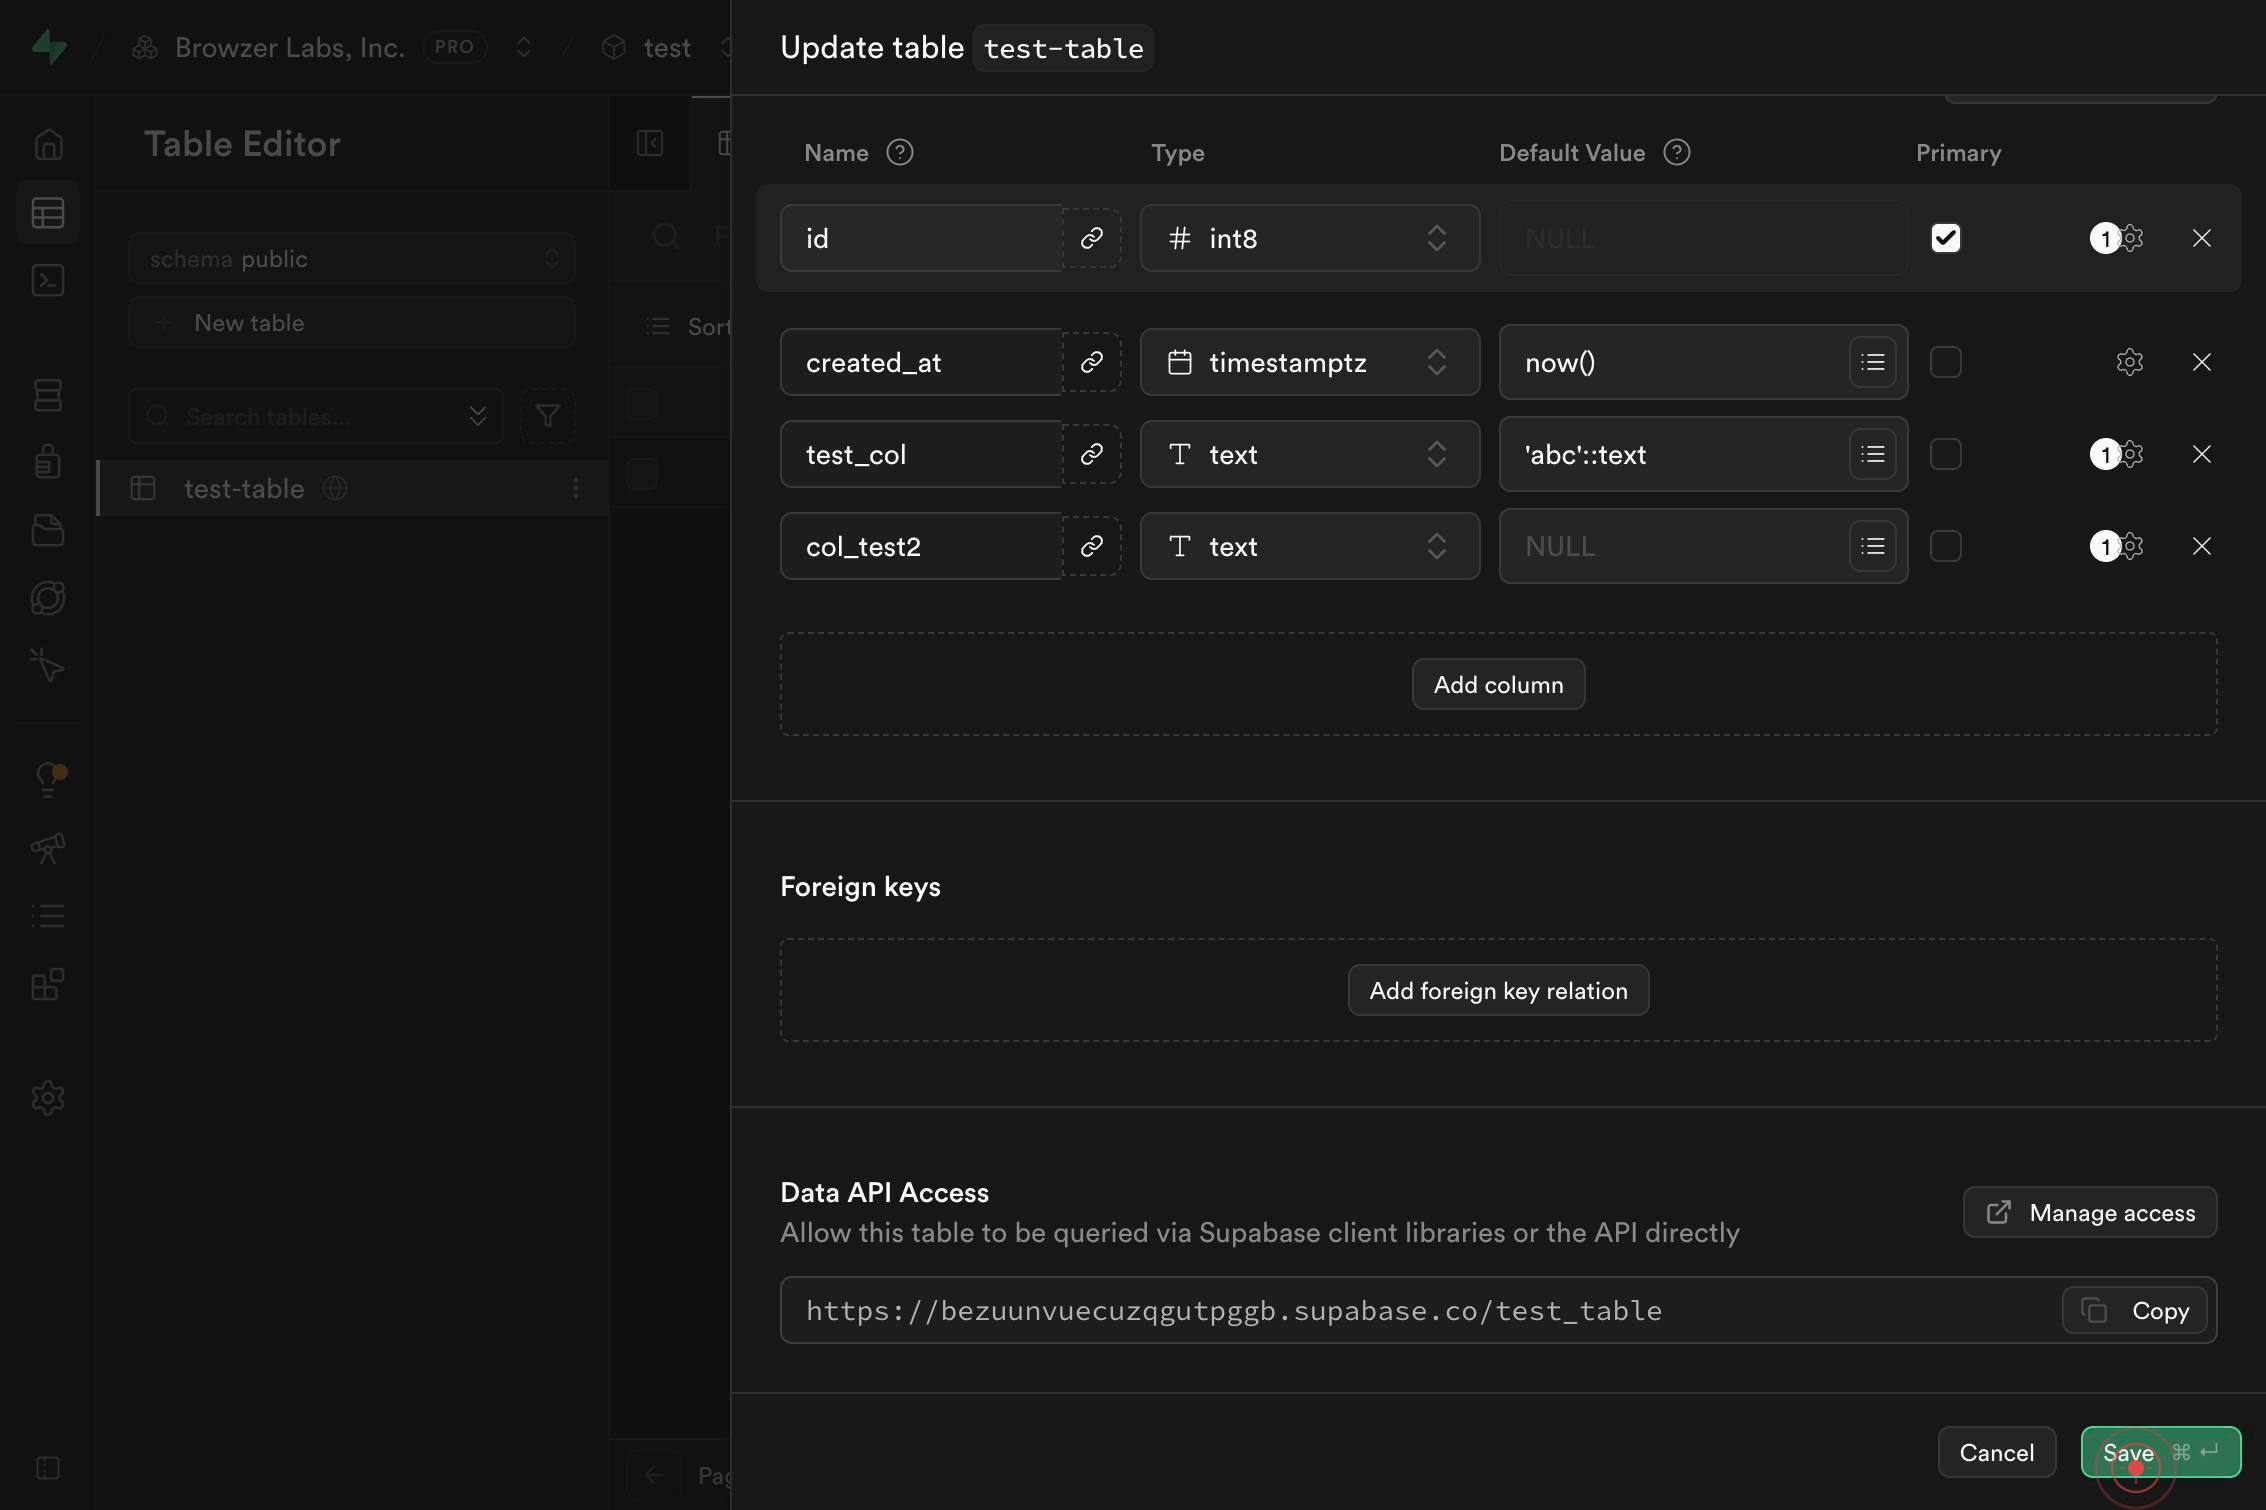
Save ⌘ ↵Click the "Save" button (marked with ⌘ ↵ keyboard shortcut indicator) to persist your table name change to the Supabase database.
Confirm it worked
- 1The table editor modal or sidebar is visibly open with the table name field displayed
- 2The table name field contains your new name and is editable
- 3After clicking Save, a success confirmation message appears (or the editor closes without error)
- 4When you navigate back to the Tables list in the left sidebar, the table now appears with its new name
Common issues
Keep reading
How to Edit an Excel Table - ExcelDemy
How to Edit an Excel Table - ExcelDemy # How to Edit an Excel Table ## Edit Excel Table: Knowledge Hub - About Us - Rename a Table in Excel - Extend the Table in Excel - Mirror Table in Excel - Mak
exceldemy.comHow to Edit Table in Excel: A Step-by-Step Guide for Beginners
How to Edit Table in Excel: A Step-by-Step Guide for Beginners Editing a table in Excel might seem daunting at first, but it’s pretty straightforward. You can change the table’s structure, modify dat
supportyourtech.comExcel Tutorial: How To Edit Data Table In Excel – DashboardsEXCEL.com
Excel Tutorial: How To Edit Data Table In Excel – DashboardsEXCEL.com # Excel Tutorial: How To Edit Data Table In Excel ## Introduction Excel data tables offer a smarter alternative to simple range
dashboardsexcel.com